LR4-made: bespoke signage for a locally owned and operated business

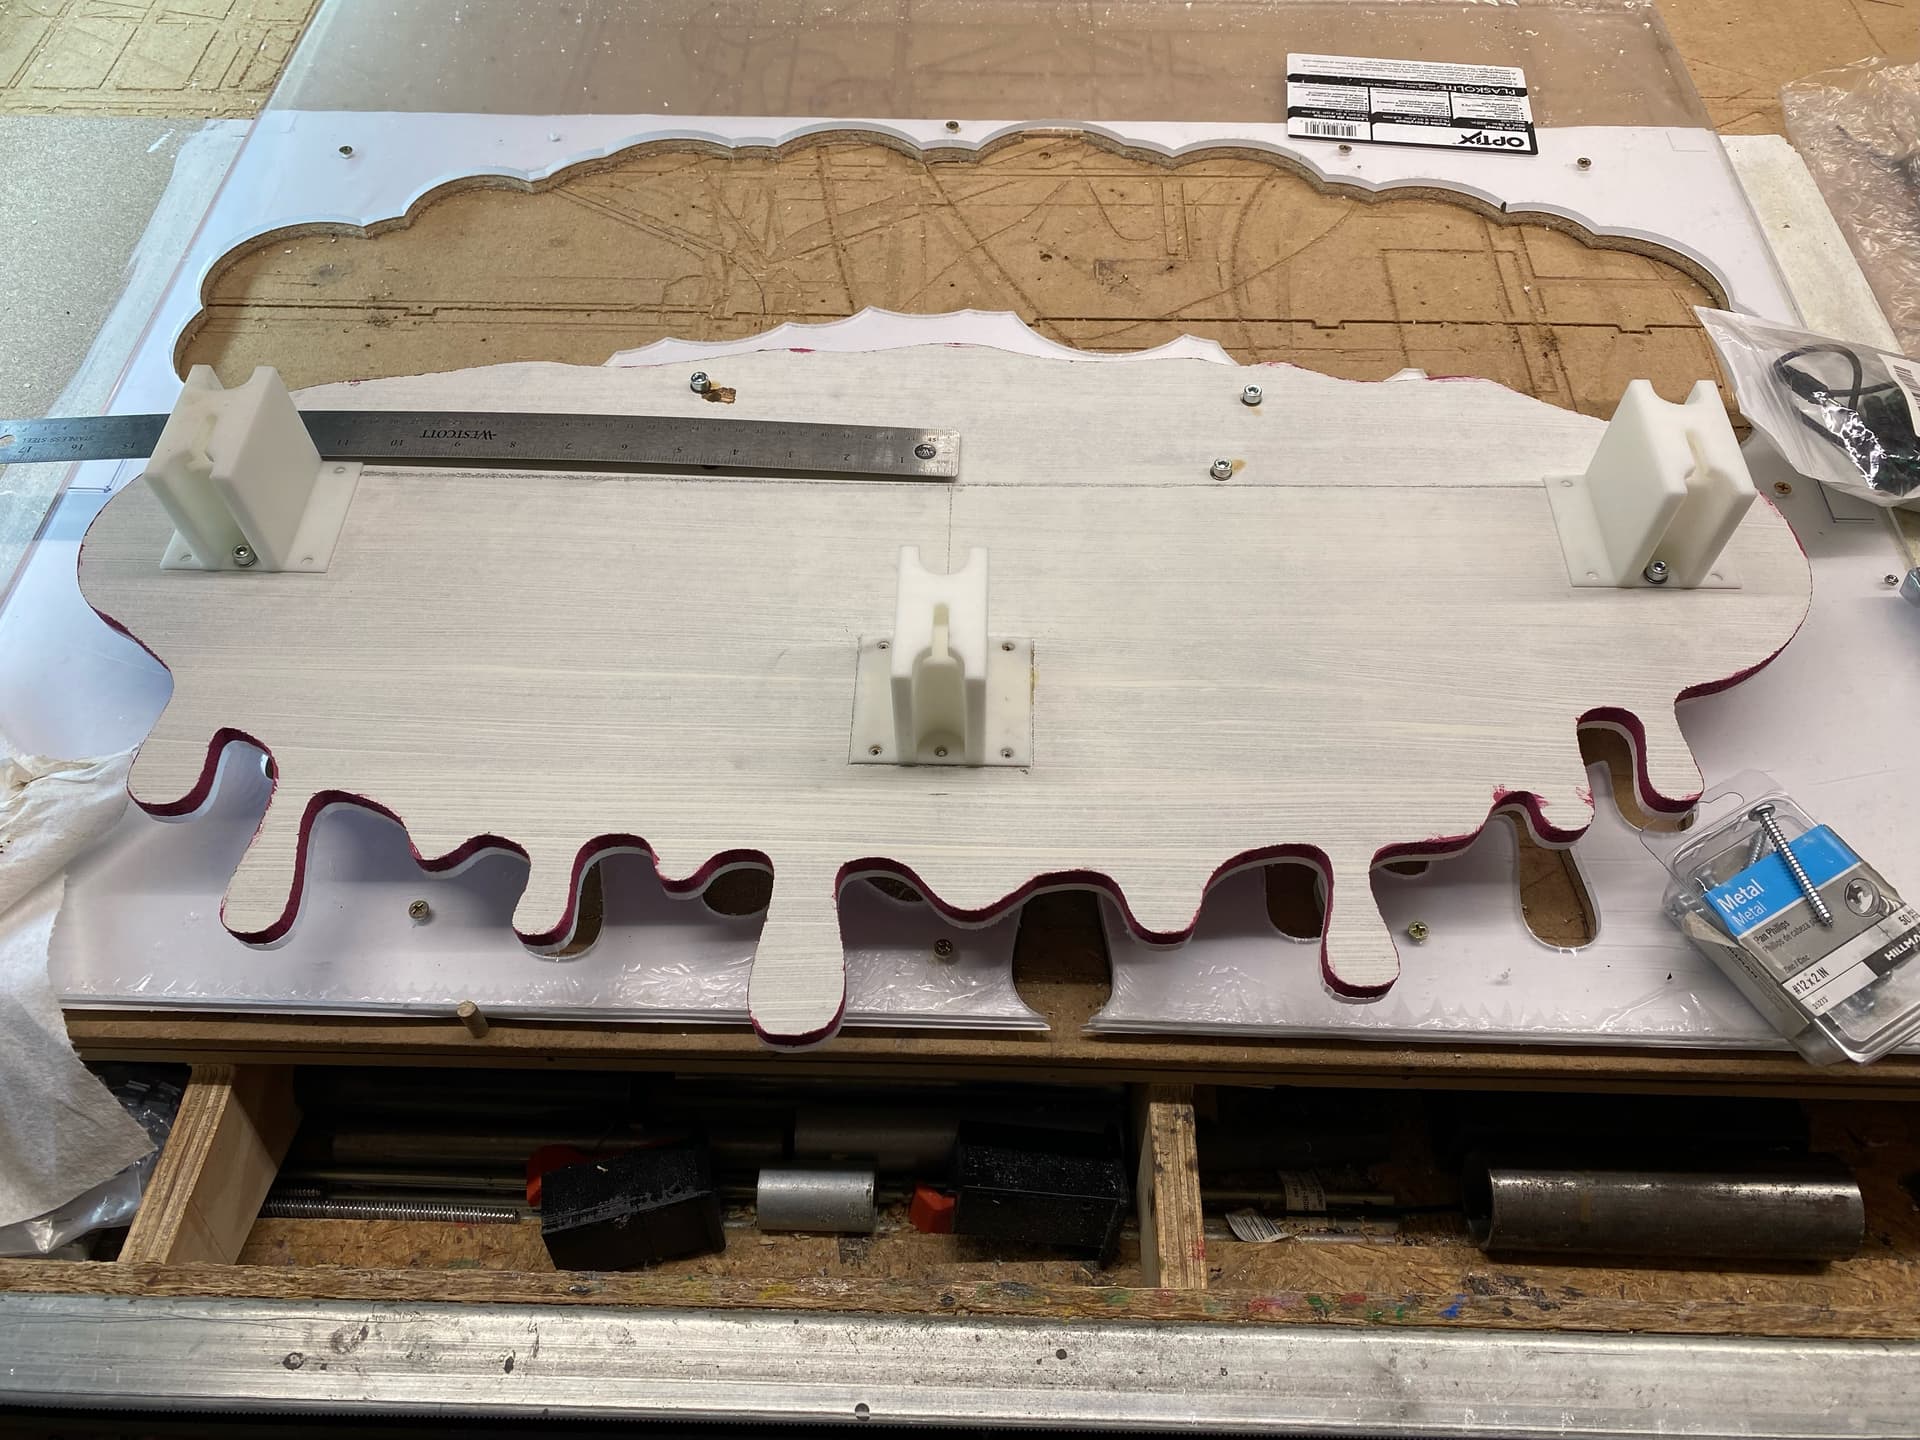
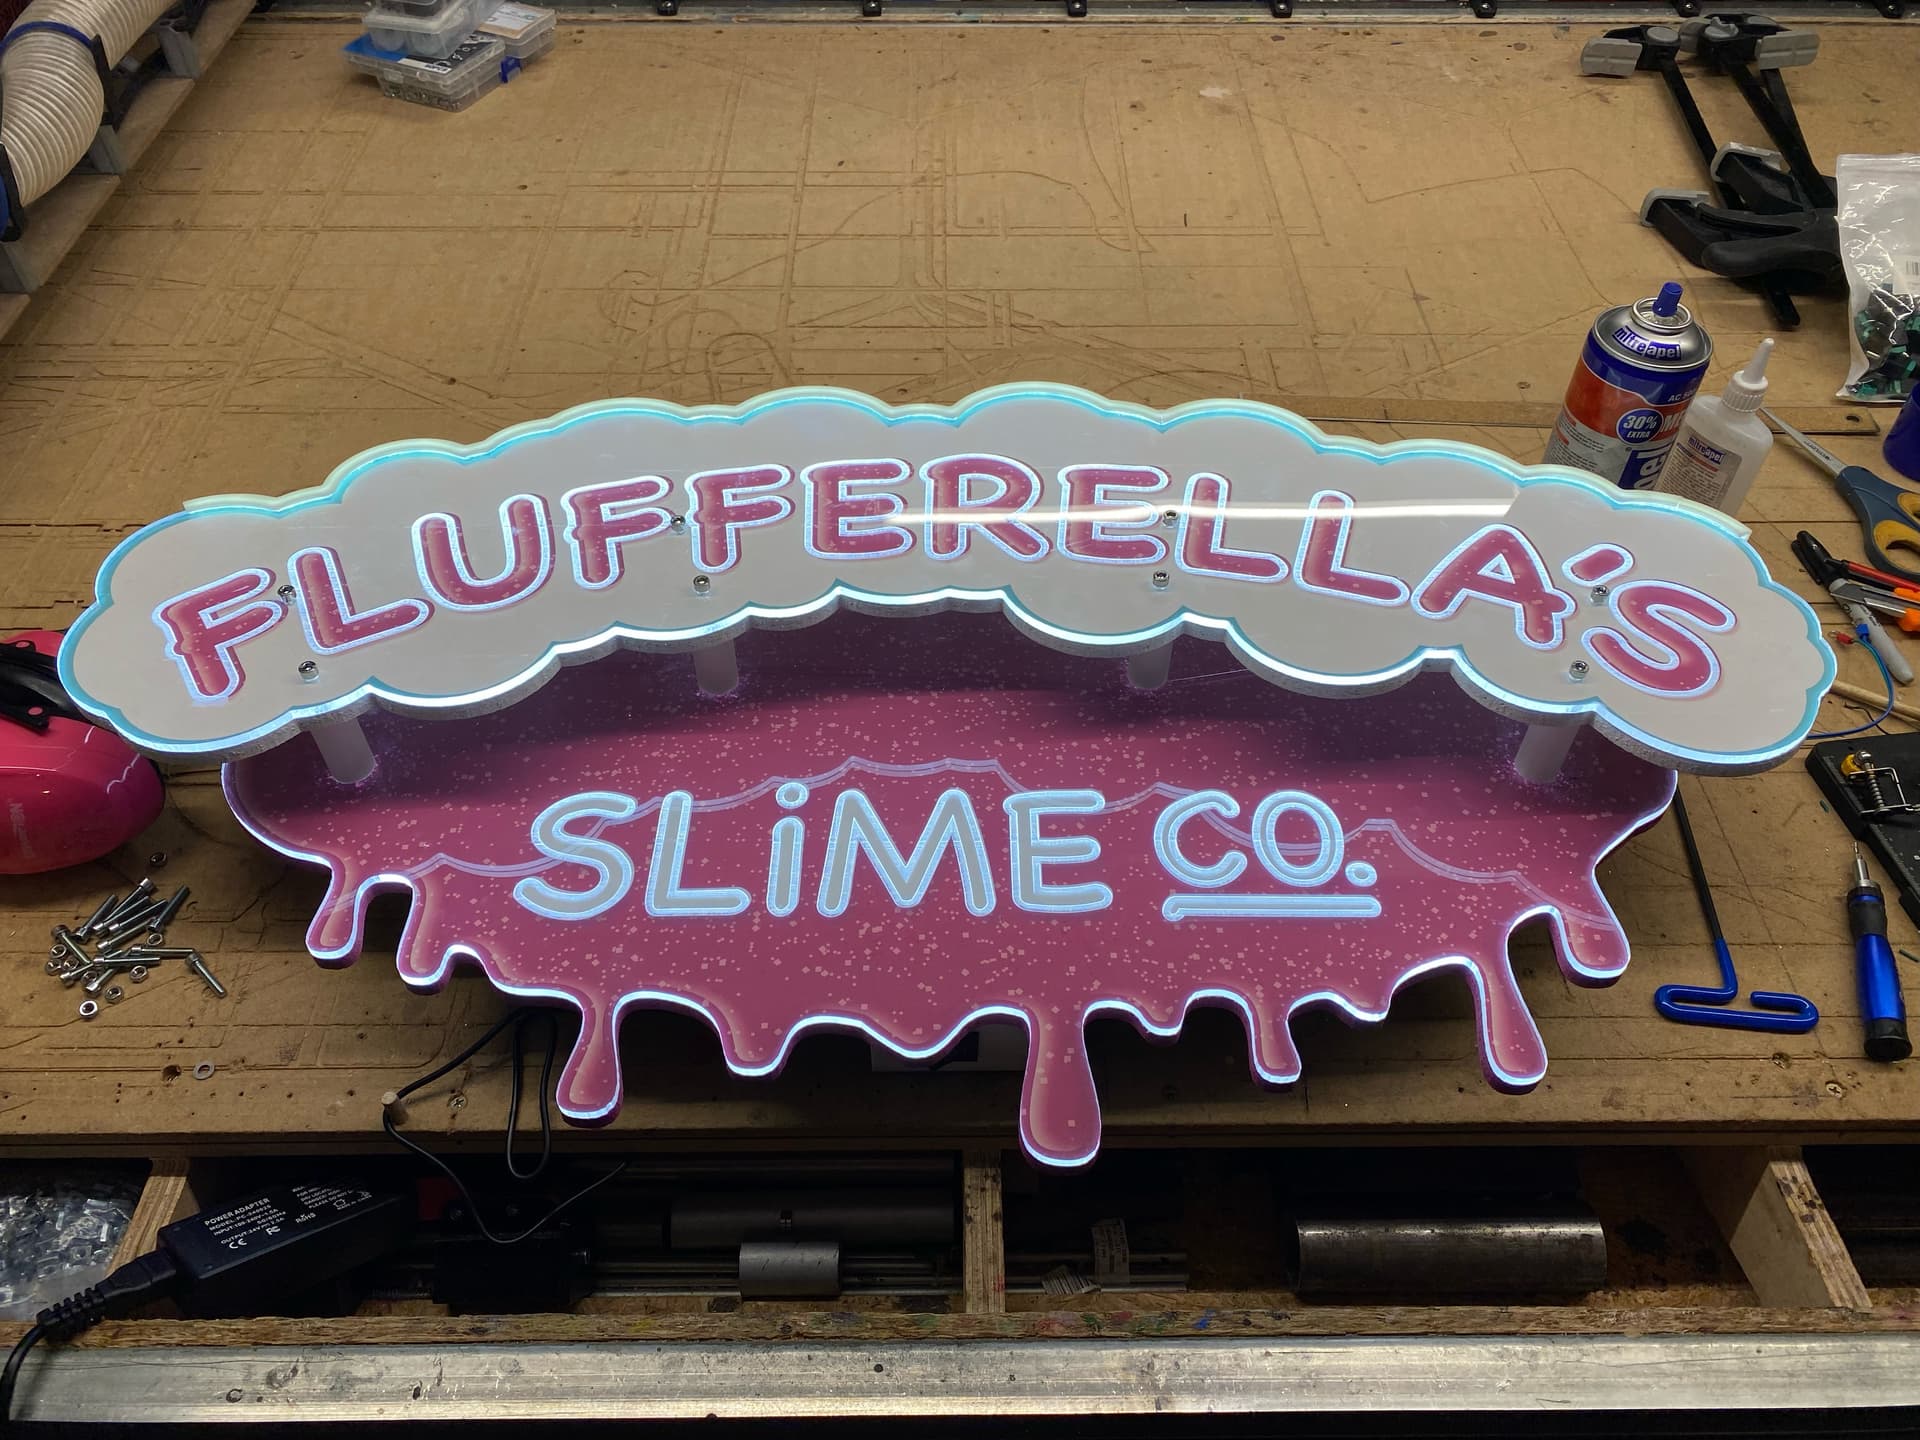
It’s a two-part sign. The lower part gets anchored to the wall. The upper part is attached to the lower part, but it gets “cantilevered” a bit out into space.

Back view of the lower part:
I later added a PWM motor controller so the LED brightness could be controlled, allowing running them at less than full brightness, to run cooler and extend their lifespan.

Front view of the upper part:

Front view of the upper part:

The assembled, complete sign:

The LED are 24v chip-on-board, aka COB.

10 Likes

Looks great!!

Acrylic top layer with led edge from the top? That is clever. Did you print the standoffs too? Looks really well done!

1 Like

Yep I modeled and printed the standoffs, as well as the custom LED holders.

1 Like

Very nice work
You guys just continue to amaze me thanks for sharing.

2 Likes

This Looks Amazing! May I ask what Bit did you happen to use?

Thanks!

I’m going by memory here, but I’m pretty sure I used a 1/8 inch single-flute upcut bit, carbide, probably purchased from here in Ryan’s online store.

1 Like

Thanks! I have a project with Plexi and I have that bit so I will try it out! I’ll take it low and slow on a test piece first for experience.

With cutting plexiglass, the thing to avoid is heat buildup — because the plexiglass will get melted and gum up around your bit and melted plexiglass will get thrown off throughout the room. So do use a feeds and speeds calculator setup for cutting plexiglass and trust those numbers. If you try to go slow, you can wind up with the spinning bit camping out too long in any given location and heat building up. You usually have to cut it faster rather than slower to keep the melting from happening.

I use trochoidal for plexiglass as well… :stuck_out_tongue:

2 Likes