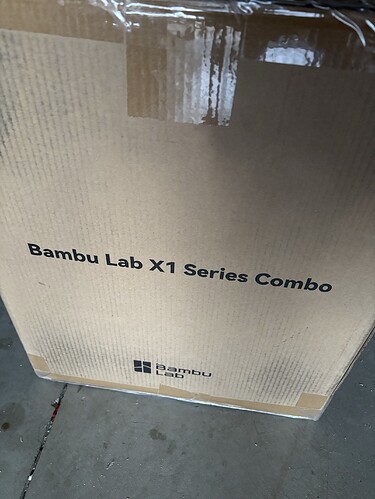
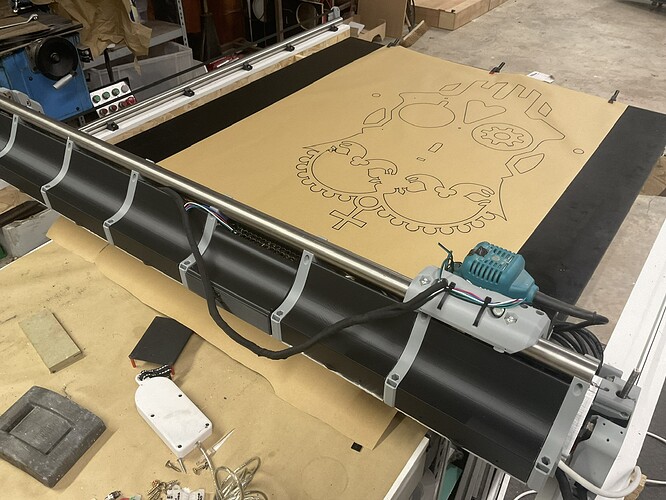
And because I just need another distraction….look what came in the mail yesterday
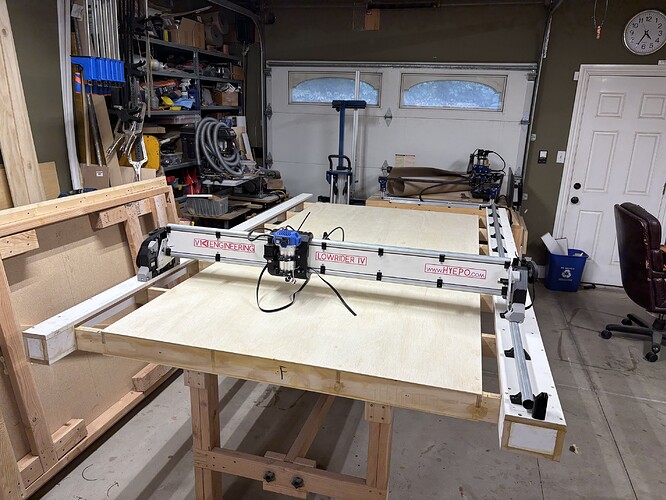
Had a good day today. Installed The sides of the table and the Y rail. Got one end-stop located. Will tackle the belts next
Been good to watch you build, been following along whilst doing one of my own.
I’m a couple steps behind as I’m still waiting on 2 linear rails arriving from amazon, but the machine is mostly built along with the table and started setting out the rail the other evening.
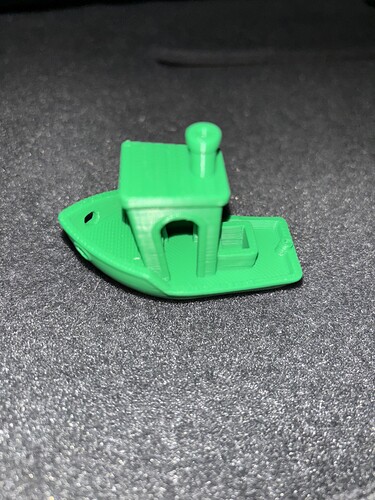
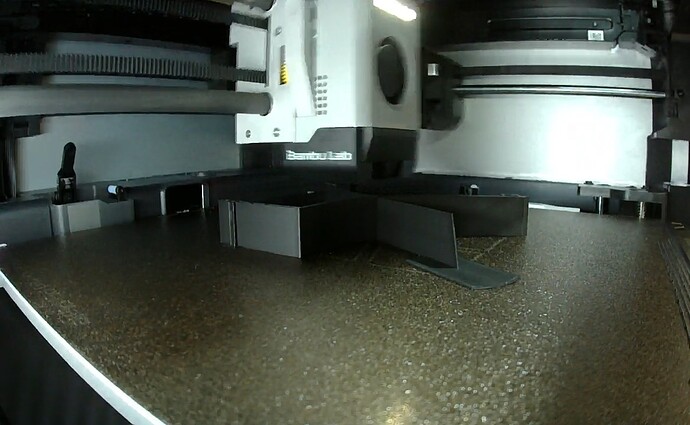
No progress on the LR for today, but I did plug in the bamboo X1 Carbon and printed that little boat thing,
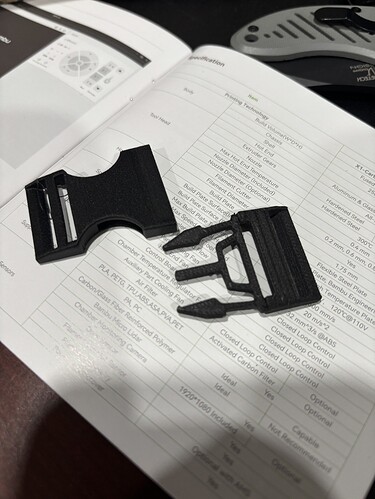
it came out pretty well, and then I printed a buckle clasp that I needed for a chef’s apron, rollup knife thing, and that came out pretty good too
so now I’m printing The hinge knobs for Doug’s back cover section, wish me luck
Those things were the first and second things I’ve ever printed using a 3-D printer
I don’t know whether to be happy or sad when people didn’t get to experience the process of manually leveling a bed. Having perfect first layers without even trying is still wild to me.
I also wanted to note that as I’ve followed along here, I disagree with the title of this thread. I think you’re doing great and well on the road to success.
Well, to be truthful, back about oh 10 years ago or so I attempted to build the WilsonRepRap Prusa or whatever it was called and it was a complete and utter failure. So as far as I was concerned, this is the first real 3D printer I have ever used that actually worked. I think i still have the power supply and nema 17s from that debacle.
LOL
Thanks for the encouragement.
The Prusa Mini offset every other print with the sensor it was originally shipped with. So I did experience pain, but not like you I guess. The new touch sensor is incredible. ![]()
Scary though this may sound to those who long for the days that @jeyeager was mentioning (and yes, I too think that it’s taken some of the “trade skill” away - no longer having to be an expert bottom layer person), but I now mostly clean the bed and prepare for a new print when I remove the print, then just hit “send and print” as one does for a paper printer.
I guess that day will come when I will be greeted with a spectacular failure - it has to, but it’s just wild!
Talk about putting a hex on myself! ![]()
I just wandered in to check a print I started about fifteen minutes ago - I’d accidentally “cleaned” the bed with IPA using a paper towel I’d used to clean the rods - I might have inadvertently smeared a a perfectly even layer of grease over the entire print bed.
it did not end well. ![]()
Bambu Lab recommends against cleaning their textured plates with IPA out of a concern for negatively affecting adheshion.
Sorry about the hijack - just want to make this clear.
Good to note for the Bambu guys here, however for clarity:
I have linked the Bambu wiki below (as well as the Prusa instructions). As far as can see there is no specific recommendation against the use of IPA.
What Bambu says is:
Alcohol might just spread the oils on the print surface instead of removing it.
This is exactly what I did here. Note I treat my plates like old fashioned records - I never touch the surface with my bare fingers, clean with IPA after every print, and every few weeks or month or so, clean with detergent (exactly as per Bambu’s instructions). If you don’t get oil on the surface in the first place, it won’t spread.
Prusa does have very clear cleaning instructions - and IPA is the recommended method
On the smooth plates, which are PEI - they recommend an occasional acetone wipe when other cleaning methods (warm water and dishsoap) aren’t up to scratch - Note that in something like 5000 hours on one of my plates this has never been necessary.
Their Textured plates (which in this case I am not using) are powder coated and acetone is NOT recommended - neither is water (but I understand the risks and have used it with care!)
Awesome, thanks. Seems I got burnt by Google Gemini.
No worries. Unless y’all have an actual gun to my head (and I would strongly, very strongly advise against such thoughts because it likely won’t end well for the hijackers ![]() ) I don’t mind the side topic… after all I did start the tangent.
) I don’t mind the side topic… after all I did start the tangent.
And for the record, I have yet to clean my textured plate and it works just fine. ![]()
Got more PLA black in mail yesterday, will be printing Doug’s back covers today. This shit is getting fun I tell y’all. I might even finish the LR4 before Christmas. LOL
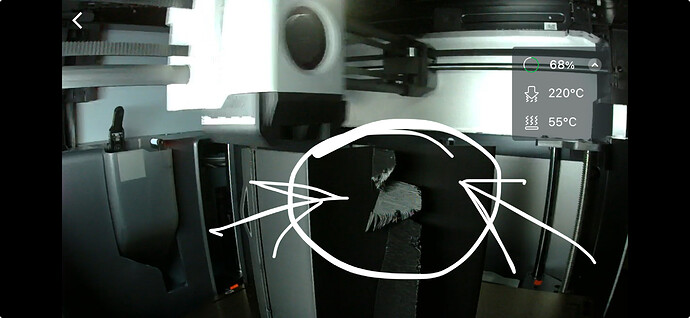
@DougJoseph so I downloaded your cover w/supports and noticed they are not really touching the cover when I preview the model but sent to print anyway. Was this on purpose?
As they get taller they just flap in the wind ![]()
They have a few small points where they touch. My goal was to make them close enogh to help support but not so close as to mar the finish.
Are you on a bed slinger or a CoreXY type printer? Prints this tall are hard to do on a bed slinger. If you are on a CoreXY printer (what I used, and they printed for me) then do you have the printer on a surface that is solid or is there a lot of wobbling and virbation?
Gotchya. When I view them in the Bambu studio, the little nubs do not touch the cover. I have the X1c, core XY so prob don’t even need them. Lol
The print is so fast that i prob wouldn’t save much time printing without. ![]()
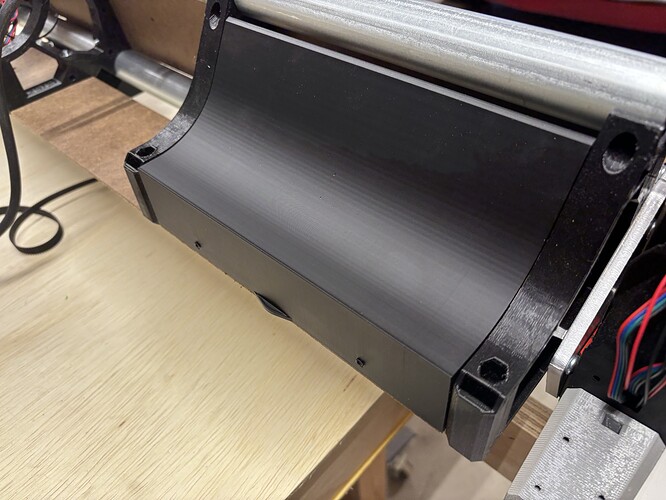
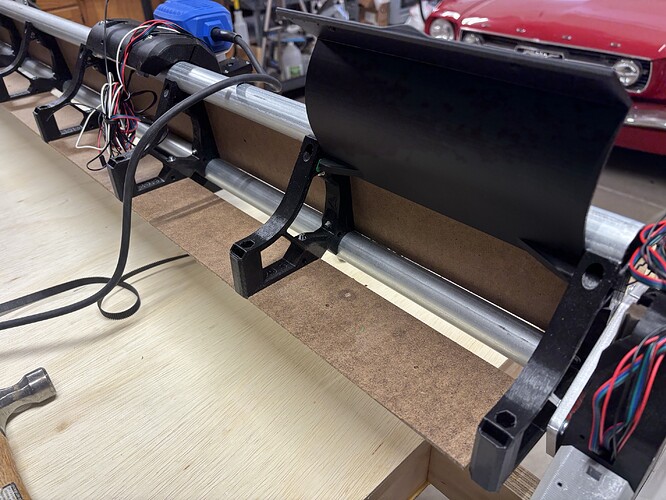
So i have one installed and it seems to fit perfectly. Was wondering if the covers bounce around when machine is routing… or is their weight and gravity enough to keep them still when machine is in use? I was thinking of using magnets if they needed to be latched to the bottom strut plate.
These look perfect, beautiful design, Doug
What did you do for the board box since the cover does not close with Ryan’s jackpot box in there?
My memory is not as sharp anymore. I mistakenly thought I had designed those little nubs to touch but I think you’re right that I designed them to almost touch.
This one you’ve done looks awesome.
Regarding them staying down, if they settle into position easily, then they pretty much stay there, but if you look at the printables listing, there is a little strip or bar (to attach to the lower strut) that I designed that has a ledge on it, that serves as a latch, and there is a little lip on the printed cover that can snap under that lip to latch the cover in place. There is also a jig that helps with placement to attach the strip to the bottom strut plate in the correct location. If you have a bunch of wires poking up that are causing a cover to not want to stay closed, then there’s also a place for two small M3 screws to go through the cover and into that little bar and lock the cover in place.
I did these covers on my beta version and my pre-release candidate version— and mounted my jackpot board on a printed stand/holder that had it all encapsulated in the beam with one of these covers completely covering everything. When I built my full size one, based on the final version, I used Ryan‘s provided box and I don’t have covers on it yet. I suppose I could design a unique cover that is made to to incorporate Ryan’s box and be a hybrid between his box sticking out and one of these covers going upwards from there. I have not done that yet.
I noticed that lip, I thought it was supposed to maybe fit over the strut plate, but obviously that didn’t work lol. Still man, fantastic design, so smooth and clean as though it was meant to be, well, because it was😁
I know you’re not asking me so sorry for jumping in but i used this for the jackpot and it goes well with Doug’s excellent covers
Nice!
