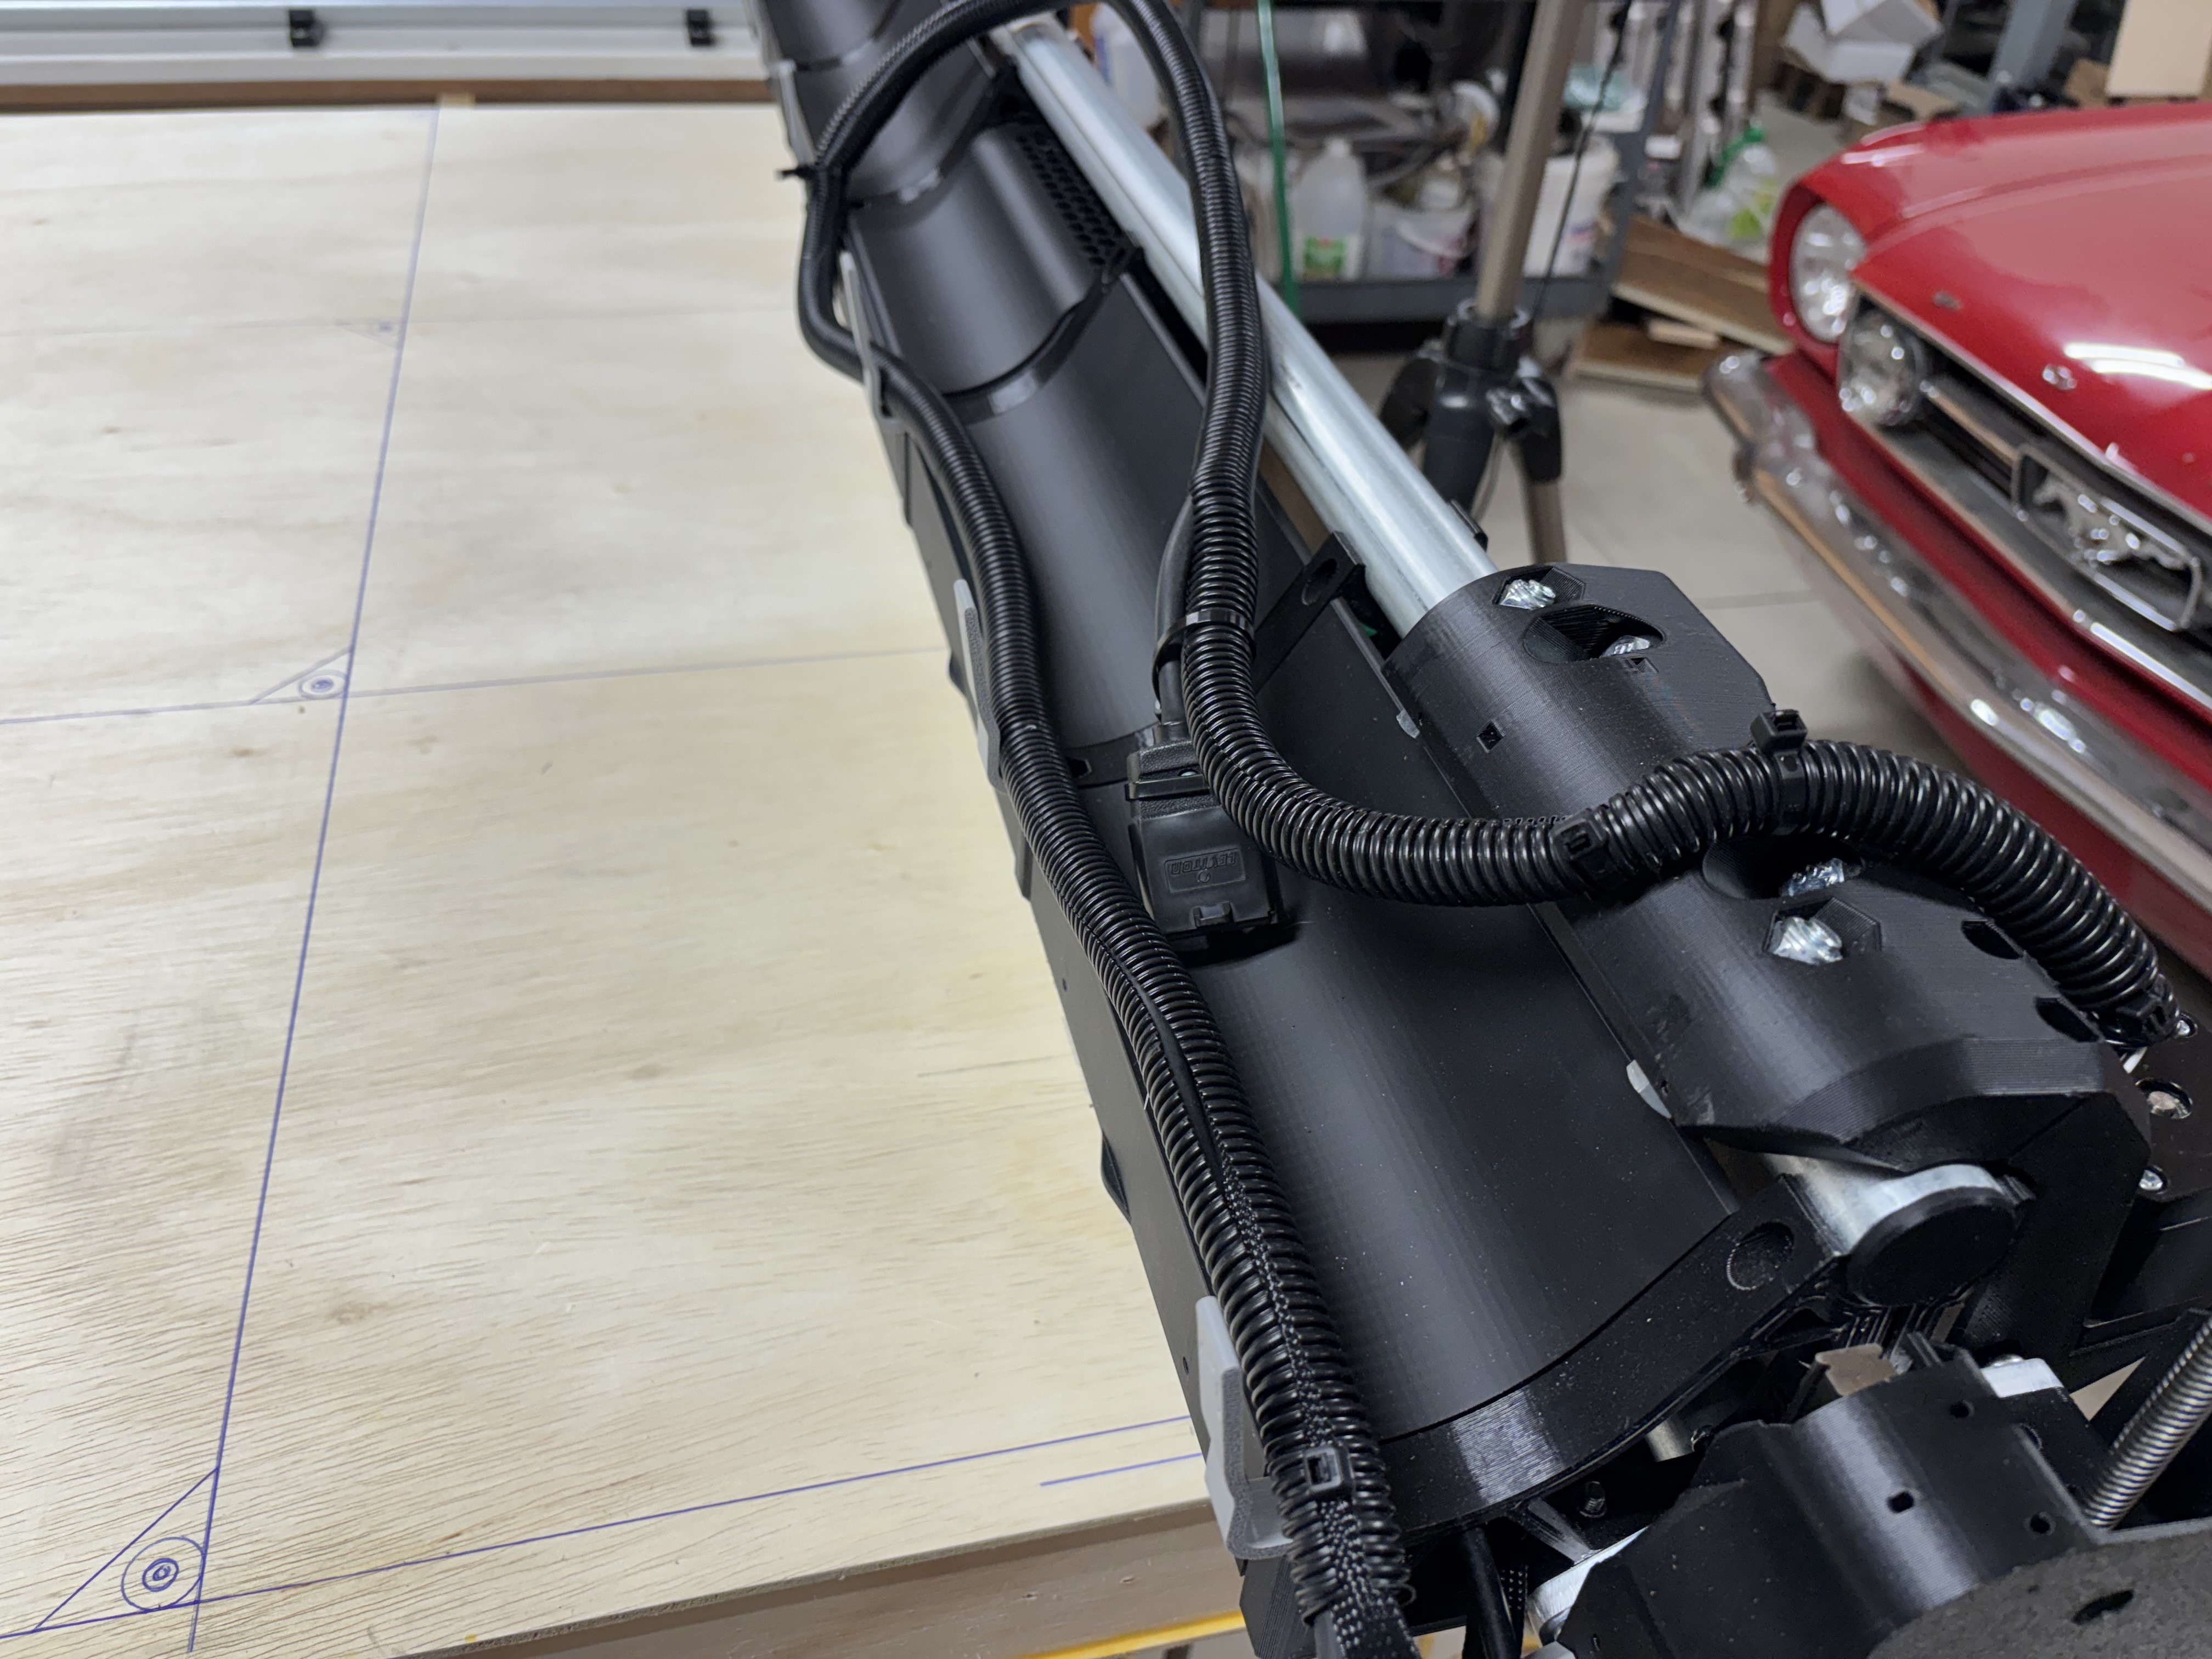
@vicious1 Ryan, I would like to know the brand of your dust collection hose in this vid if possible. The one I got from amazon will not hold enough shape to coil and uncoil as it should… flops all over the gantry…
That is the LR3 one, it is smaller, but it will still work with a small spacer. It should be linked in the LR3 instructions. The LR4 version that is linked is bigger, it takes a try or two to get the twist right but the floppy ones will stay. I zip tie it at the half way and the top of the core when you get the twist right.
Ohhhh, take the wires off the hose. Get the hose right first, then get the wires right separately. They move different. I attach them at the very same point but they move different.
The wires should be super easy. That is why you do them second. The hose do it first. Try a half twist, either way. When you get it, it always works.
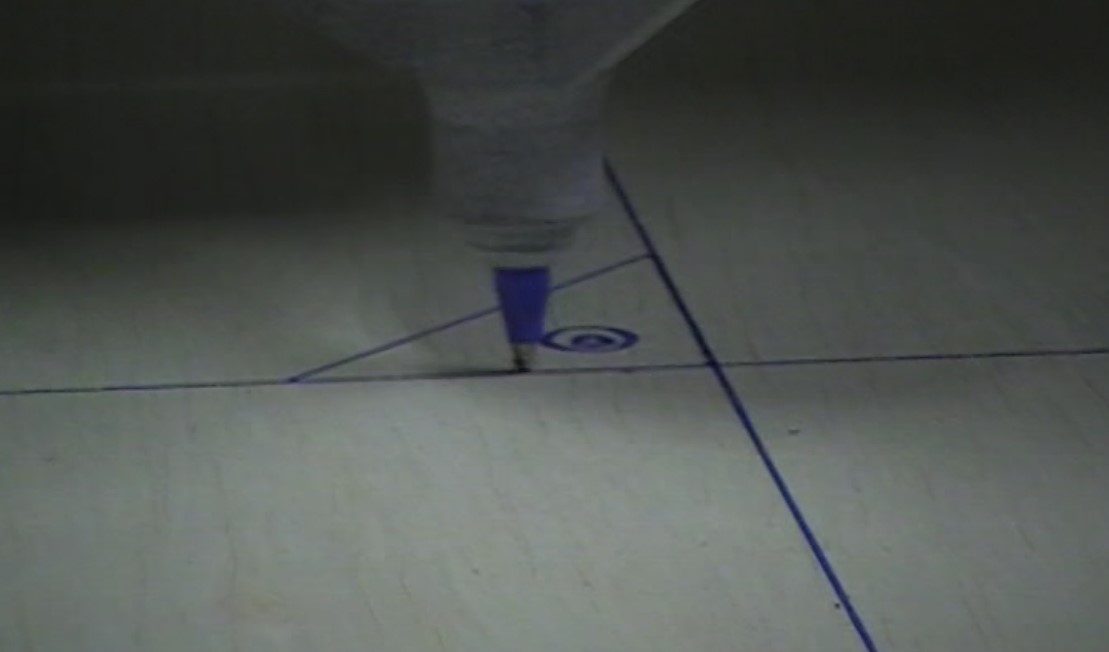
Funny, I am just seeing your replies this morning… coincidentally, late last night (about midnight) I did think to separate the wires from the hose. I actually ran the wires and the power cord in a split wire loom and it now flows fine on its own as you said. I put the pen tool in place of the router so I have not monkeyed with the dust hose yet… I won’t give up until it works
On a good note (at least it would seem), I was able to verify square and then draw a grid, and the hole markings that will be used to put the threaded inserts in so I can fasten the spoil board down using counter-sunk M8 nylon bolts.
Because I can draw with the pen. LOL. And it was midnight AND i was just messin with the DXF files… I will DEFINITELY be using the router to drill out the holes… so they will be in the same place once I lay the 3/4 spoil on there. LMAO.
And because I like to be difficult, and I am older….
Get off my lawn…… I think I will watch ‘Grand Torino” tonight.
This afternoon i threw a 1/4 UD end mill in (it’s what I had that was long enough) and drilled out the holes for the threaded inserts. 28 of them into the table top
Then i went a bit further and grabbed a 2x4’ 3/4” MDF i had on hand and used the same to drill out the pockets for the M8 nylon bolts and synched the mdf spoil board to the table
Can’t wait to get the dust flying tomorrow
I have pics & video to put up later. One thing is for certain I need to get my dust hose sorted. Not a fan of breathing fine MDF particulates
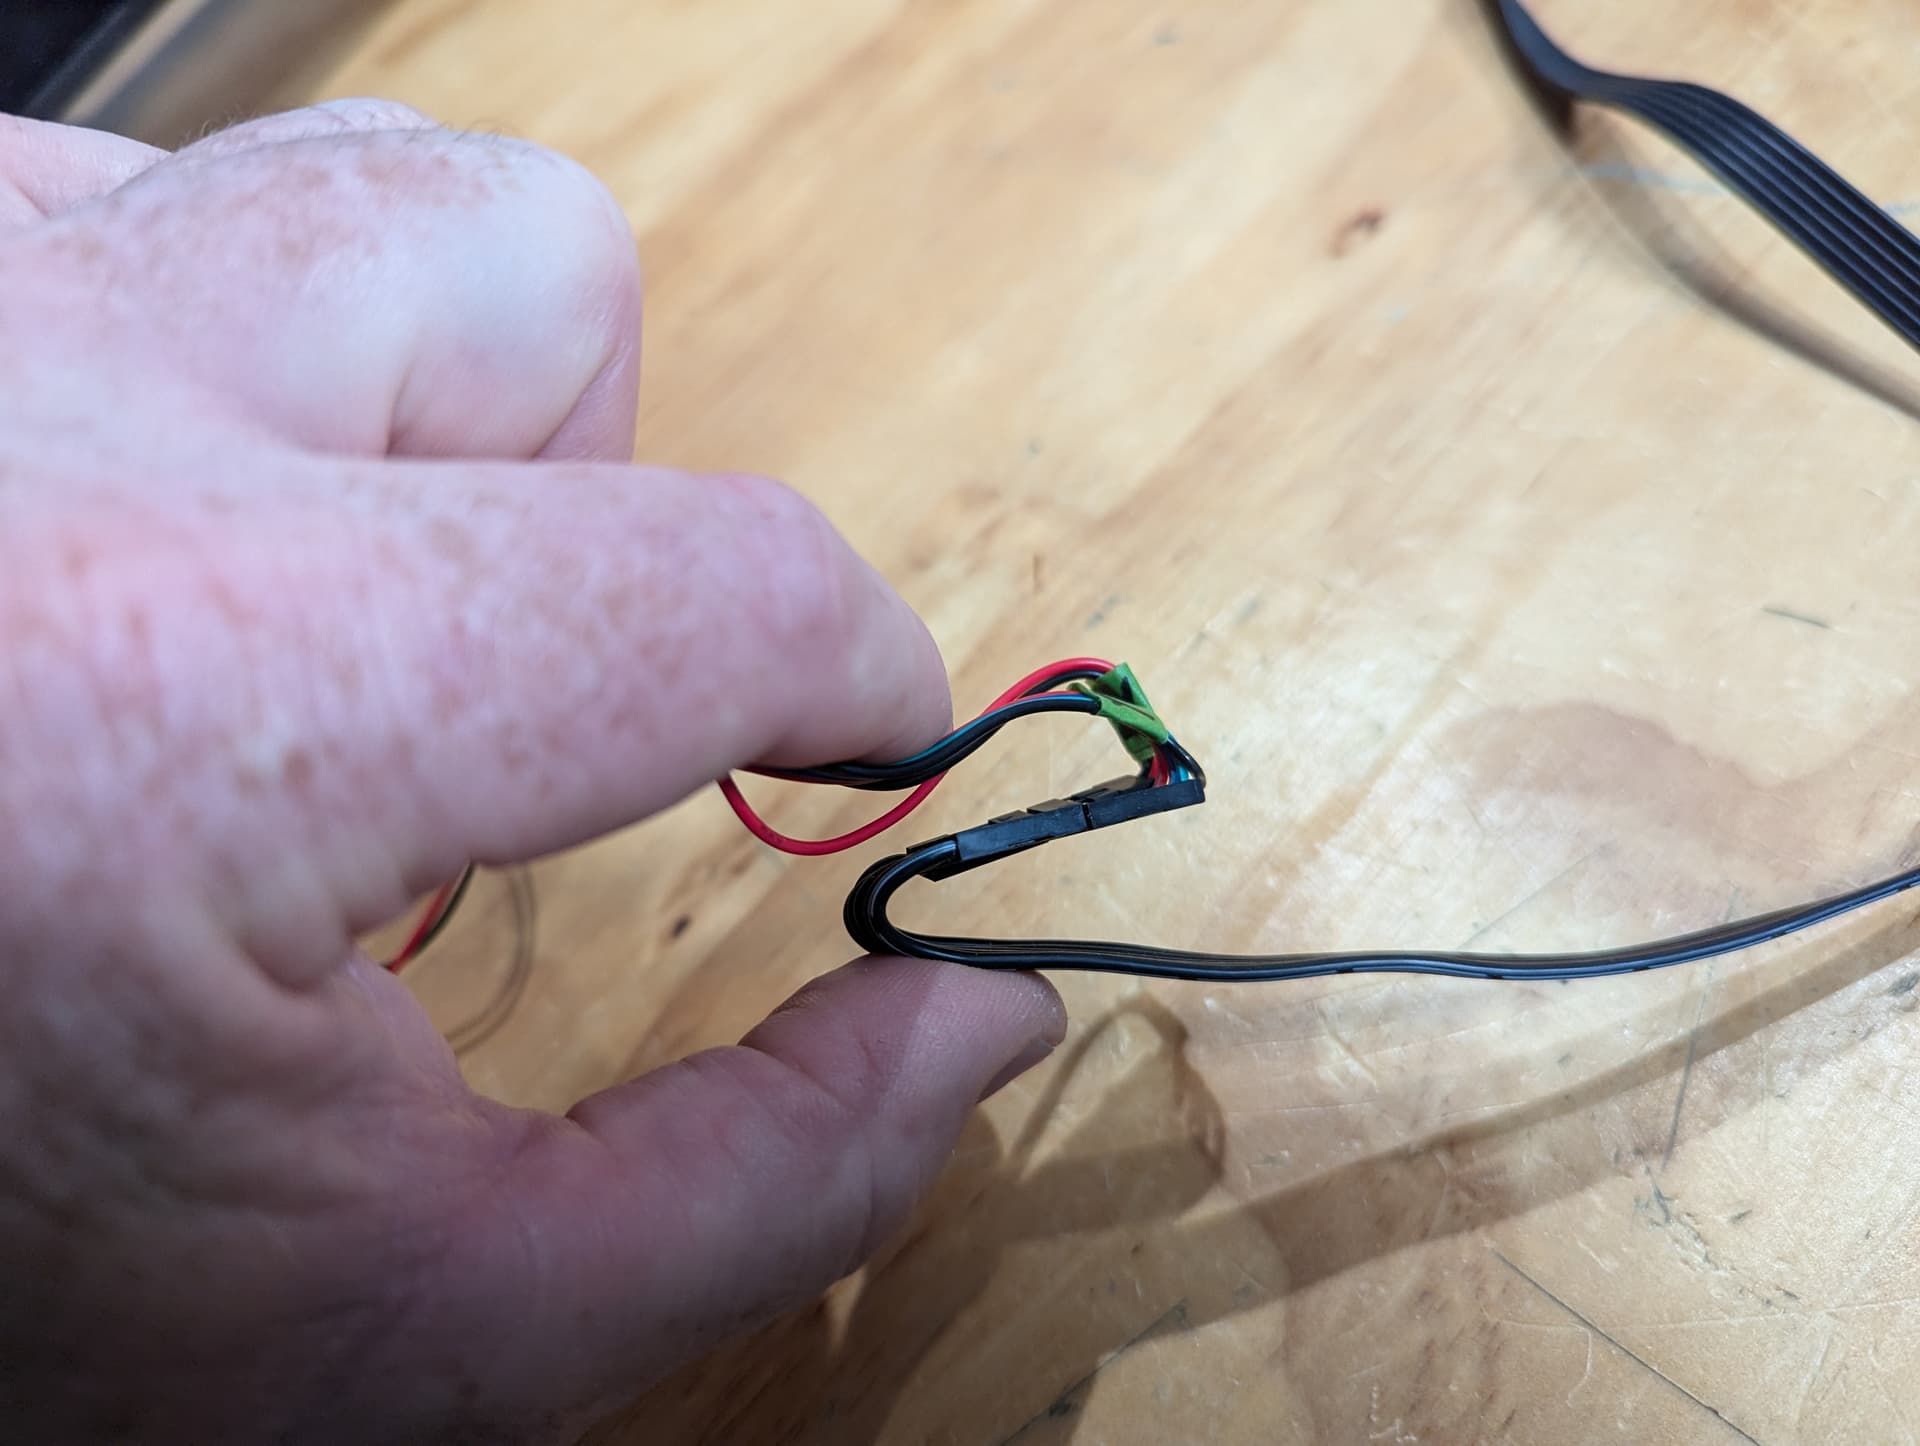
today I was all set to drill and carve the mounting pockets/holes for my full-size spoil board… it started out just fine as it did with the 24x48 one two days ago… then an odd thing happened. the rail side after drilling out hole 5 decided not to raise back up after drilling out hole #6 and drug the bit across the spoil board to start hole #7. not sure what caused this nor was I able to repeat the problem on that rail side. However, the Z dropped on the non-rail side when I attempted to re-home and re-run the job (less the first 7 holes of course) and would not come back up… very weird indeed. after that I re-homed again and ran the job… cut all 22 other holes and pockets w/o issue. nuts isn’t it?
Check your wiring. That sounds like a loose connection to that stepper motor. If its on an extension cable did you loop and tape it like Ryan shows in the docs?