Come, do a line of multicolour with us, all the cool kids do!
Those parts look awesome, I really like them.
Come, do a line of multicolour with us, all the cool kids do!
Those parts look awesome, I really like them.
Last brace also done, now I need some time for the aluminium… Hmpf.
You are switching filament manually? Or you have the MMU?
MMU. Those are 90 tool changes, not doing those manually. ![]()
If I am not mad at Prusa for still not officially supporting 0.6mm nozzles for the MK4 with the MMU, I am pretty happy with it still.
That looks too cool!
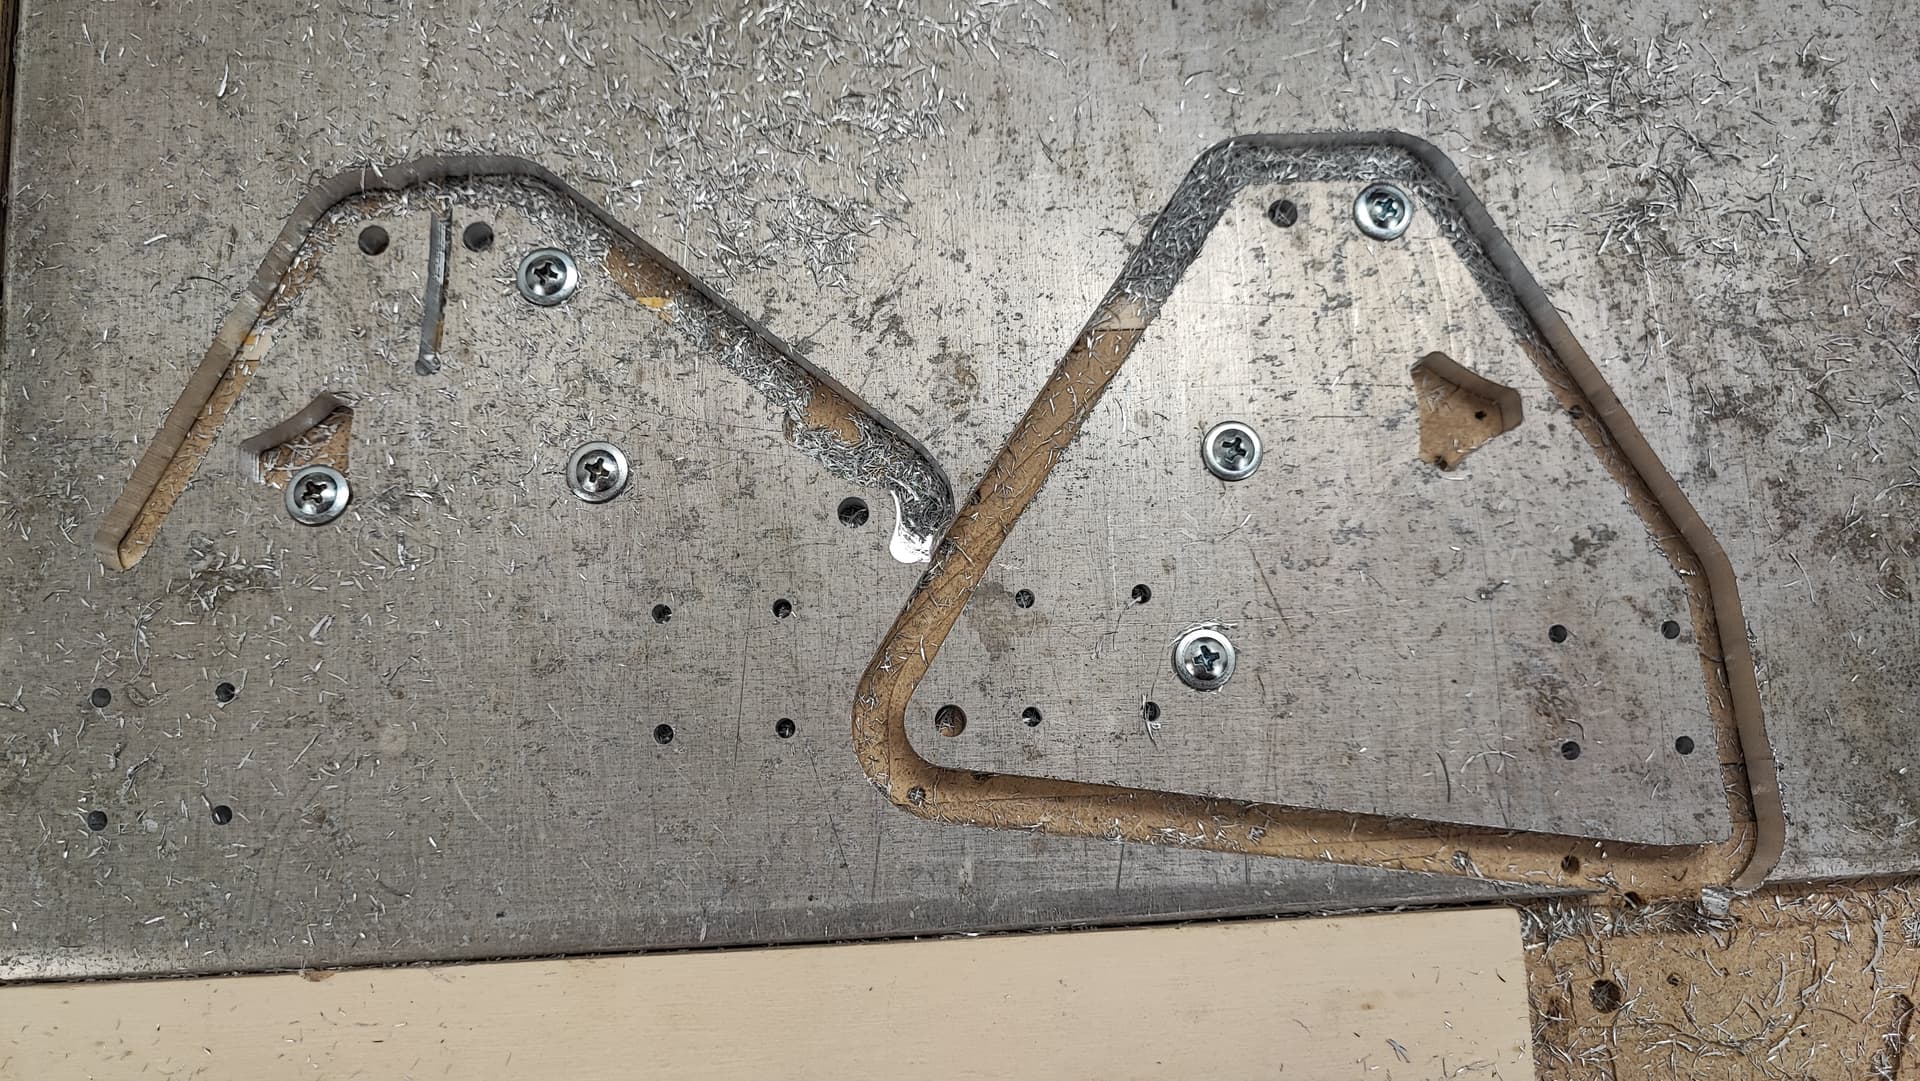
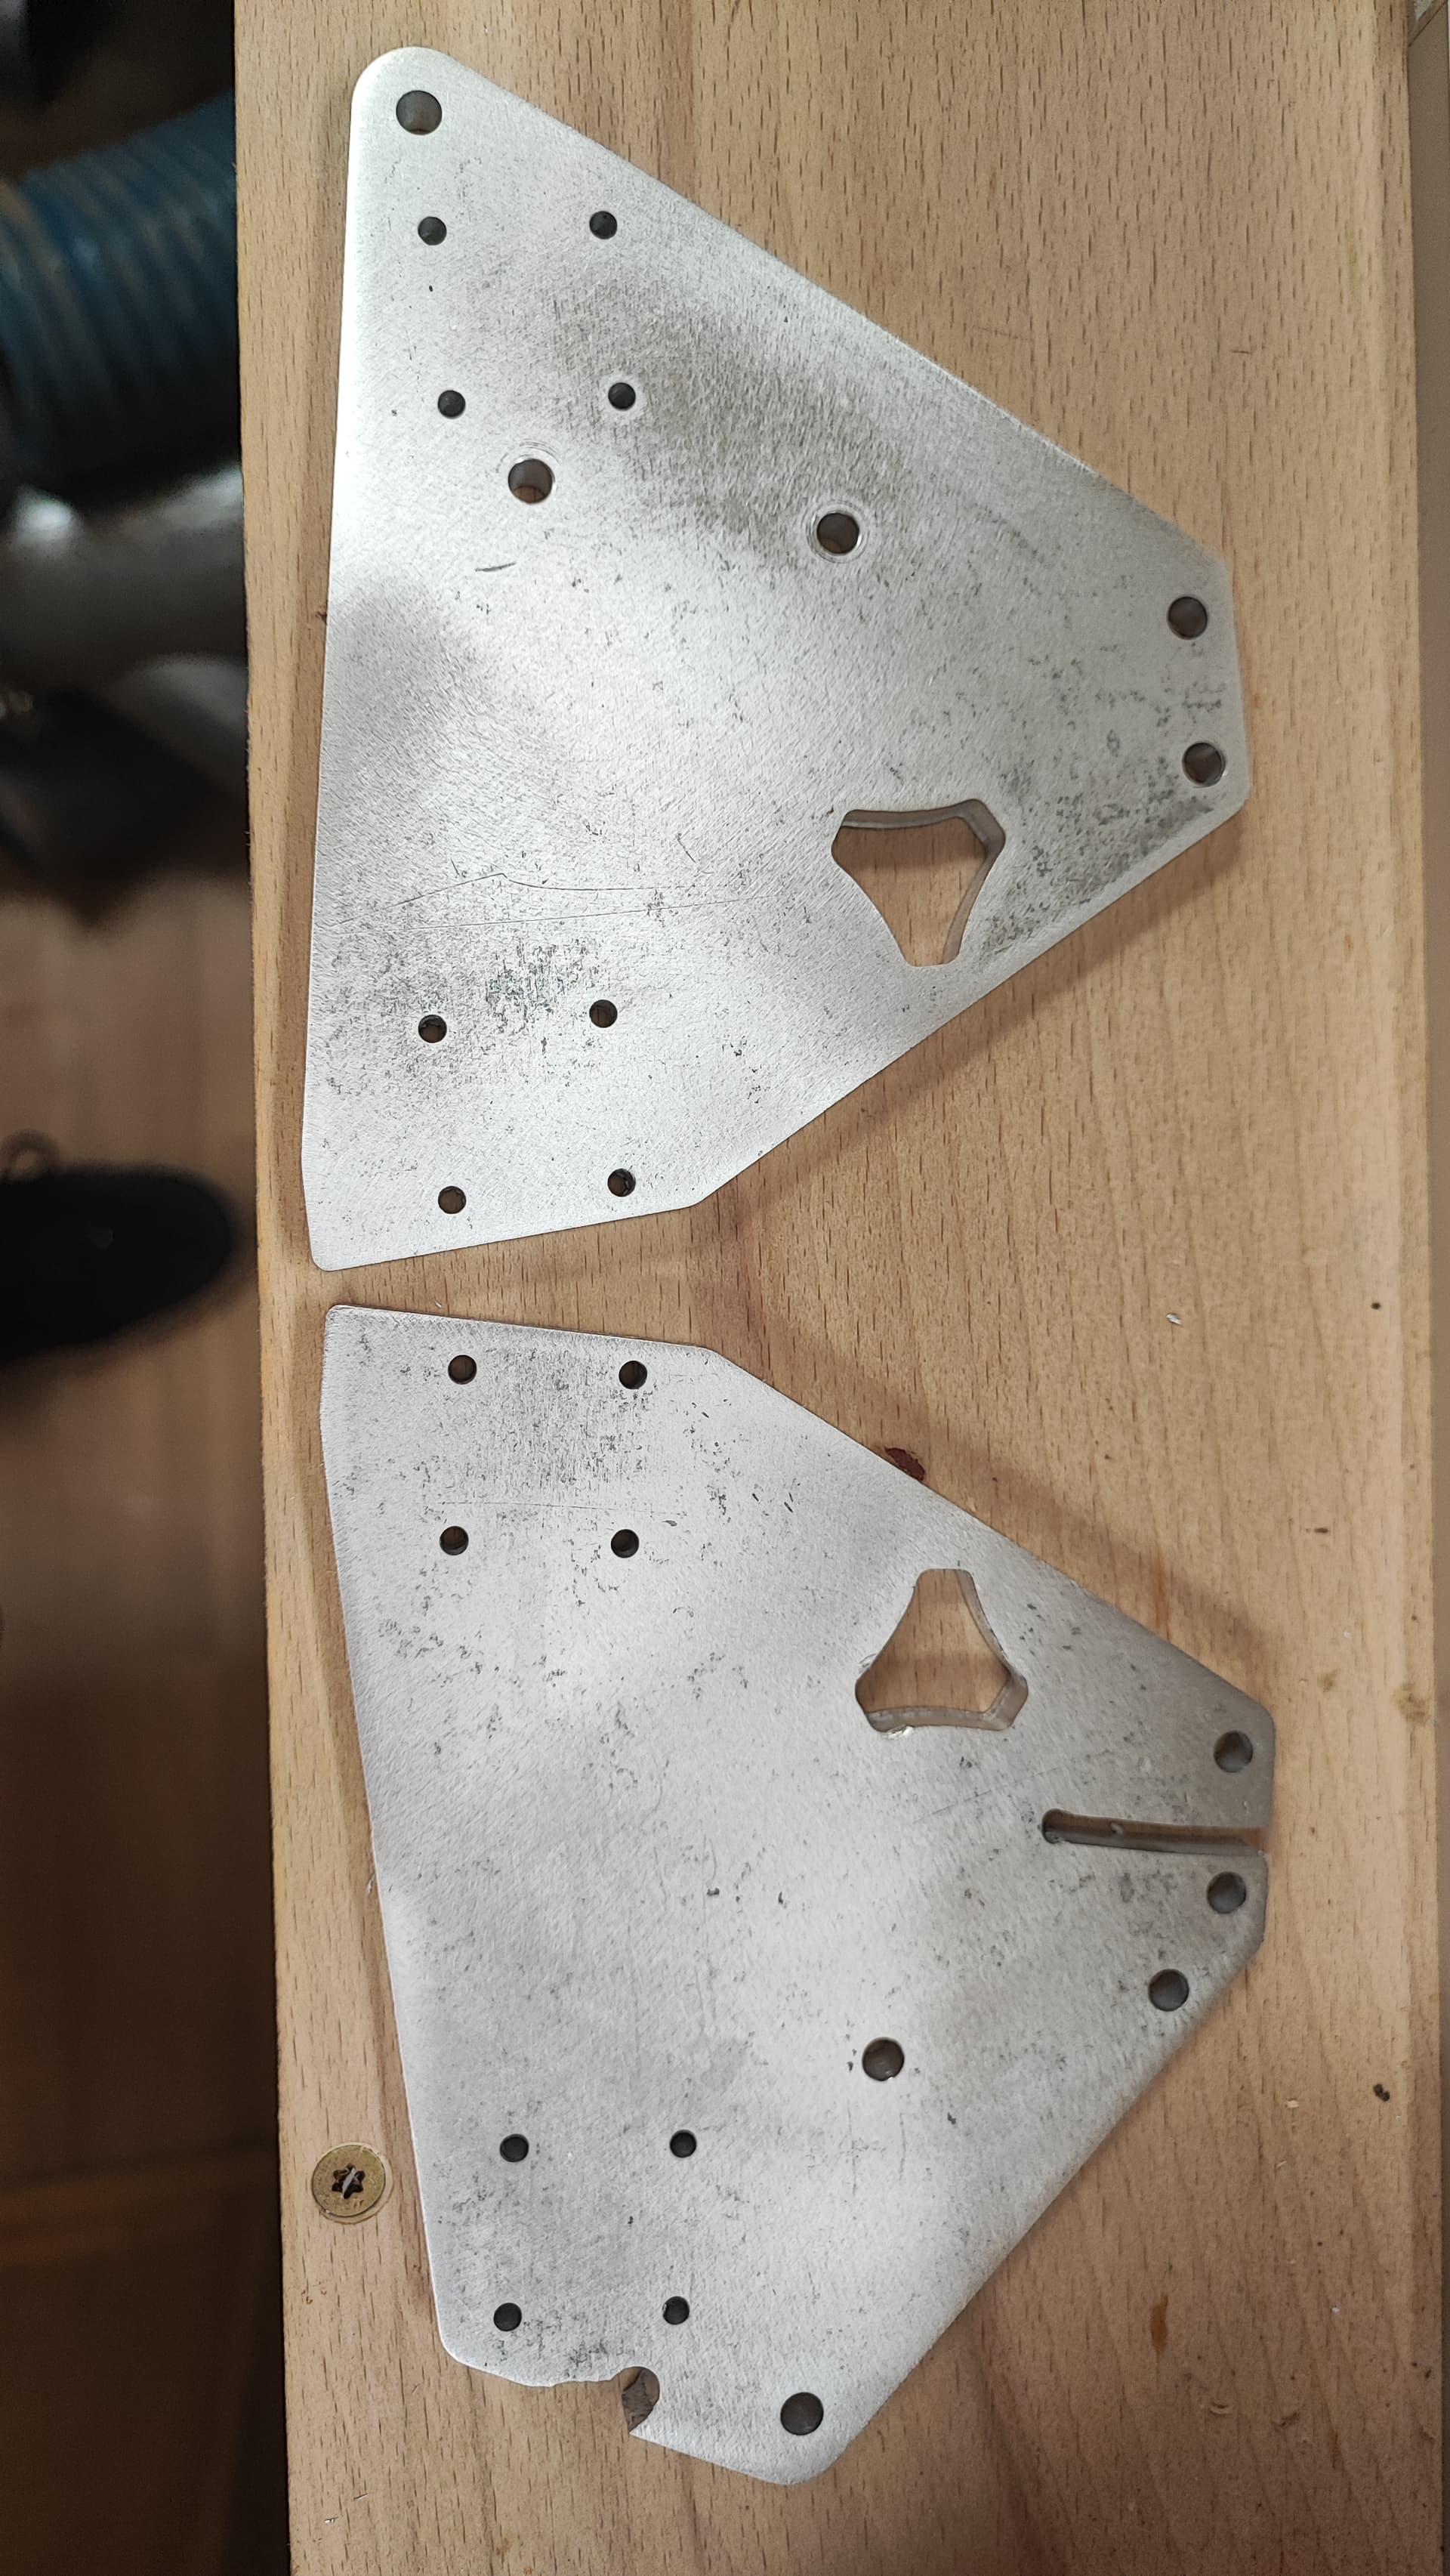
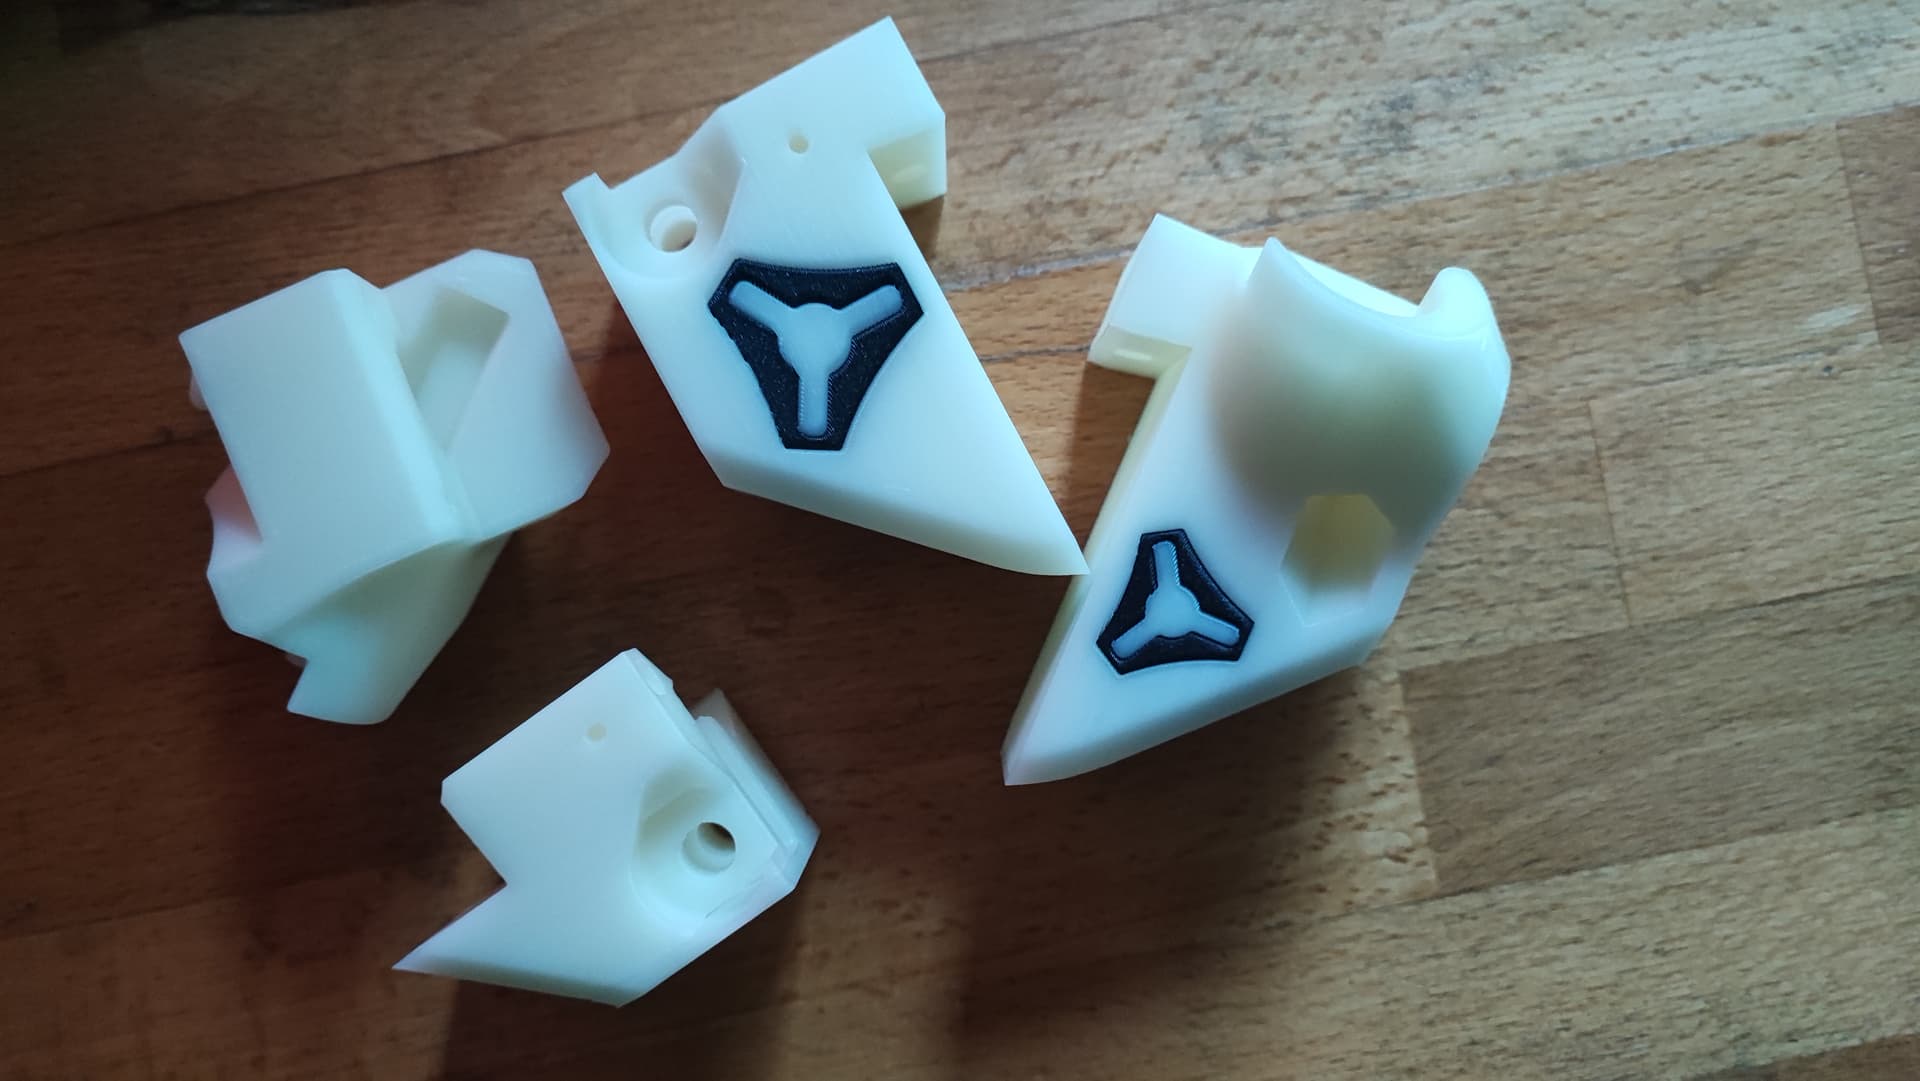
Okay, I tried my hand on the side plates and was like: YOLO.
That did cost me a few Euros, but I know now what the LR4 can’t do.
The 5.2mm holes and the small slot as well as the logos were cut with a 3.175mm 2-flute (1.5mm DOC, conventional milling and circular holes), the small holes with a 3.2mm drill endmill (which worked soooo much better than with a “normal” endmill) and the cutouts with a 6mm 2-flute.
As you can see, the first cut failed spectacularly. While all the holes went through flawlessly, the real deal was the test with the 6mm endmill. As you can see: It did not work flawlessly. Why, Philipp? You cut so much aluminium before, what did you do? Was it the LowRider’s fault. I can assure you, it was not. I went full depth trochoidal, 8.4mm DOC, 10% clearance per revolution (don’t know the English term) and 1800mm/min. That’s the left plate… ![]() So yeah, that might have been a bit ambitious.
So yeah, that might have been a bit ambitious.
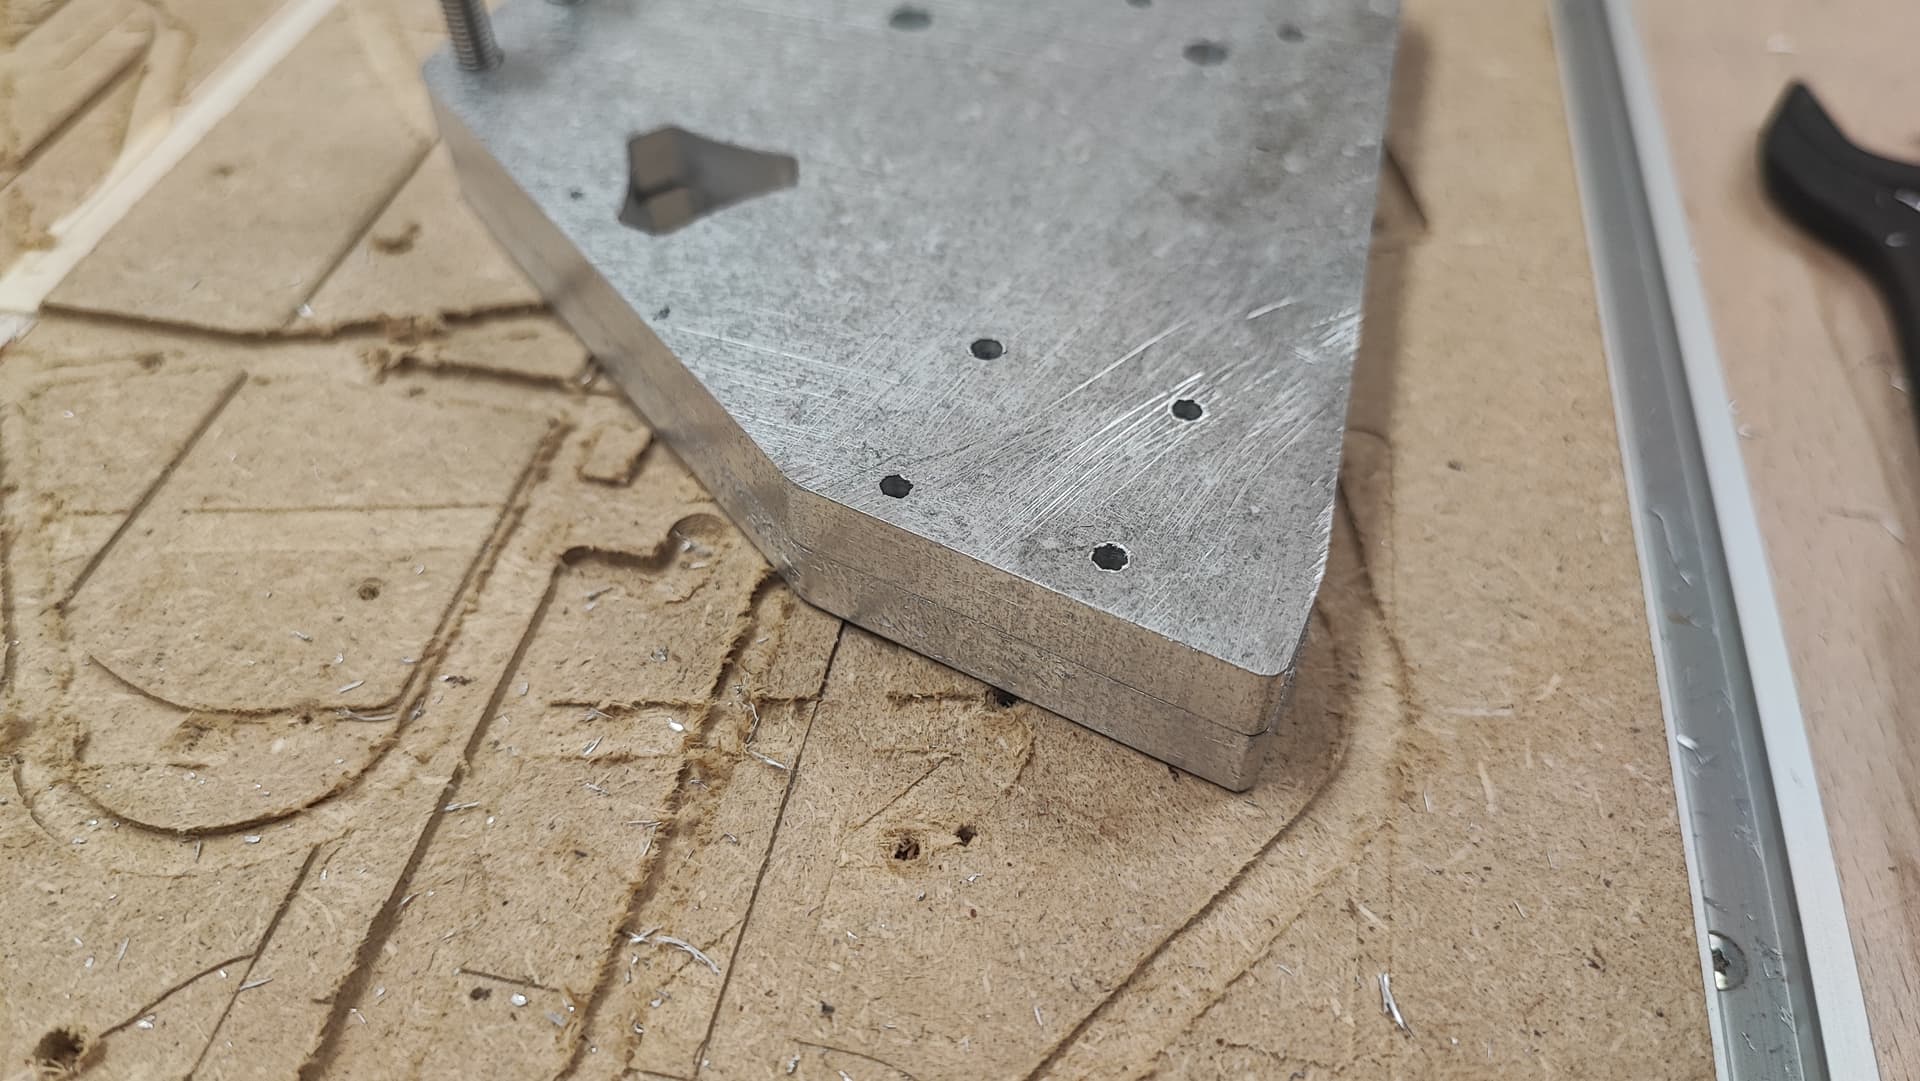
The second plate was cut with 8.4mm DOC, 7% clearance and 1000mm/min (so 100 more than I used for my Boom Arm with the Primo. And behold: There is no flex at all (the Primo flexed significantly)). So I can repeat and honestly say: The LR4 is a beast. Like, RAWR! ![]()
Look at those chips!!!
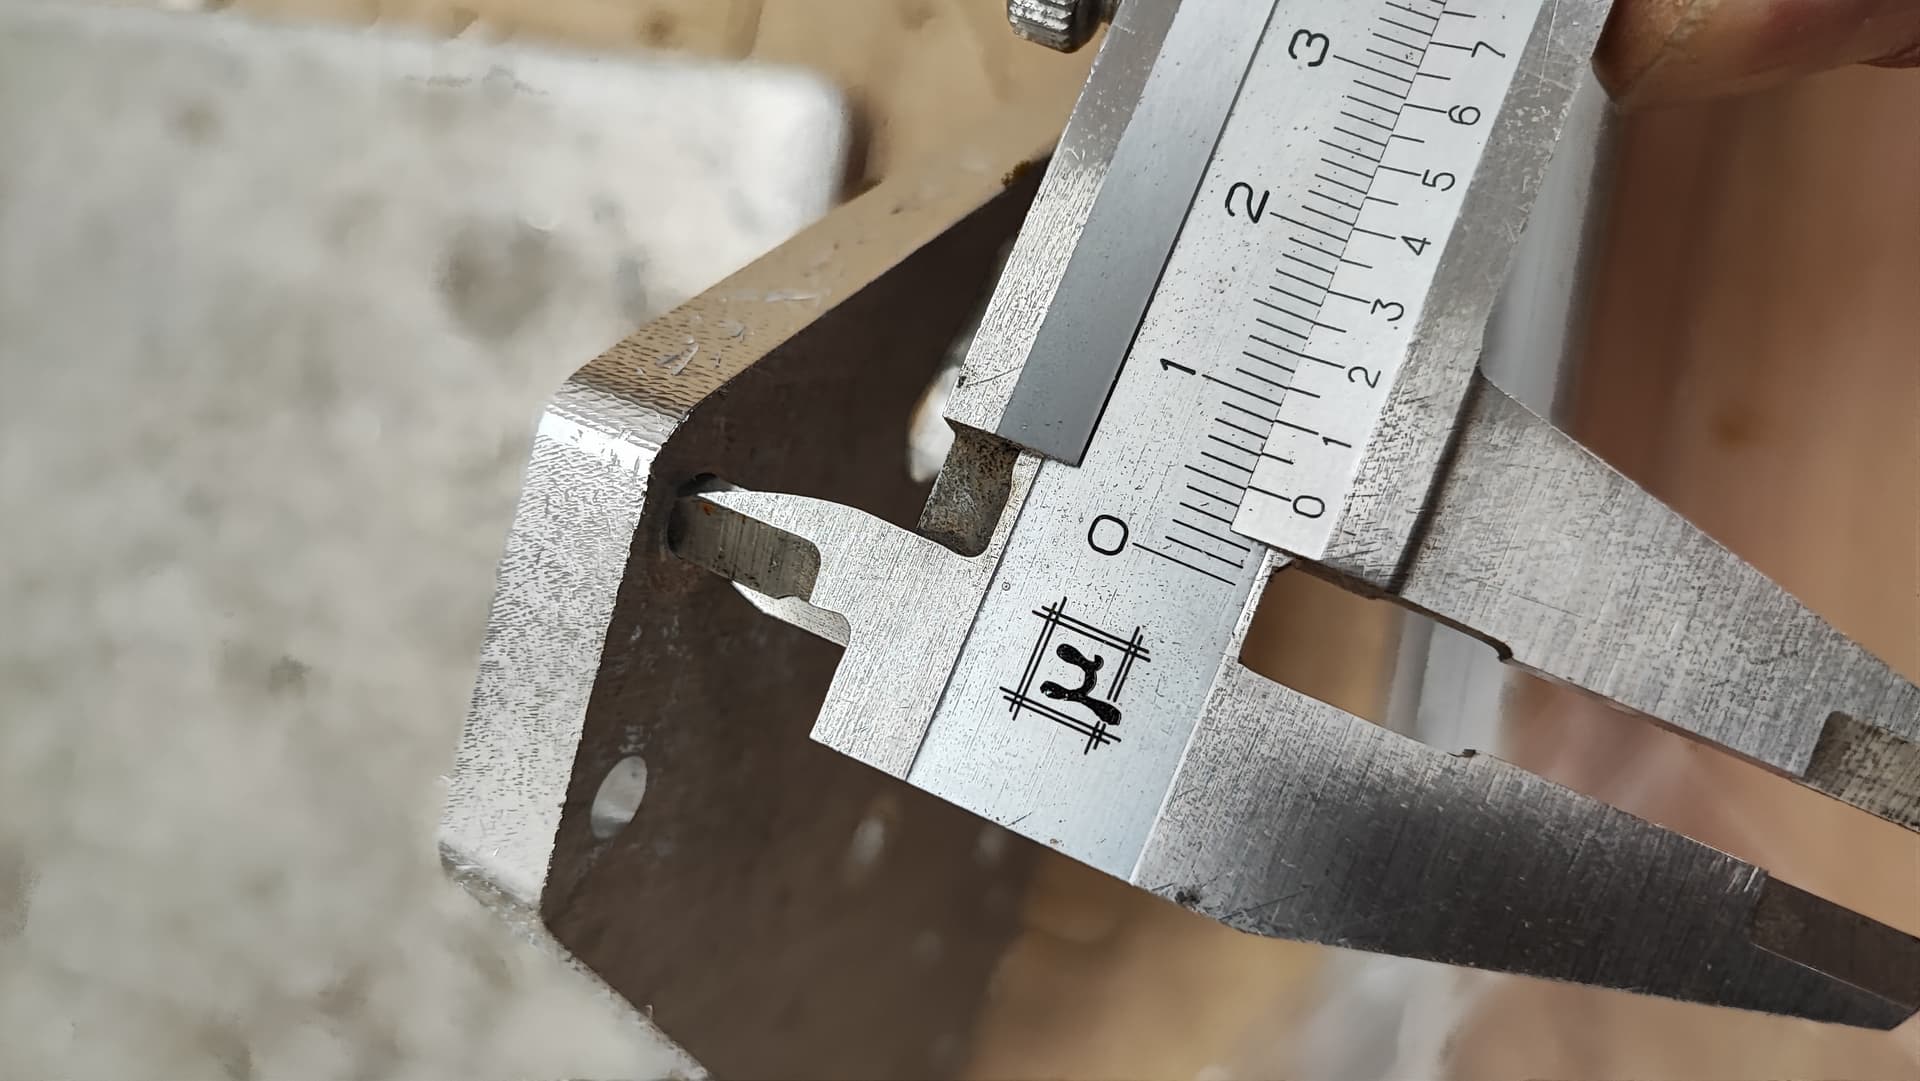
5.2mm
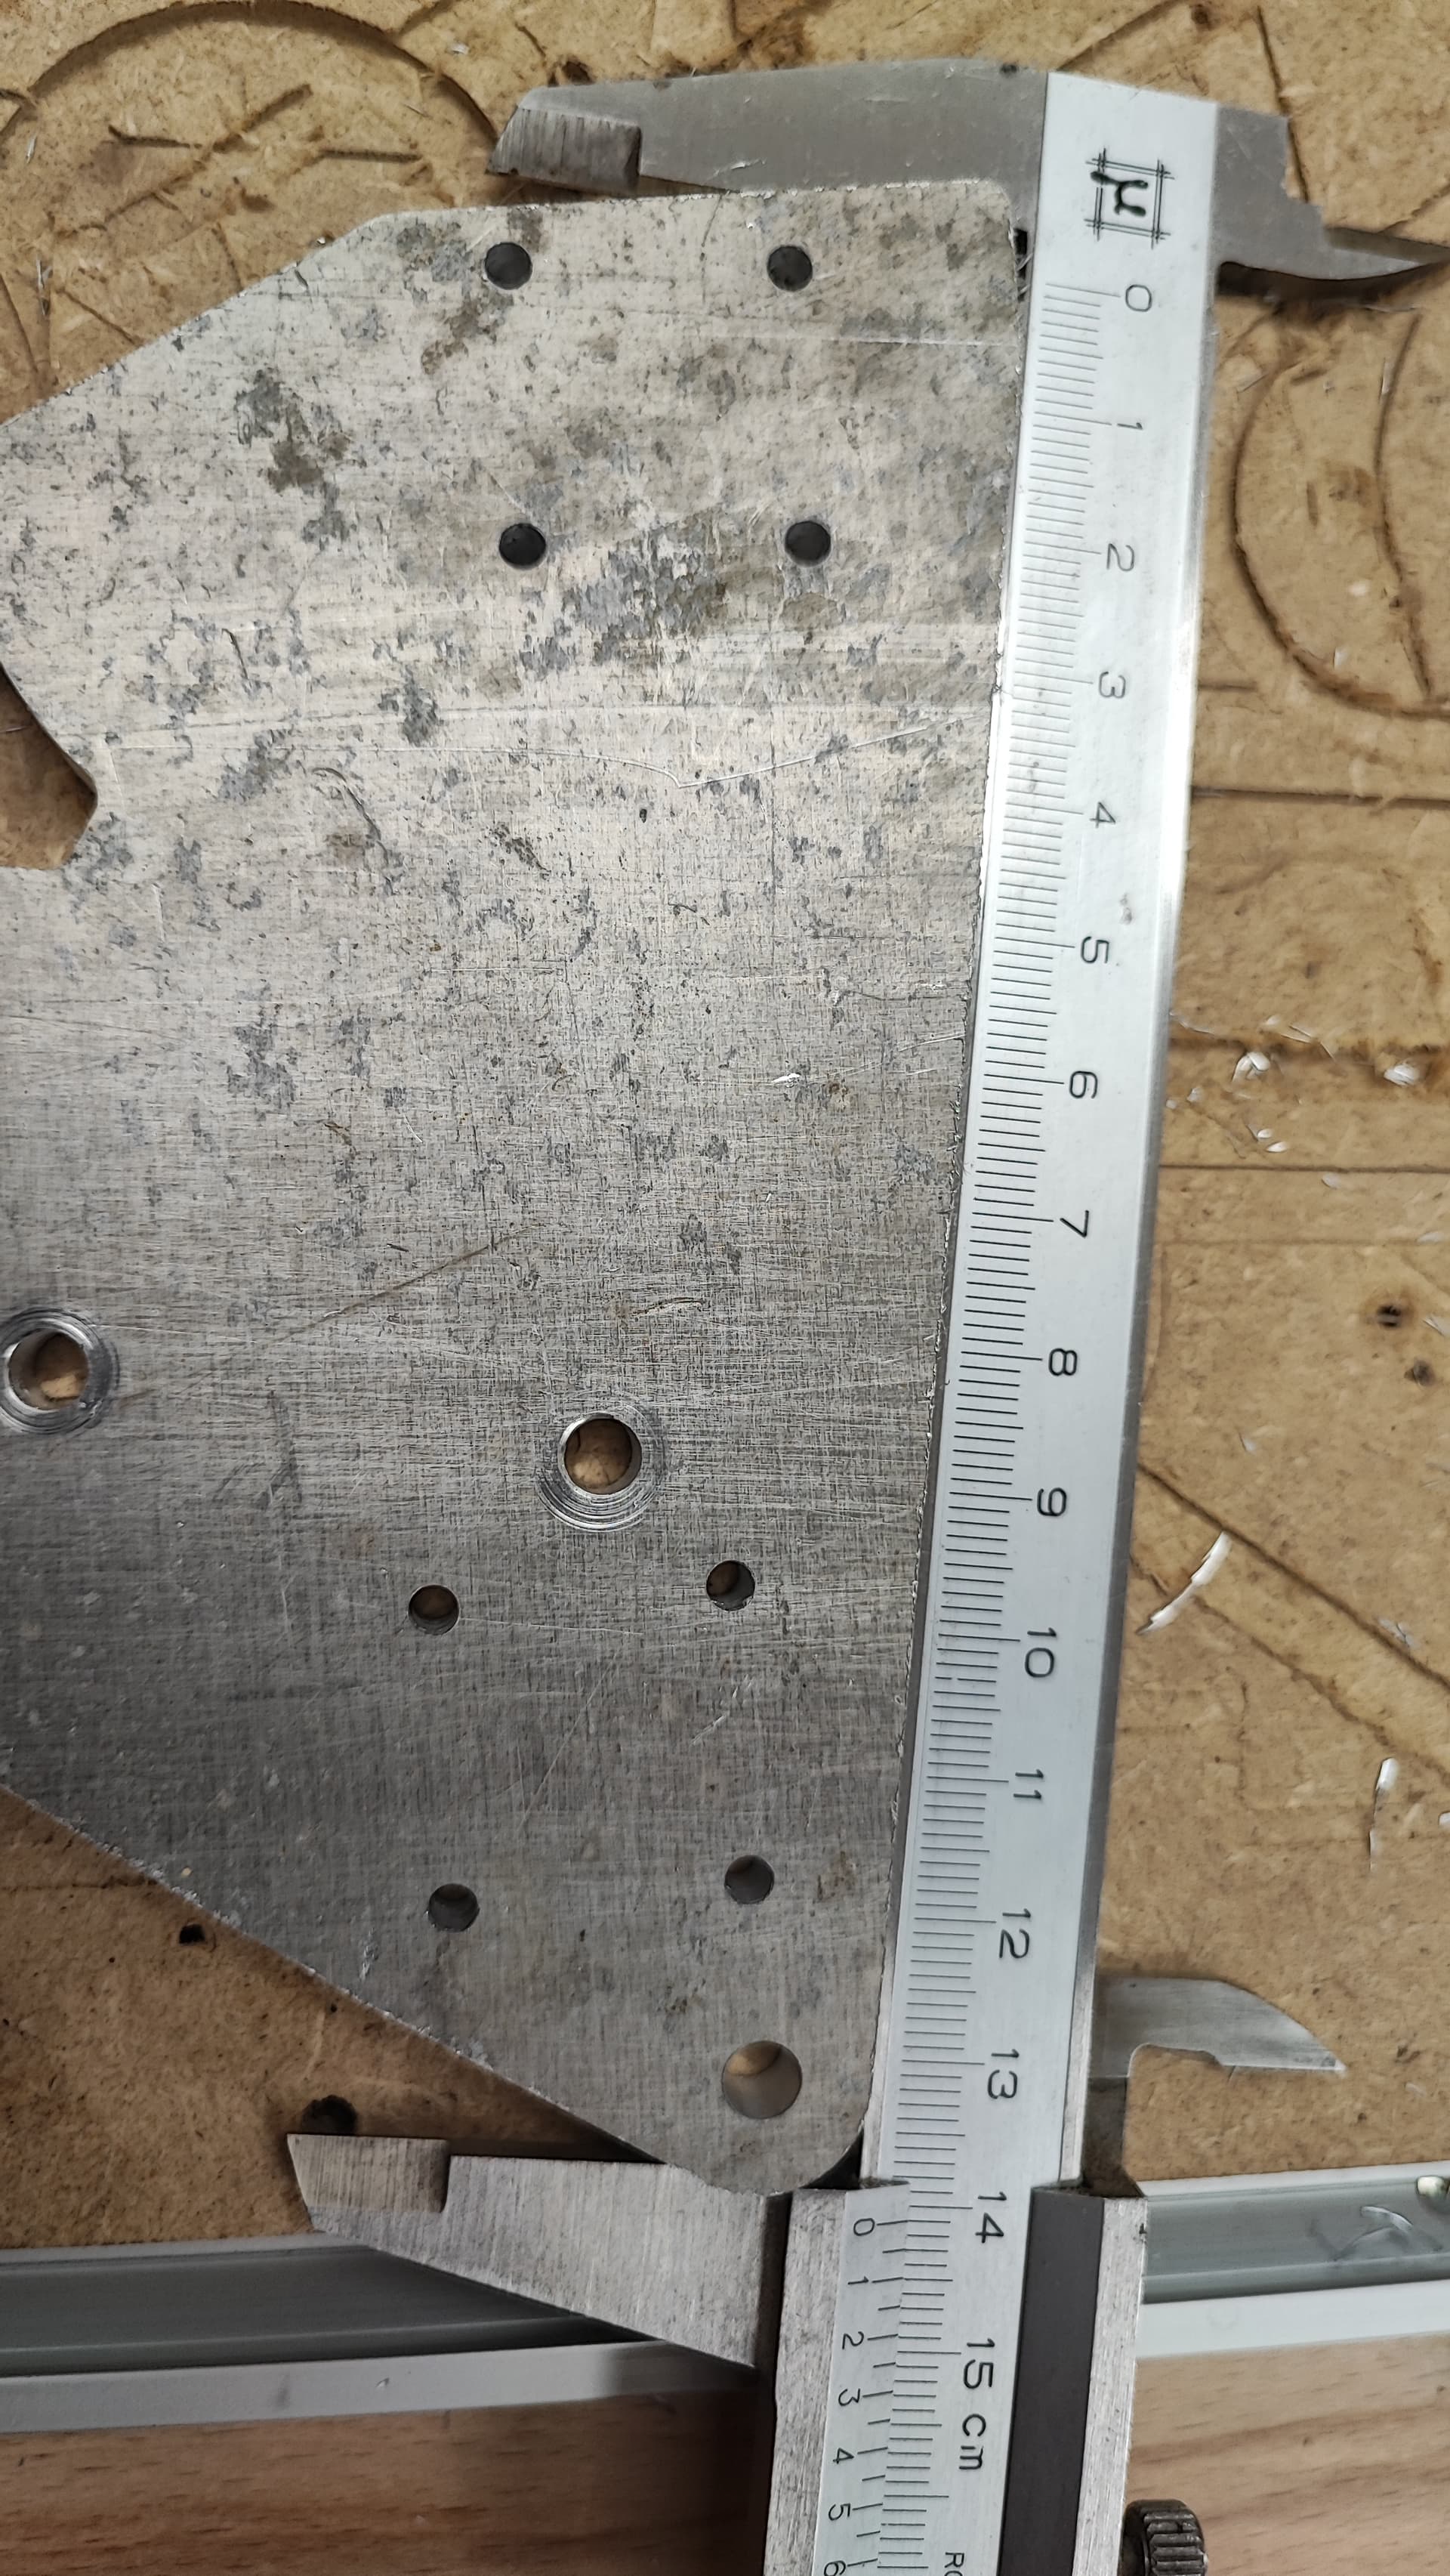
141mm. Is that right? ![]()
I did use a finishing pass, but pro tip: Get rid of the shavings before doing that.
Everything was done without cooling, even the slotting. The endmill didn’t get hot at all (I have a video where I bravely touch them) and they were not messed up at all. All still sharp. Pretty impressive. Second plate will be redone later, also, the video. ![]()
Heck yeah!
I have to take it back with “no flex” though, there is flex in Y, the beam still twists a bit. Still, I would not even have attempted these cuts on LR3.
Precise fit on the side that counts.
That notch is a hidden feature and is from now on never going to be mentioned again. Did I say how awesome it is that Estlcam saves the last five starting positions? ![]()
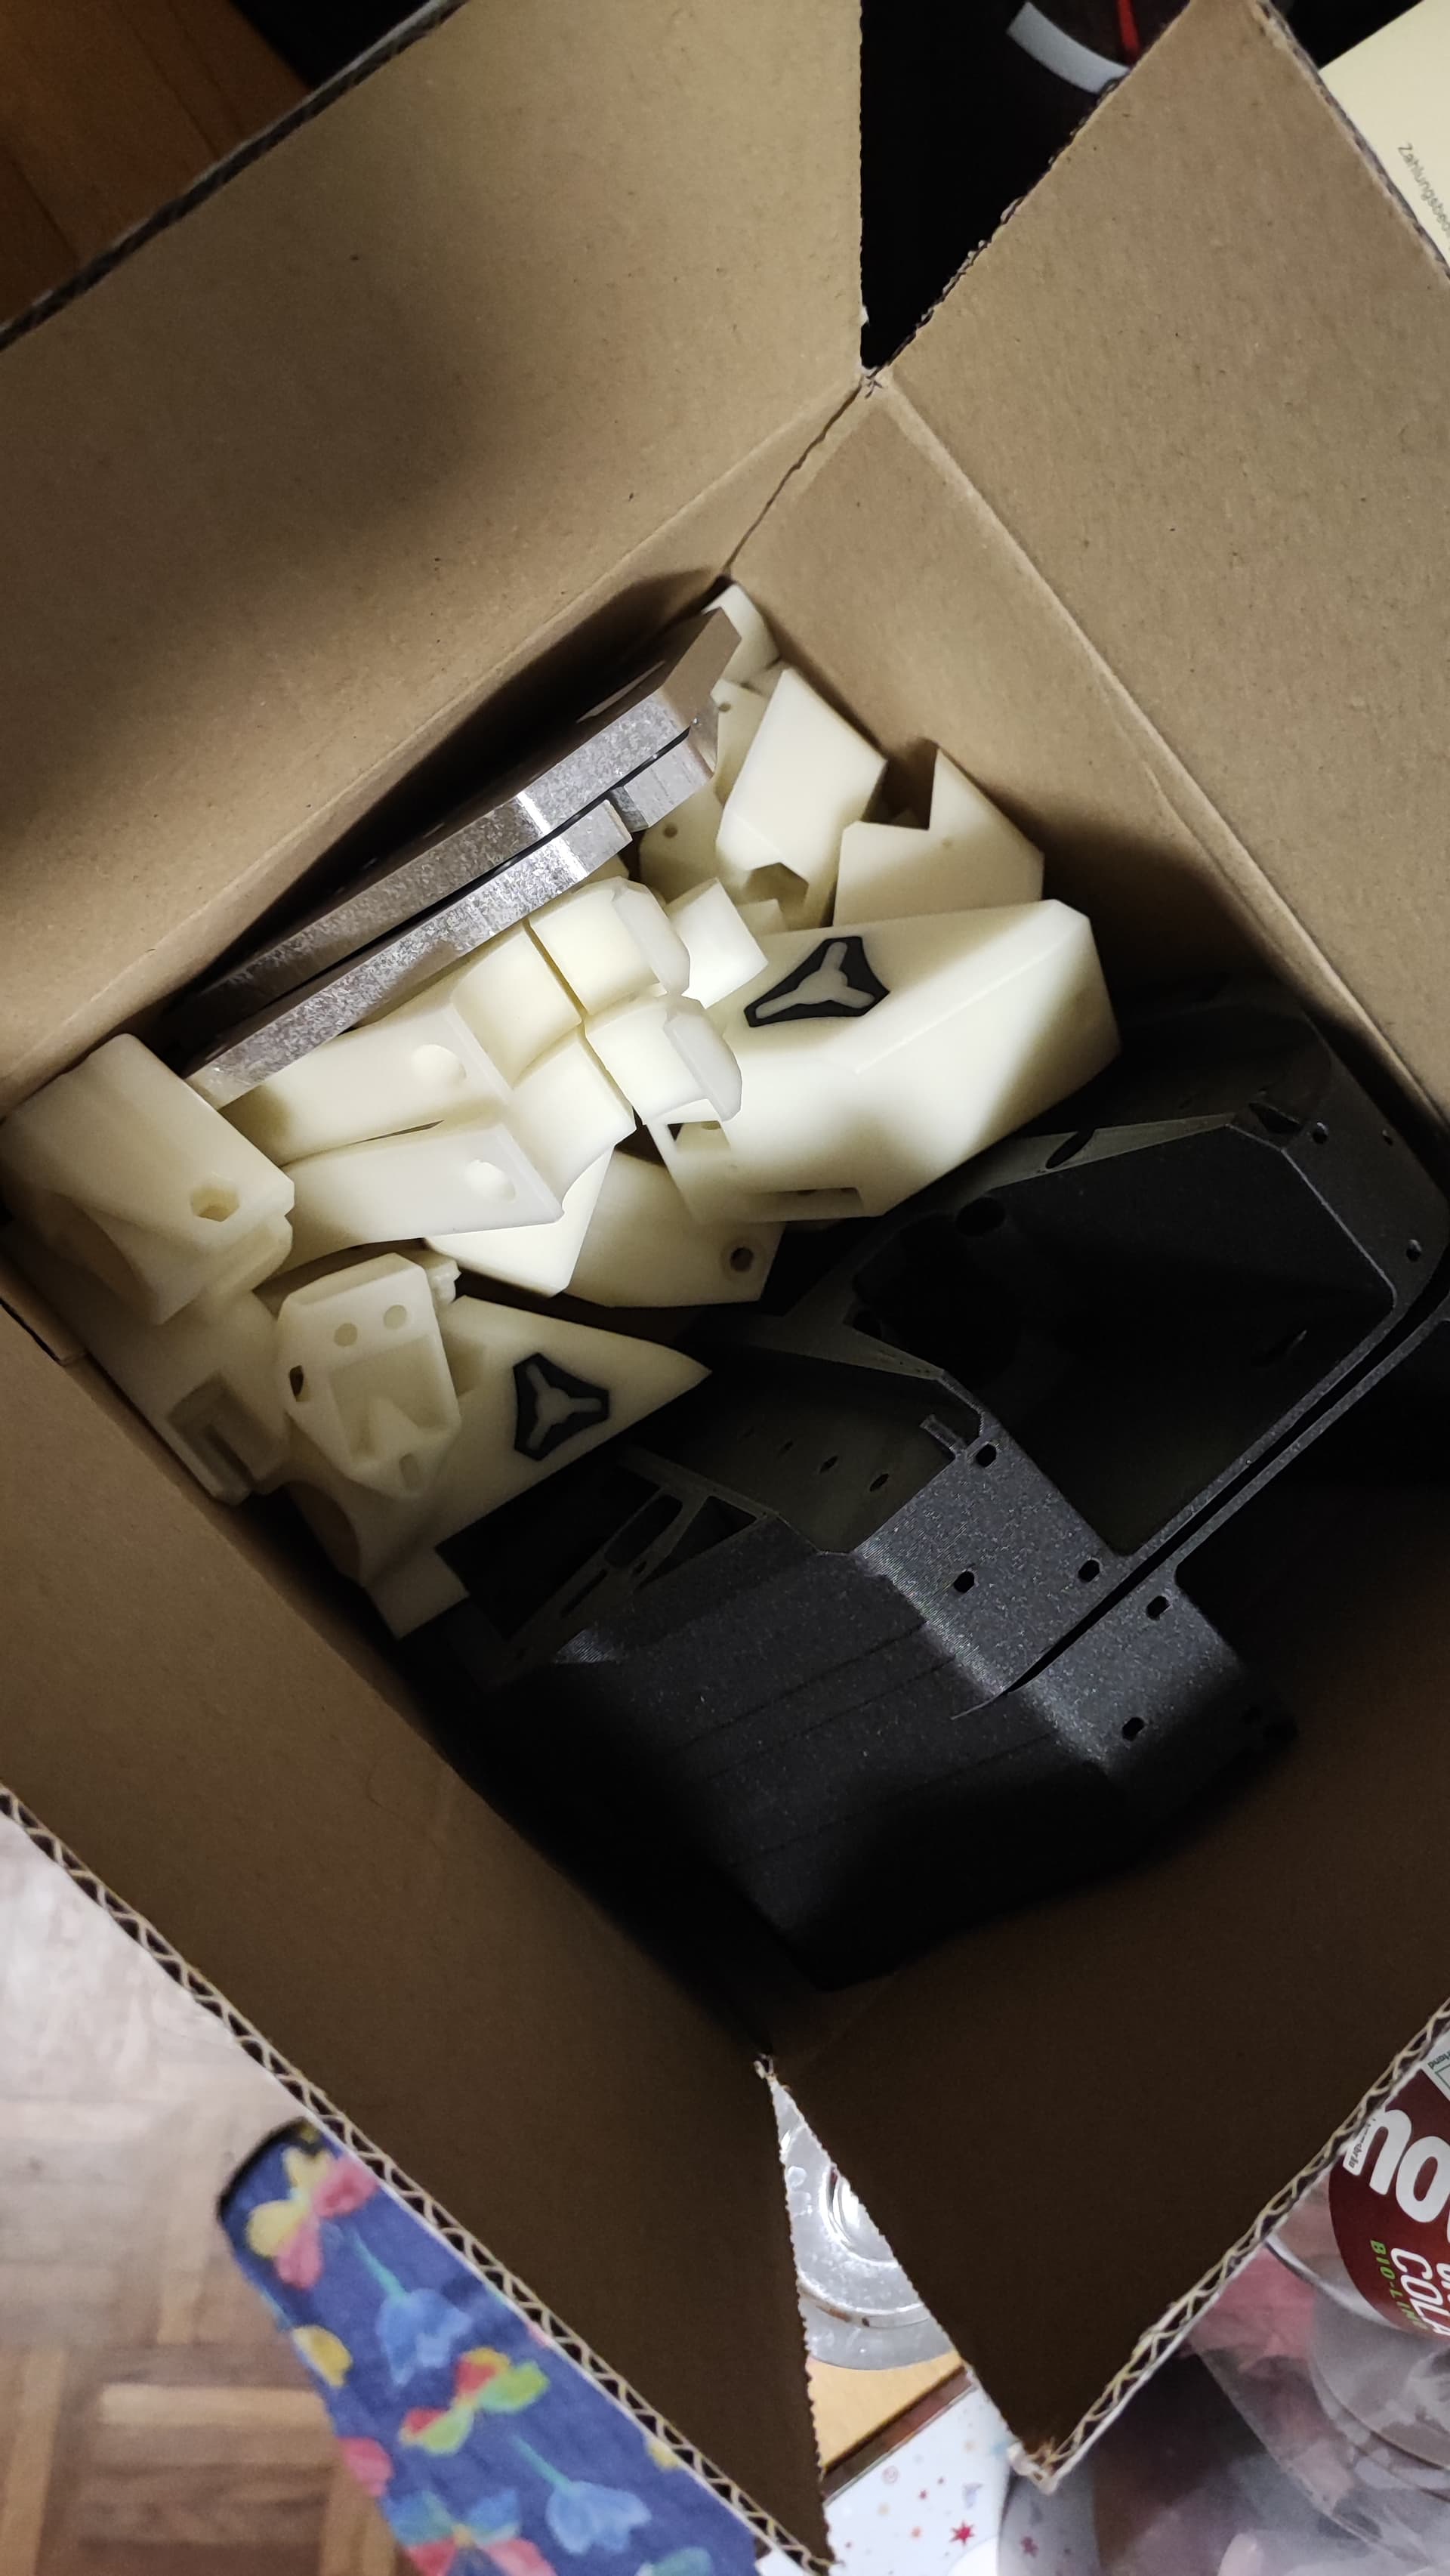
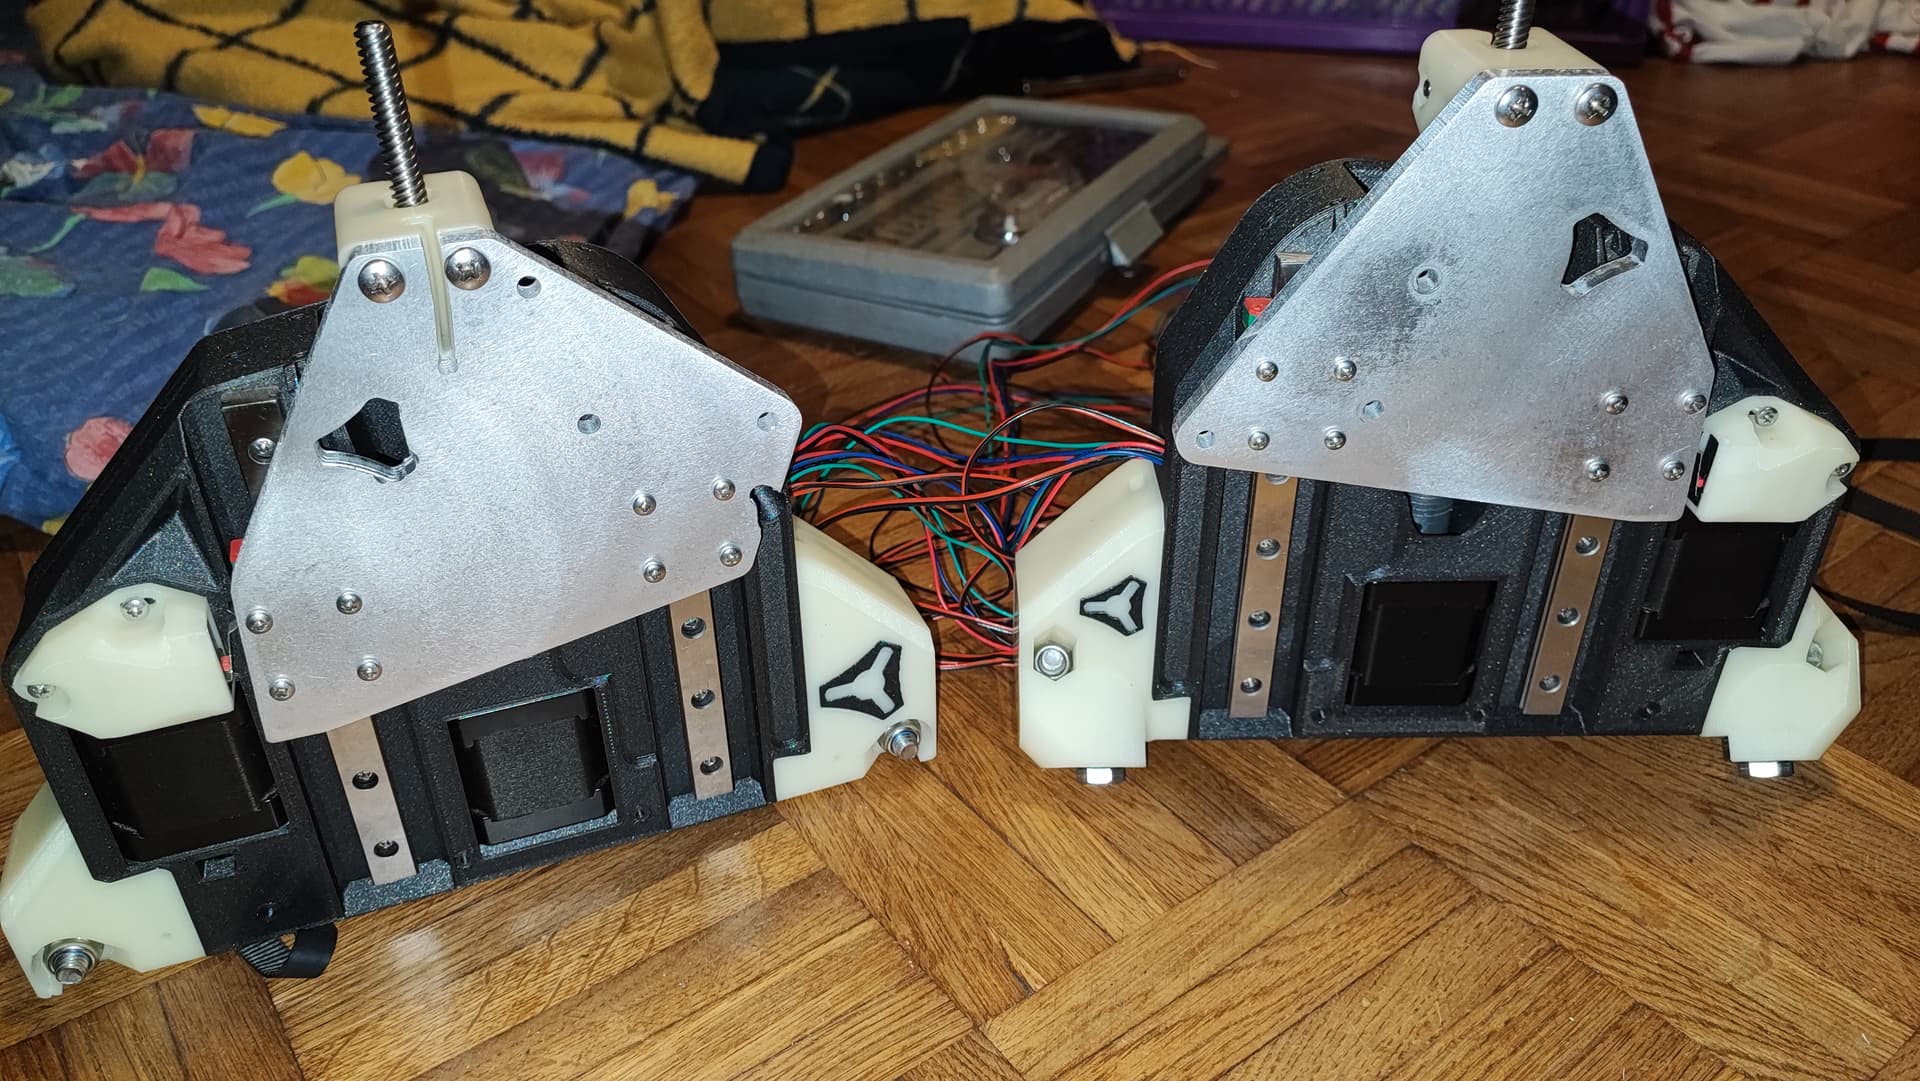
The gang’s all here now:
NICE!
Using M3 screws instead of the wood screws… I think I pulled a muscle getting them all in… Wow… Those are never getting loose.
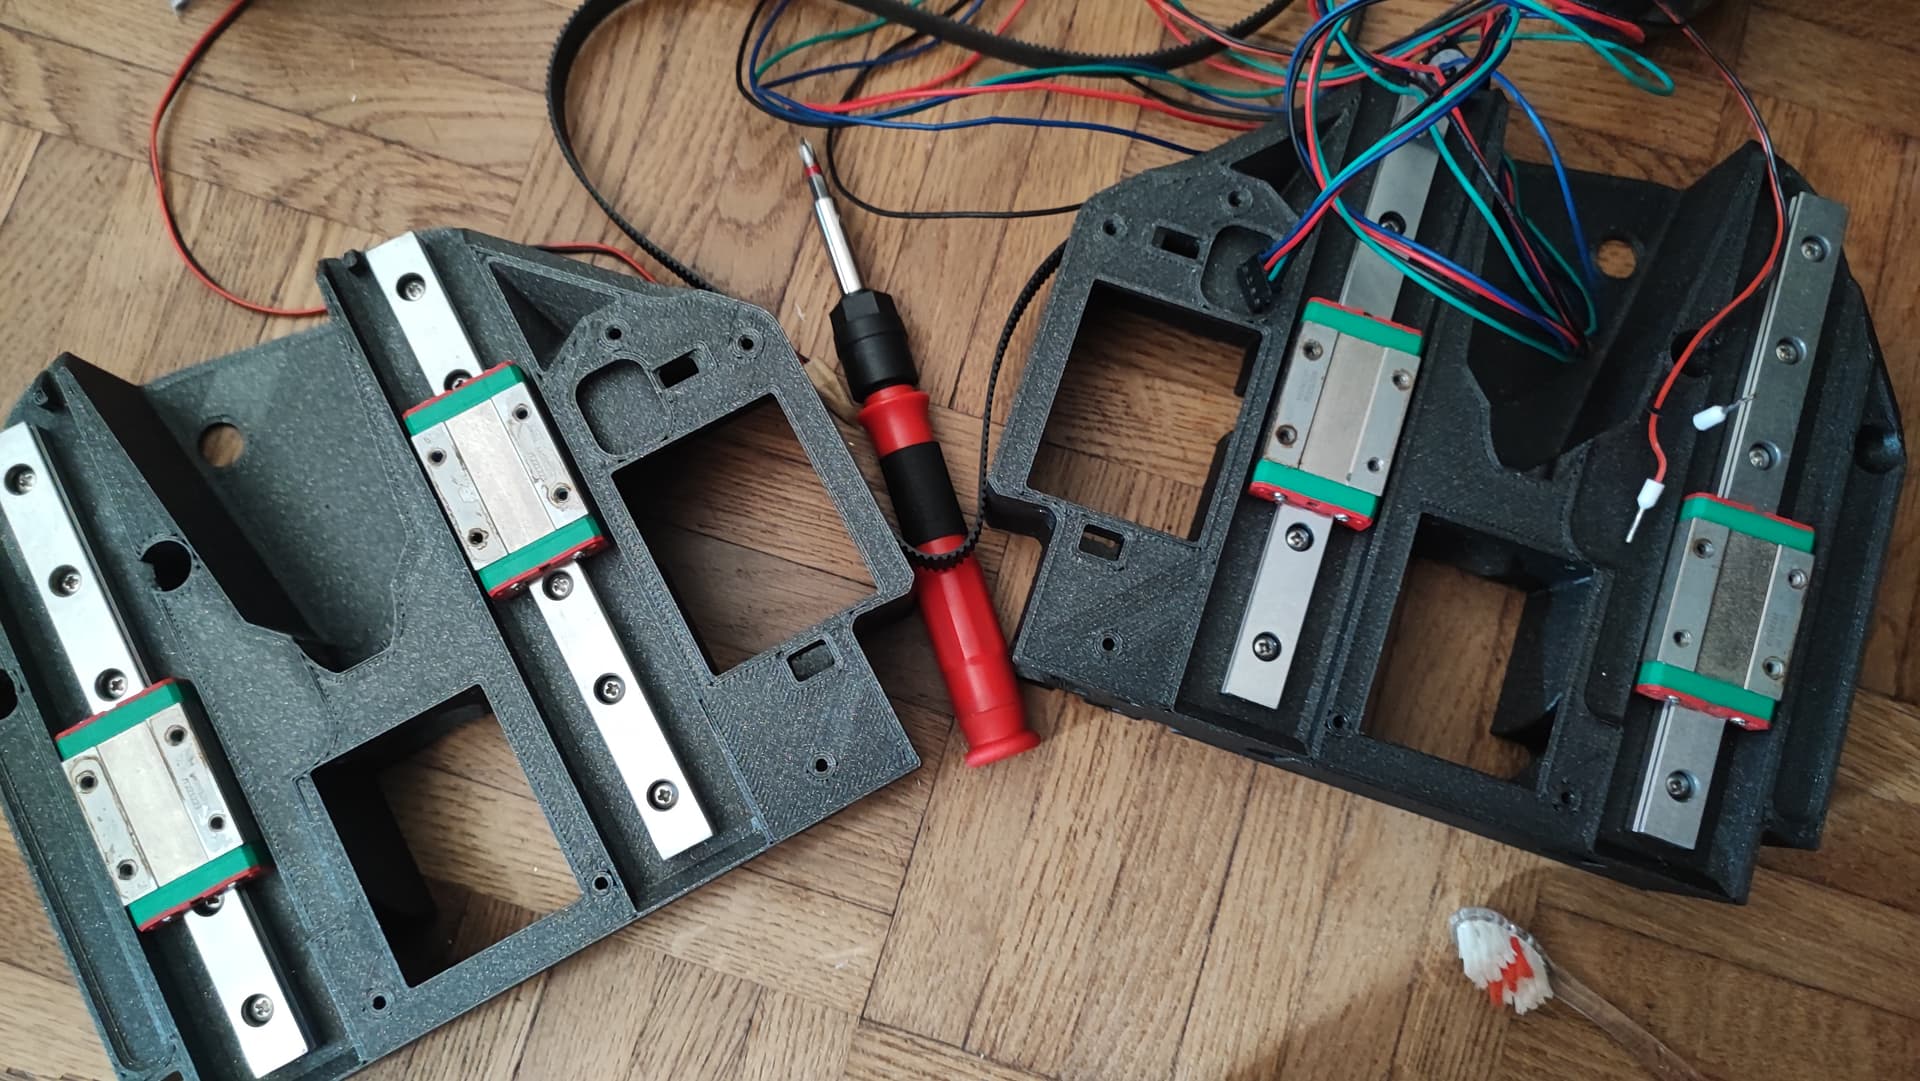
The front left linear rail was completely bogged down with sawdust from my few cuts. This shows once more why Ryan is taking his time with a good dust collection. Without, the linear rail would be messed up nearly instantly.
Bellows, they need a bellows- or Jamie’s “sliding paper” trick.
@azab2c This is my way of dealing with the nut. Slide it in, then stick a small screwdriver in the hole, lastly push the nut down with a flat screwdriver.
Pretty crazy if you think about it. Congrats and thank you!
Congratulations! Now we are the Fantastic Four! ![]()
Plates done. The new Z endstops drove me crazy, but I am pretty sure that I am never going to do those again. ![]()
Now I need to install the outer braces, screw on the gantry, crimp two cables, connect the rest and off we go. But that has to wait until tomorrow regrettably.
I used 12mm screws btw. for the 8.2mm aluminium plates. Works well. No more recesses.
I may or may not have slightly chipped a front tooth biting on the brass nut in frustration, trying to make it fit… not going to tell my wife… ![]() Haven’t been at the dentist for at least ten years… Might go now.
Haven’t been at the dentist for at least ten years… Might go now. ![]()
I am also still impressed that the tiny little Z-stub nut holder is holding the 10kgs the gantry has…
Uploaded a part of the aluminium video. I am really impressed by the rigidity of a the full span machine (1400mm gantry), the program is running in the middle of the gantry!

Nice full depth cuts!
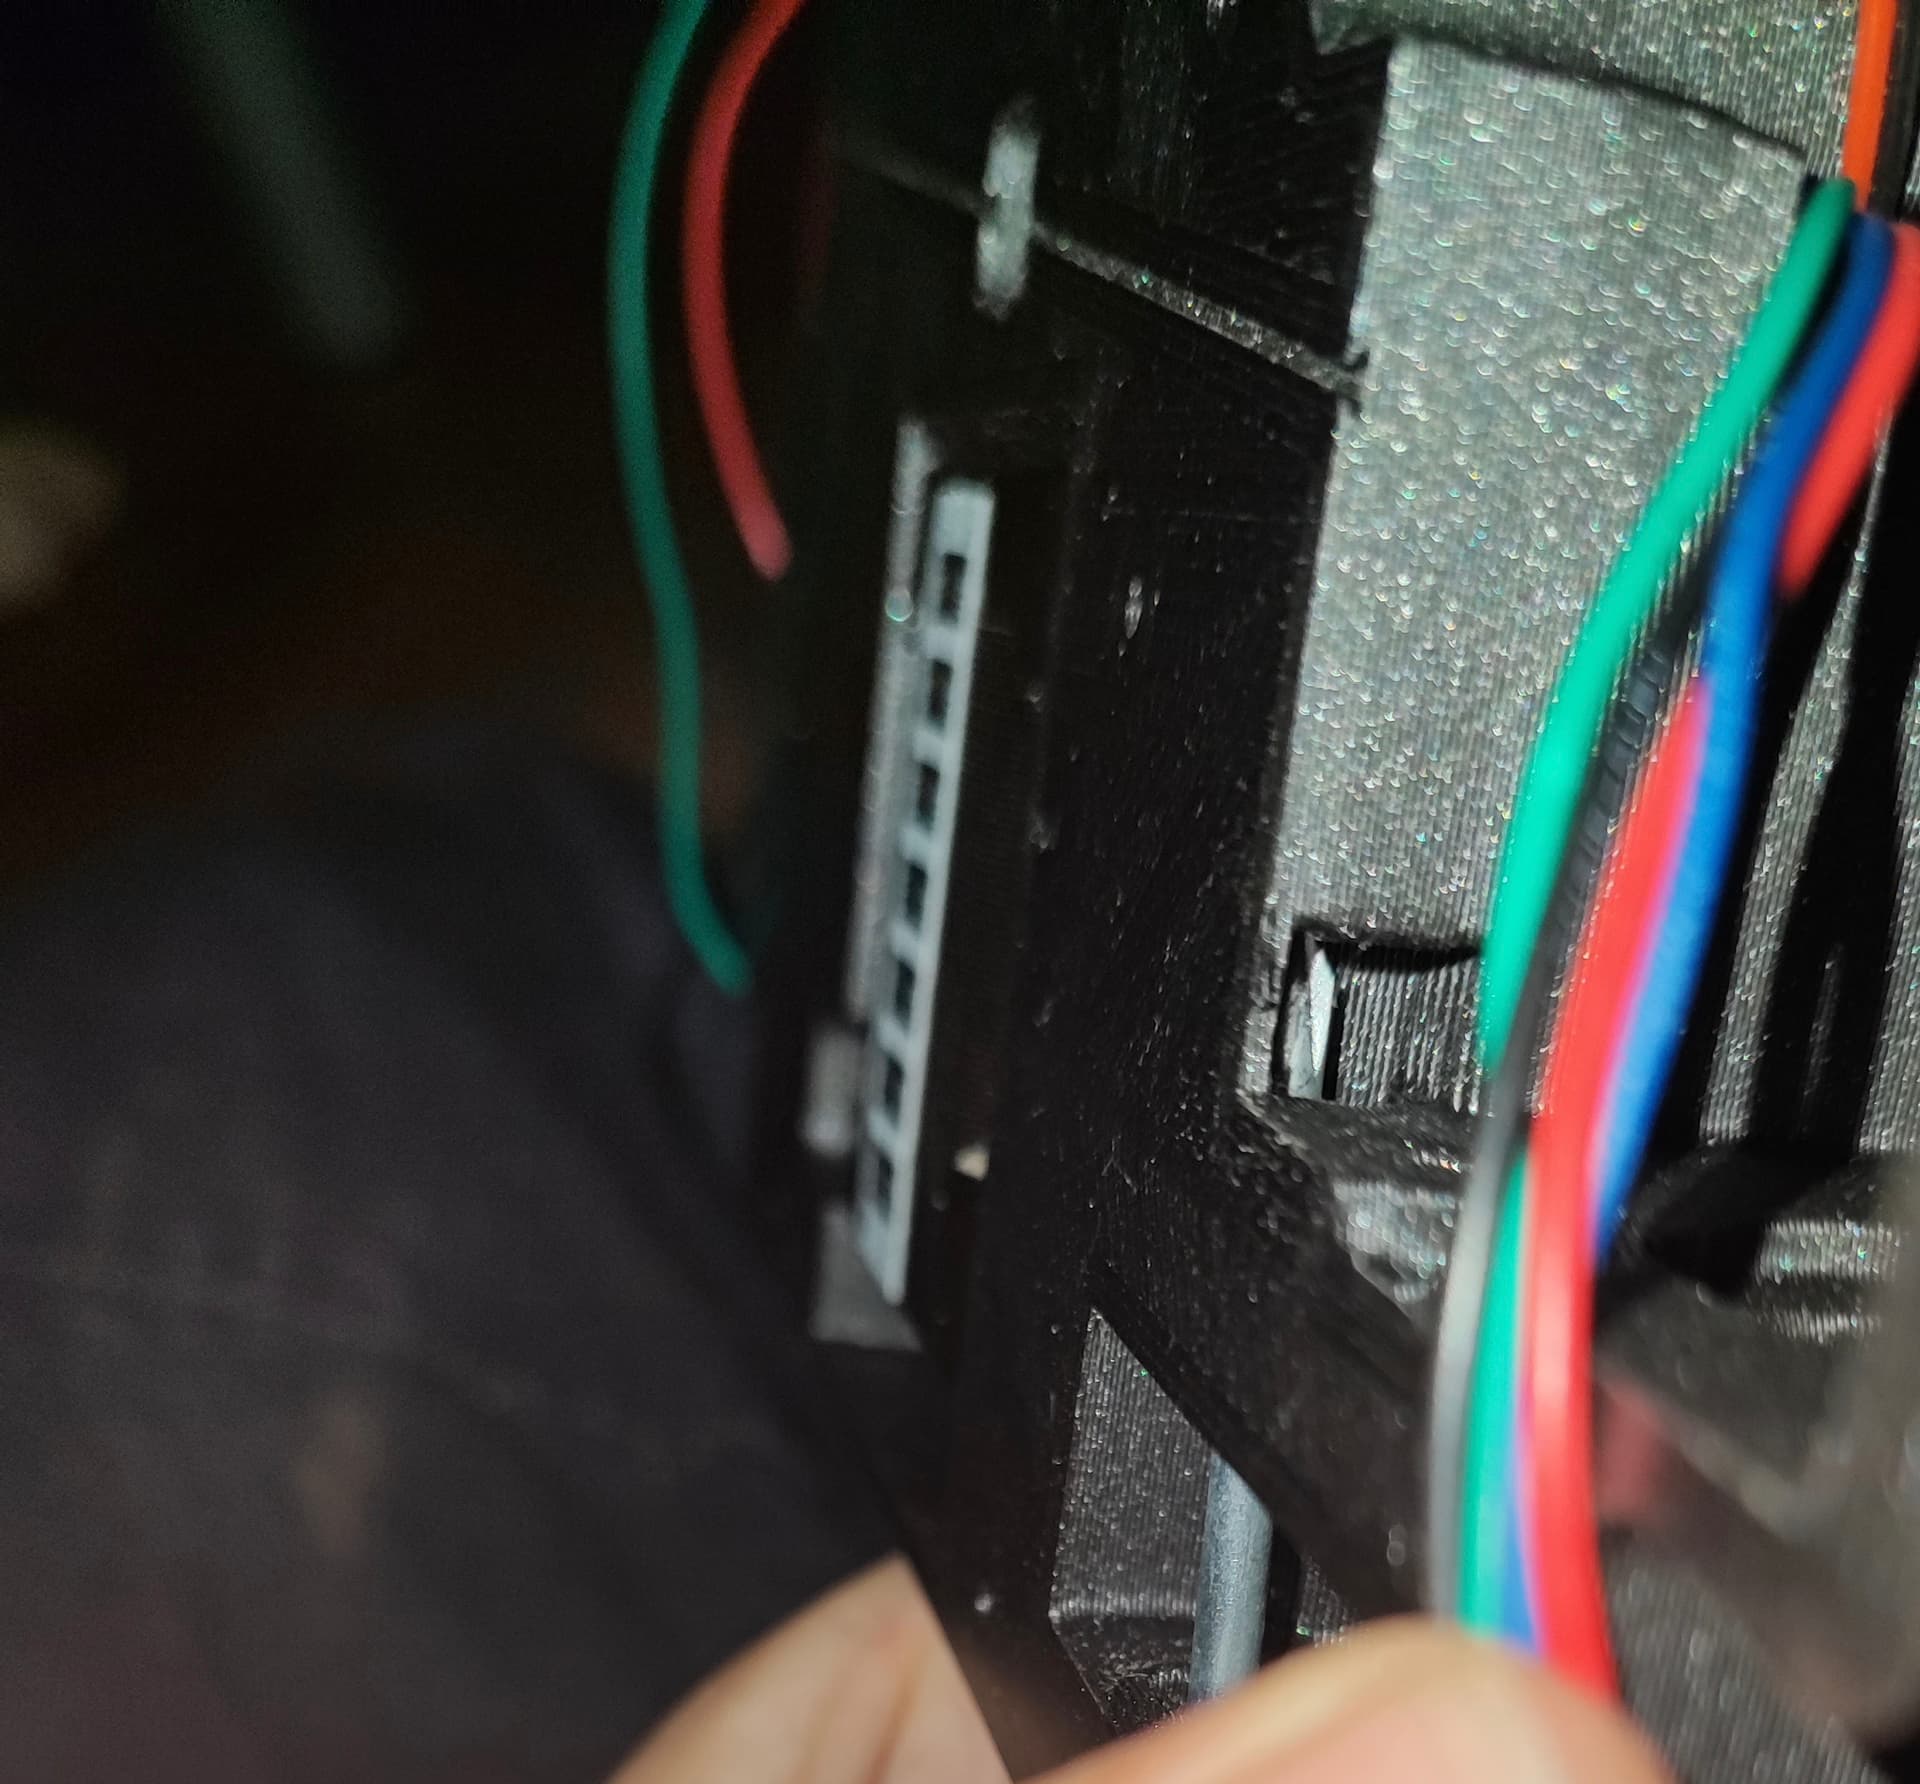
Didn’t puke, in fact, would like to see more pics of your wiring if possible ![]() , the clear controller box looks neat to me.
, the clear controller box looks neat to me.