But need some help. When I run the gcode it pauses and prompts me to probe. When I hit play it starts to probe but I have to be quick and touch the plates together to set the top of the work piece I’m drawing on. Wich is a pain because the pen isn’t metallic so I touch the tiny touch plate together when I think the pen is the right height.
The Manuel says to just jog over to your piece and get just above the surface and hit play.
But for some reason when I do that it always pauses everything and tells me to probe and when I hit play again it starts to probe and I have to be quick and touch the tiny touch plate to where I think the pen height should be.
I just want to be able to do what the docs say and jog over to the spot and hit play.
I apreciate all the help this forum provides thanks
To give an exact answer we need to know 1) whether you created the crown file from the DXF or whether you used Ryan’s premade crown file and 2) how you are sending your file to your control board.
Most likely you are using the premade g-code file. If so, there is no probing code in that file. That means the probing code is likely being injected into the stream by the g-code sender. Look for a “Start g-code” section in the g-code sender. You can comment out the code rather than deleting it so that it is available later.
If you created the crown from the DXF in a CAD program, then look for a Start g-code section or a probing setting in the CAD program.
As a Hack, you can edit the g-code before sending it to your machine. The g-code is just text that can be edited by any text editing program. On Windows, that includes Notepad. If you go this route and have trouble identifying the probing code, post the top of your file to this form, or upload the whole file using the upload button.
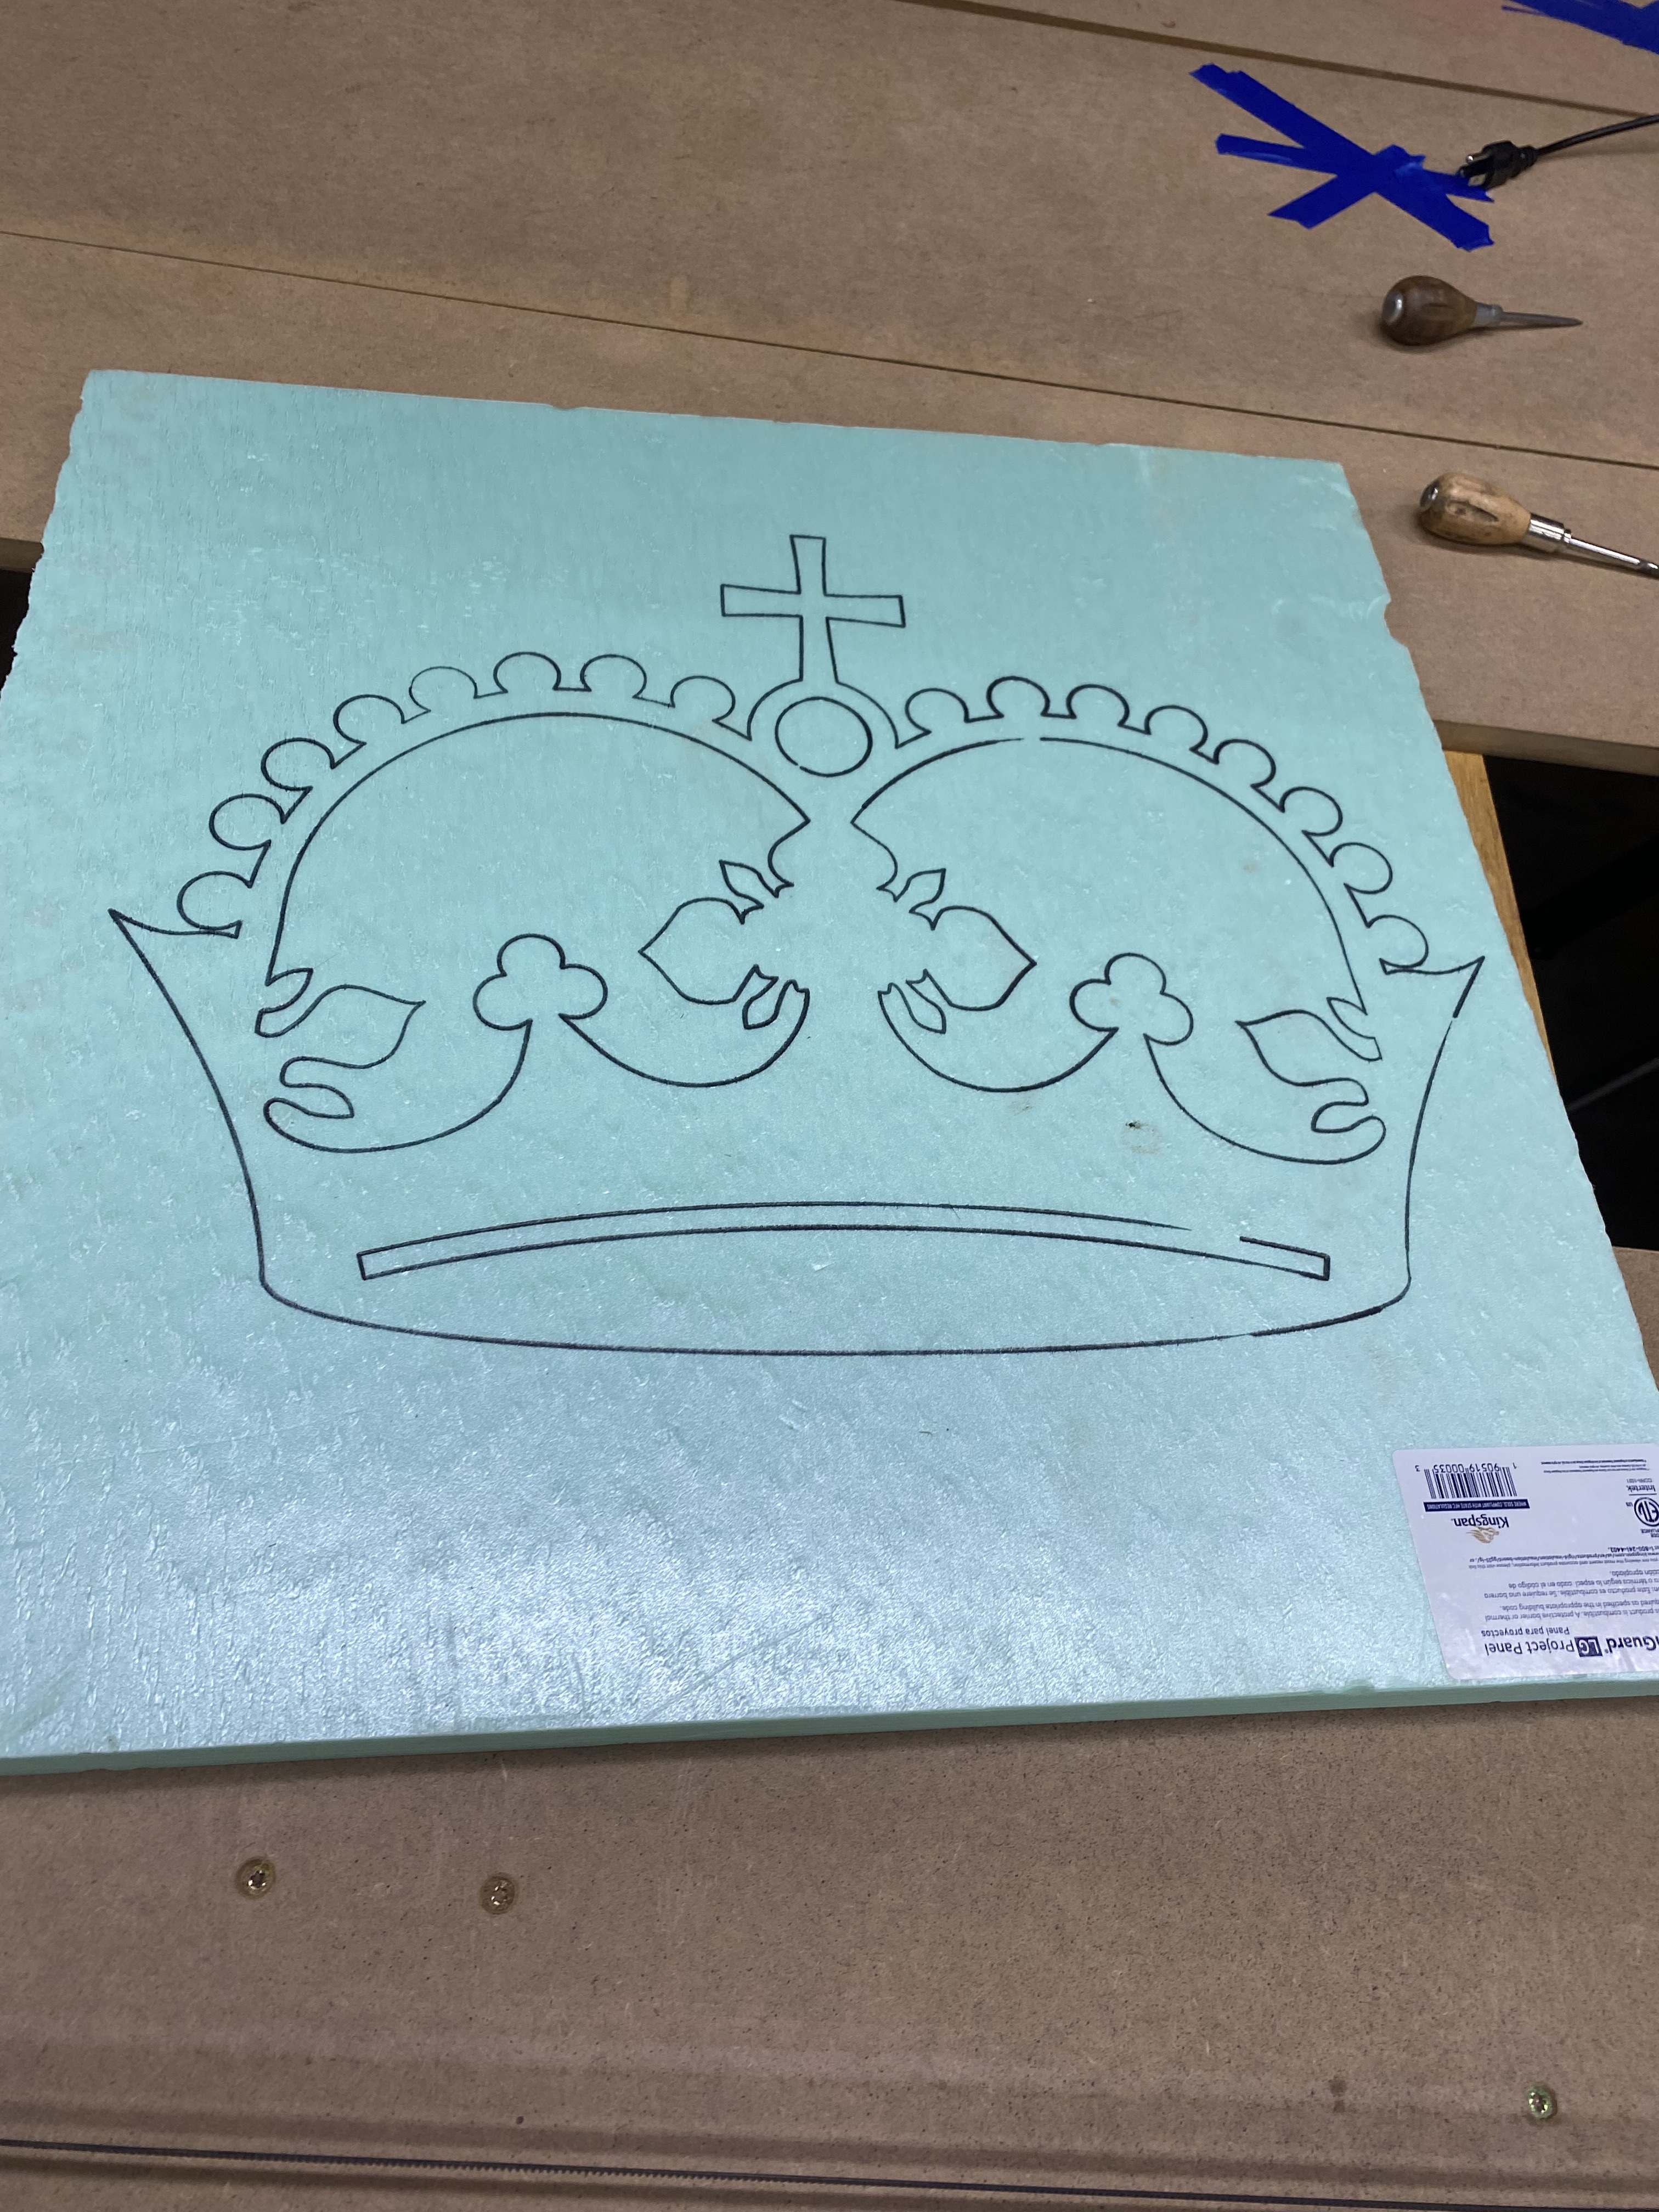
I used the dxf crown file and followed intructions in ETSLCAM.
I opened it in word pad. How would I edit this gcode to run so that when I jog it over to the project and set it just obove the work piece it would play and not ask me to hook up the probe and probe down? I know nothing about commputer code.
G21
G90
G94
G92 X0 Y0
M0 (MSG Attach probe) this is where it pauses and comands me to attach probe
G38.2 Z-110 F200 P0.5 (probe down set thickness )
G1 Z10 F900
M0 (MSG Remove probe)
M62 P1 (If used start spindle pin27 )
G00 X0.0000 Y0.0000 Z0.0000 F2400
G00 Z5.0000 F900
Your changes look right. Note this probing (and perhaps other) code is being inserted by Estlcam. I’m not an Estlcam user. I would expect this code to be inserted in the Start Code section. Go to: Setup/CNC Programs/Texts Tab/Program Start tab.
The g-code in this section is inserted into your g-code program. You can delete it, edit it, and or comment any line out with the with a semi-colon. If this is not where the probing code is being inserted, post back, and someone who regularly uses Estlcam can tell you.
Note this code looks specific to the touch plate sold by V1 (since the thickness is 0.5mm). At some point, you had to be the one to enter this code.
Another option is to run the Crown g-code file created by Ryan. This skips Estlcam.
I appreciate all the help and time you guys put in here.
It would be to Not Probe when im using the pen beacuse its not metalic so the probe dosnt work with the pen.
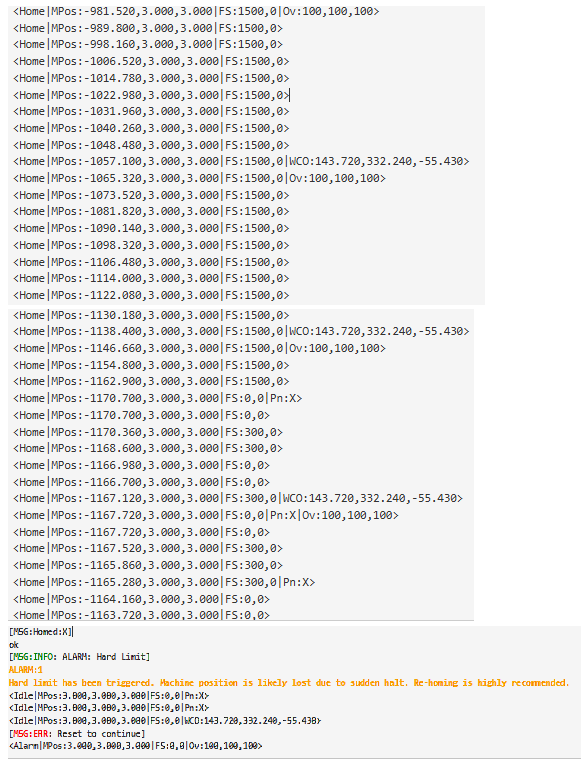
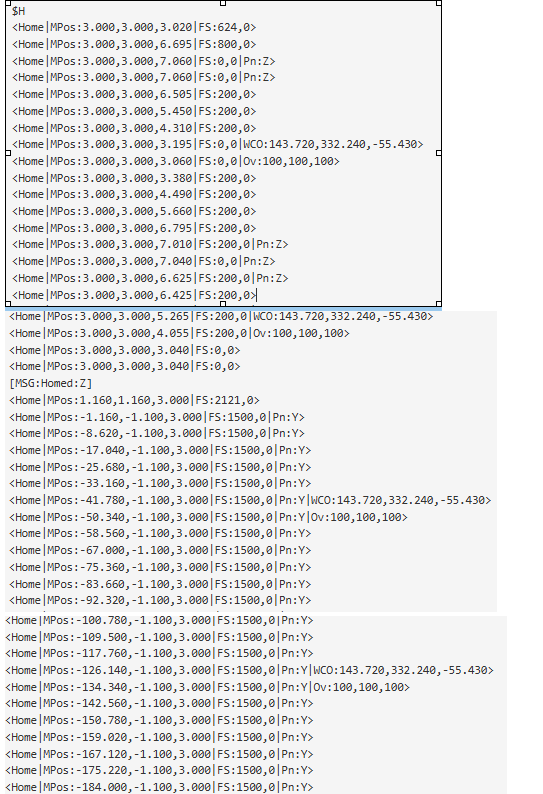
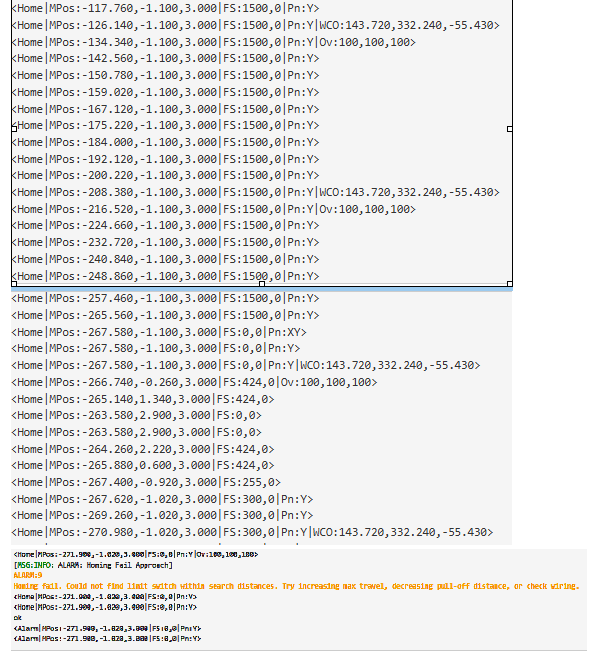
I went back out to practice drawing some more and ran into a big snag. The X axis started skipping steps in the middle of jogging it back to a work peice. Then I could not get it to respond with any controls. Wont even home anymore no movement at all. I swapped the X Axis motor with a Y axis motor thinking the motor was bad but it ran fine when using the Y control jog Function. Sorry for the length just tried to provide as much in fo as possible.
Chip ID: 15472
CPU Cores: 2
CPU Frequency: 240Mhz
CPU Temperature: 48.3°C
Free memory: 90.57 KB
SDK: v4.4.7-dirty
Flash Size: 8.00 MB
[MSG: Mode=AP:SSID=FluidNC:IP=192.168.0.1:MAC=D4-8C-49-50-70-3D]
FW version: FluidNC v3.9.1
So take out the probe section from estcam starting gcode. If you plan on moving to using a probe with other materials feel free to skip the pen and just use a router.
I added soft and hard limits to the X Y Z so i wouldnt hit the ends when jogging around when I first started messing with it. But when I started the crown test it flagged my soft limits so I just put then to False when I was Drawing the Crown. I idint save that setting so when I turn the machine on it would still have my old soft setting for jogging the machine. But the more I use it the more I find I dont need them. But for some reason now im not gettign any movement from the x axes.
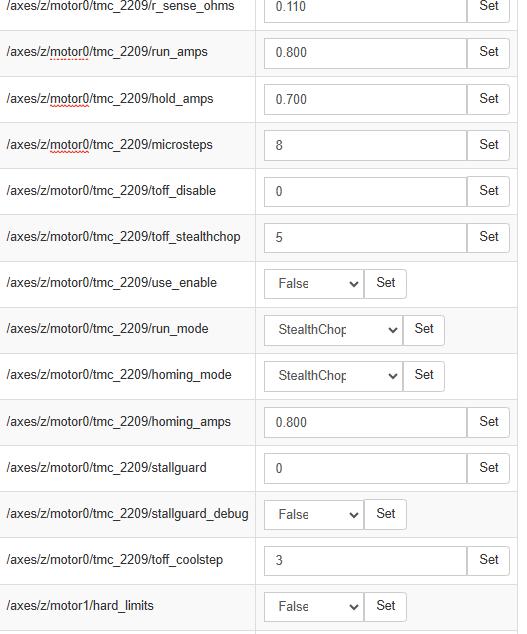
Hard limits requires 2 limit switches placed at axis(- )and another at axis(+) if you touch any of them during movements fluidnc will halt, trow an alarm and prompt for a rehome
The way I understood it and how the machine functioned was that soft limits was max travel of the axis and the hard limit was min travel. Which I had set to 4.0mm (hard Limit min). On X i only have one stop switch which is on the left side min side. Y has 2 switches on the min side lh/rh rail, and Z has 2 switches on max side lh/rh up slide rails. So after I would home the machine it wouldn’t hit the Y,X,Z Stop switches again while Jogging. It worked fine like that. I only had to disable the Z Soft Limit which was the Z max because when I did the crown test It told me my Z max was not enough. Which Worked and ran Fine.
Its when I went out later to practice some more the X Axis Made some skipping sounds when Jogging it to a work piece to draw and now the X Axis wont move at all. Even when I home the machine it will do Y,Z but i have to physically hit the X Switch to finish the all Home Sequince because it wont move.
I swapped the Y motor wire with the X motor on the Jackpot Thinking it was a bad motor but X it moved fine when I ran it With the Y jog Button.
I am stumped. I appreciate all the help and advice hopefully you can see something wrong in the gcode I posted.
I would add a video of it trying to move but don’t know how. The motor seams to make a bad grinding sound and vibrates real bad no mater what driver I attach it to. Think it could be a bad motor?
Possibly but not the most likely - motors are simple and there’s not a lot to go wrong. The wiring is much more likely so check the connectors and visually confirm the wire colours are in the right order. Use a multimeter to test continuity the length of each wire. If you can, check the motor using a different cable with no extensions.