I guess I didn’t really document building the beam. Here are some after photos.
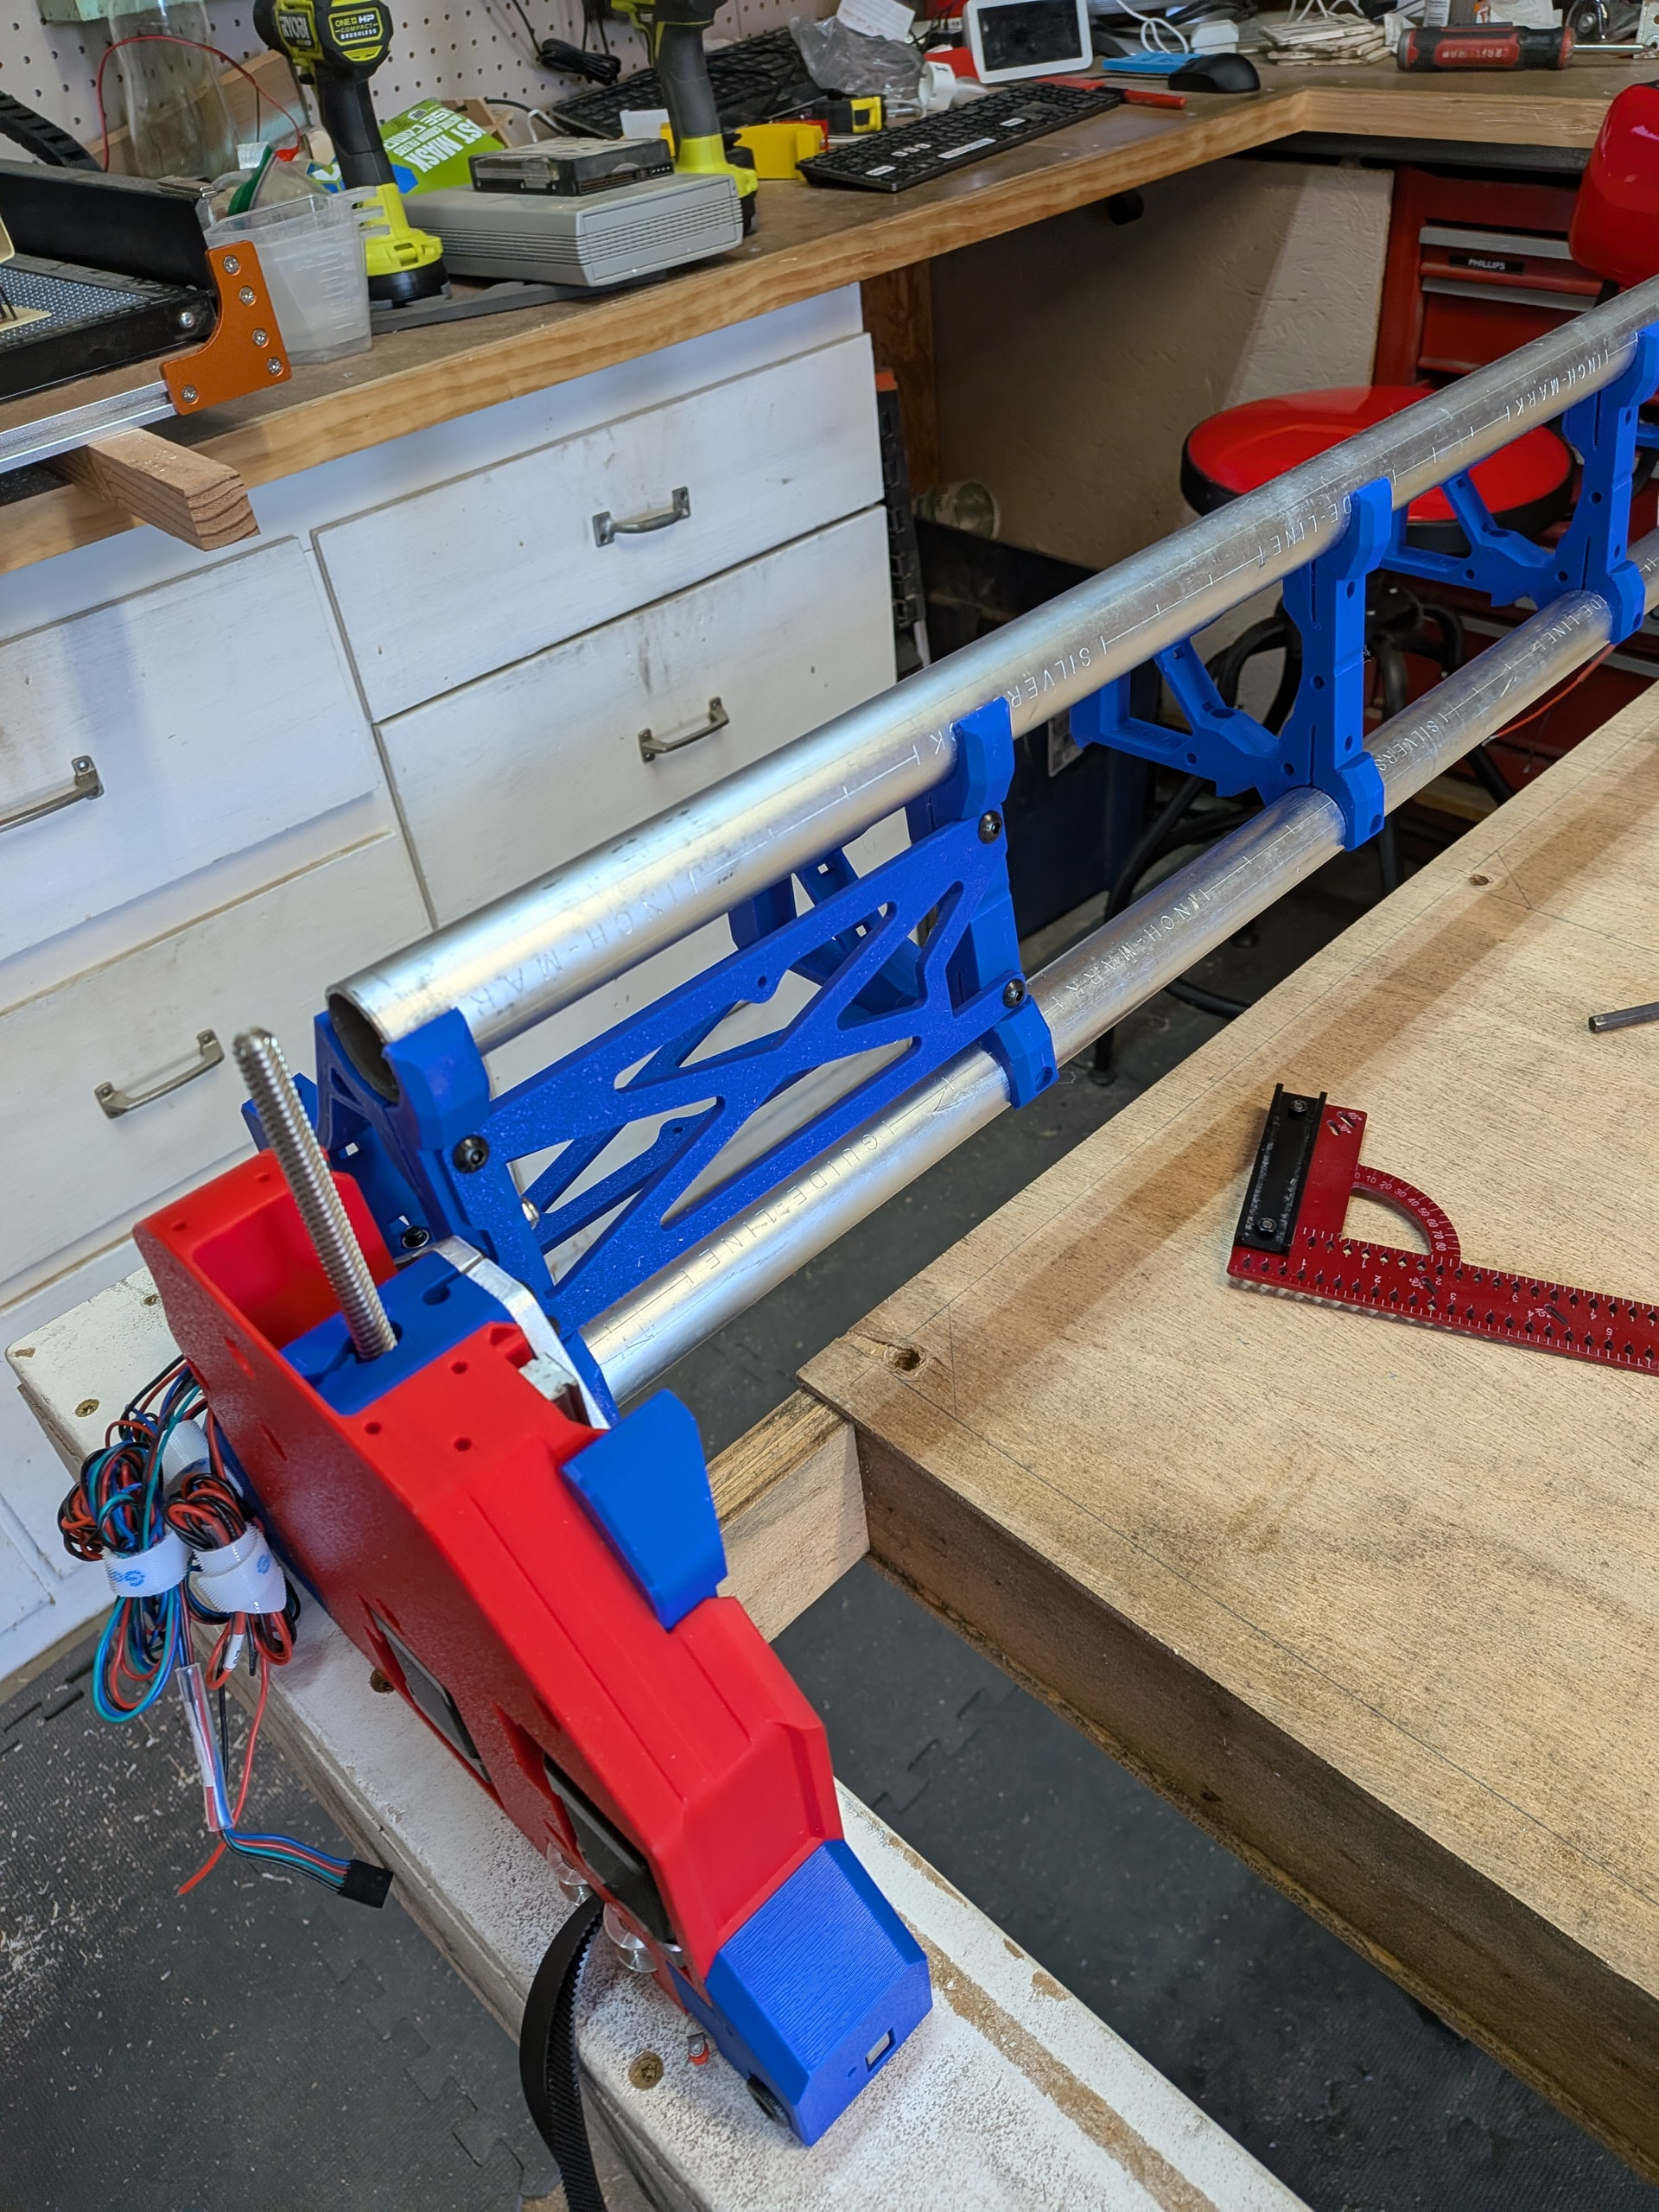
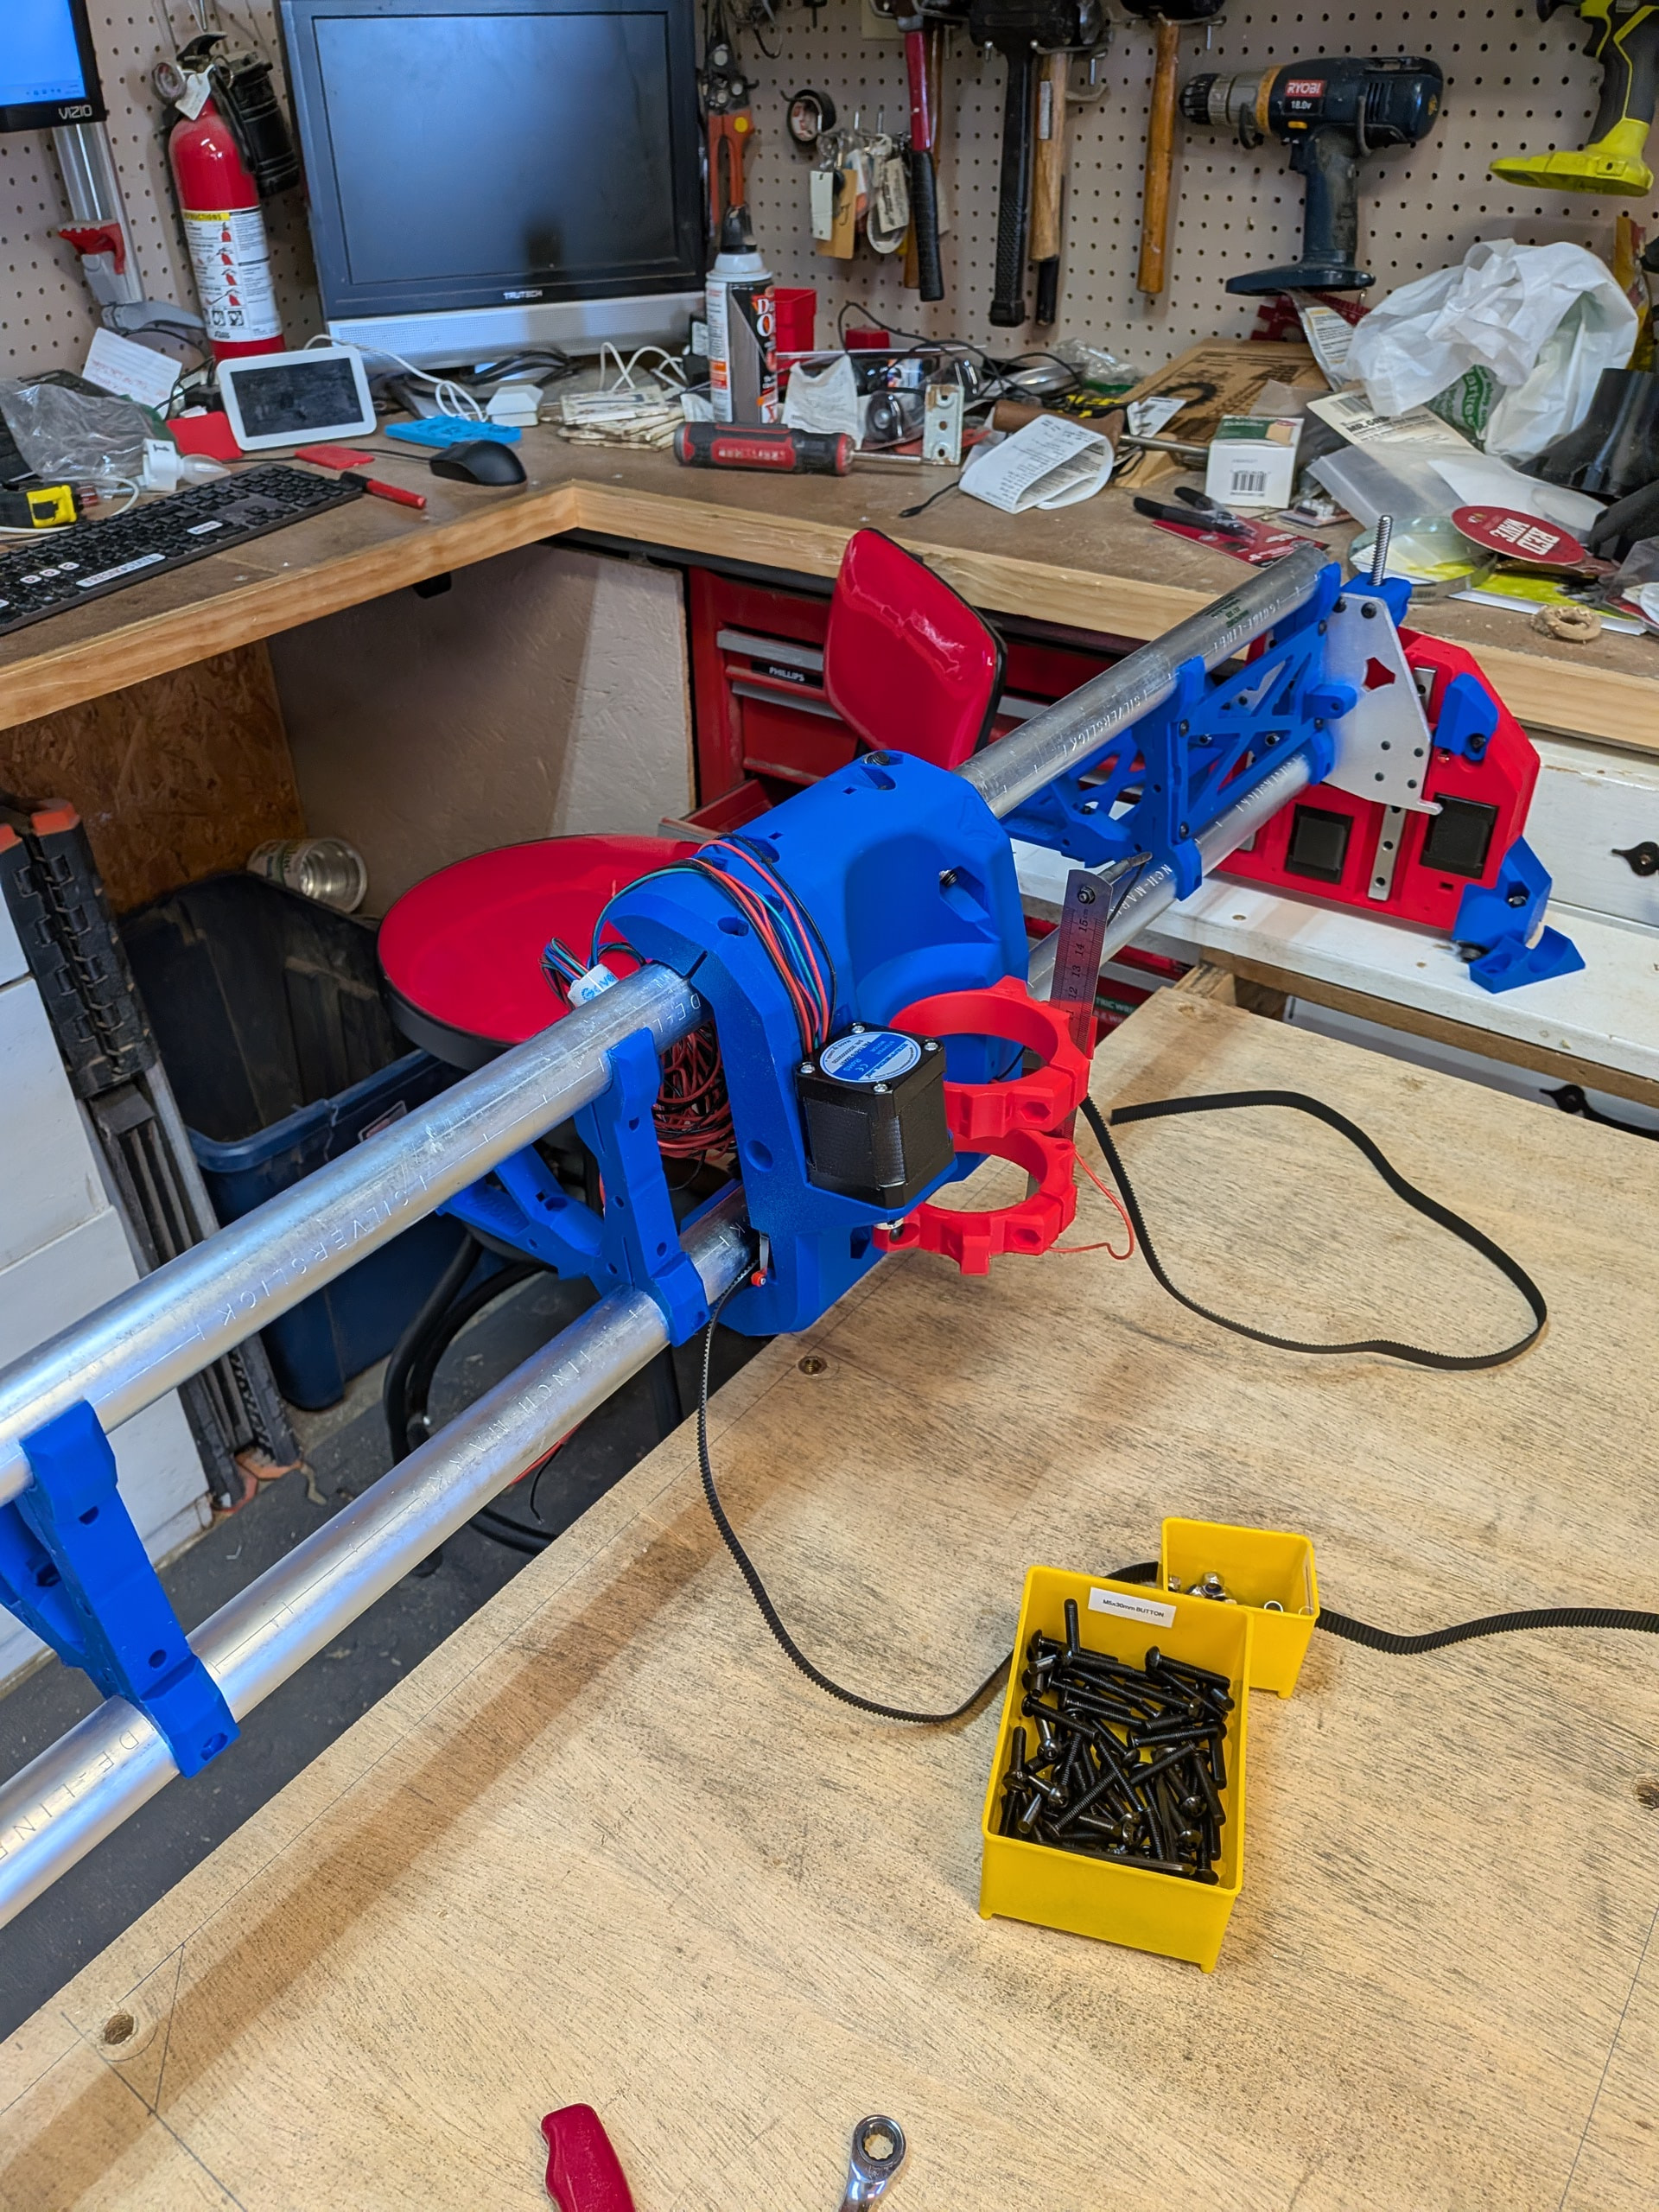
This may be a bit disorienting if you are following along. The top picture is the current orientation of the table (Ymin near my computer). The picture below has the Ymax side closer to the computer. I realized I needed to flip the table around later so I could sit on the stool while running tests, cuts, etc.
I am still using the temporary struts because I am having an issue with X movement. X Axis Travel Issue
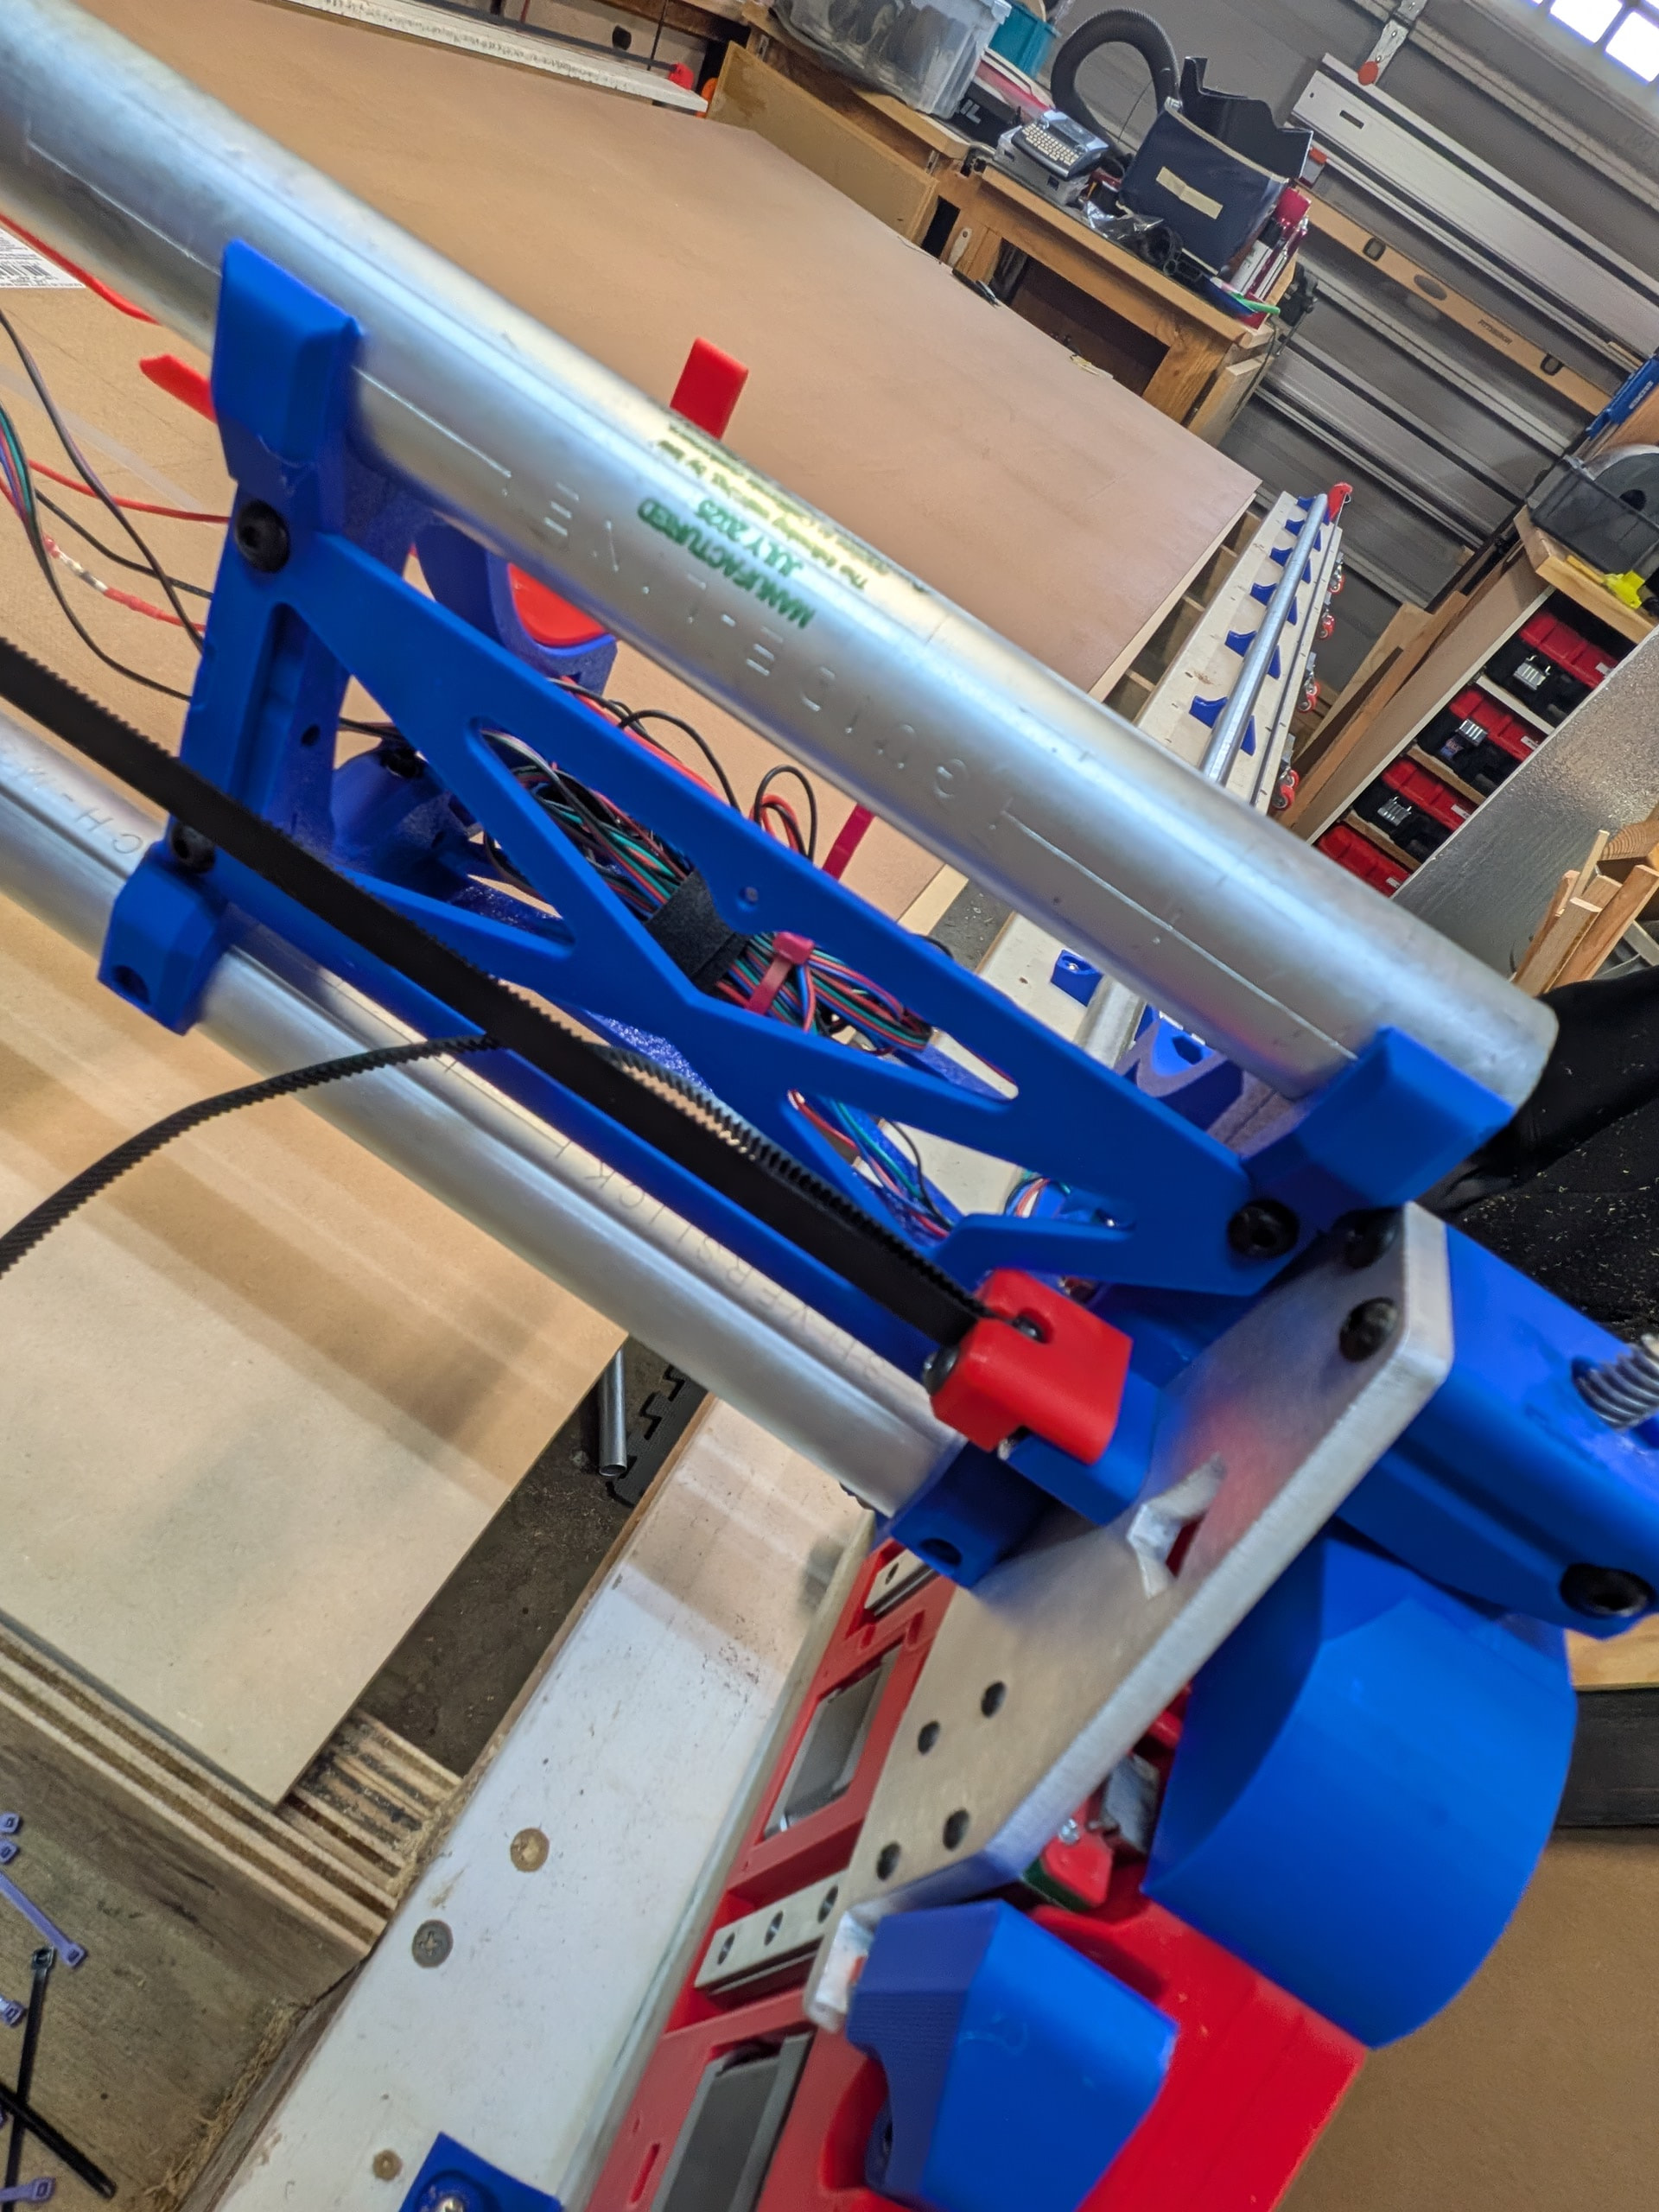

I can’t wait to cut my new struts and clean up the mess of wires. I have some red braided sleeve I plan to use.
I also plan to install the gantry back covers from @DougJoseph . I have not printed these yet because I needed the dimensions from the gantry first. I plan on them being blue.
I did use the wider hose holders from @vicious1 although one project I plan to cut out is an overhead gantry arm for my vacuum hose. I use this area of my garage for all sorts of wood crafts so it would be a great addition.
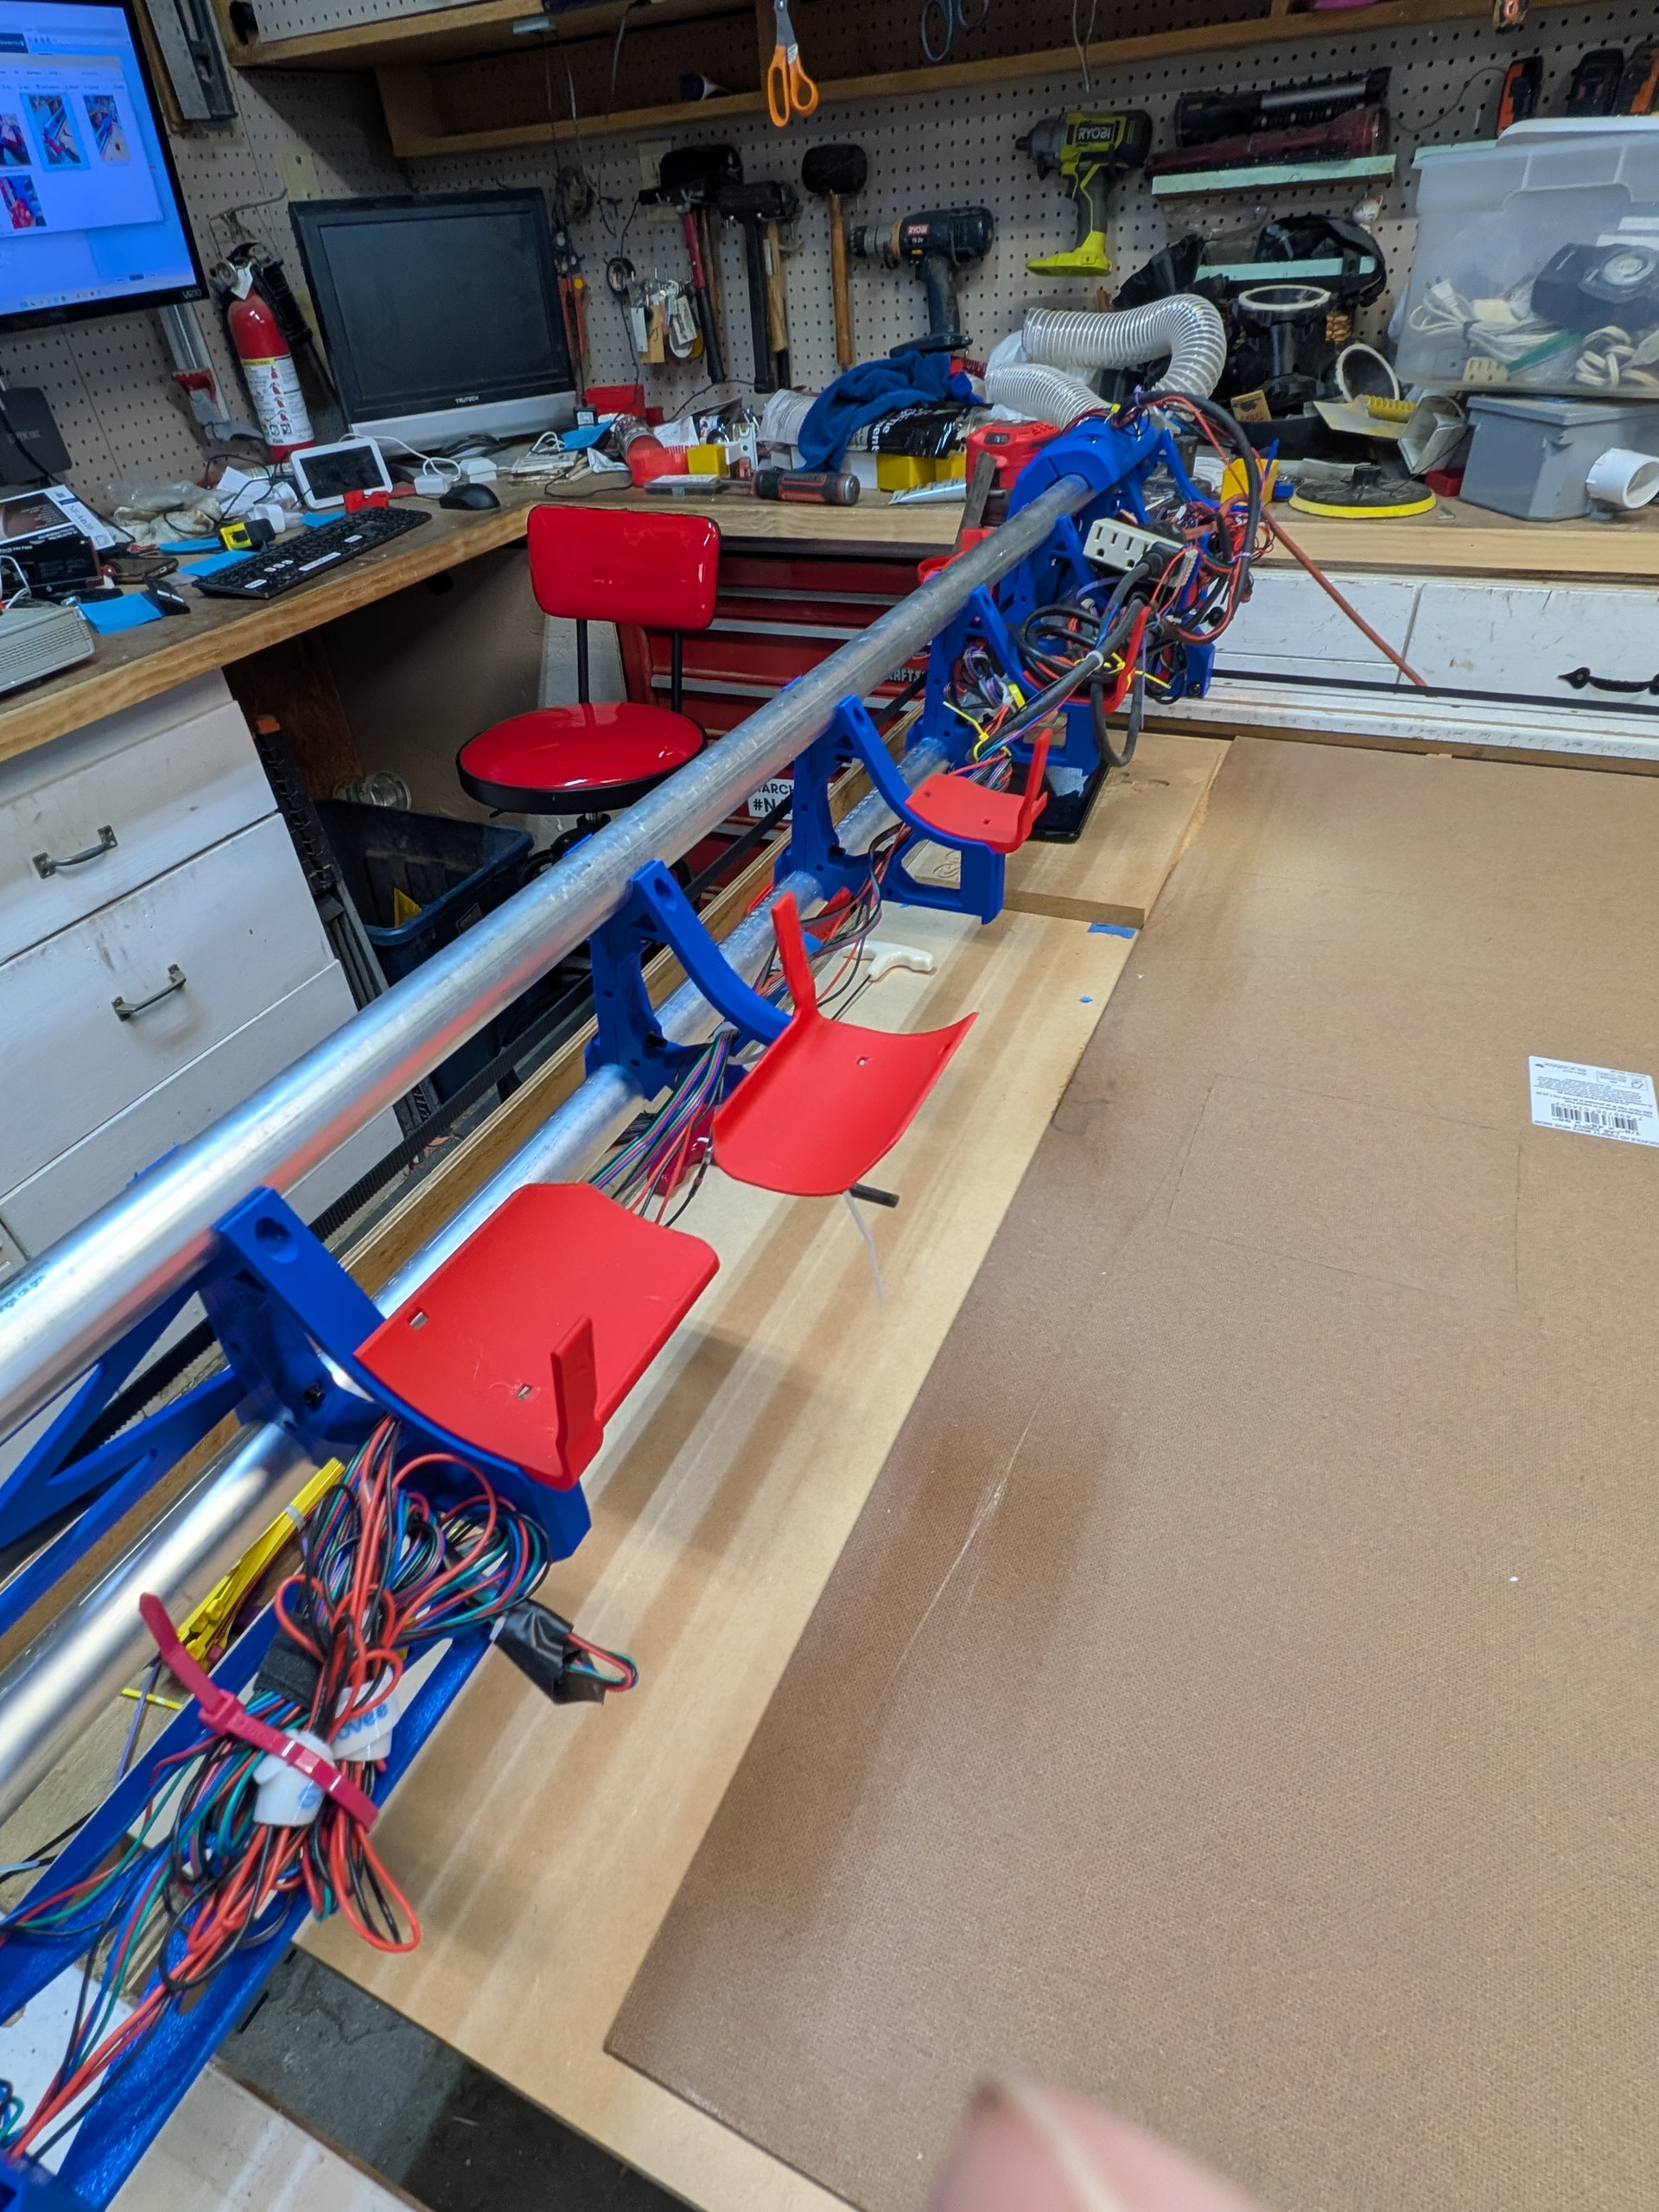
I used the calculator to determine the size to cut the conduit. I went with 56” even. I did this for two reasons. I really want to be able to cut a 49” wide piece of MDF. I also was fortunate to be given a table built by @HyeBuilder . As you can see in the above shot (below), there was a groove worn in the Y track on the min size where the bearings ran. Also, @HyeBuilder suggested on his new metal strut table that he would have gone slightly wider to give himself just a bit more room and not get so close to the end.
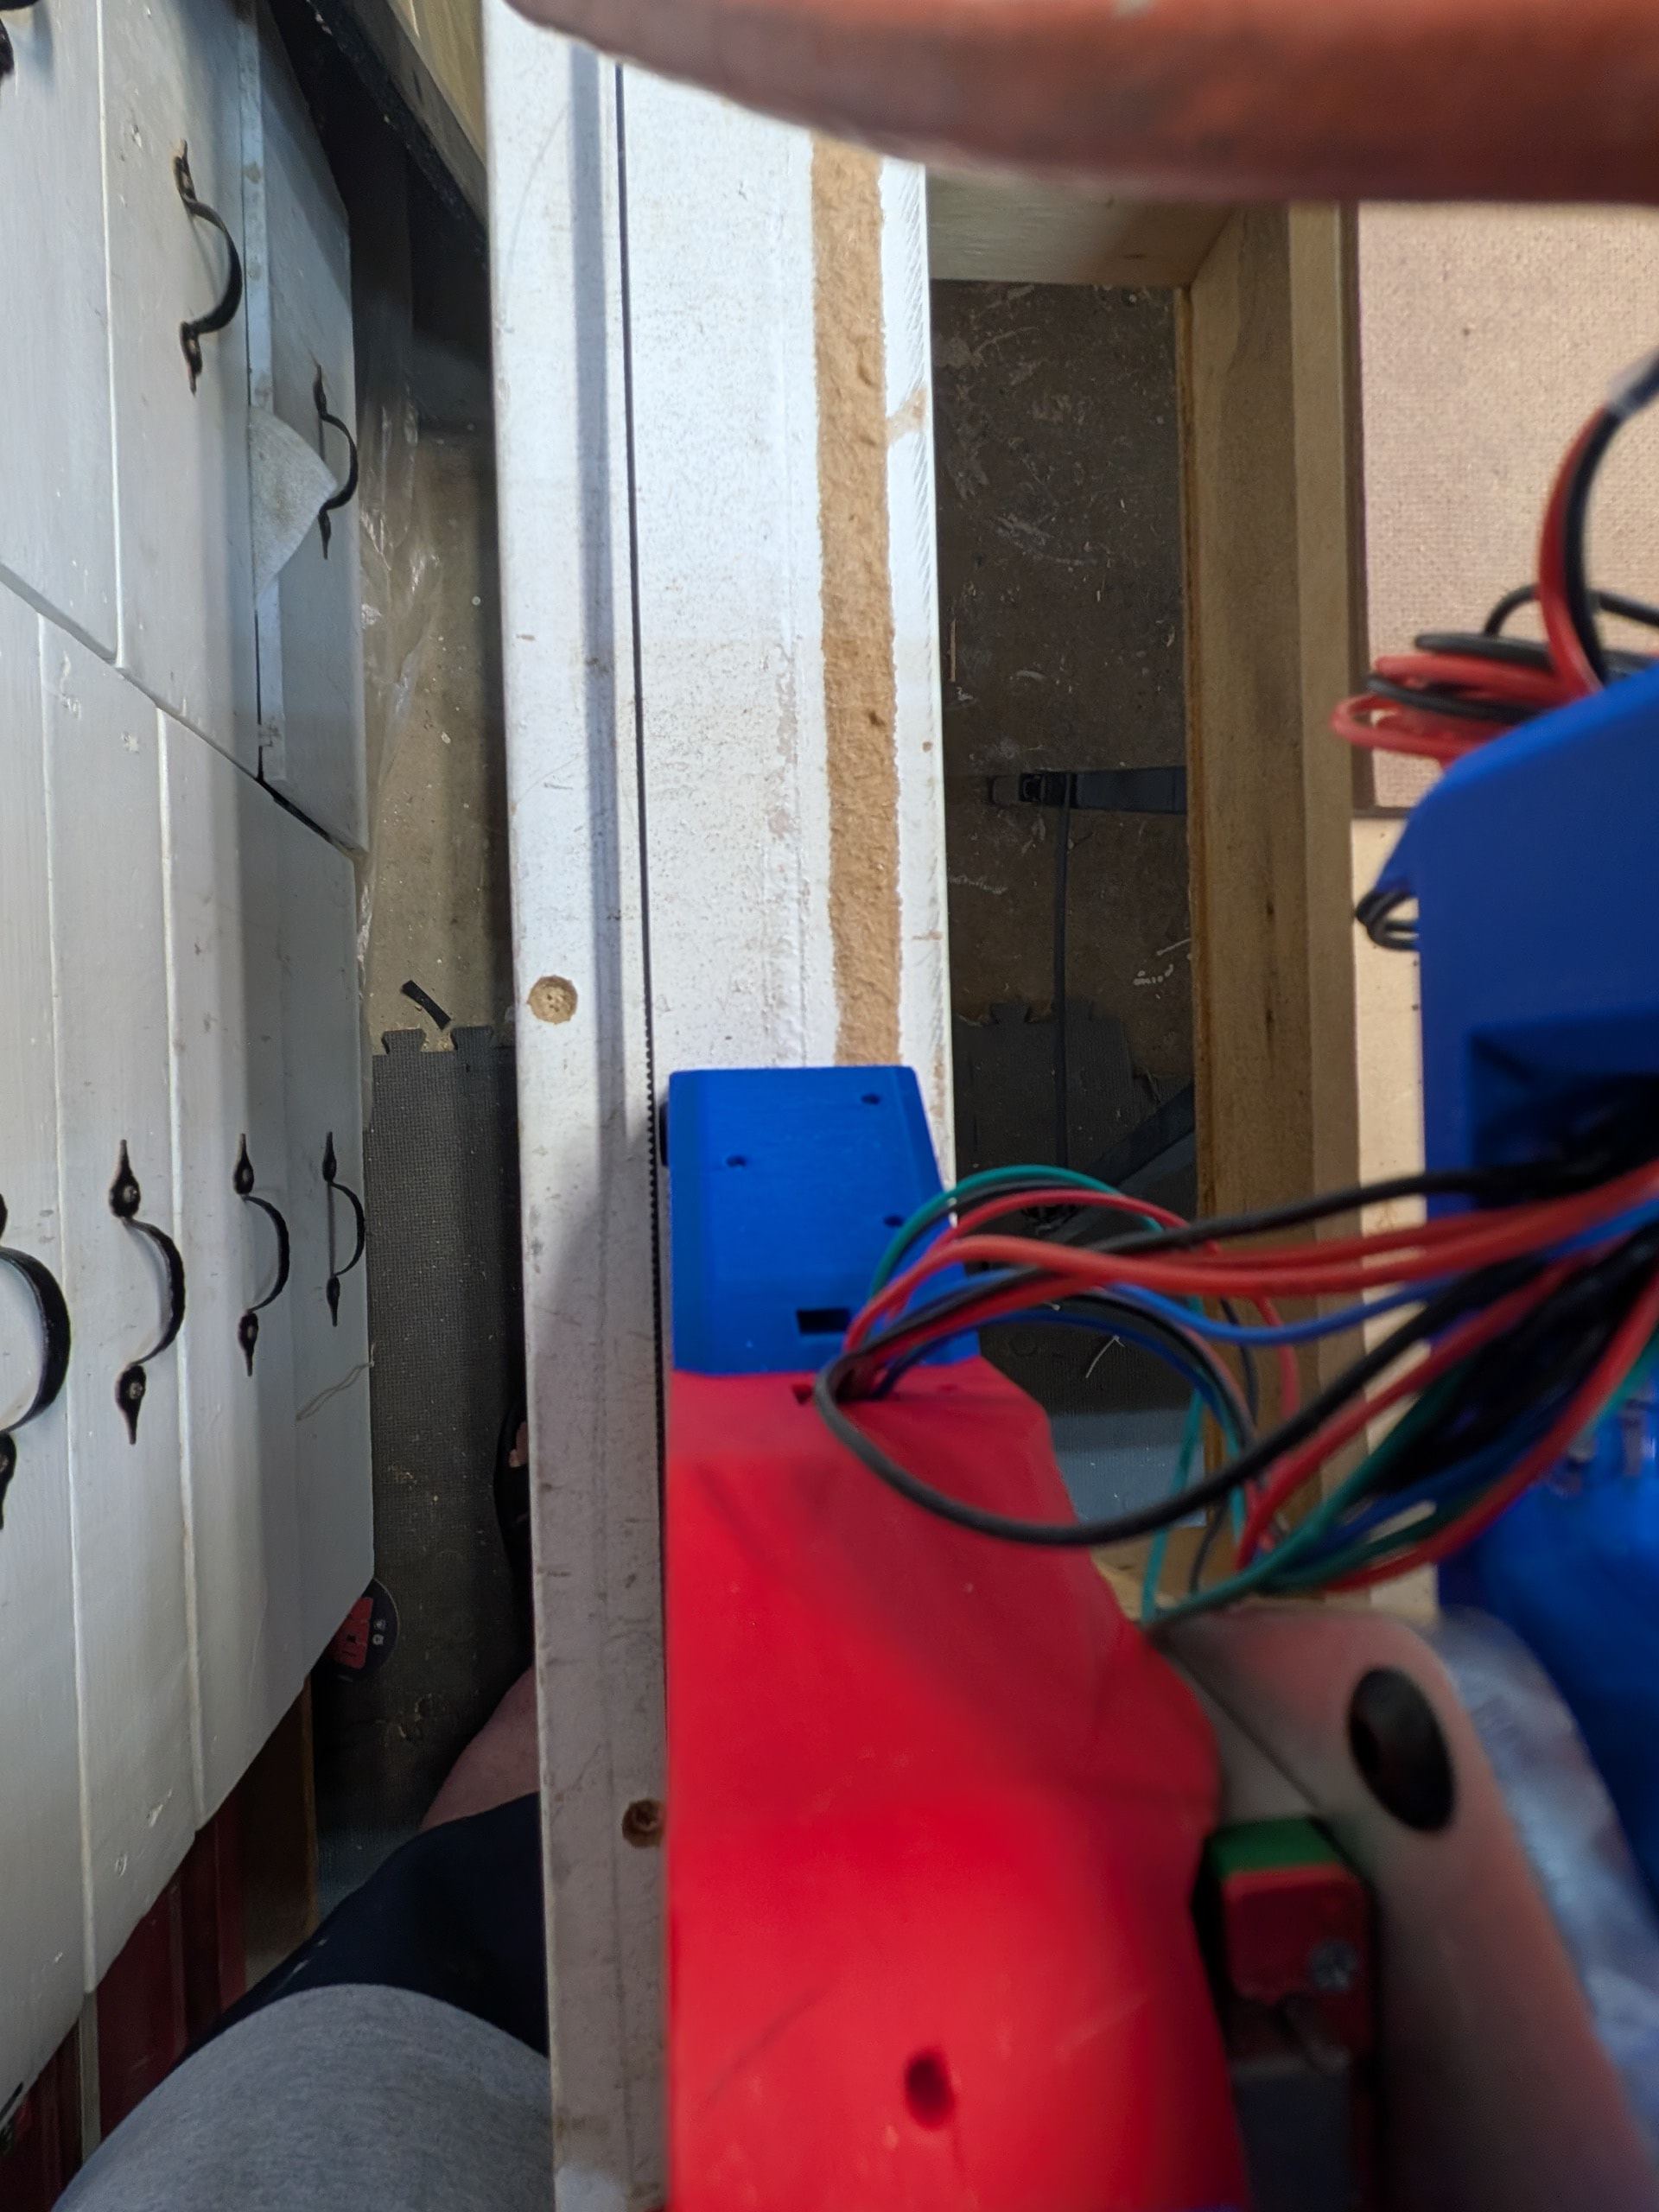
You can see I did just as he suggested. One suggestion I did not implement was replacing the mdf Y platforms with metal unistrut. I really like this idea but I kept hearing the advice from many on this forum to stick to the Yellow Brick Road. This may come later but I restrained myself at this point. ![]()