I’ve been itching for a new project and was torn between getting a Prusa XL or building this CNC machine. I’ve been printing the parts for this project since last Wednesday 24/7 and haven’t had a single failed print. Safe to say the ol Prusa Mk3s±deluxe-ultra is still supporting my needs and validating that I really don’t need a new 3d printer (whomp)! Seems like I’ve made the right choice so far!
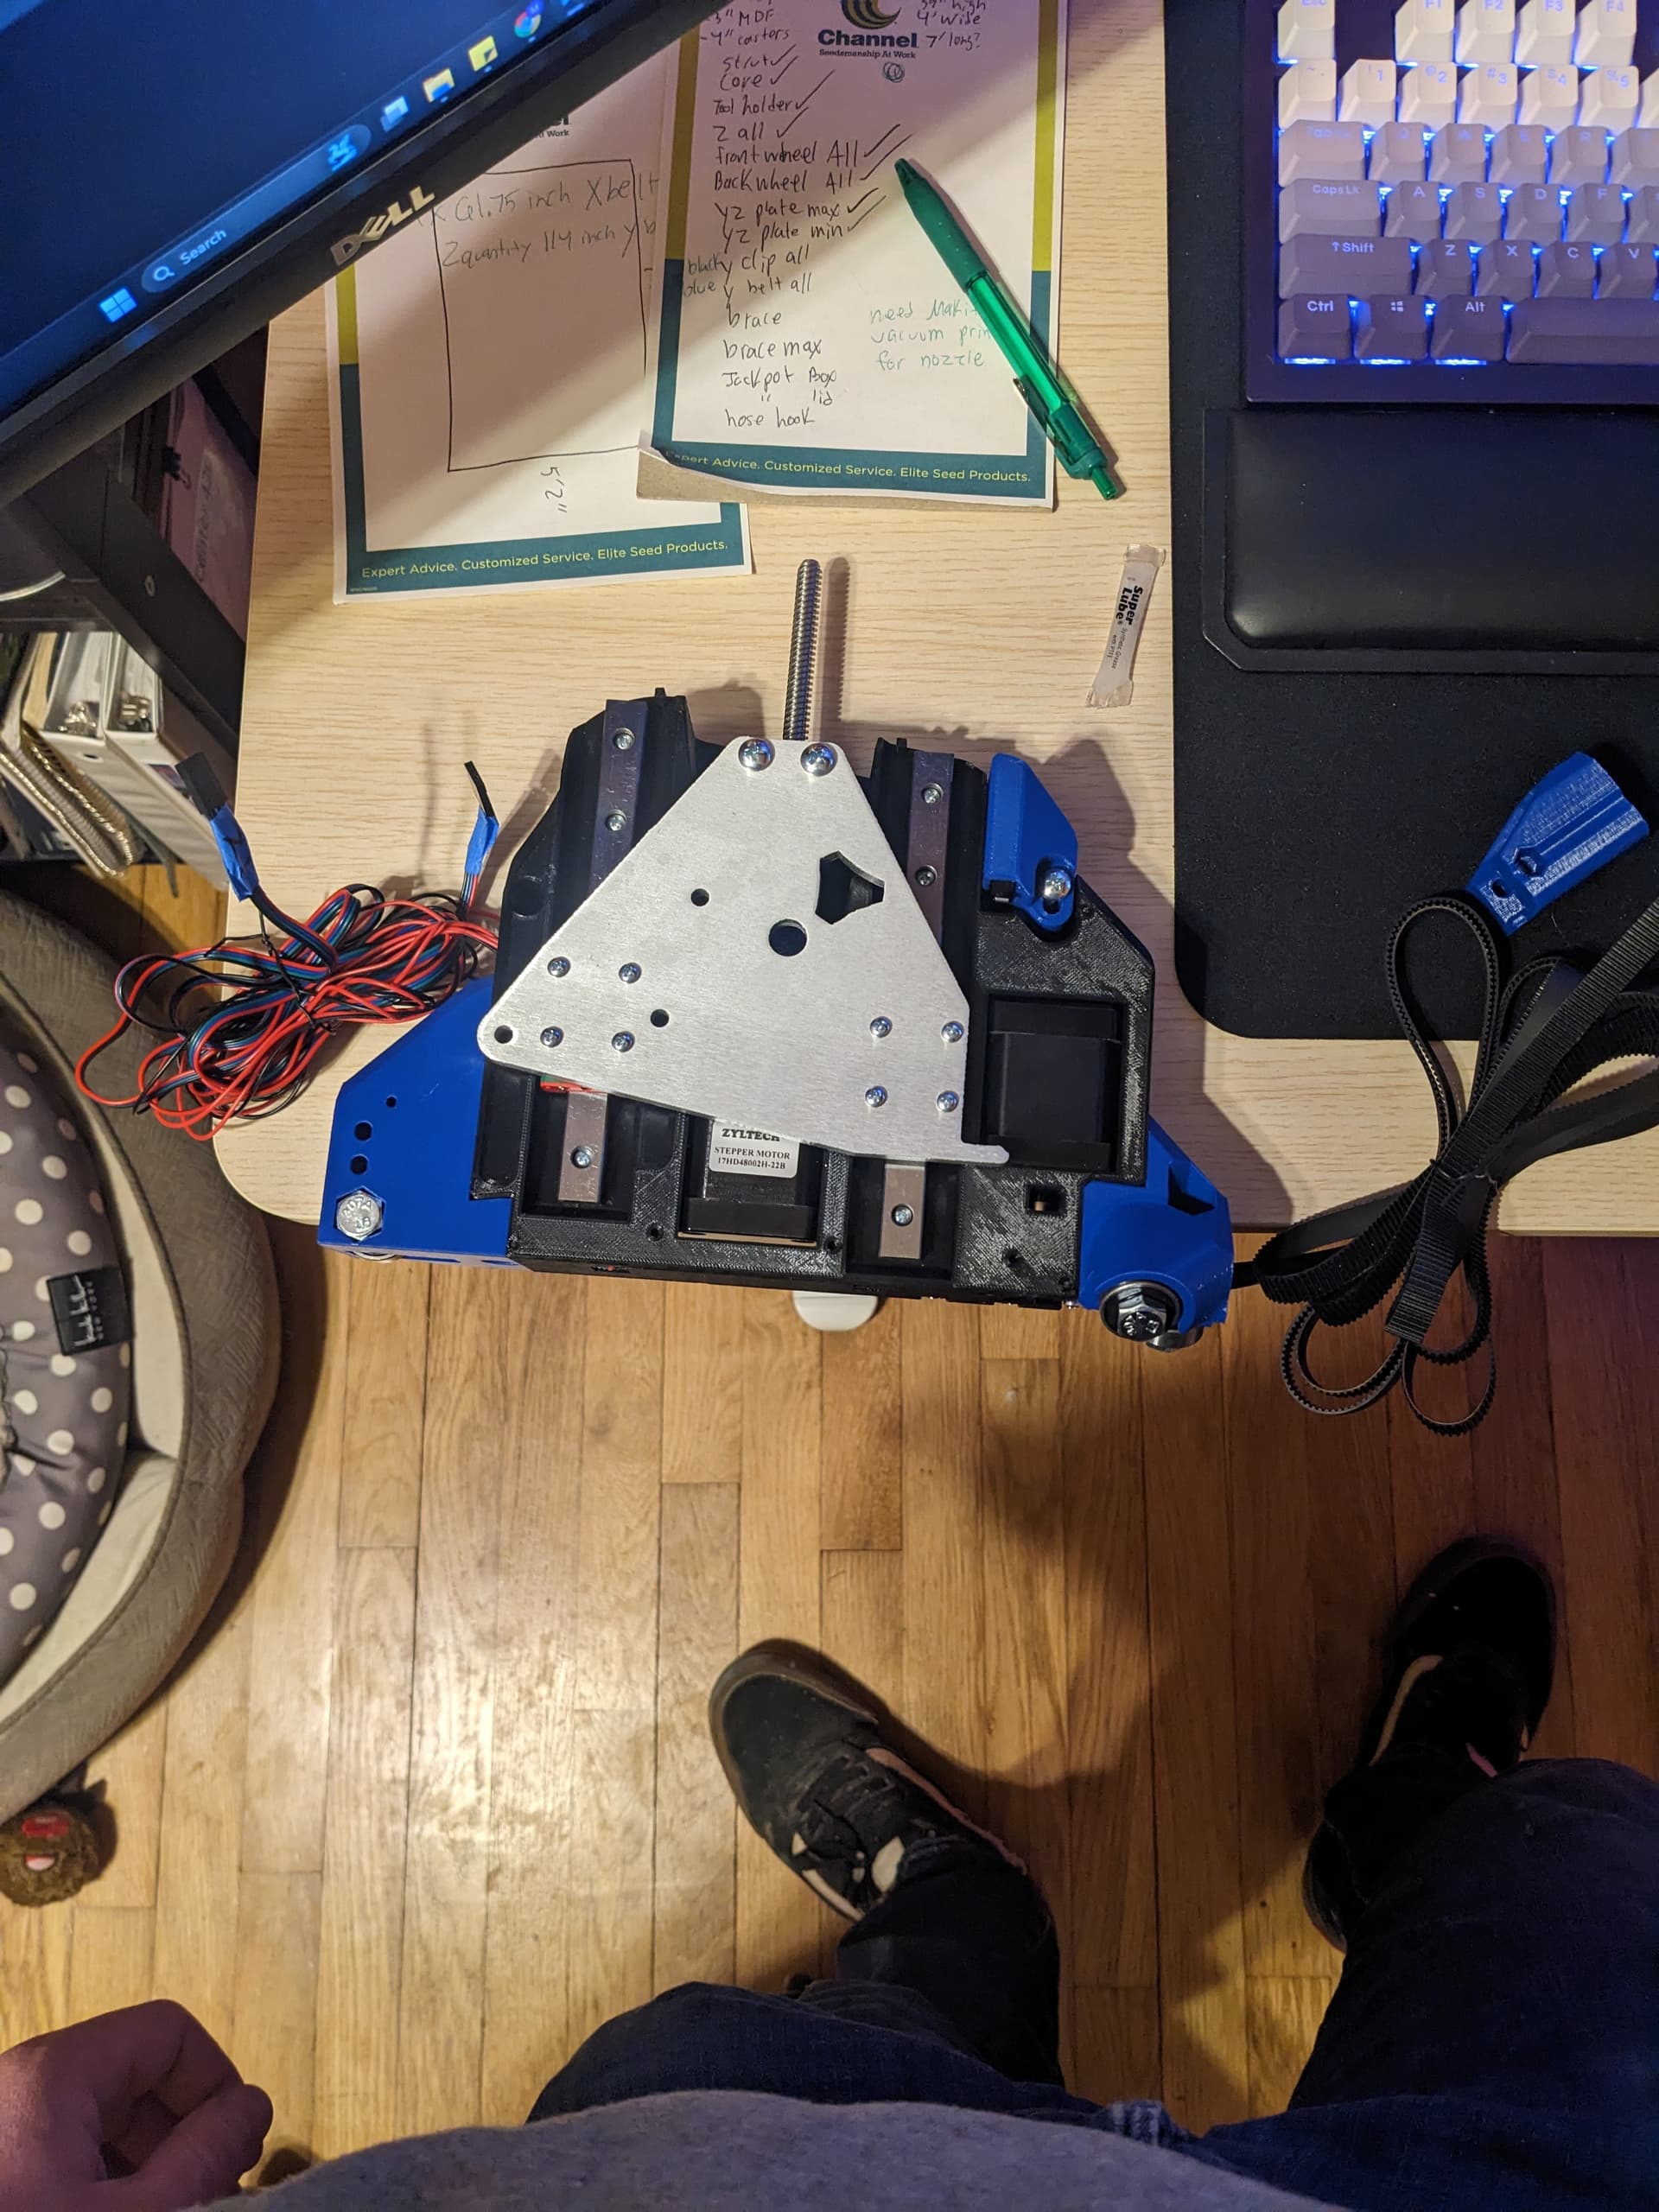
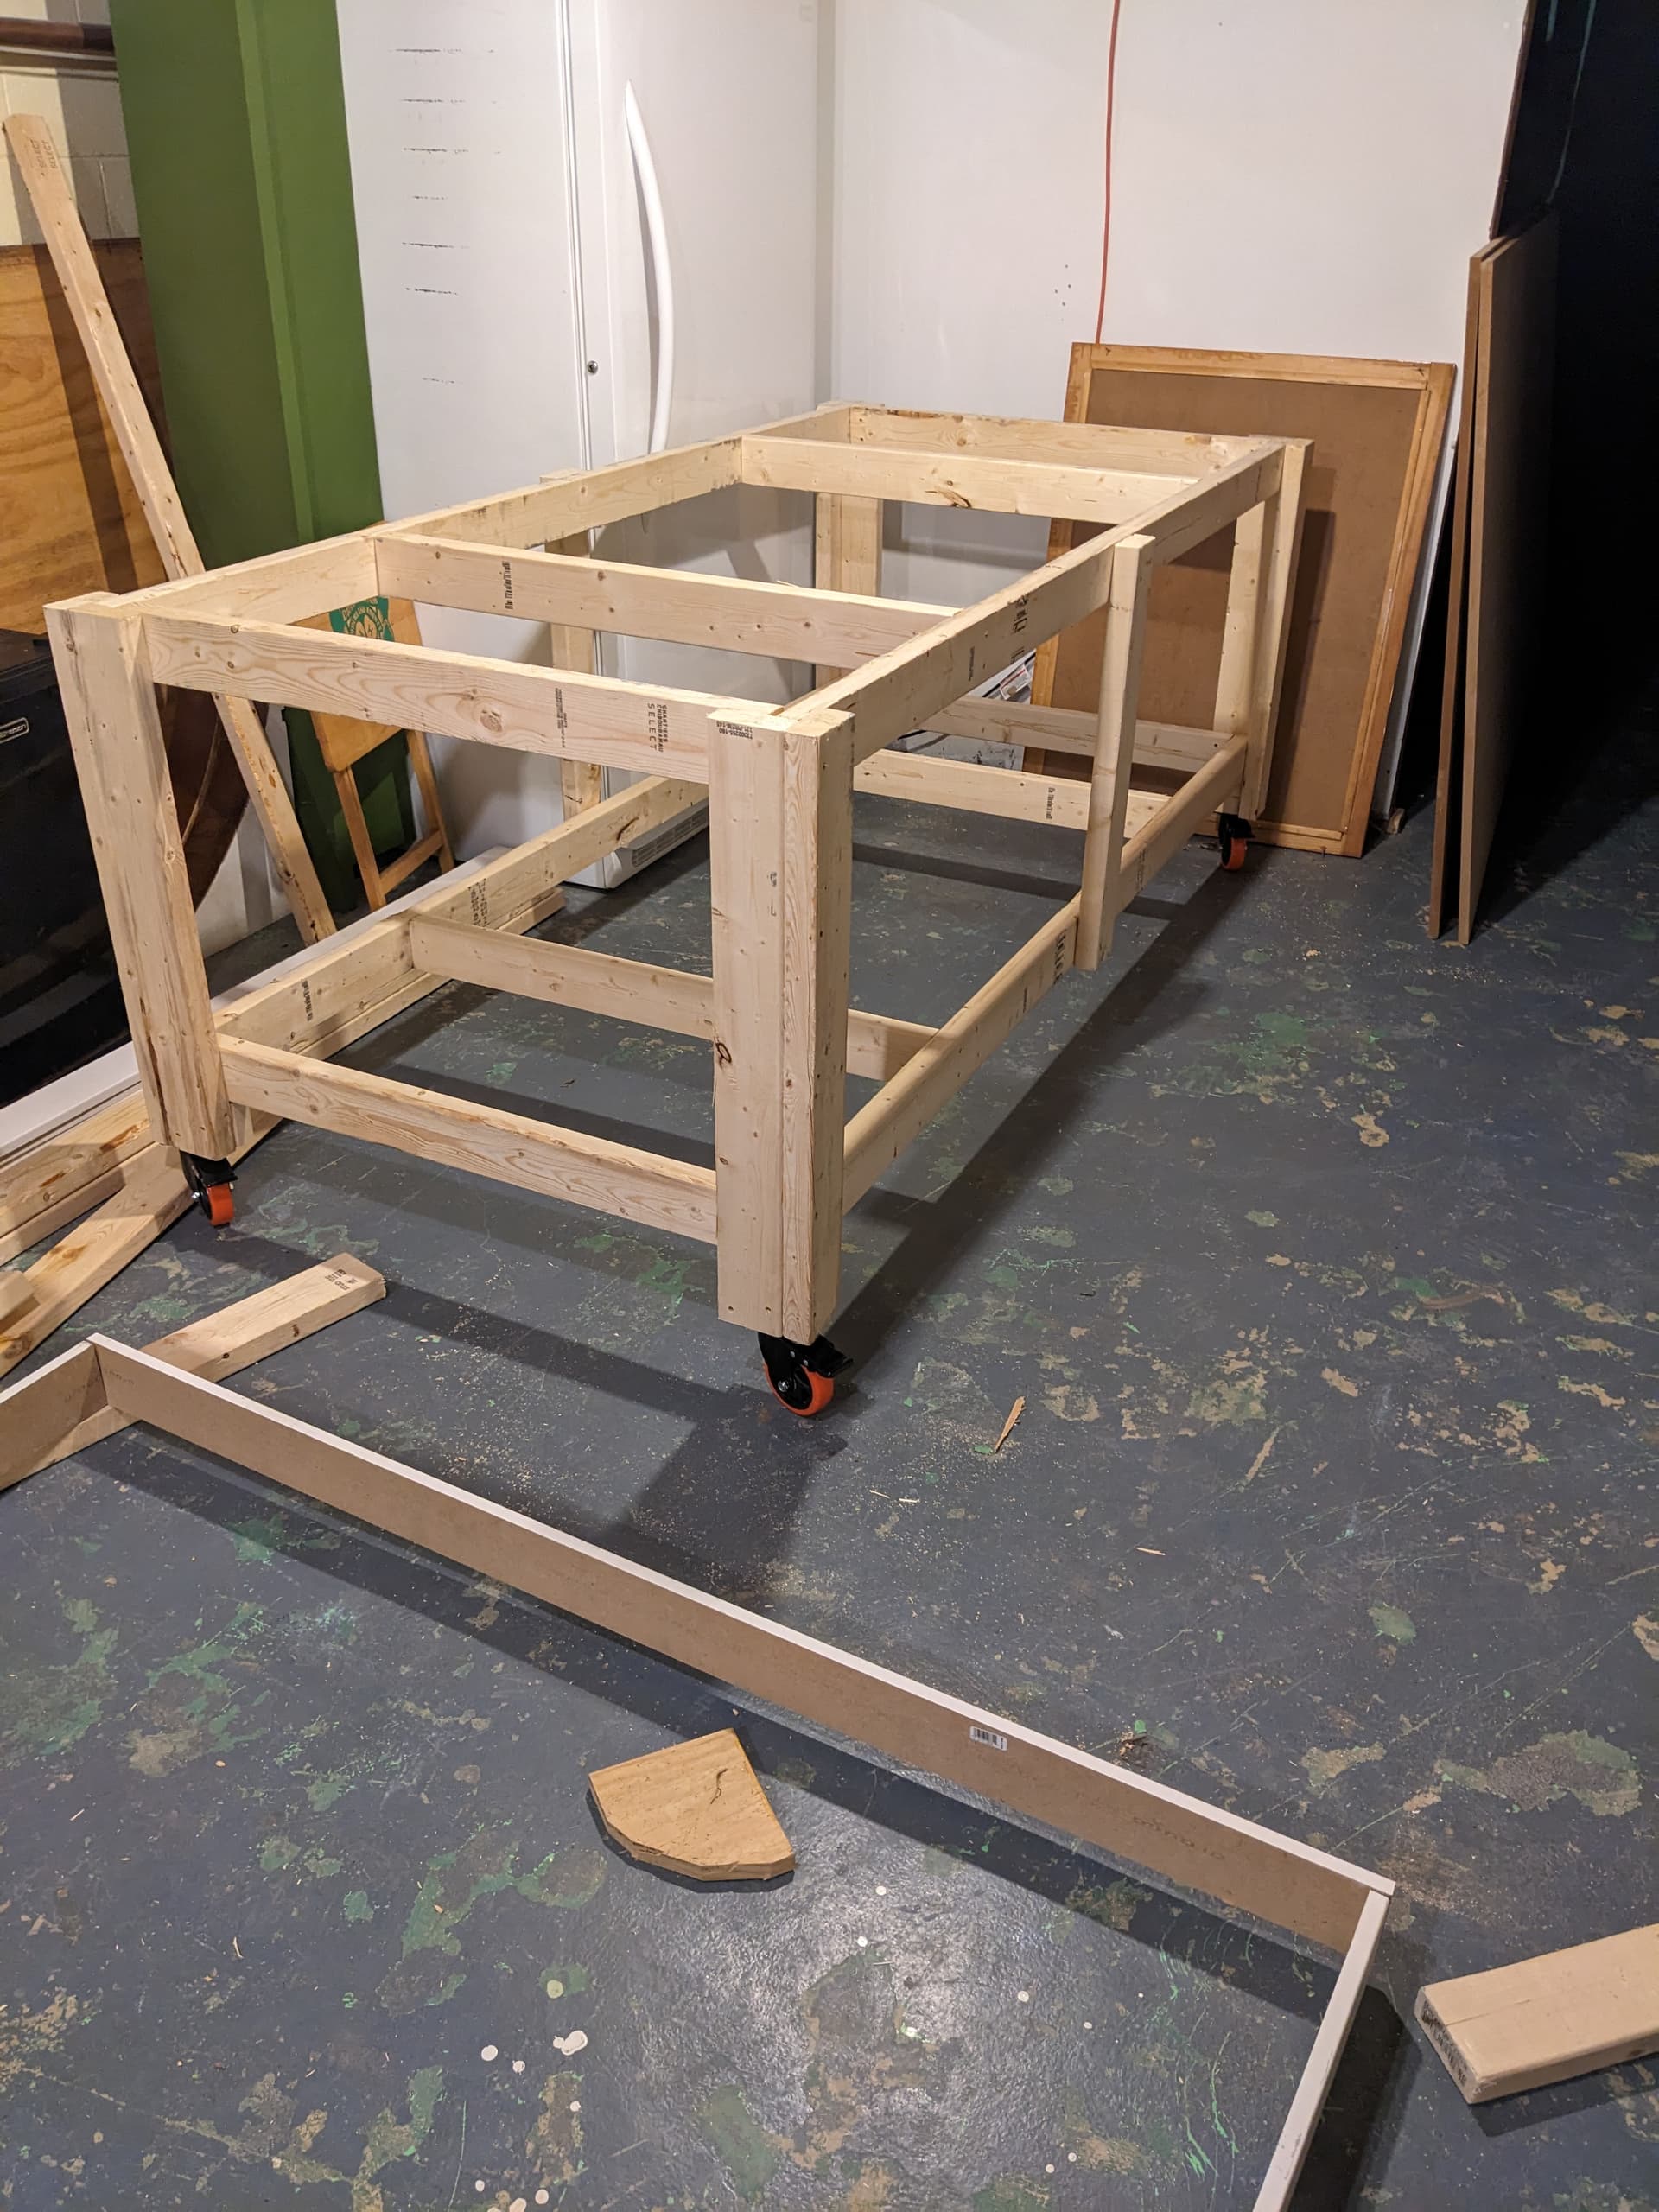
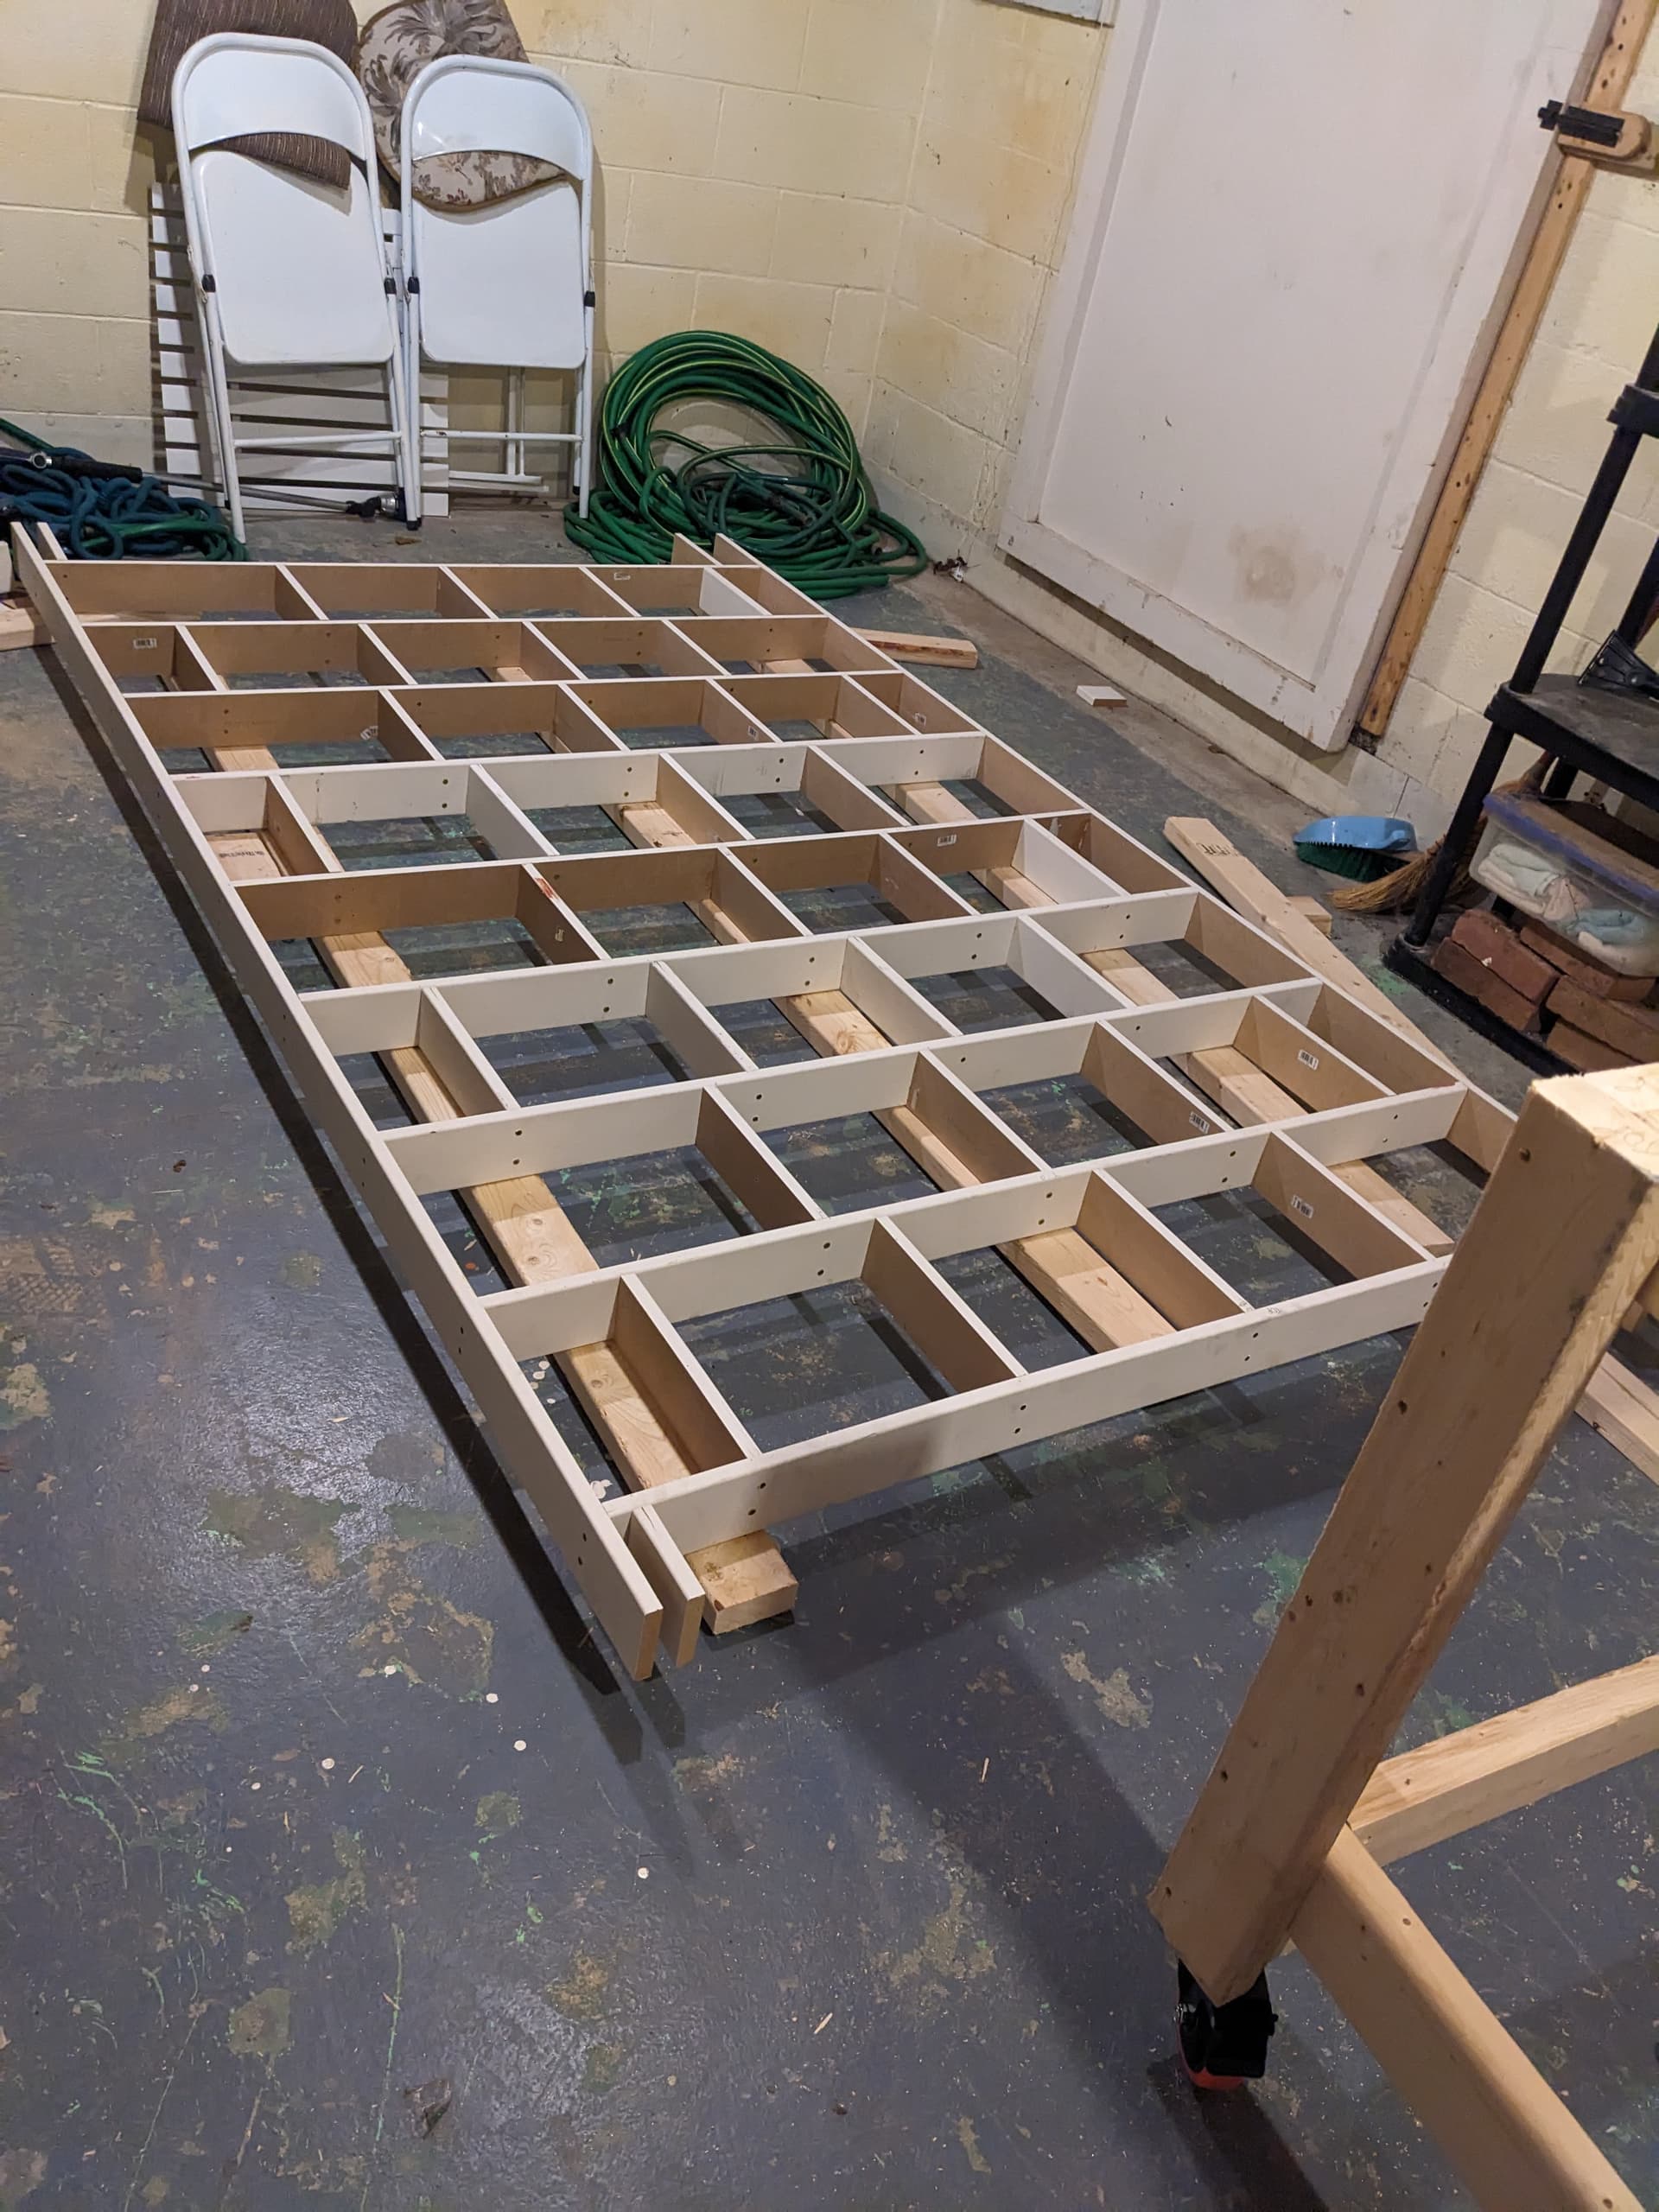
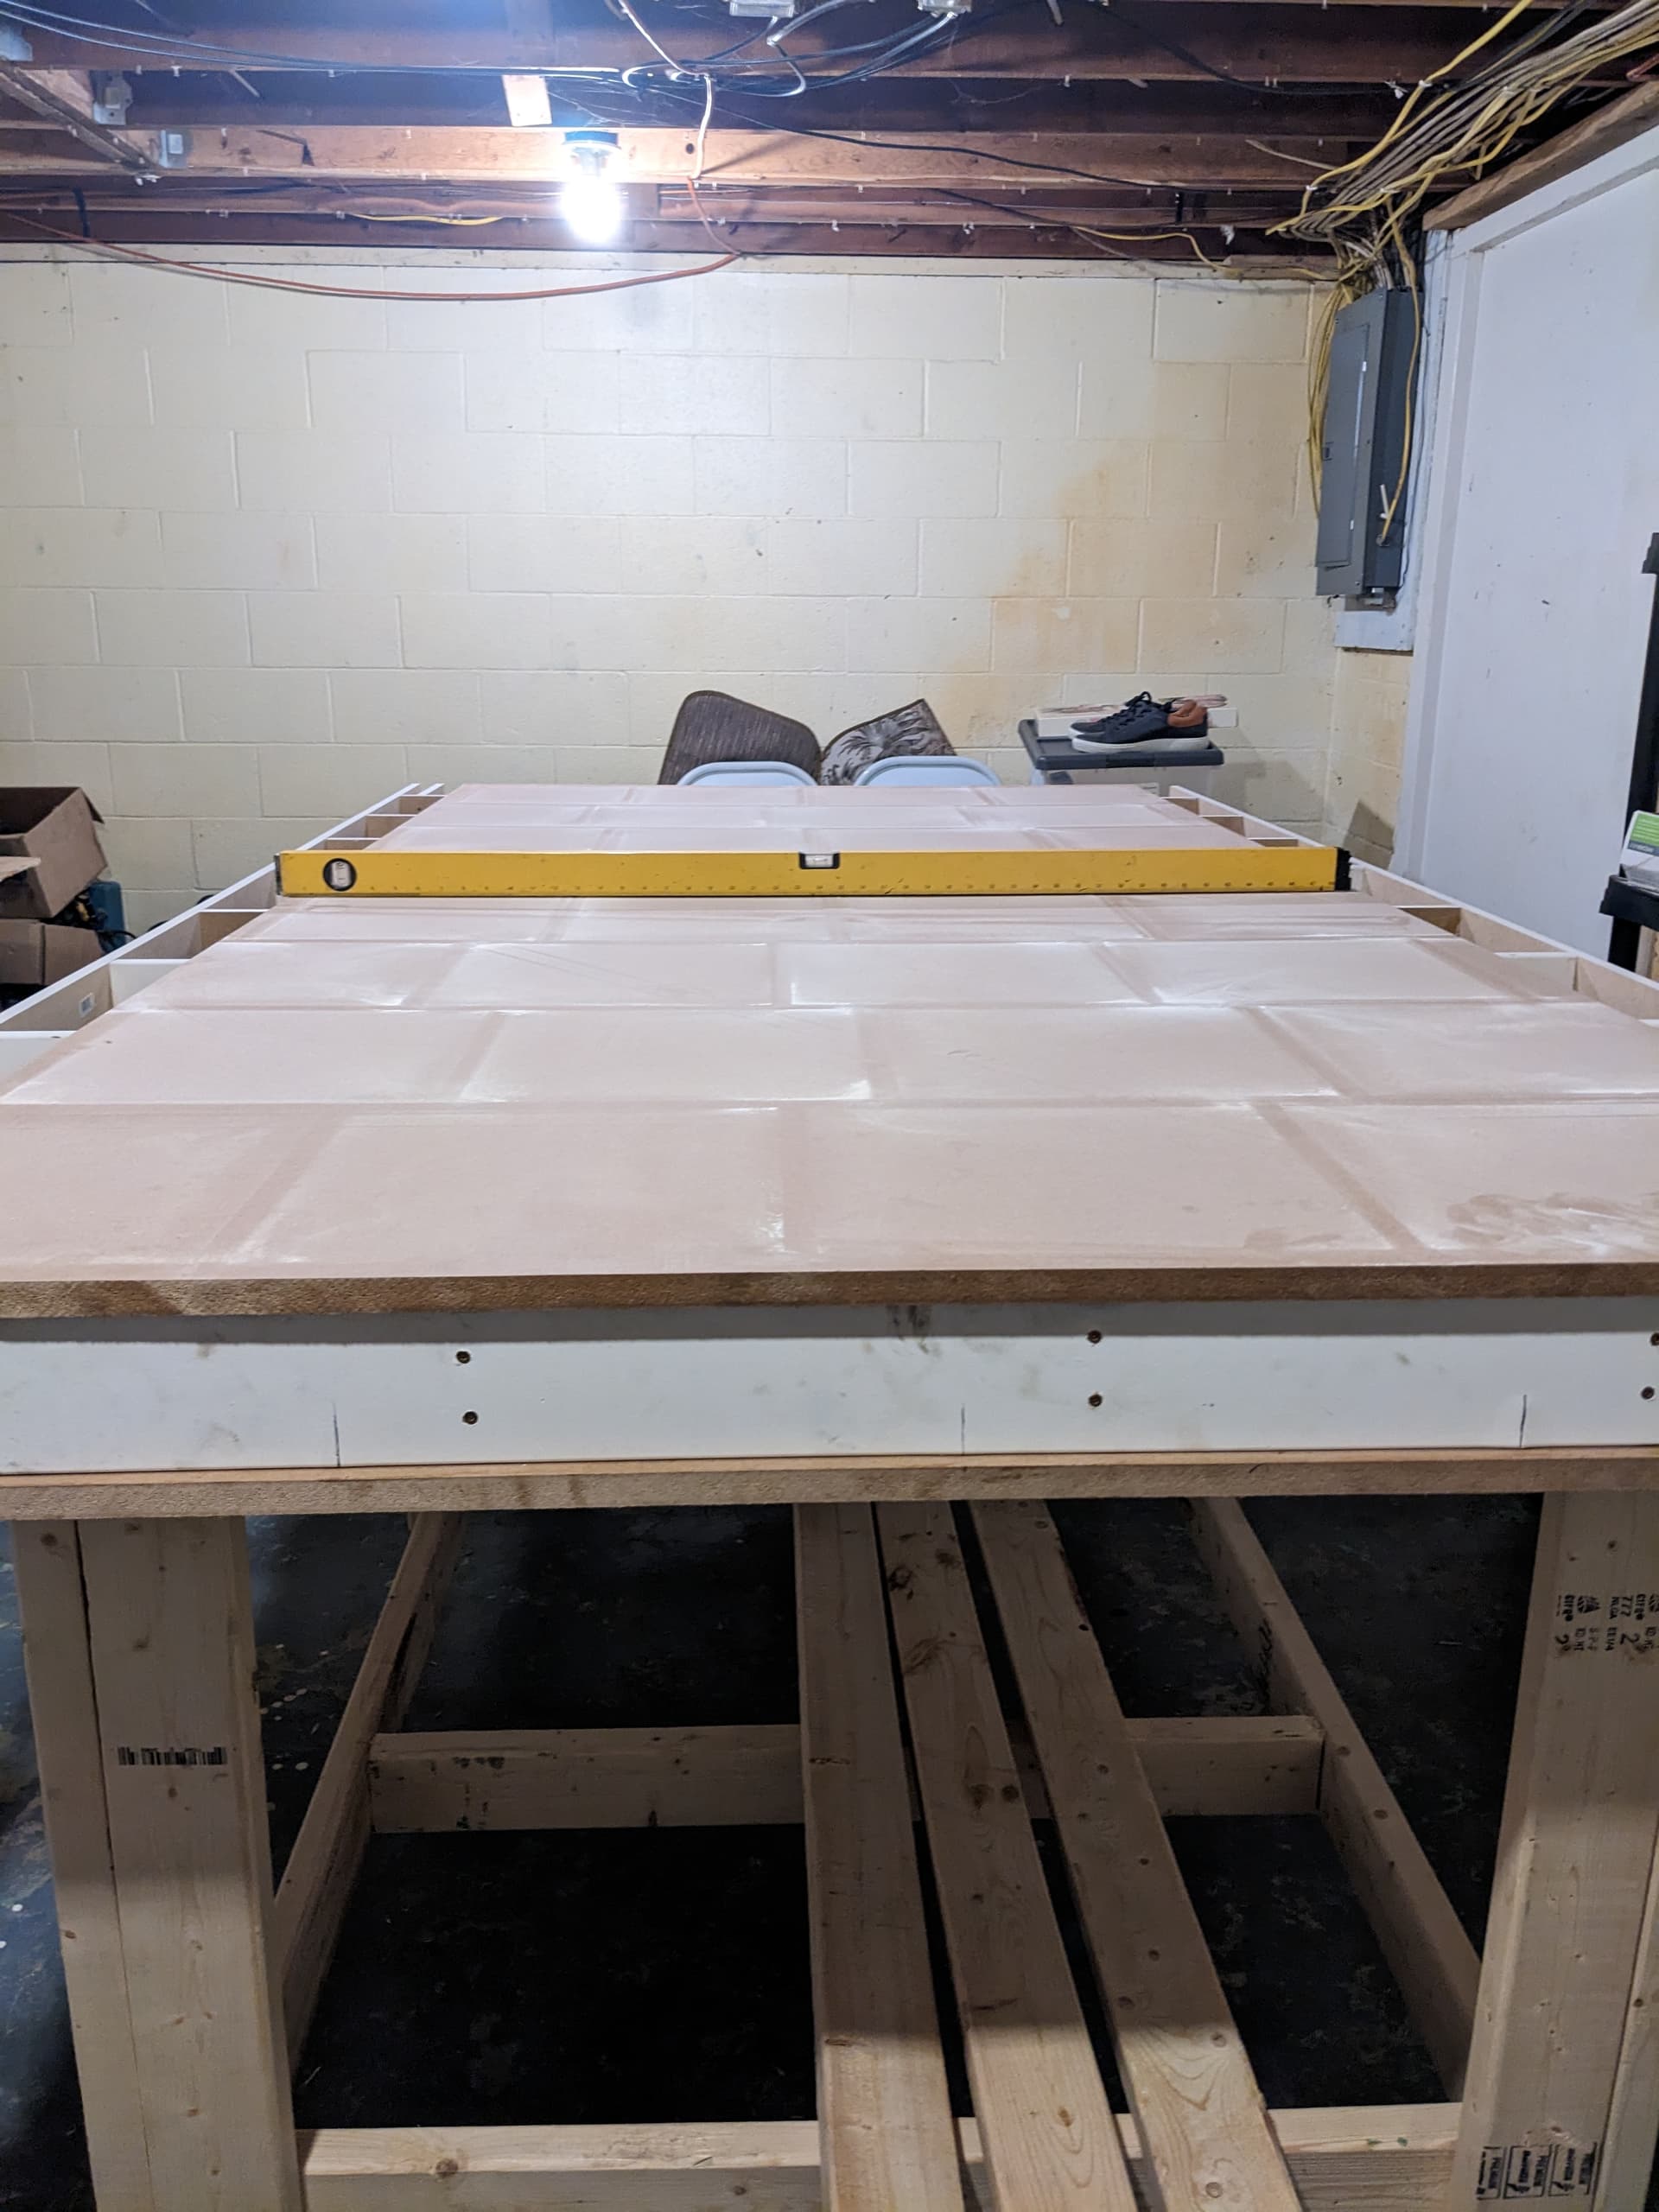
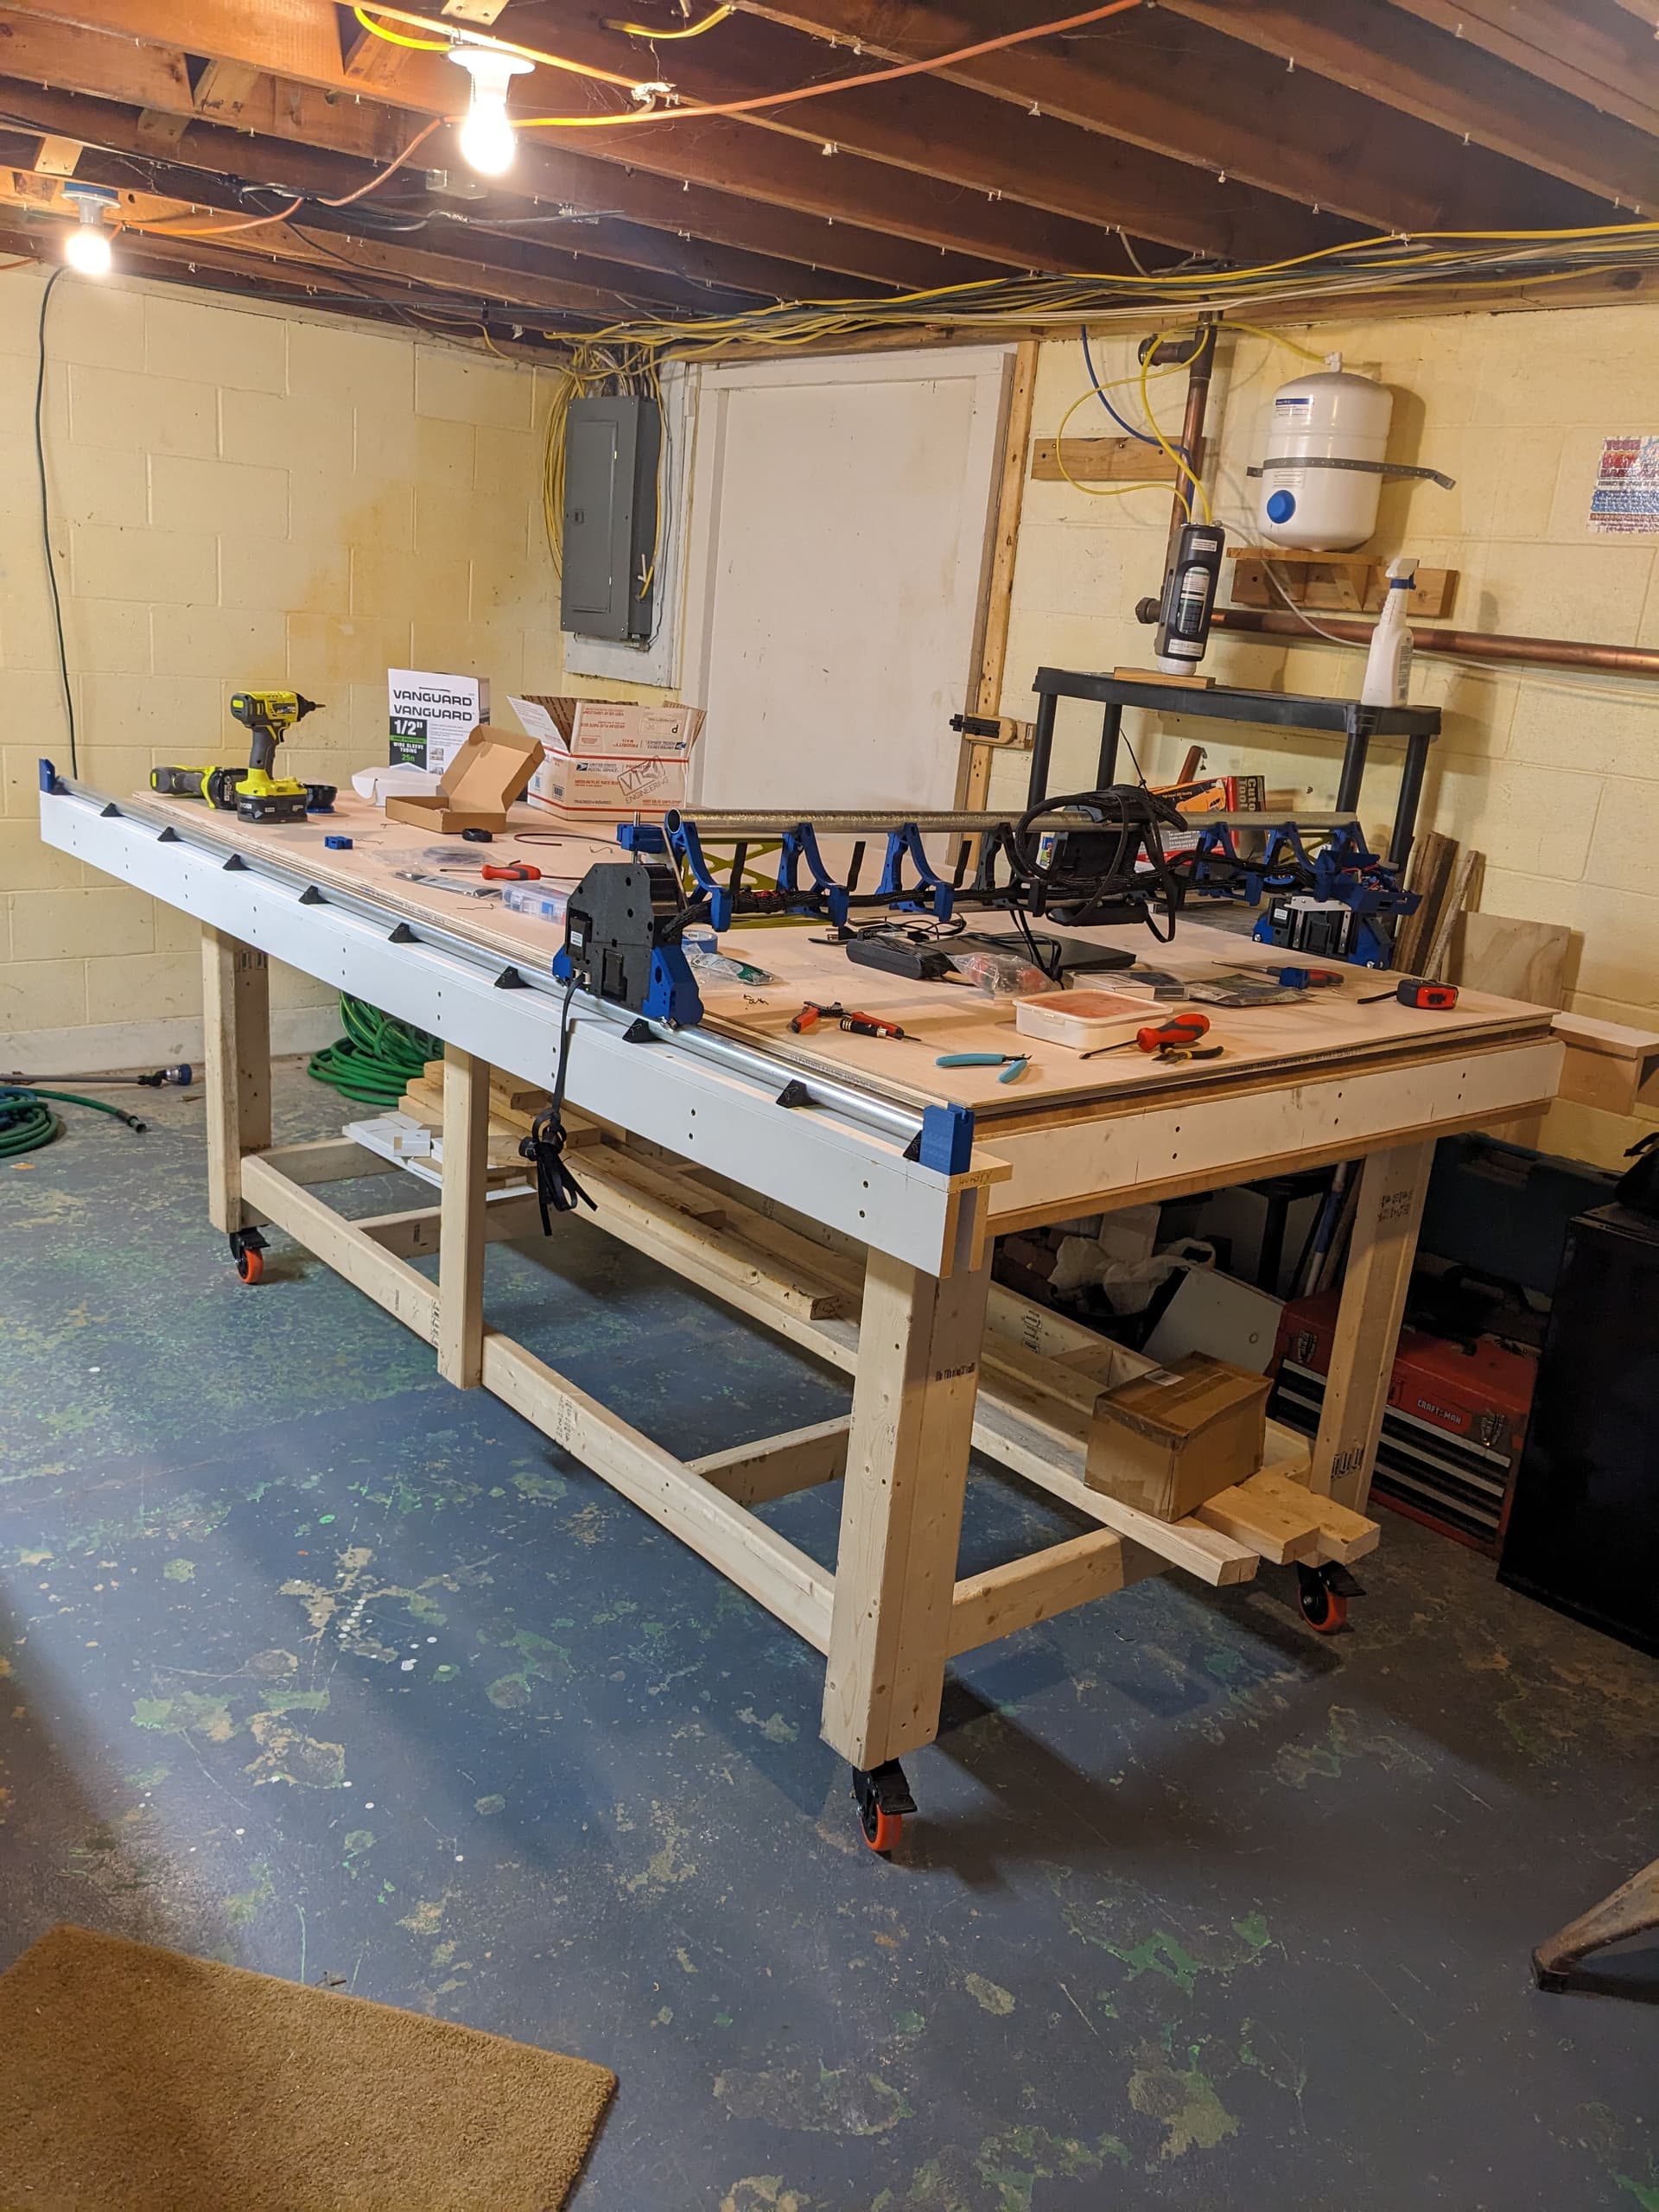
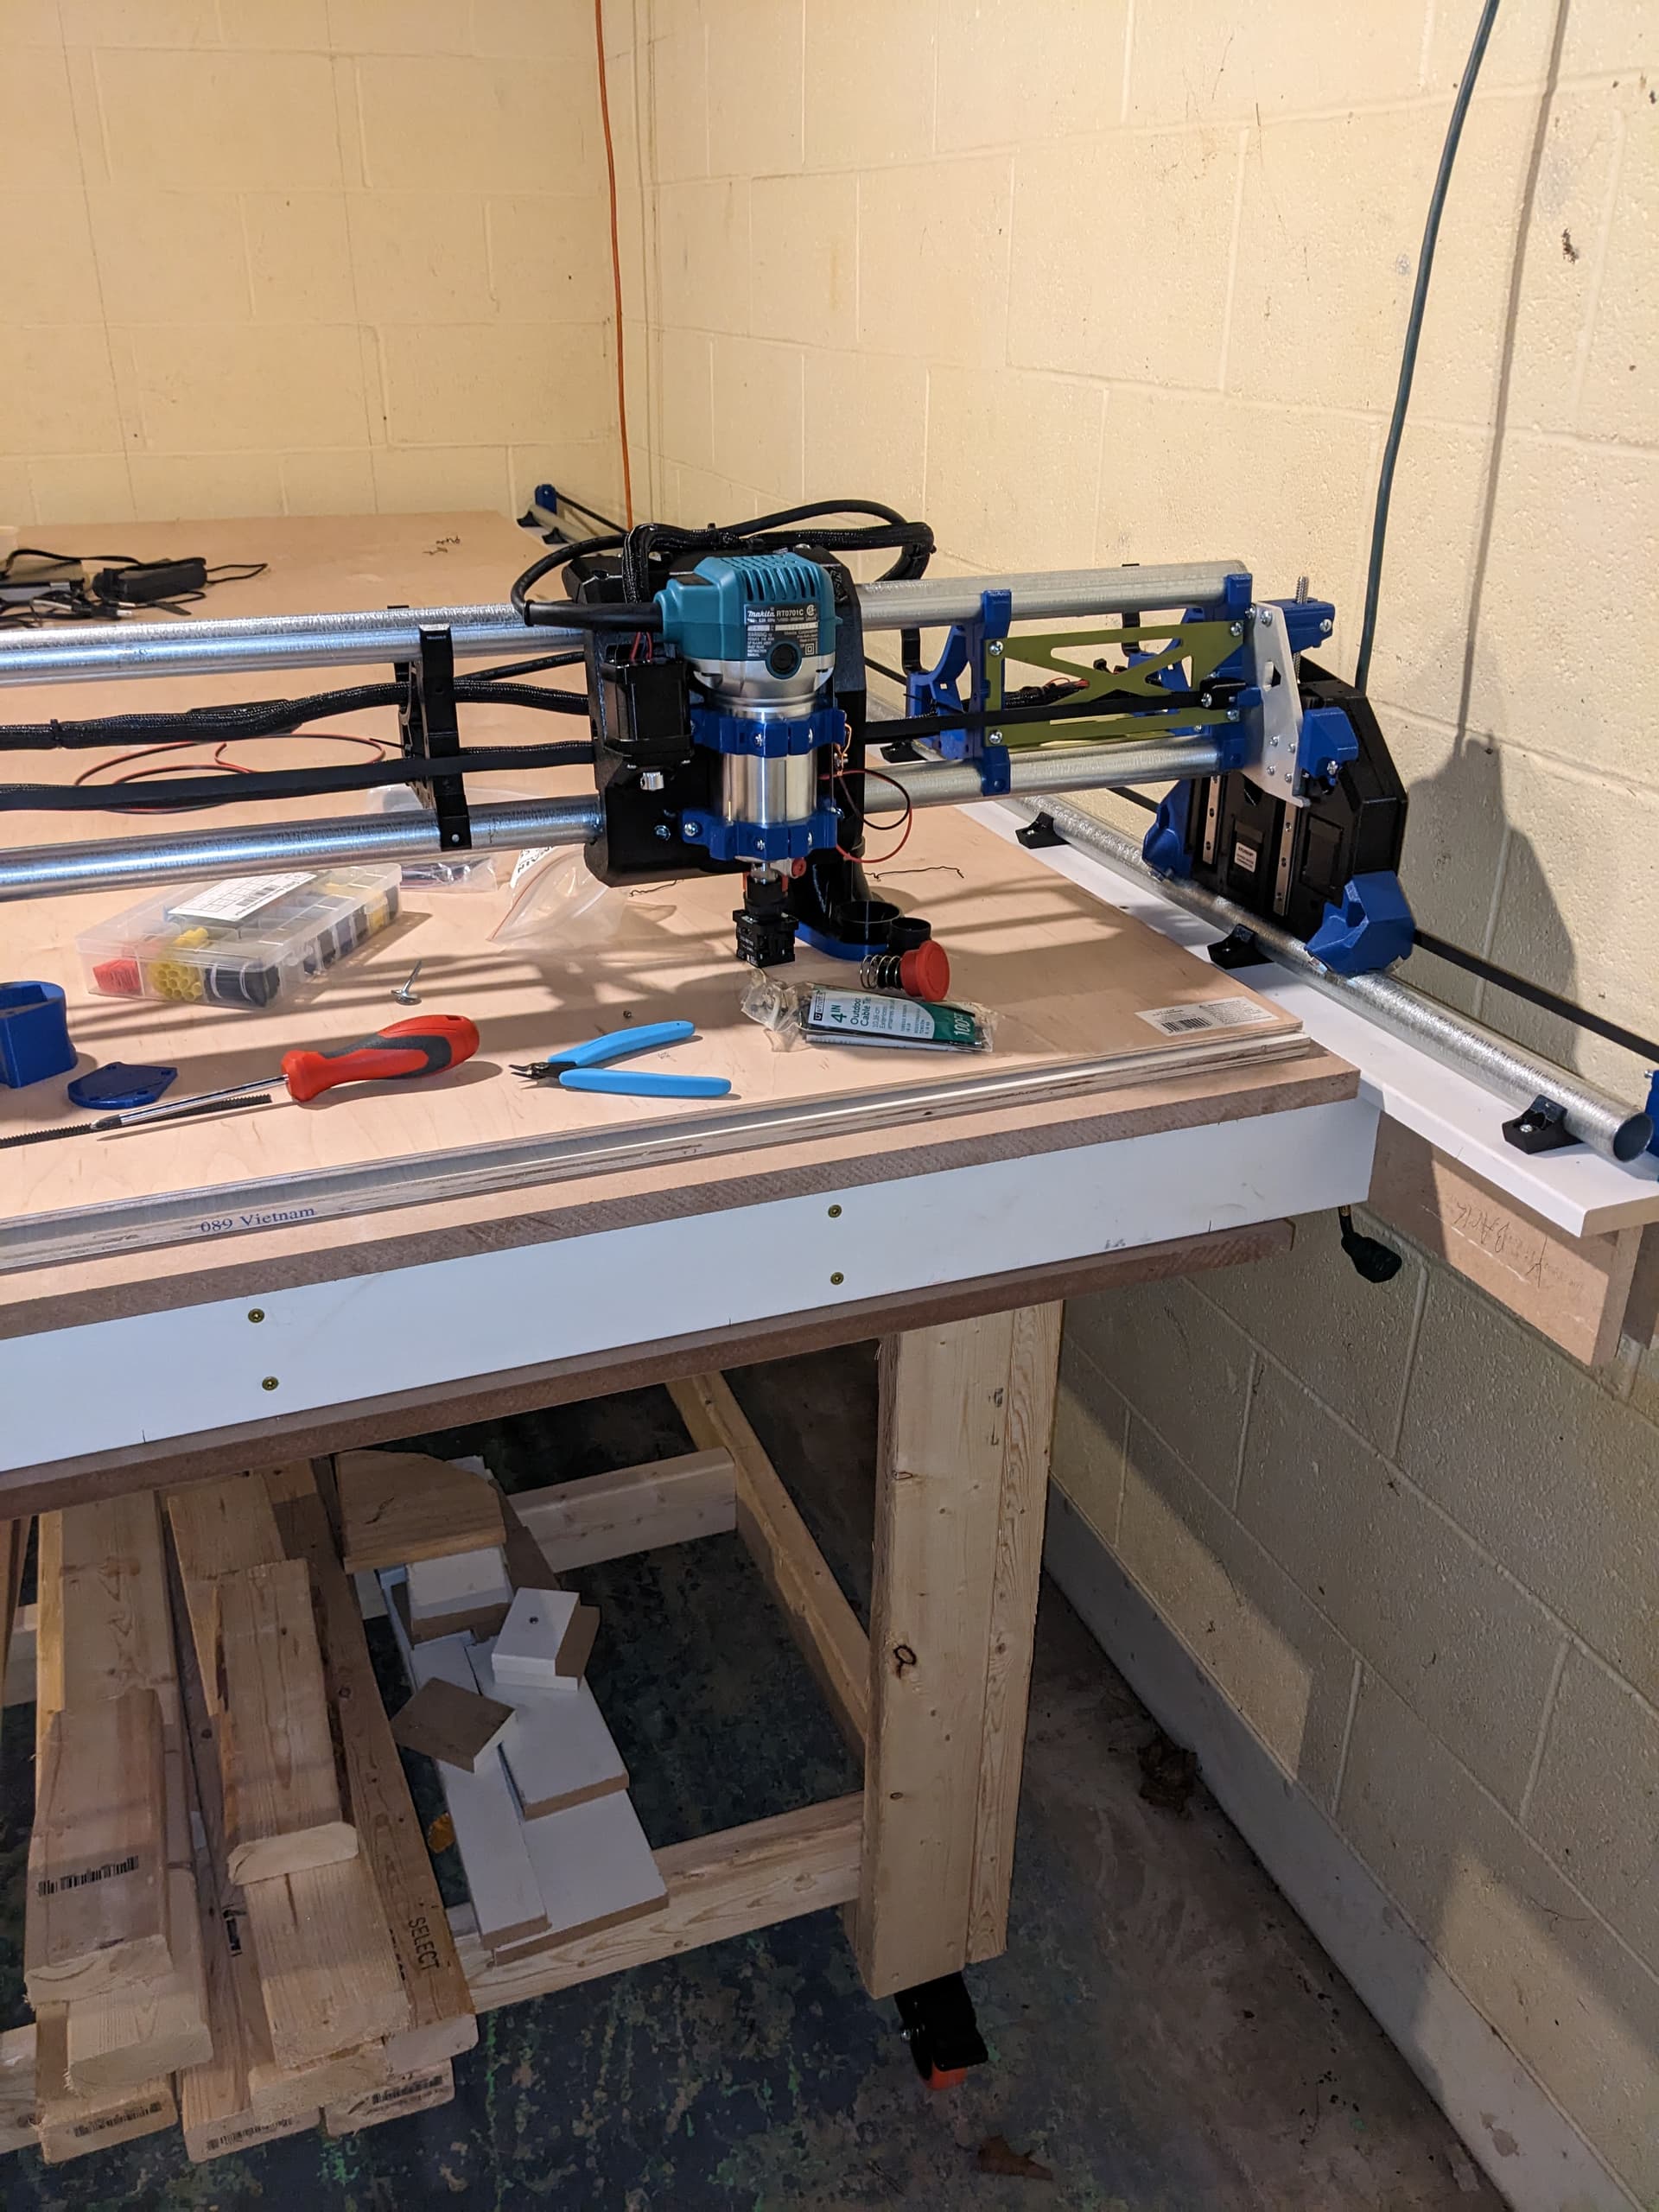
Anyways, super excited to join the community. I’ve had little exposure to CNCing and am excited to experiment with the LR4. Over the past week, I’ve 3d printed all the parts, built the bottom frame, and a MDF table top. The assembly of the LR4 components are super detailed and I’m very impressed with all of the engineering and thought that has gone into this. At this point, I have the the XZ assemblies together and a portion of the core. Waiting on the touch probe before I finish the core. As for the table, still have to glue the final MDF top and the guide rails for the XZ plates and then it’s finished. Hoping to start actually assembling the CNC on the table top on Sunday!
Regarding spoil boards, I was going to put a second MDF sheet on top of the table top. I don’t know if that is redundant, but I’m putting a good bit of effort into getting the table as flat as possible and assumed having to frequently (I guess frequently?) remove the table top, it may me with the squareness. I could be wrong, I’m a total noob here.
Apologize for the long winded post. I suppose I’m excited to have a project with a community. It’s been a dry and boring couple months.
Side note, I do not enjoy working with MDF as a material for construction. I had a handful of issues with my MDF boards splitting, but the wood glue+screws should still be good enough. Yes, I did pilot holes. Must be a skill issue on my part.
I’m sure I’ll be adding more pictures as I go to this thread. Enjoy my pictures thus far.
I wish it felt clever! lol. I had a horrible time with the MDF trim splitting. Someone recommended using brad nails - wish I would have thought of that earlier! I’ll be using brad nails to attach the top (and glue).
Appreciate the praise! Having a lot of fun so far.
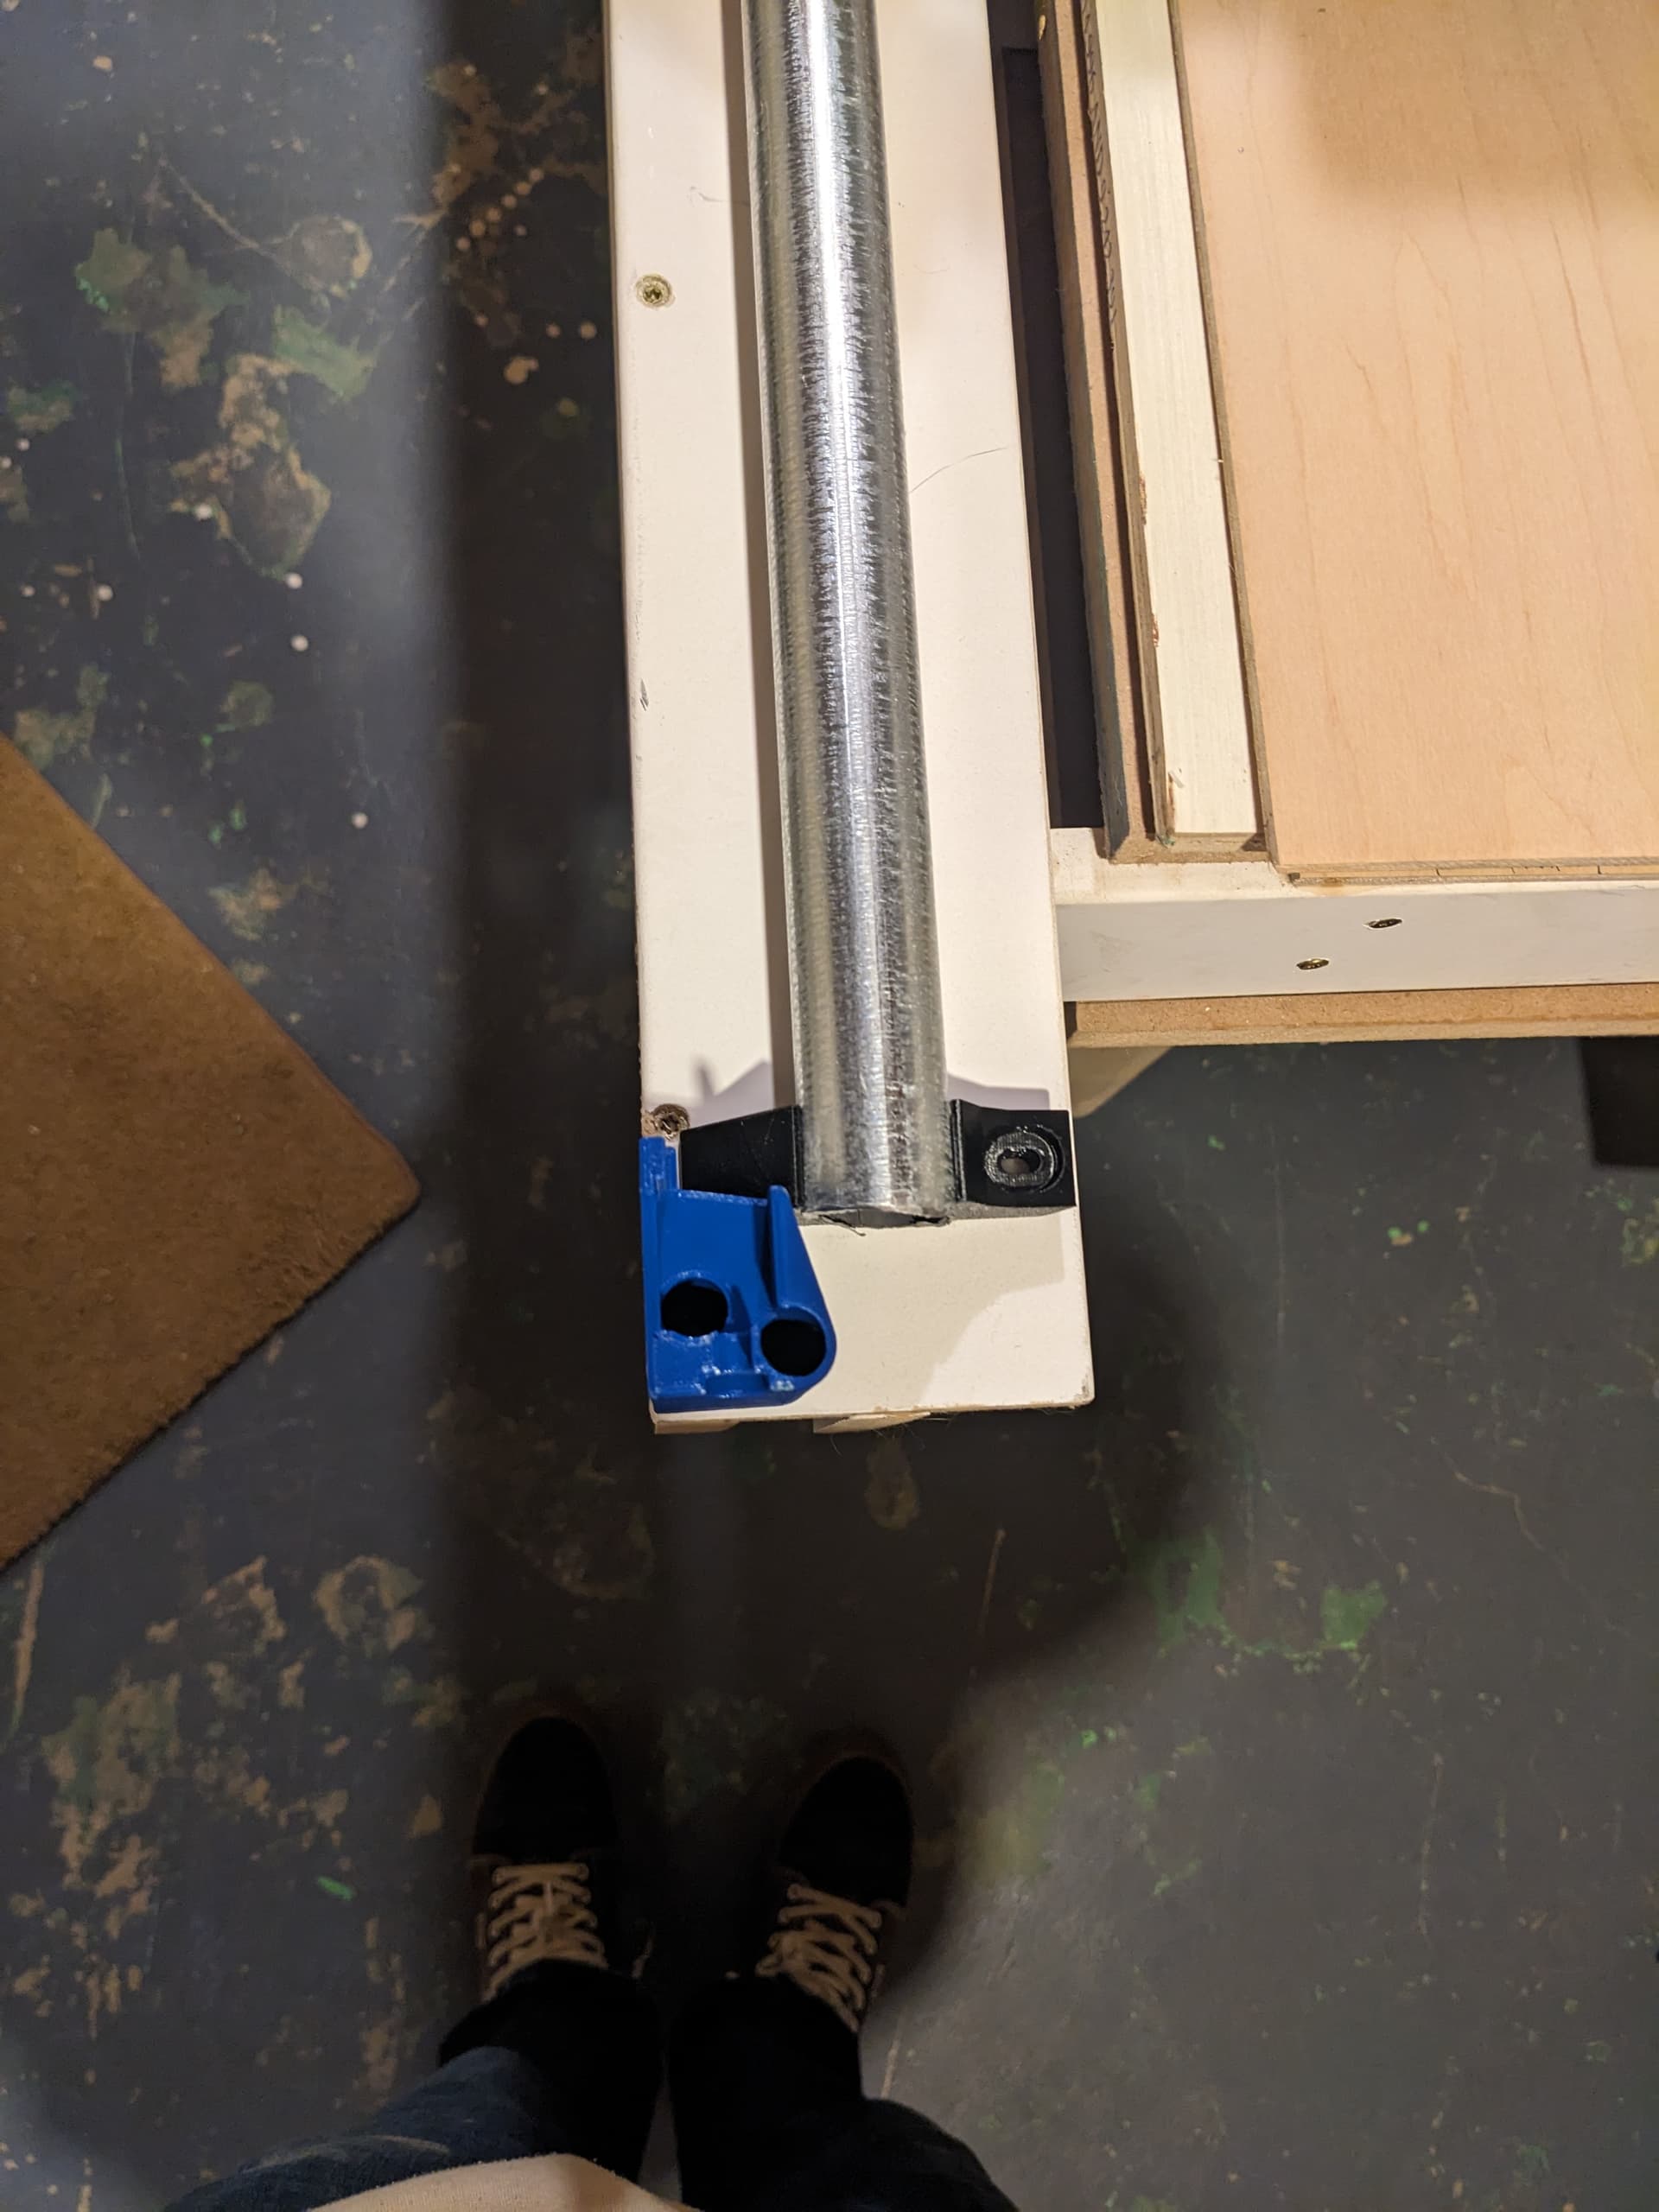
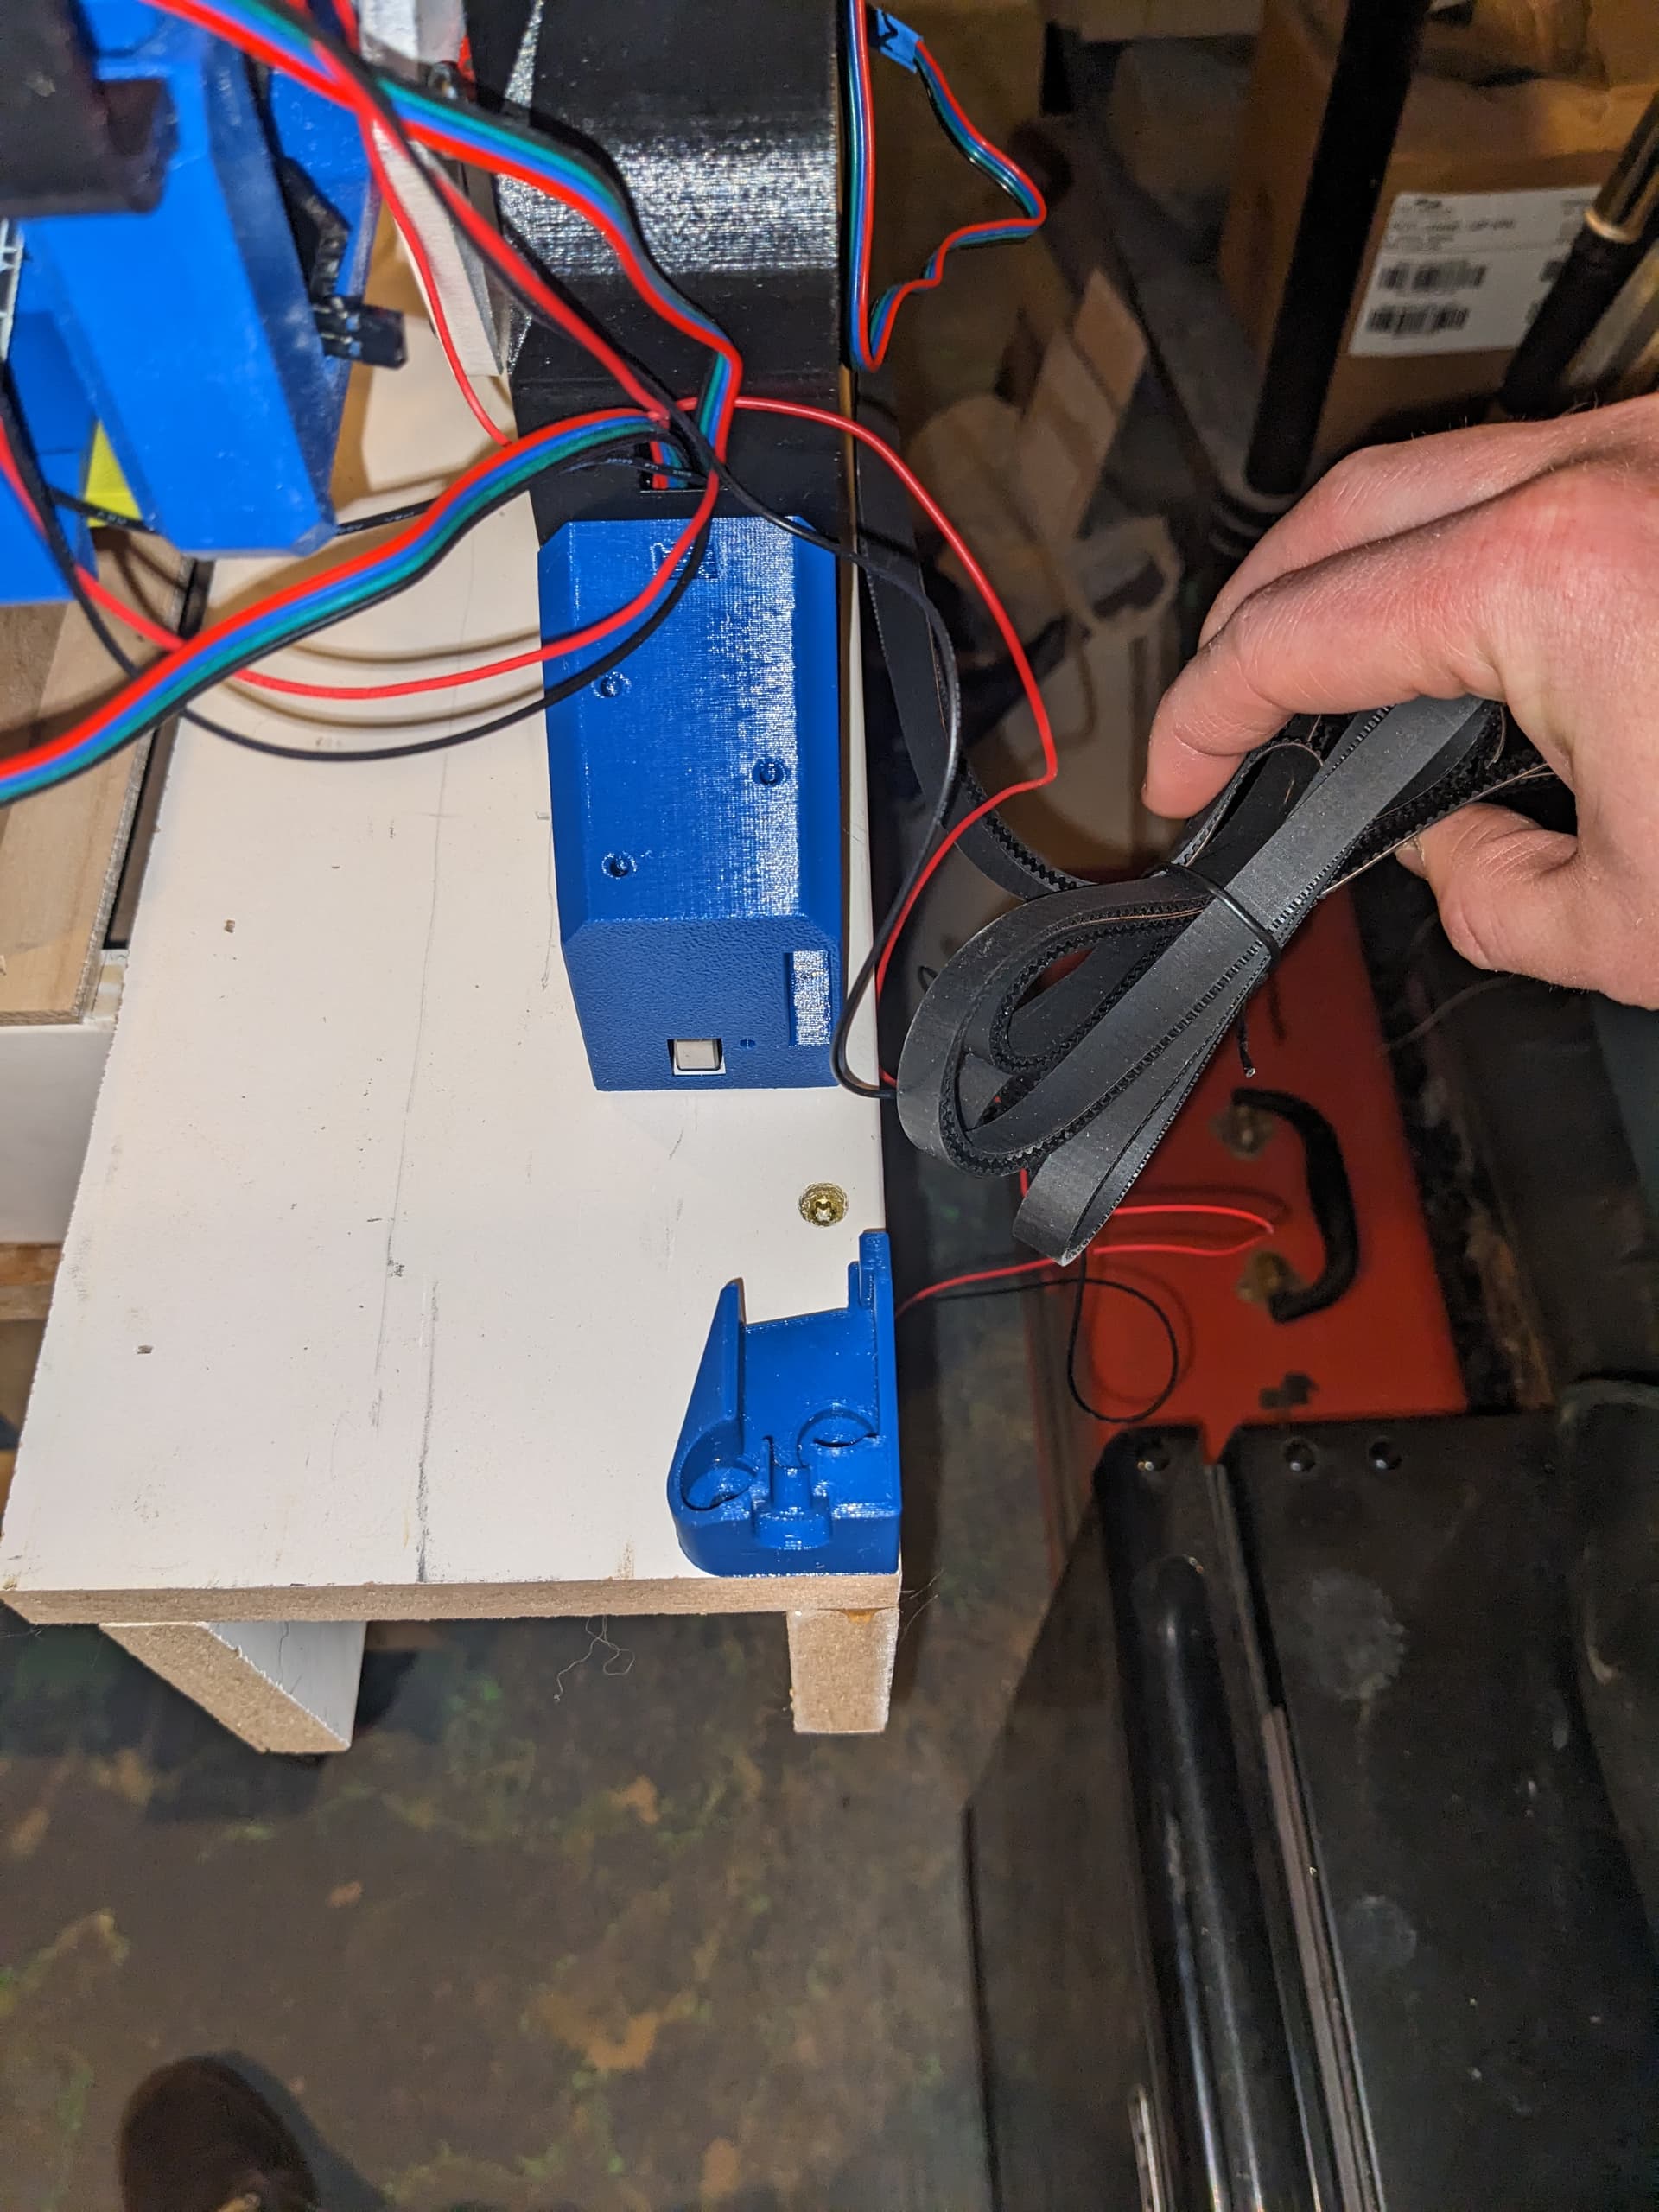
I believe my X axis is about a half inch too wide, unfortunately. Posting the pictures here for confirmation…The sides are within the table, but is it accurate to say that at these widths, the belts would be rubbing when the gantry nears either end?
EDIT: If you’re wondering why the y rail is on the more narrow piece of the table, I realized I put them backwards… Fortunately, the rail/tensioners will fit on the narrow side. Just think I need to bring the other side in a bit for belt clearance.
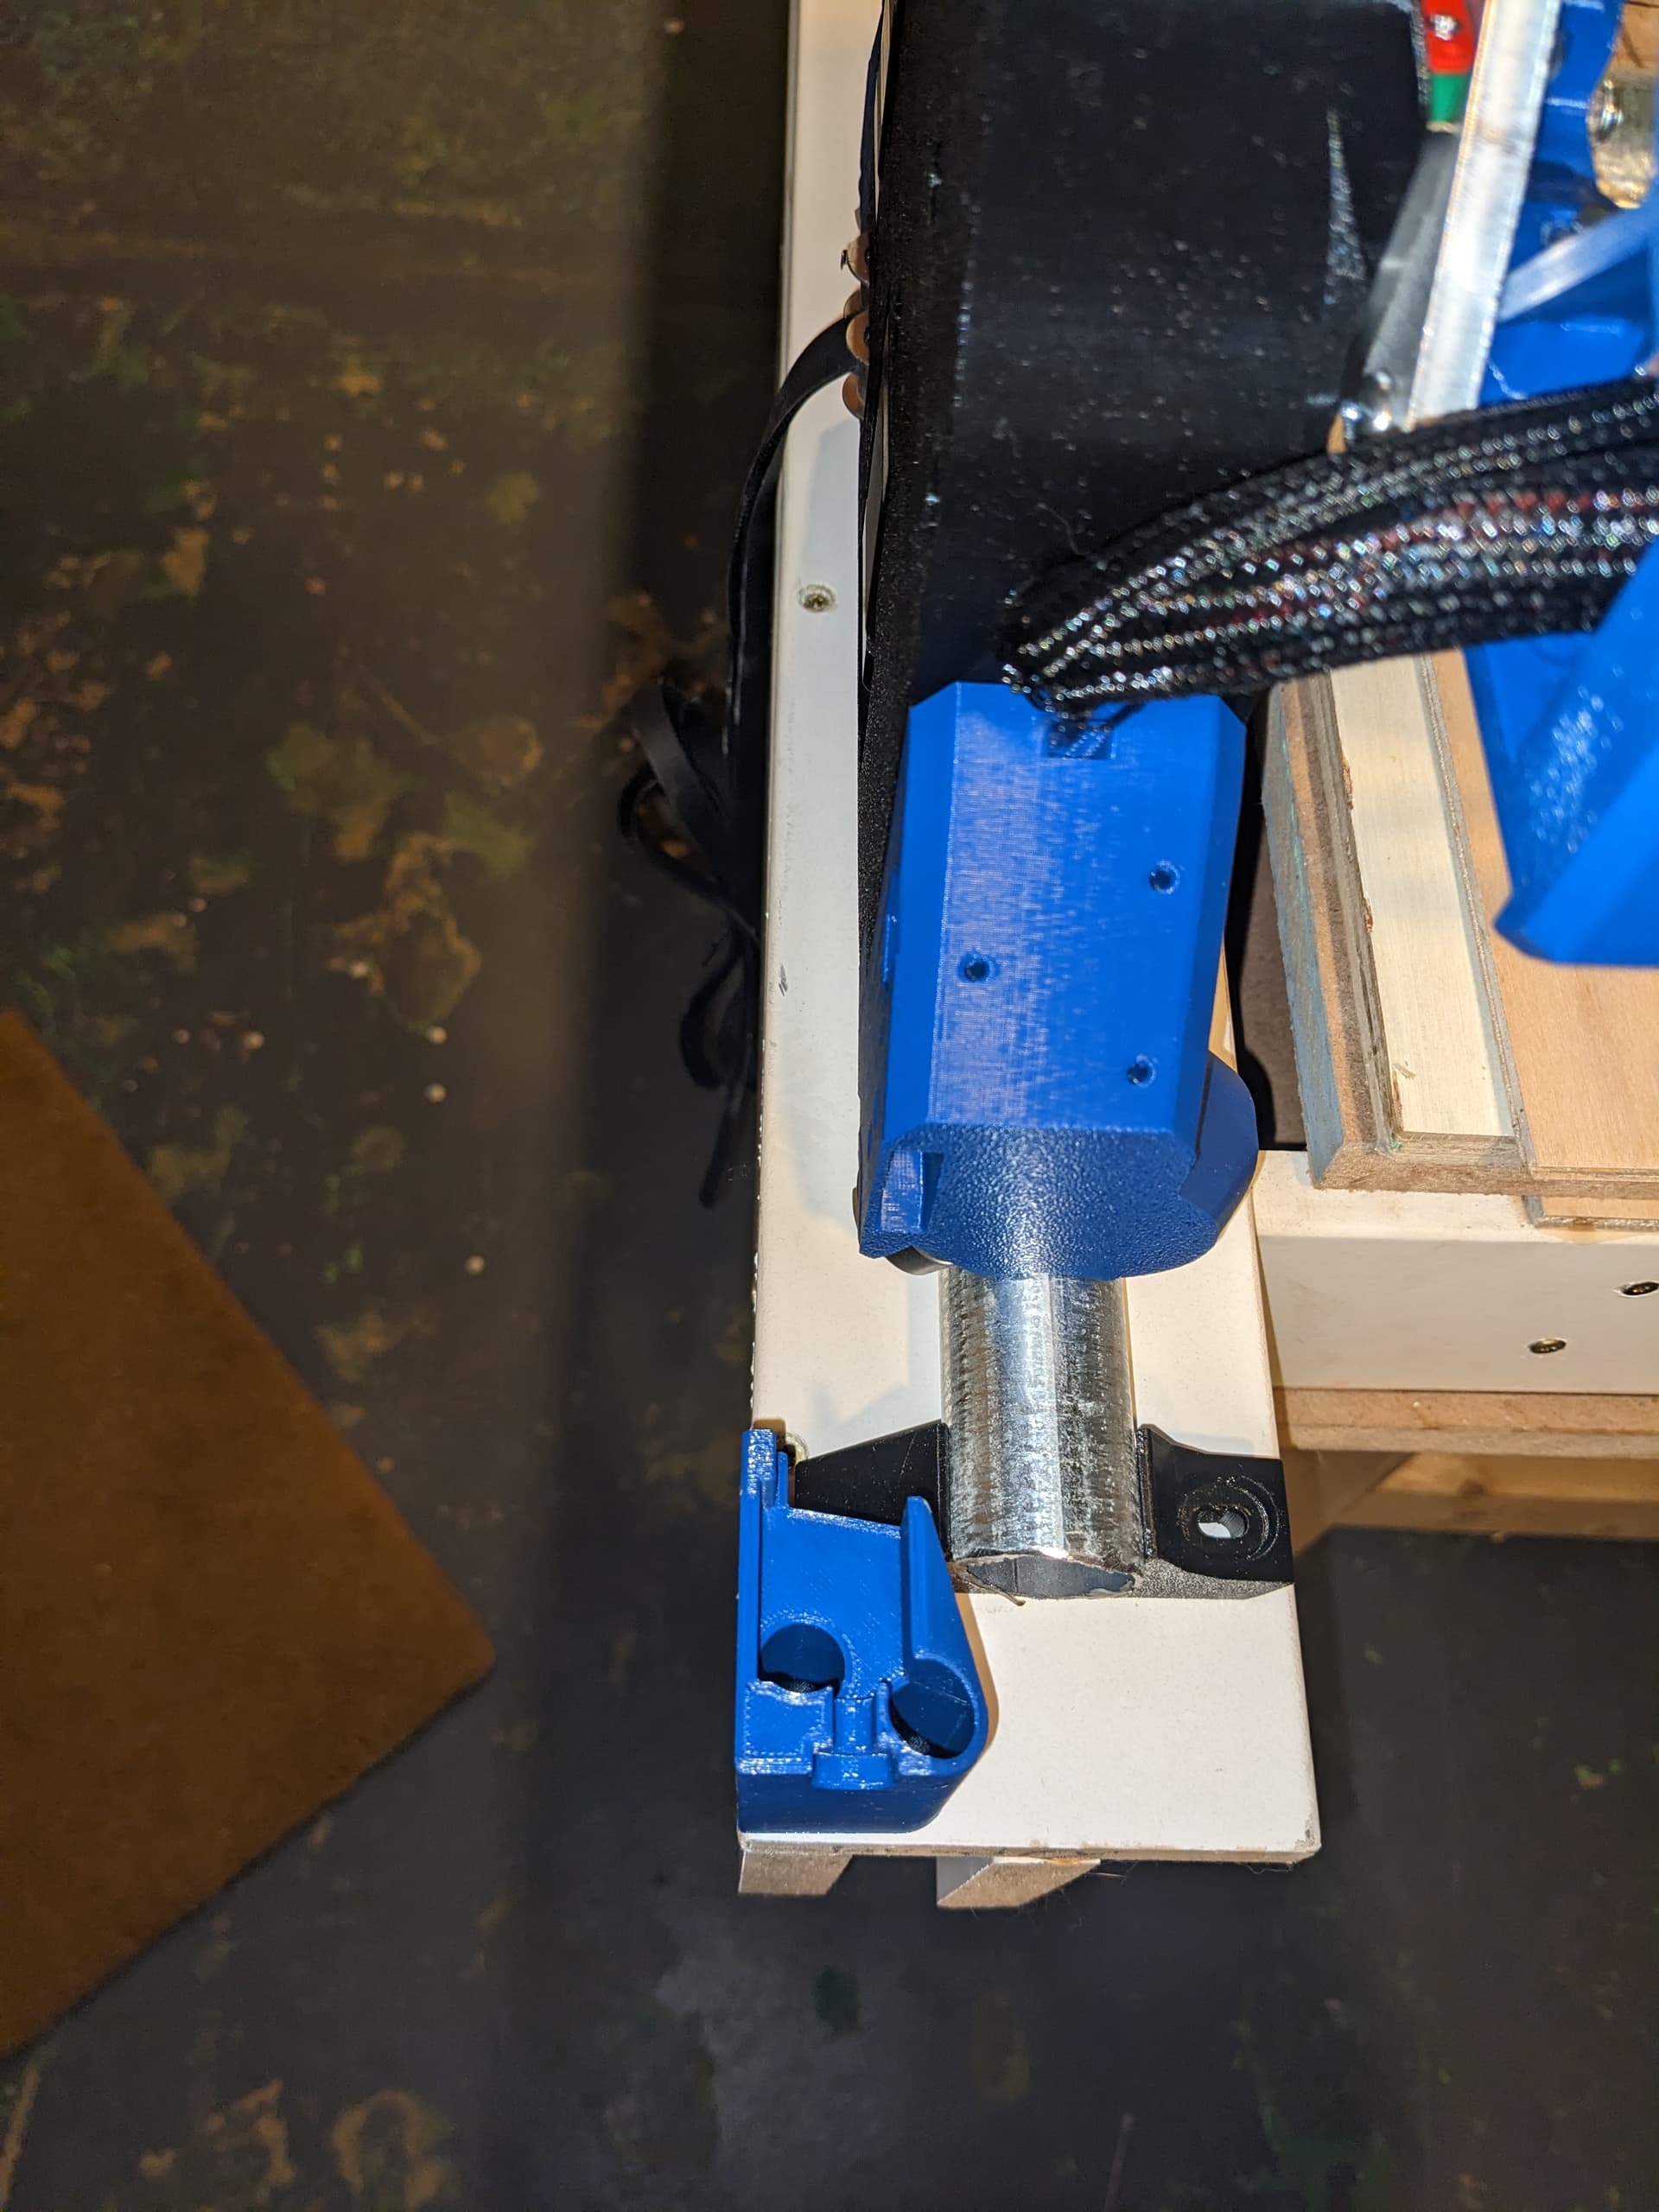
I was able to get it to fit properly! I will say, I’ve noticed my heel to toe isn’t quite right. I’m off by like 1/8 of an inch. The documentation just says the machine may wander when not in use. Is that the only negative of the heel to toe not being the same?
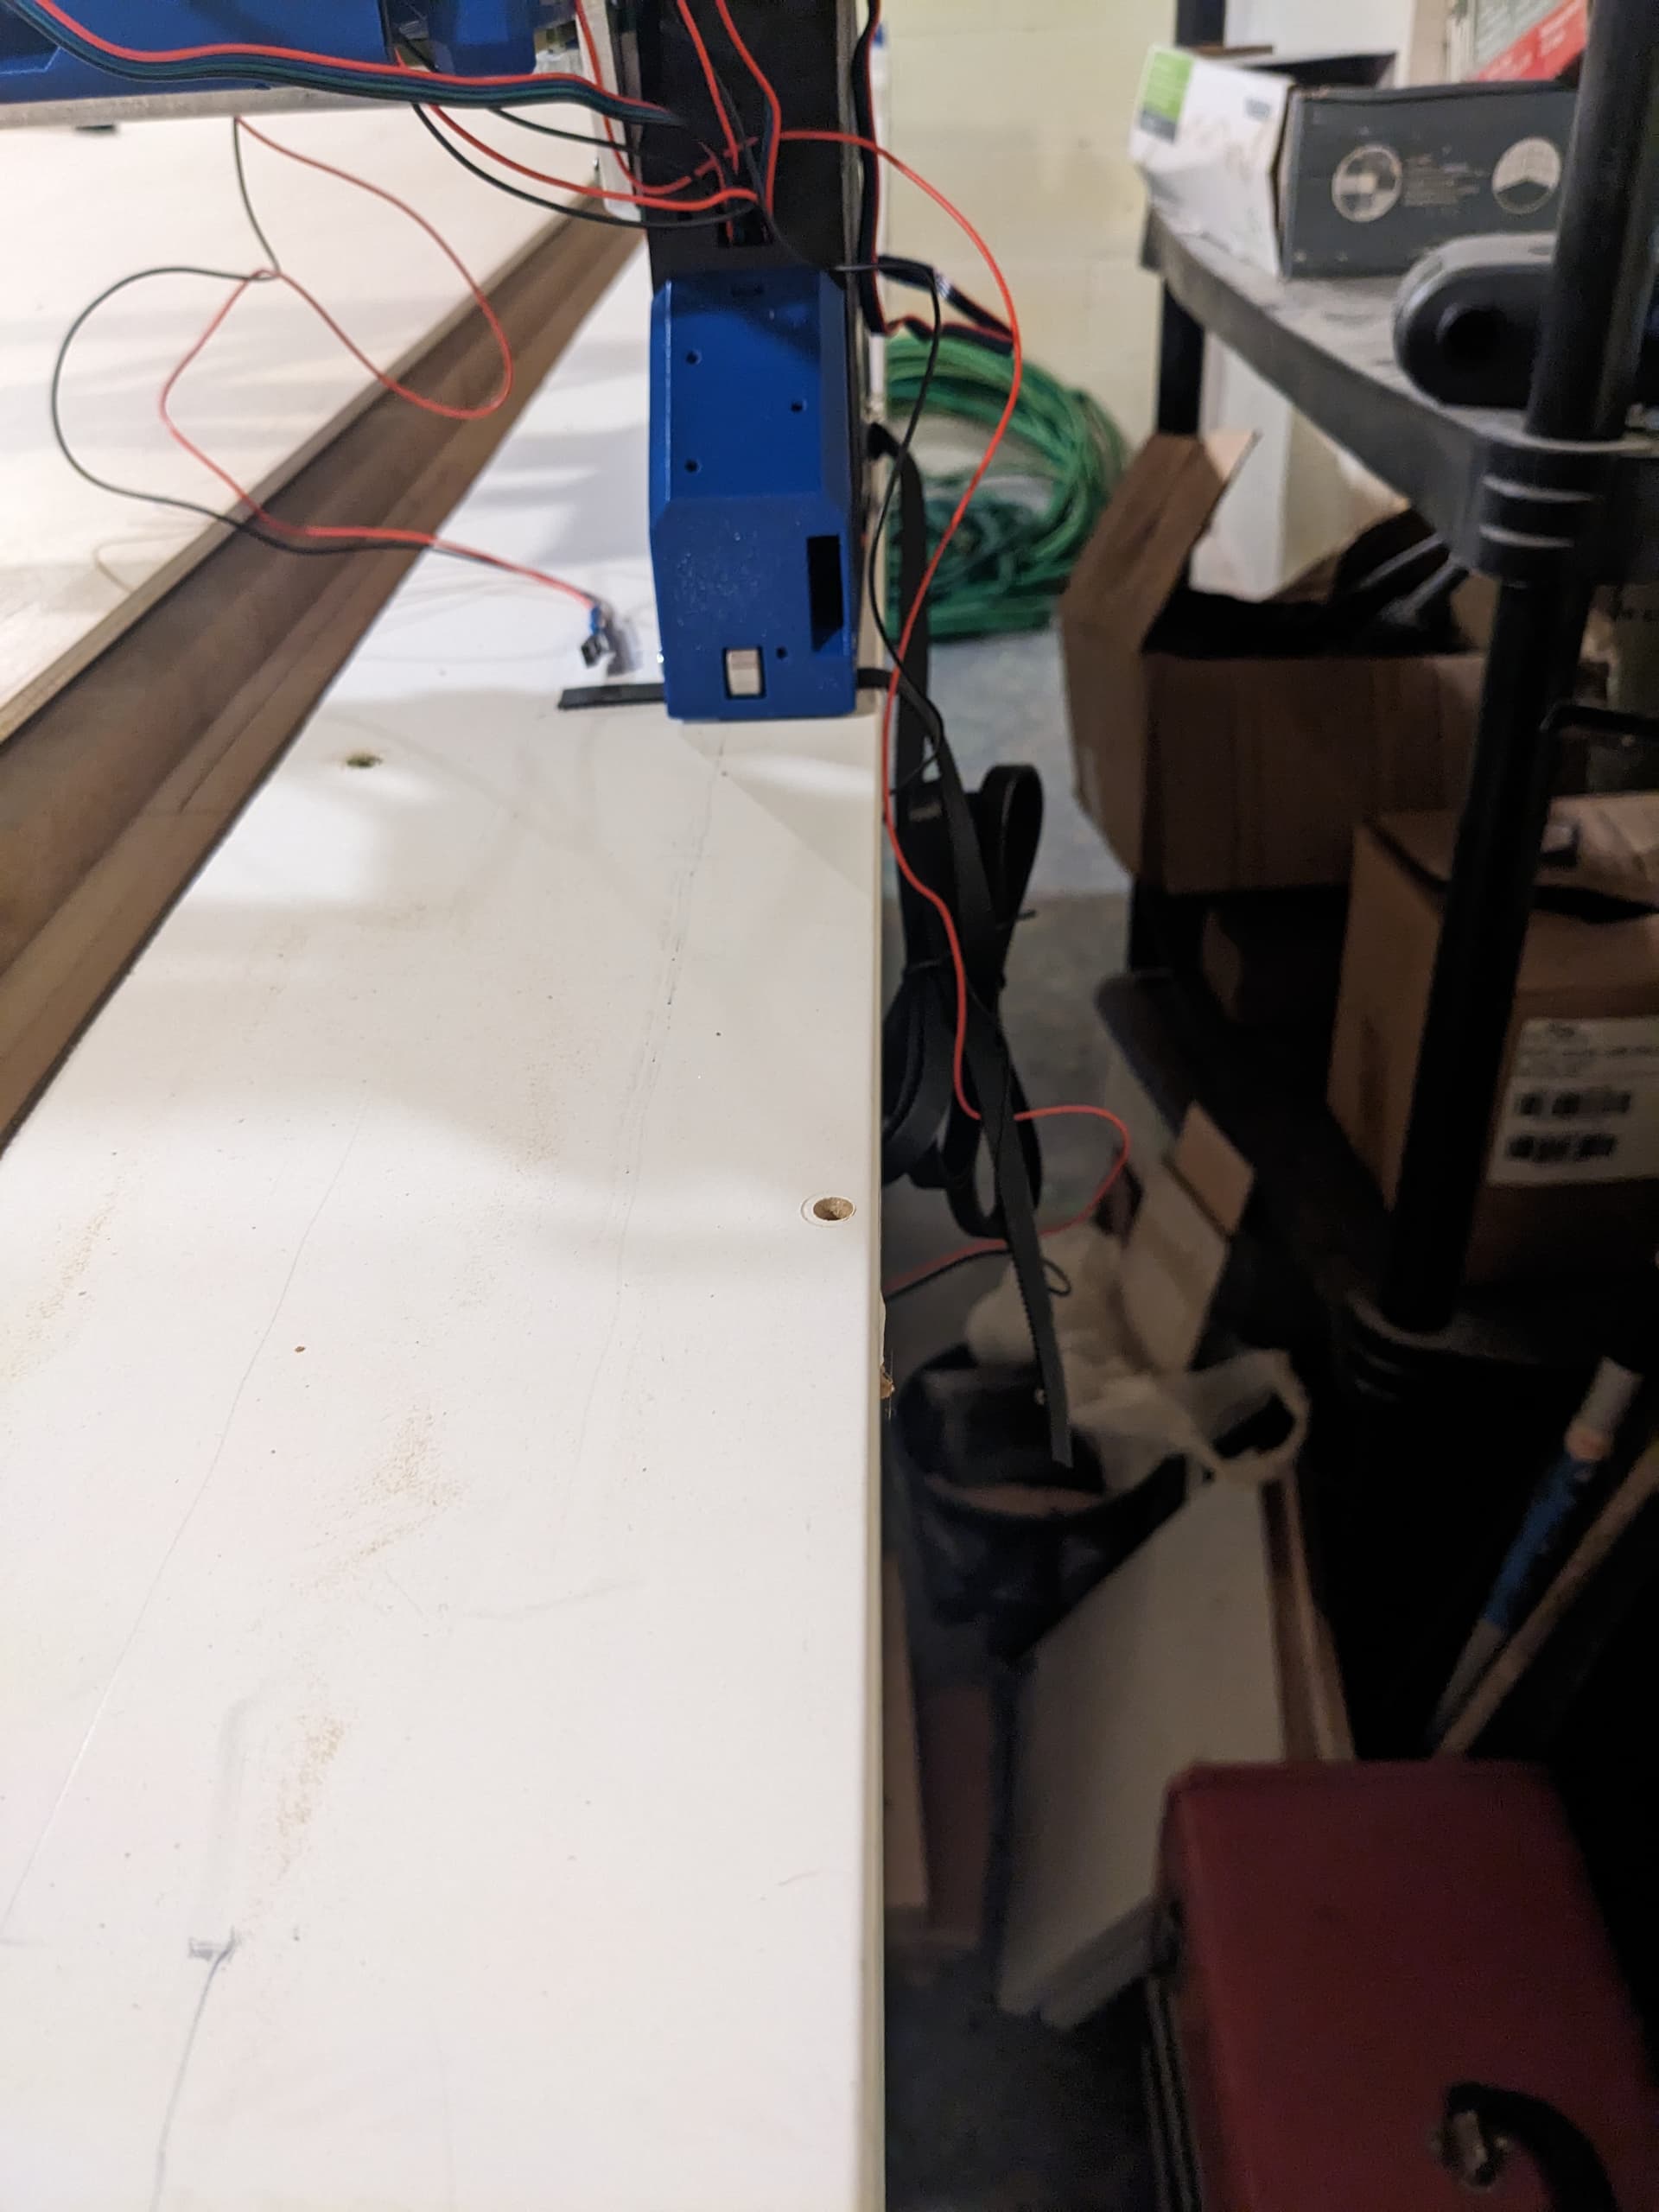
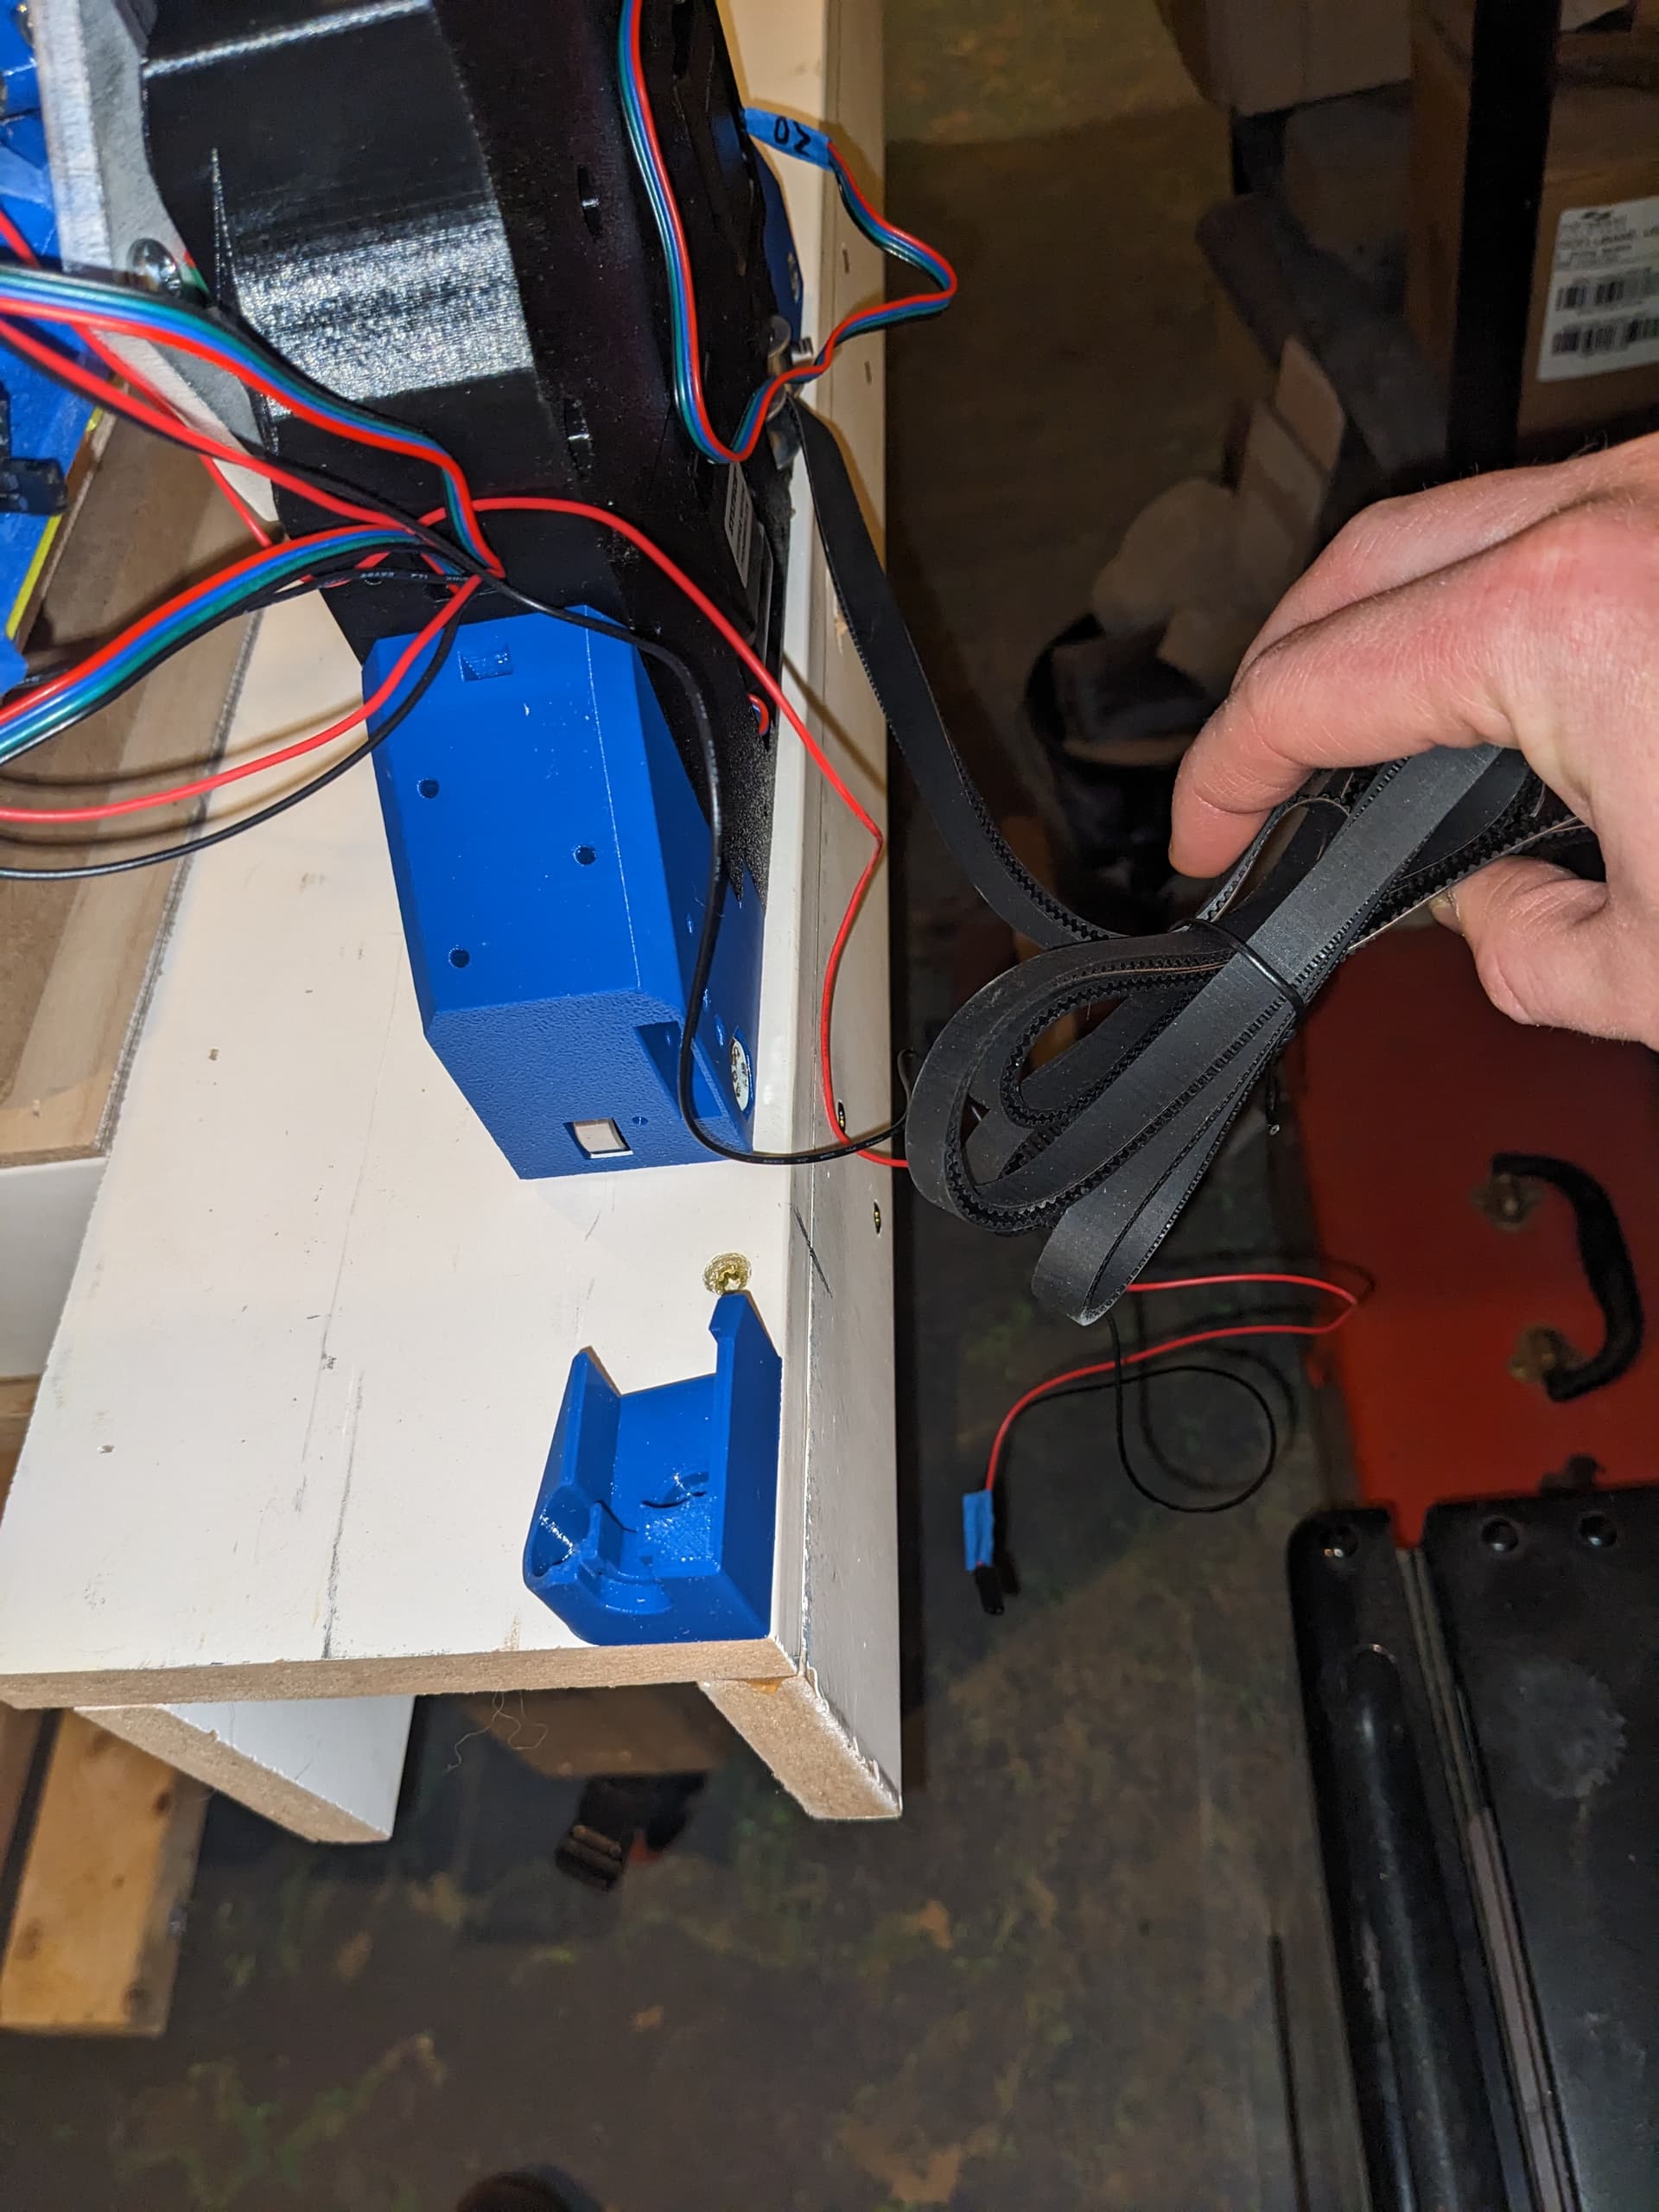
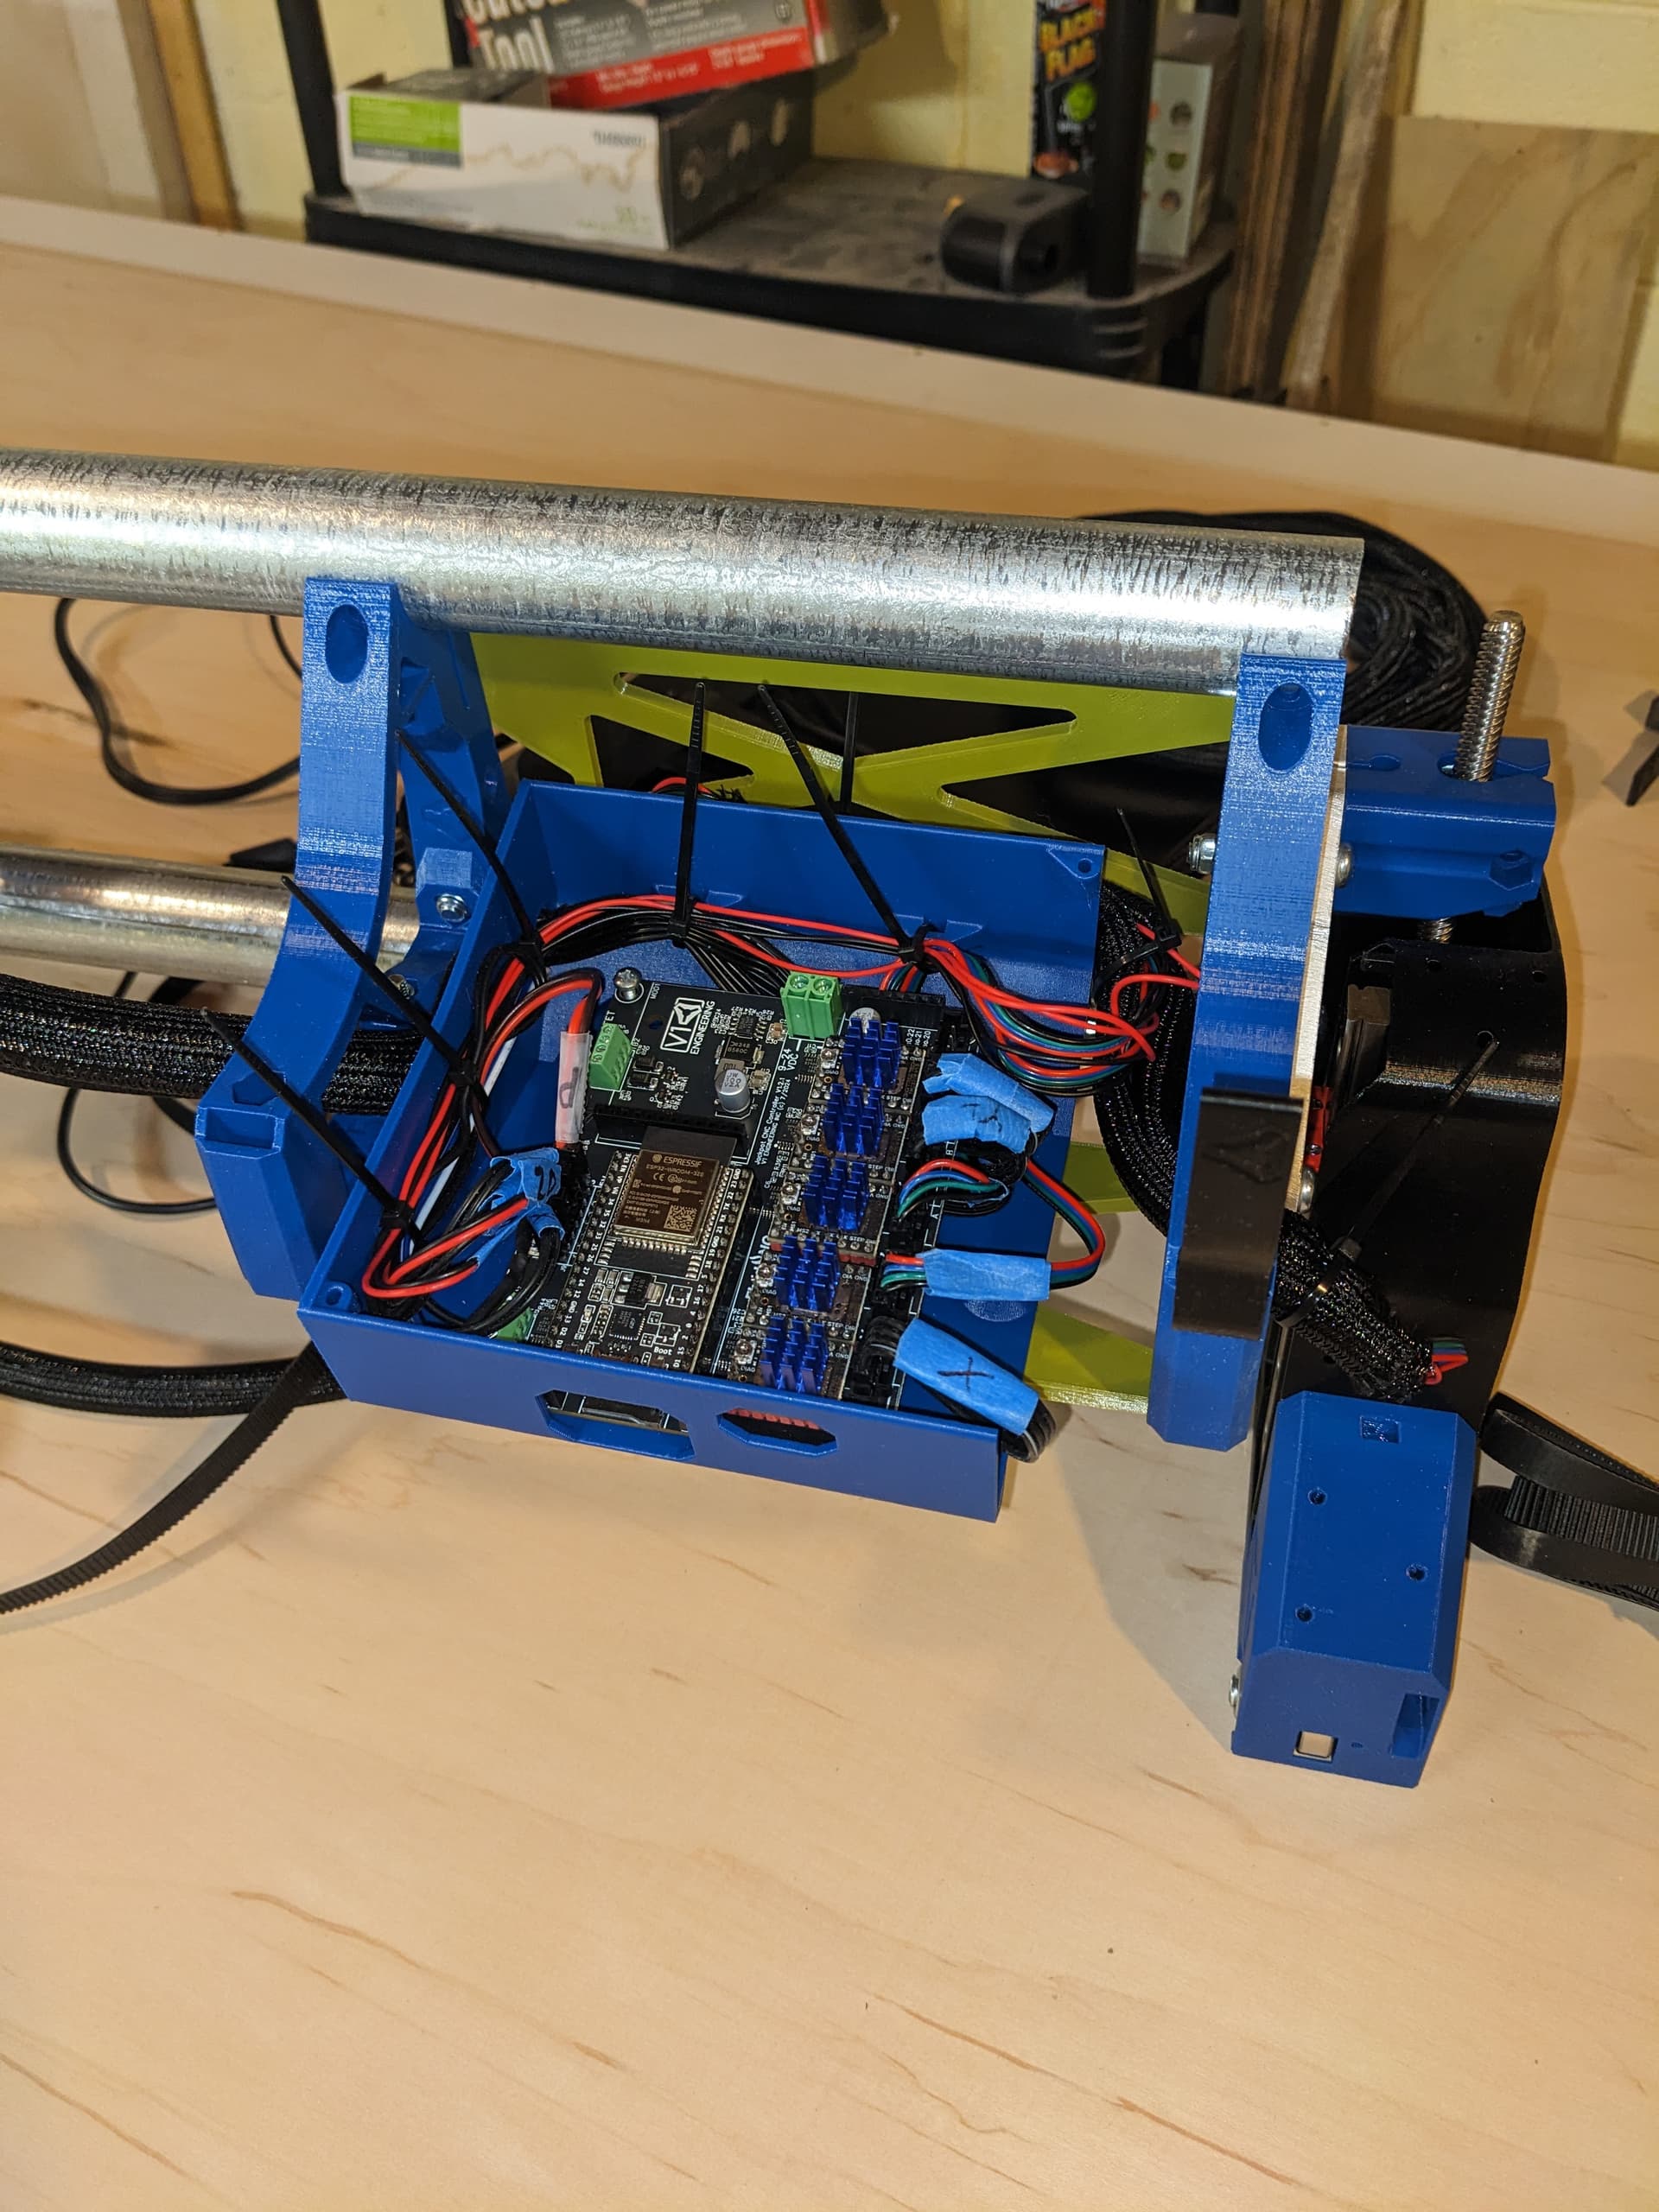
Added a picture of the visible heel to toe not being equal. Also posted the wiring (mostly) done and the y rail installed!
The heel-toe distances are reinforced by the struts, specifically the bottom ones. It beking out a little shouldnt cause massive problems with cutting the struts, so long as you still square the machine reasonably.
Do check that the tubes are not protruding past the braces on the ends, as this can cause other problems as well. The rail side YZ plate is most important that it be square to the gantry, or at least can be made square, as the rail itself is the reference for the Y axis. The other side can slide a bit, which is part of the reason for the skate bearing wheels.
Once you have the strut plates on, this should be fixed.
Thanks for the reply! Hoping to at least see the machine move tonight. Not sure if I’ll get to cutting the struts or not. Hopefully the installation of the struts fixes this! Will also check out the gantry pipes.
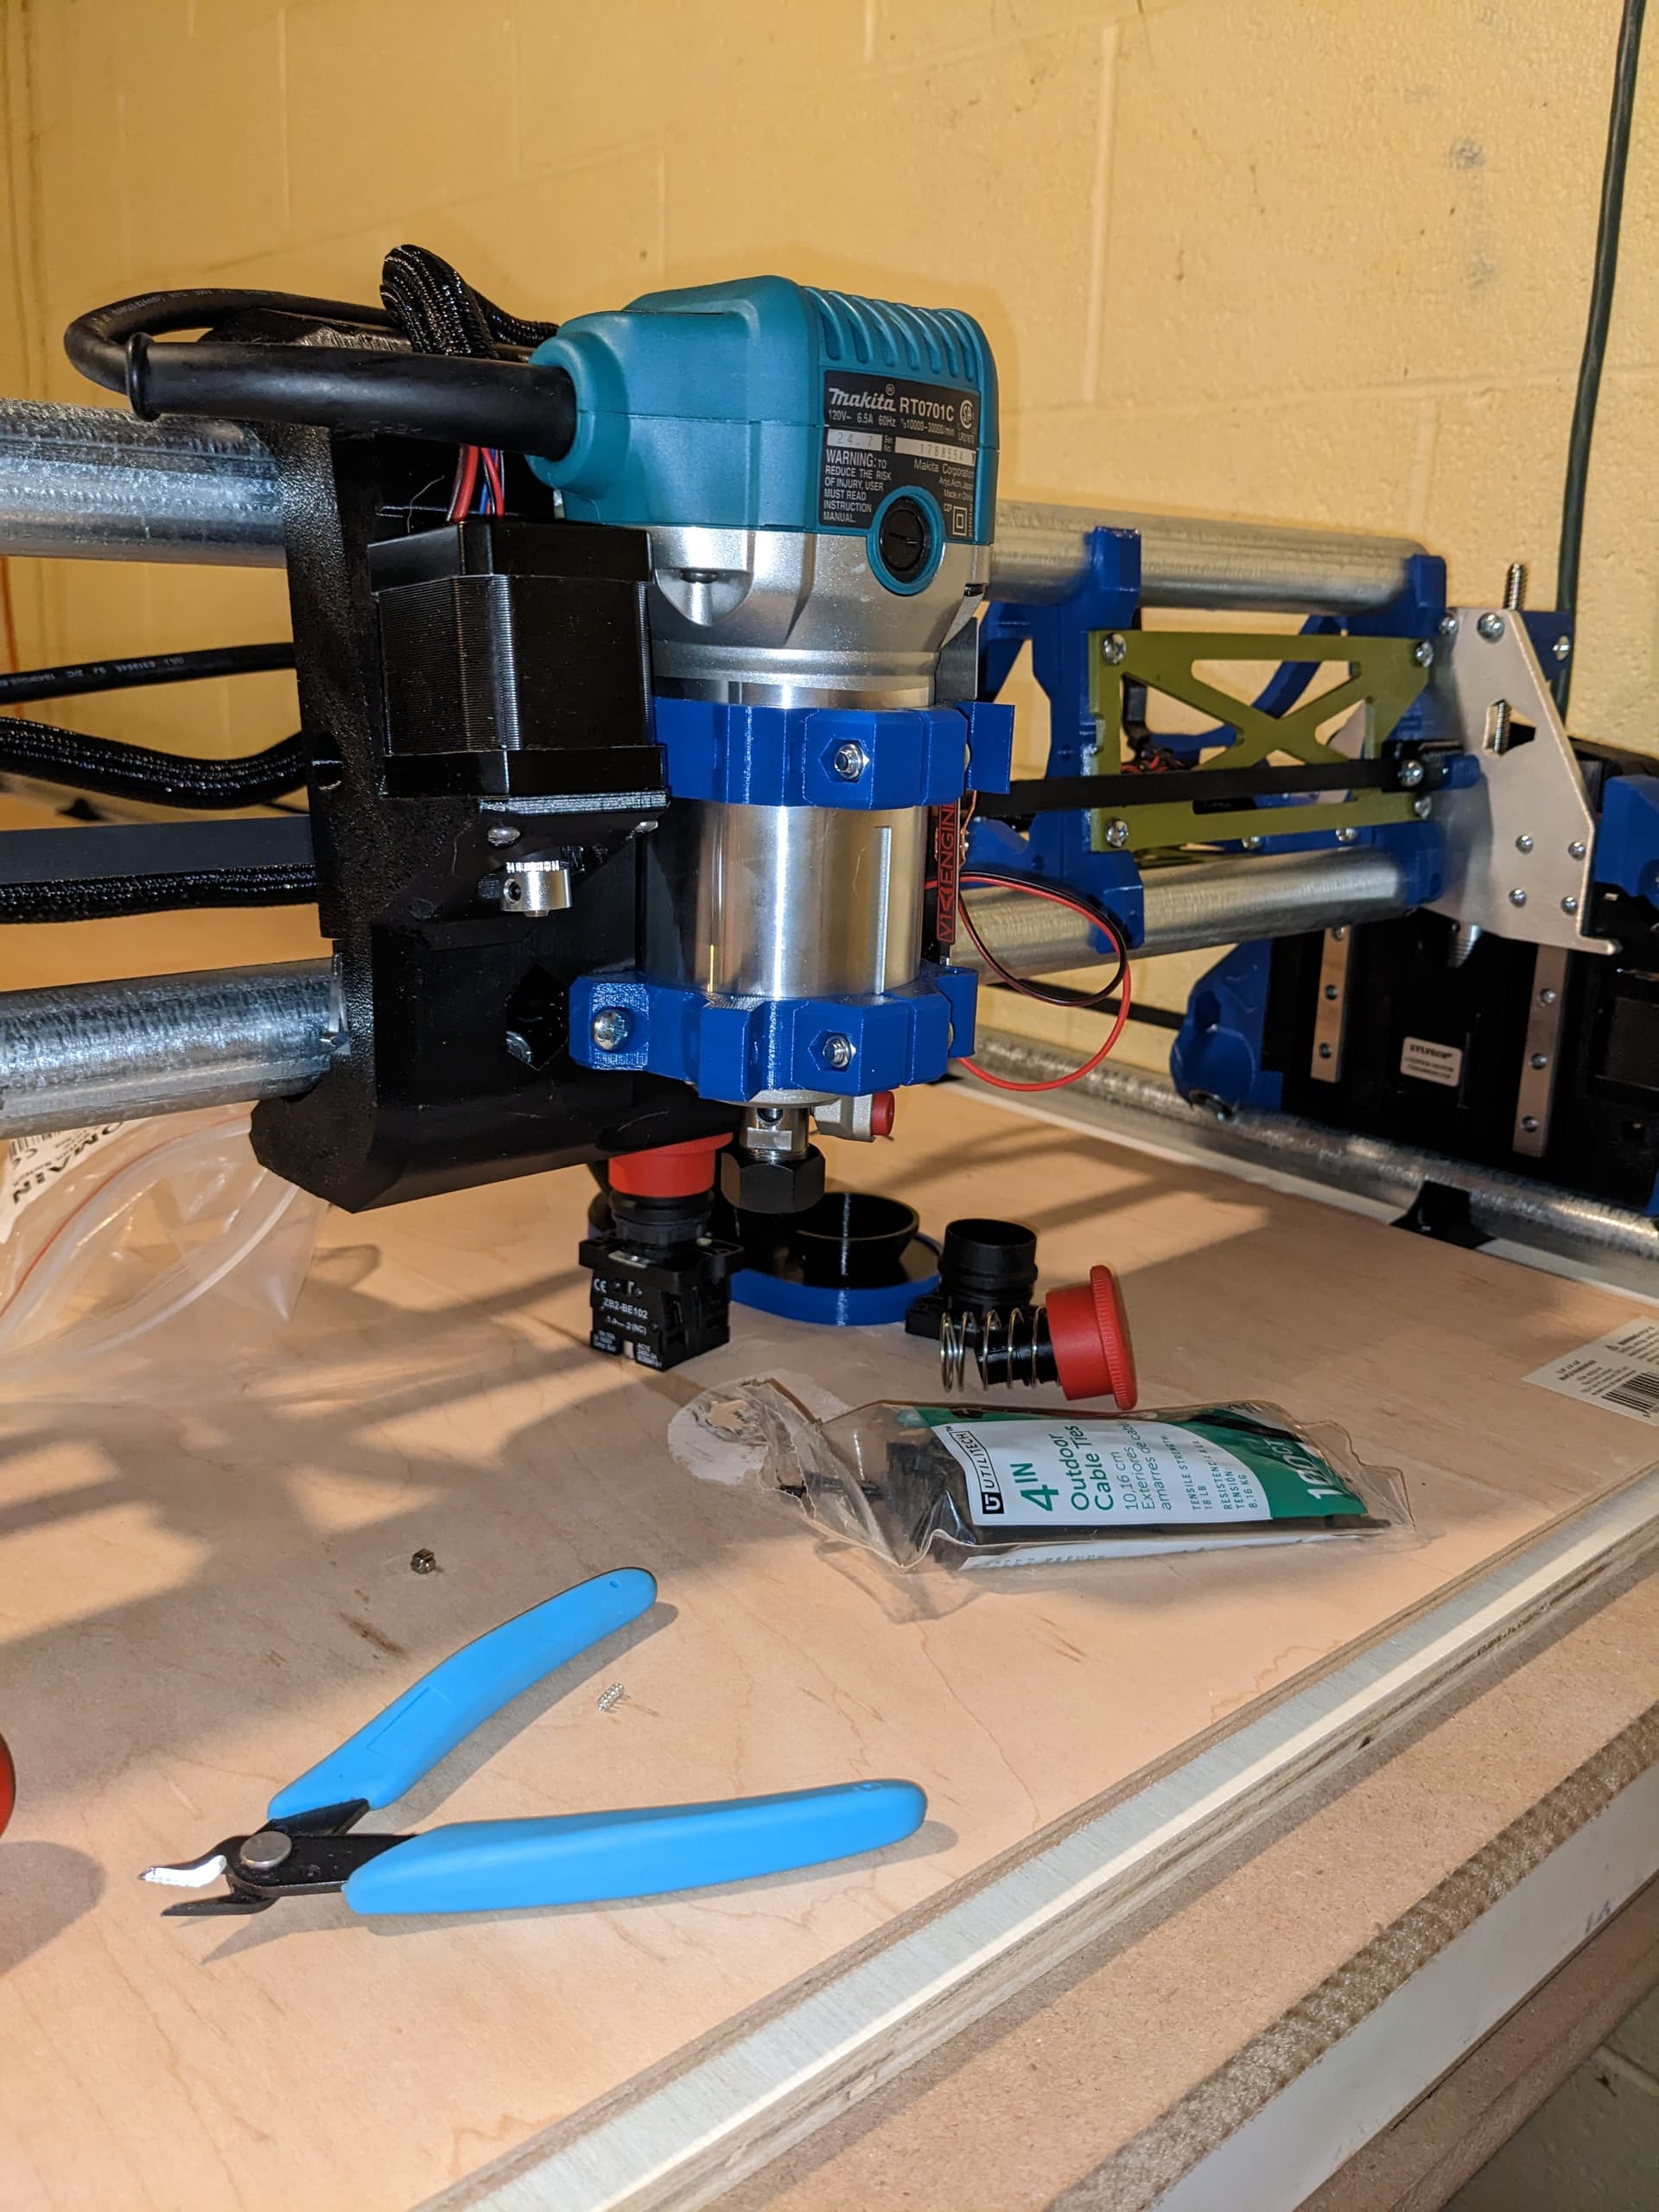
Unfortunately, not much progress was made tonight aside from moving the table, finishing the x belt install, and mounting the router. Oh well. Progress is progress. Maybe tomorrow I’ll do the initial squaring tests etc.
I definitely see the benefit of having the table be a bit wider than the minimum measurements. These belt tensioners being on the very edge of the table seem like they’re welcoming someone to snag them and rip them off. This was by choice to make it the exact dimensions so that, in the future, I can (hopefully) carry it out of my basement to it’s new home.
Fun fact. The router doesn’t come with a flute of any kind. Whomp. Going to request a frequent flyer card from Lowe’s.
The most trips I ever made to Lowe’s within a given time period was while adding a bathroom to our basement. I could not believe how impossible it was to have a list that actually included everything, and how many times I was sure I had it all, only to eventually find out I was not even close. Over and over.
No physical update the past 2 days. I’m ready to do the sharpie test and see how the square looks. Turns out that I need the 1/8" collet for the Makita so I ordered that from Mr. V1 as well as some other small components (and more stickers). Bummed I’ve had some poor planning on my part to not have everything I need! Was hoping to have my first cut over the weekend. At the very least, I’ll have a little linear RC car.
@dkeller - I’m South of Harrisburg! Small world, indeed!
My new workshop is about 99% complete. Ran out of plywood for the bottom shelf of my work bench. I’m sure I’ll end up making some sort of shelving as time goes on. Being a homeowner is fun (and expensive).
I’m currently trying to do a sharpie version of the crown. I’m missing something quite simple as far as the setting the starting point. Machine keeps “cutting” several inches from the table. NO HINTS PLEASE. I know it’s a very simple issue. Just keep getting too busy to play more.
I can certainly see the benefit of an onboard pendant. Using my phone with the GUI isn’t the greatest, but still really cool. If I had an extra tablet/laptop, that’d be fine. Probably going to look into building one of the pendants I’ve seen online. Don’t want to upset the wife by stealing her mac all the time. lol.
P.S. Shoutout to @vicious1 for shipping my new bits and other components so quickly!
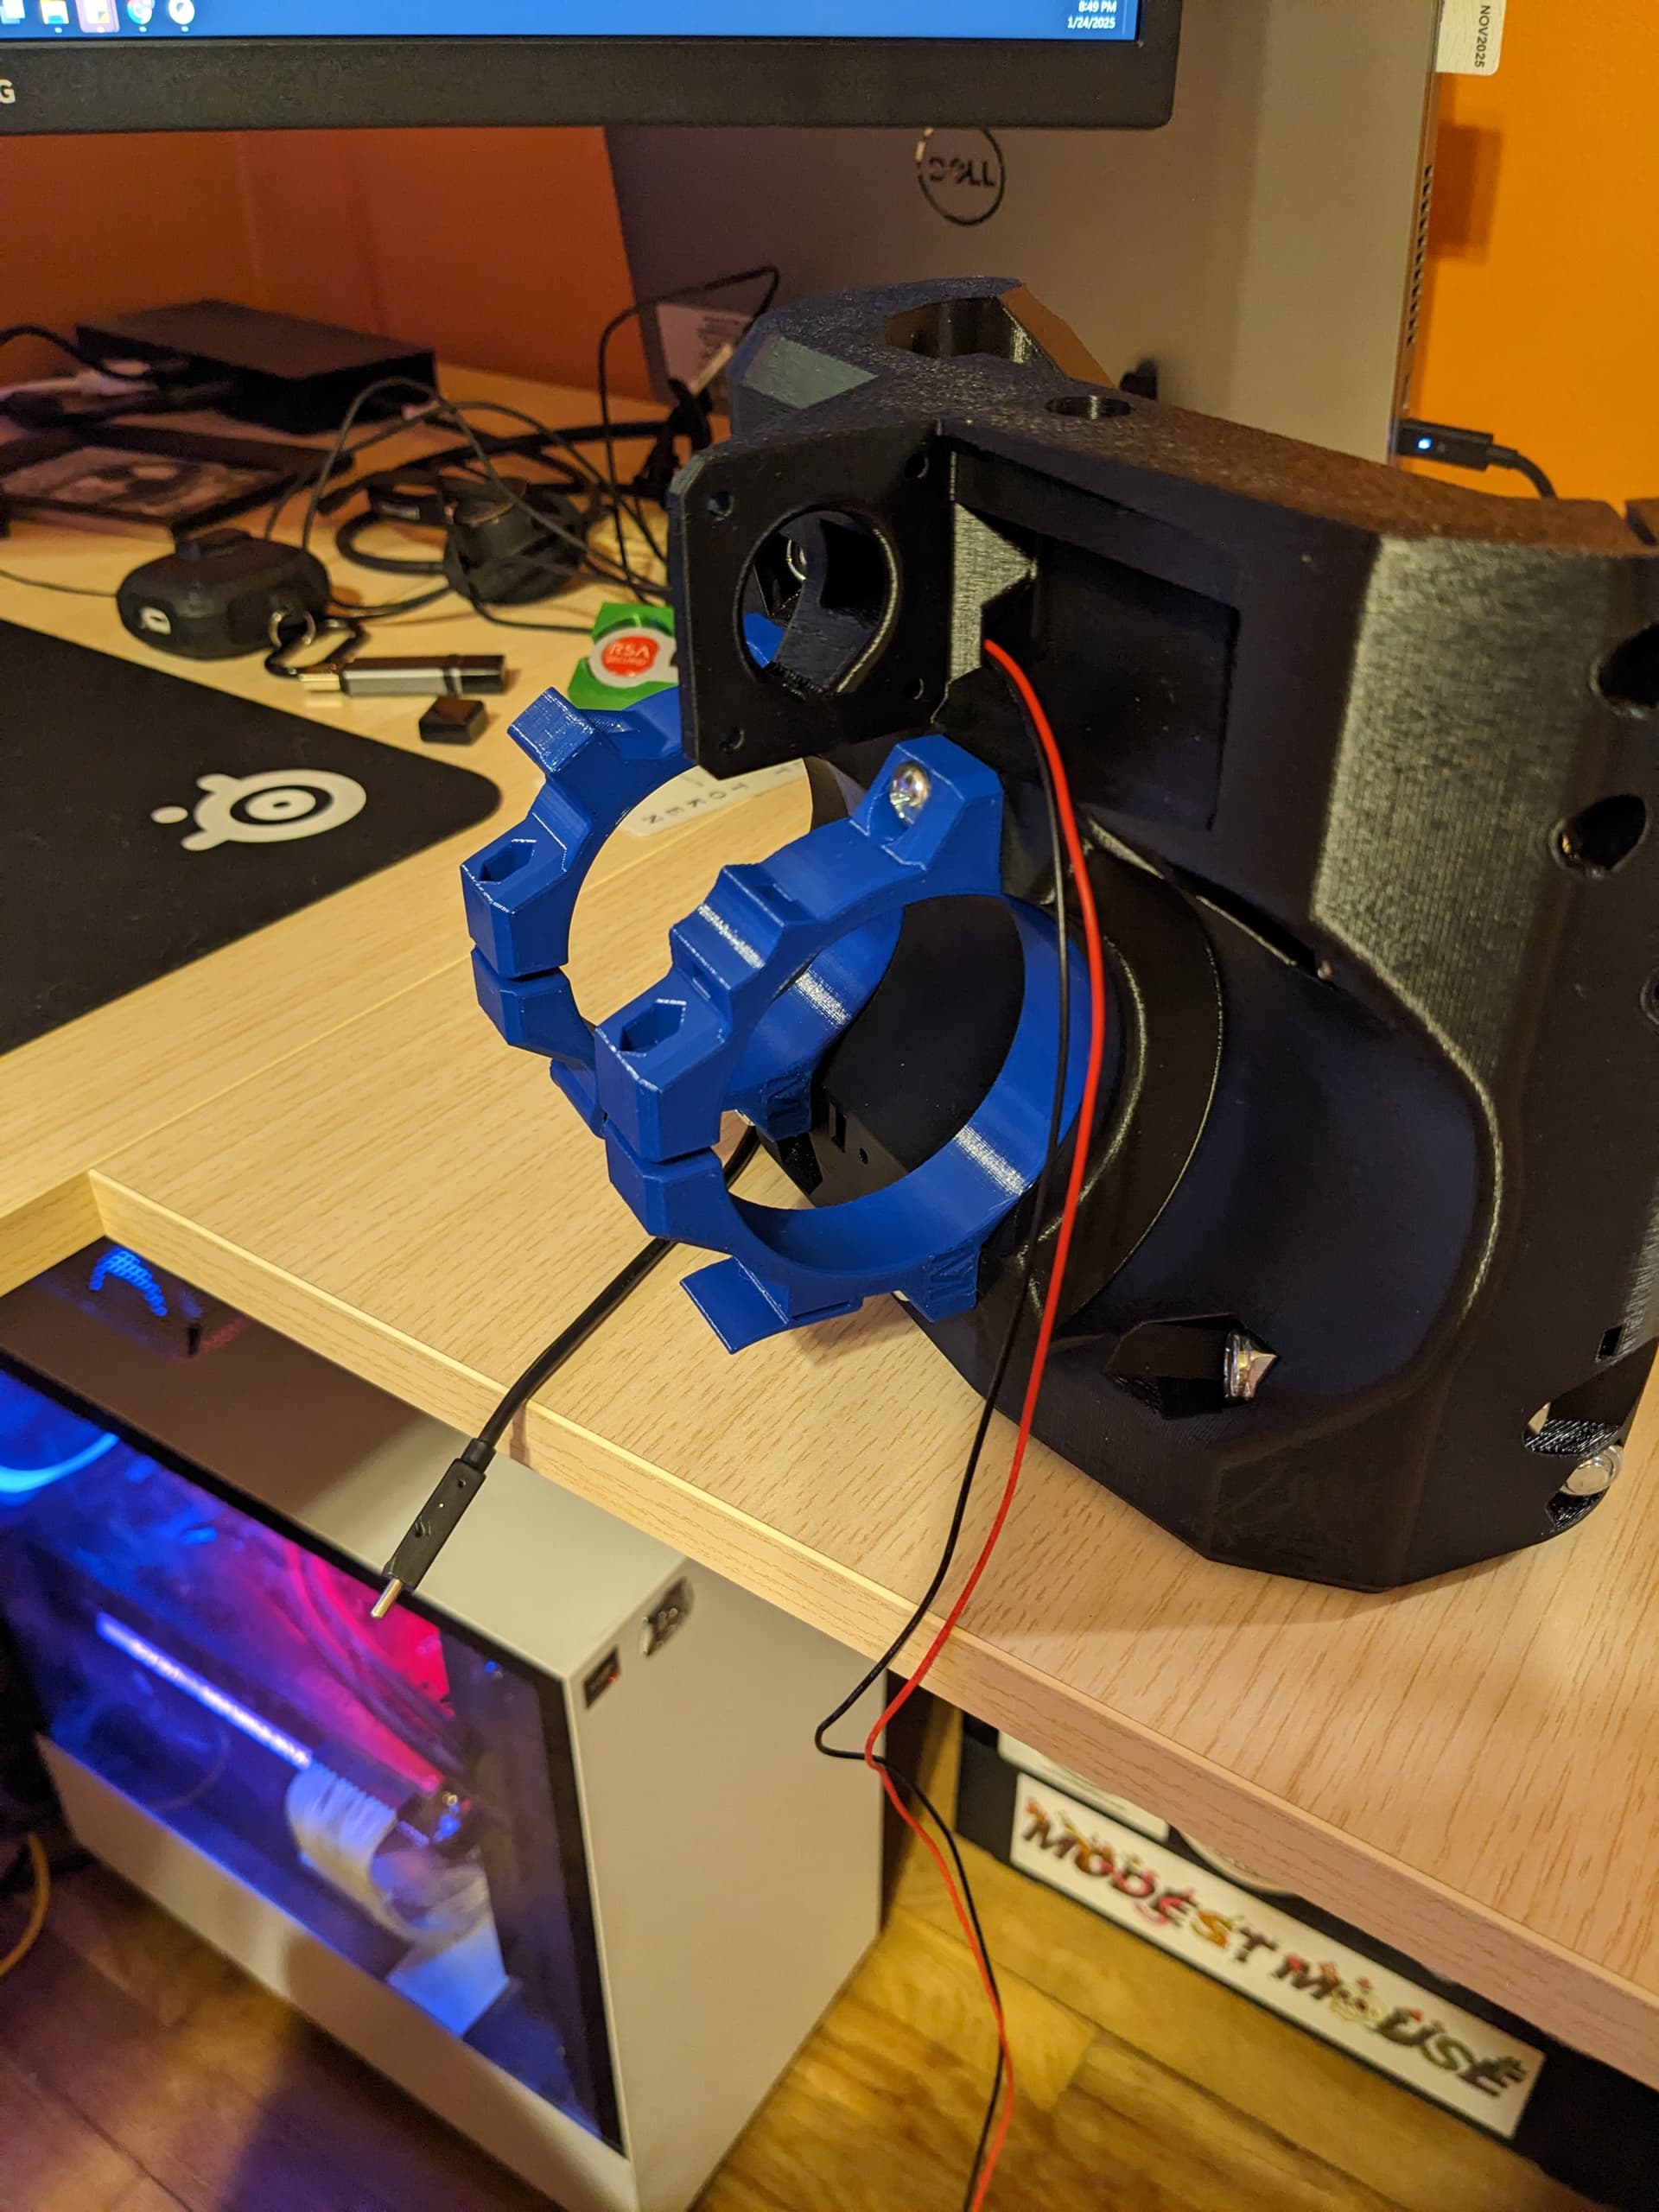
Curious what folks think about a squeaky noise coming from my Z axis? It squeaks anytime it moves up/down. I believe everything is square. Any input is appreciated. I have not done any actual cutting/drawing. This was just a test to see how things operated and if I have the work flow correct, which it appears I do.
I was going to upload a video, but it appears that videos are not able to be uploaded.
@MakerJim I did not lube the screws. I don’t recall seeing that in the documentation, maybe i missed it. I did lube the bearings. Do you mean lubing the shaft or near the coupler?
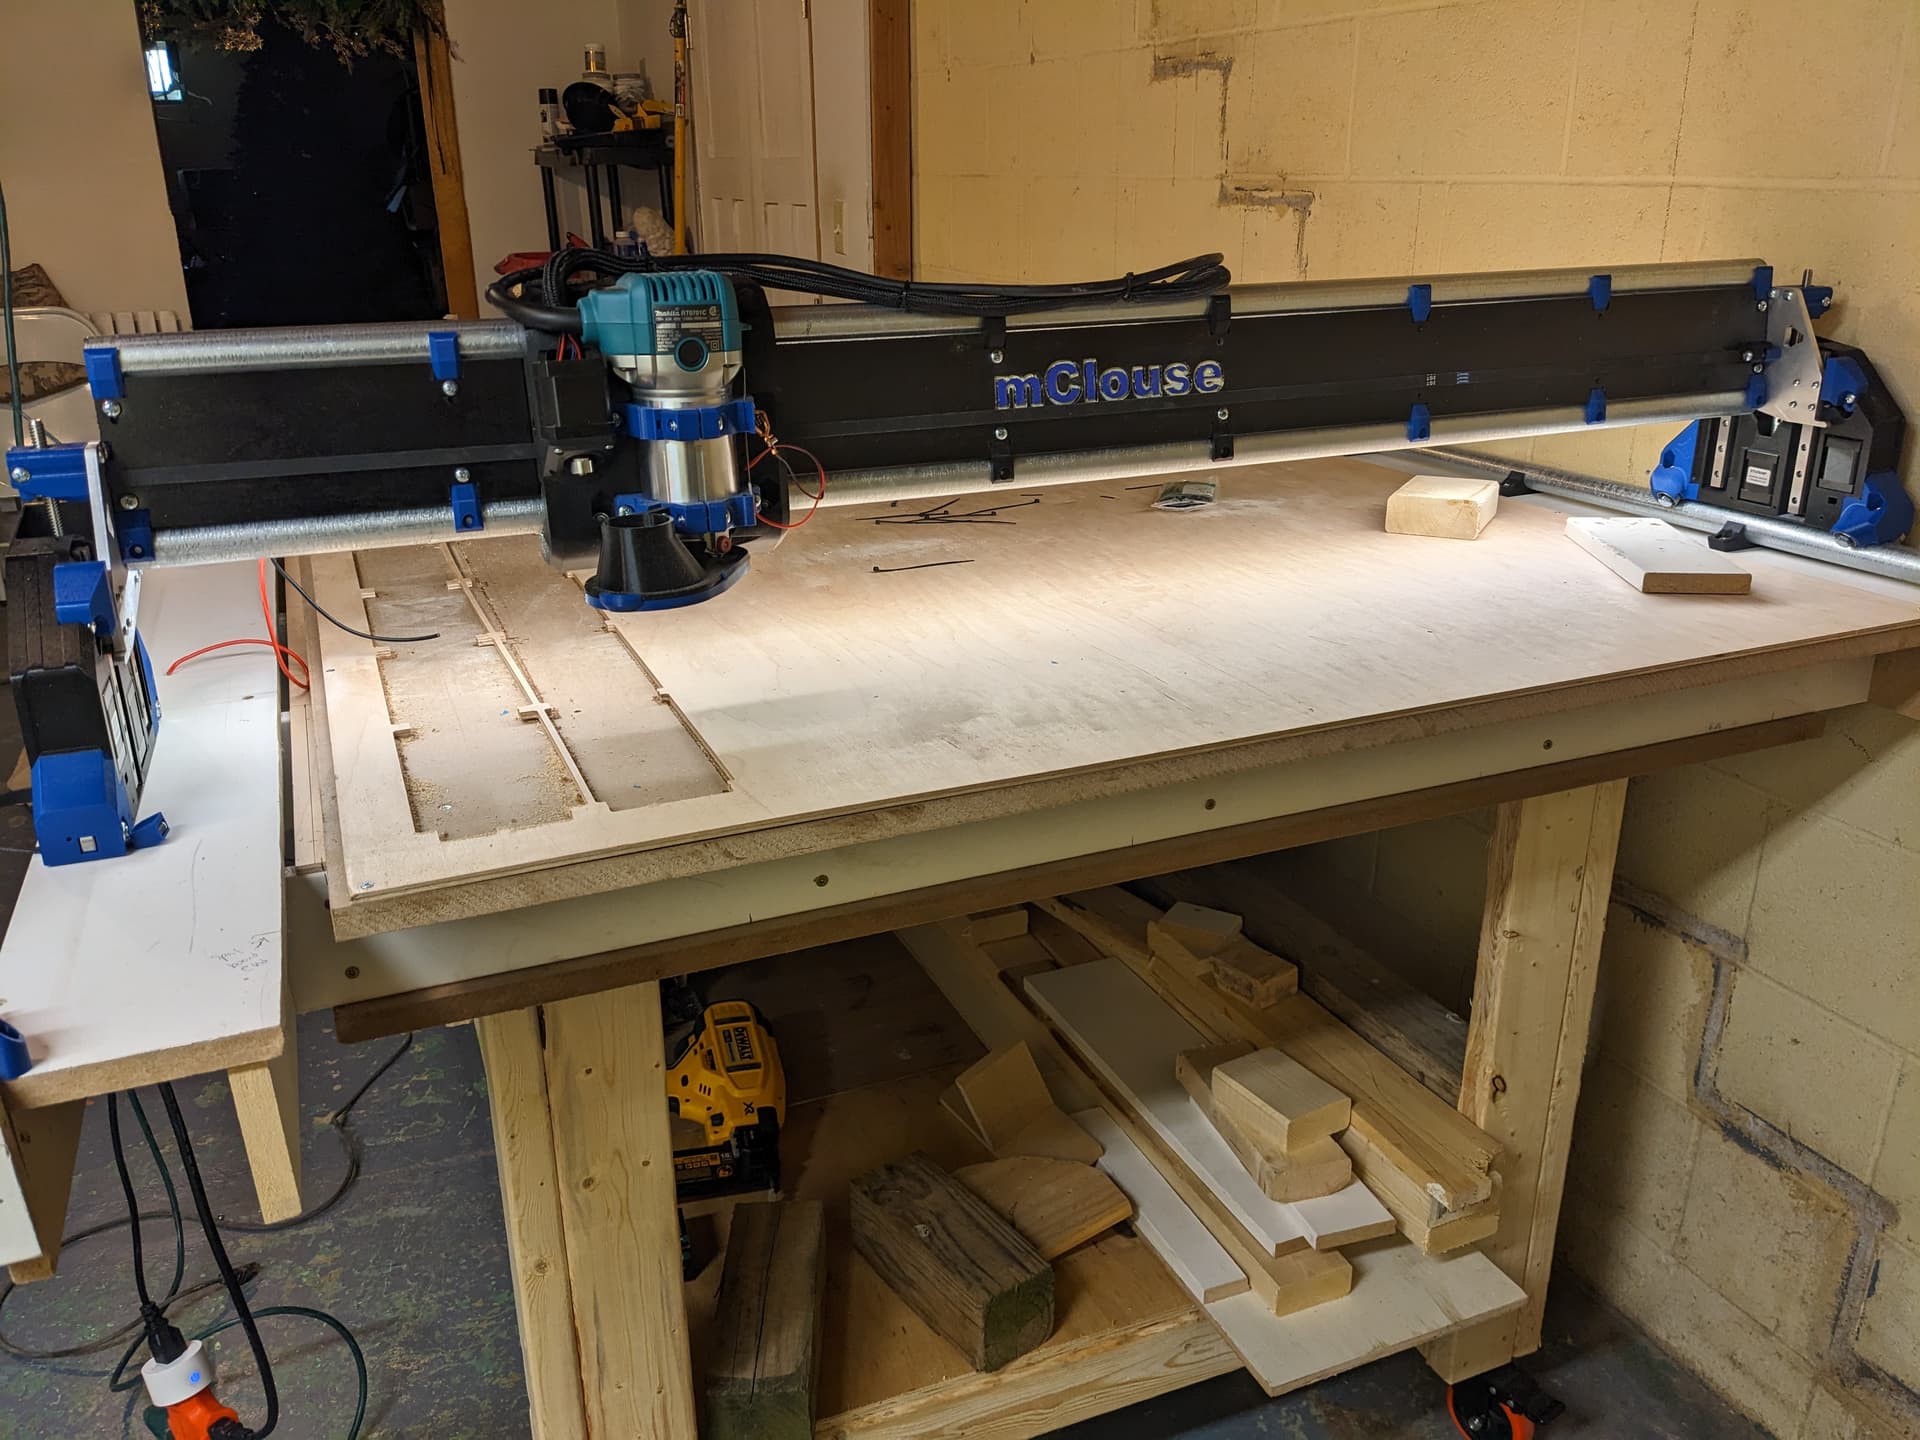
Well, I just sent it. Overall, I’m pleased with the results of my first cut. There were 2 errors, but I’m sure that’s on me. The first issue is that the first 4 holes on each strut were misaligned, but the remainder were fine. I’m not sure how I would have made that error? If anyone has any thoughts, please let me know.
Second issue was that the letters didn’t turn out great. I THINK the Z axis didn’t lift high enough. I’m sure that was a setting I missed somewhere as well.
Opinion: I would think it’d be fine to simply drill the holes in the correct position on these struts and call it good. Any objeections to that?
Thanks and I’m so pumped I had a (mostly) successful first cut!
Got the struts in except for a couple screws. Looks good! I also got the LEDs installed with a dimmer. Works well.
I have yet to get it back on to lube the z screws. That’ll be the first thing I do once I get it back on.
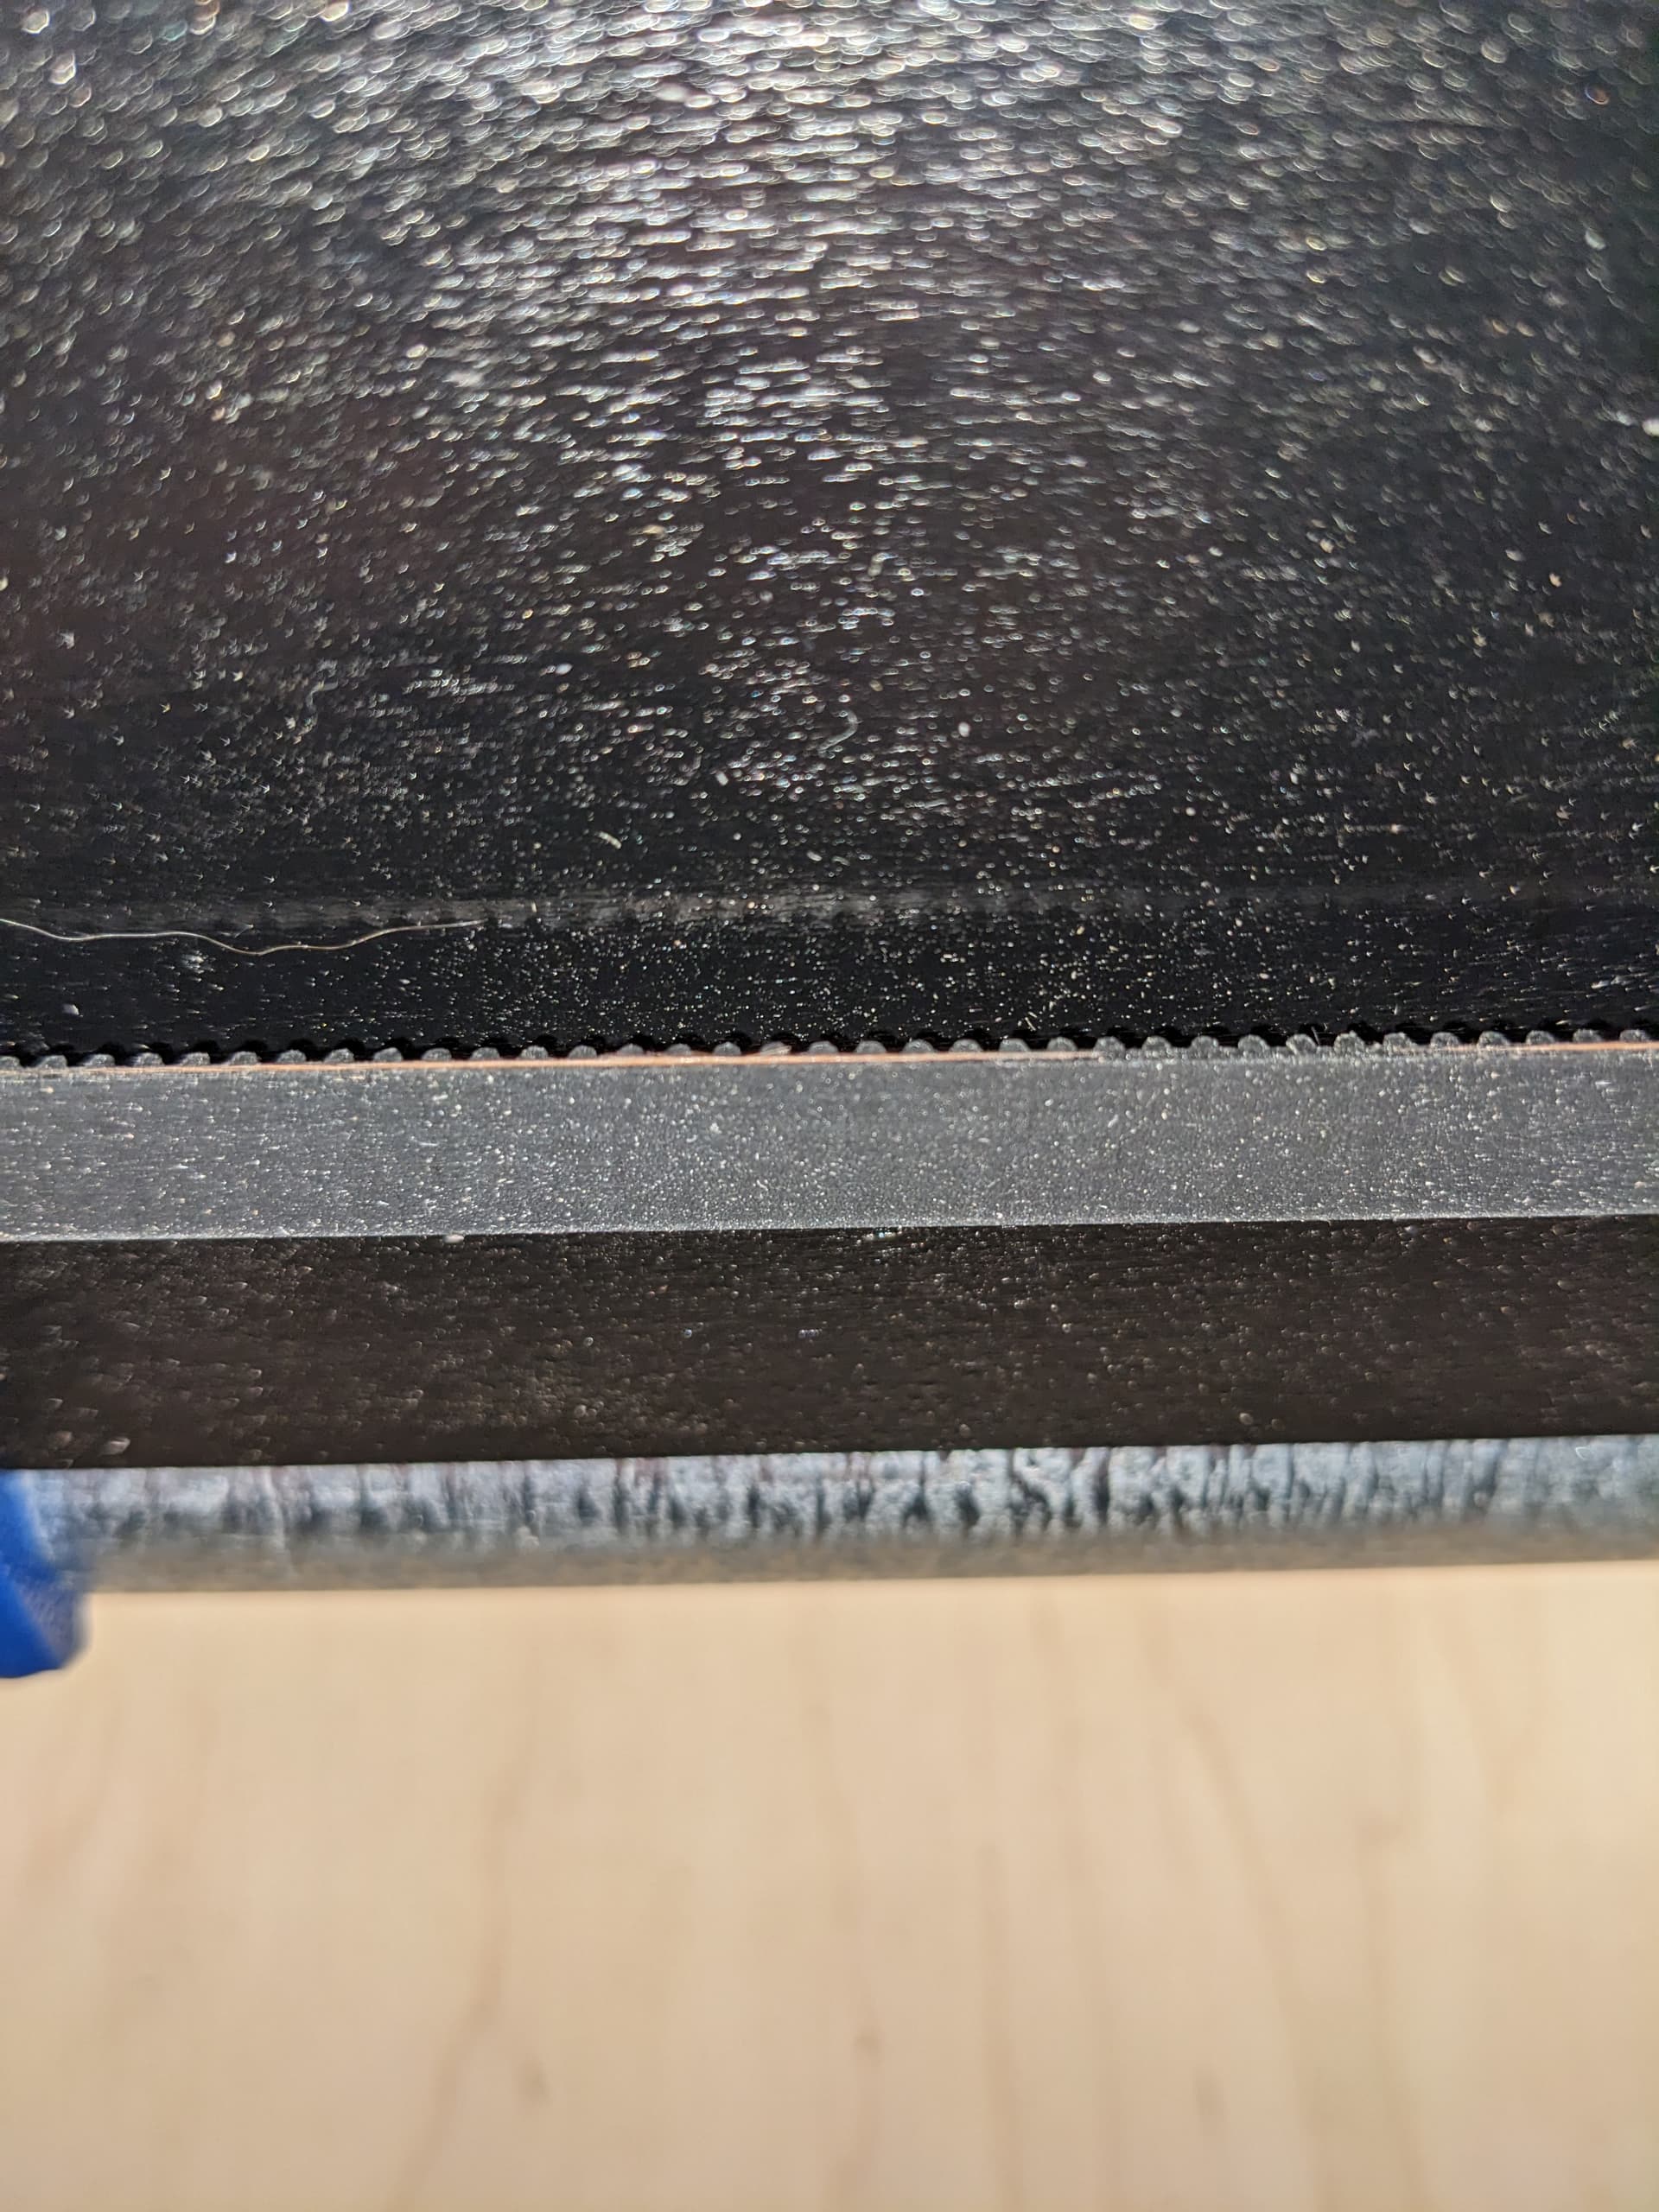
That being said, I believe I’ve discovered some wear on my X belt already. Was wondering if someone else could confirm (second picture). there is a bit of a gab at the bottom of the idler and the belt. Maybe I just need to scoot the x idler up a smidge.
Next is finishing up the wiring which is just the line to the board and the blower fan.