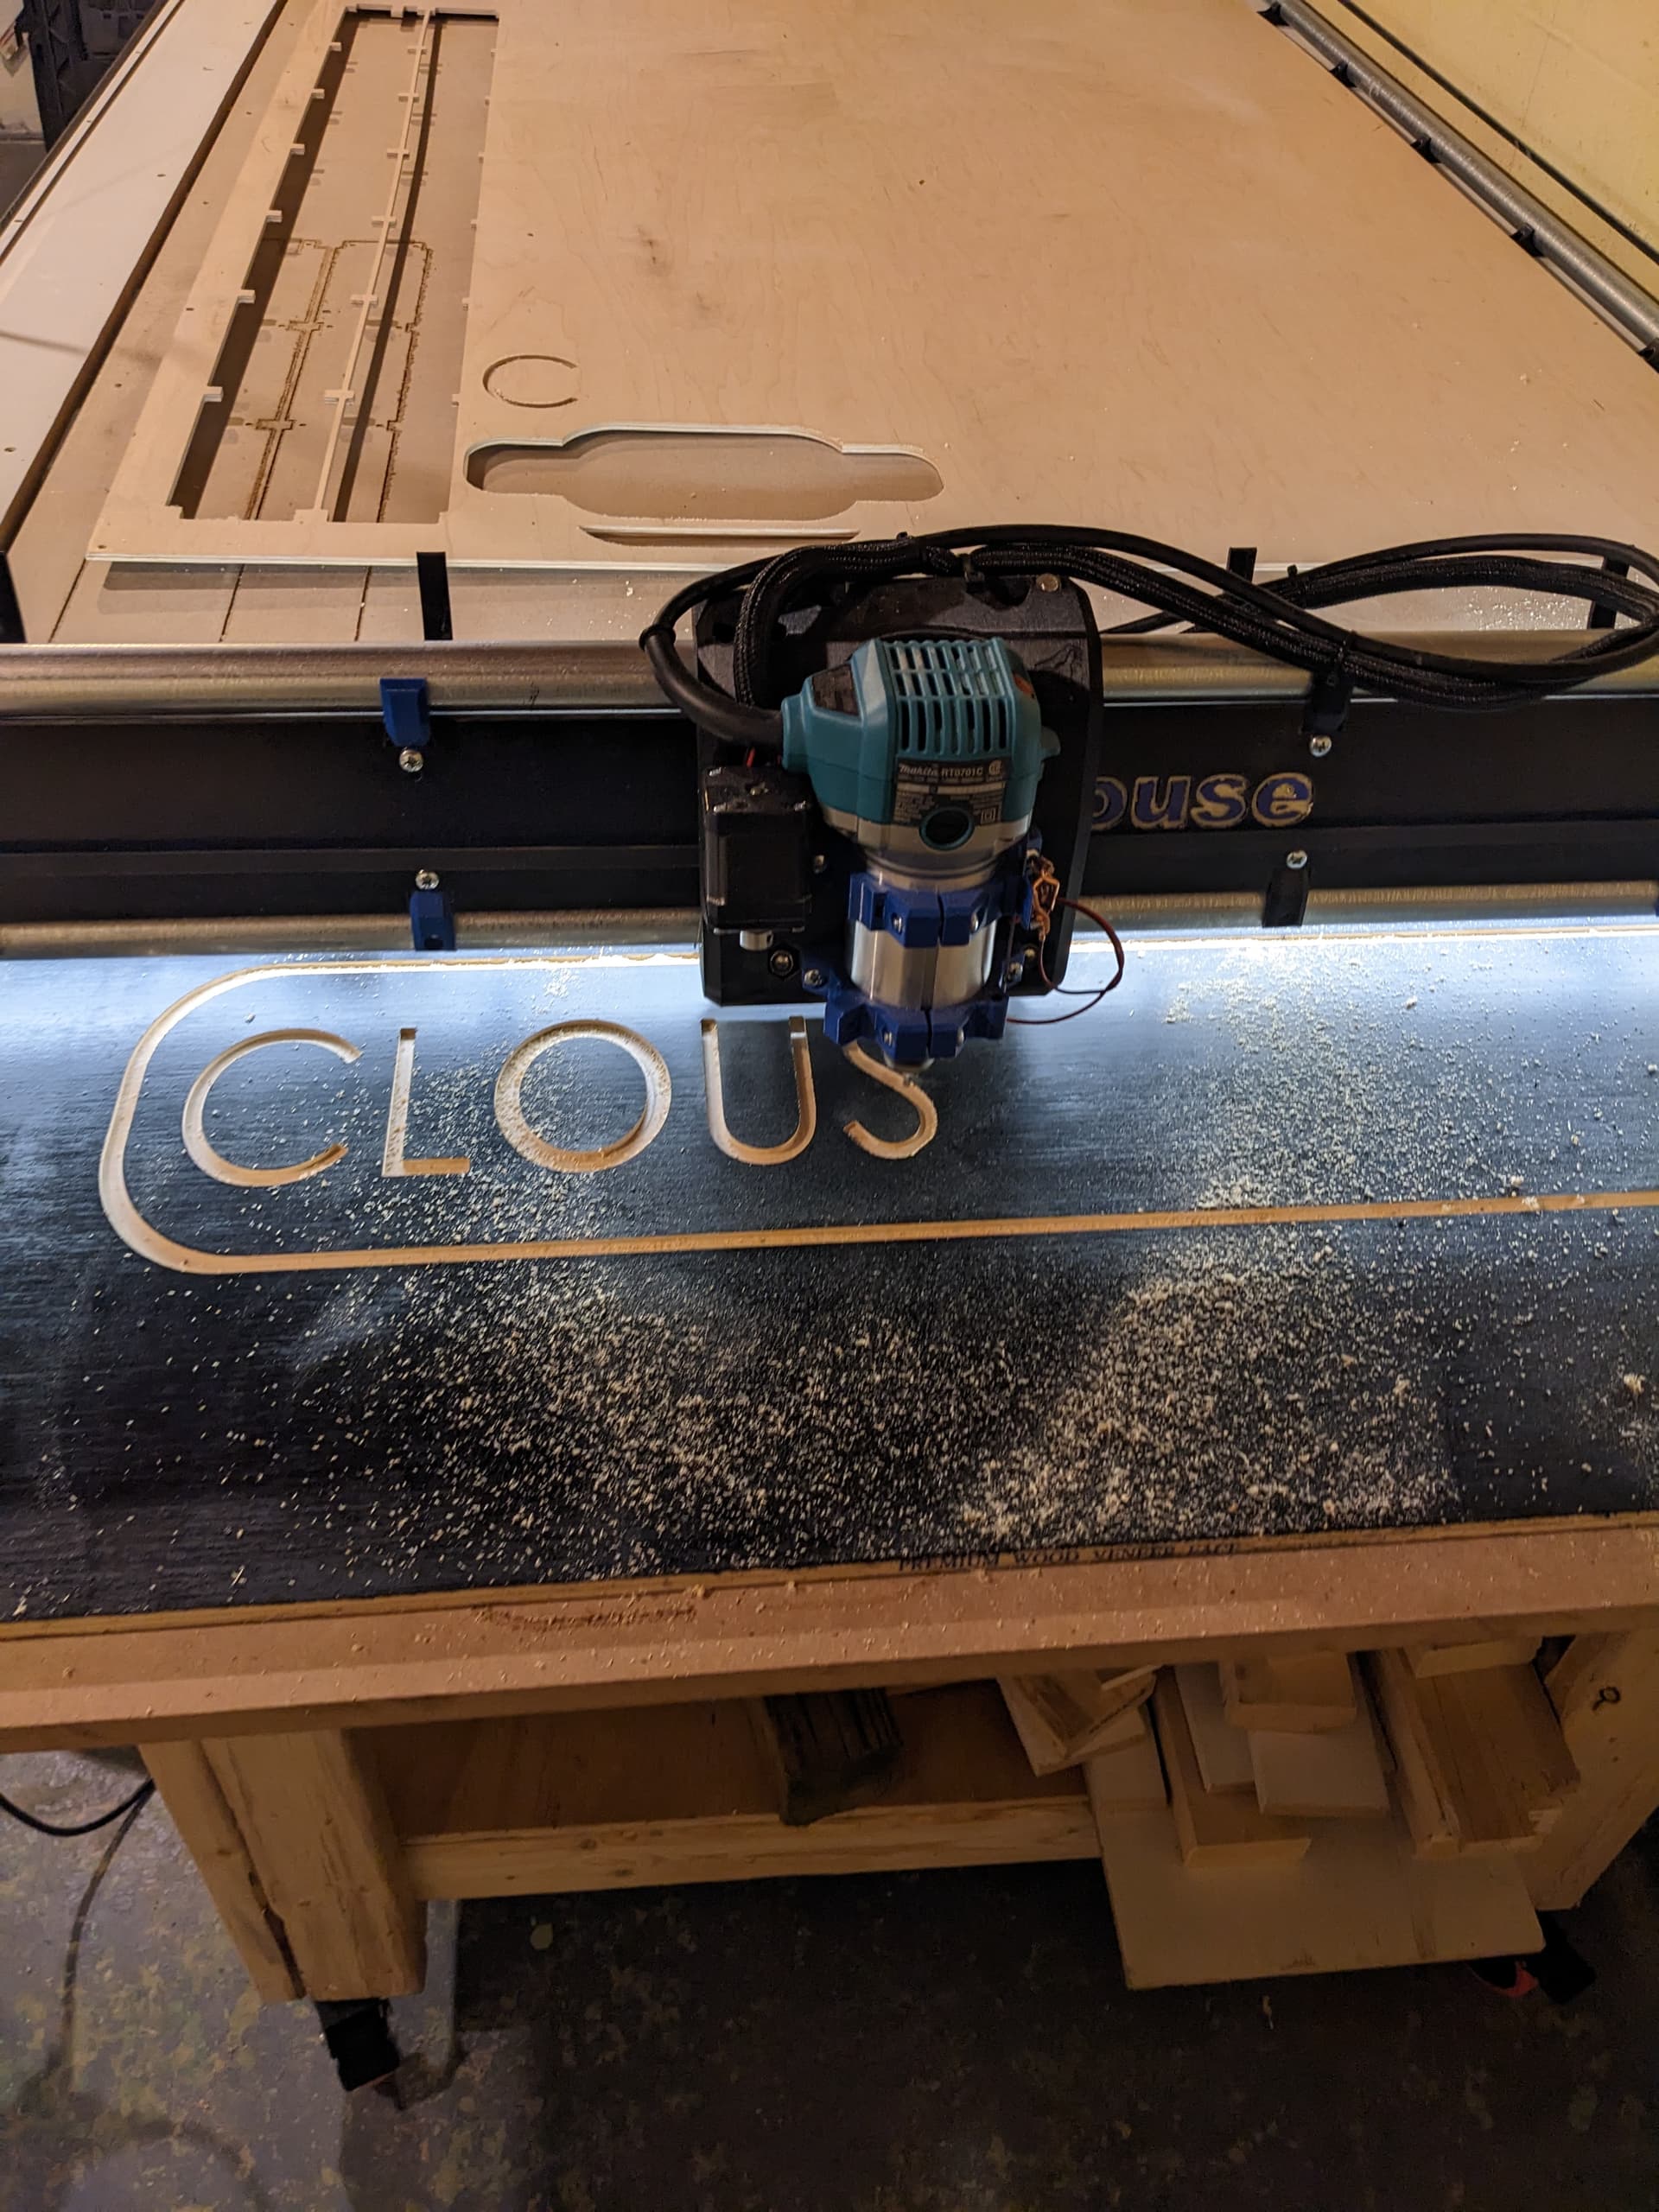
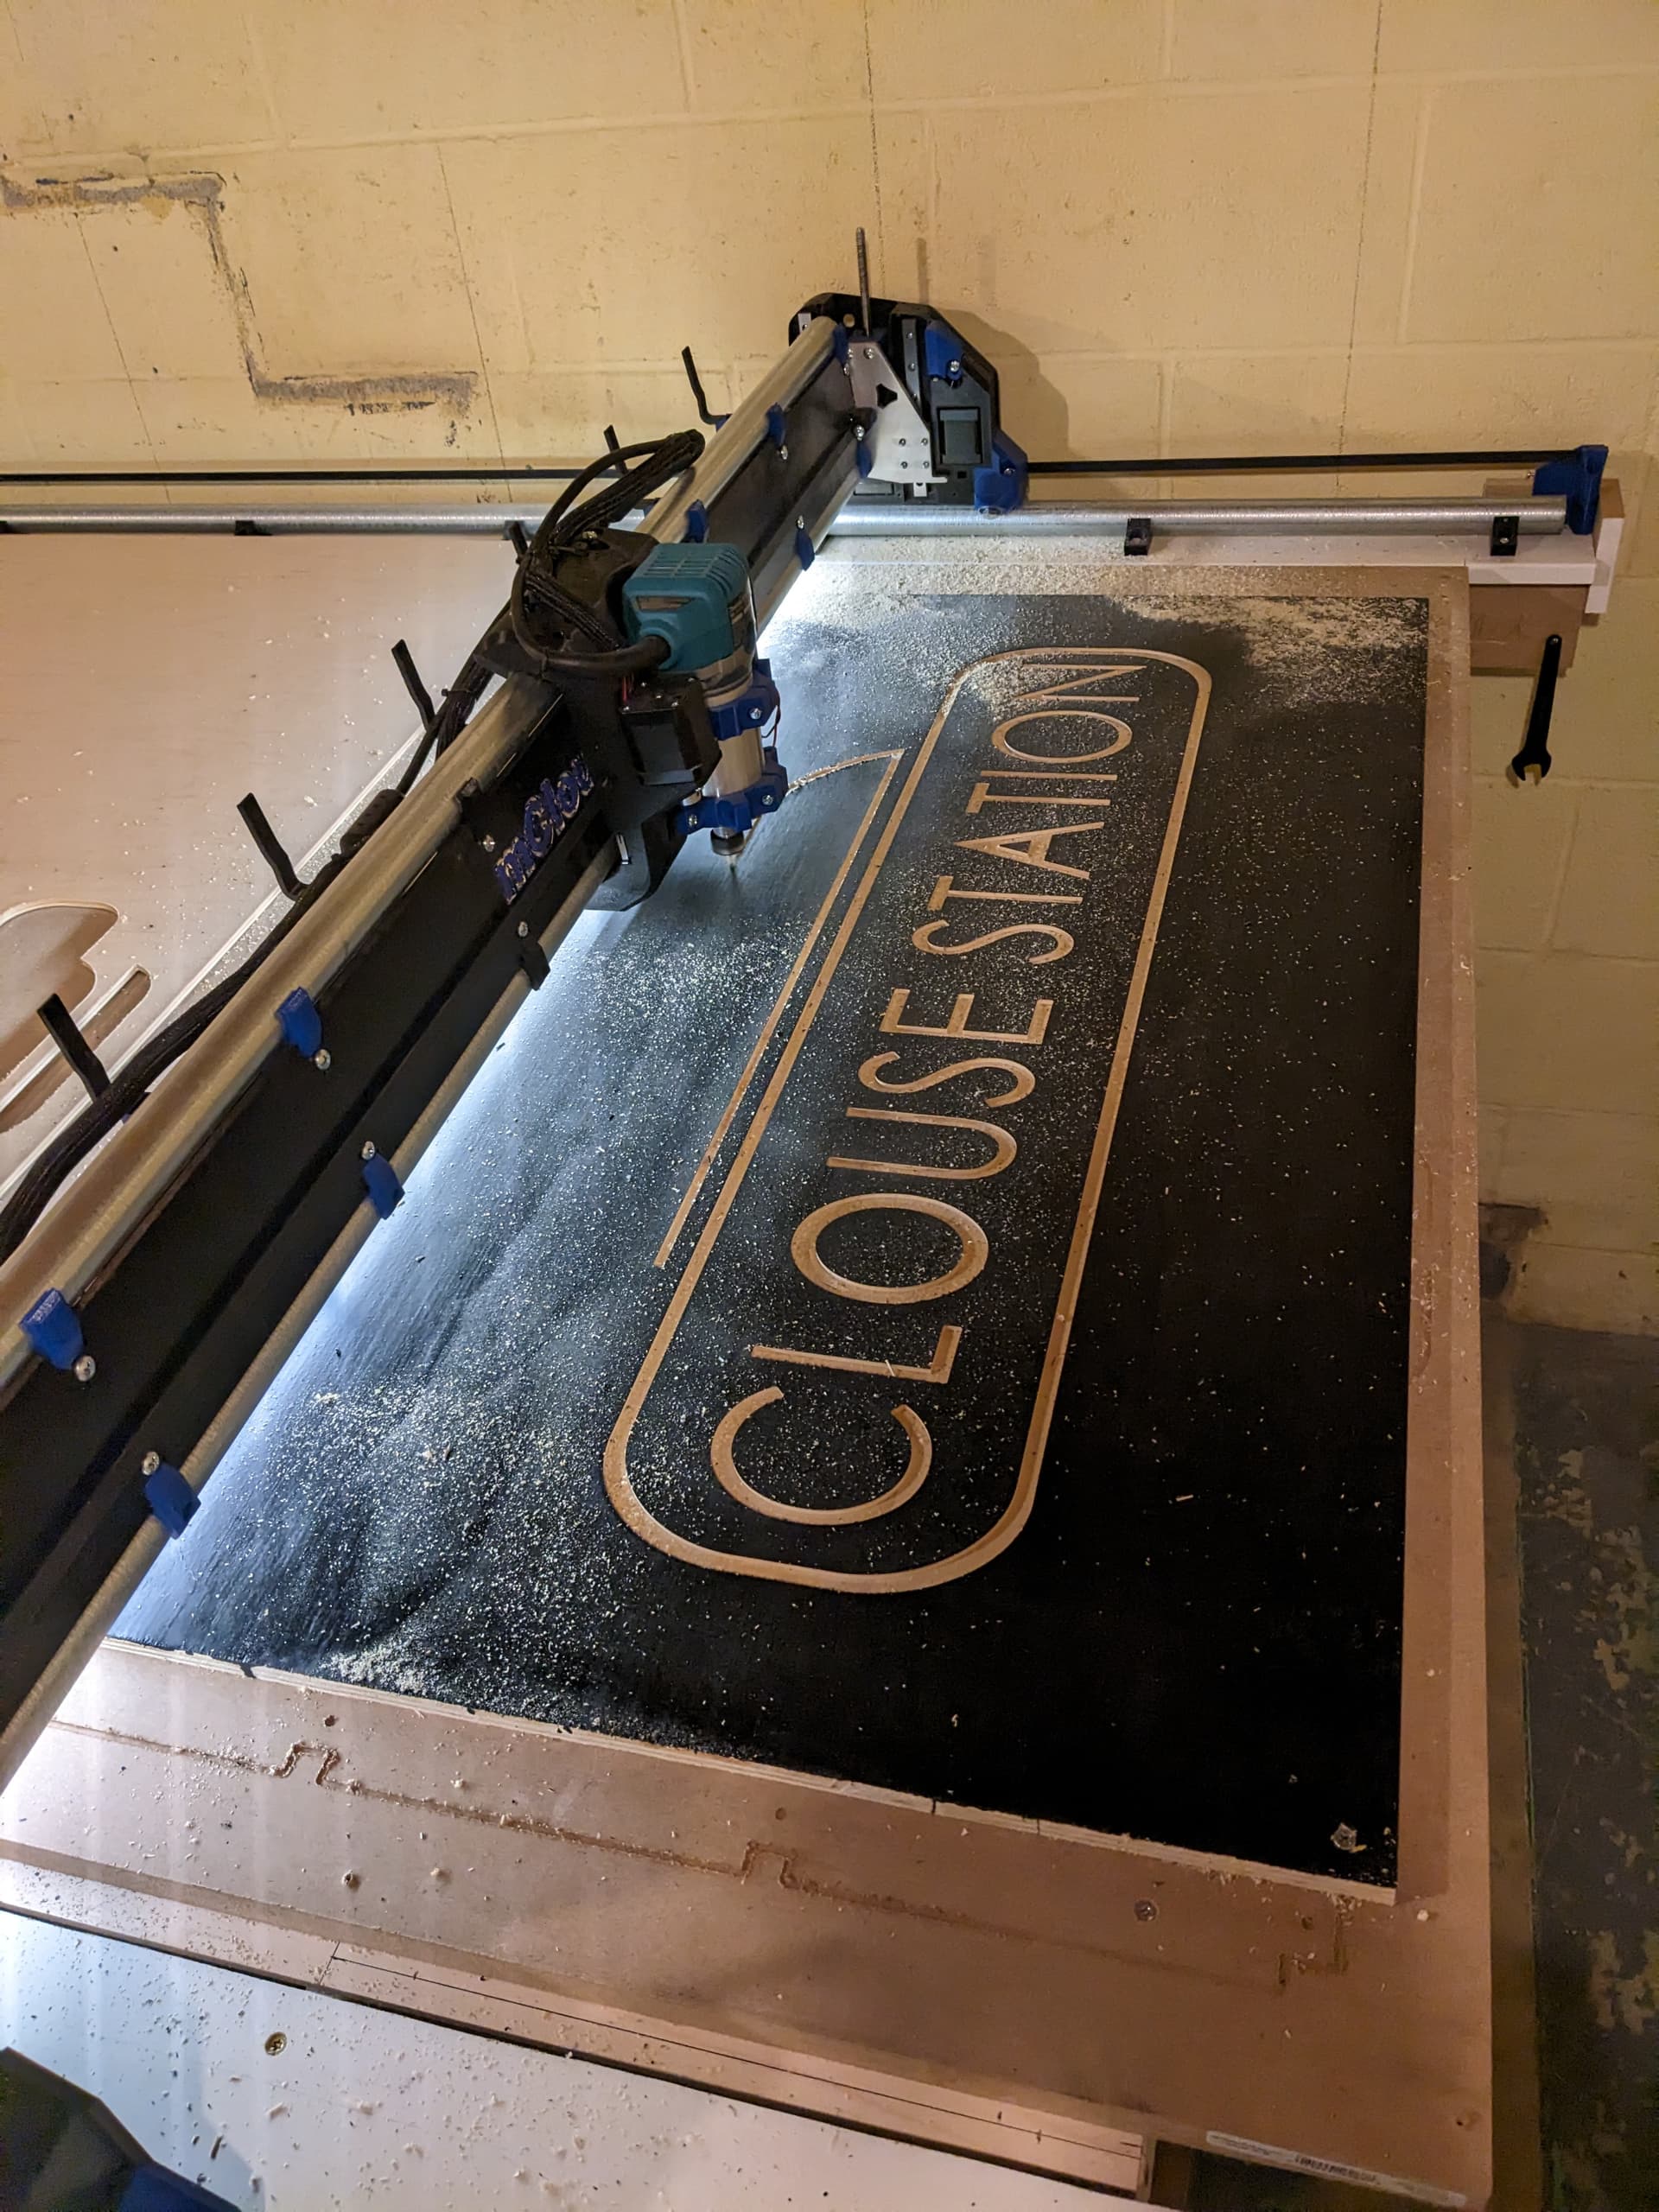
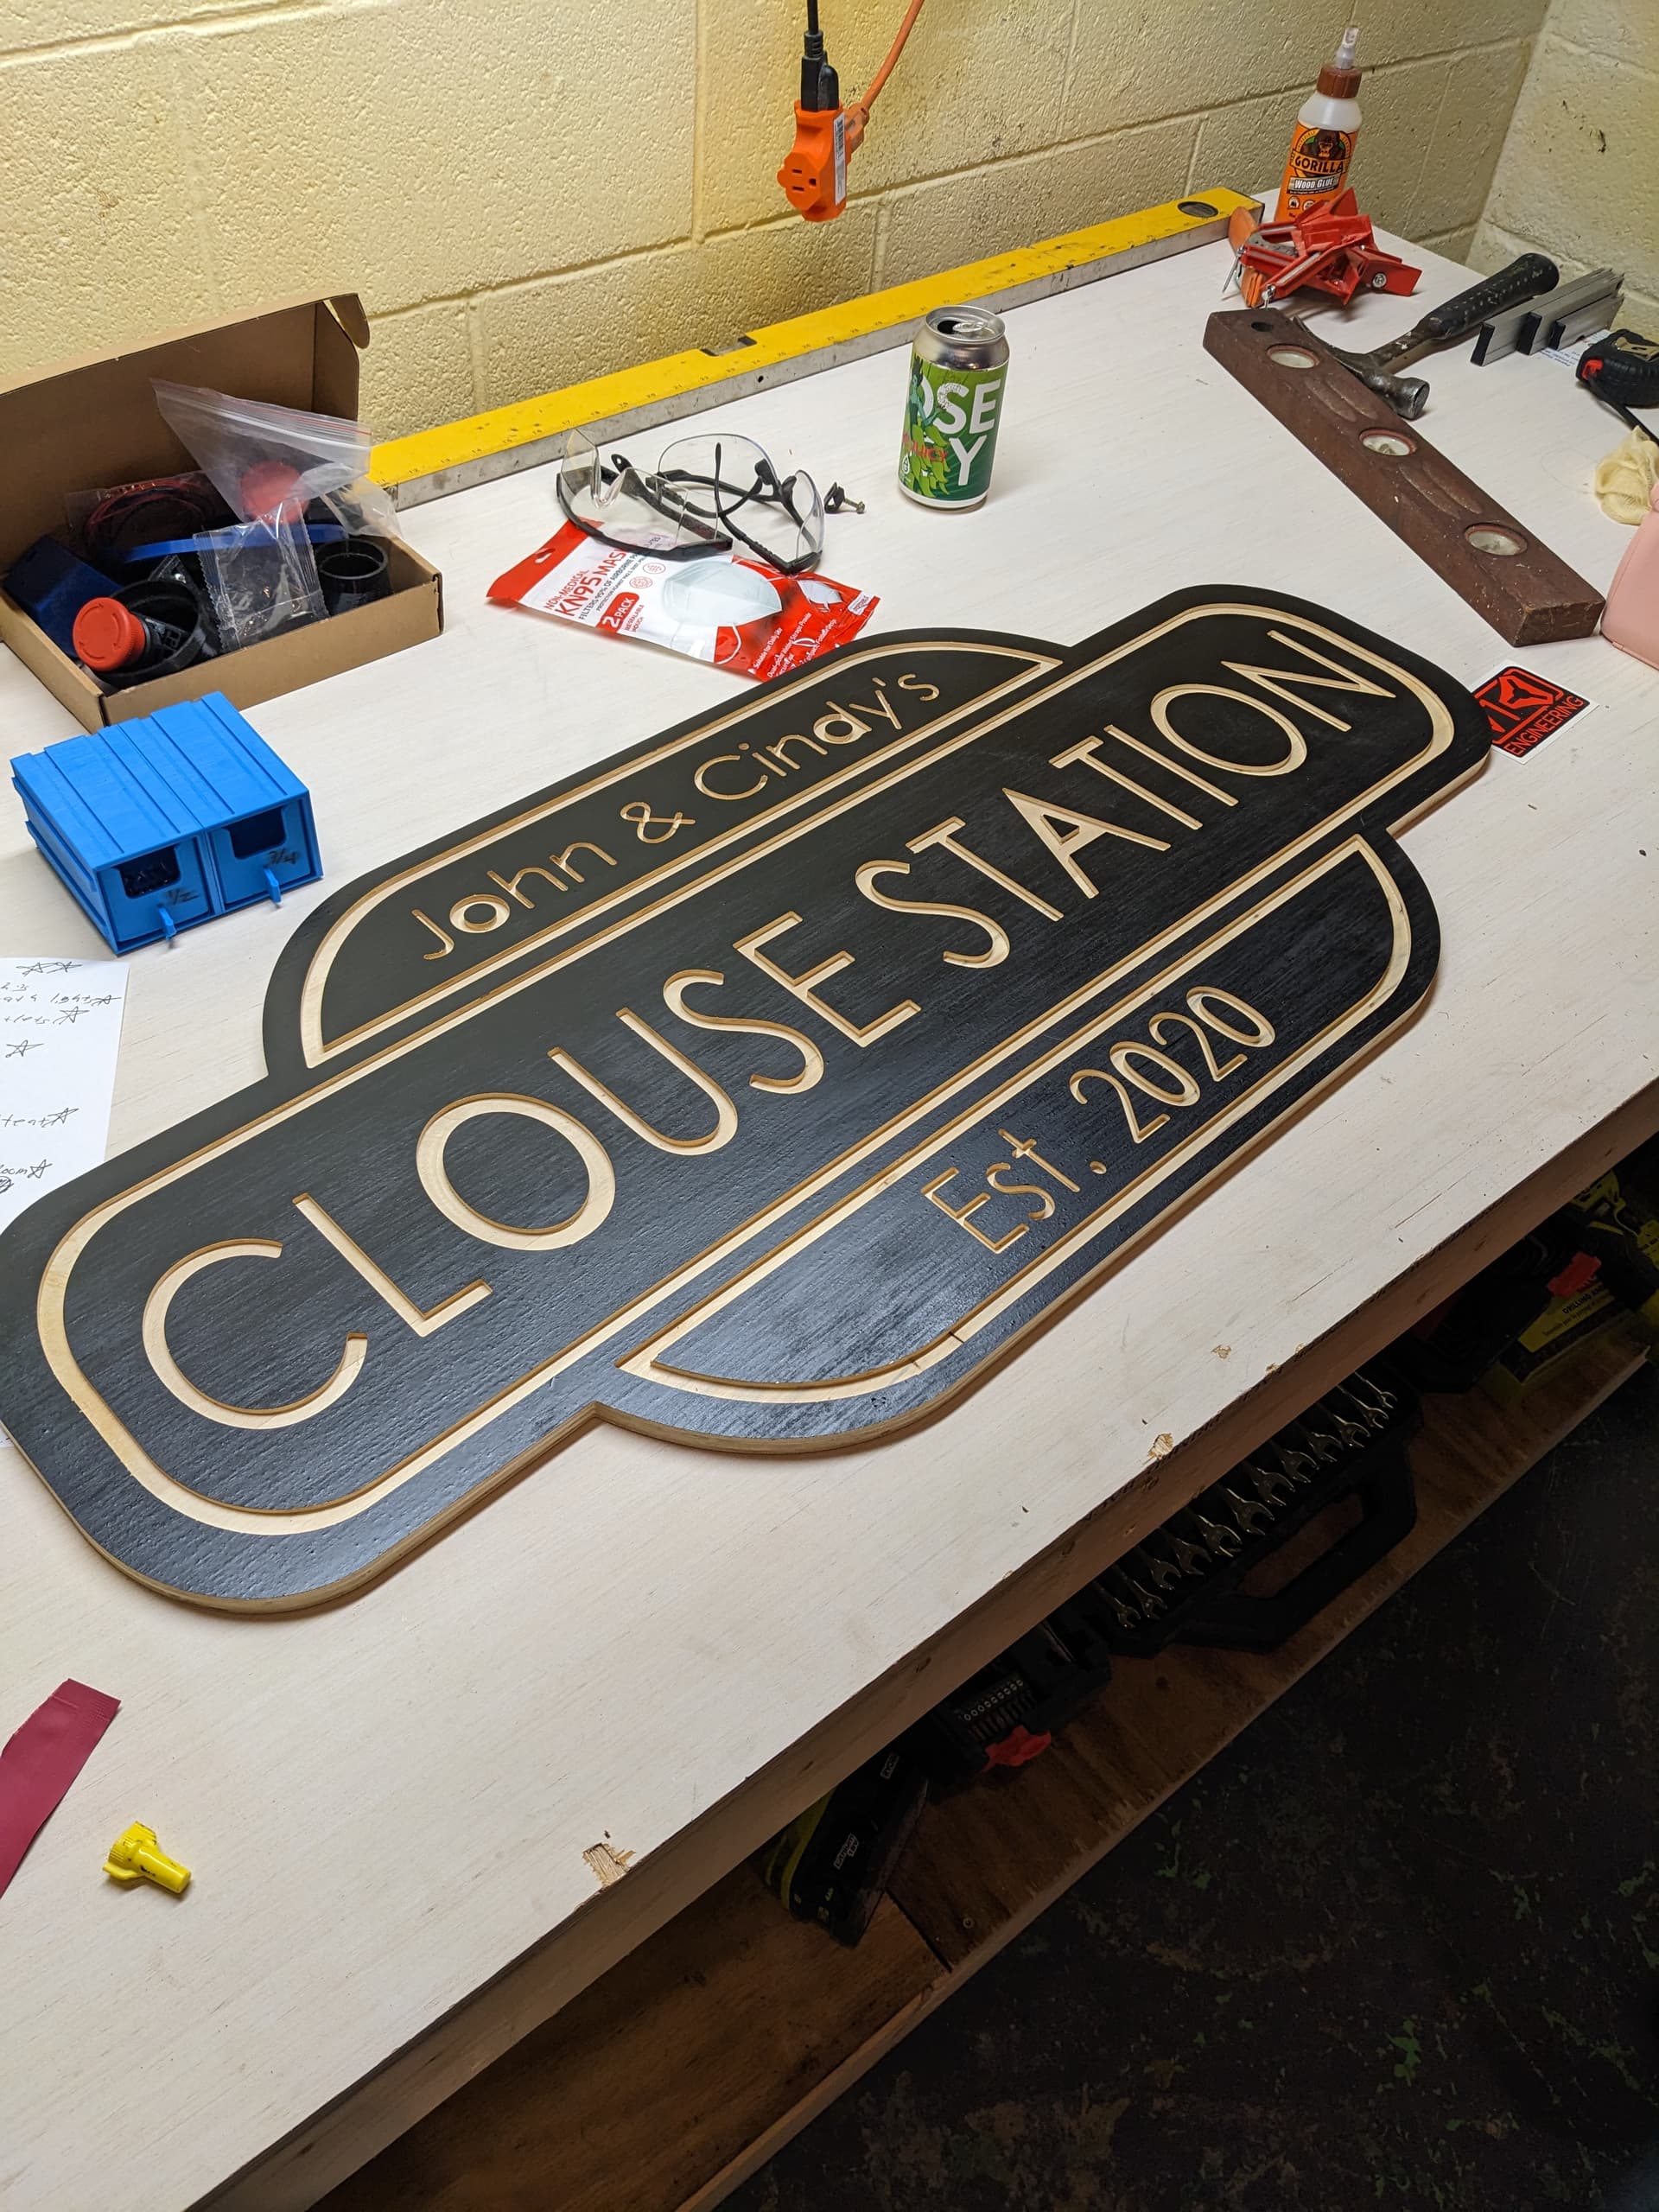
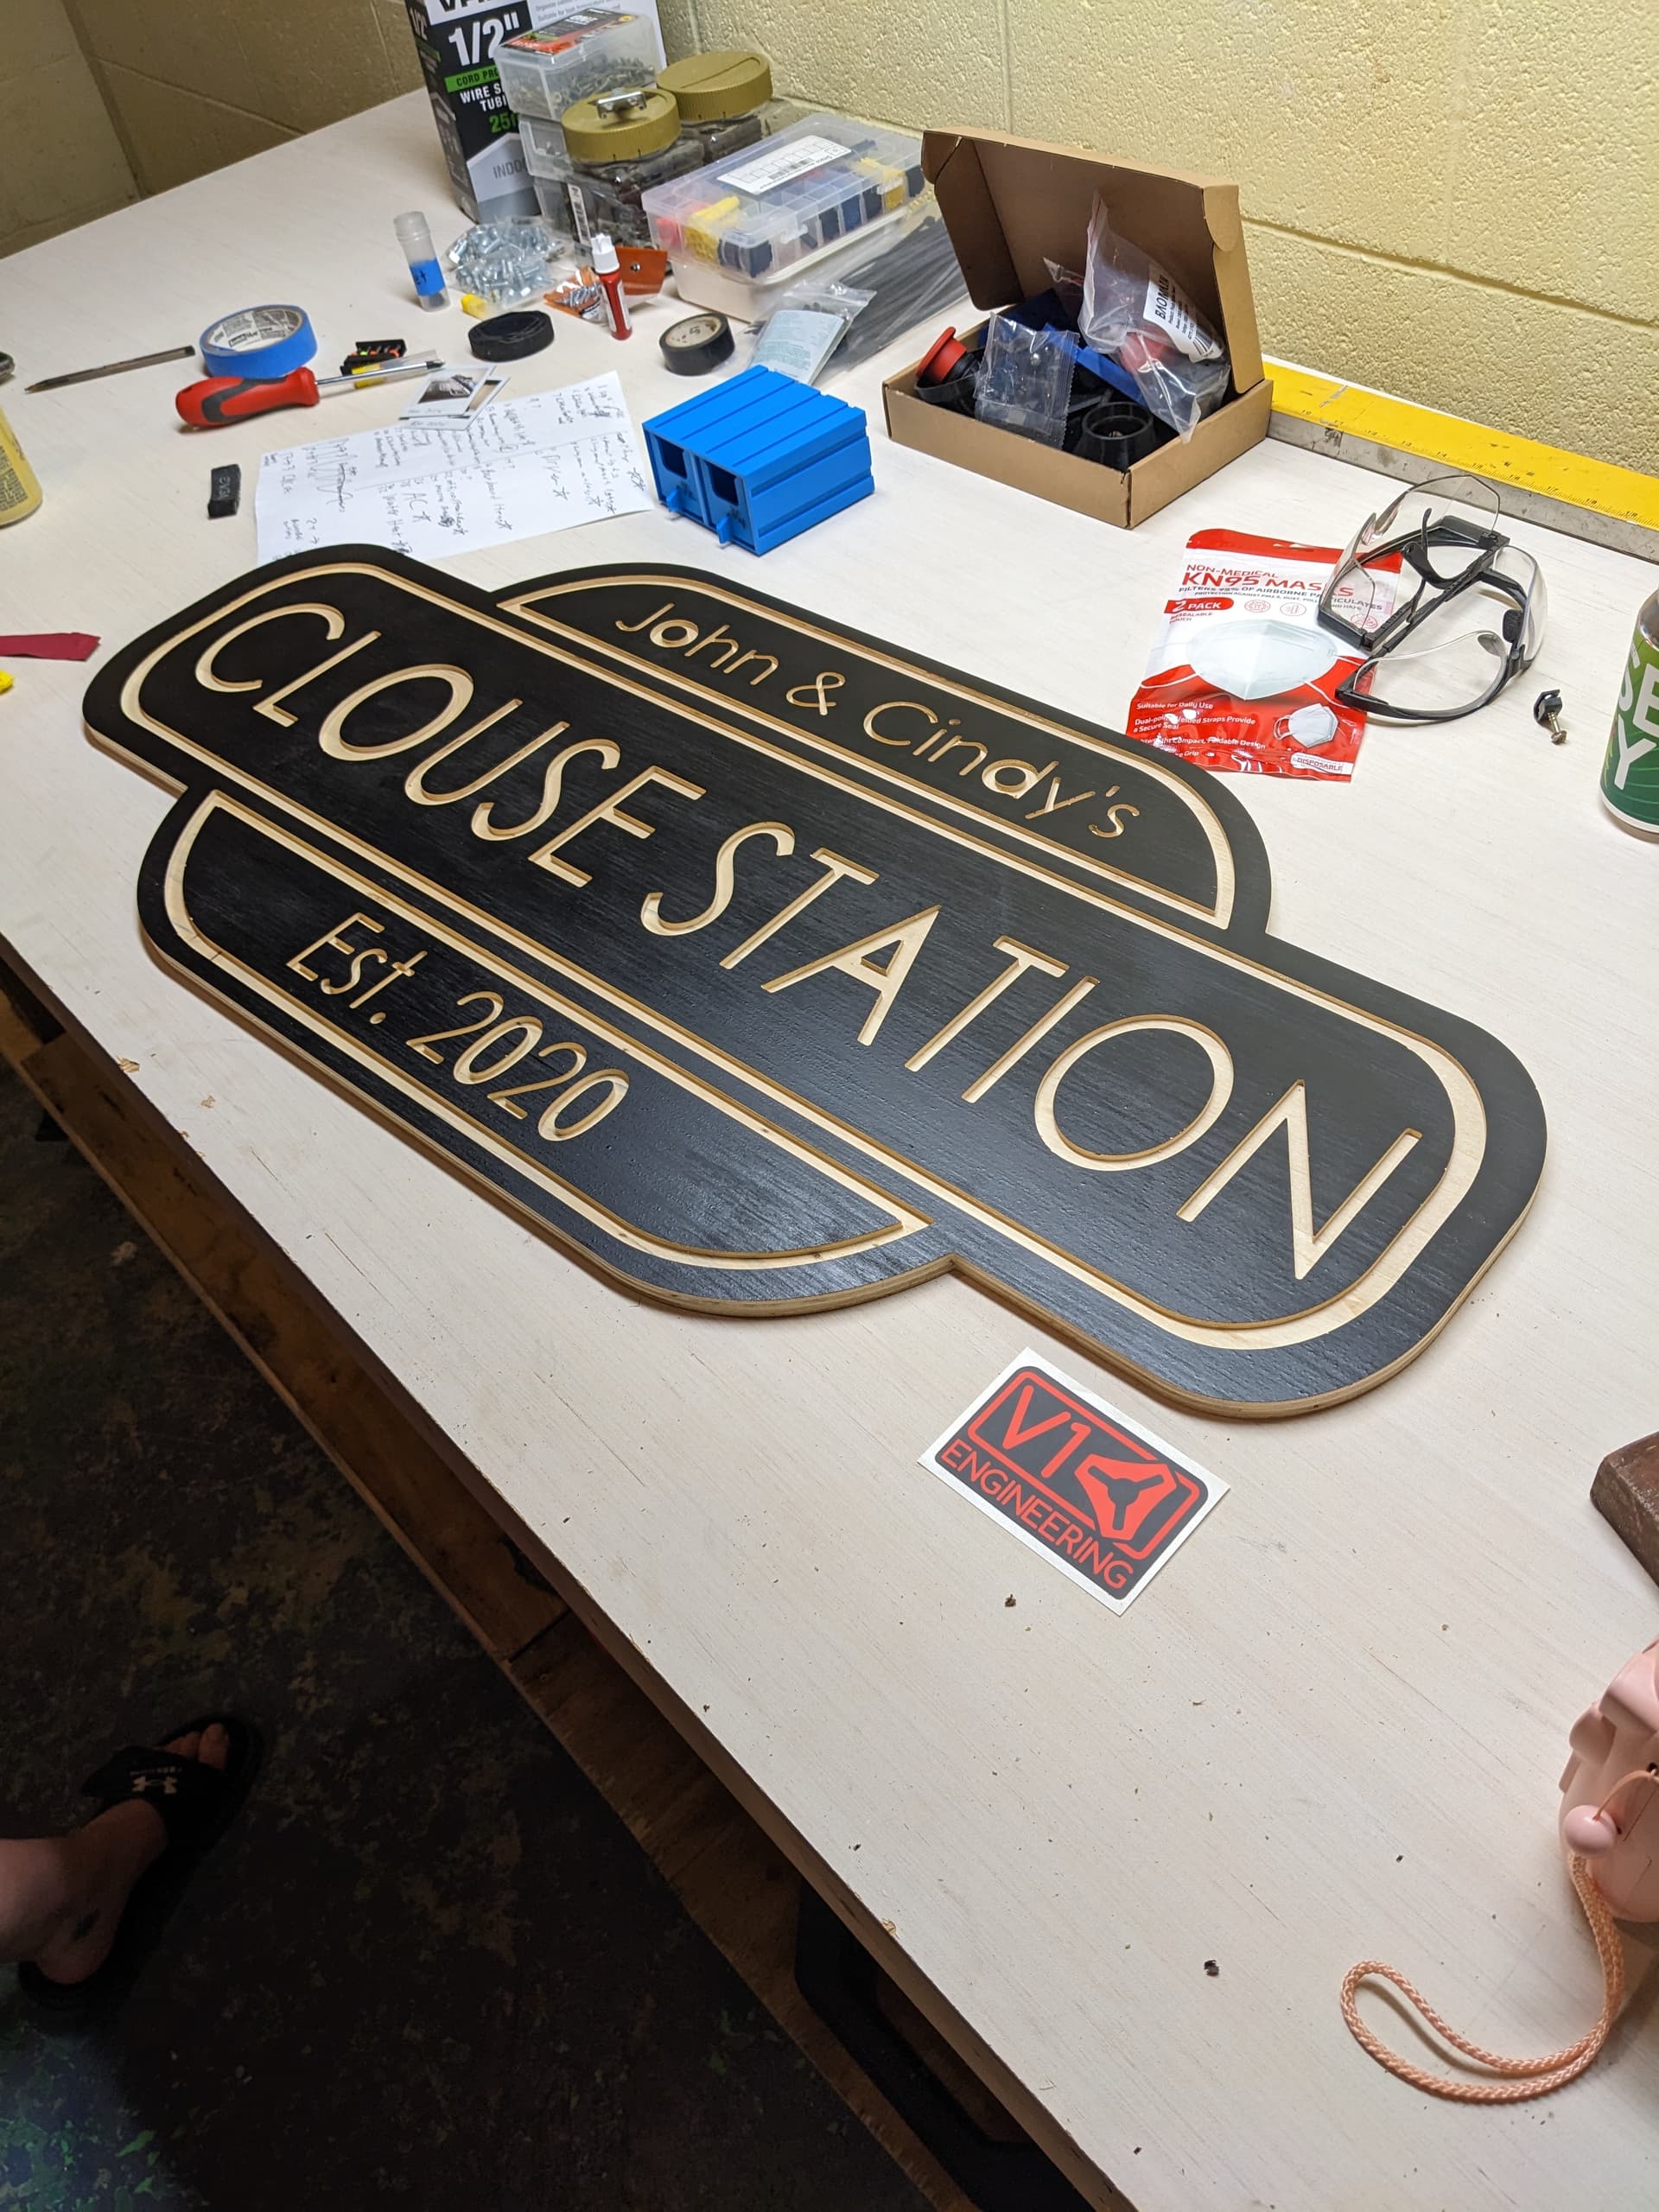
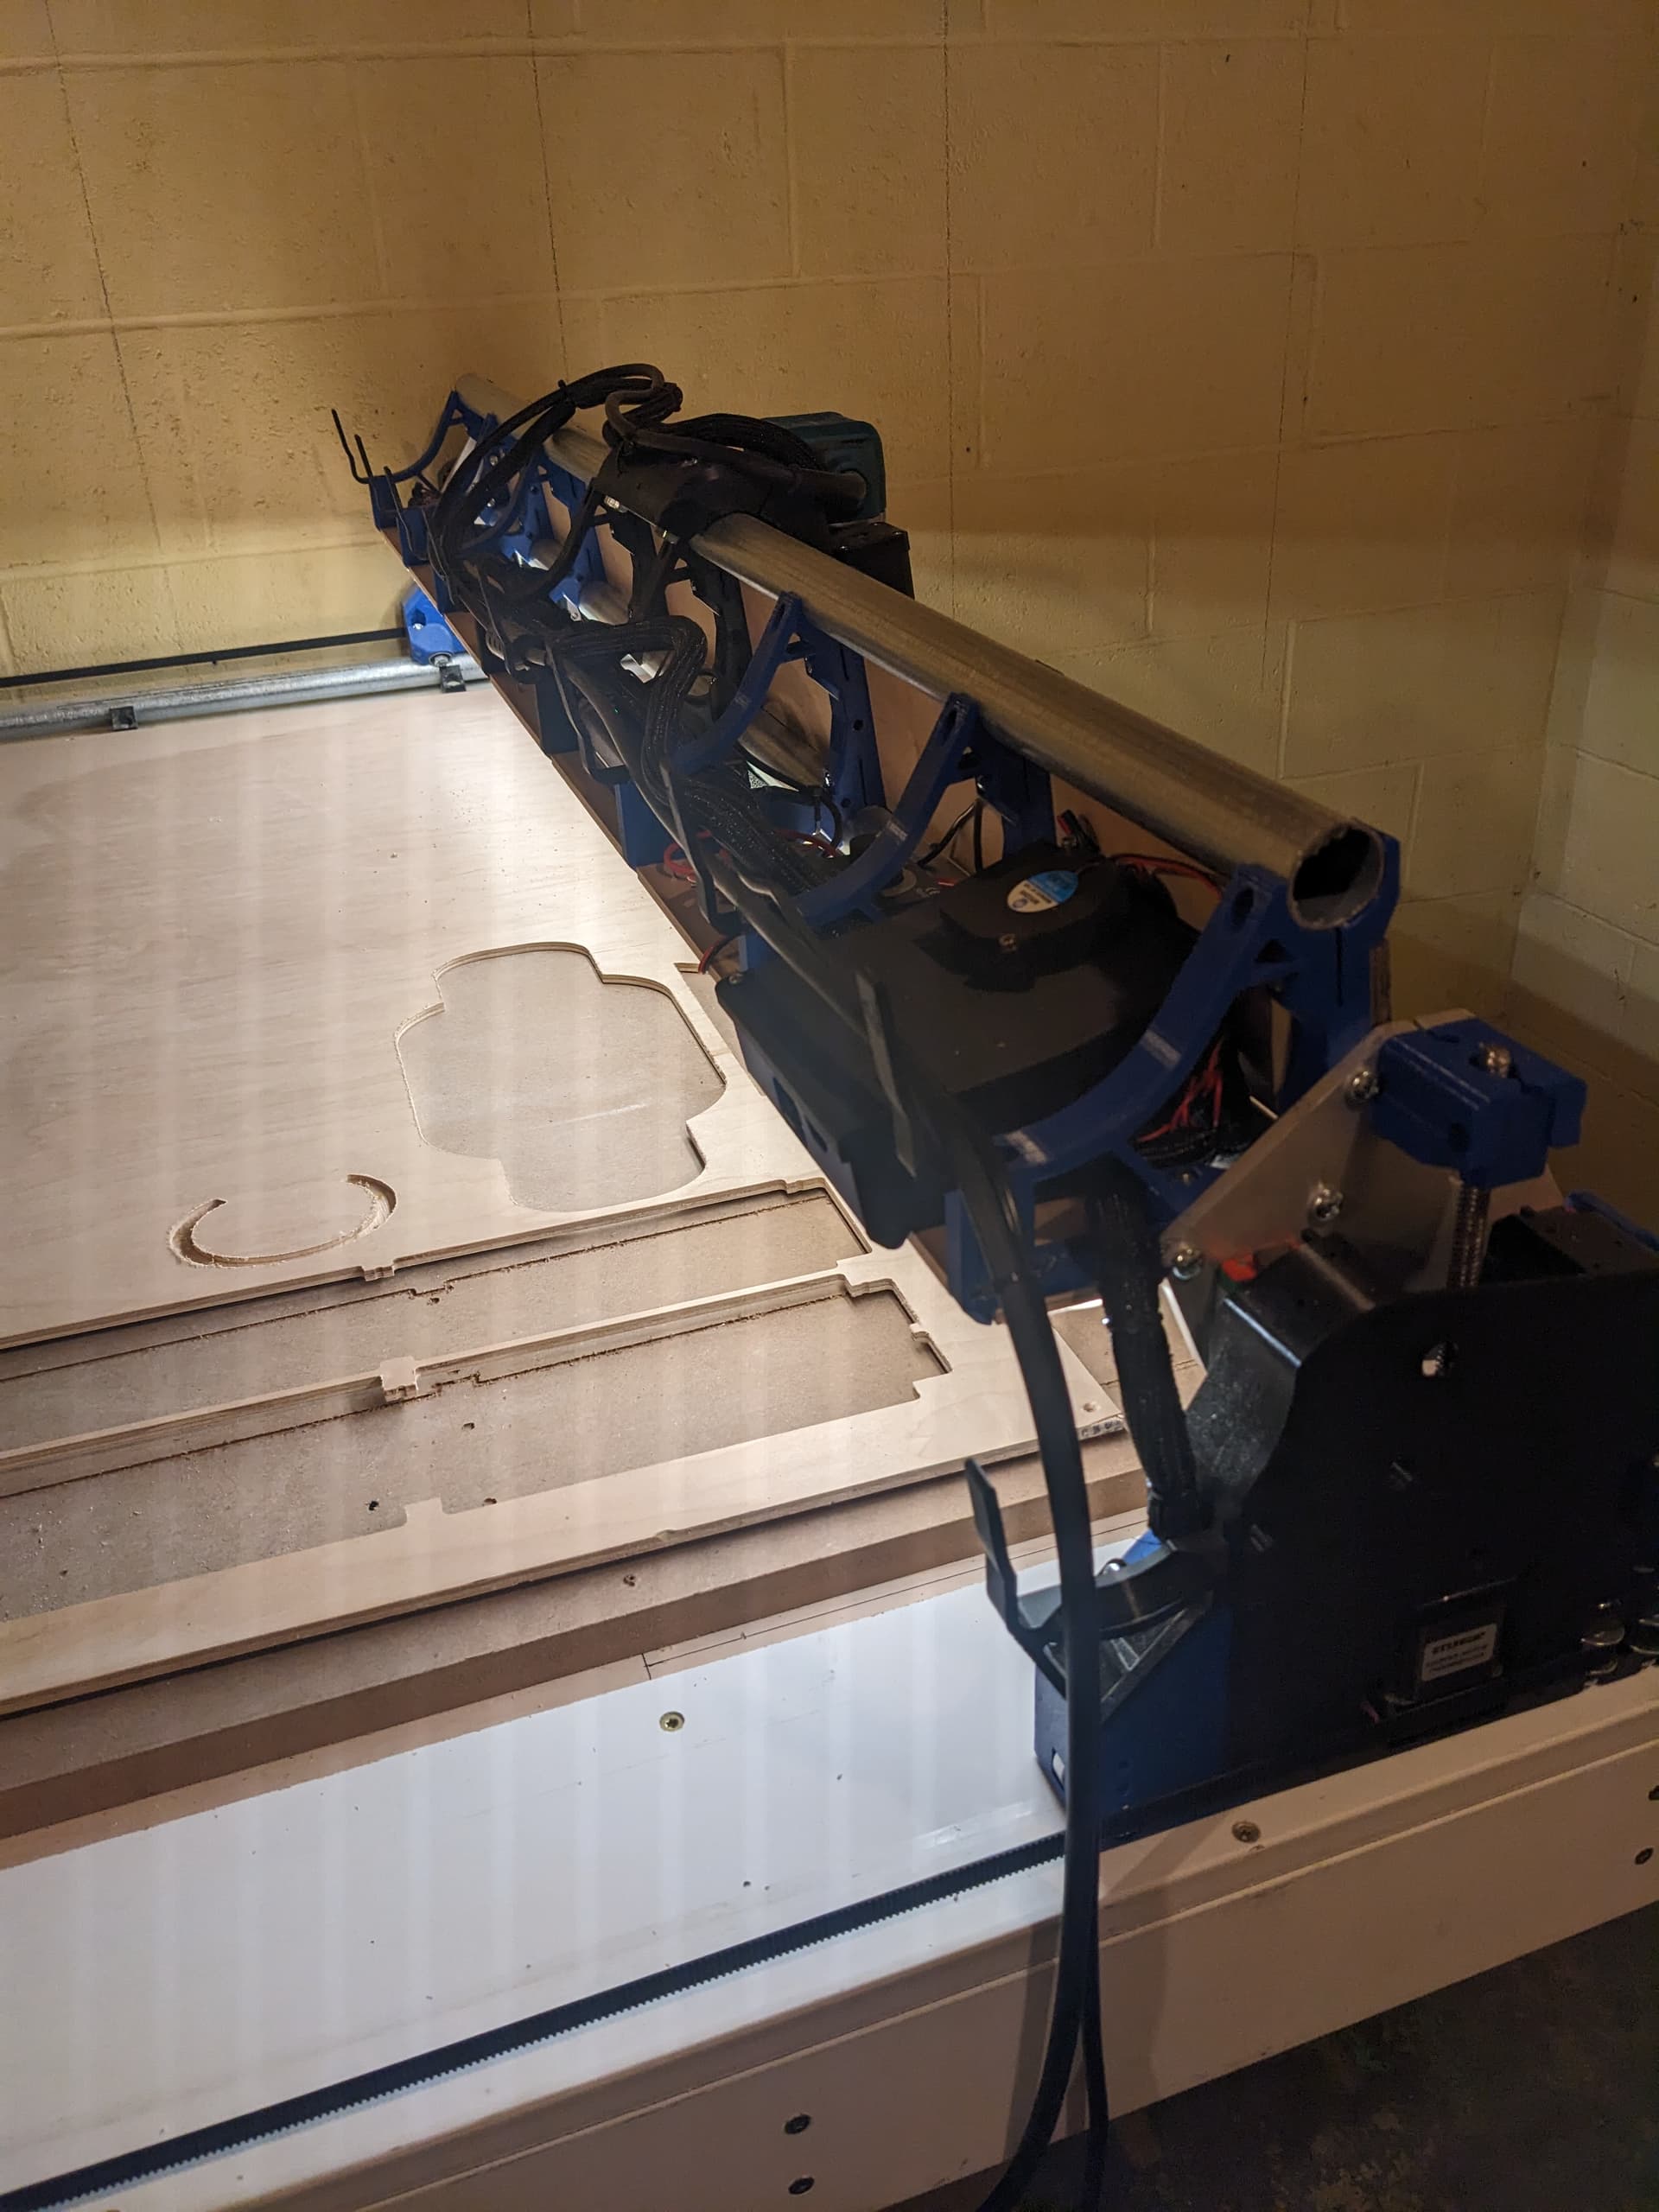
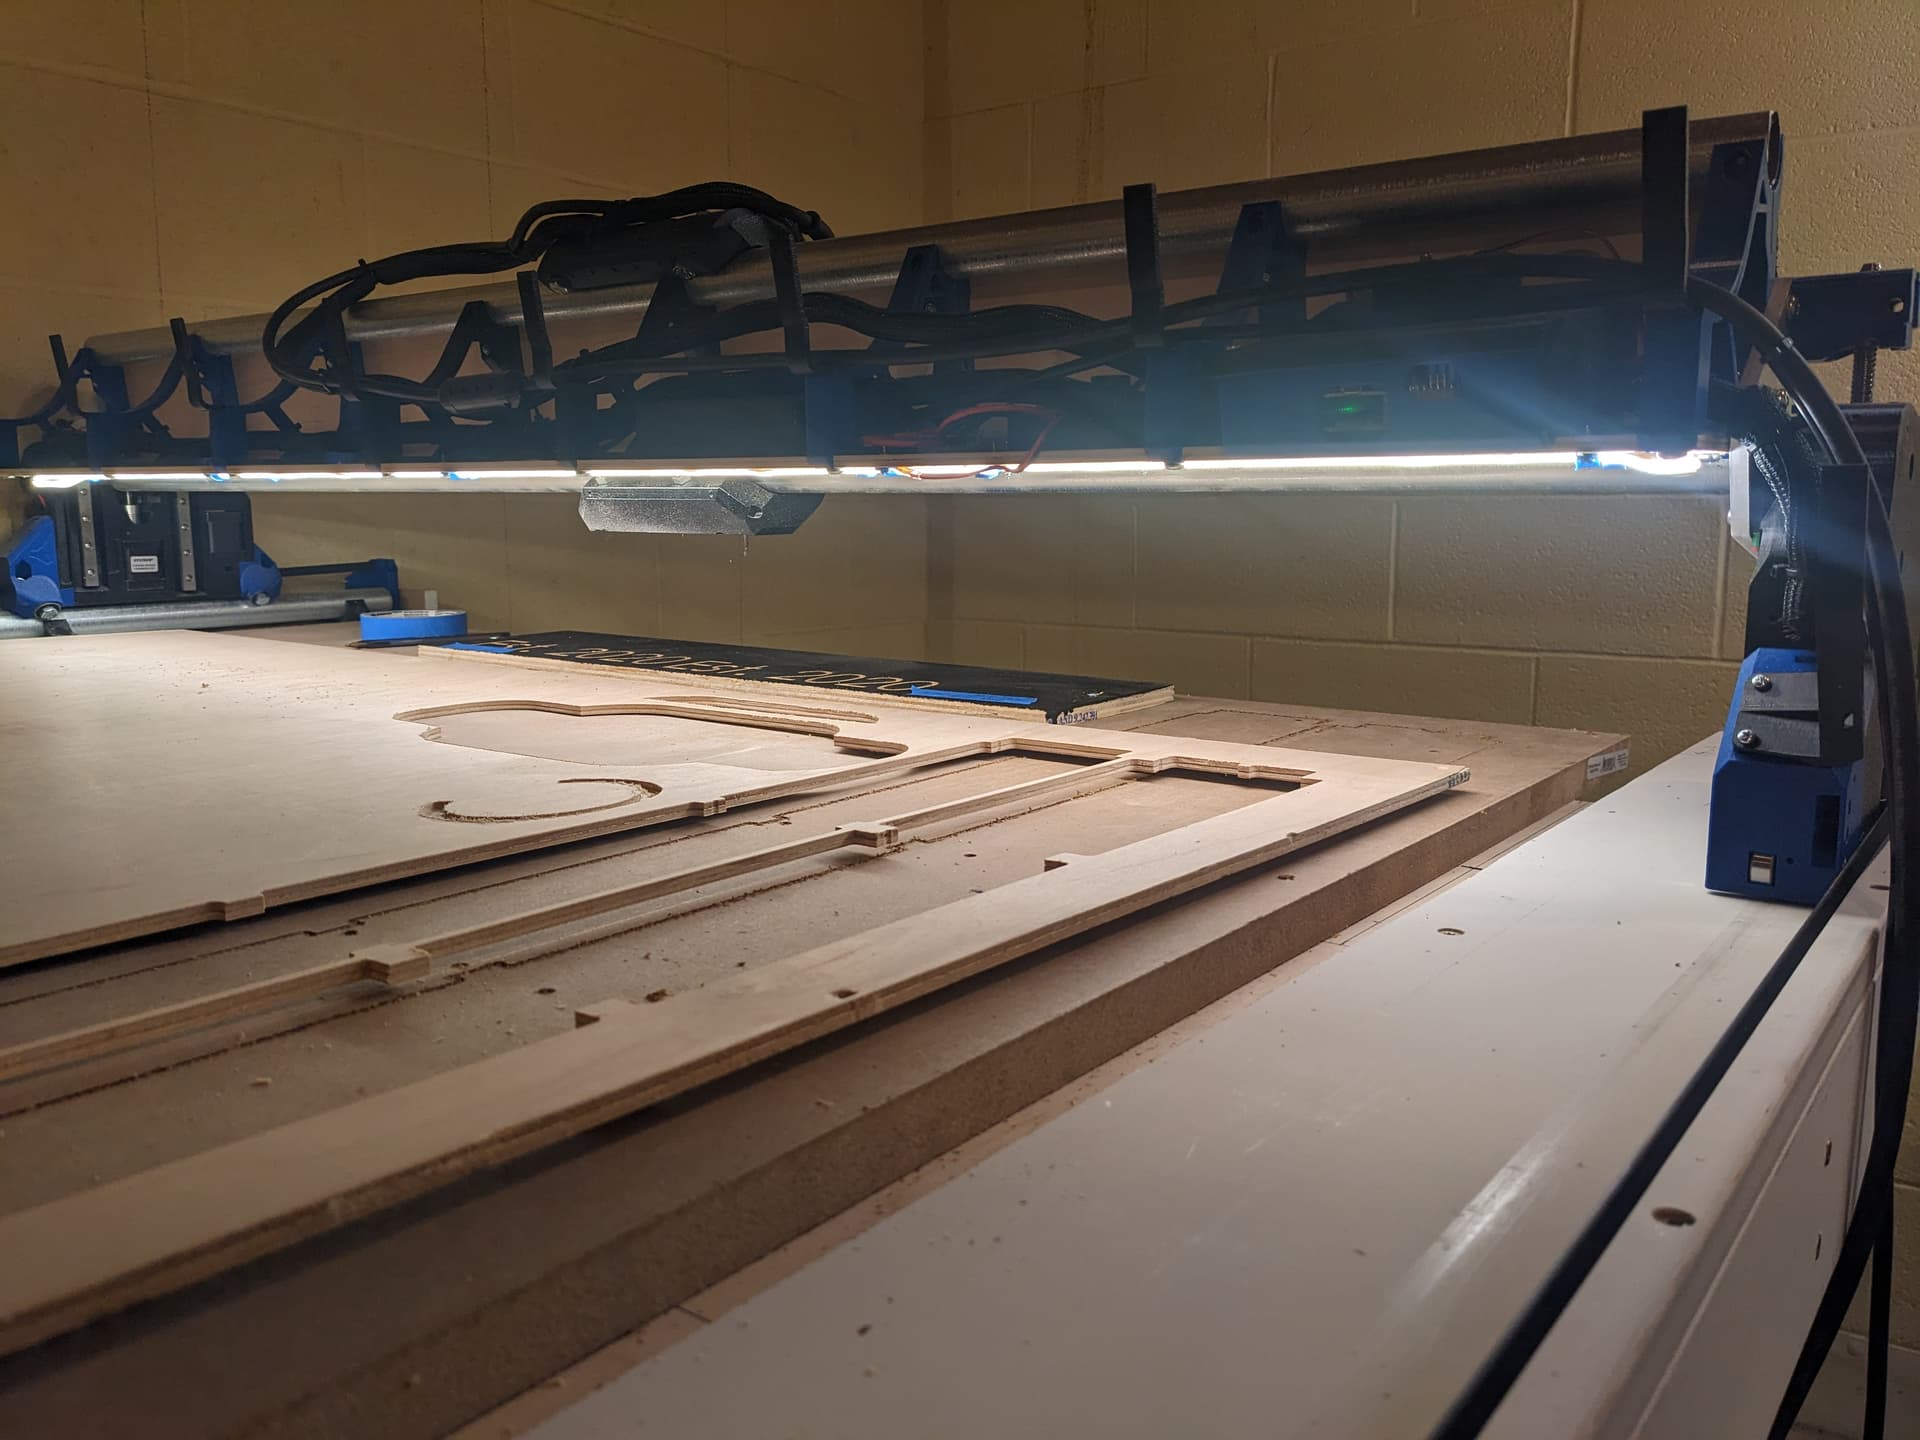
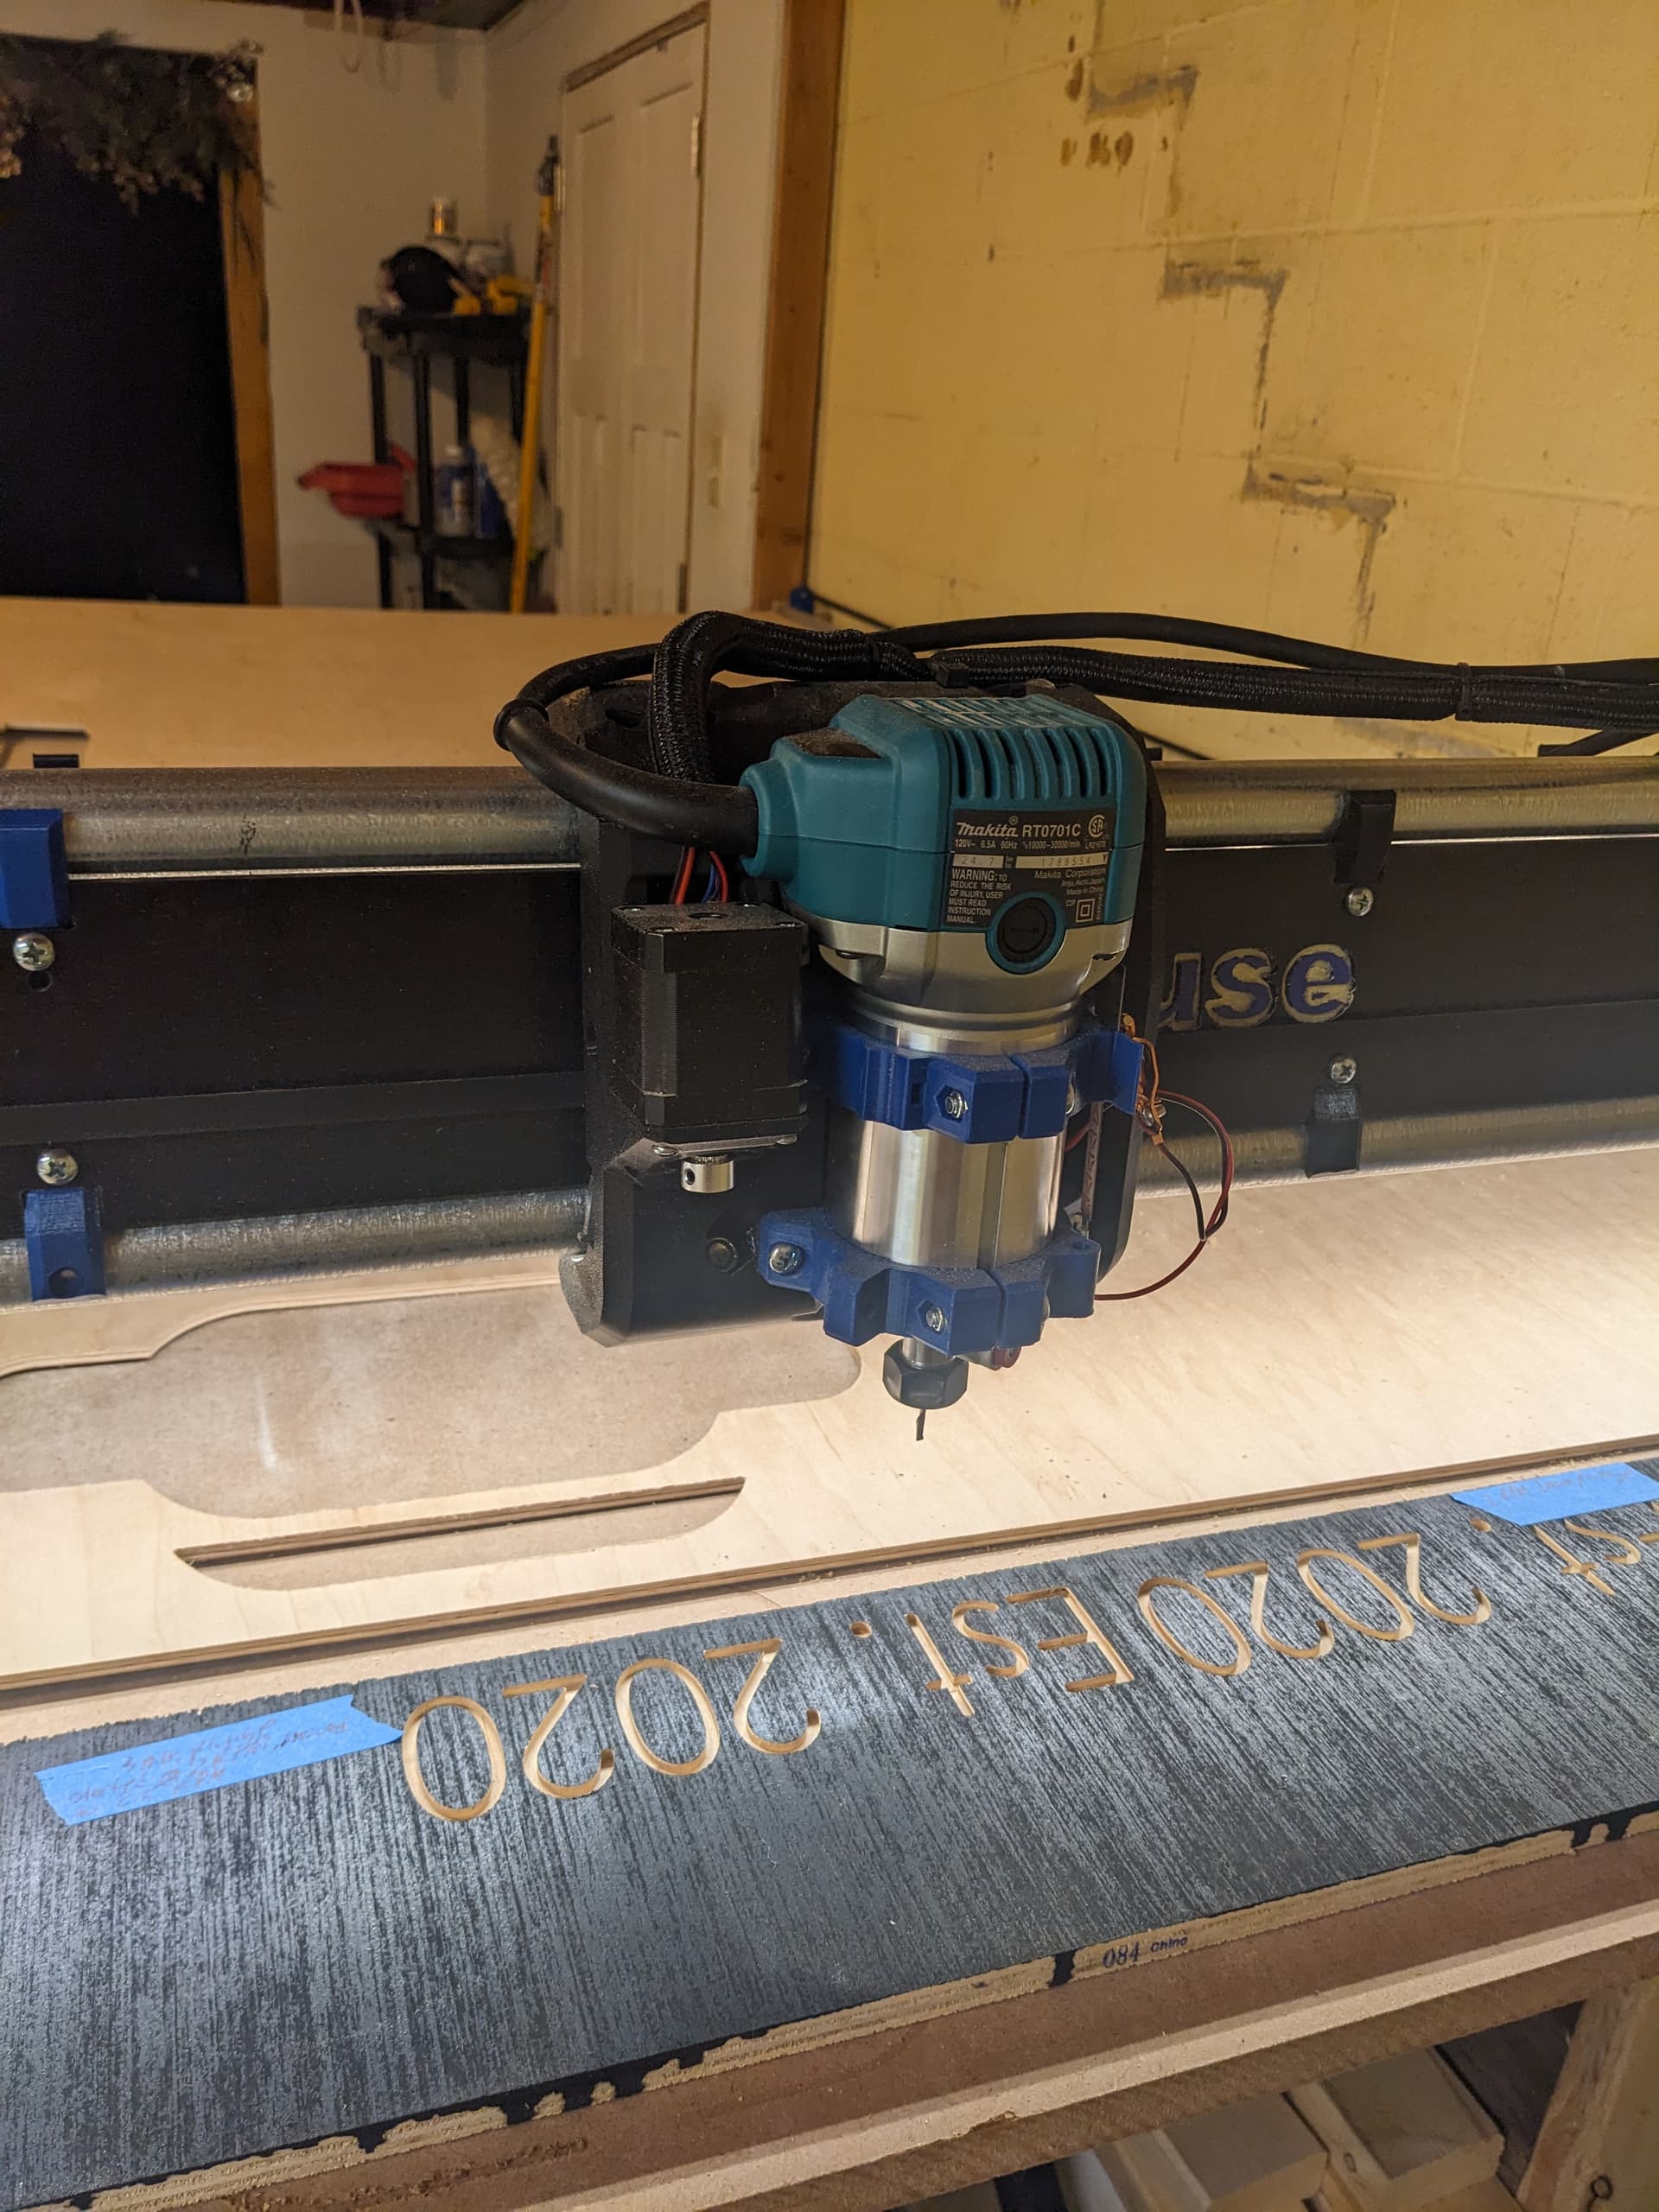
Well fellas, I’m more than pleased. This is my first “big boy” cut and it went quite well! But MY GOSH did it take a long time. lol. This took about 7 hours. It is a smidge over 3 foot wide and a little over 16" tall. All of the engravings are 3mm deep. I used the 1/8" single flute bit straight from the V1 store. I used the default recommended feedrate and plunge rates in the initial build.
While I’m super pleased with the quality, I’m certainly going to play around with some of the speeds. I wasn’t expecting to be sitting in the basement for almost 7 hours! lol. I understand that this is not a machine like a 3d printer where I’m comfortable to leave it unattended for long periods of time. I may think about getting a raspberry pi with a camera for remote management. We shall see.
All this to say, this is so much fun and I’m super pleased with how it’s going! Last thing I’d like to do to my machine is the shop vac hose. Although, I go back and forth on that because that’ll make it so much louder with a shop vac running for the entire cut vs me periodically sweeping the surface.
There are posts on this forum where people have been in the room with their back to the machine while it was working and barely caught it before a serious fire was caused.
You can tweak feeds and speeds and also remember you don’t have to cut everything at once. The endstops mean you can rezero anytime and as long as the workpiece hasn’t moved you can pick up where you left off.
Your sign looks like you could have used a 1/4" single flute. That will speed things up A LOT. I was using the 1/8" bit and decided to try the 1/4". I’m glad I did. As long as the cuts are large enough for the 1/4" bit, the cutting time will be a lot faster.
Great job! You can figure out through testing how to go either faster or deeper or both. In the meantime, avoid the temptation to leave the machine during a cut…
@Dreyfus I certainly hope I never experience that kind of failure! That is a good point about doing things in segments. I think if I can just find a happy medium of speed, that’d be good enough.
@psal217050 I can post some pictures in awhile! Honestly, a 2x4 version would be fine. I will say that my dad and I are going to be developing garages to be rented out and I may make a large sign for that. That is the only usecase I can think of that would require a full sheet of plywood.
Here was the configuration:
Makita router at setting 2 RPM (not sure how many RPMs that actually is).
1/8 single flute bit
7mm/s feedrate
1mm plunge
I can’t think of any other pertinent settings. Please feel free to ask!
This evening, I tested a portion of the sign with a 3mm plunge (Rest of the gcode settings the exact same). In the original sign, ALL of the engravings are 3mm. This means that only 1 pass is needed for each engraving. I sped the router up to setting 2.5 and it handled cutting the characters in 1 pass totally fine. I will say there was a bit of missed material. I’m going to try again on setting 3 and see how that fares.
Thank you. When I had my other CNC, I used a 1/4" endmill, DOC was no more than 1/4", dial on router was at 3. I don’t remember the feedrate but I know it was more than 7mm/s. I used whatever Vcarve Pro recommended and maybe bumped it up a bit.
You’re doing the right thing by starting off conservatively. I think you could confidently double that feed rate and be fine, you could possibly double the feed rate and depth of cut and still be fine!
One easy thing you can do to test is adjust the feed rate during the job - you can go up to 200% feed rate, maybe do 10% at a time and see how it looks & sounds.
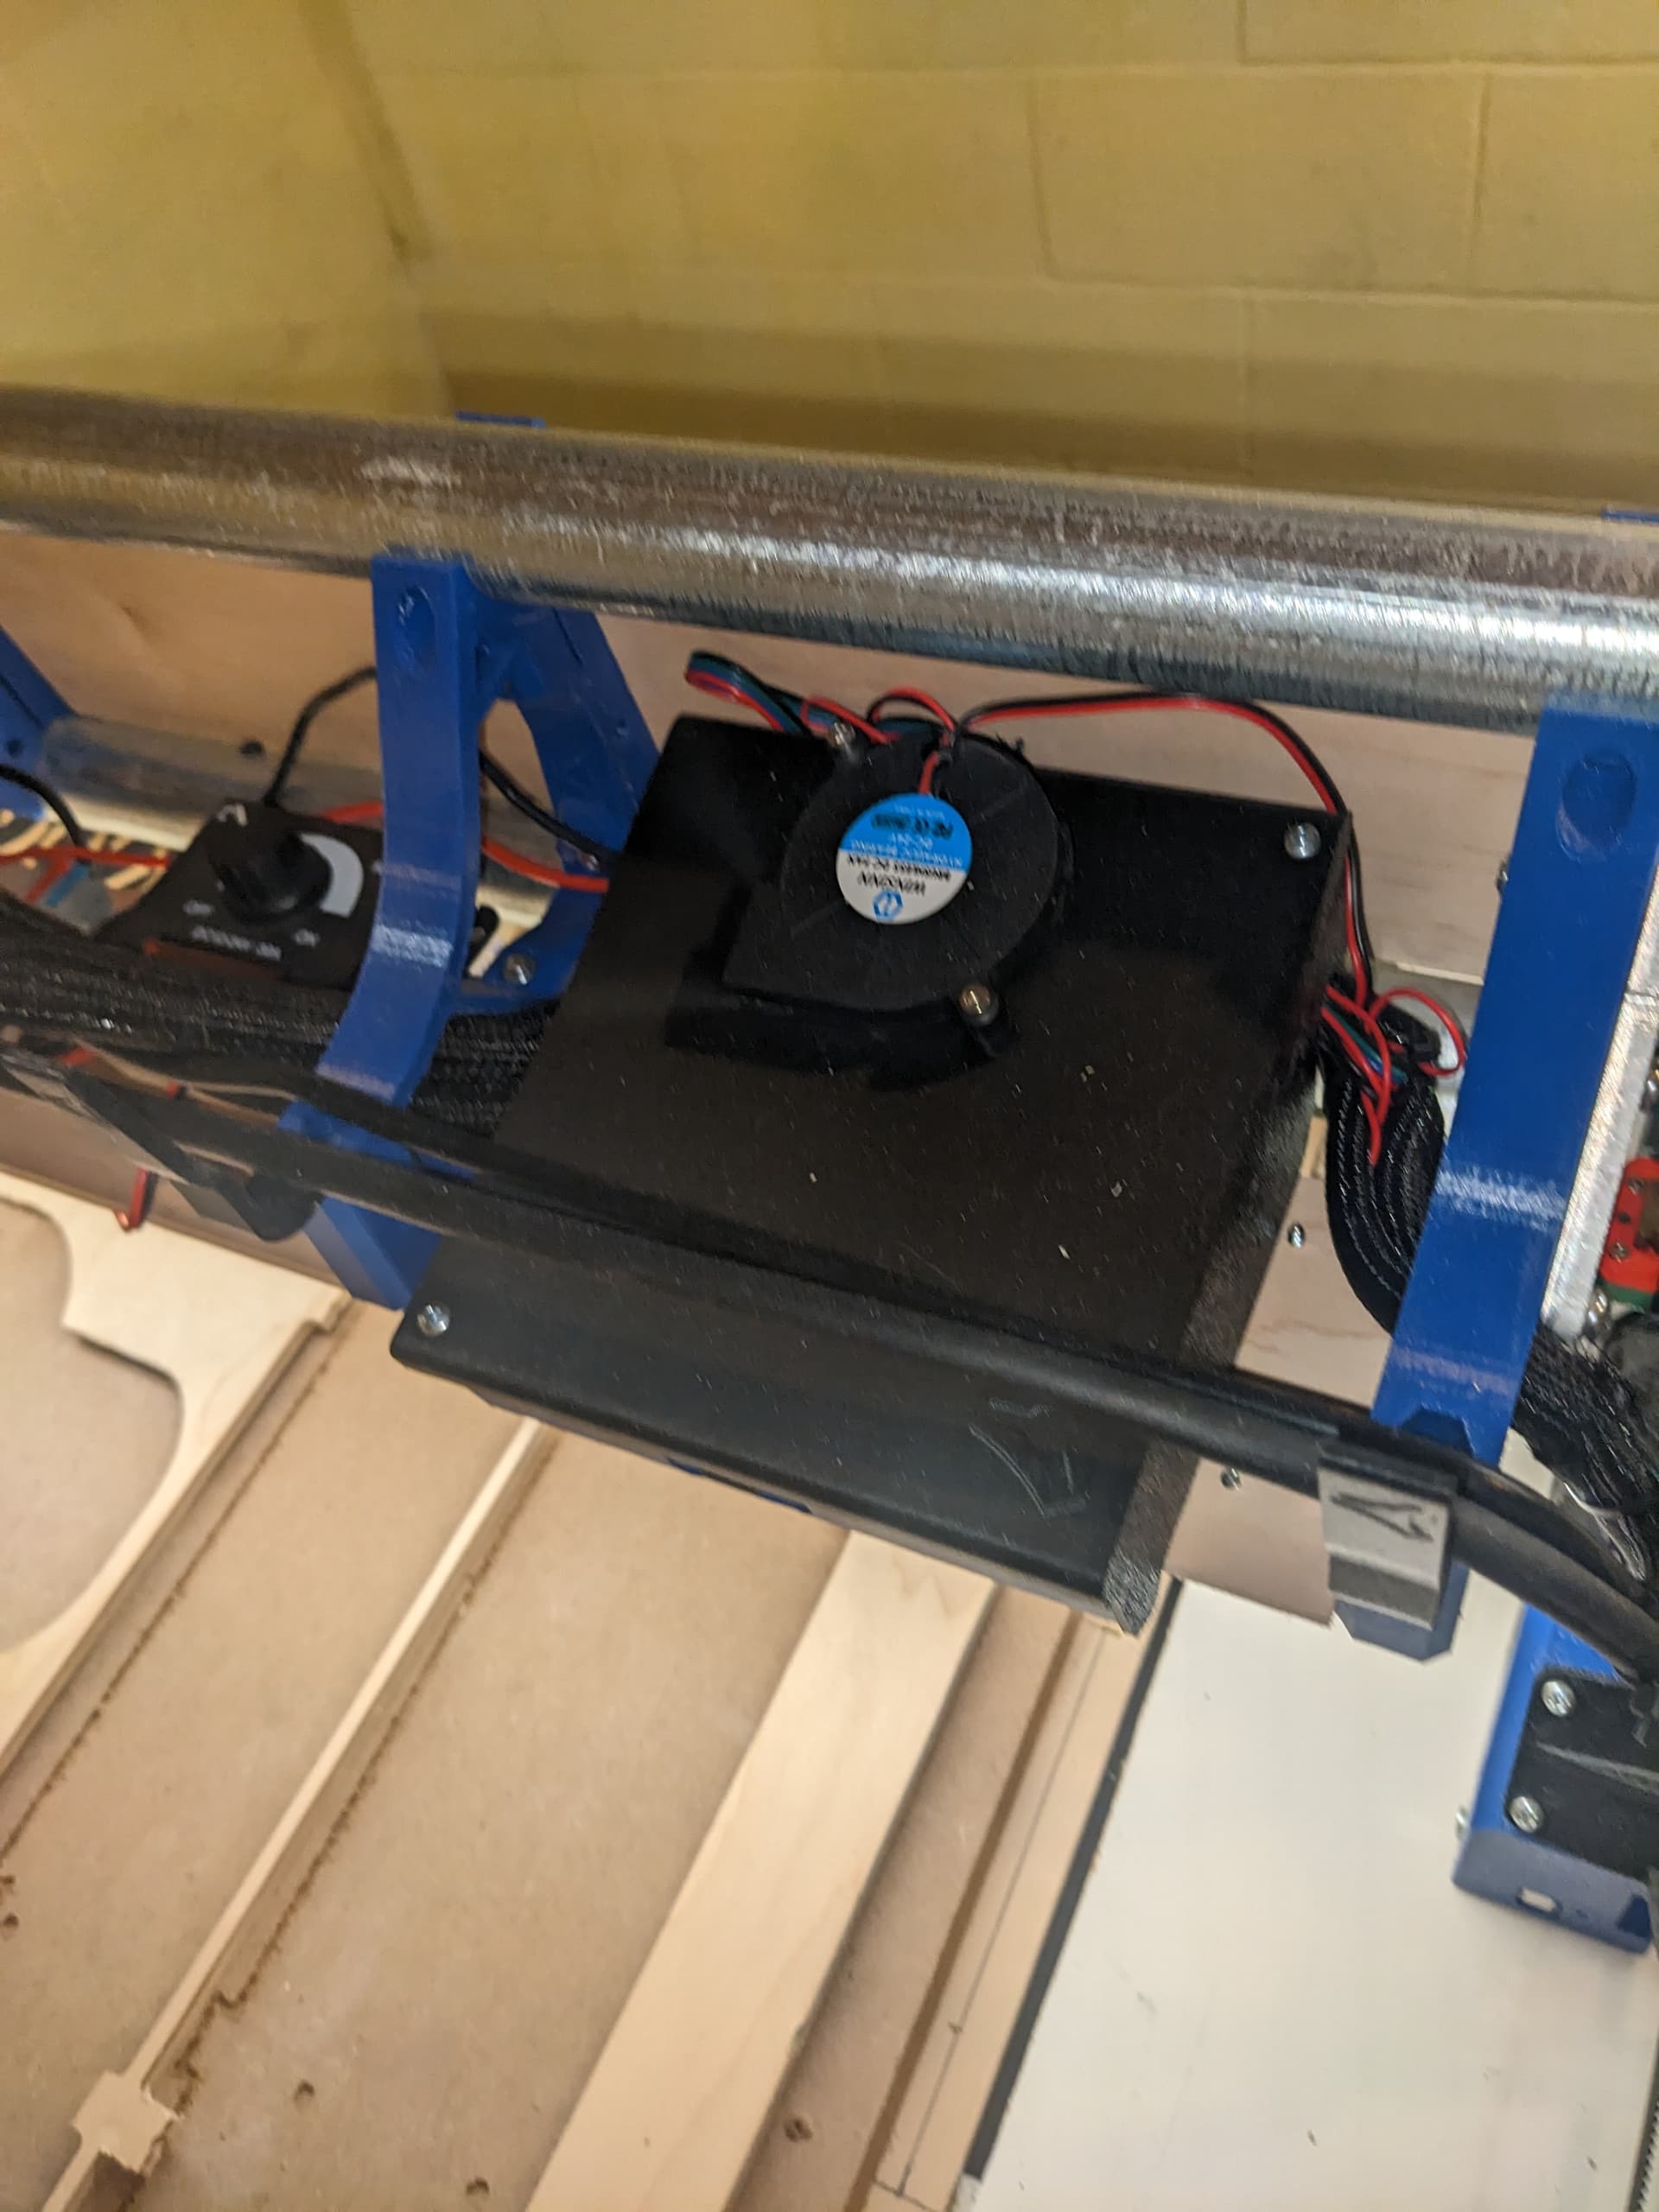
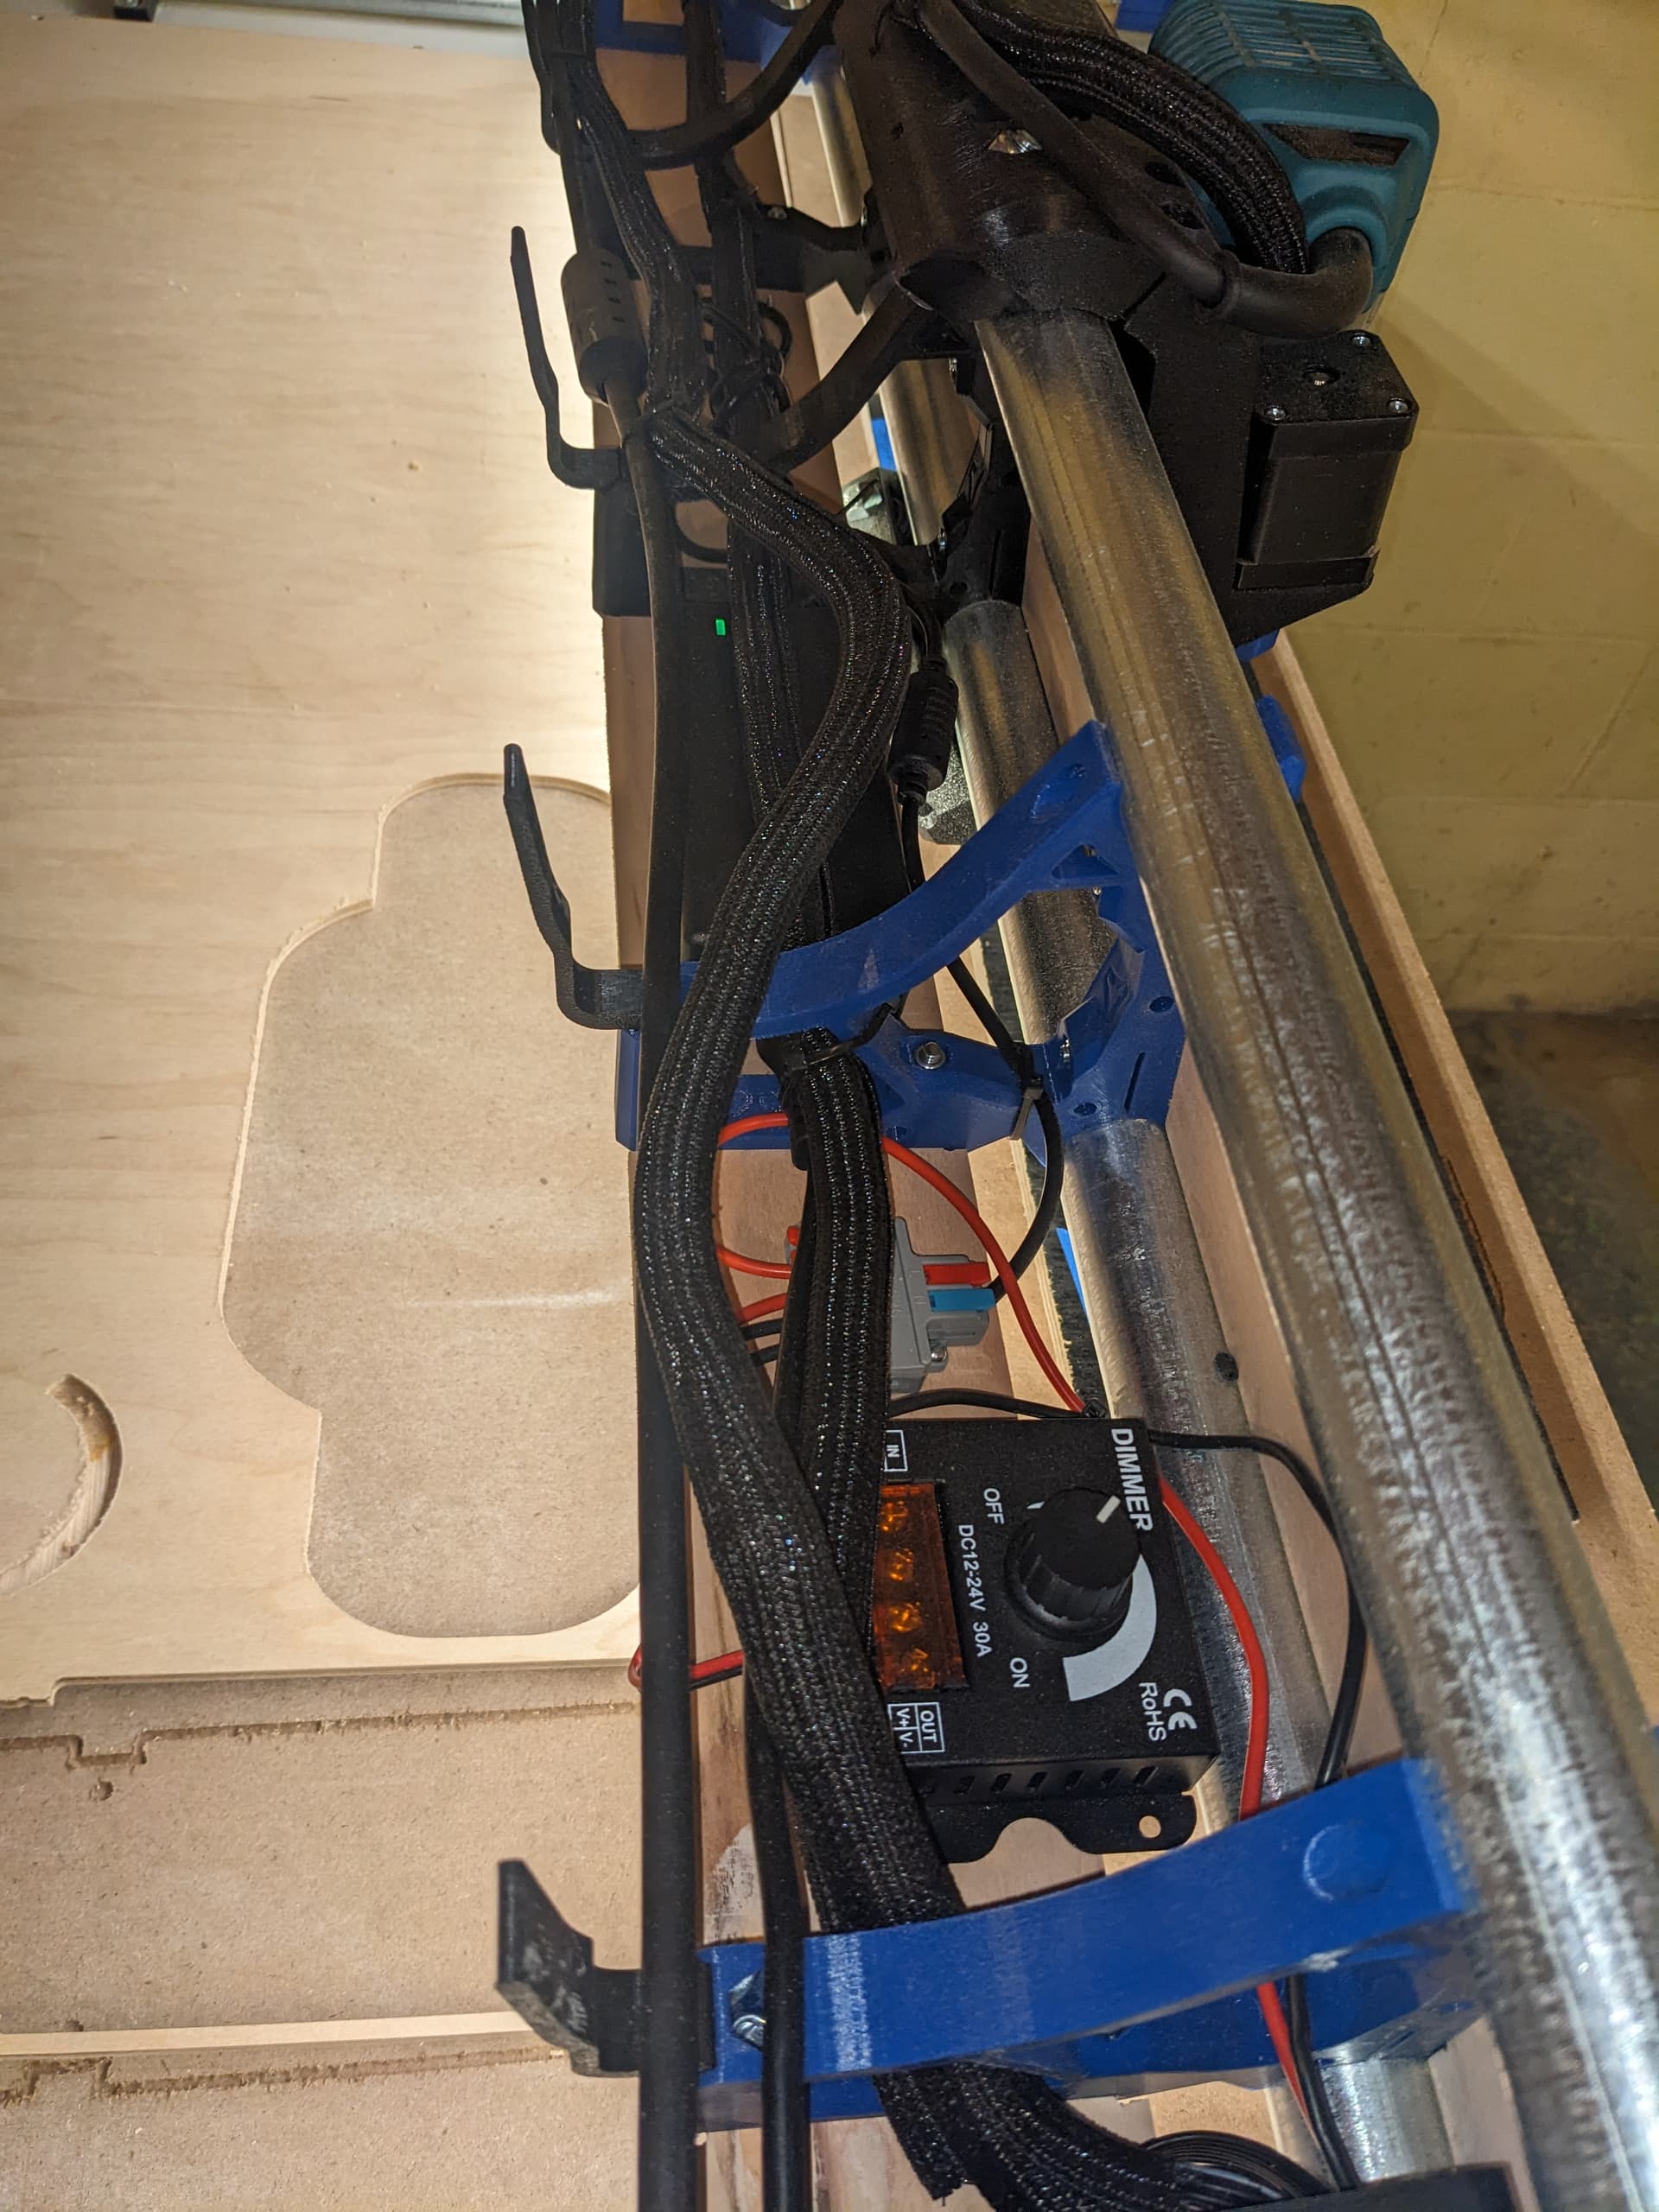
@iamsandx The dimmer is for the LED strip on the bottom strut. Someone had recommended using a dimmer so the LEDs don’t get too warm. Frankly, I’m super glad I got it. The LEDs were SUPER bright on full power. I’m basically on the lowest setting at the moment.
@Dreyfus Thanks for the tips! I’ve increased the plunge from 1mm to 3mm and it seems to be cutting fine! I’ve left the feedrate at 7mm/s for now just for testing. There is a pretty big difference in the sound of the bit going through the material at 3mm vs 1mm! I have another sign that a friend wanted so I’ll cut that and see how the results go. So far, my couple test cuts have been fine.
@Tokoloshe Oh SHEESH. So I really am taking it too easy on this thing. lol. The sound of 3mm is significantly different than 1mm plunge so I think I’ve just been gun shy on moving any faster! Thanks for some confirmation. I’ll not full send to 20, but maybe 10 mm/s and see how it goes. Thanks!!
Couple updates! Test 15mm/s at full RPM on the Makita and it went fine. I will say there was definitely more hairs on the edges, though. However, putting blue painters tape on the wood and then cutting drastically reduced the hairs on the edges. At the very least, I can cut my old times in more than half when I was running 7 mm/s @ 1mm plunge. Progress!
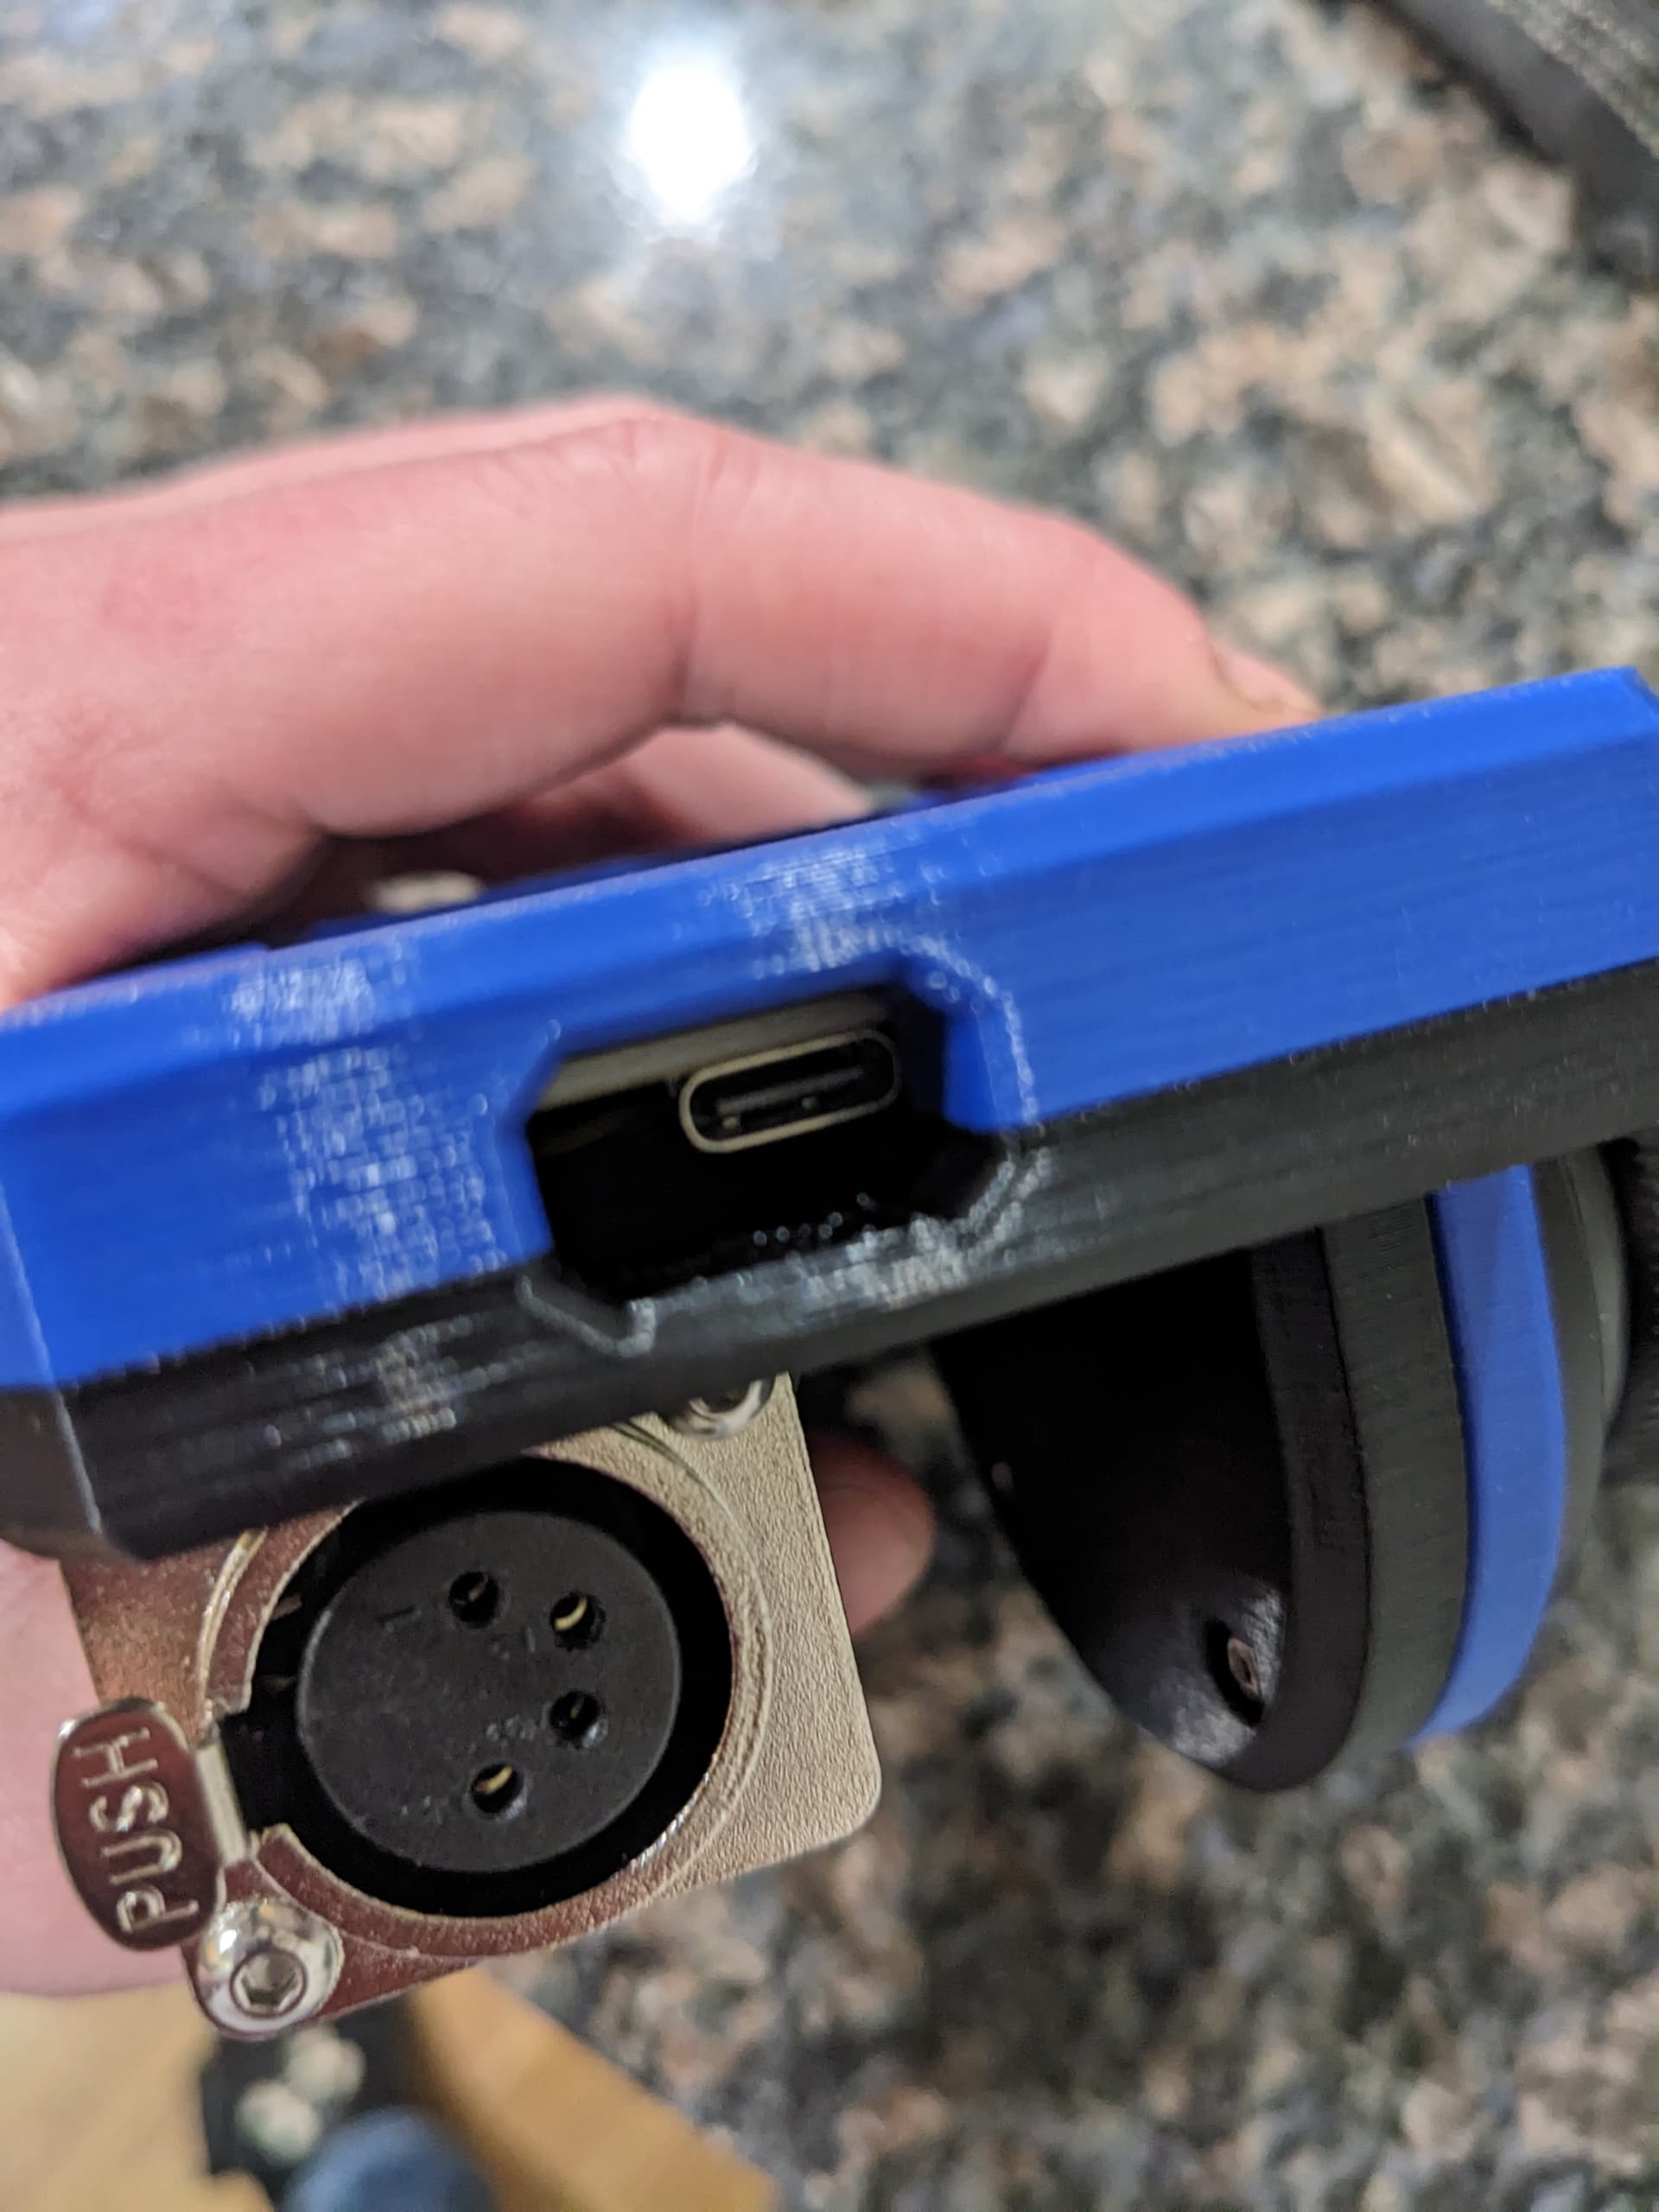
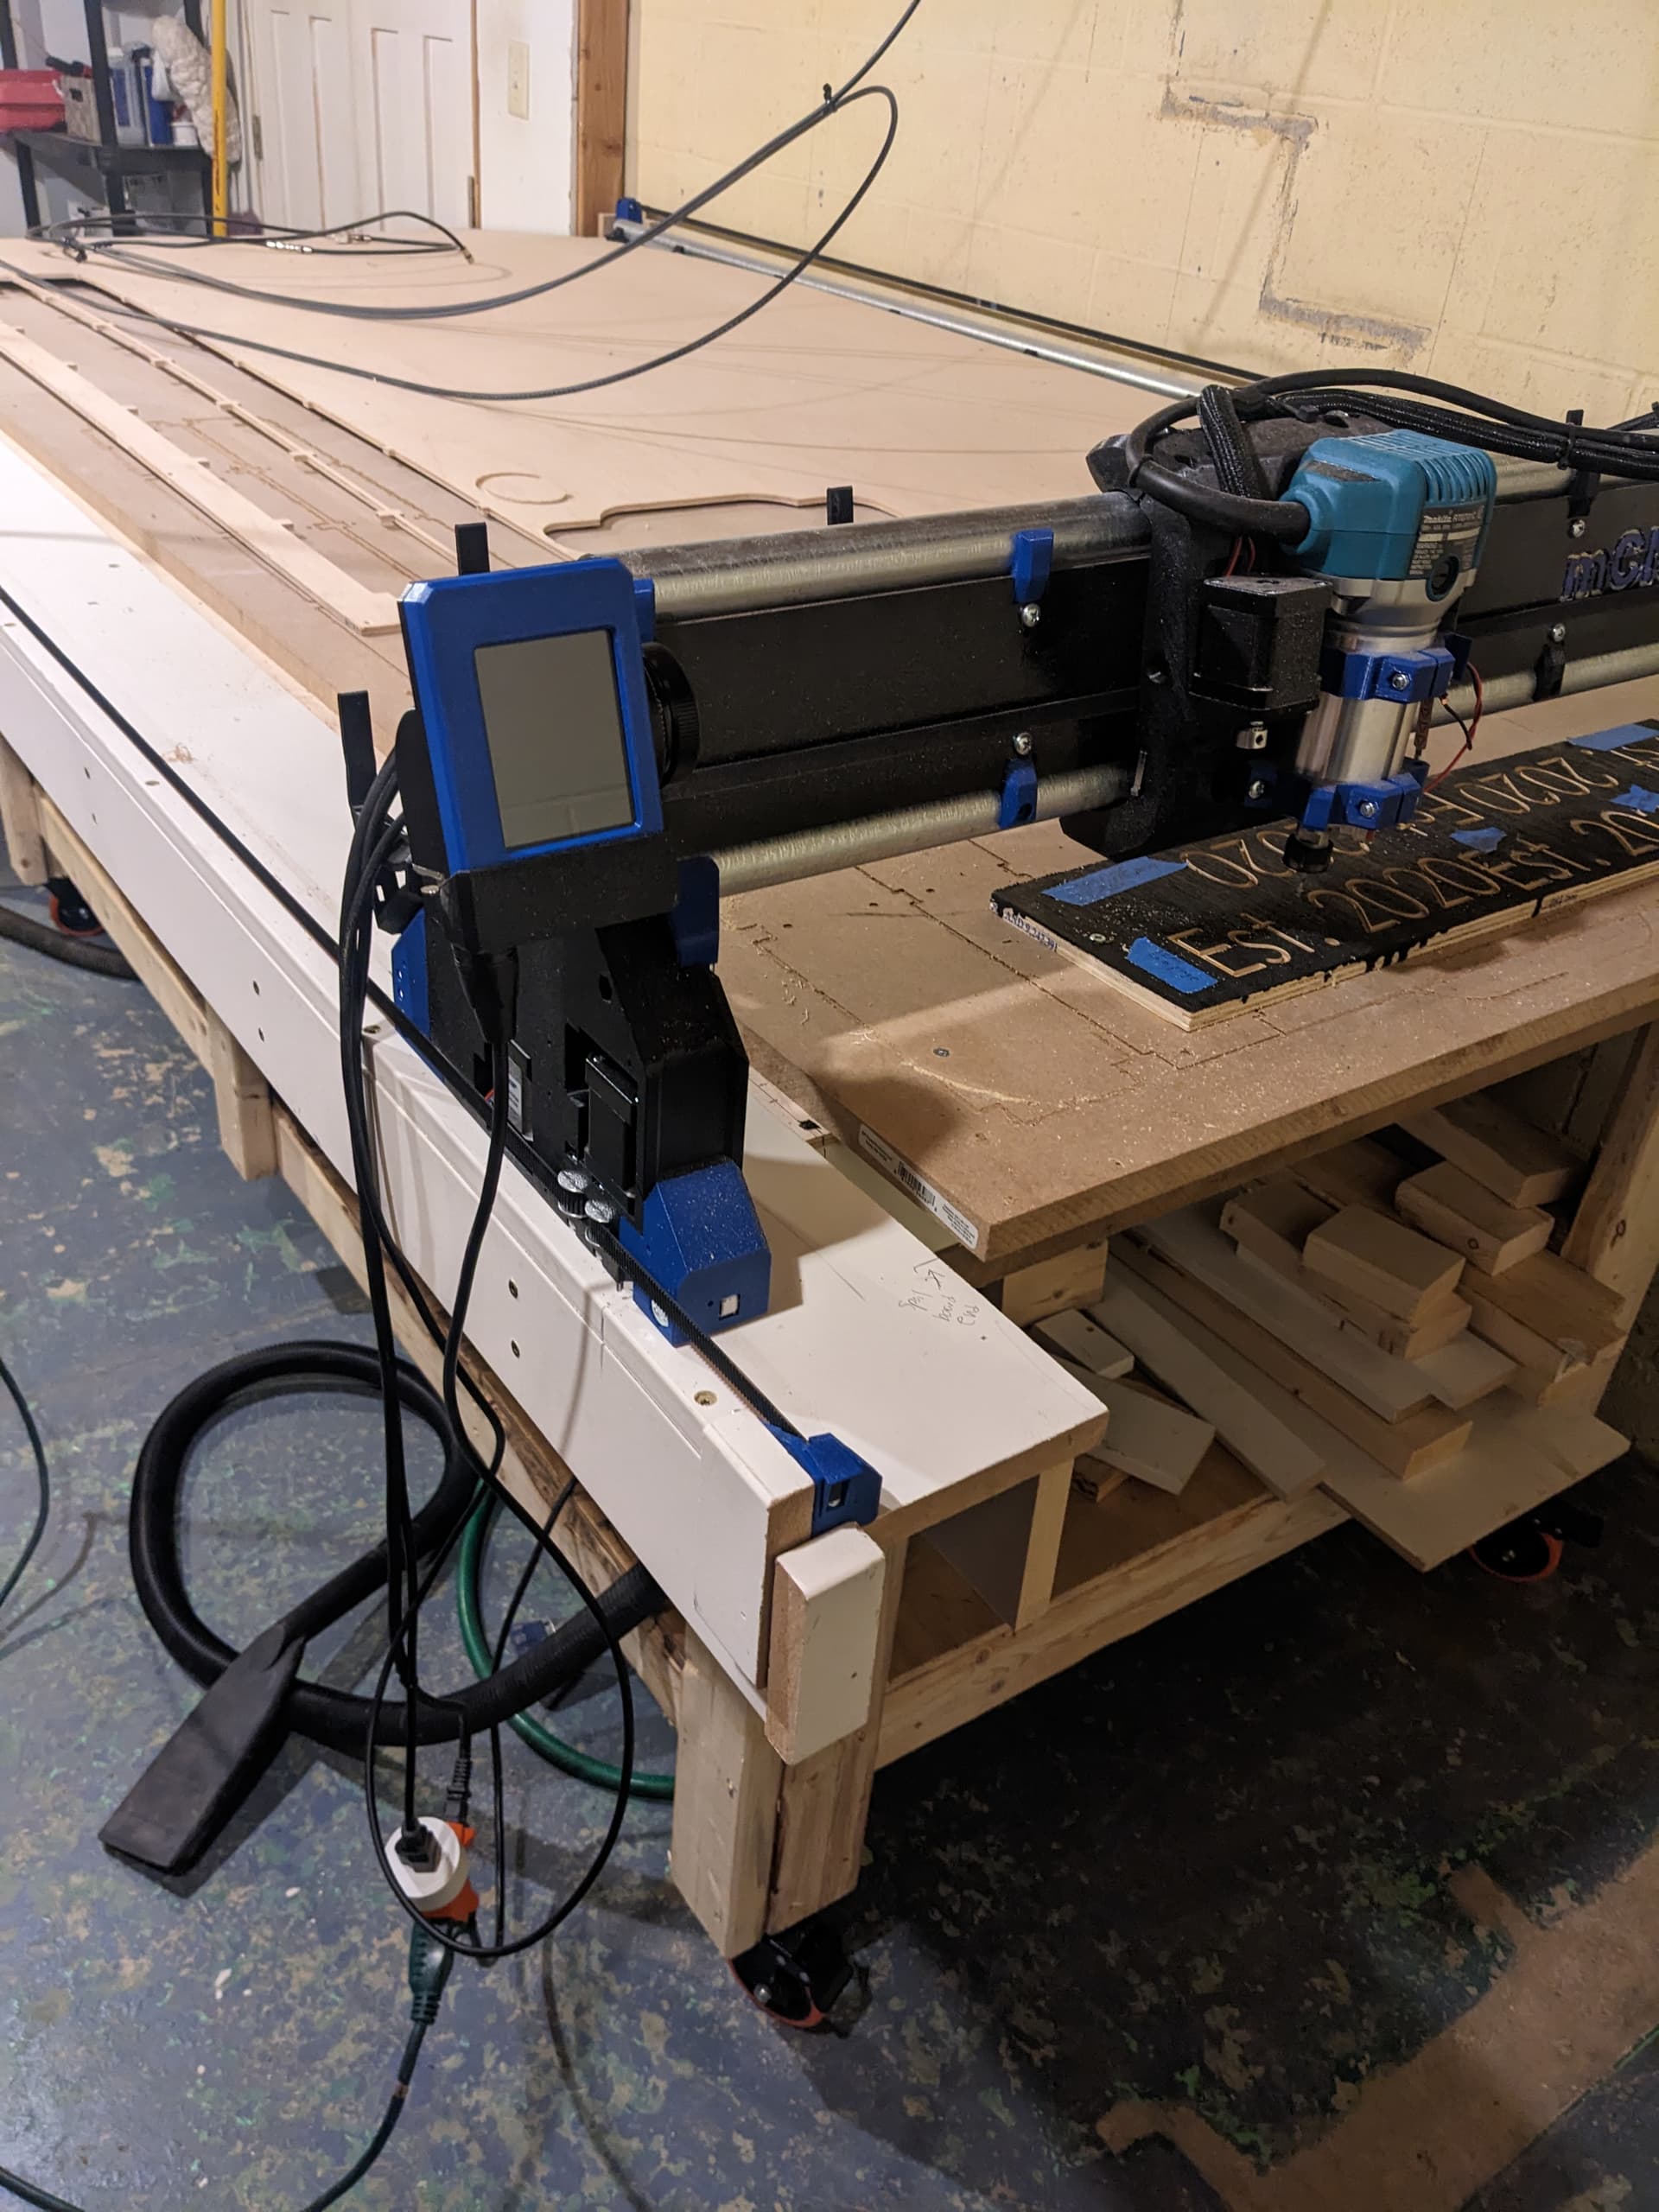
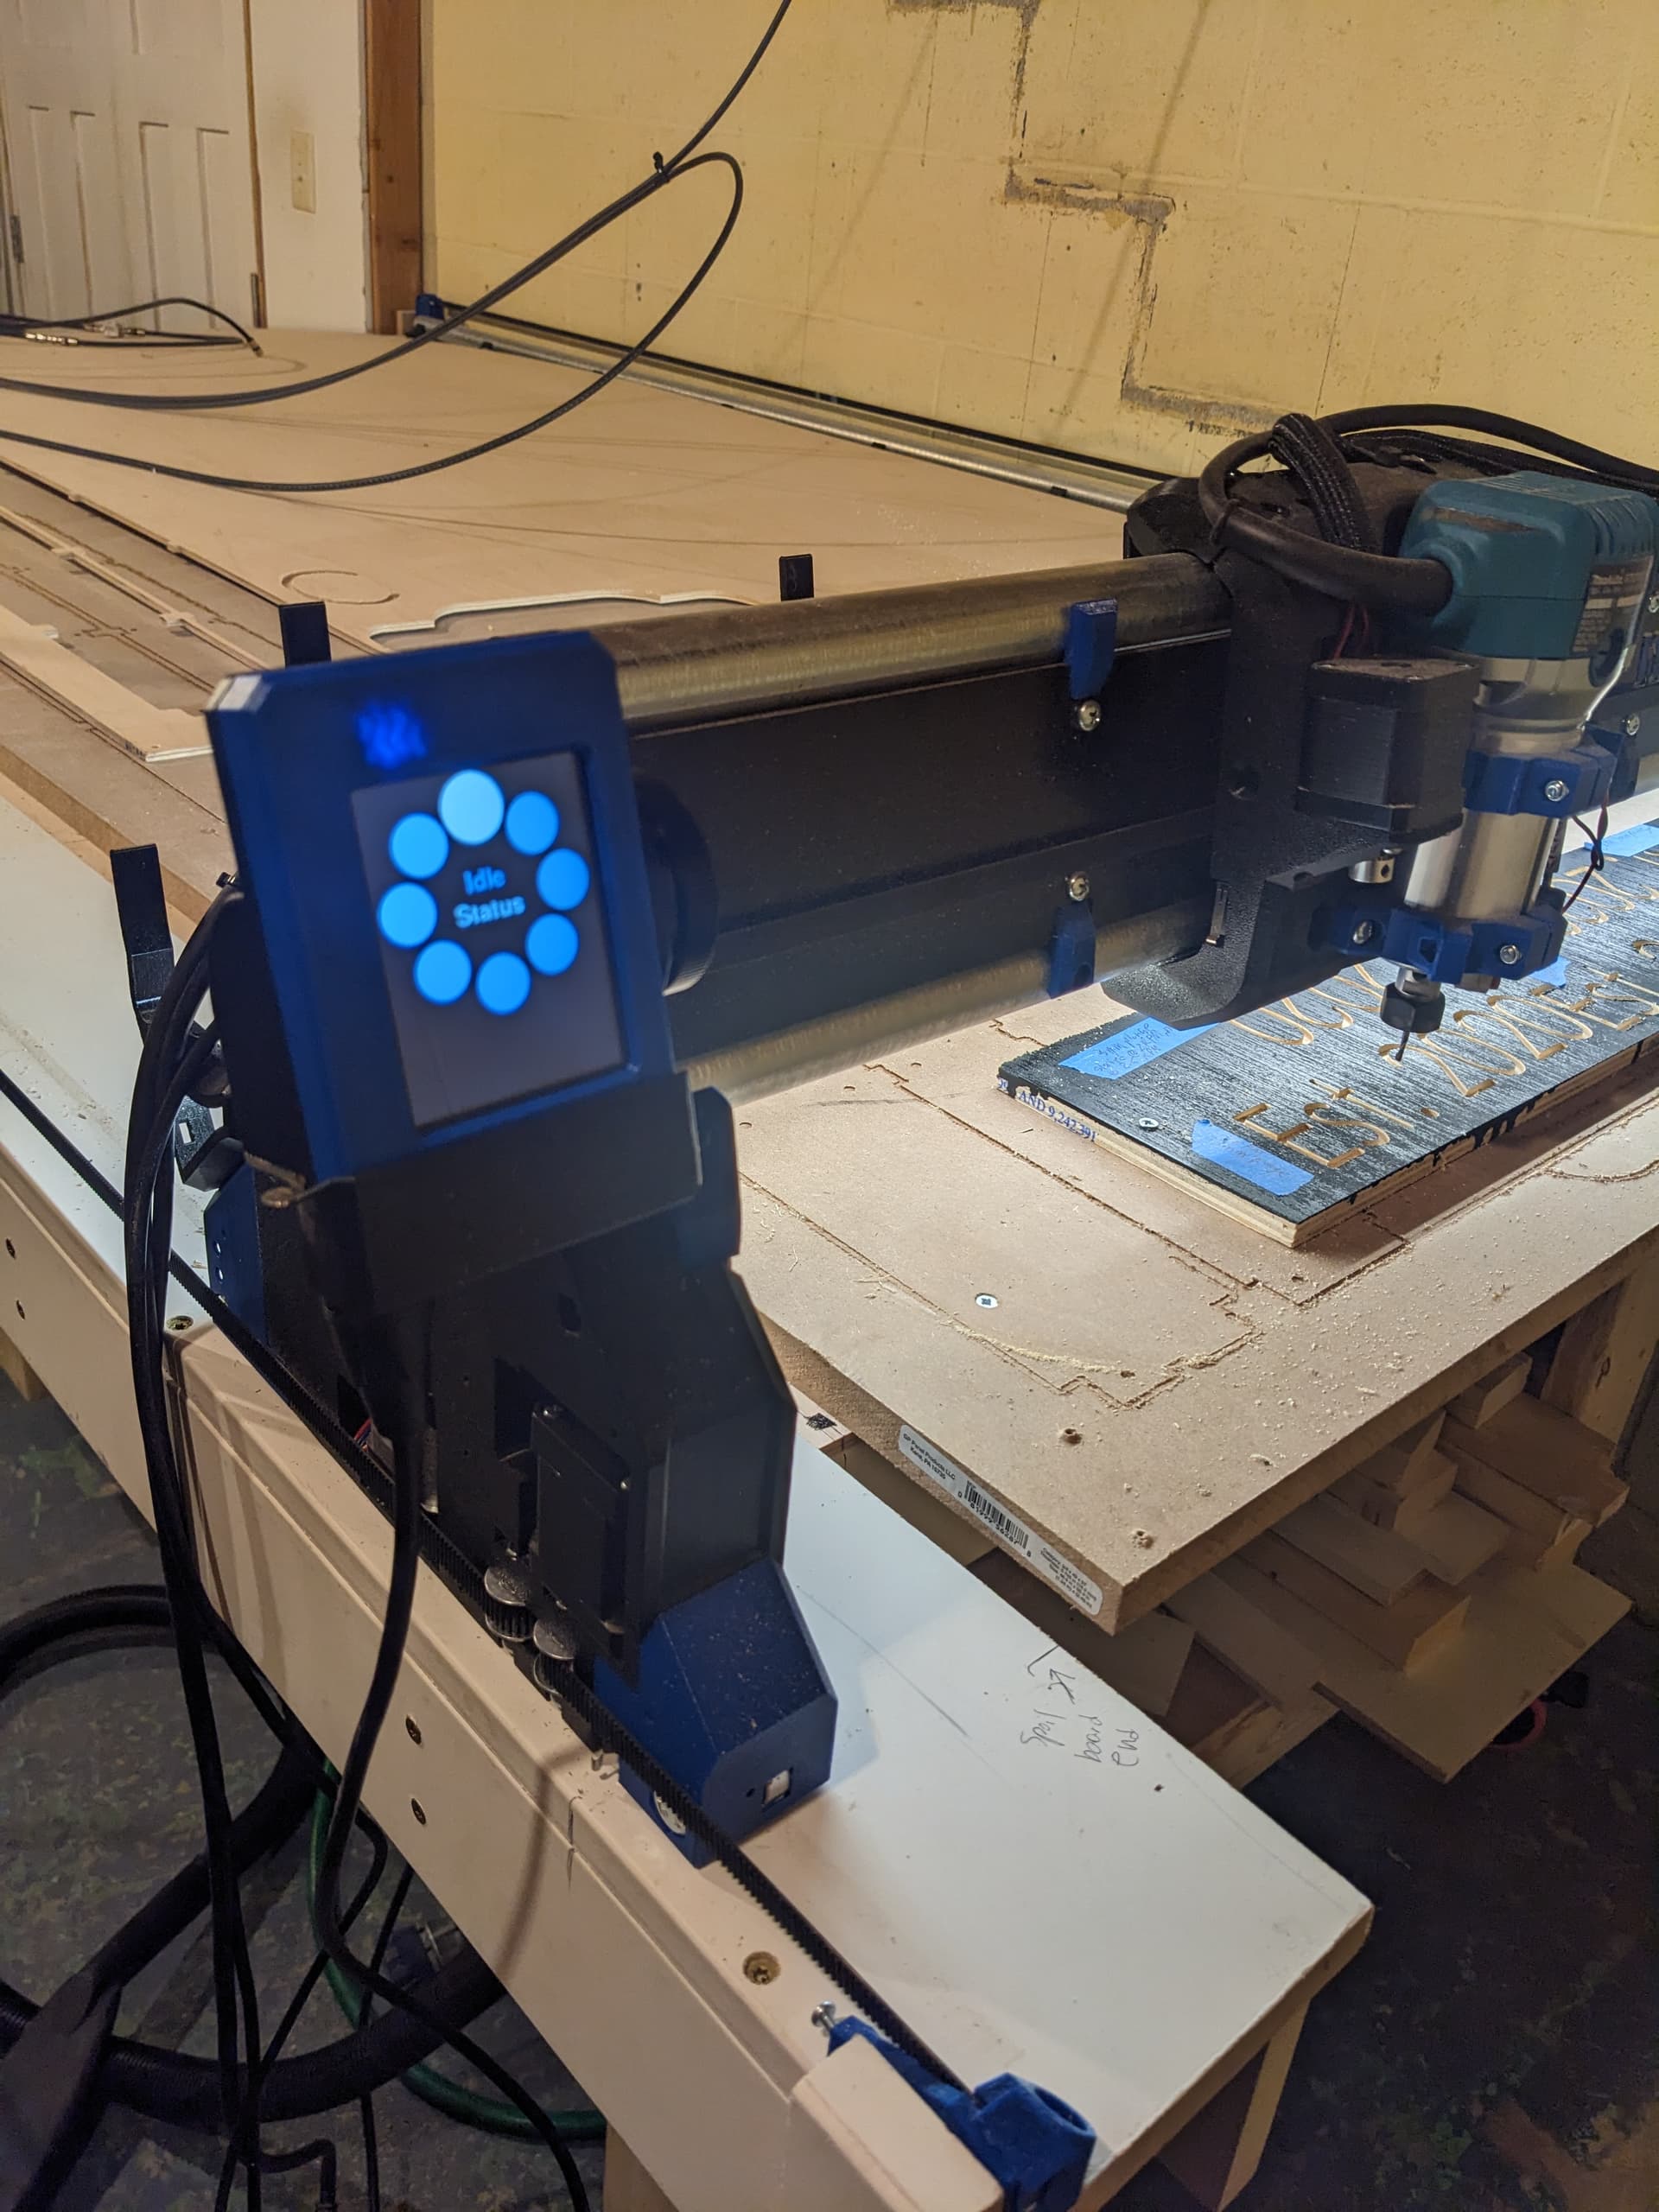
I found the CYD pendants online and found a variant on printables (Encoder Wheel Pendant for the LR4 with FluidNC by Fab_ster | Download free STL model | Printables.com). Shoutout to @Fab_ster for the design! It worked very well, although I think the PCB has changed for the screen. The USB port does not match up with the access hole. Oh well, shouldn’t have to update it now that I have it hooked up and configured. This is extremely more convenient than using my phone or stealing my wife’s laptop to monitor the machine.