I’m planning the build of my 1st LR4 for some time now but I cannot choose the cutting area, mainly Y axis (due to limited space I have to think sizing with care).
In 99% of the time I will probably work on small/medium sized pieces but I don’t want to be blocked for the few times I will have larger pieces (may be > 1.80m).
I’ve seen the “flipping workpiece technic” to cut larger pieces than cutting area however I’m unable to determine if such procedure will be accessible for a newbie like me (not sure to understand everything in the thread).
So for a complete beginner (and the only 1% of large cases) would you build a LR4 with large cutting area (despite space occupied) to keep things easier or it is not necessary and, by a way or another, the few “flipped” larger cuts would be possible with some practice ?
If I choose my sizing too short can the Y rail be extended simply by appending extra tube (or a new longer one must be set) ?
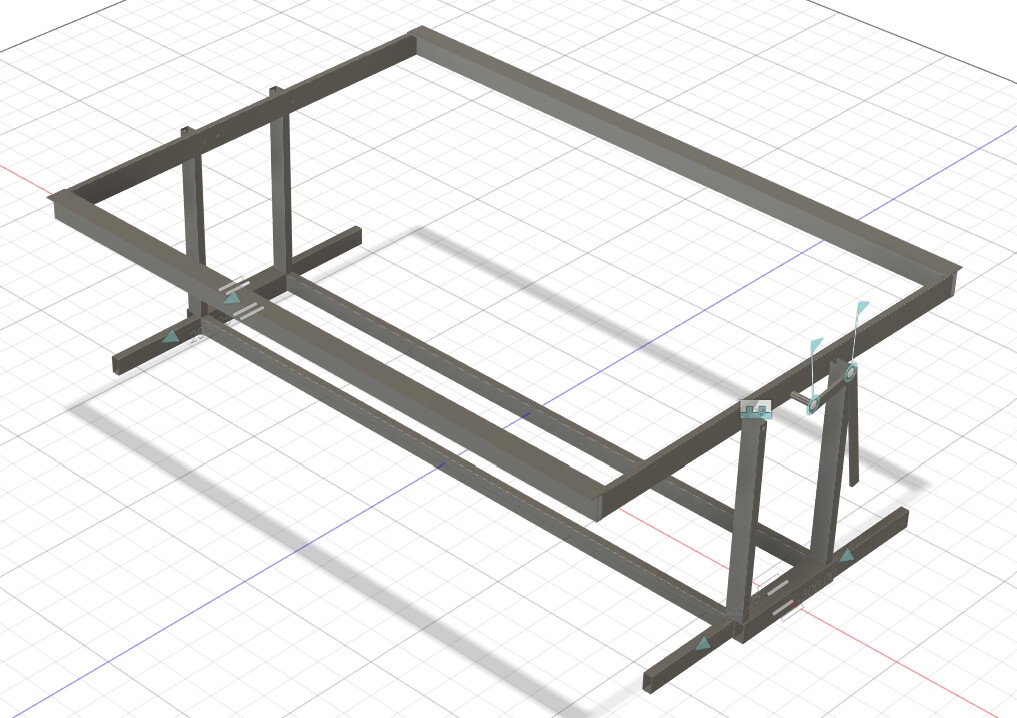
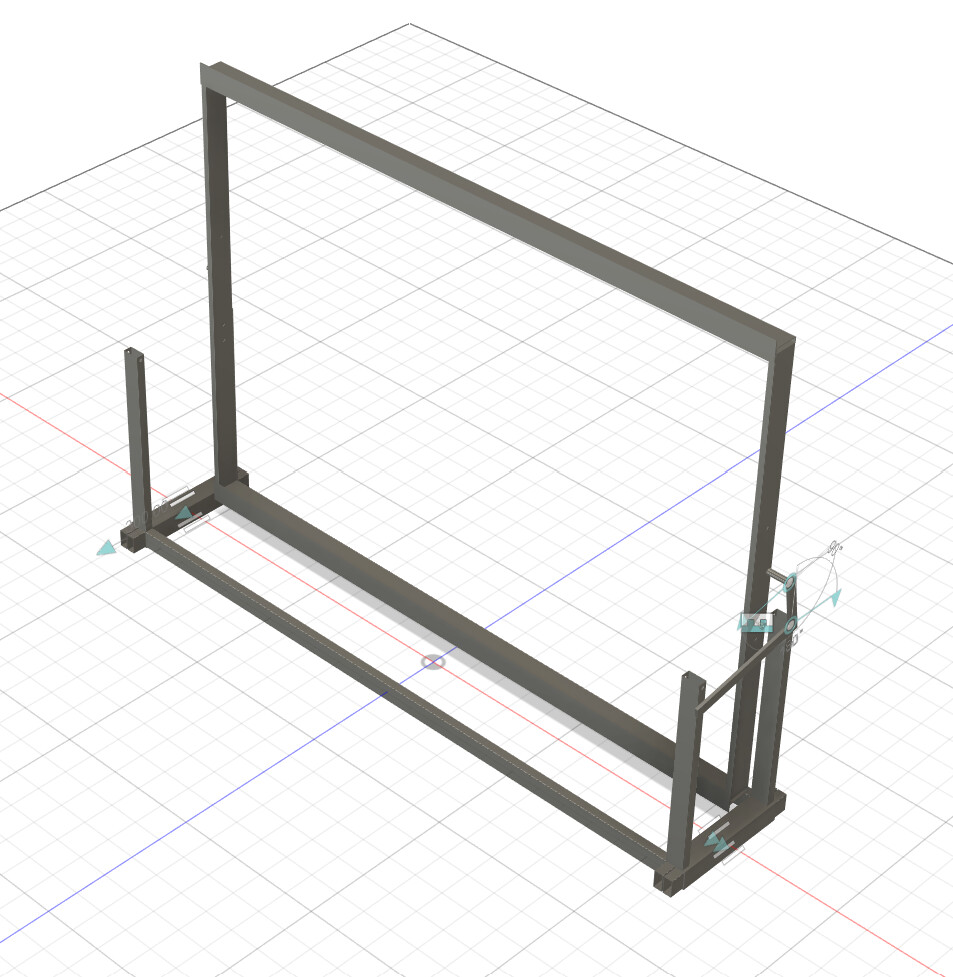
If you are space concerned, just remember you can build your table and remove the cnc from that table as you need, just release the belts from the tensioner.
You can build your table with some storage velow and use the space more wisely.
You can build smaller and yes, later change the y axis rail, add the new rail with clips and more belt to fit whatever new size you need (or build it and dont cut your belts)
Have fun with your build
I cant speak for the flipping workpiece, but it works by indexing it for a reference. It works just as good but involves some steps to reference the pinds and moving stuff.
As Cesar already said, Y can be made longer pretty easily, X can’t be changed that easily later on (though it is possible). I rarely use my full width and often think I should have made a smaller version, but then again, if I need it I am happy to have it, but those projects could be broken down into smaller chunks as well (Deepnest help a lot with that).
Thanks both for your replies which comfort my initial thoughts.
Actually I’m considering to make the table storable (gantry removed) and to keep belts uncut for possible extra length if needed.
If appending extra Y rail tube does not cause jerks or any other problem (at the joint point) starting with smaller cutting area might be better for me.
Thanks again
You could also keep a longer Y rail and just snap the short one out for a long one when in that mode. Depends on the detail you’d need.
I have (what I consider) a mid-sized machine at 30" x 60" working area. (762 mm x 1524 mm). I hold 1/2 sheet of Baltic Birch Plywood from my most common supplier (let’s not even go to the price right now!)
There is a process by which you can build a temporary surface, which is then used to mill the struts, and potentially the parts for its own table. You can quite literally throw a piece of sheet good on the ground and run it, especially if you’re through - cutting.
So - you could alway keep that sheet as your temporary larger running surface. It would help you decide what width you need for your machine. You can always move that machine to your normal working area for routine use.
Just for full disclosure. If you mess with the belts (removing the anchors) or end stops when you’re moving the machine around, you’ll probably need to re-square. With a bit of practice, it’s not a huge deal. But if you’re moving the reference surfaces, the machine could become out of square. (Depends a bit on how you do it.)
I thought about a tipping design as well. My biggest concern was what to do with the machine when the table was tilted. Are you going to weld together metal?