Looking good. Congrats on progress!
That table looks excellent! I went with a three piece table to make it mobile so I could still park my car in the garage, but I like your idea of a torsion table that can flip up against the wall. My Bora Centipede base would still be usable and I could leave my linear rail attached permanently. I’ll tell you those rail blocks don’t like being handled a whole lot, the back breaks off pretty easily.
Can you attach a copy of your CAD design for the table?
1 Like
I think they can also be printed laying on their side, which would change the layer adhesion direction, and make them more resistent to that kind of breakage. Converse to this, it would mean the hole for the screw that anchors it down would be more likely to be the start of a split due to the new orientation of the layer lines.
I think I will leave the X-beam on the table when I hinge it up. With some tie downs to stop it crashing off. I have a big I-beam above it so can rig a block&tackle system to lift it as it is getting heavy!
No problem to share the CAD file if anyone wants to cut the table but not sure how to attach it here. Can cad files be uploaded the same as the photos?
2 Likes
Black side plates. PMMA?

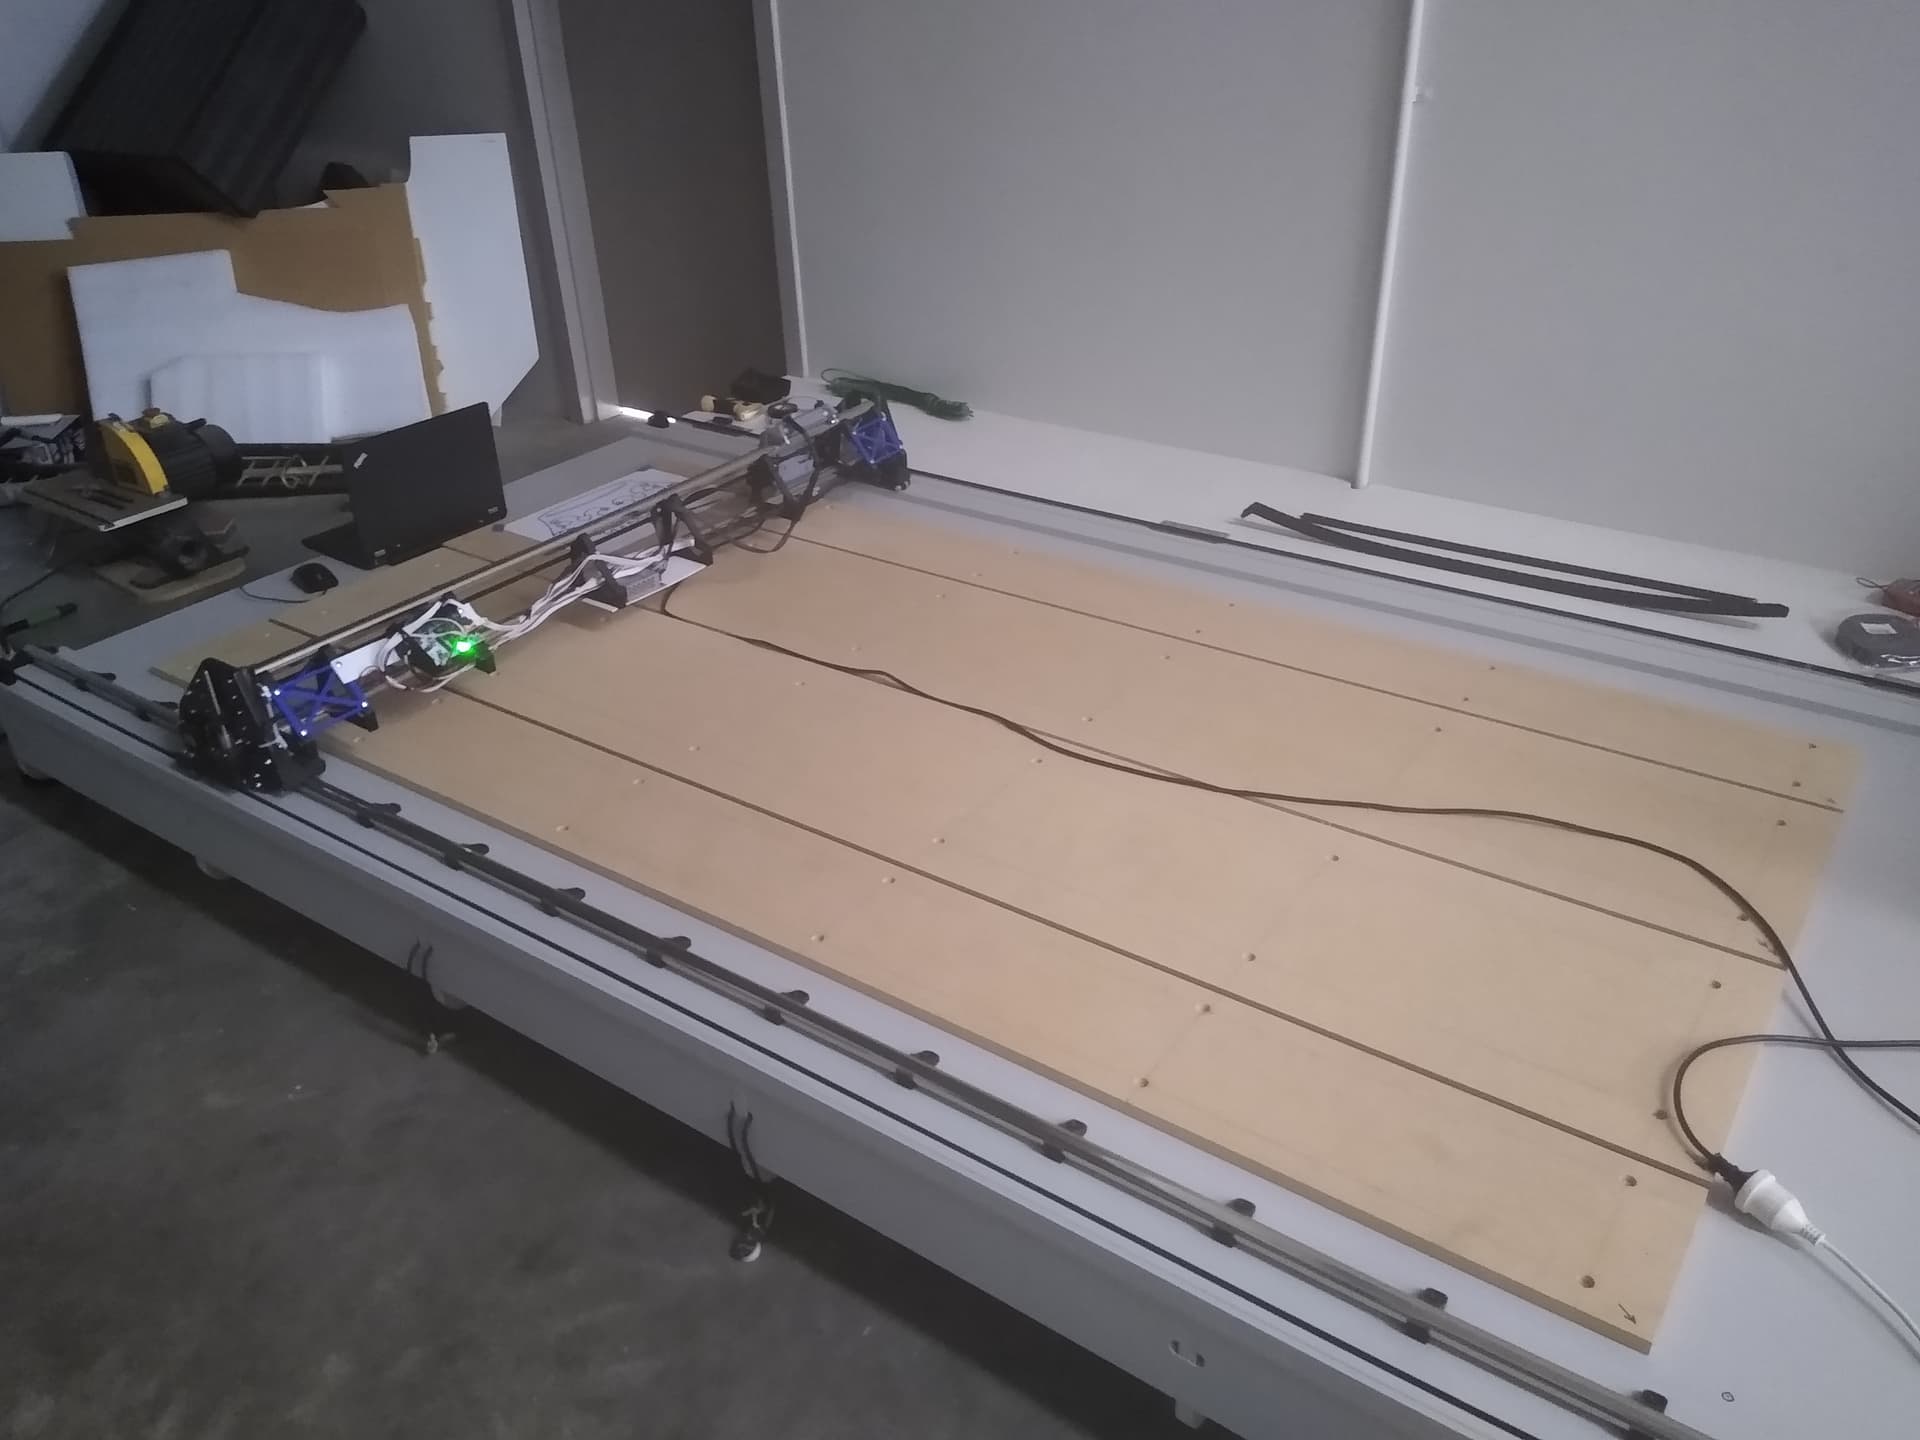
I was a bit too heavy on the Z/pen pressure but happy to finally get to this point. One question I have is with calibration of the X & Y axes. I also noticed on the squaring routine that the machine is plotting about 0.5% smaller than the code instructs. e.g. the tip to tip measurement on the printed crown = 357mm but on the DXF file = 359mm. Its not a lot but could be calibrated via steps/mm in the Fluid Config file? Anyone gone done this rabbit hole…?

No. Painted MDF
There were some people who have tried that and it seems to work, but usually the problem is somewhere else (belt tension, flex, whatever), so you are fixing the symptom but not the source.
Fellow Sandgroper here too!
Love the build, looks fantastic ![]()
I’m at the point where table is built, machine all put together with an 860 x 1270 build size, just finished squaring the system, and now at the point where I can try the crown design, then on to cutting the strut plates!
I’ve gone a 1.5kw water cooled spindle, which is a heavy beast, so hoping there isn’t too much flex, but will just cross that bridge when I get there, nothing that can’t be worked on later ![]()
Looking forward to seeing your progress, I can’t wait until I can get mine up and running, just need a few more wet weekends so I can avoid doing other jobs around the house and work on the last few things like the water reservoir, strut plates and wiring cleanup.
2 Likes
Thanks for the reply. It is very close so could be belts or even the pen cable tied to the tool mount flexing. Will leave it as is for now.
1 Like
Hey Andrew, would be interested to see your 1.5kW spindle setup…There are a few of us here in Perth. Lets catch up for a coffee some day. I say coffee only because its getting cold, beer is also an option. ![]()
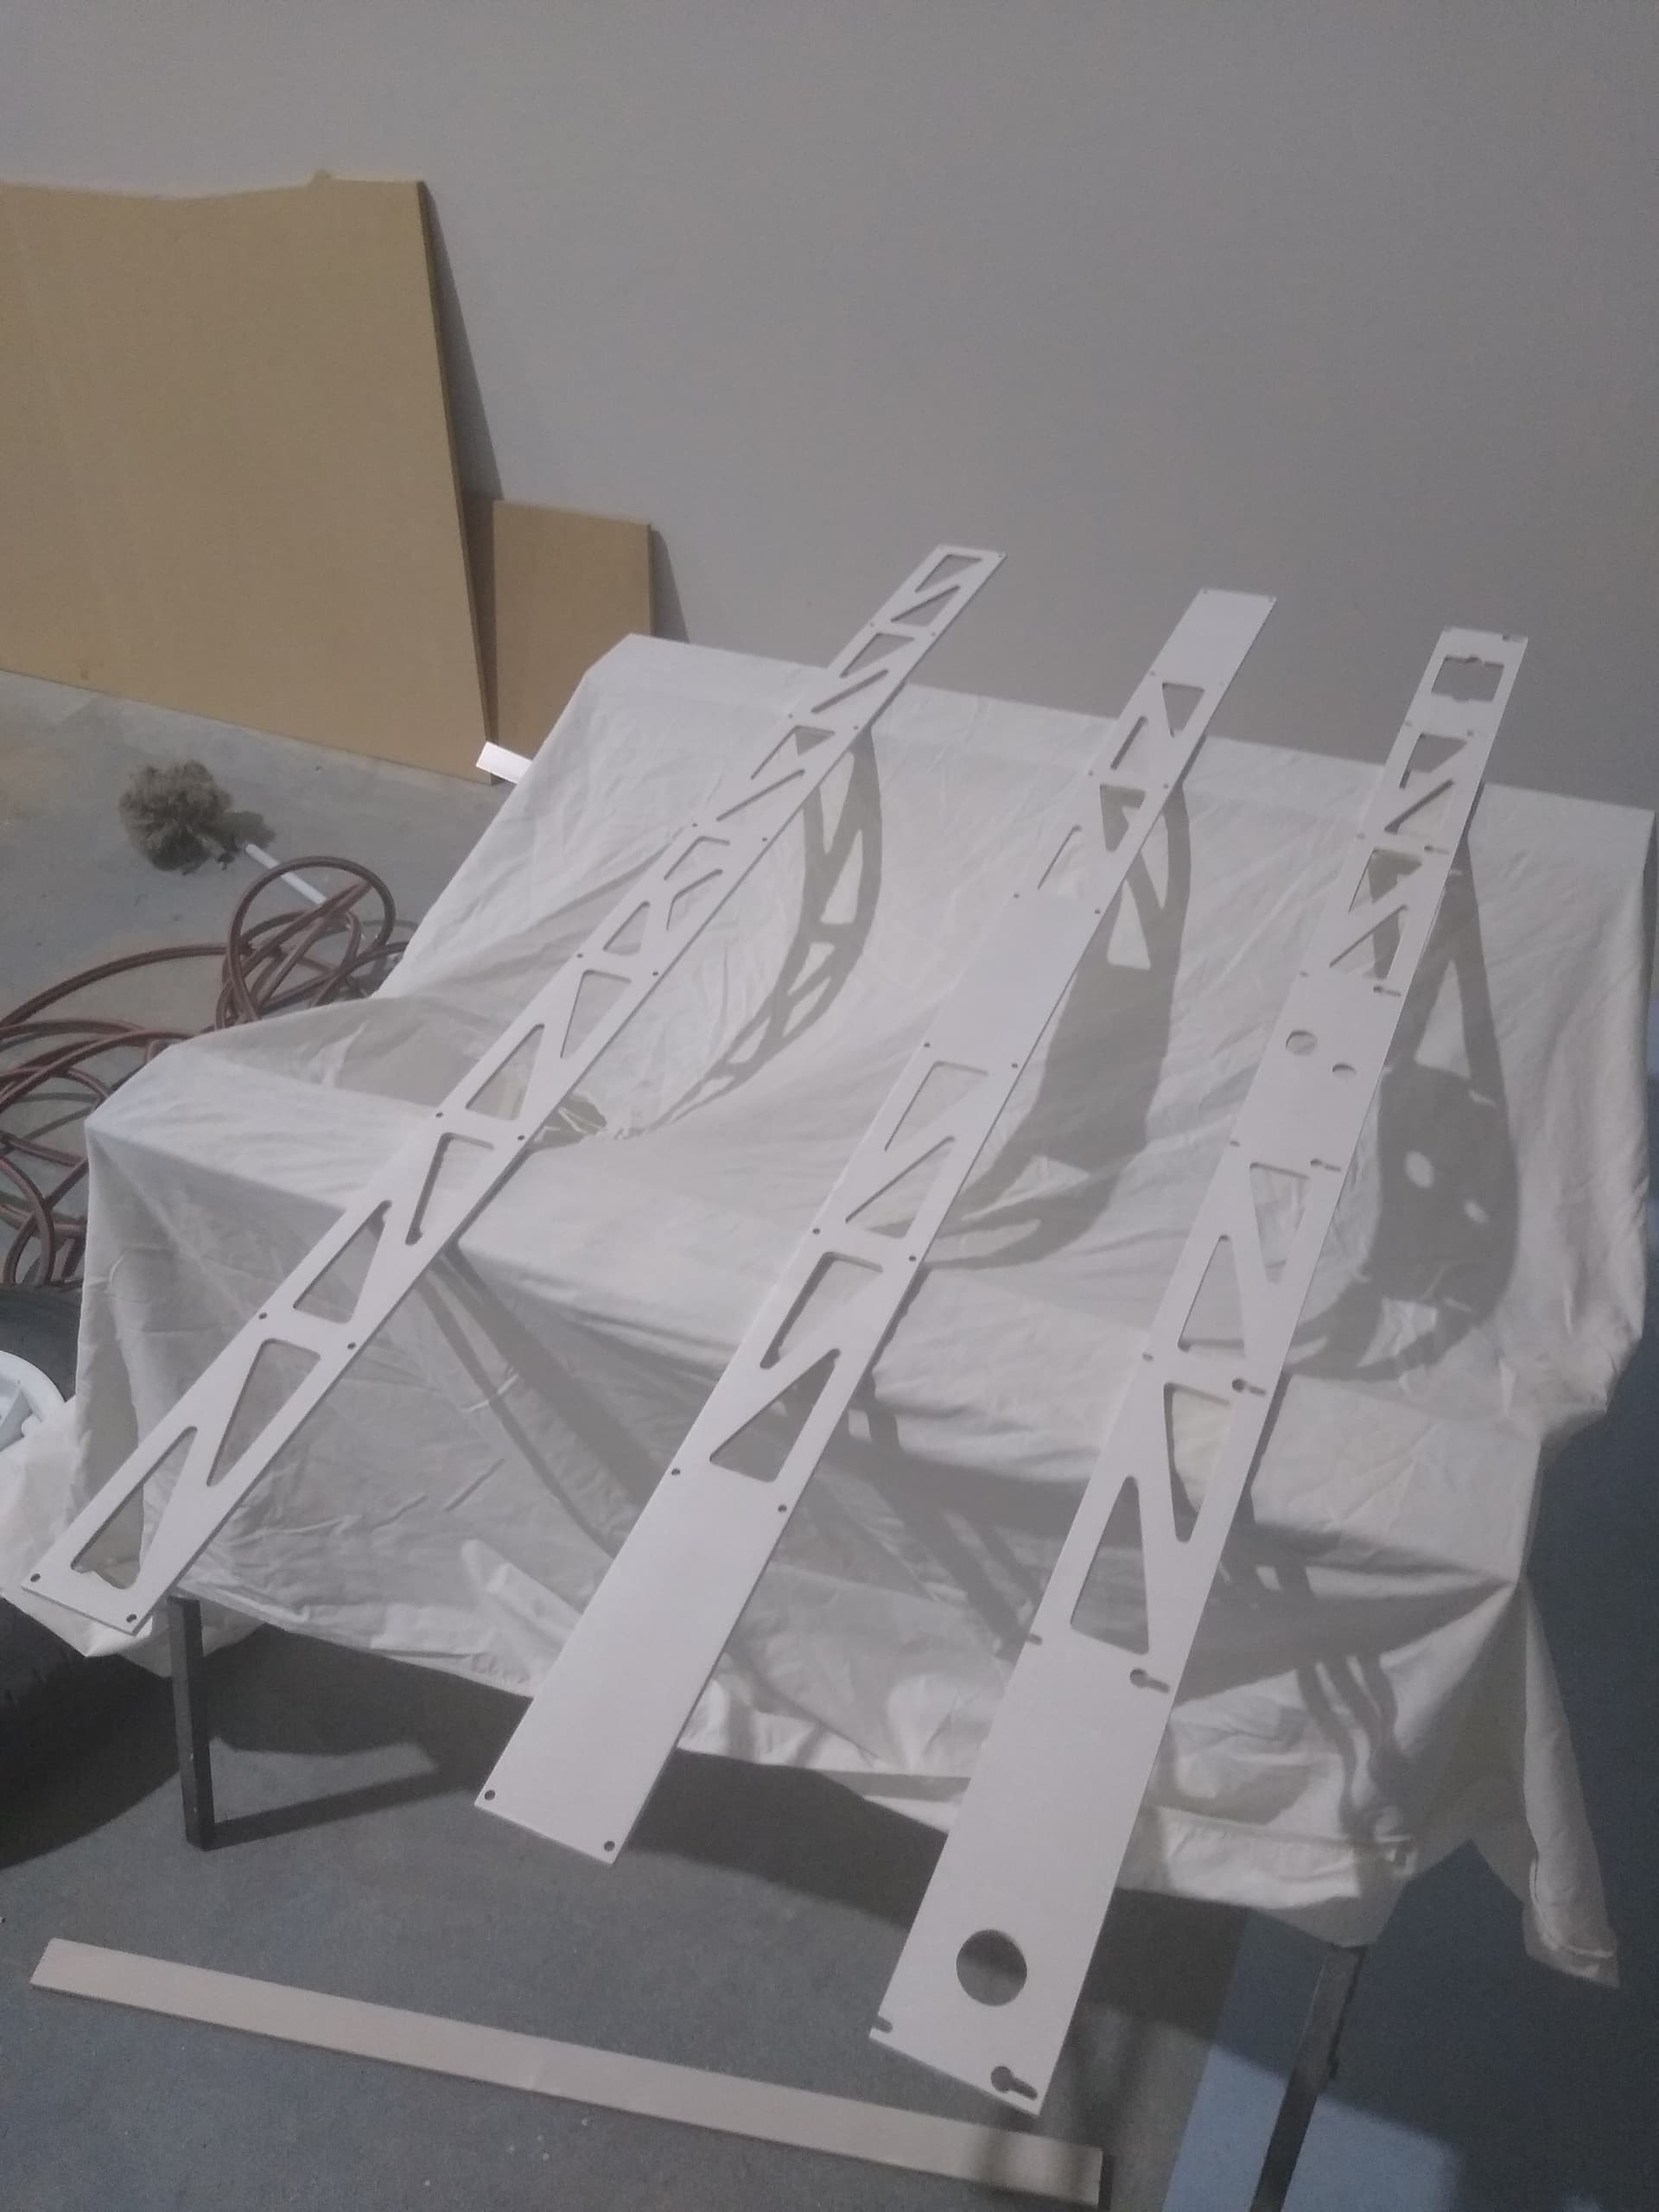
Cut my 6mm MDF struts yesterday. There were some rookie mistakes made that I will share so you can laugh or learn from my inexperience.
First one was setting the Z zero on the workpiece. Working the gantry down to the surface…-10mm…-10mm…-10mm…getting closer…-1mm…-1mm…getting close now, time to try -0.1mm steps…OH SHIT ANOTHER -10mm clicked by mistake!! No permanent harm done and I hope this lesson has been learnt.
Next one is the router and Jackpot power leads that hang out the back of my LR3. This is just a temporary setup but a couple of times when the machine was travelling back to the front edge the power lead got snagged and the gantry jumped up. Again it seems no permanent damage and I have learnt to hold the power lead while the cuts are happening. There are plans to fix the cable management once the shinny new struts have been fitted.
What a great machine these LR3’s are. Can’t wait to close off this build diary and start posting things I have made.
5 Likes
Congrats! Looking great!
No worries, seeing another build made is very gratifying. Shipping is a bummer and doesn’t hurt my feeling when local stuff is cheaper. That is why I try to make sure it can be built anywhere with no special parts.
5 Likes
Actually I bought nearly everything from you Ryan. Full hardware kit + Jackpot board. Its only the stainless tubes and MDF parts bought locally. Shipping is a bit slow but even road freight across Australia is about the same time!
3 Likes

Getting better each time I use it. Cutting some trees out here but overshot the top branch. No harm done.
8 Likes
Looking good!