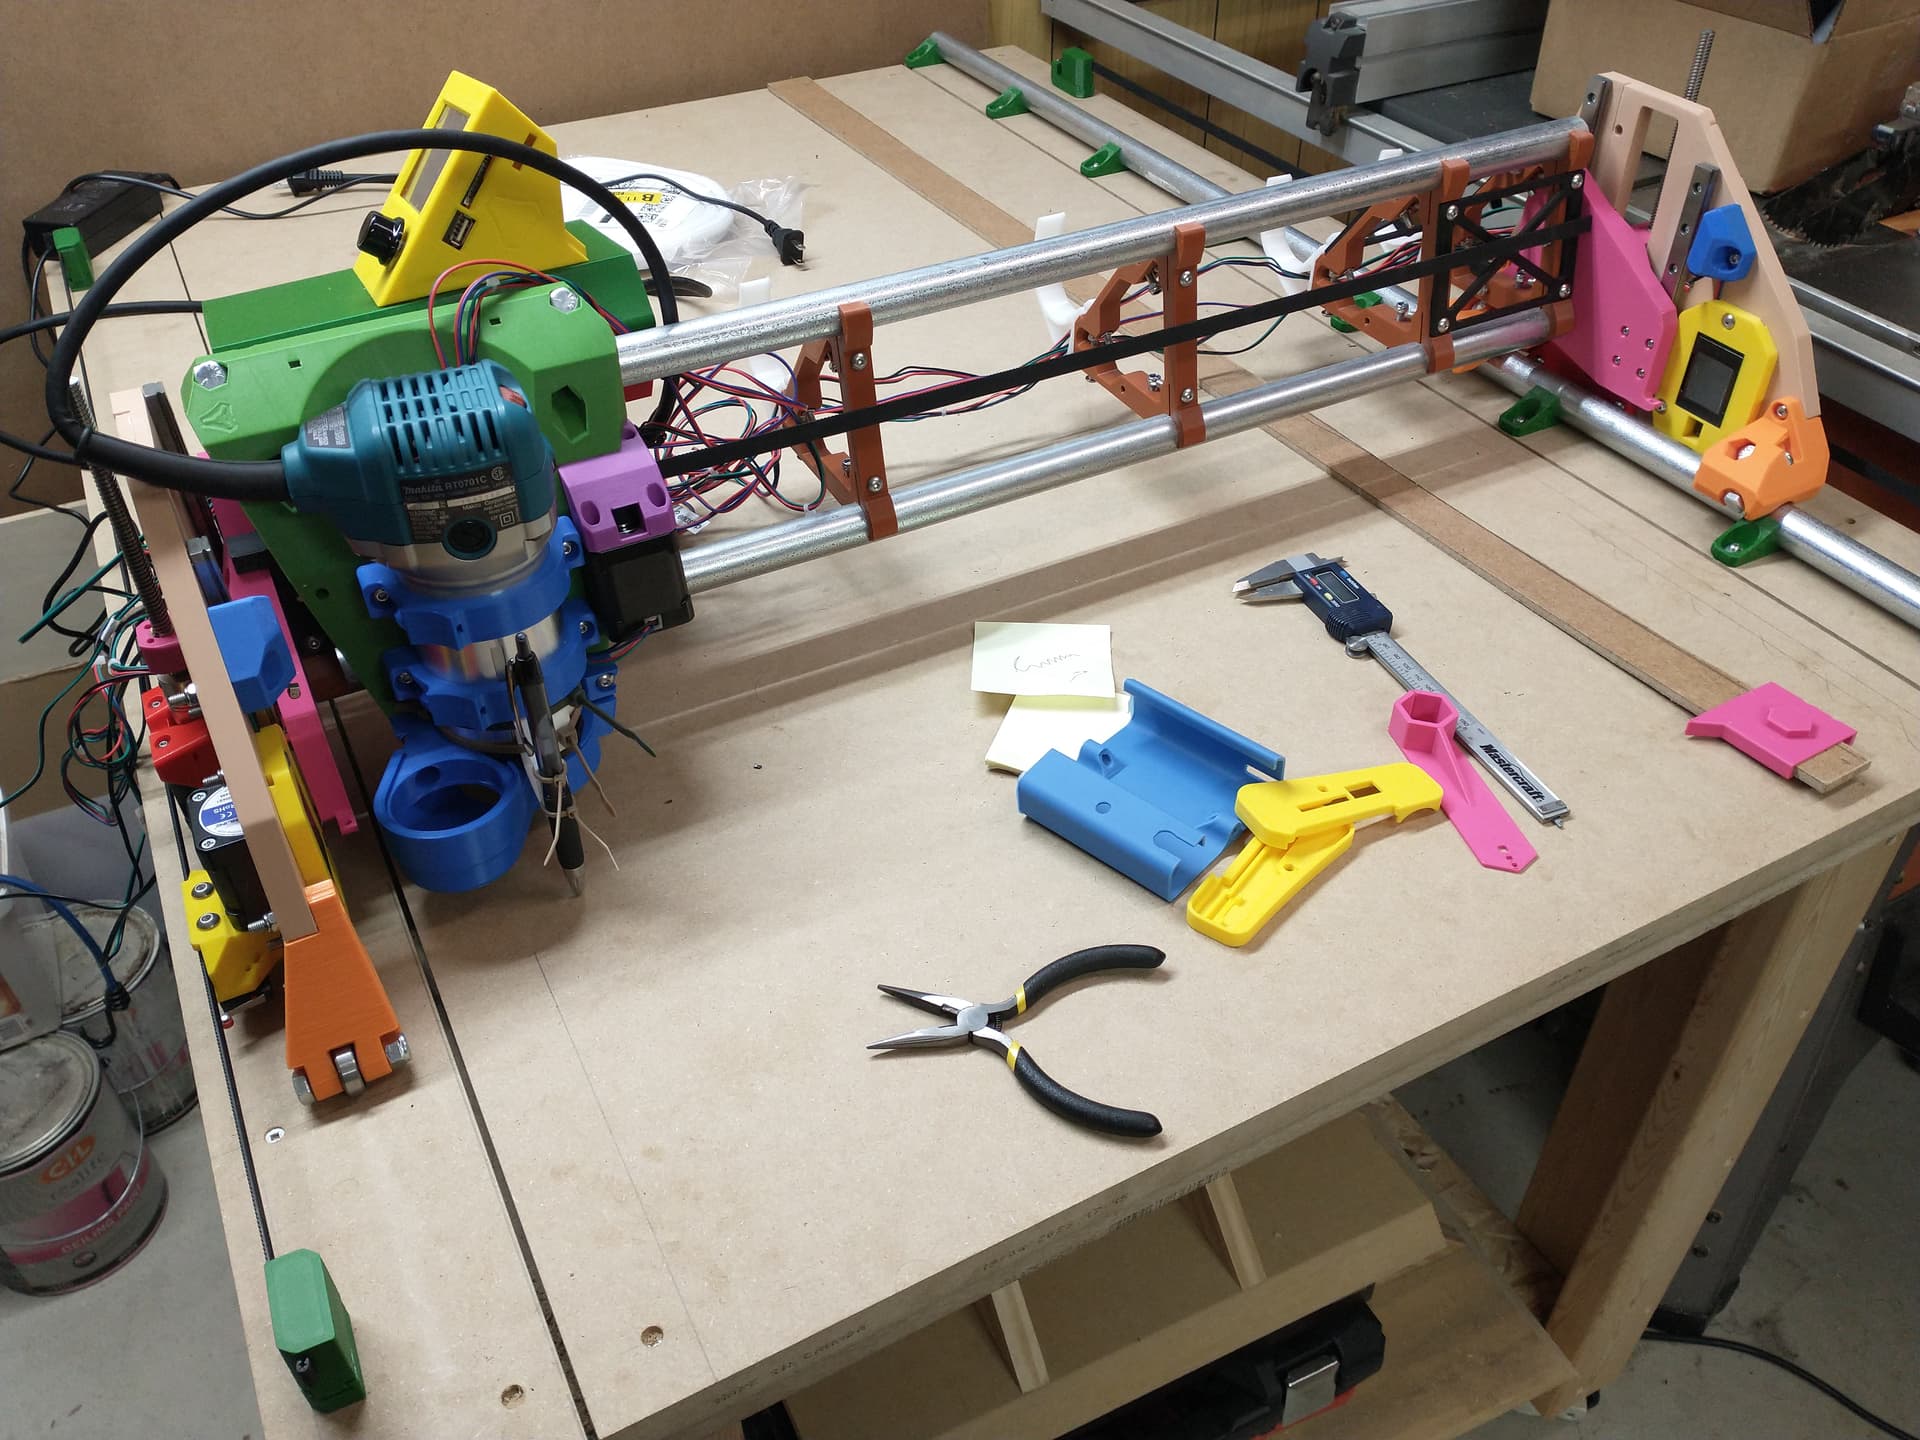
For the colour scheme I was inspired by the 1990s era VW “Harlequin” Golf. No personal connection at all, but it was nice to use up some old filament. So I guess it’s the HaRL3quin? I sourced all the parts myself, a bit every month, buying locally where possible or at least in Canada to cut down on shipping. I learned how to crimp and make my own wires!
The build was slow but straightforward. To fit the YZ plates on my Prusa MK3 I used Doug’s split version.
I had a few reliability problems with the wiring over the last few days. I thought it was my novice crimping ability (which it was in one case) but it made a huge difference when I just pulled the JST connectors off the board, like Ryan recommends in the instructions. Much better connections. Updating the firmware on the SKR pro and TFT was no problem.
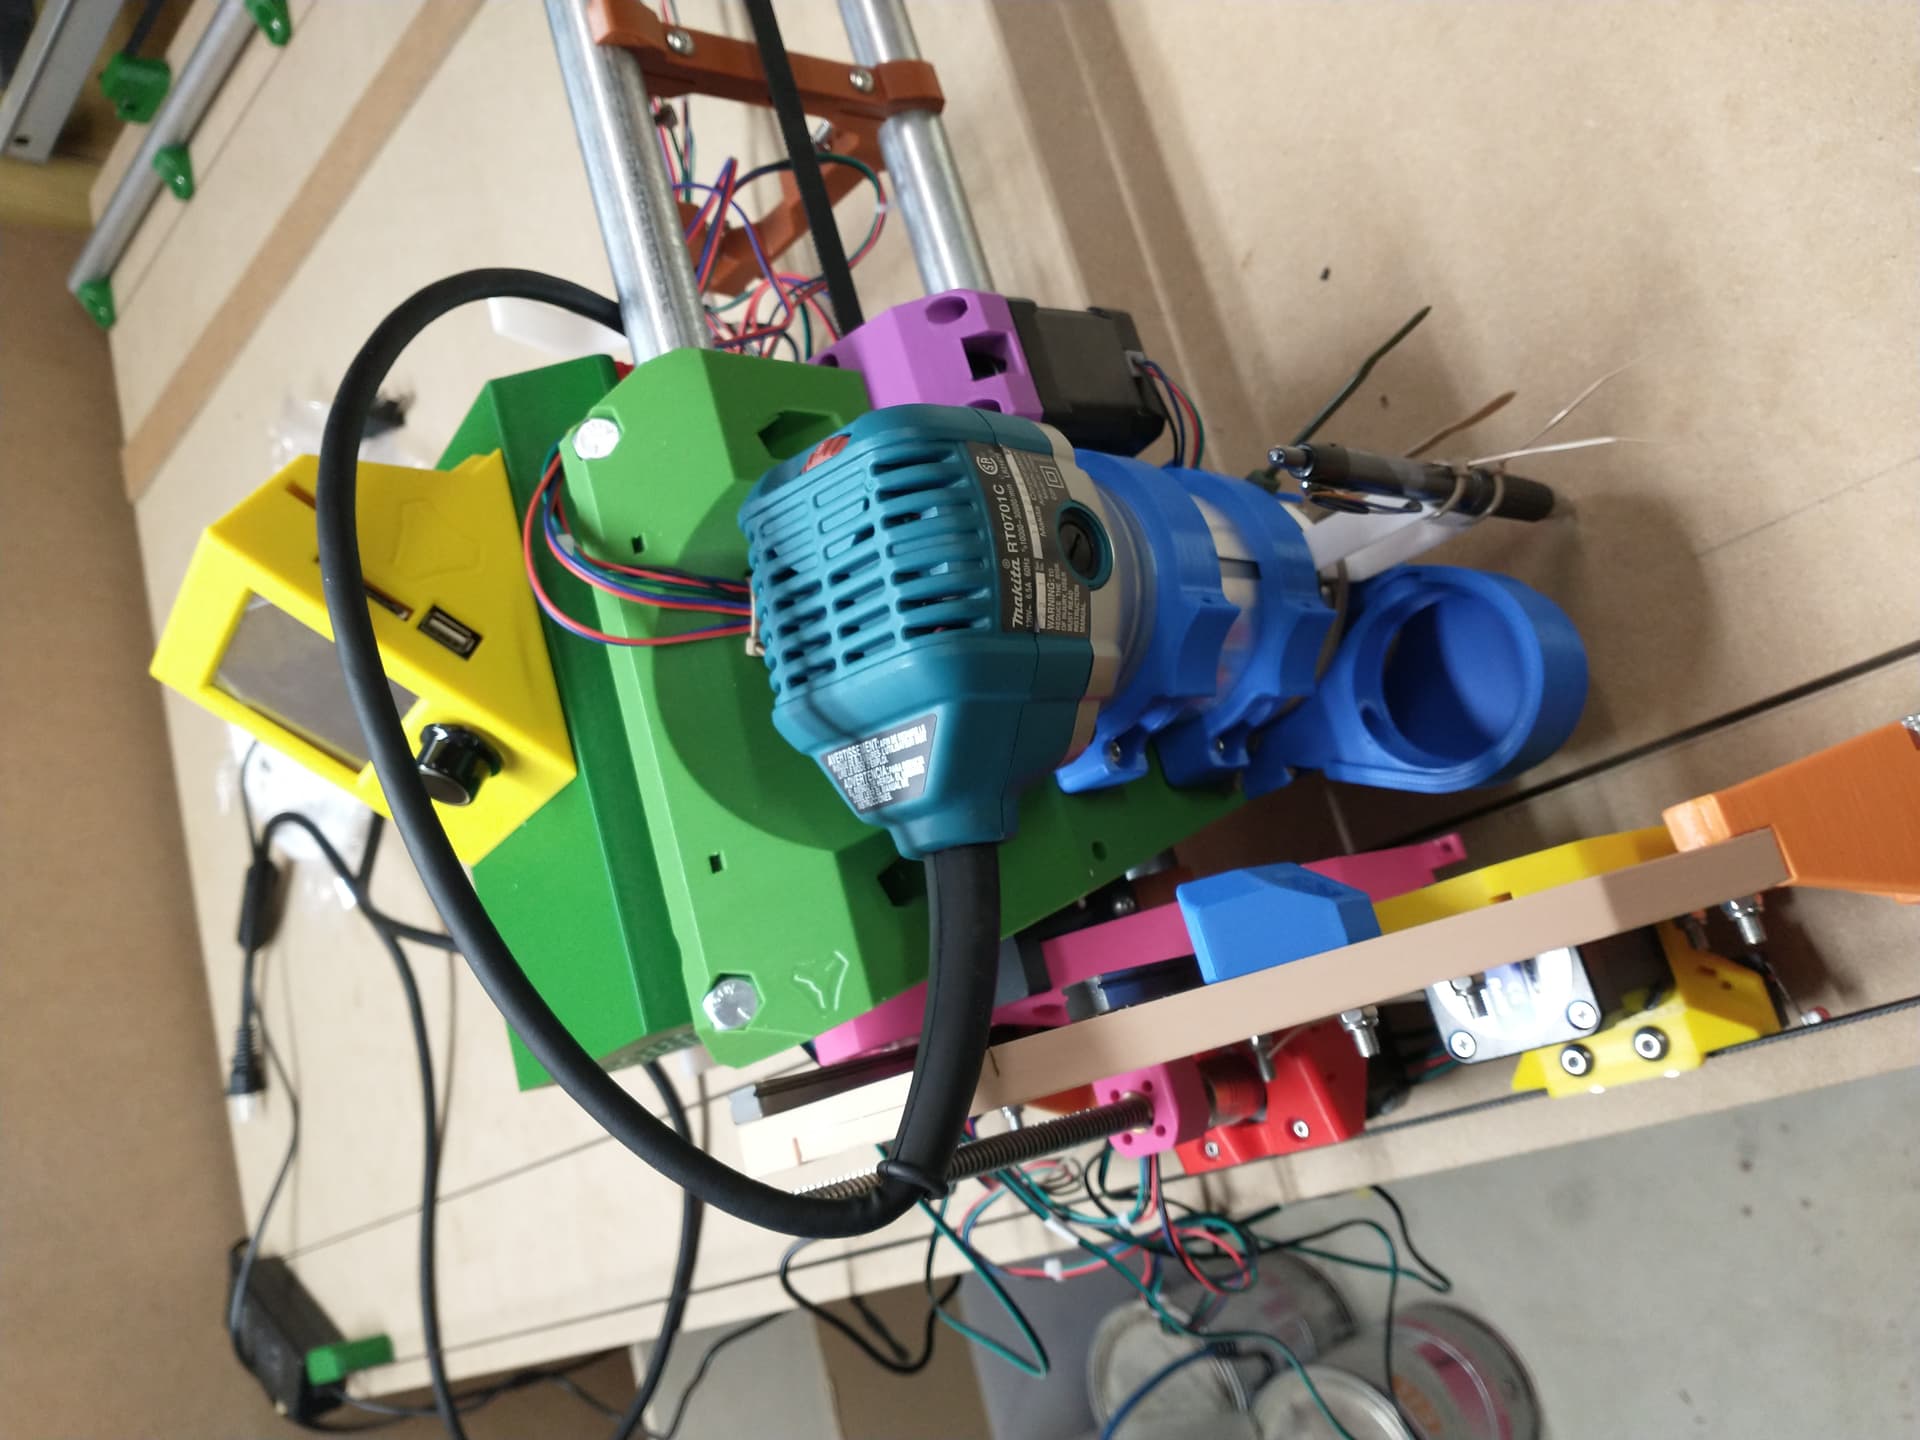
One problem I noticed when homing is that the Makita RT0701C has a big thick rubber strain relief sleeve that bumps up against Xmin before it homes. Any suggestions?
I’ll hopefully finish the calibrations this week and move on to the crown, the struts, probably cutting some YZ plates to replace the split ones, and making more noises. Thanks Ryan and the community for making this fun and possible.
So at the top of the core, there are two openings for zip ties. You can loop your Makita power cord back and tie it down with a zip tie. Also note that if you decide to go with drag chain for cords, I have a drag chain mount that attaches to the top of the core by zip ties using both of those openings. However, that mount has screw holes in it with nut capture slots, and the design includes a printable part that can attach and clamp down on a power cord from above and hold it out of the way.
Well, it would still be fun even if I printed the whole thing in grey. But the colours make it unique.
For any Star Wars fans, there’s a line of retro action figures called the “Prototype Edition”, which use the early molds from the 70s/80s, but each arm, leg, and torso piece is a different colour. Like so:
I’m going to test some hose ideas with the X-axis cabling, but Doug’s drag chain looks like it’ll work too. Either would be better than just holding it all in the air to keep it from catching while testing.
If your vac hose is laying on the hose holders (ie. not hanging down from above) then you can velcro your cords to the vac hose and let it be your cable path. If not, then drag chain is good too. My vac hose comes down from above.