Looking good!
Today was a productive day. After letting the heaters run for a couple of hours the temp in the garage got up to bearable and I started working on my wiring.
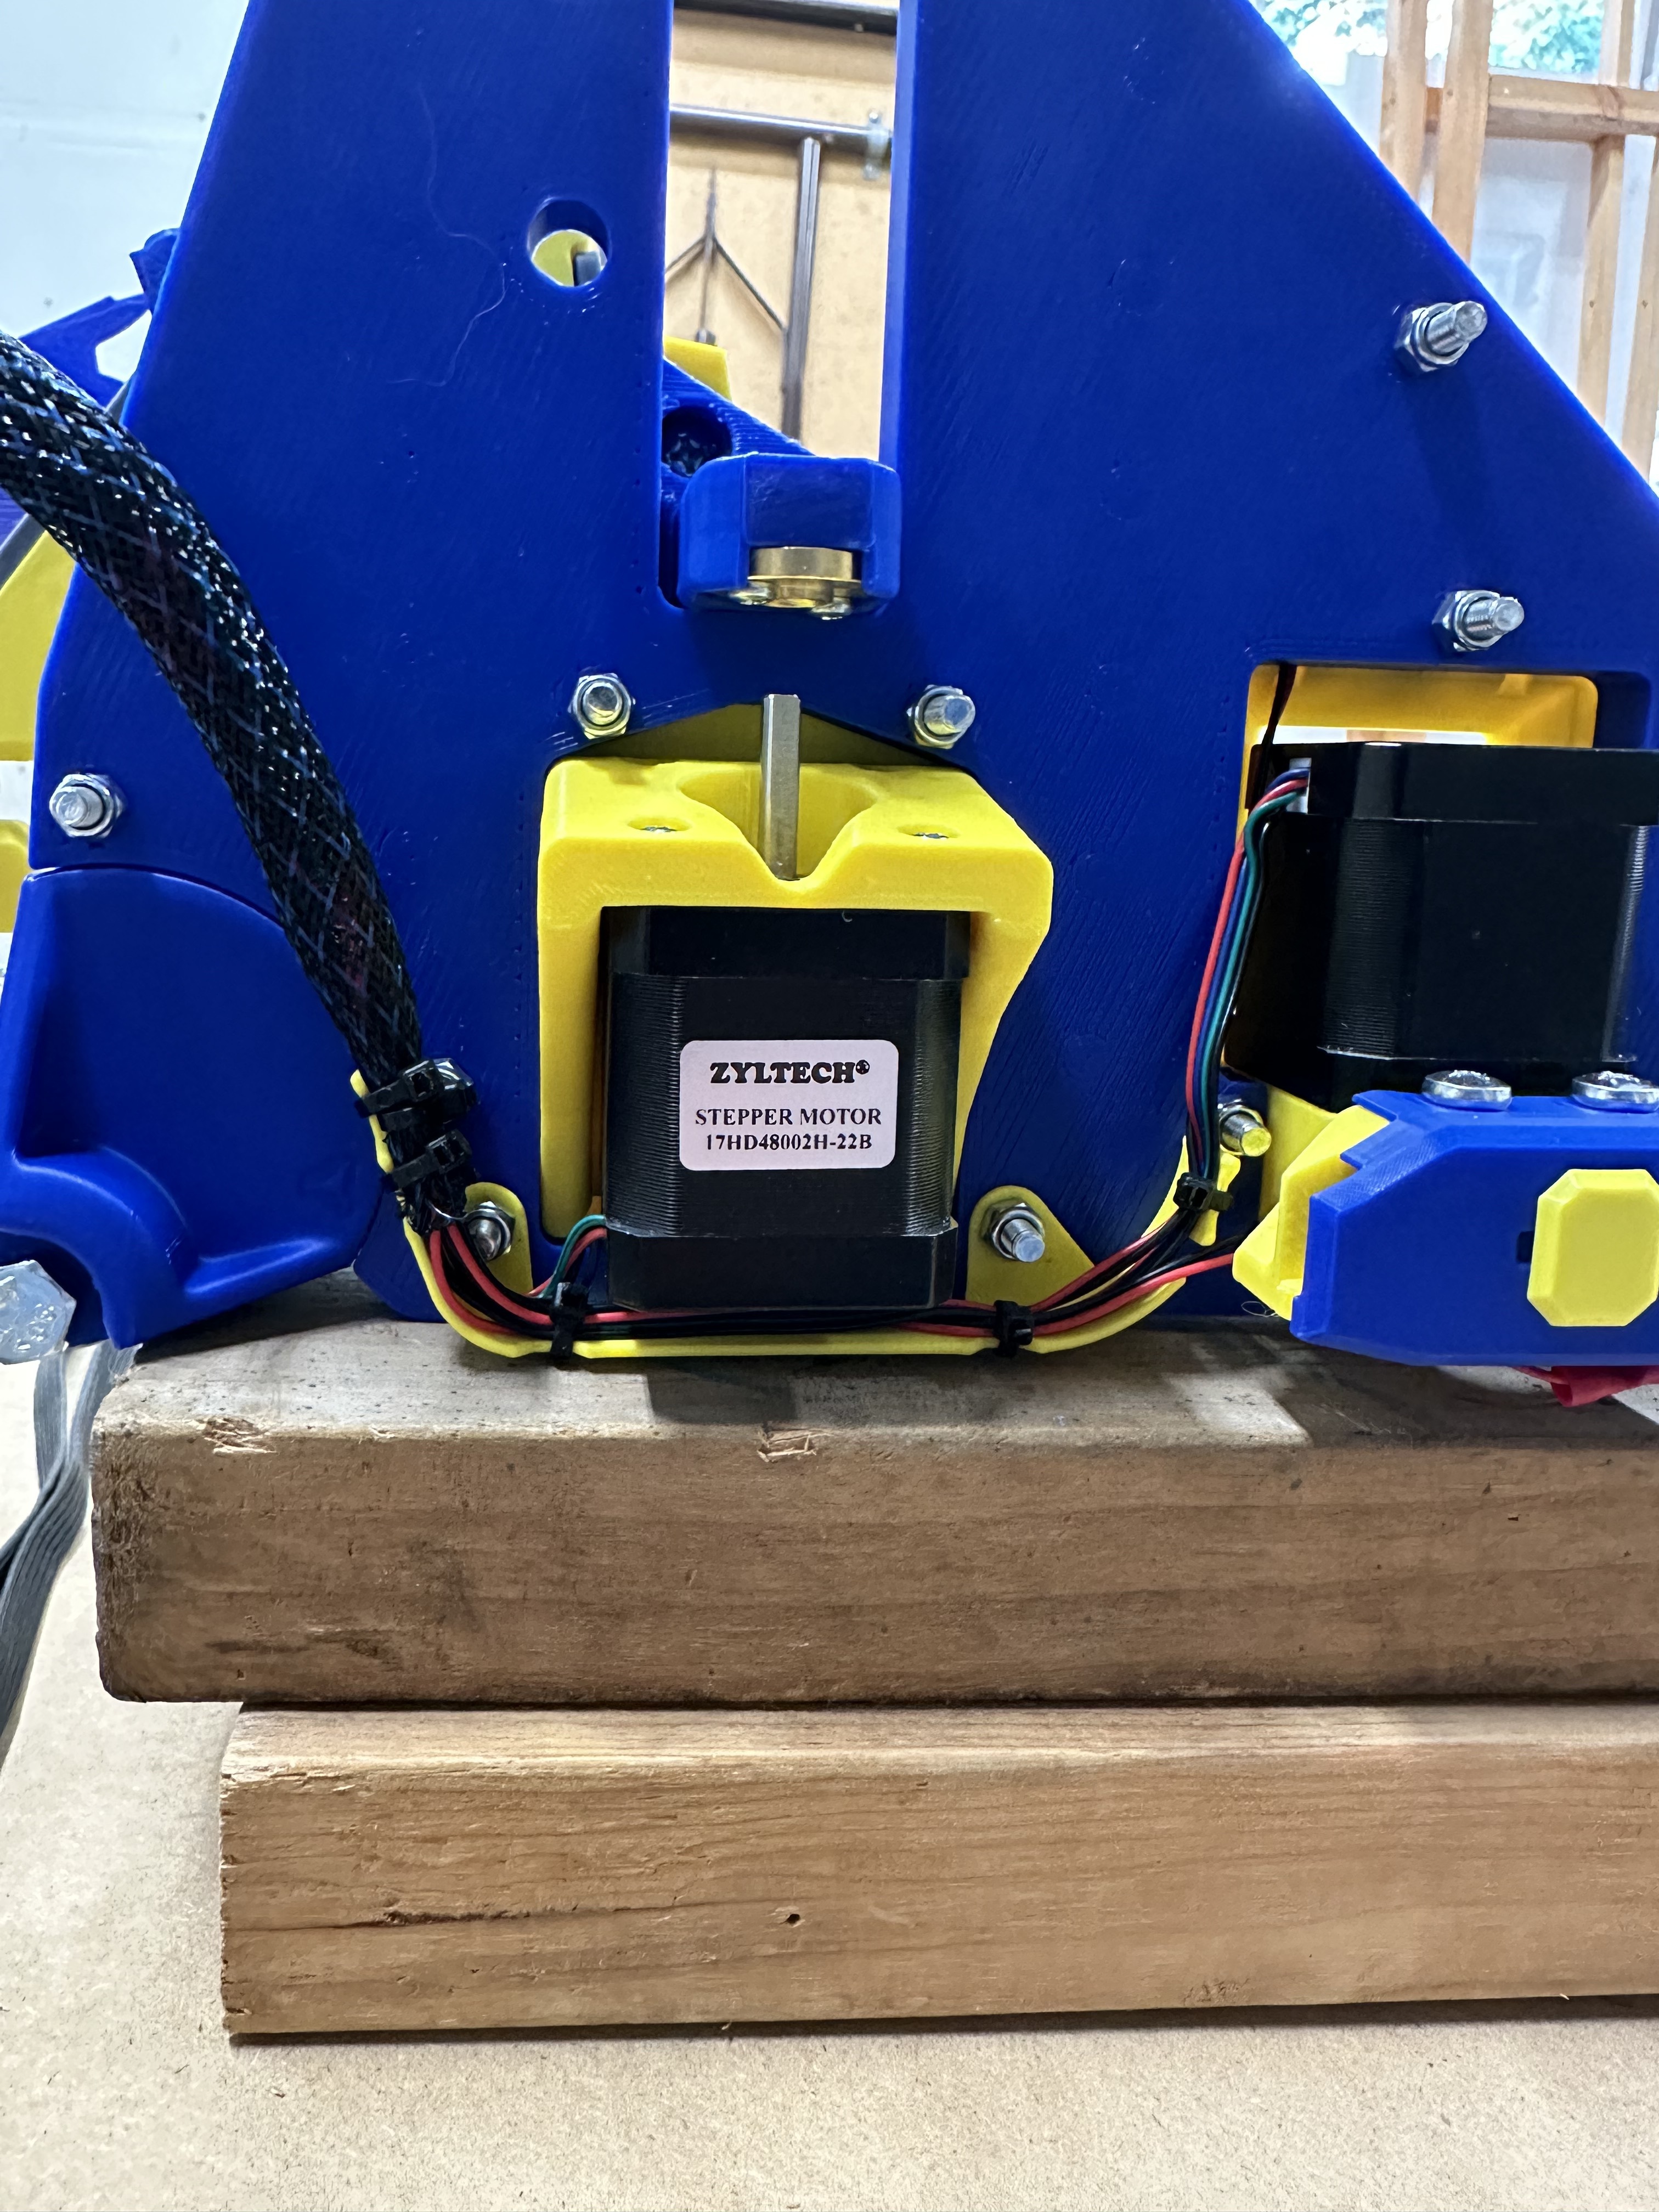
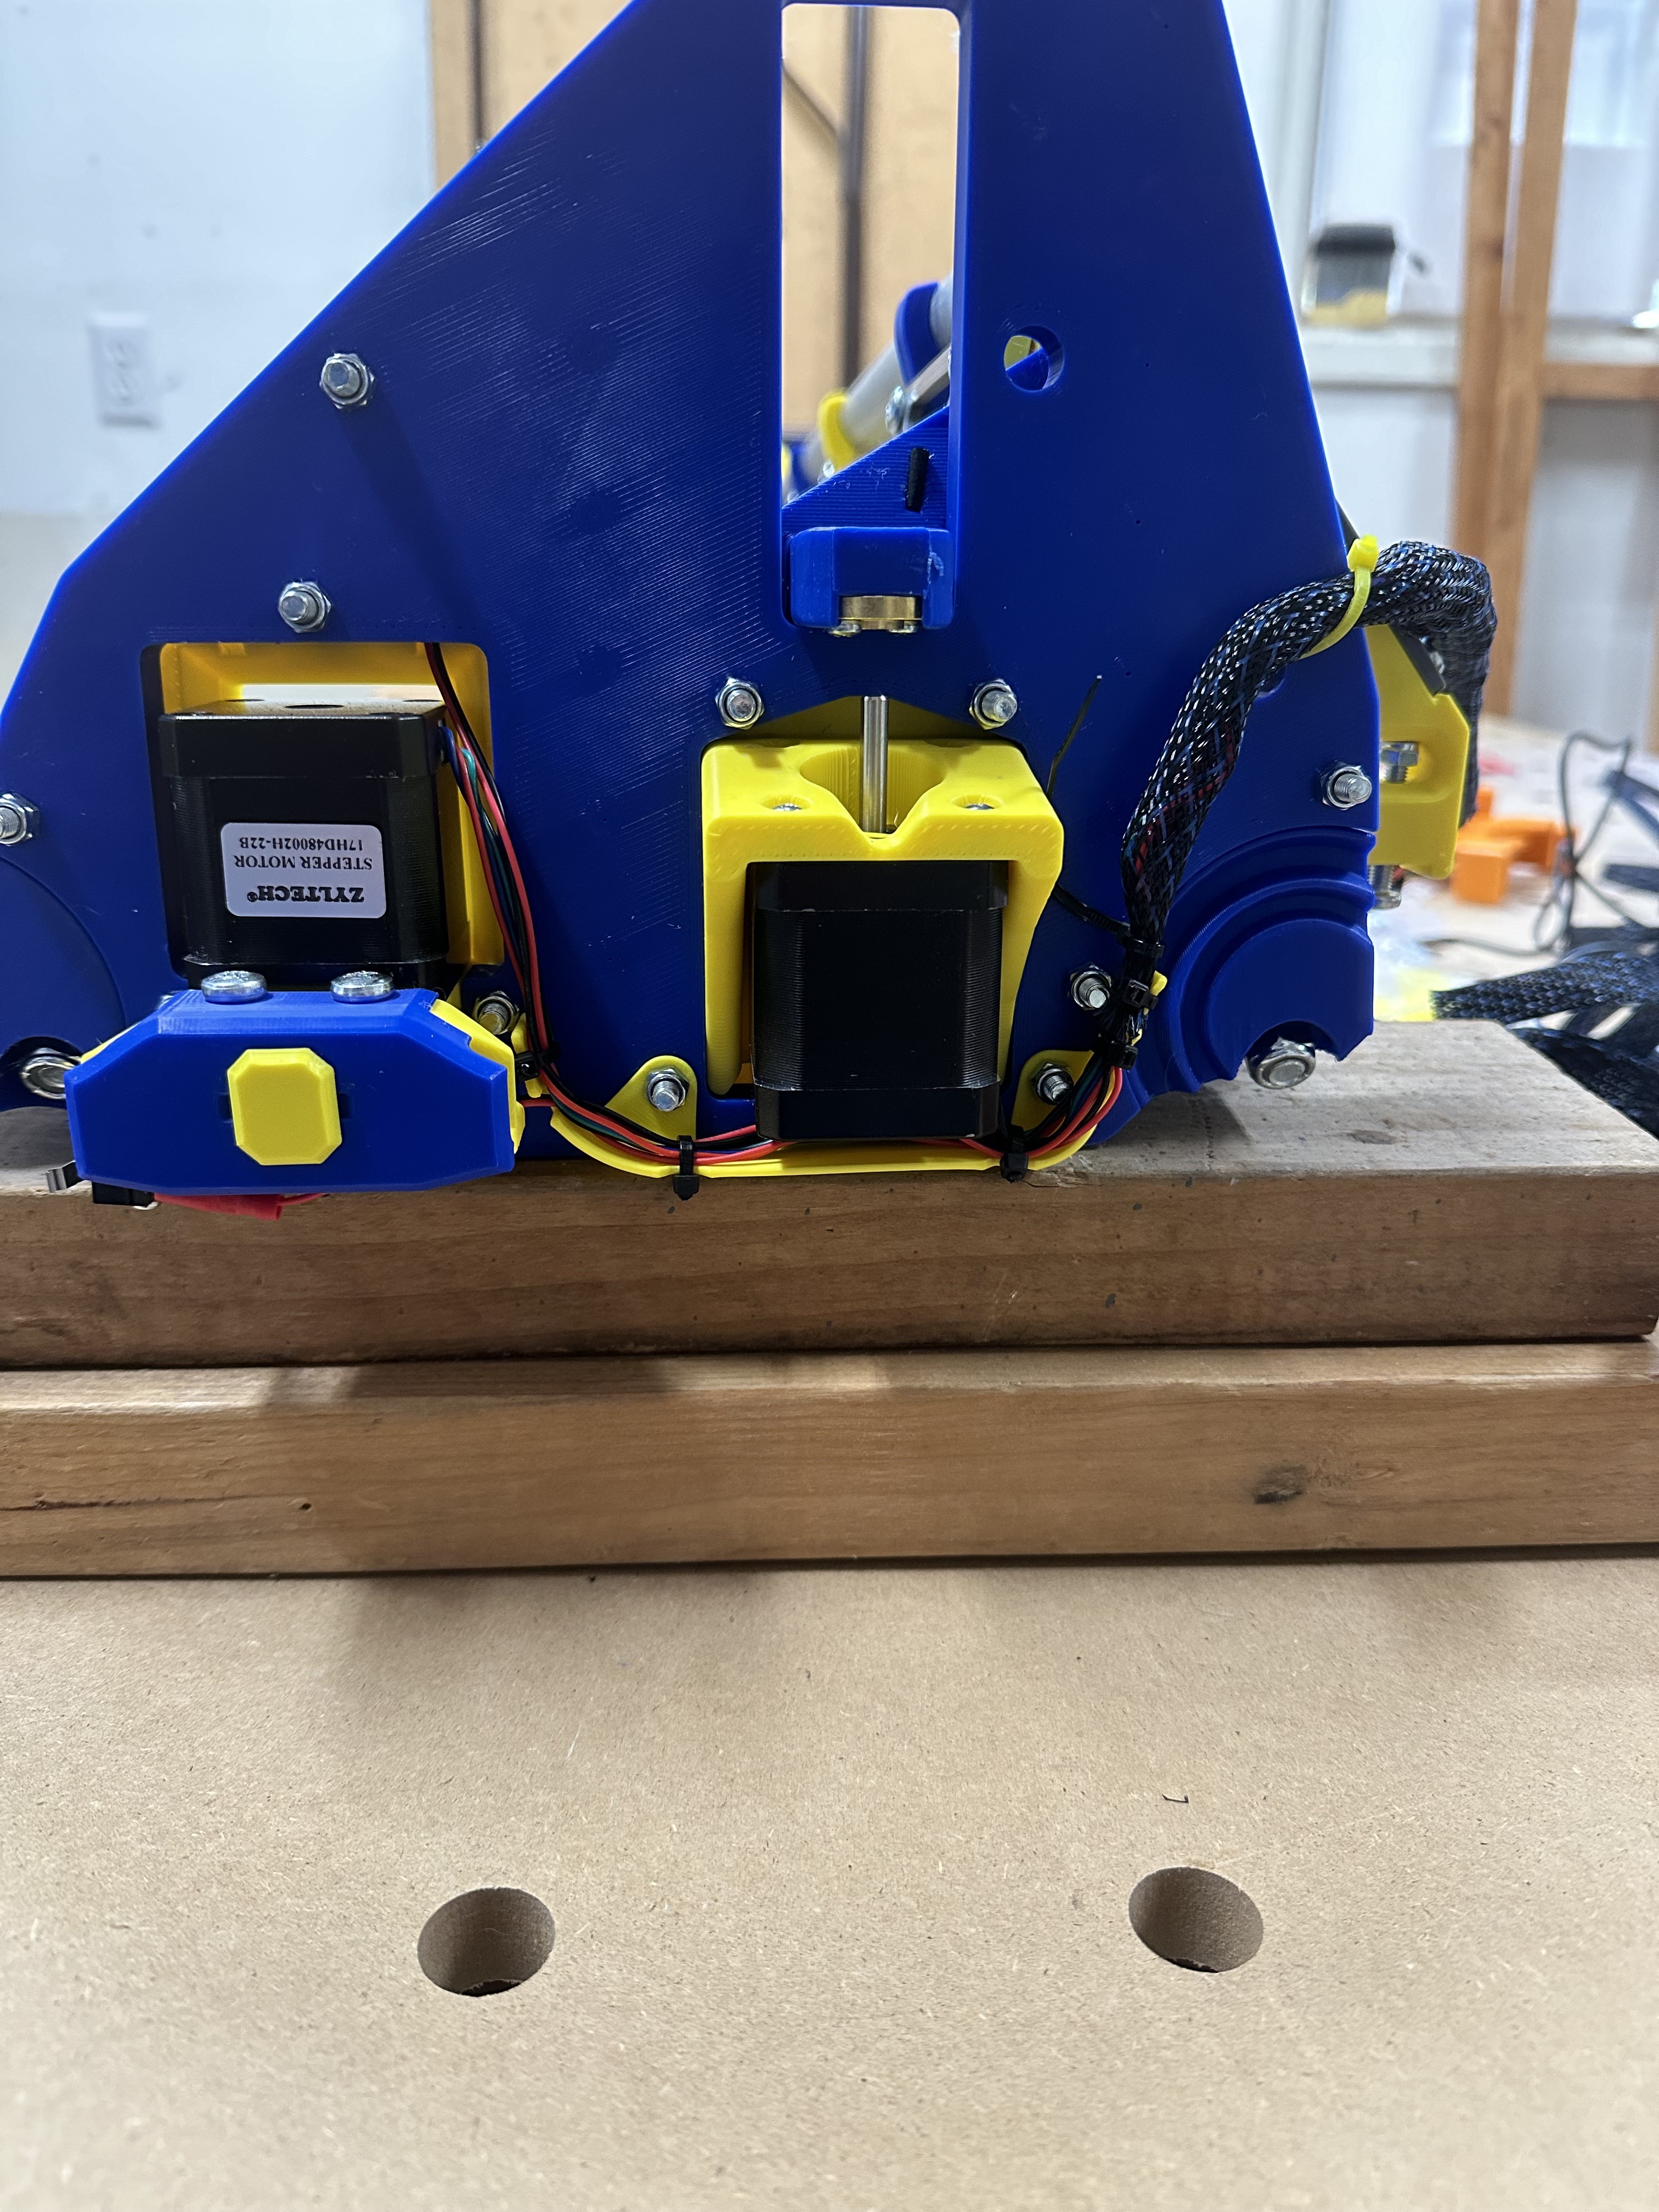
Only one trip to the hardware store for shorter zip ties. @bitingmidge cable tidys work fabulously. I put that look stuff around bunches of wires. Everything looks neat now. So I finished up the Z screws.
Fired up the Jackpot and was greeted with all the stop lights! There’s @DougJoseph cable minder in action.

Then tested that the steppers fired. Only had one of the Z drivers reversed. So that was all easy-peasy.
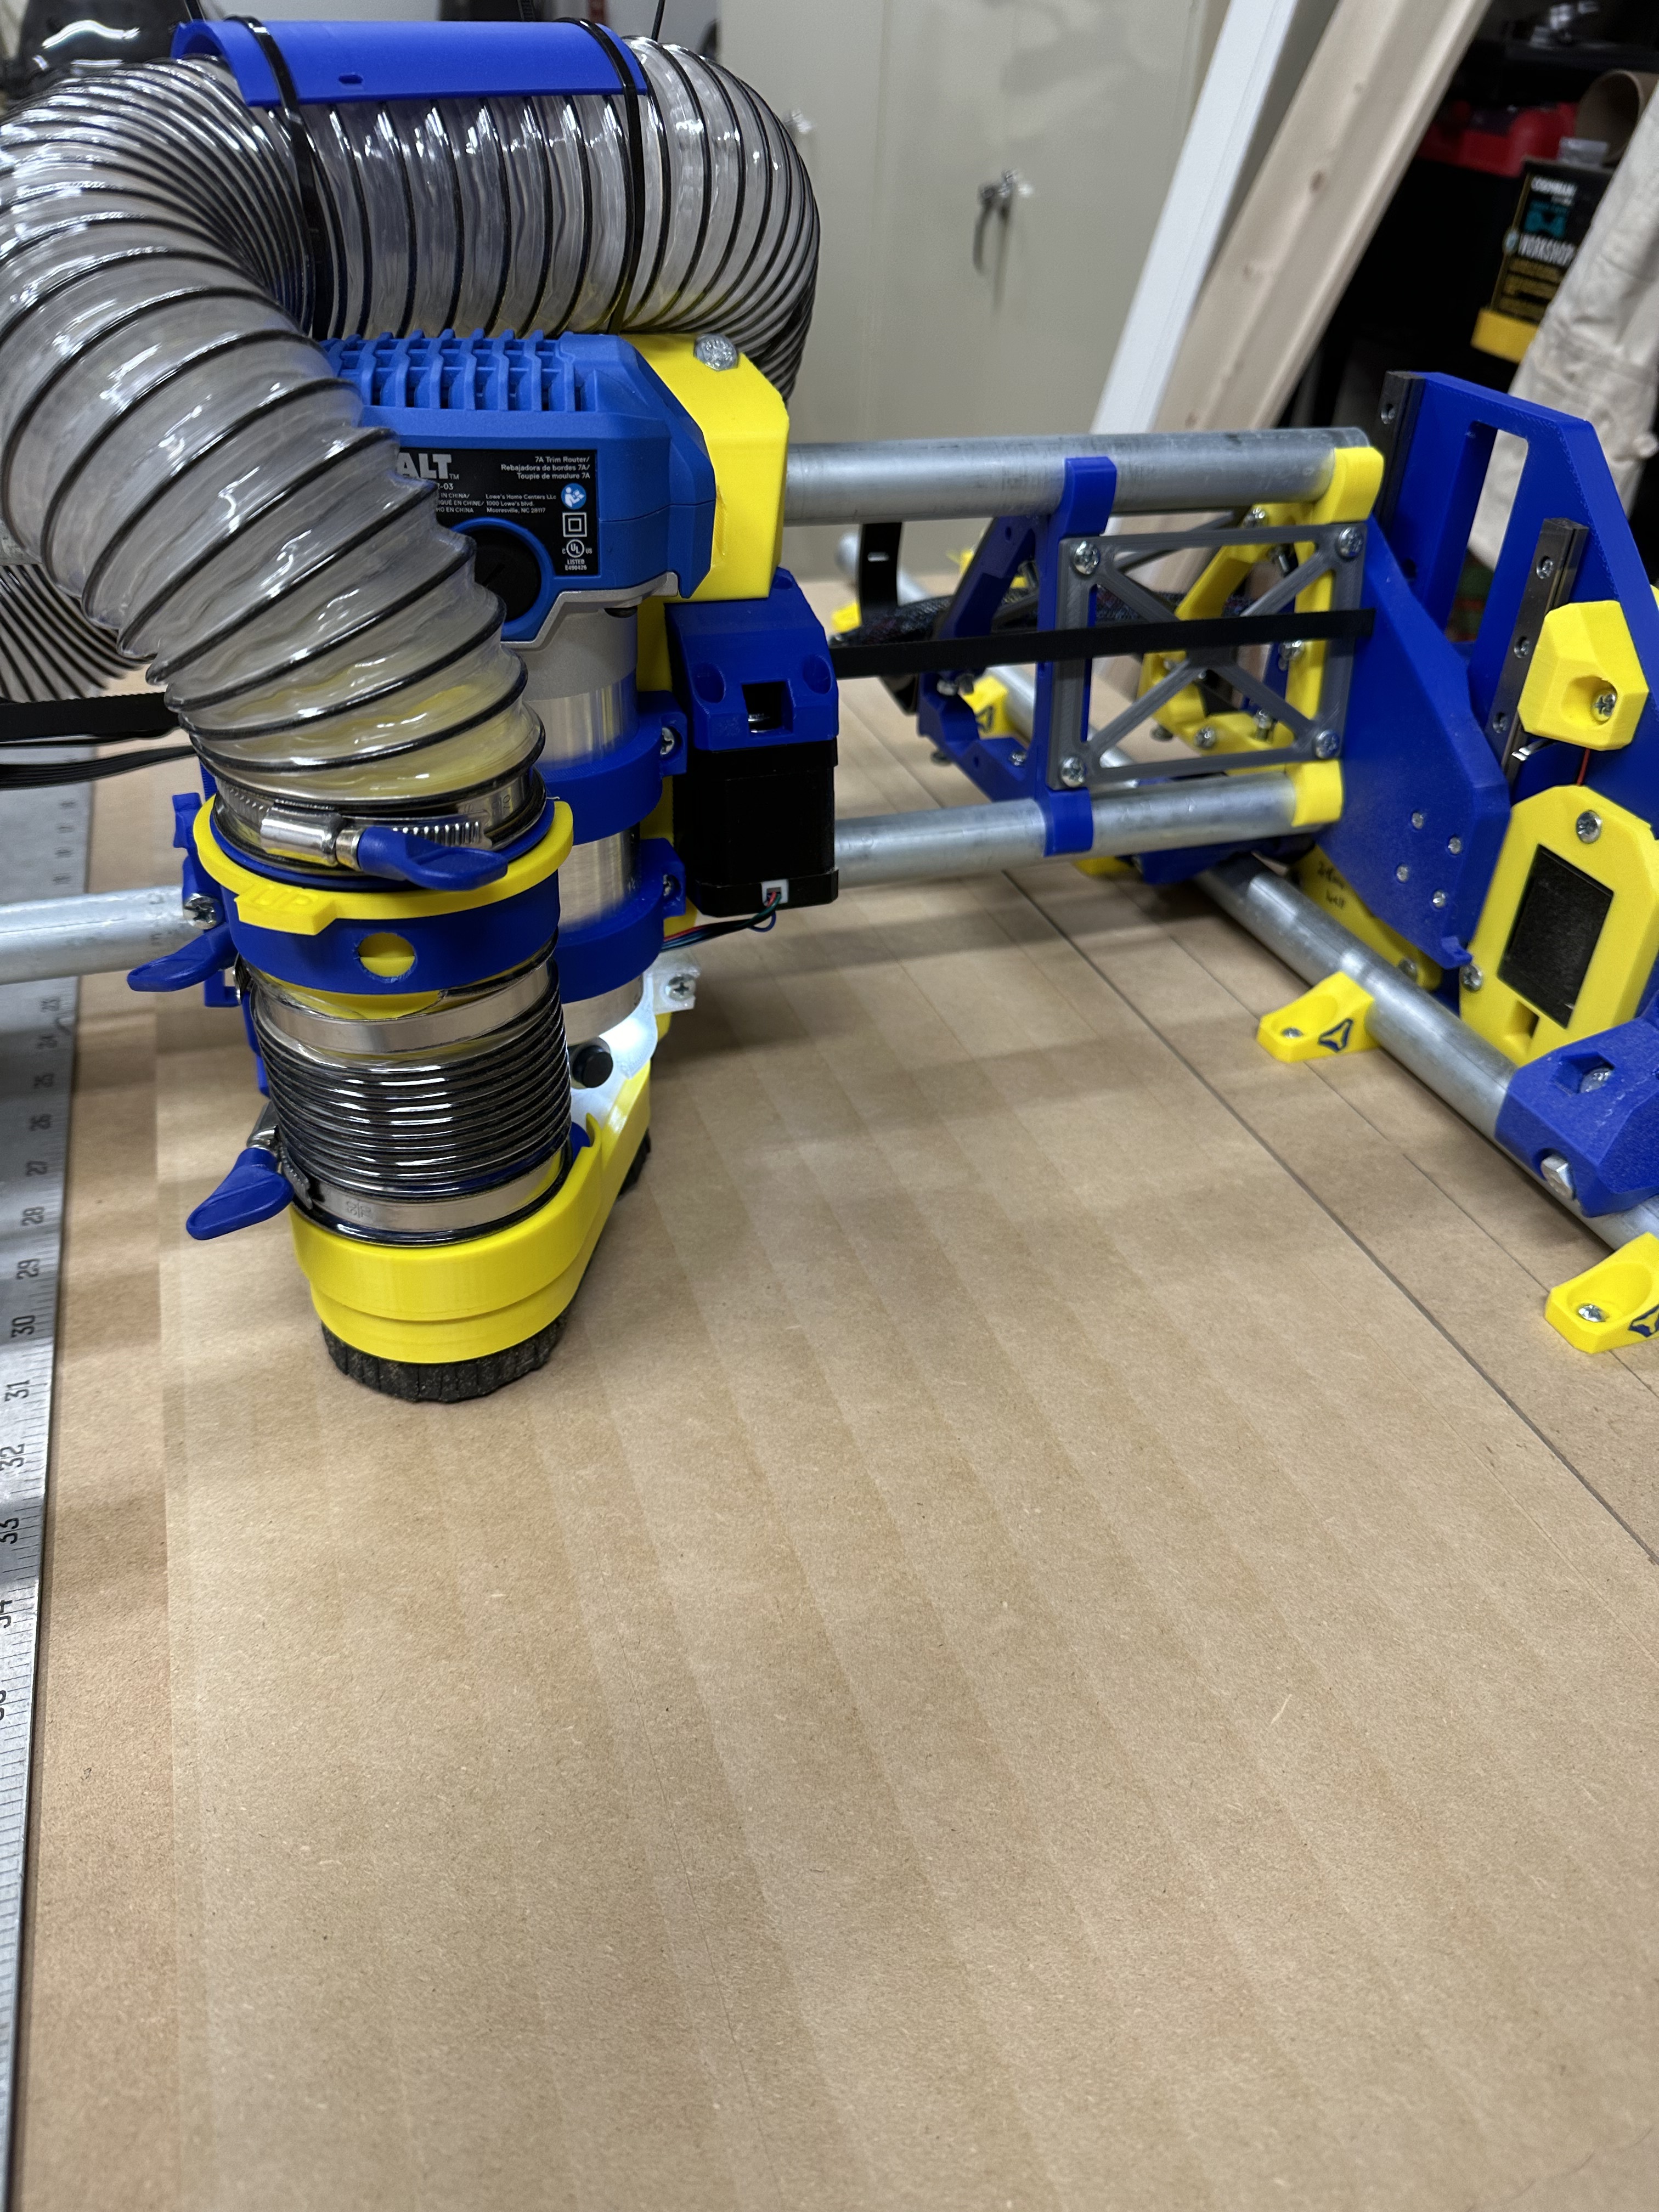
So I guess it’s ready to go. Just need to affix the pipe and belts and give it a try. Oh and there are some @azab2c hose hangers too. I can’t recall where I found the stop blocks for the Z screws. I suspect they should be connected with a string and a ‘Remove Before Flight’ tag. ![]()
I’m thinking I might temporarily use these two boards to mount the pipe and belts and try a crown while I contemplate what my table will actually be.

Clamped to this Bora table that should be stable enough for a pen test, don’t ya think?
5 Likes
It’s always super exciting to see the first one “in the wild” - thanks, and I love your colours too!
2 Likes
So awesome! Thanks for keeping us updated!
A table was built and I have crownage.
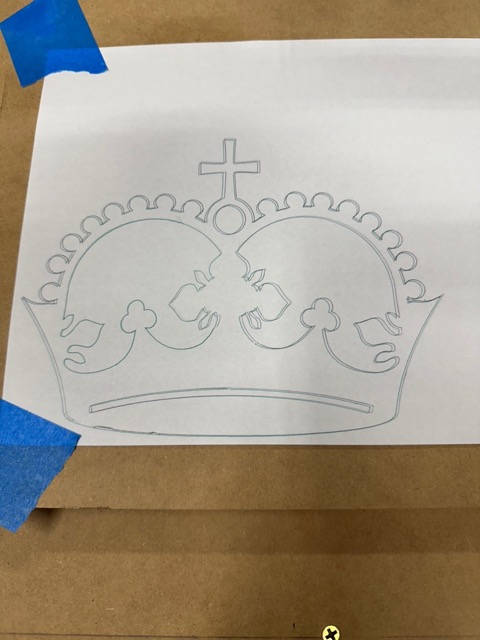
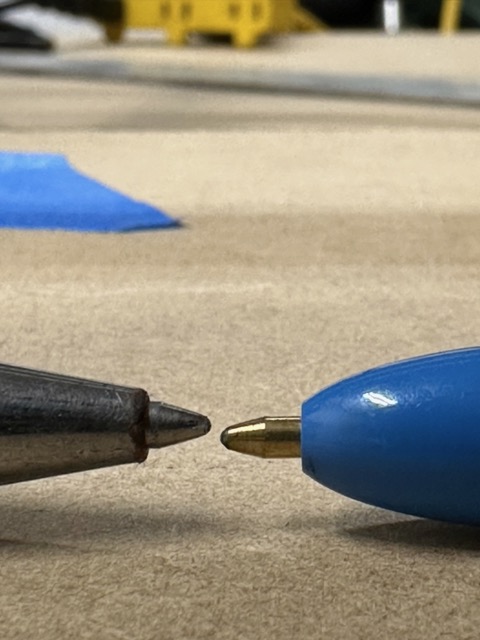
There are two because I ran it twice. I had to switch pens mid first pass - ran out of ink - and the pens as you can see in the second picture sit different distances from the mount. The end of the second attempt overwrote the end of the first exactly so good for that.
Next is getting the vacuum hooked up and figuring out how to turn wood boards into wood chips/dust.
3 Likes
Last weekend was a bust but this weekend I was able to work on the minion a little. I wanted to tram the gantry but it ended up that when at the bottom of Z the near side (Y/Z1) riser would bind when asked to go up. The crown doesn’t show you that if you aren’t trying to home Z. And why would you? ![]()
It took a bit but I figured out that my XZ plate on that side warped off the print bed. After removing everything from it the gantry side face would rock on a flat surface. So that pretty much burned the day waiting on the reprint but now that side is whisper quiet. So today I was able to square up the machine and work on wiring up the table. I noticed that the other end of the gantry is making some noise too but not really binding. Since I printed both of those plates at the same time I think I’ll proactively reprint and install a new one there too. I also got back to it and checked the gantry. It is only 1mm off min-to-max sides so yay.
I guess I need to generate some gcode for cutting wood now.
1 Like
Cool! Sorry about the reprints. Glad you got it sorted out!
I had a slight bend in one of my plates as well. I’m building another set (keeping the plastic printed ones) using MDF and aluminum. We’ll see if there’s a practical difference between the two.
Seems like a good upgrade path to get the basic machine working, then try to cut your own yz plate from MDF as a test, then aluminum parts.
1 Like
In it for the journey!
1 Like
Agreed. As soon as I get this sorted then maybe I can get that strut plate cut and start the progression. ![]()
Technically a first cut happened today. I attached a wasteboard large enough to cut my strut plates and ‘carved’ the perimeter line into it in the front right corner. I figure that is the best place to do these cuts as they will all be as close to the rail as possible. In my mind that’s going to be the most tolerant? Who knows?
Proof of cut:

Now I have to work out how I’m going to cut this. I’m trying to work out creating tool paths and tiling in FreeCAD now. The former I gr0k and now I’m spinning on the latter.
But I suppose first is facing this spoilboard as that line I cut is much deeper at one end then the other ![]()
2 Likes
I managed to build a path in FreeCAD to surface this small spoilboard for the strut cuts. I can’t remember if I trimmed the gantry after fixing the warped plate but I’m thinking from this step pattern that I did not. ![]()
But hey, progress was made in that I was able to run that program multiple times, even paused once to leave the garage for a little bit and successfully resumed. Plus I now know about and have a G55 workspace. And I created a macro to home in it. And my Jackpot is working in STA mode. And I think I have figured out how to get FreeCAD to do the tiling I want. So lots of little bites of knowledge have I gained!
2 Likes
Nice!
close older topics to help with spambots, and faster new user questions.