Bootstrapping a LR3

Evening progress.
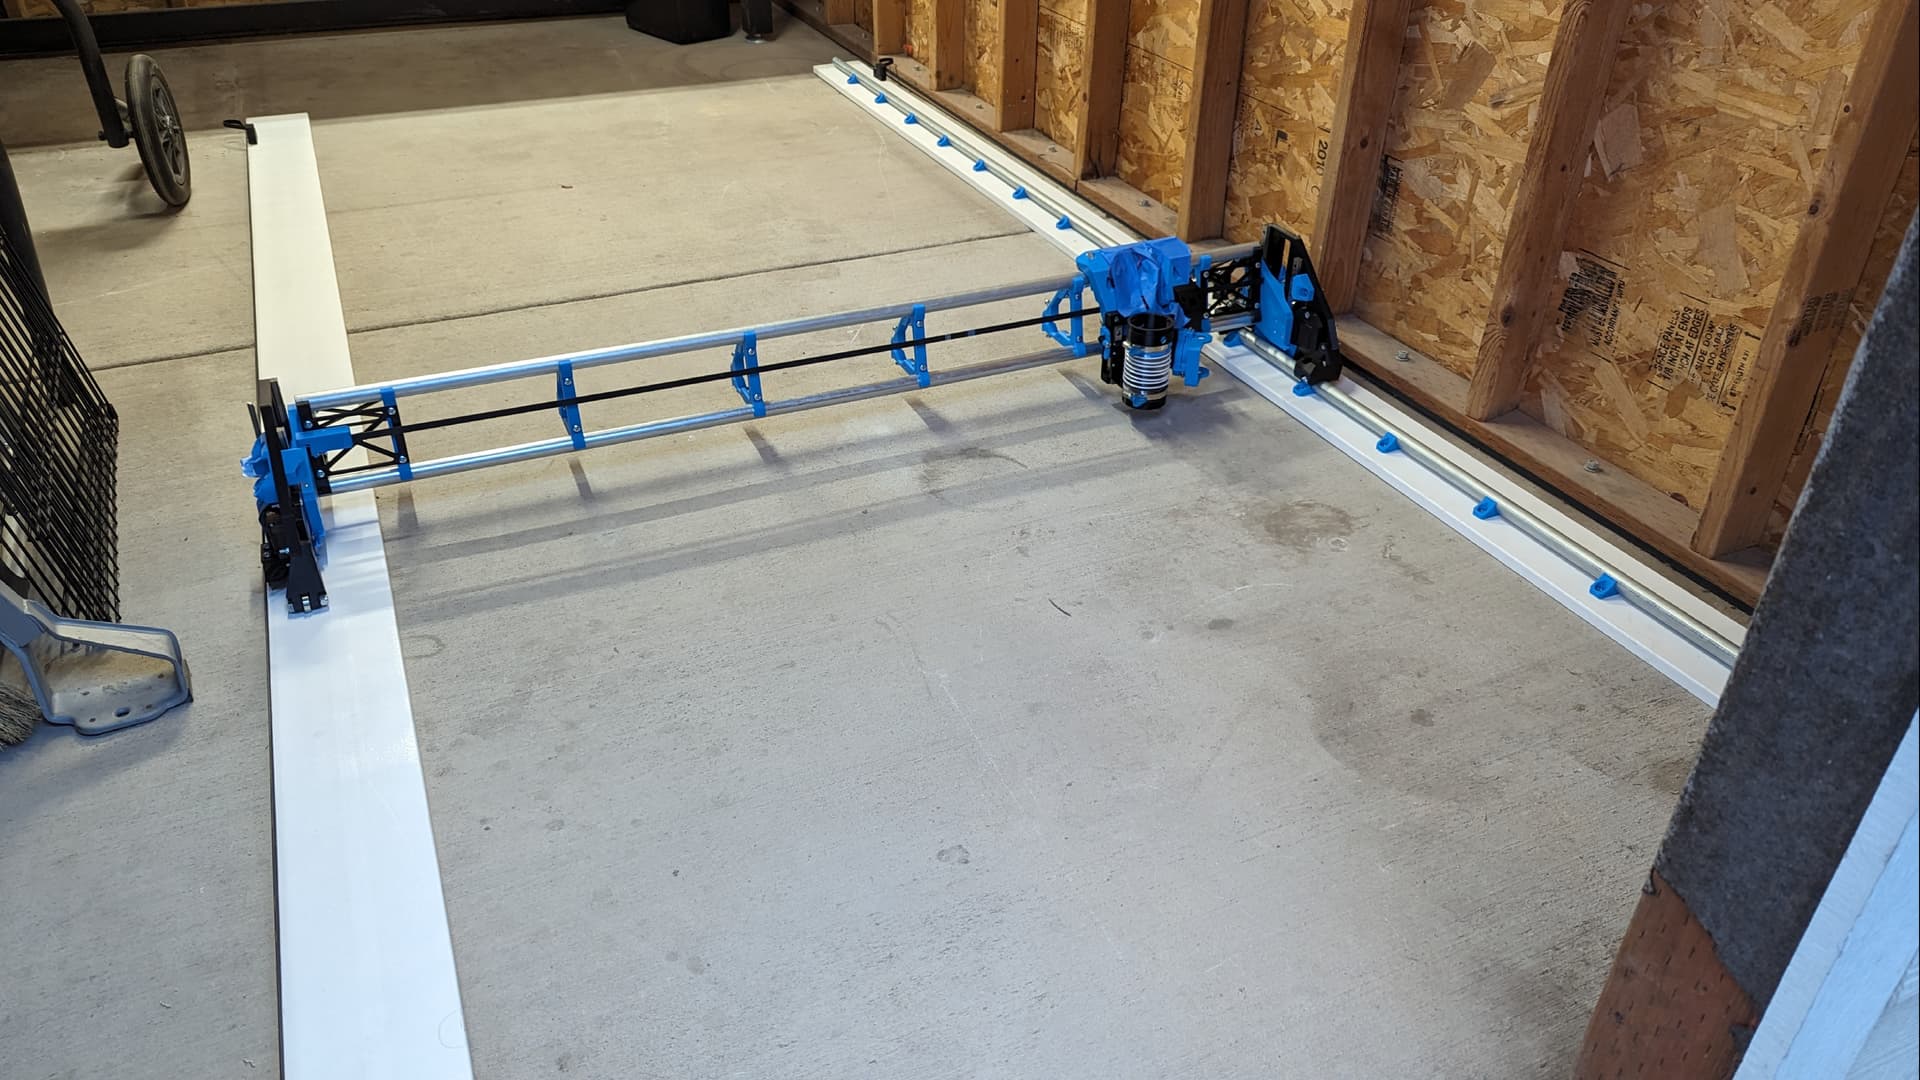
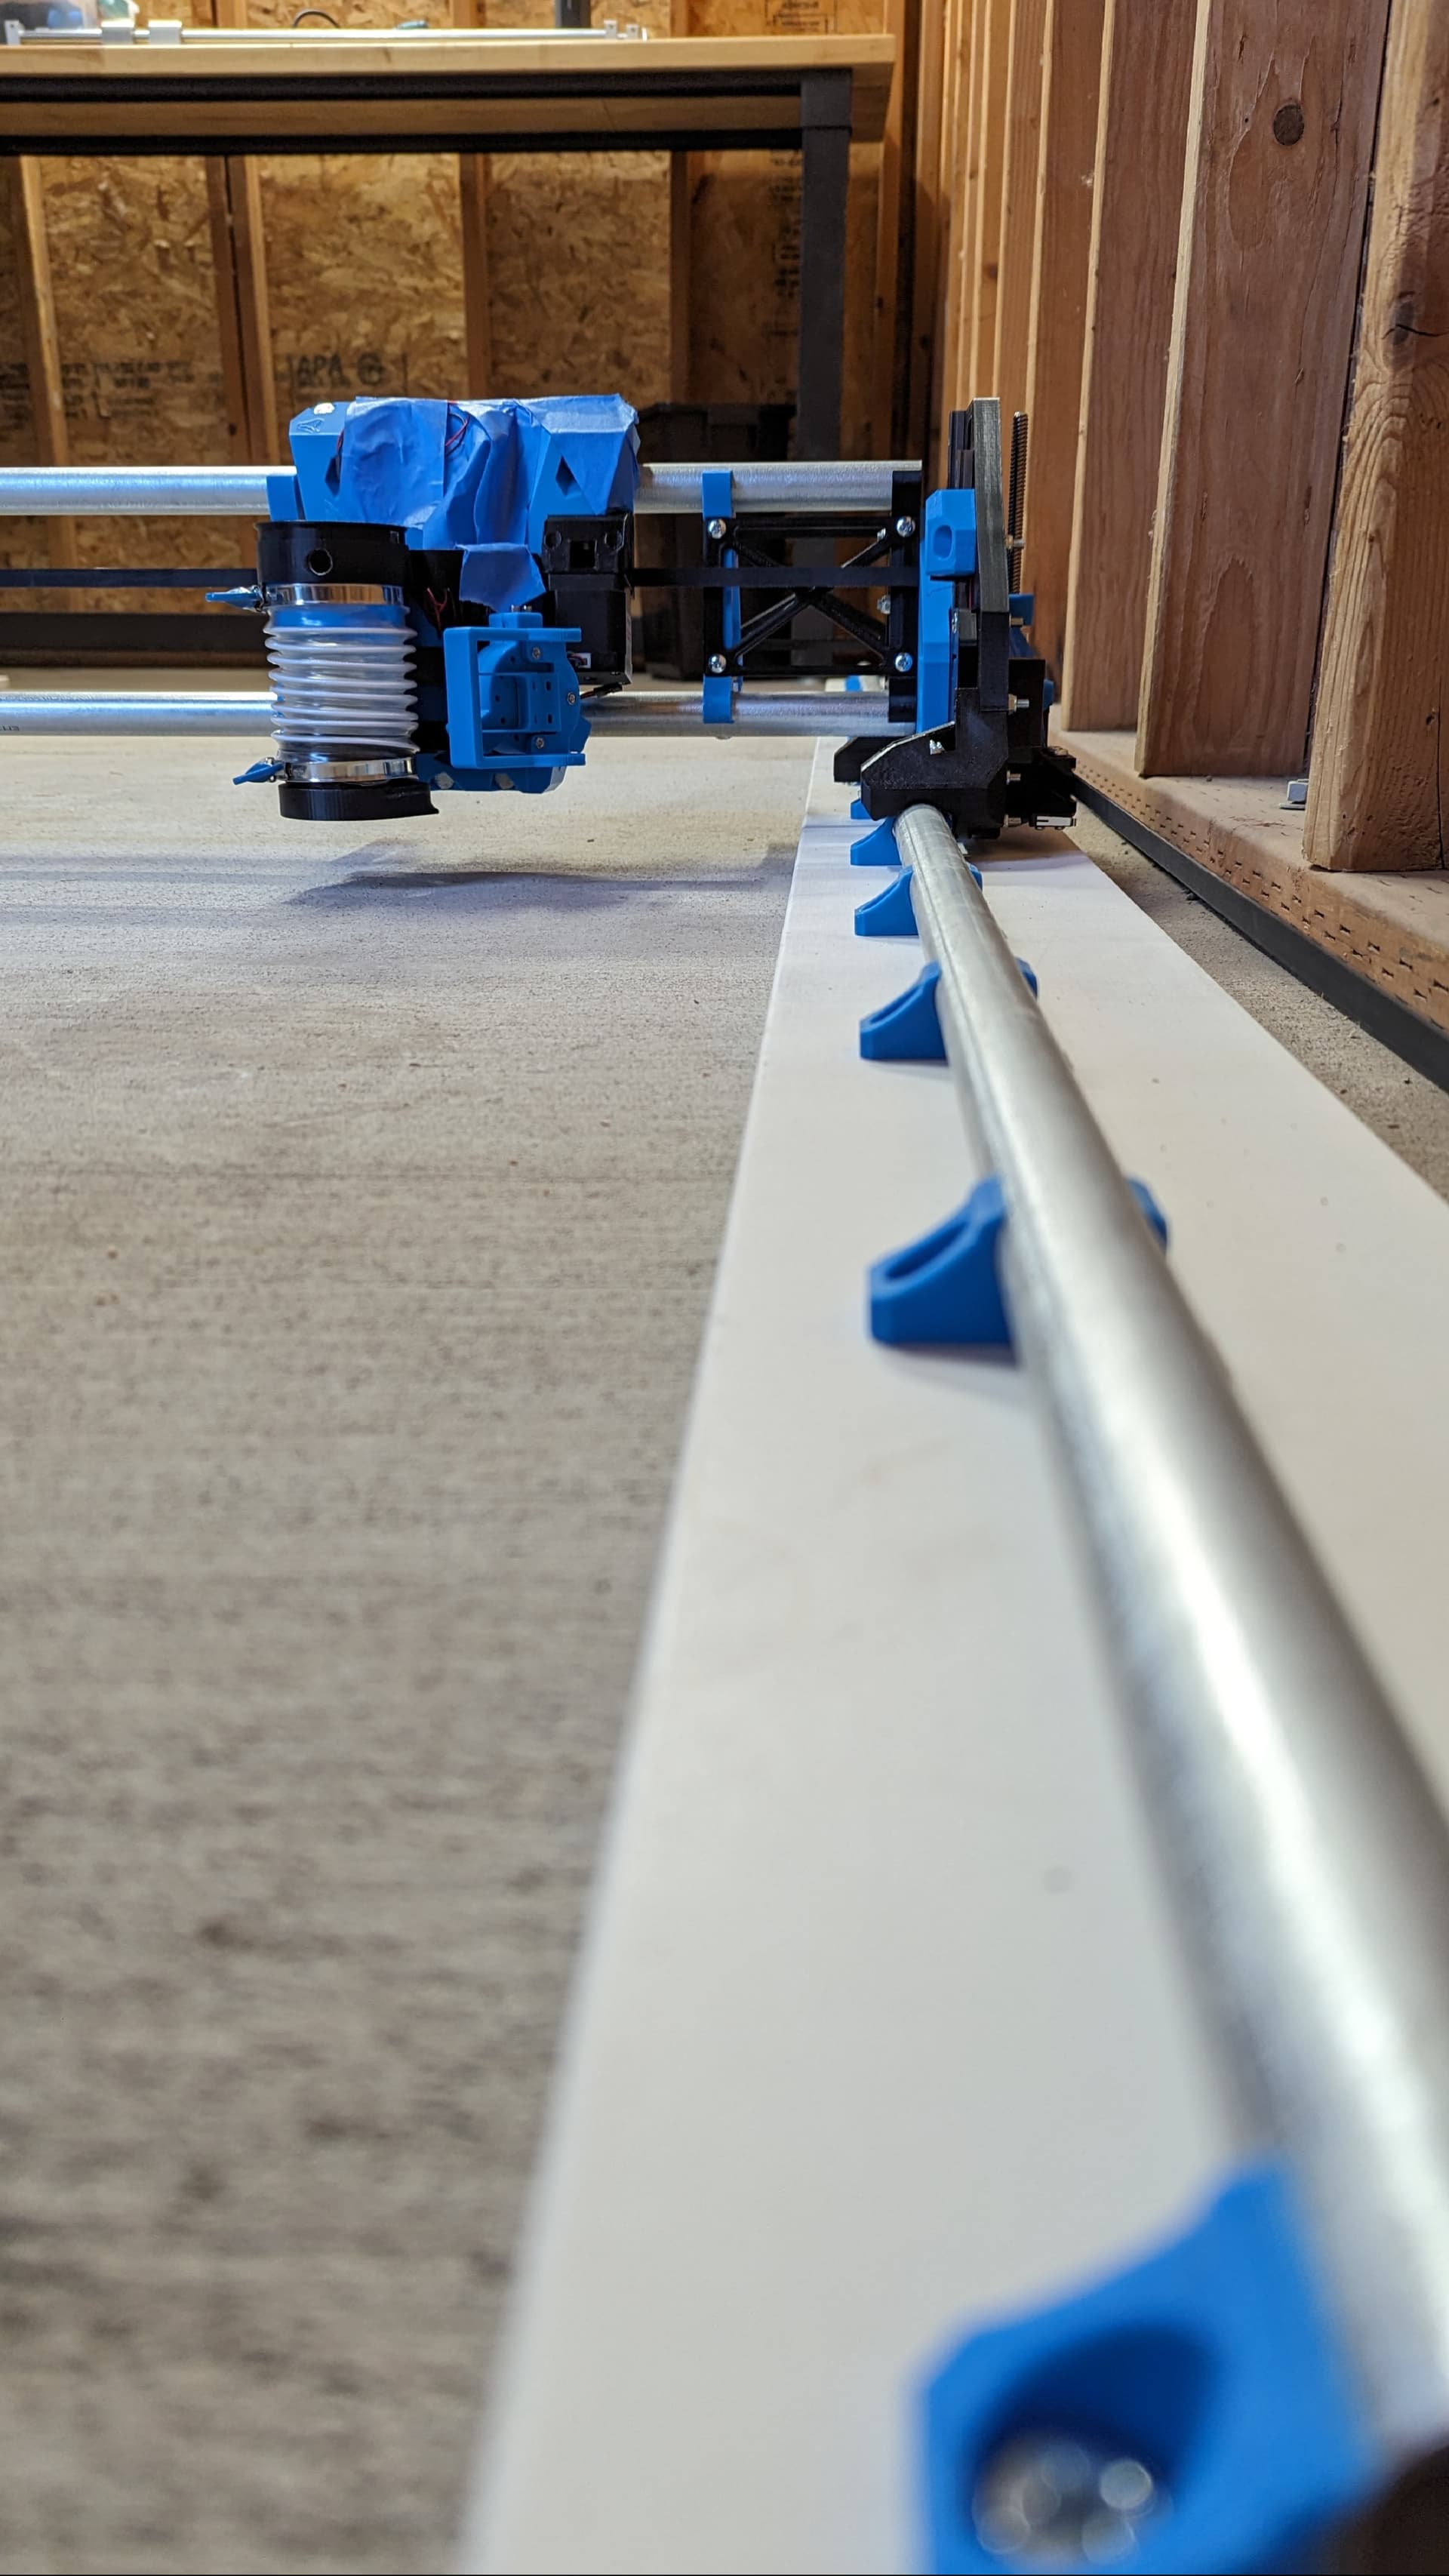
I have two wooden “rails” on which the LR3 is going to sit during the bootstrapping process. I finally mounted the Y rail and the belts this evening. As I was threading the belts, I realized I had not really studied the orientation of the belt tensioners before, and my assumption of what goes where was backwards (front to back and vice versa). That was an easy fix for this temporary setup, but unfortunately that misconception led to printing the metal strut tension block holders (for Doug’s parametric table) incorrectly. I’ll need to print the mirrors of what I have now. Fortunately, there’s plenty of time to get that done, given where I am in this process.
Next step: run wires and get this bad boy moving!
Photos in the morning if I remember…
I also might have a collection of these. Very early on there was a mirroring problem with the files (see below). Was your download recent? I stopped looking at the file names and looked at each one in the slicer and said this one goes there, print. Next, this one go there, print.
Rev Log on printable:
- Monday, July 24, 2023 - re-uploaded mirror flipped versions of the “Front LEFT” and “Rear LEFT” wing extenders, as they were wrong. Kudos to @JeffSwartz_995285 (FundamentalConcepts) for the heads up in the comments. I confirmed the issue and fixed it.
I am pretty sure I downloaded the files after the July 24 fix. I mirrored them in Cura because I thought I needed to based on having my X min on the left side of the gantry. I ended up with the longer extensions on the rail side (right side), which seems correct, but with the front tensioner in the back and the rear tensioner in the front. Had I not mirrored them, they should have ended up in the right orientation. Not a big deal to reprint, I have a fairly obscene amount of filament on hand.
Are your Y runner boards attached to the floor? I thought about this setup but then I thought the Y runner board might move during cutting.
My actual plan was to fully assemble the unistrut Y rails. Then attach them to the floor bedded in a few blobs of bondo. I’ve used bondo like this for making temp jigs building aircraft.
No. I have a friend helping me with the physical setup, and my assumption is that we will attach the runner boards to the spoilboard via the shims so it’s all one unit and nothing moves around independent of each other once I start cutting.
I’m looking at the files again, and based on what’s labelled FRONT and REAR, it looks like the tensioners designated for the FRONT and REAR prints are opposite of what the V1 instructions call for. In the instructions, the front block is the shorter one, and the rear block is the longer one with the bolt for fine-tuning tension. This is what caused some confusion for me last night.
If the short/long blocks can be switched front to rear and vice versa, then I will use the prints I have. If that will cause issues with endstop performance, then I’ll need to reprint. Any thoughts? @steved @DougJoseph
No, I think that puts the rail side extended block on the wrong side. If they were all the same that would have worked.
After the early mirroring thing, and being dyslexic, I stopped reading the file names and just looked at the prints in the slicer. Yup, that works, print. Guess I should have chased the naming thing down with @DougJoseph.
I looked again, just at the prints in the slicer. Ignoring names, printing as-is gets me the result I’m looking for, so I will reprint this weekend. Not a big deal!
My LowRider is flipped from normal because of my room configuration. I probably forgot that at the time of the labeling the parts from my various remixes. If you need to rearrange them or ignore the labeling, it should be fine. Sorry for any confusion.
PS: in some cases, my parts are simply rotated normal parts. In other cases, they are mirror flipped in the slicer. But if I remember correctly, the only parts that had to be mirrored in the slicer were those pertaining to the bearing wheels.
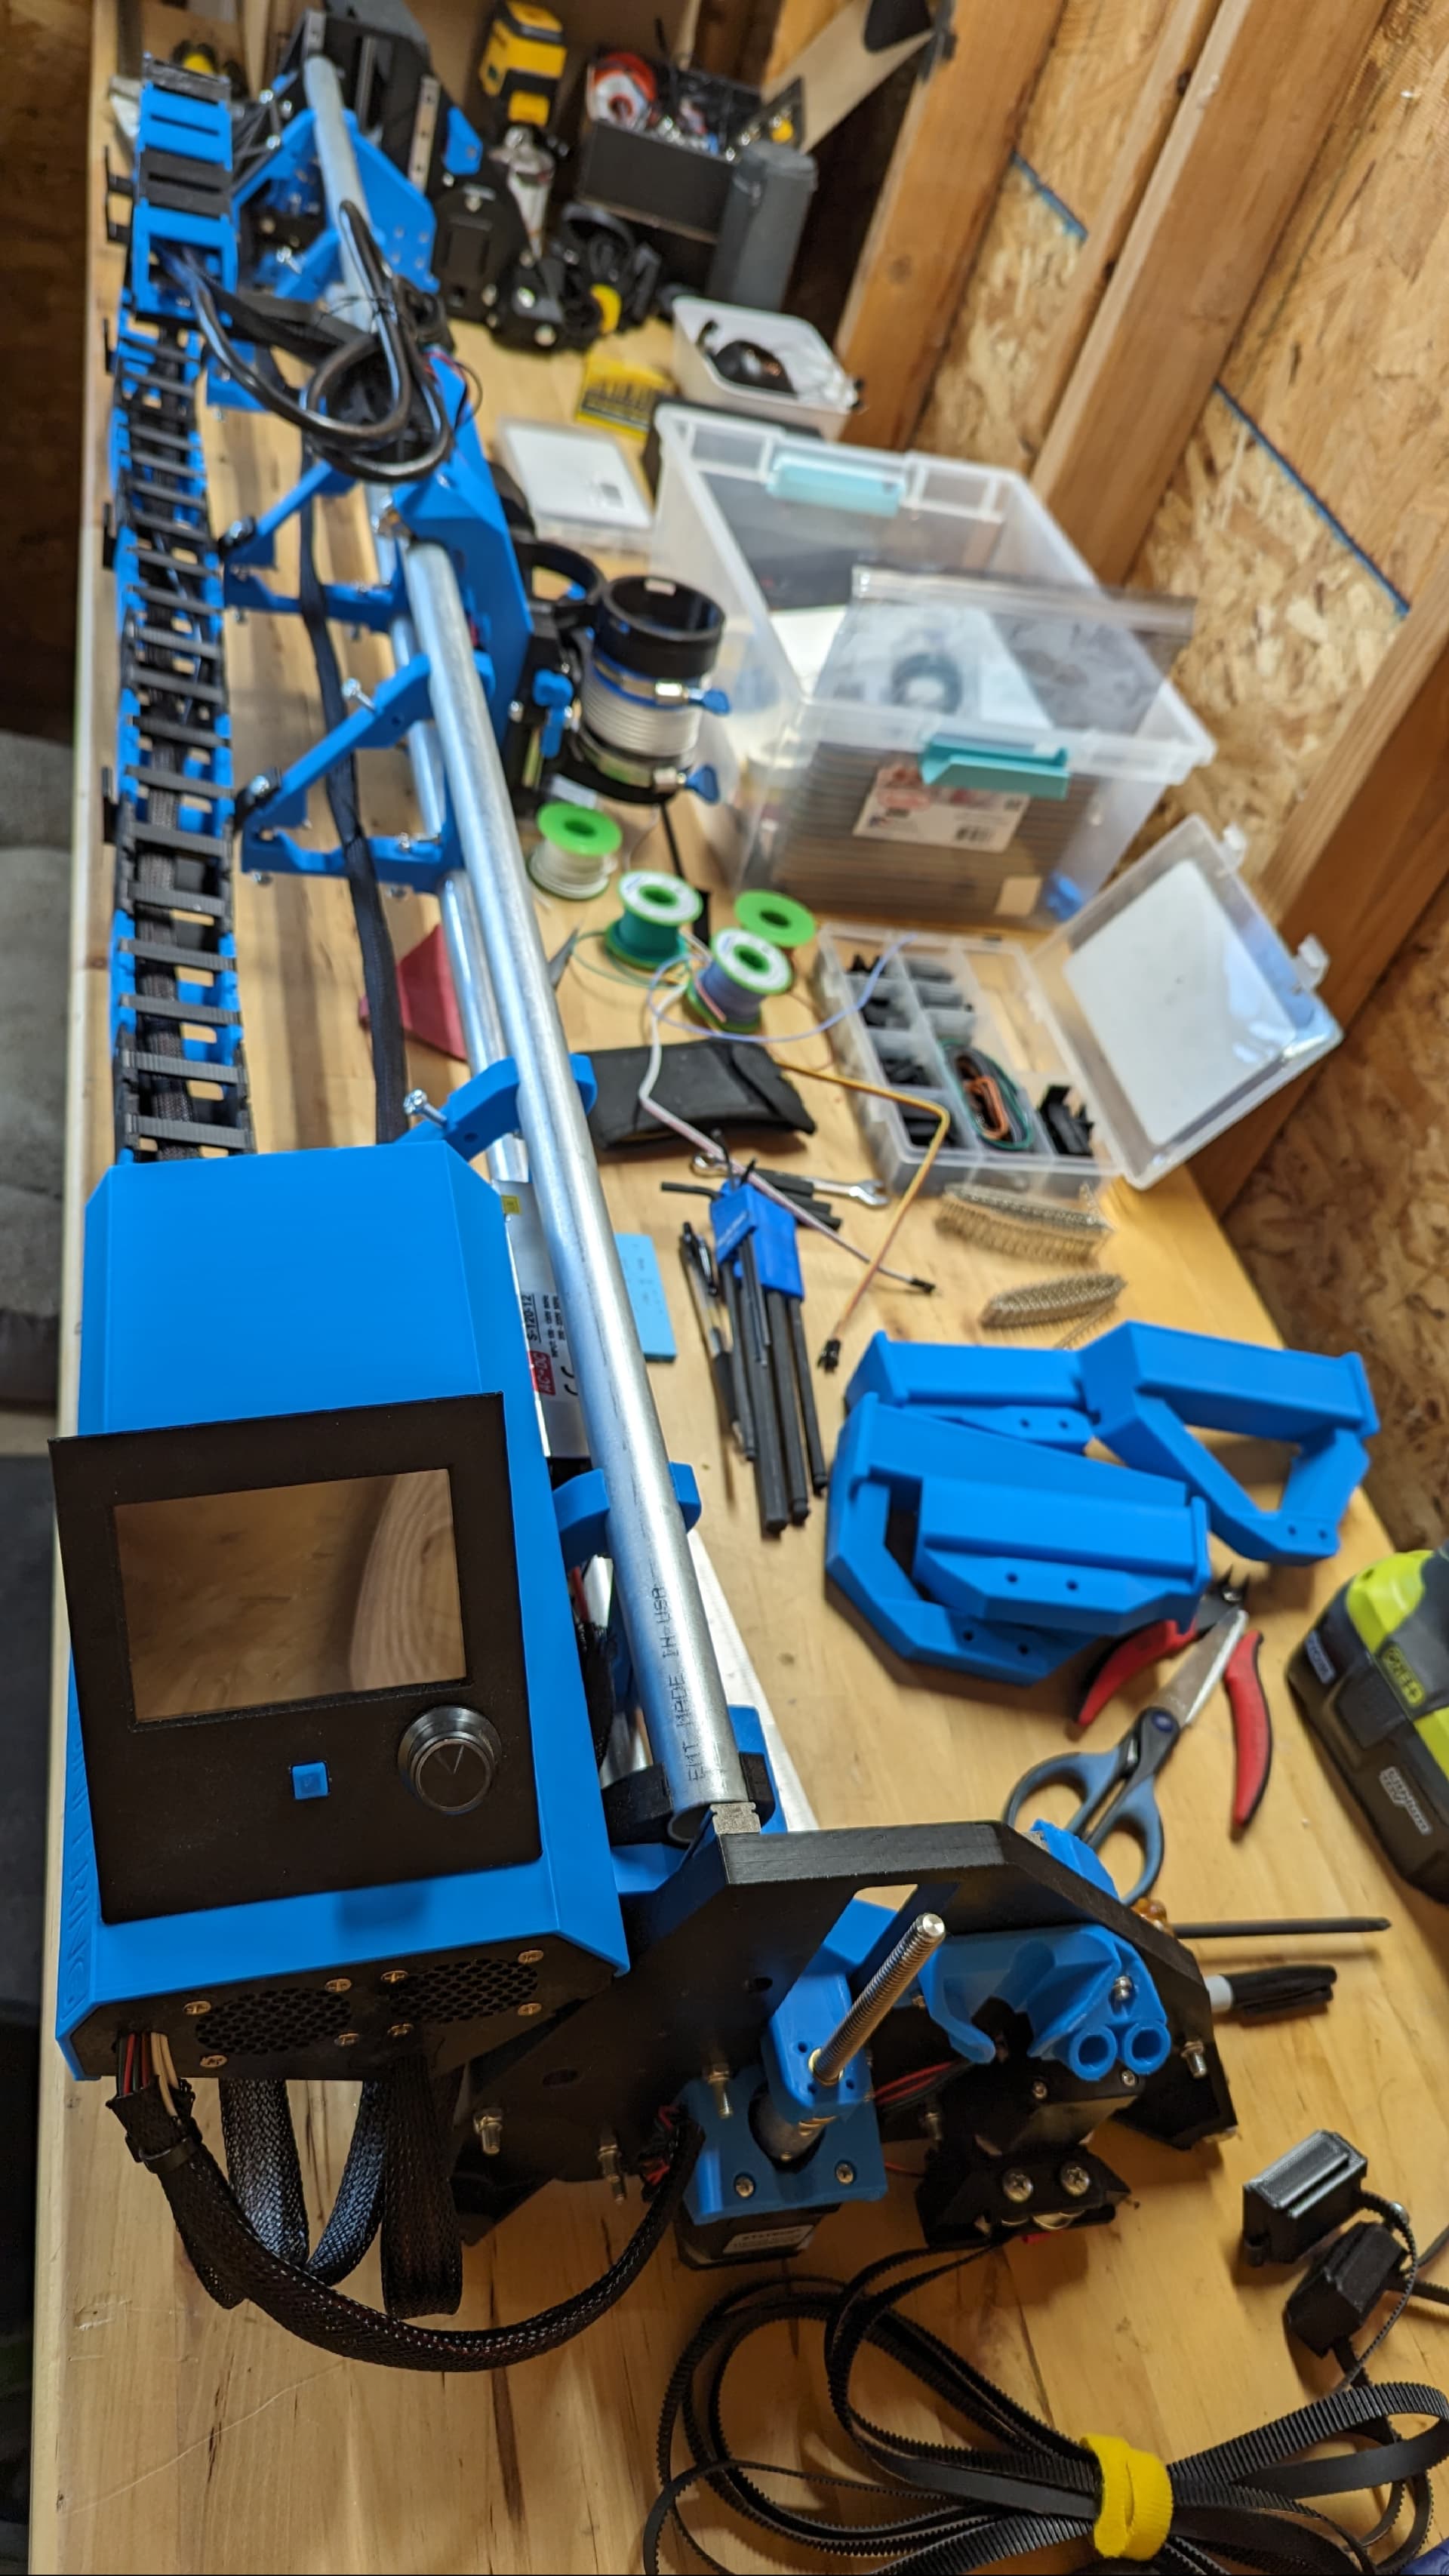
Not a ton of work done today, but I slipped the PSU into the gantry and began to get a sense of what my wiring needs will be. I have some extra wiring extenders above and beyond what the kit includes; I’ll either use some of those, or make my own (where the wiring is still short, it’s not short by an entire extended cable set). Gotta see what kind of wires I have stashed away before I make that decision.
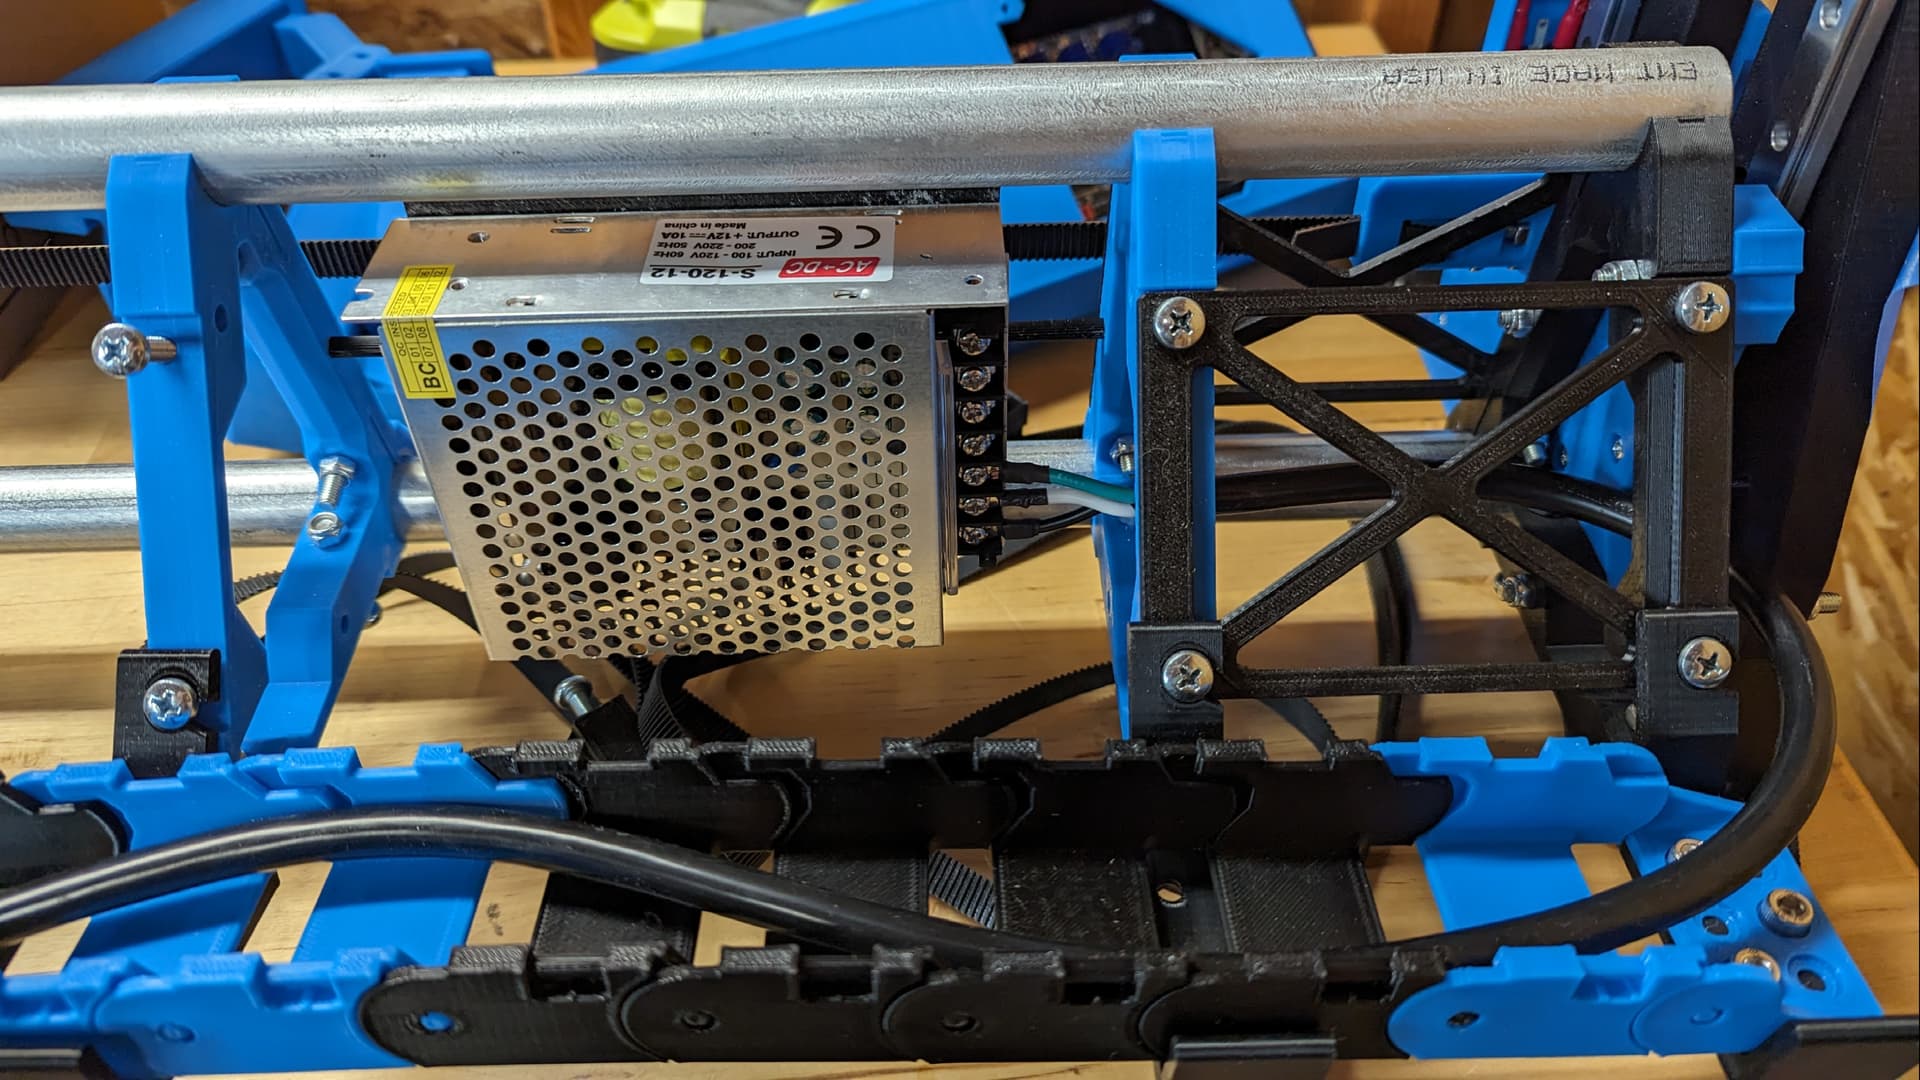
Nice!

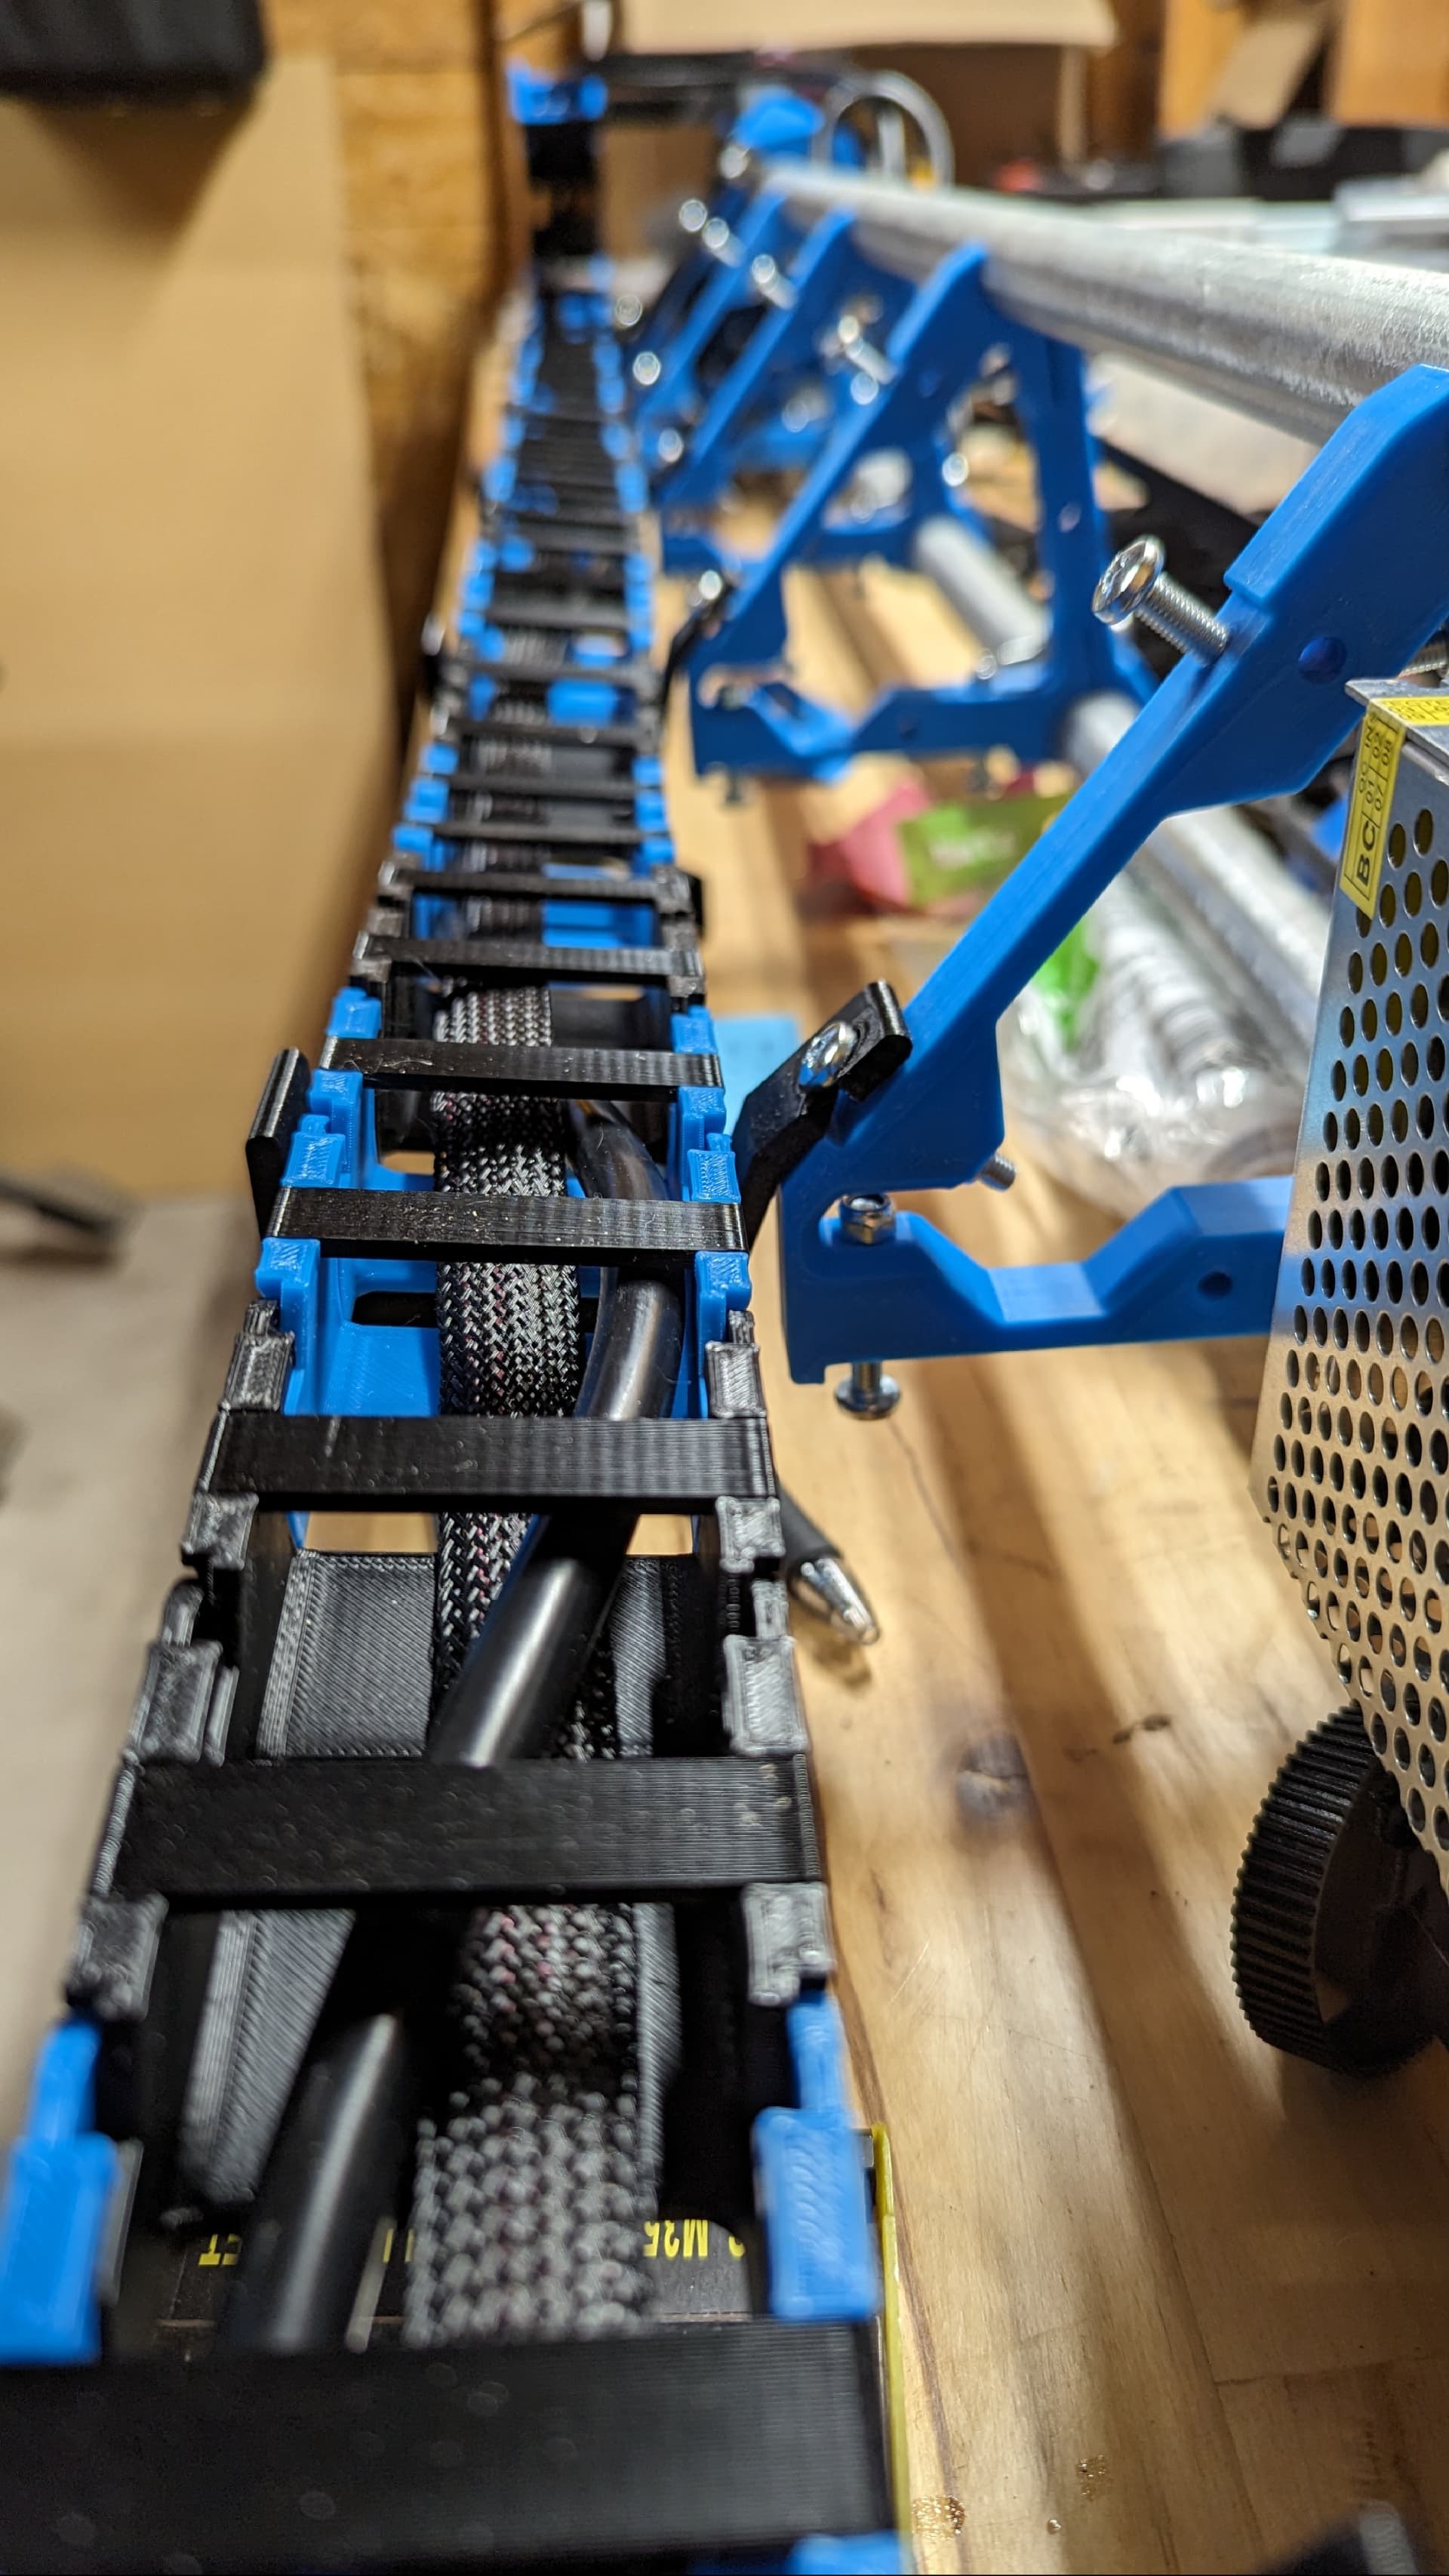
I never have the patience to 3D print cable chains. They take way too long, and they’re so cheap to buy, but nice 3D printed ones can look good. My last set that was 3D printed though was when I had a severely crappy printer, so not only did they not look good, they didn’t work particularly well either (they wanted to flex backwards too easily.) I am sure I could do better now.
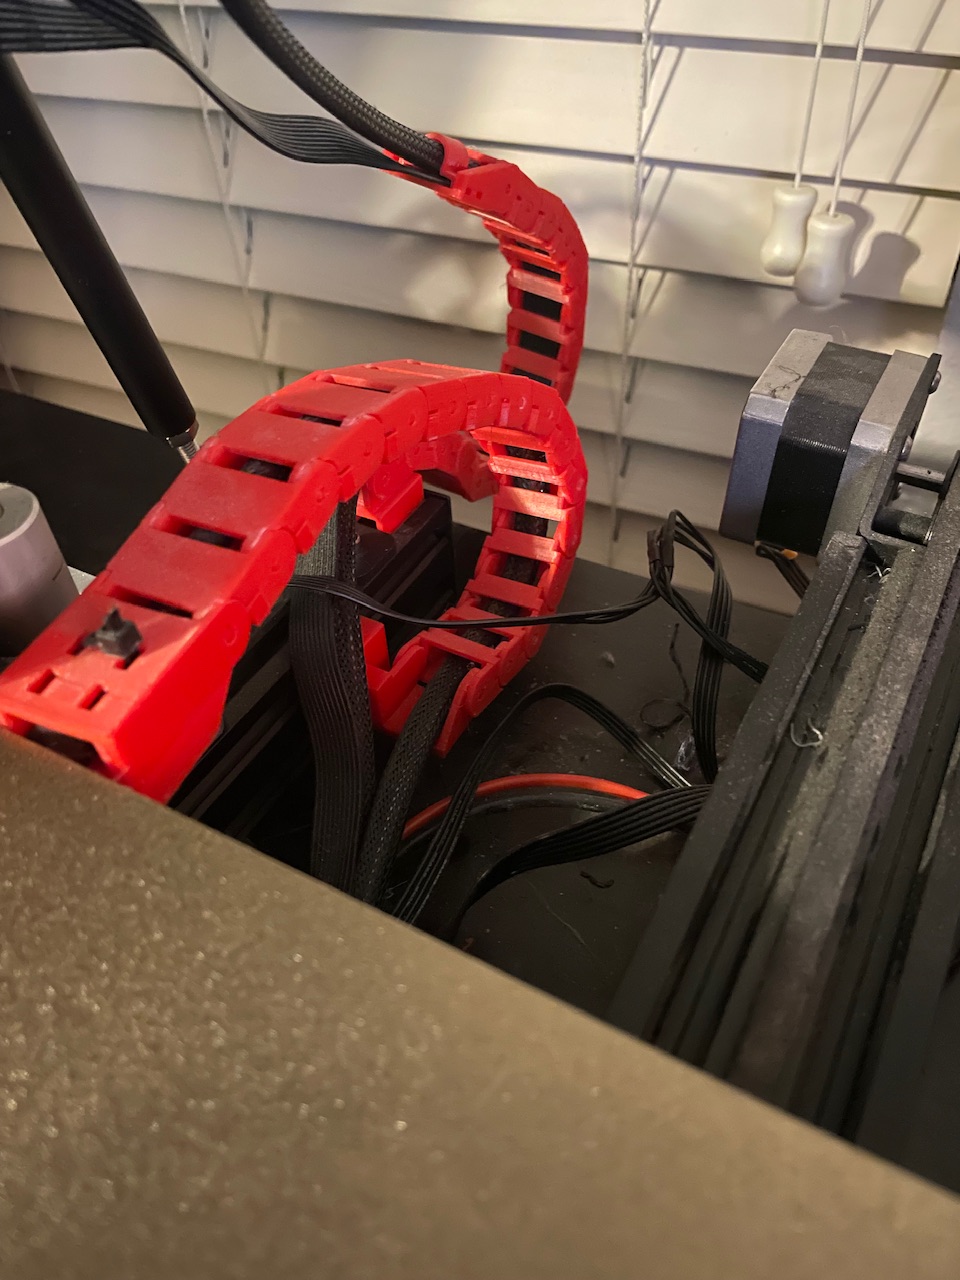
Keep that as long as you can, once you have no job, you have no time for anything!!!
I’m currently averting my gaze so I don’t start to think I need a nice neat cable chain!
You need one. I’ve got one as well on an aluminium guide. Looks neat.