I hope you are also installing some under the bottom strut. They made a huge difference in seeing your work piece. You may have mentioned that somewhere else and I just missed it lol
Yeah, I have a “regular” 12V white LED strip under there, not tied into the ESP32. I might switch it out for a strip of WS2815s before I close up the gantry, haven’t really given that much thought.
Roger that. All I ever run mine on is white so that should be perfect if you already have them. All I had on hand were WS2815s so that’s what all of them are. And I prefer the 12v over 5v
I saw that you cut yours into strips to fit between each brace. Did you just wire the strips together in series? That’s how I envision doing mine.
1 Like
Yes. I spent forever cutting small lengths of wire. Stripping each end then soldering all the strips together lol. The process sucked but the end result worked exactly how I needed it to. Don’t skimp on the length between each strip. I think I used about 3”. That gives enough to fold down in the notch on the mount and loop back to the next mount. And gives you room to move the wires out of the way to put nuts on the strut screws
1 Like
That kind of thing is in the same category as crimping connectors for me… sometimes a bit tedious, but I generally enjoy it. Weird, I know.
2 Likes
Doesn’t feel like there was a ton of progress today, but there was plenty. Two of the three mounts I printed today are golden: the Jackpot mount is great, and the PSU mount (version 5) has finally been dialed in.
I made some mods to @Jonathjon’s LED mount for inside the gantry. I wanted to have the LEDs pushed back from the acrylic to disperse the light a little more, and I also figured it would be nice to have a way to quickly remove the mounts if necessary. So, I added some extensions on the long sides, which will also serve to block some of the light from escaping above and below the strut. On the extensions are some little tabs so that the whole thing can be clipped onto the top and bottom of the strut to hold it in place without any adhesives.
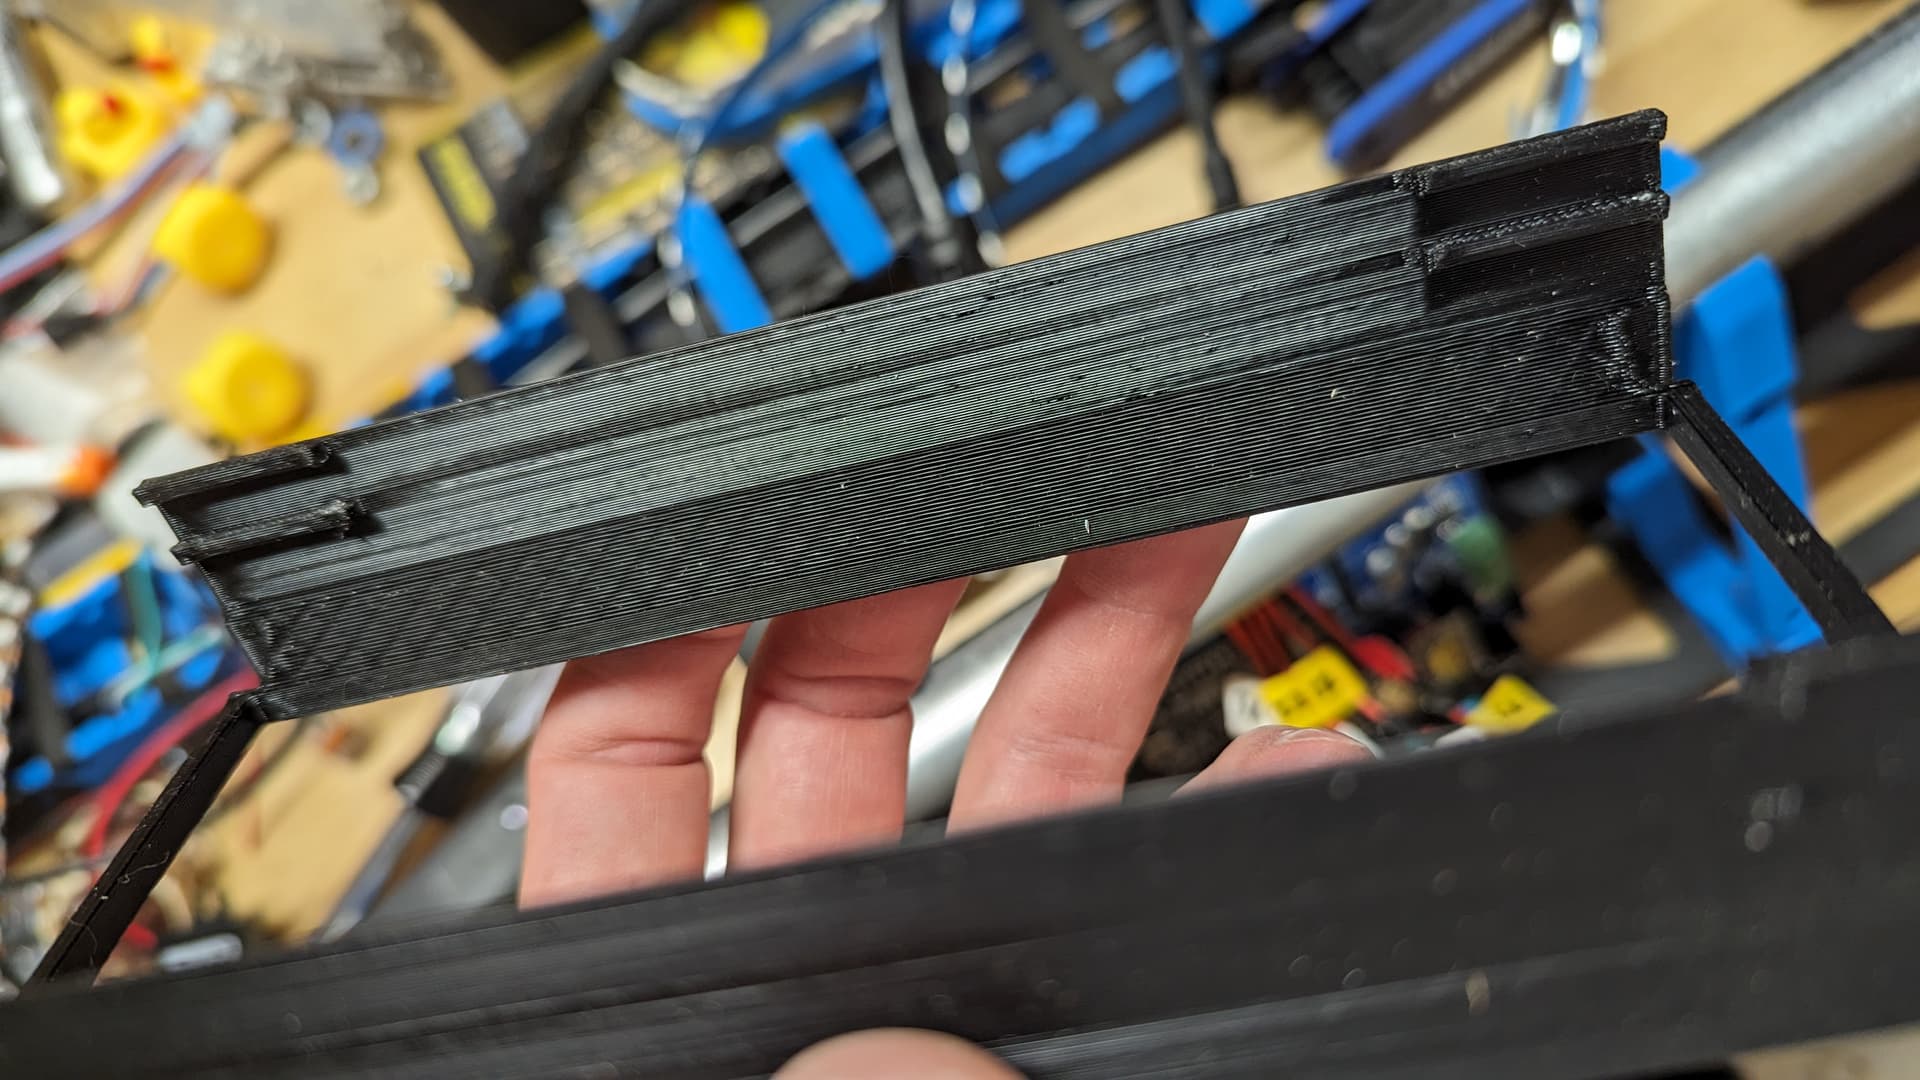
The dimensions of this first version weren’t quite right (I’m not good enough to scale the F360 sketch, so I had to scale it in Cura ![]() ). I will reprint tomorrow.
). I will reprint tomorrow.
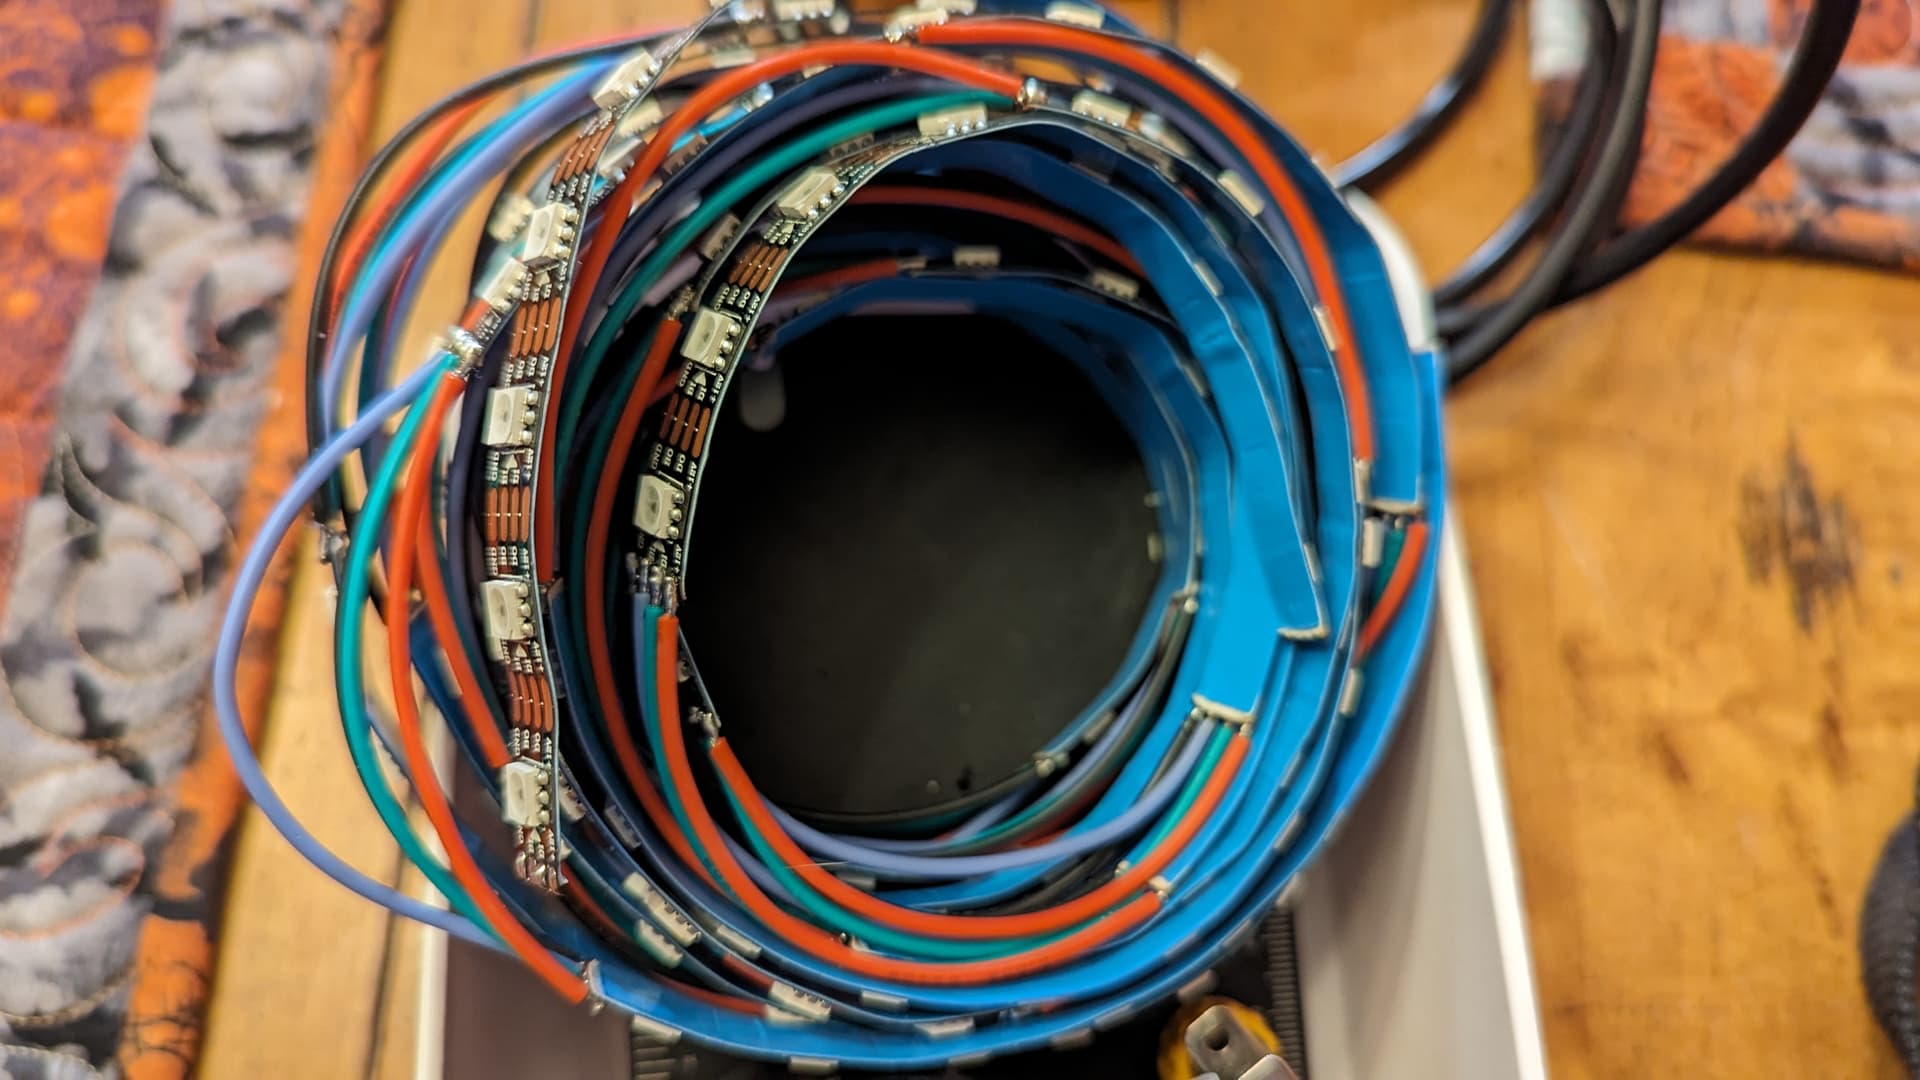
I also started the long process of prepping the LEDs themselves. I have the entire spool of lights cut into sections of 9 pixels each, and all of the connecting wires have been cut, stripped, and the ends twisted. Lots of tinning to do next, and then getting all those little wires soldered to the strips.
4 Likes
Thanks for pics!
1 Like
That’s awesome!!! Glad to see you are refining it more than I did. I was much too impatient lol. That’s going to look awesome when it’s done. And you shouldn’t have that dead spot in the middle like I do. Good thing is it doesn’t show up in person near as much as it does on camera
2 Likes
Solder, solder, solder, solder…
LED strips are soldered and linked - four strips with eight sections of nine pixels each.

I’ve done some hobby projects that involved a fair amount of soldering, but this is definitely the most wires I’ve ever tinned at the same time.
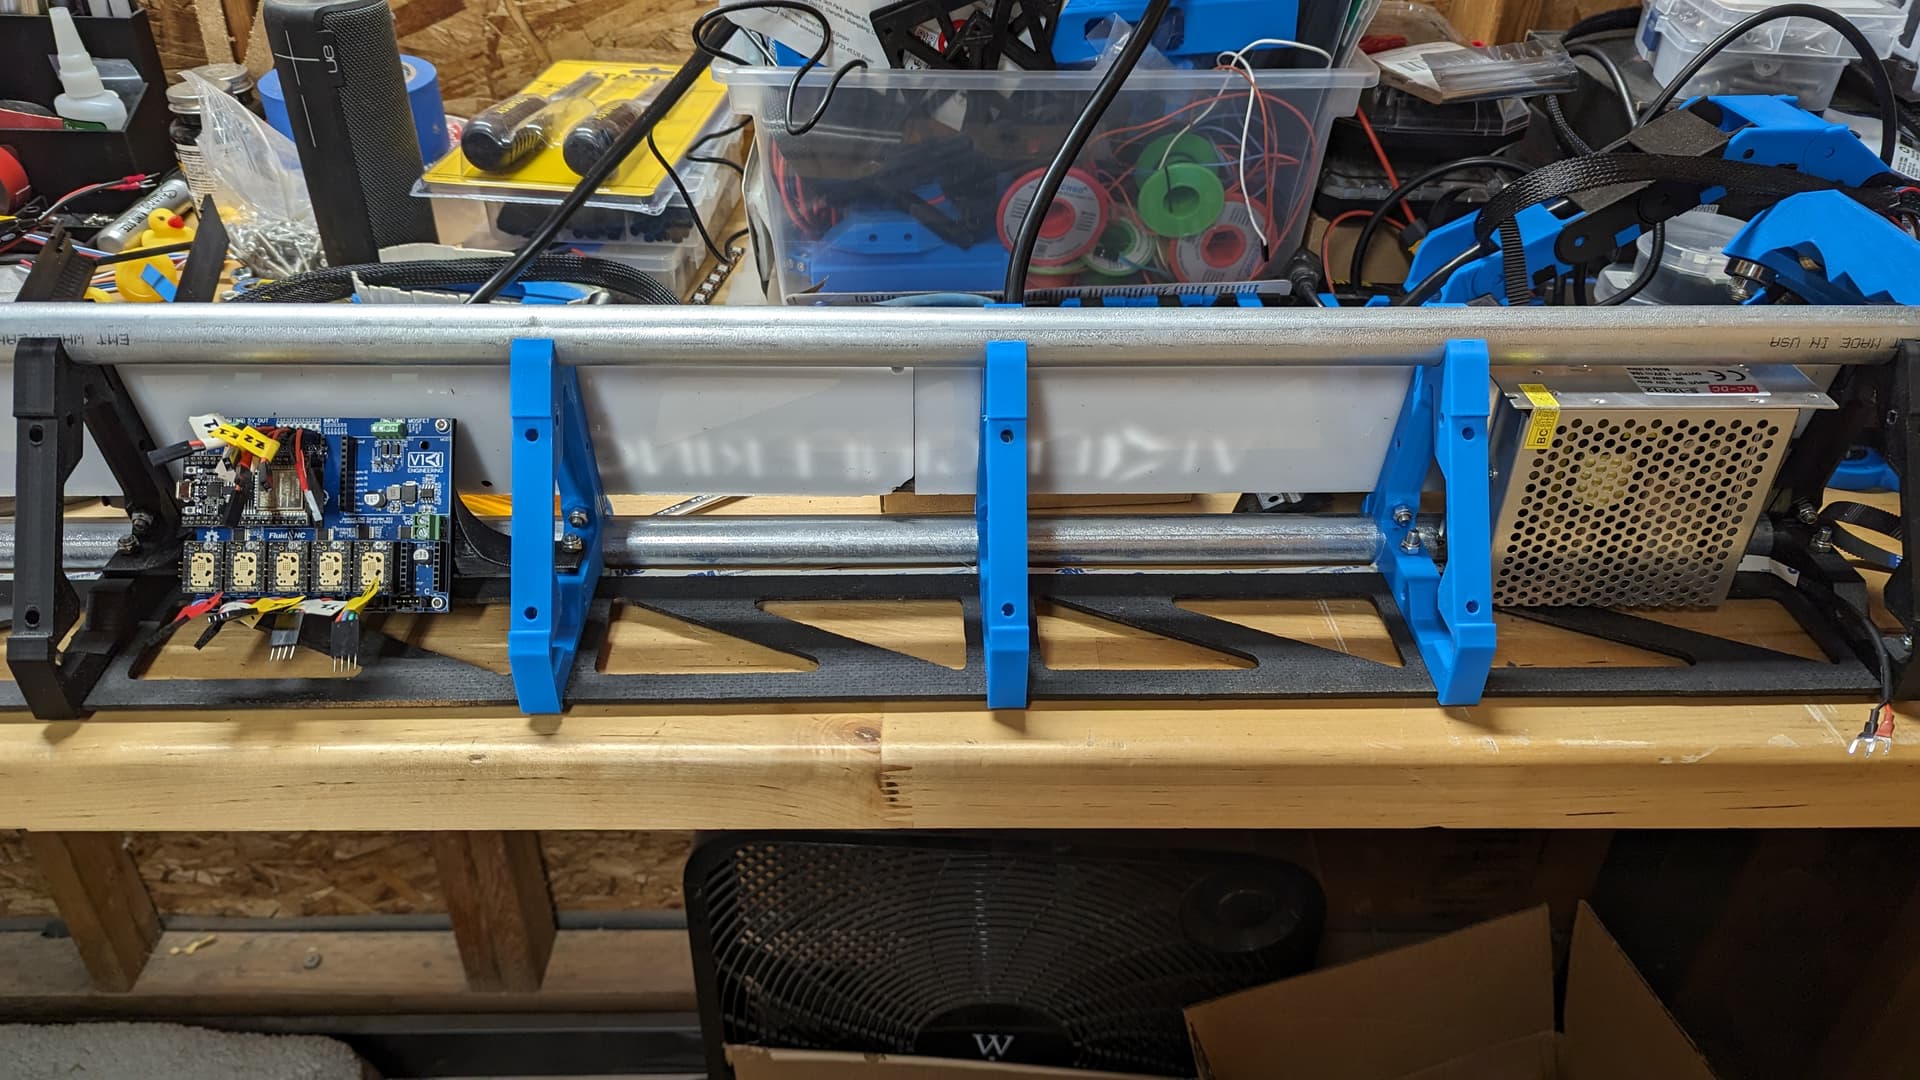
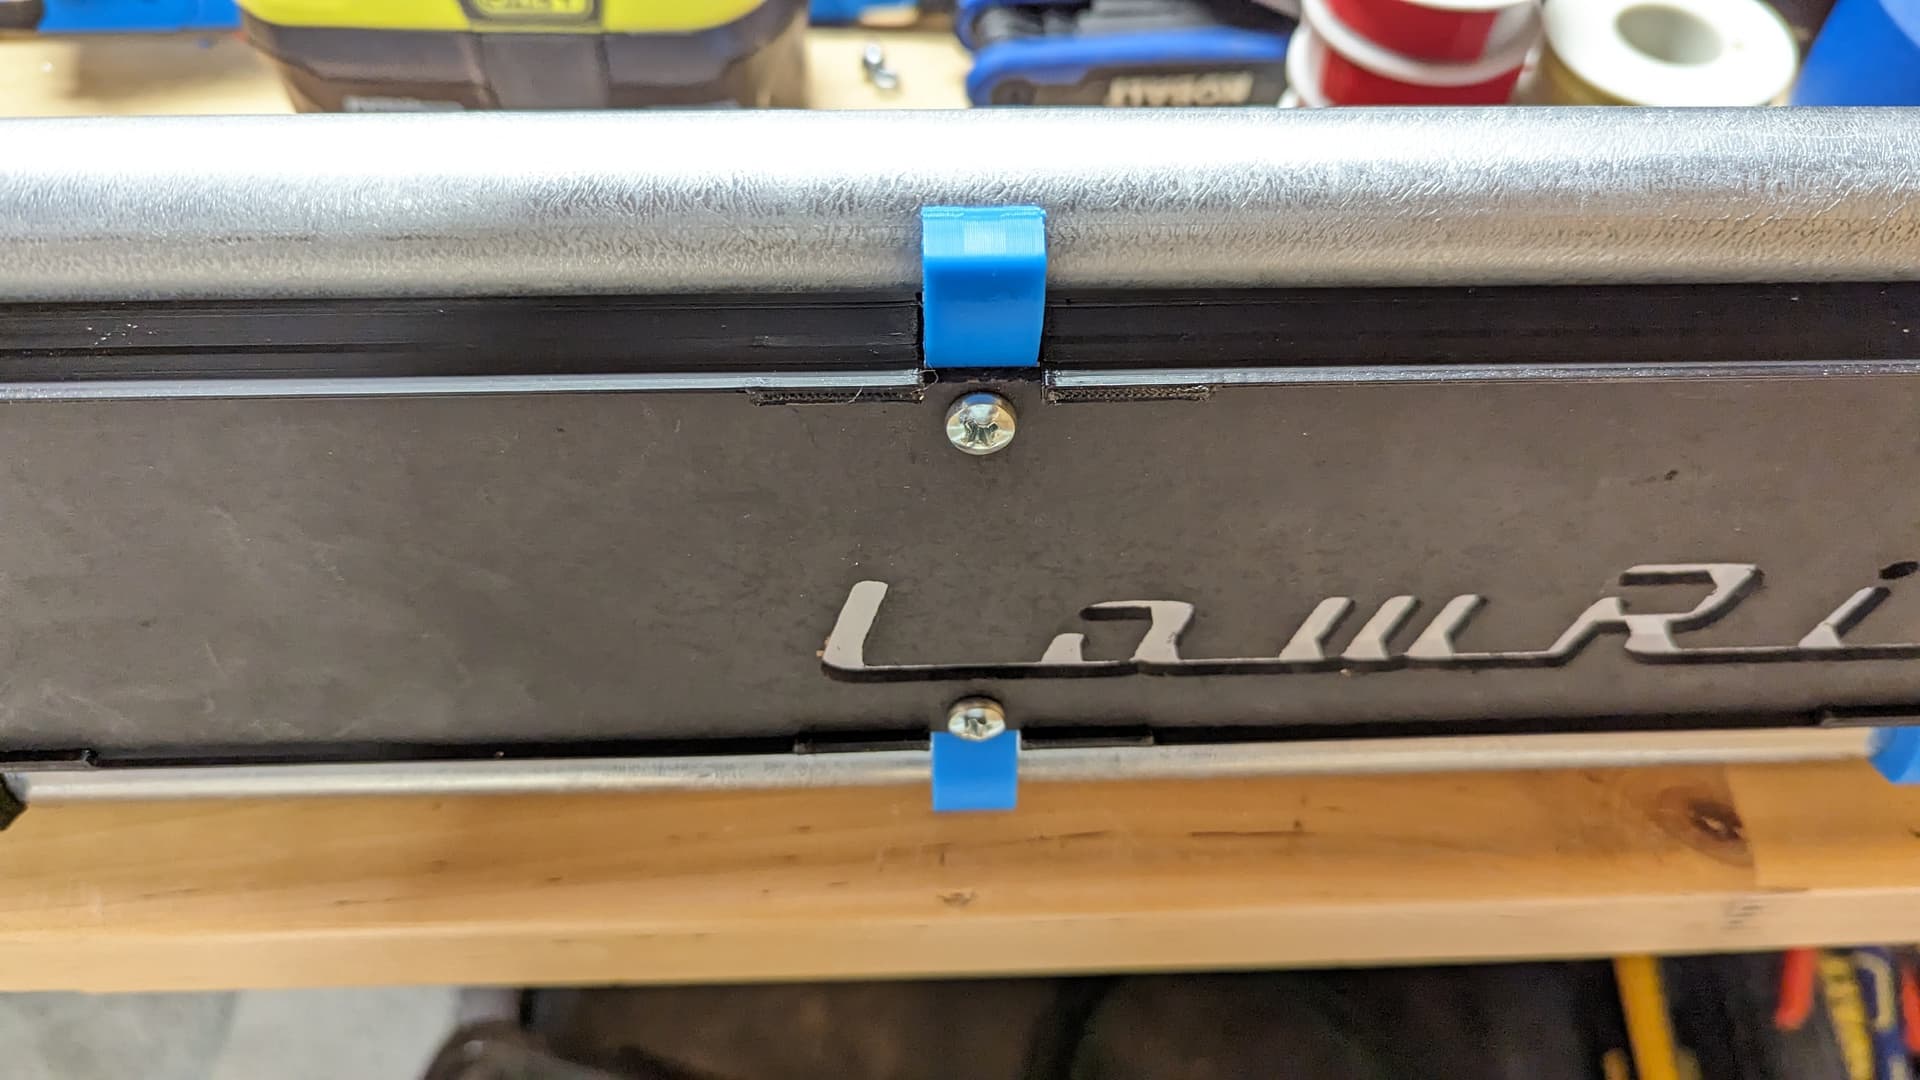
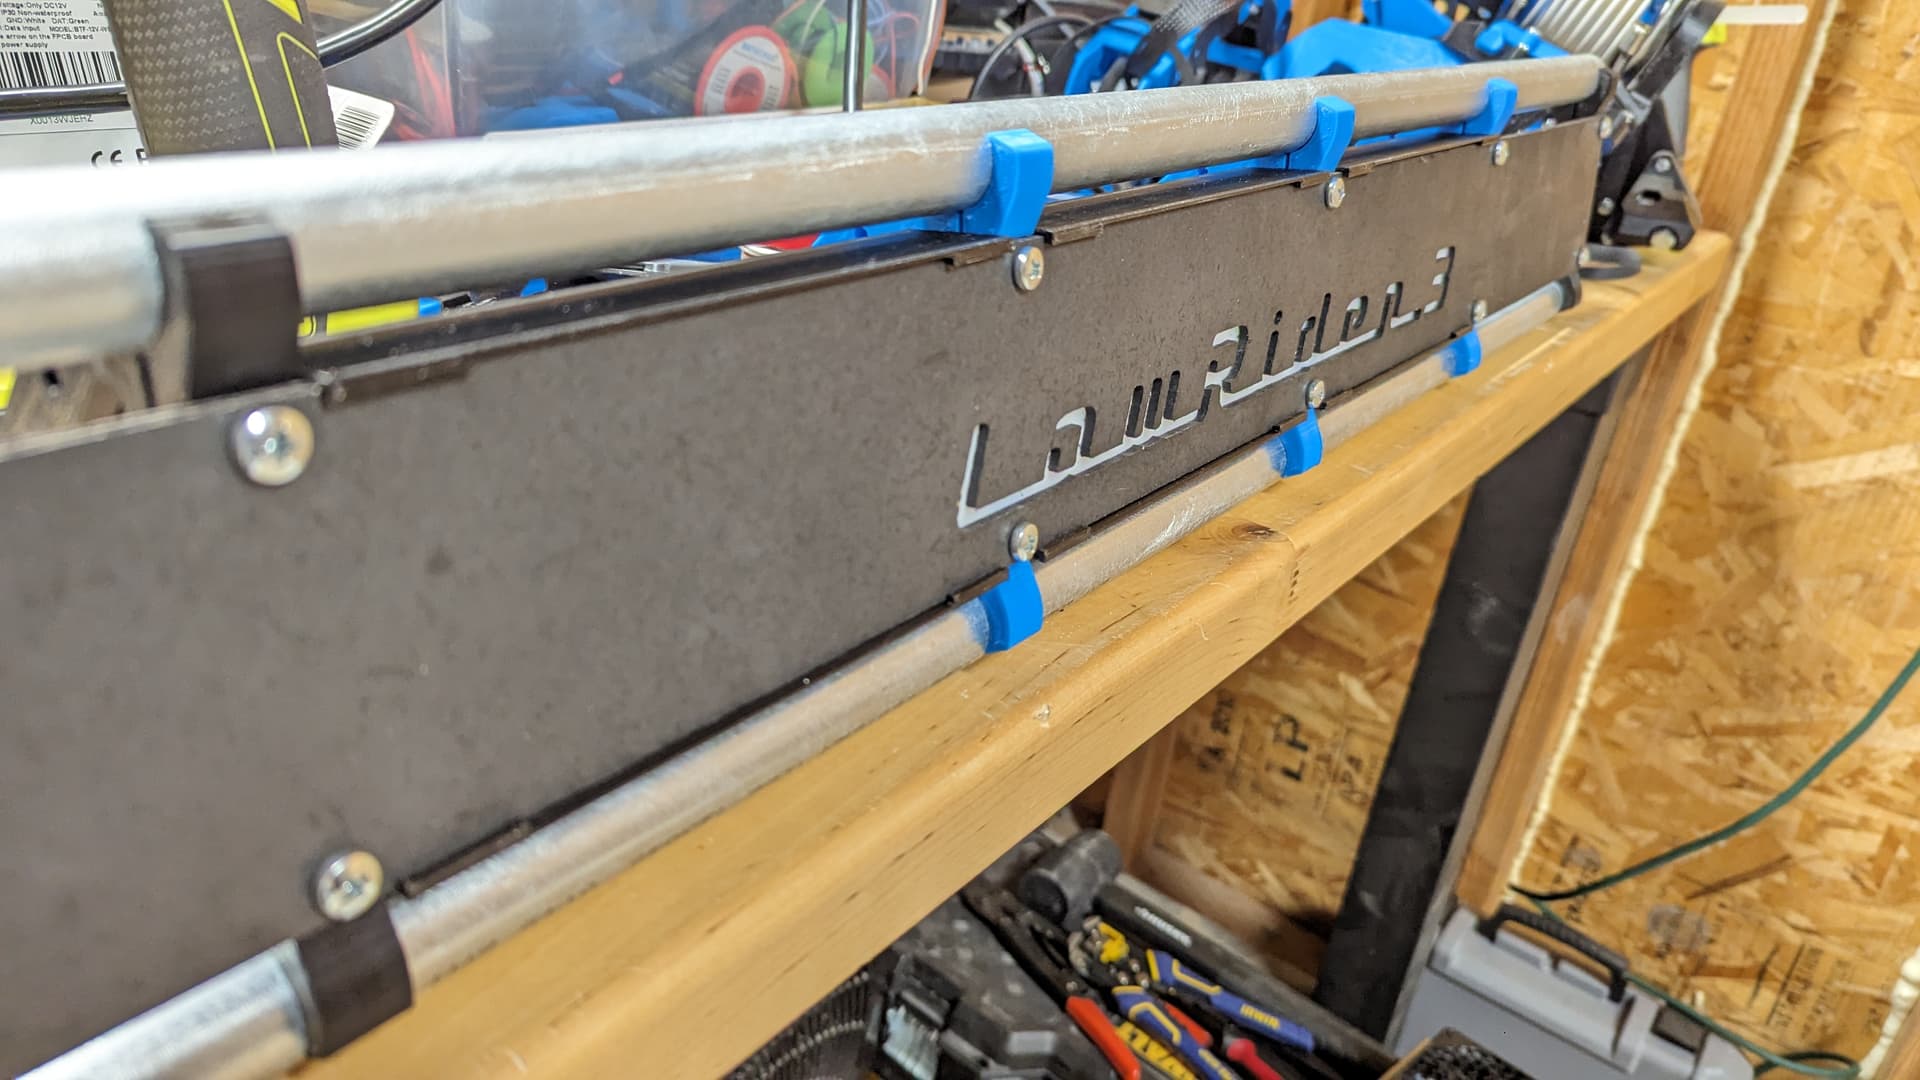
The LED mount revision works well. It’s maybe a tad big in one dimension, but I think I’d rather them be just a smidge loose for ease of install. They don’t seem like they will fall off, so I’m going to go with it. Here’s three of them installed, viewed from the front.
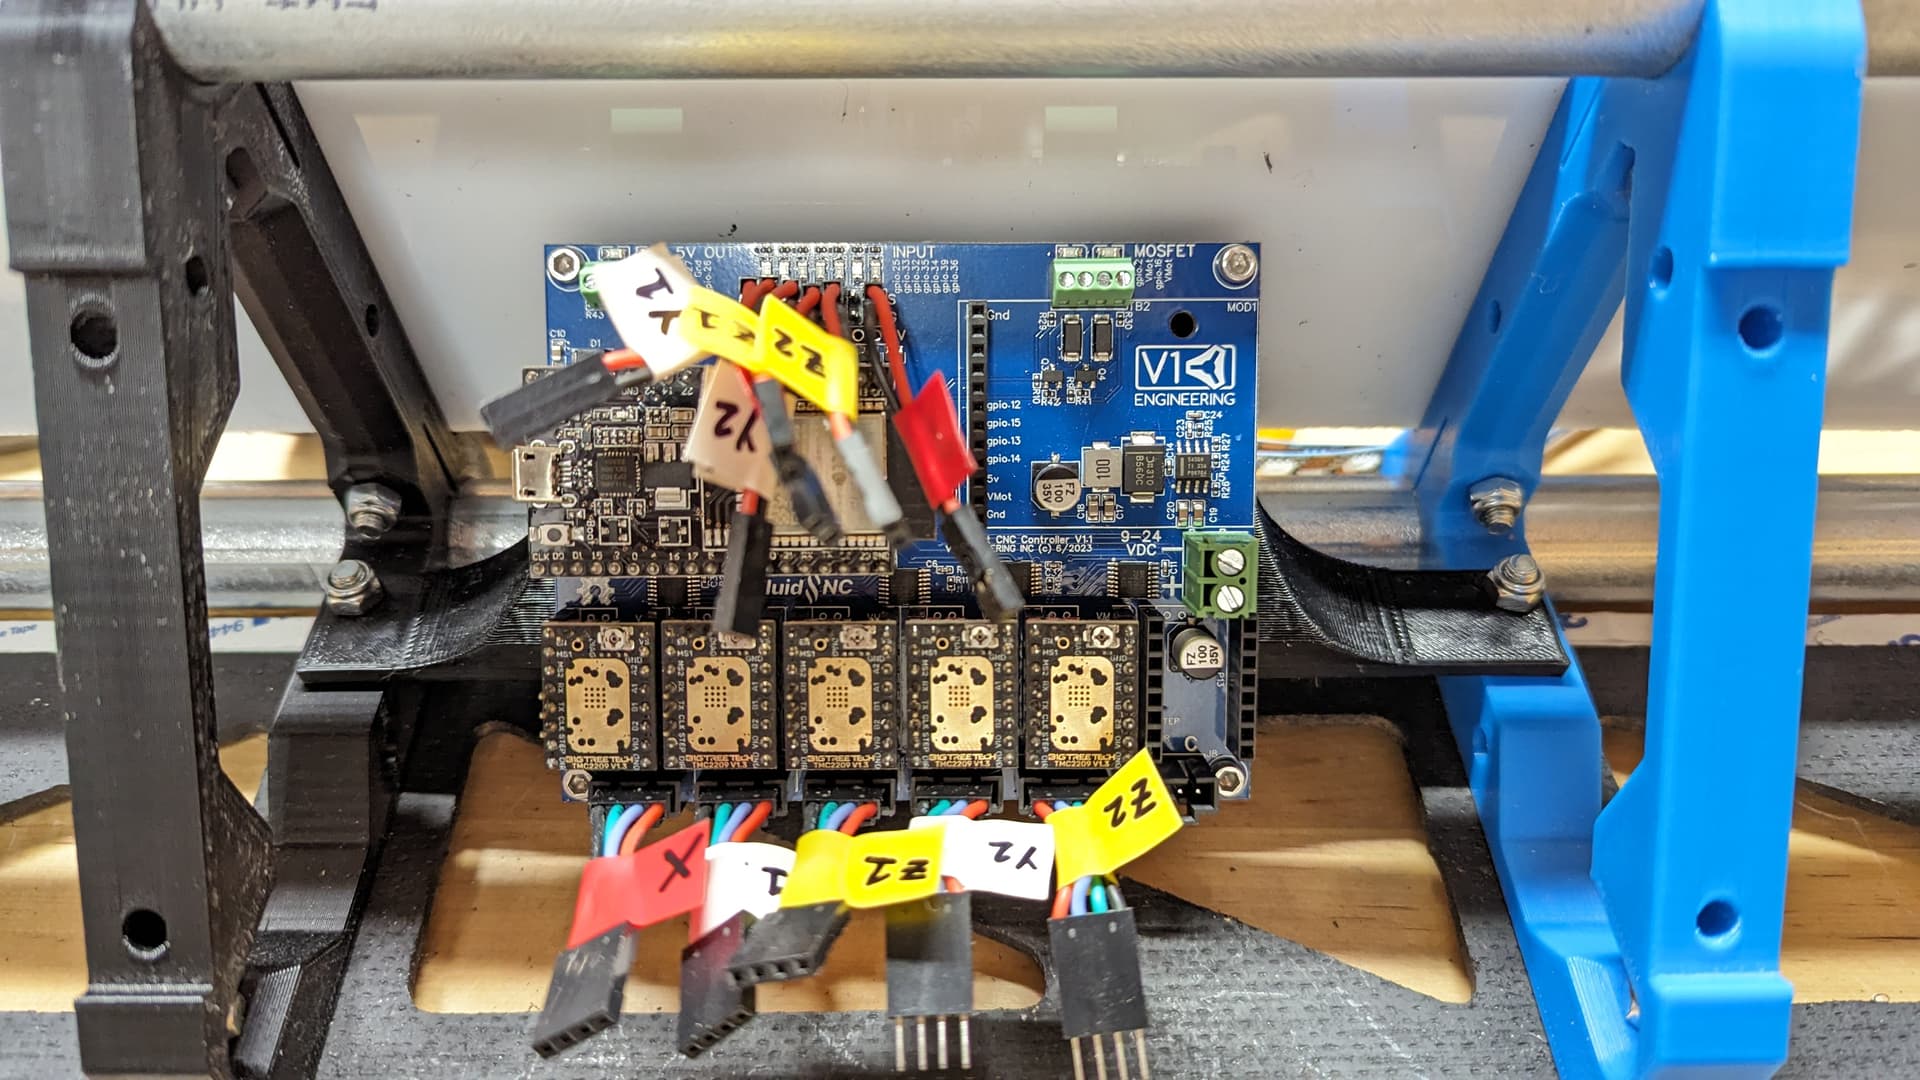
Other than printing the rest of the mounts that I need, the last remaining puzzle piece is how to mount the ESP32 that runs WLED. Amazon botched my delivery today - the envelope was cut open and empty - so I’ll have to wait another day or two for the little breadboards I ordered. I’m thinking about mounting one to the backside of one of the LED mounts and crimping Dupont pins to the data cables to plug into the breadboard. That seems like an easy way to both mount the ESP32 and avoid the angry octopus of connecting wires directly to the GPIO pins. Hopefully it works out according to my imagined plan.
5 Likes
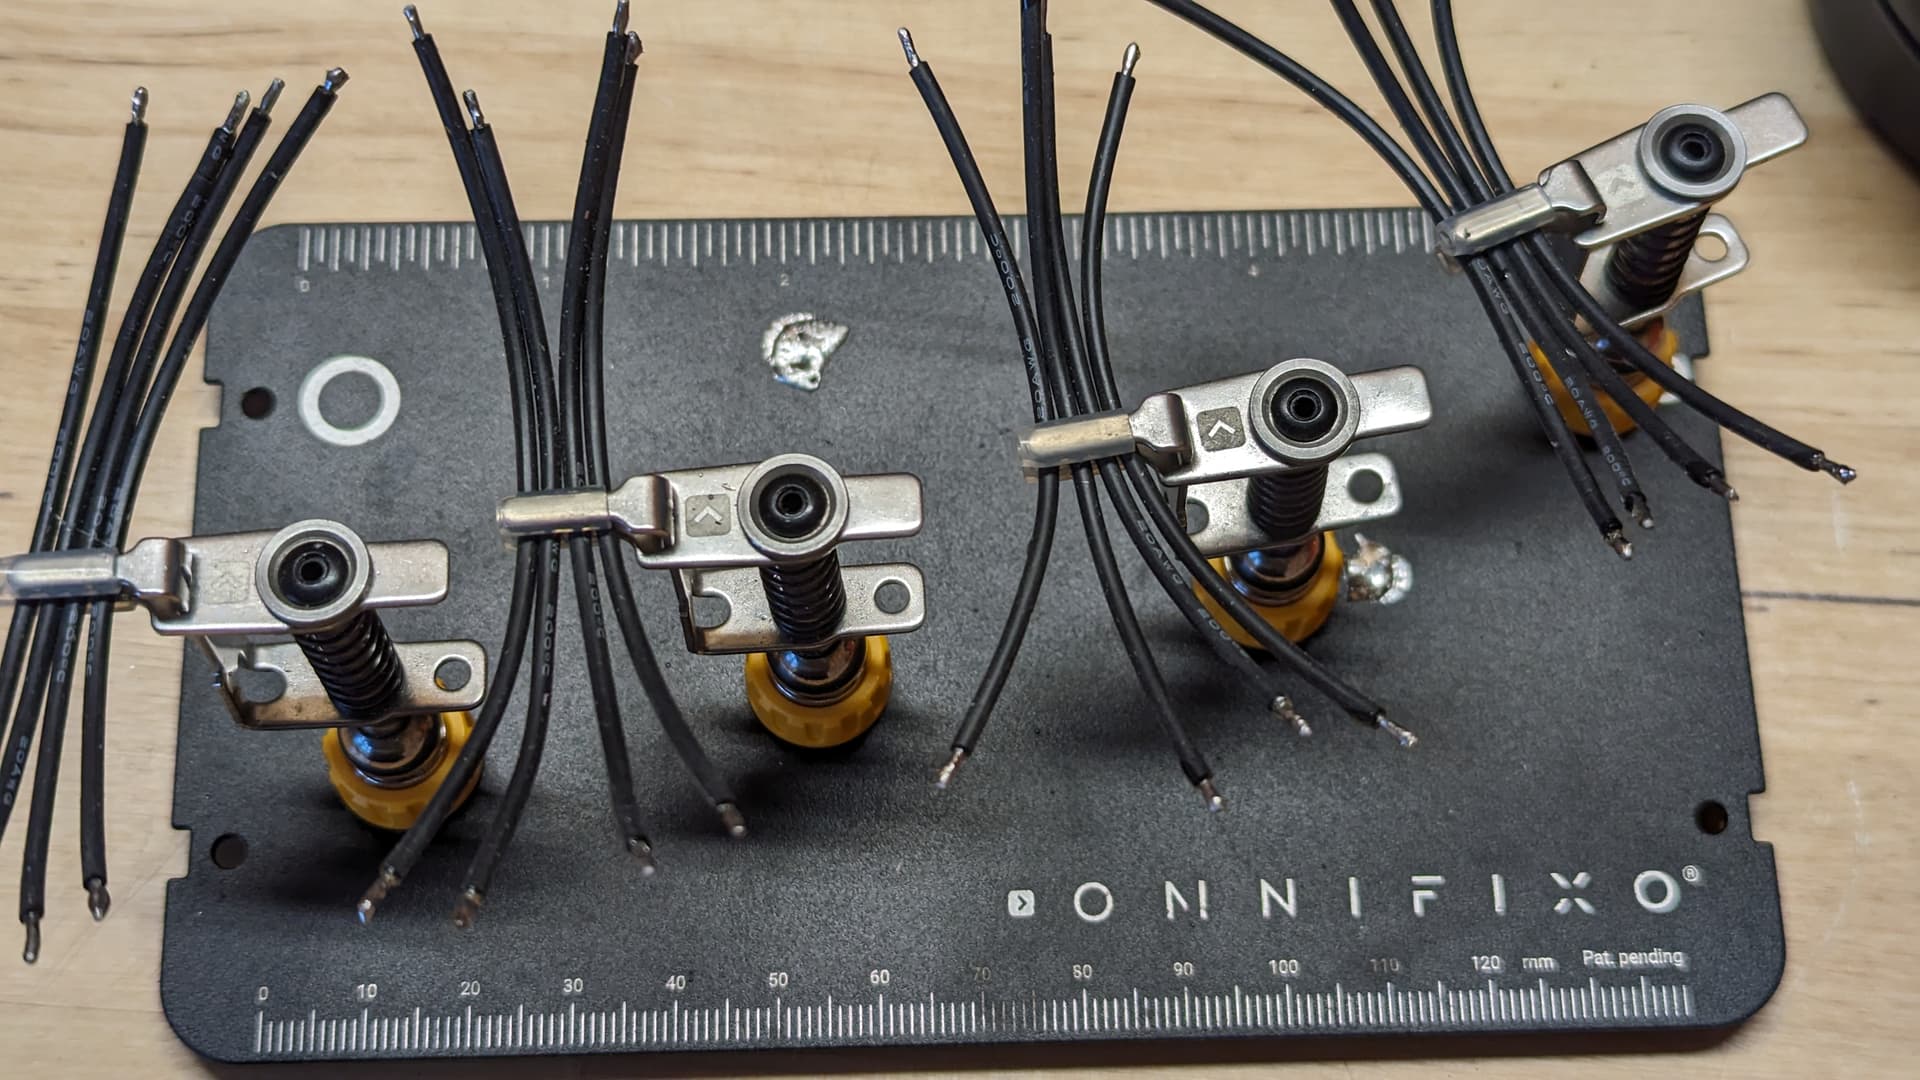
Looking good! I really like your spring loaded work holding clamps. What are they called? Where do you get them? Are they pricy?
EDIT: OK, so I noticed the name “Omnifixo” on the (presumably associated) base, and found them online!
2 Likes
Went to the Omnifixo website, watched a few seconds of video, and said, “Here, take my money,” and dropped an order!
Future me is going to really thank present-day me for buying that, the very next time I have to do a wiring project that involves soldering.
2 Likes
Yep. Me too…
1 Like
It’s an amazing third-hand tool. I was made aware of it late last year and have made good use of it all year. The clamps themselves have so much flexibility. For its category, it’s a little pricey, but in my mind it’s worth the money. Full disclosure, I got mine for Christmas. ![]()
1 Like
Ha, didn’t even watch the video to order. I have at lest 4 different third-hand tools none of them really do what I want, or take to long to get everything set just right. Here’s hoping.
3 Likes
That does look like a much better tool than the one I use!!! Might have to pick up one as well lol
Glad to see you got them all wired up. You really don’t realize how much is there till it’s done lol. And I only did behind the front strut so you did double what I did lol.
2 Likes
Told you I enjoy soldering! Yeah, got a little crazy with this project, but it’s all fun.
3 Likes
The front strut LEDs have been installed, and it looks pretty ridiculous.
The install with the mounts was a little more finicky than I anticipated, but I had more than enough slack between strips and quickly figured out that the cable holes were crucial.
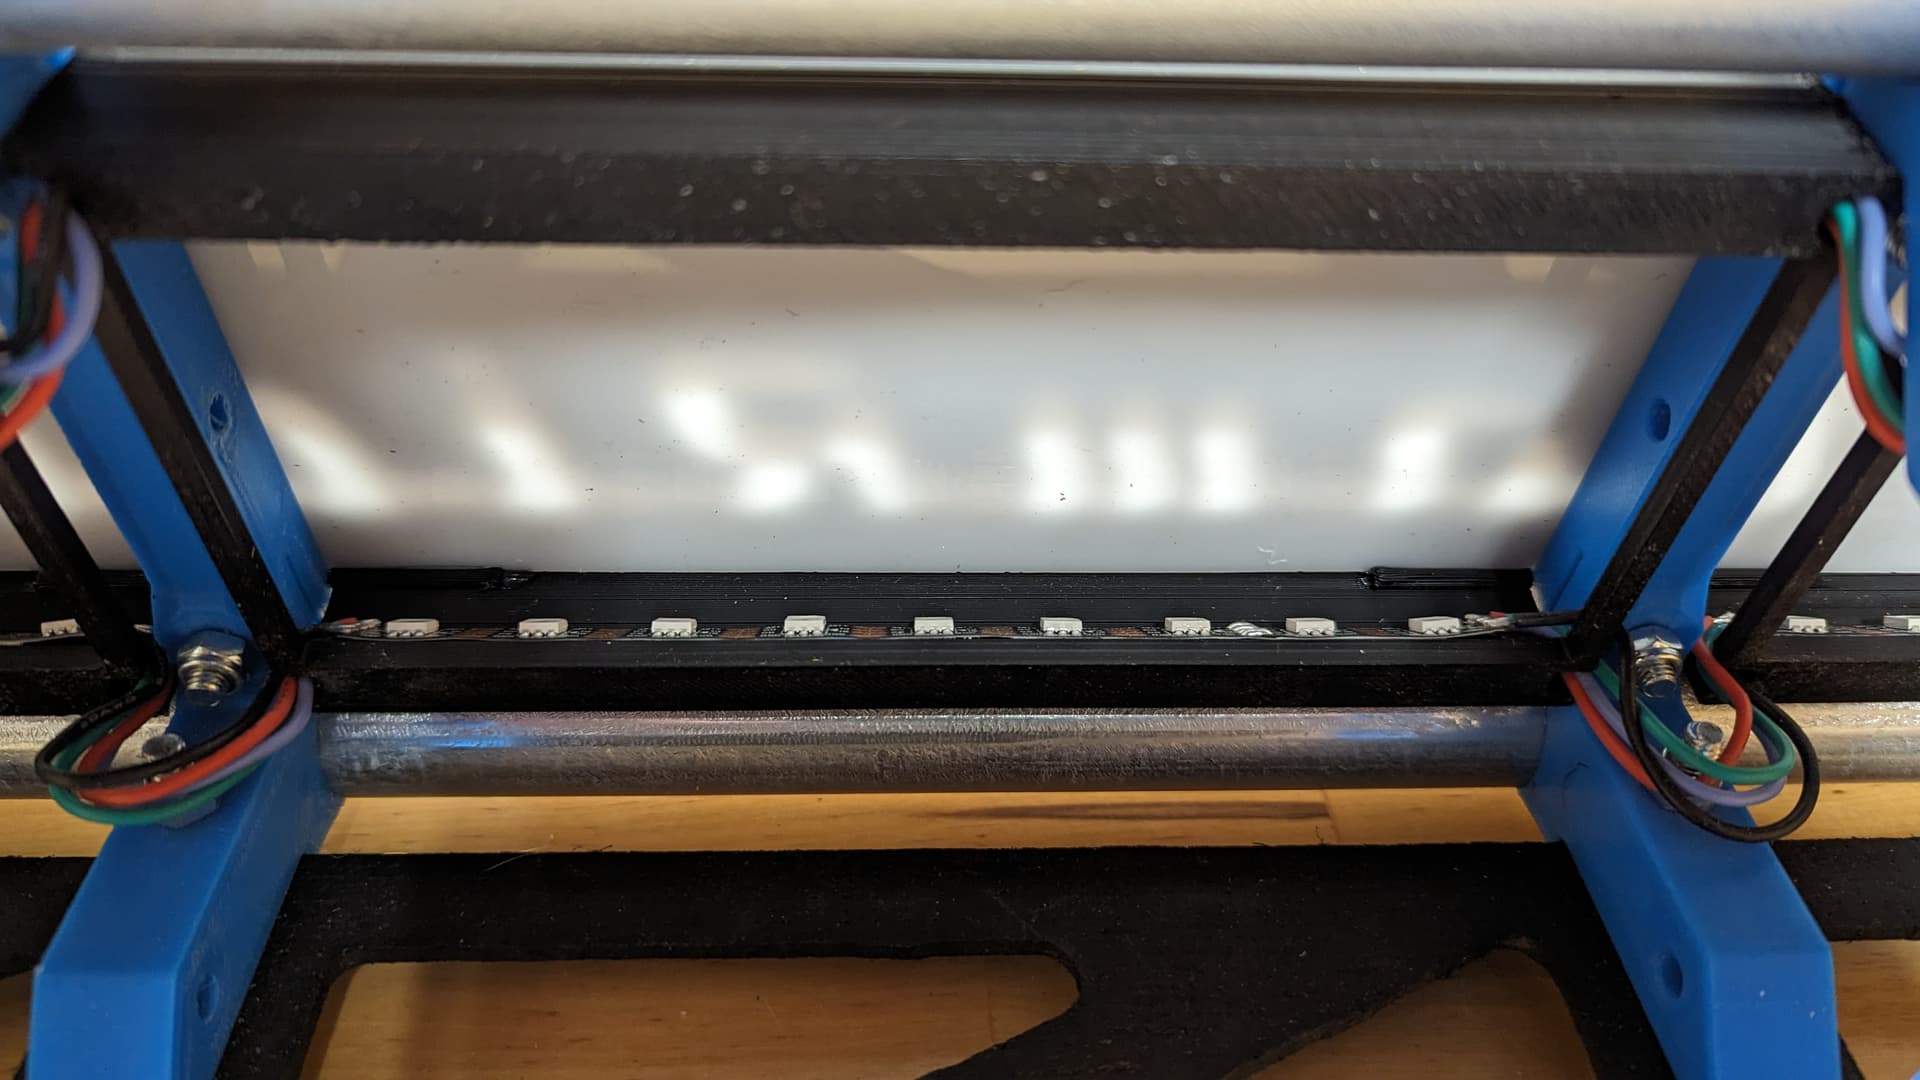
The inside of the strut is spaghetti right now because I’m still waiting for a breadboard to mount the ESP32. Once I know where it’s going, I will shorten and tidy up all the LED-related wires so that the main LR3 cables are easier to route.
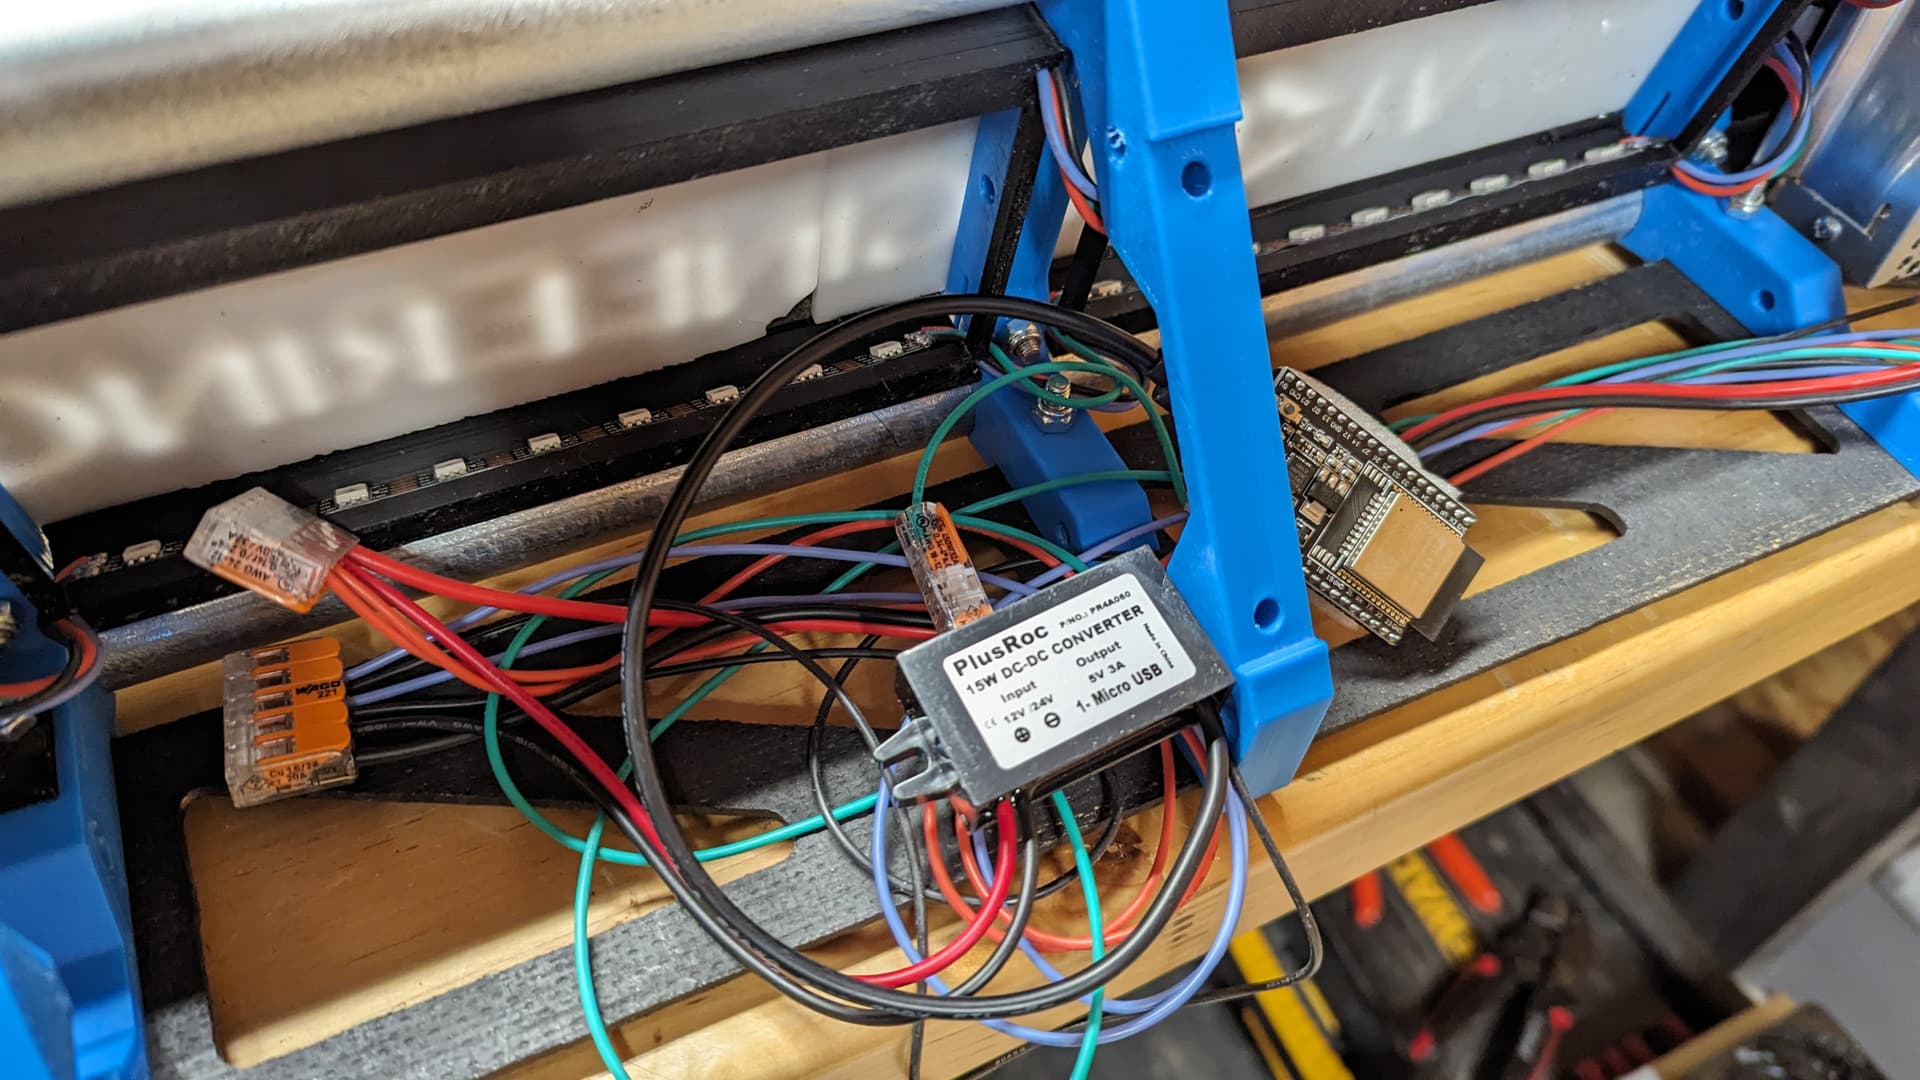
I stuck the LEDs in the farthest-X-min section onto the back of the PSU mount, even though there are no cutouts there. I wasn’t happy with the light leakage around the strut, so I took one of the mounts and broke off the extra walls I designed. They looked like they would do the trick, so I hot-glued them to the top and bottom of the strut.
In for a penny, in for a pound… I liked the way that looked so much that I proceeded to hot-glue all the other mounts to the strut as well. That reduced light leakage where the mounts were a bit loose, and will keep things secure when the LR is in use. If maintenance is ever needed, they will also be easy to remove.
And, of course, I had to wire everything up, turn off the lights, and play around with colors and effects (for 20 minutes). Super stoked about how this turned out!
")
8 Likes
Looks great!
2 Likes
Looks Awesome!!!
2 Likes