LR3 build, Colorado front range

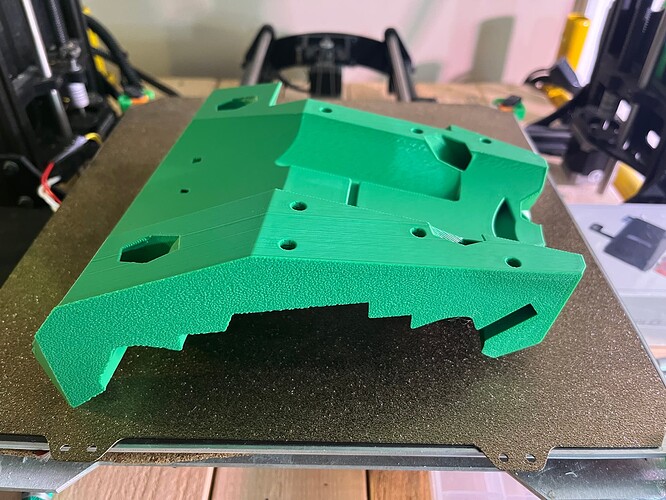
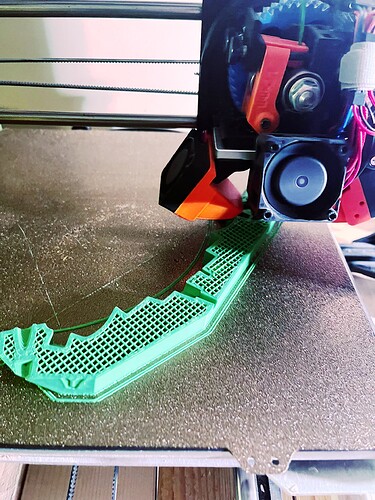
Calibration on the TAZ 5 is improving. Good enough that I kicked off a core…

and…

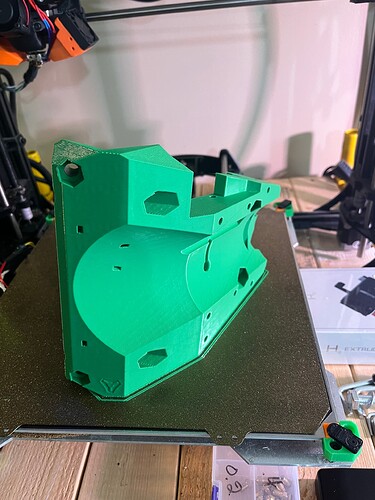
12 hours later, have a core.
The new version of Octoprint felt inclined to declare that an achievement. “Mini Marathon” for achieving a 12+ hour print. (Which had me literally rolling on the floor laughing.).

This one is workable. Some minor defects. The wierd not-a-layer-shift lines I think happen when the tool head snags on a rough part of crossing infil or other solid area mid-print, then settles back into the mount on the next crossing.

Time to pull and re-align, re-tighten that tool head. But producing very workable prints. Flow for top surfaces is going down 2% after this print.
Need to tweak up sightly the infill overlap with walls (vertical holes are just barely underflowed).
Minor stuff.

No brim. A bit of elephant’s foot. Textured PEI texture. I used a bit of chemical help on the build plate.
I think this particular sheet isn’t the good stuff.

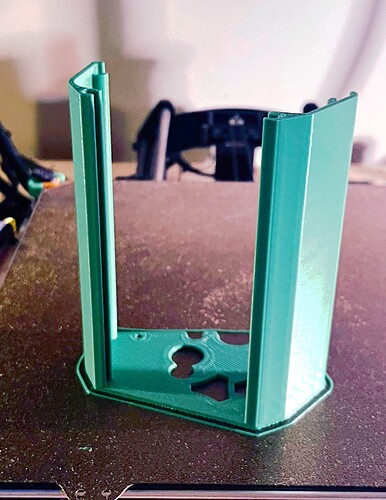
Also as noted in Doug’s enclosure thread, printed a cover for the jackpot enclosure shown above with the Keystone jack. It’ll work great.

Time to write an essay about table deliberations and see what advice I get.

5 Likes

I saw an explanation that I think has merit for explaining those lines. During periods of the print when the head is moving without printing, filament sitting still in the print head gets hotter than the filament was while flowing. The means when the print action starts again, the heater core and filament are hotter than normal for a period, which allows more filament to flow than normal. The excess gets squeezed out of the normal boundary / area.

1 Like

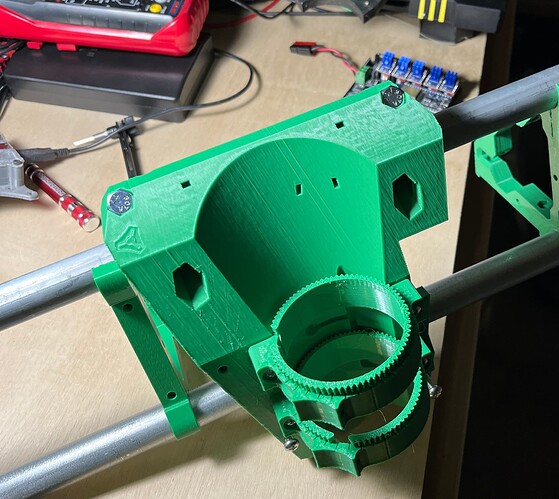
Did a little more assembly and mock fit of the core on the dummy axis I whipped up out of cut-off bits of EMT.

I hadn’t put the endstop on nor the stepper assembly because I stopped when I had funky M2.5 screws. The replacement M2.5s from an online retailer showed up as M3s. Back they went.
The local Ace hardware store has a nice little box of M2.5s, but the phillips M2.5x12s were sold out.
They offered me slotted M2.5s. I declined.

(The older guy in the hardware isle that helped me noted “the kids” were always buying out M2.5s for some kind of little computer. I explained what a Raspberry Pi is and why they should probably stock up on this stuff. He seemed horrified. Sorry, local makers, I remain completely unsuccessful at interesting the local Ace to be anything beyond what Ace corporate says a franchise should be as far as hardware.)

At any rate, I printed some of the V1 Kobalt router mounts, and also @Michael_Melancon’s Kobalt Cam Adjustble tool Mount.

I’m still studying dust shoes and the avilable kinematic tool mounts, so I’ll get back to that at some point.
I’m pretty sure I’m going to print up a transparent bottom dust shoe like the one @azab2c did. I’ll have to re teach myself how to do filament swaps with CURA and Octoprint.

Does anyone have strong opinions about which of the kinematic accesory mounts works best?

At any rate, the test fit was great and moves nicely.

I keep saying I’ll write a short story about my internal debate about a table, and what CAD I want to use. Maybe later tonight after a small update on my Repeat V5 build.

3 Likes

Nice to see gantry progressing, like the geared mounts.

Wonder if MicroCenter have 2.5mm bolts? I’d use any excuse to go visit if there was a store near by. I still miss Fry’s, and regret contributing to their demise via amzn purchases.

1 Like

I might run to MicroCenter this weekend. Problem is that I go in to buy $10 worth of stuff and end up walking out with hundreds or thousands of dollars worth of stuff :smile:
Plus it’s an hour south of me.

I miss Fry’s too.
I used to travel to Irvine, CA regularly and also out to Vandenberg AFB.
I visited Fry’s a lot when heading out there.

1 Like

Good for you. I thought Ace was mostly a franchise. So the local owner should have more control over what they sell. I go to Ace for metric screws and I like to buy stuff like paint brushes while I’m there. They can’t be earning enough on the screws.

I don’t think microcenter has screws, unless they have little packets of hard drive or case screws.

I was actually put in contact with an owner of several Ace’s. He was interested in what stuff he could carry that might be more maker friendly. I don’t remember who put us in contact together or what had come of it, it was at a time when I was super busy.

1 Like

Until about 2 months ago my daughter worked at the Ace about 10 min south of us. As her parents we got to use her employee discount which was cost plus 10%. It’s crazy the markup on some stuff while others have barely any. Screws “by the screw” was the same price. But if I bought them by the box I would pay half or less of what the label said for the box price. I think I was getting 3/4” EMT for around 5-6 dollars per 10’ stick. It was real nice discount to have for sure lol. Sucks we don’t get it anymore lol

3 Likes

Hmm, I have an Ace about 2 minutes from my house. I feel like I’m in there all the time. My daughter is 7 but I’ll have to keep this in mind. :laughing:

5 Likes

I had meant to write at length about my table debate with myself.
I really want a flip table with storage at the sides, on casters and able to go to events.
Part of me, though, says “Just build something quick and get bootstrapped with that.”

I have too little space in my garage, so it’s always a struggle trying to fit everything in.
(10 pounds of Sh1t in a 5 pound bag…)

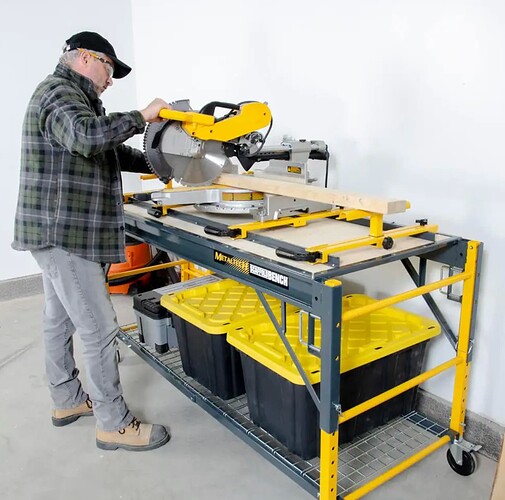
I have a number of scaffoldbench setups. This is a commercial product sold at the orange big box store in the US, which is both a baker scaffold and also a workbench/storage rack, cart. It has a pair of rails on the bottom of what would be a scaffold floor or workbench surface, and comes with some rails and holders so that tools can be attached. I have my chop saw on one, as an example.

The add on the big box website shows it like this:

The ones I have in my storage facility and garage are somewhat less clean and more cluttered.

[Side rant about stoage. In a sane world, I’d just have a bigger garage or buy a place with an out building shop. Instead, I have a stoarge facility nearly the same size as my 2-car garage.

I got the stoarge facility about 20 years ago, when I had a smaller house with a single car garage. I also had a little yellow carlson glasstron speed boat. Then I bought a share in a house boat, and a big ugly former airport flatbed service truck suitable to pull the speed boat and 7 days of supplies for 14-17 people. I started making task kits and moving things in and out of stoarge and staging them for work, fun, and making stuff. I’ve long since got rid of the house boat and speed boat, but I still have storage that I rotate things through less often.

Oh and everything everyone says about boats being giant holes in the water that you throw money into… they’re understating things.

/Rant ]

At any rate, there are two of these in my garage, plus a couple more that got converted into printer stand/print stuff organizers. Maybe I’ll talk about that in my V5 printer build thread.

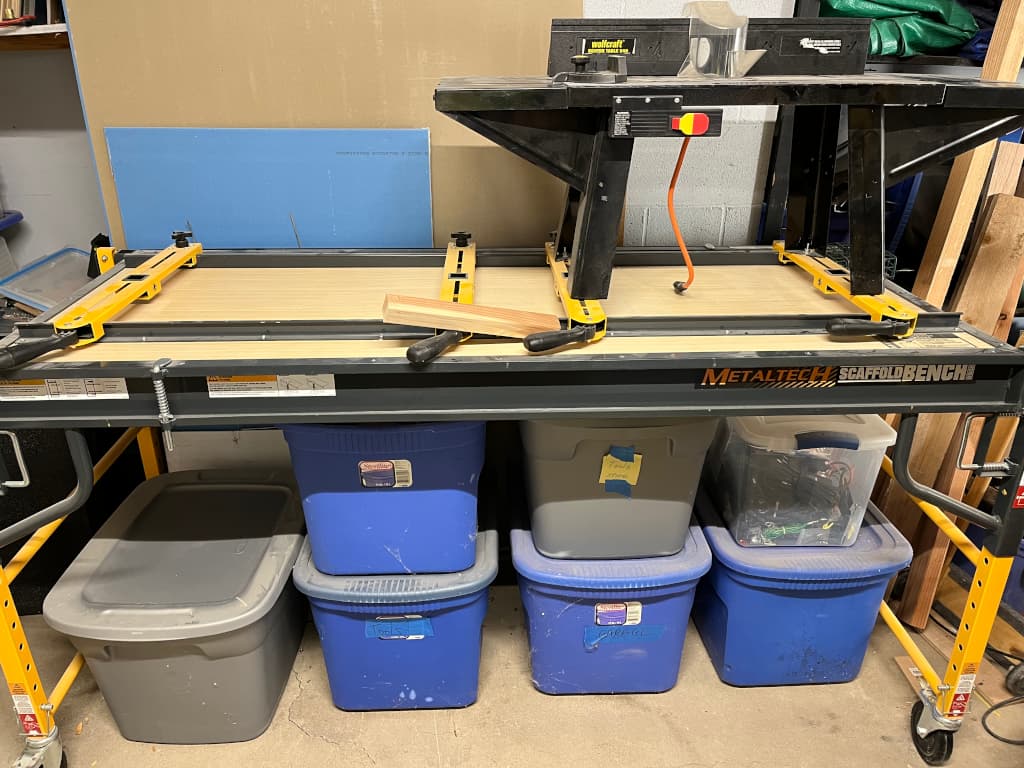
At the start of the day, the back one looked like this:

The router table is just being stored there, it’s absurdly high up when mounted that way. Quite a tale, that ancient and barely used router table.

I decided to just go for a quick bootstrap table with whatever I had around.
I had some extra 1x3 lumber from a different project, so grabbed a bit more, and off I go:

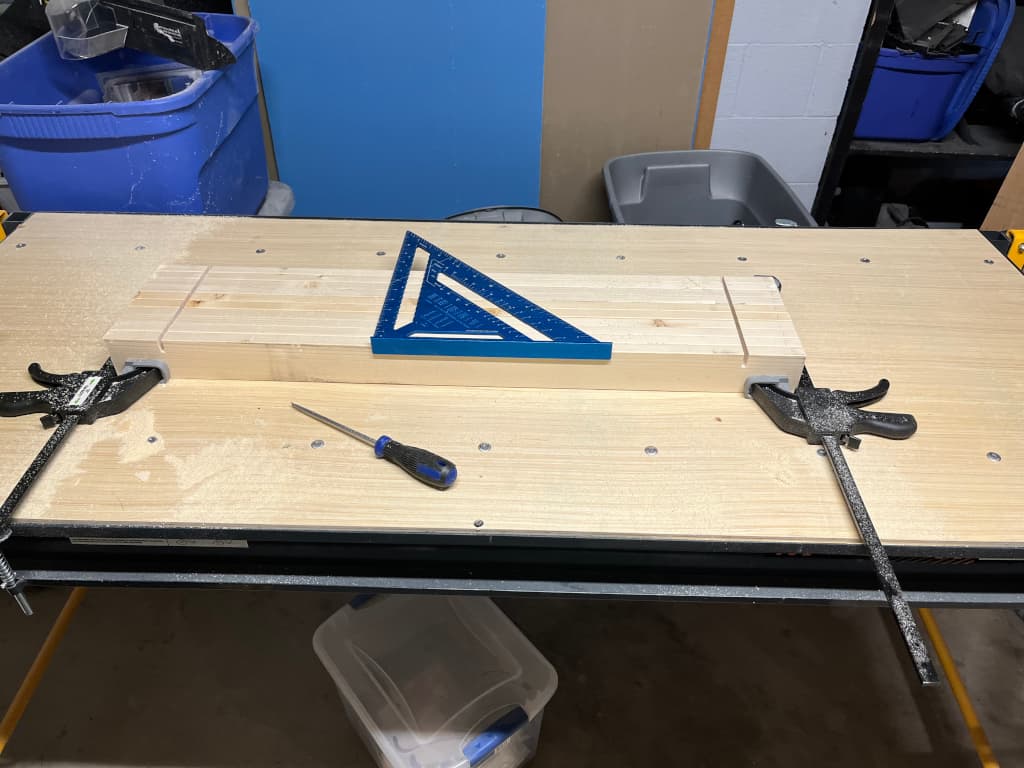
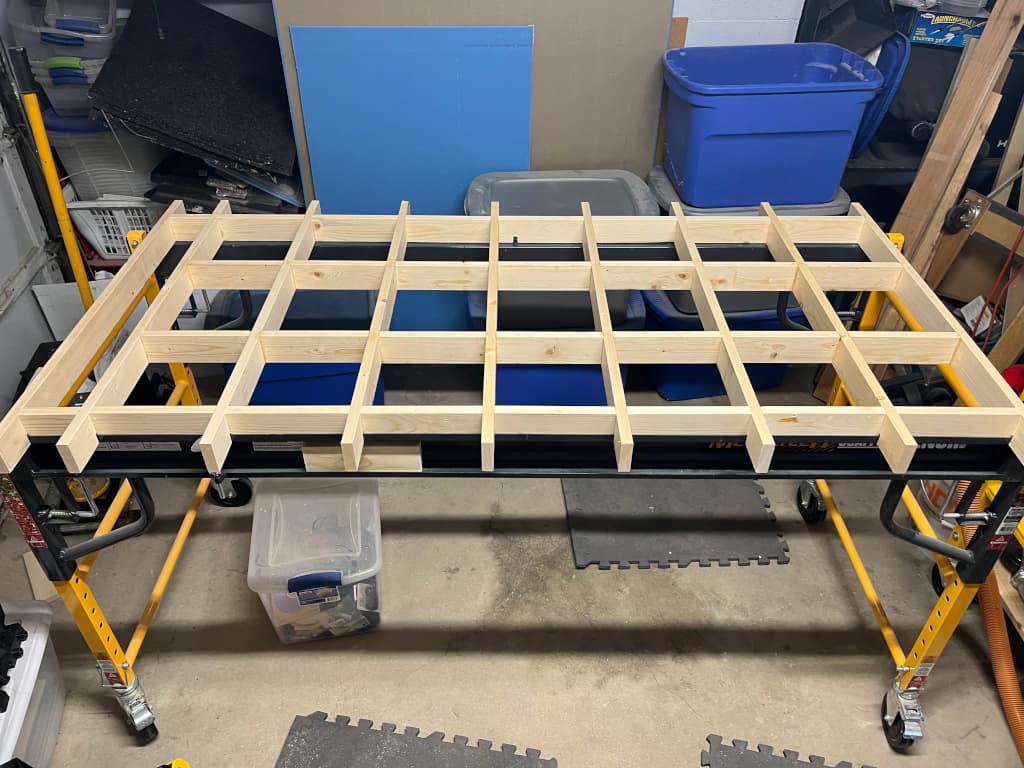
First step, cut a bunch of 1x3 parts to work on making a top for the table to mount the LR3 on.
Used the chop saw on the other scaffold bench, then a guide and a circular saw to cut a slot so these would clear the channel in the bench.

I had planned to make a sort of torsion box type setup, but realized I didn’t have nearly enough clamps (I buy clamps all the time, people think I have a clamp obsession, and still I never have enough clamps).

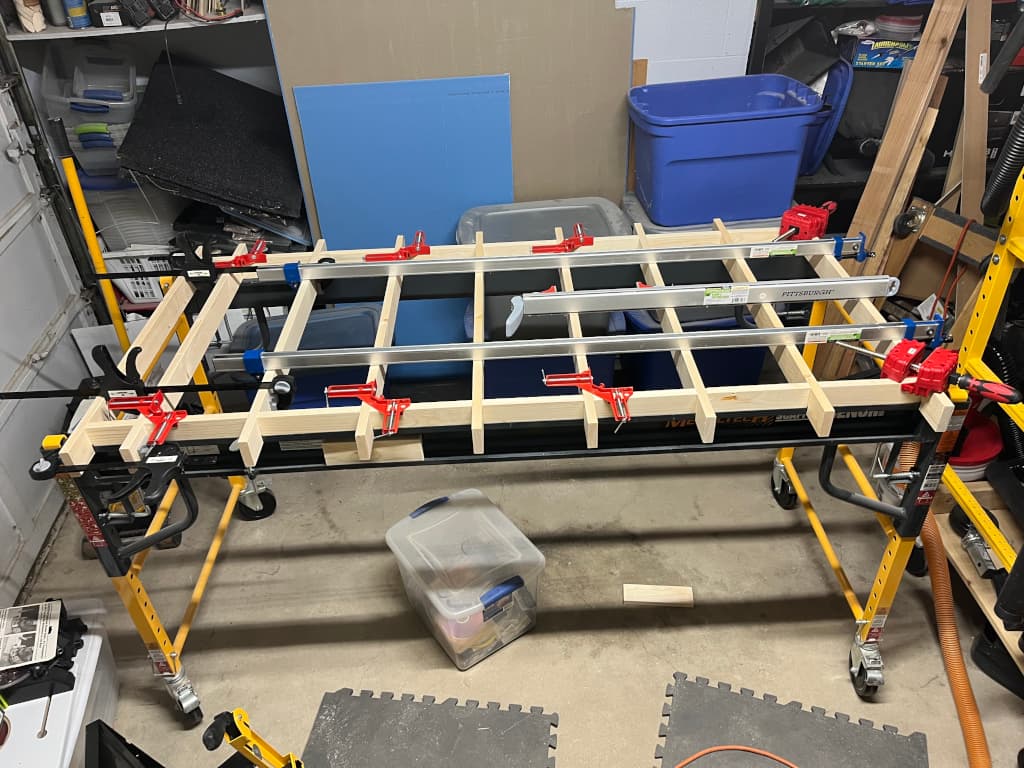
So this is what will dry overnight until I get back to it tomorrow. I made a bunch of 8" spacers and had planned to cut one small pair at the end, rather than try to get things spaced exactly even.

That leaves me with the rest of the torsion box parts. I might get ambitious and flip the top tomorrow, but it occurs to me that I may have accidentally made it adequate. It’s sitting on the steel baker scaffold shelf/work surface frame, so it’s well supported underneath. And the area where there are overhangs on either side has the spacers installed. Hmmm…

But I would have to find a use for all those 8" 1x3s.

Pardon the mess. Many random other project remnants, including the DIN rail I’m going to use on my V5 repeat printer making a cameo.
2 Likes

Events aside, I have learned that I would rather have fewer tools than have to set up each tool with 15 actions. I originally built some modular tables I saw in a woodsmith shop magazine (or similar) so I could have a nice set up for the table saw or miter saw or drill press. But then every cut was 20 minutes of packing away the stuff I wasn’t using and getting out the stuff I did need and I had to spend a bunch of space on leaving room around the tools to get things moved. I hated it. I would mich rather use the table saw for miter cuts and ditch the miter saw. I think the CNC is another very versatile tool that can replace the need for a detailed bandsaw or scrollsaw. If it can double as a workbench or assembly table, then it is saving space when sitting still.

As for storage, I have a 16’x10’ shed in the back yard the previous owner installed. They just put it on 9 blocks (actually stacked pavers) and the base is built from 4x4s and 2x6s. The guy that fixed my shed (The Shed Outpost in Denver) was great, if you’re looking for that kind of thing.

I saw a new project off of 470 by the home depot at Quincy. It looked like they were basically building garage condos you could buy and they included plumbing and electrical hookups. They were advertising as a man cave condo kind of thing. I bet you could spend more on HOA fees than rent at a storage place. But that seems like a good idea. Decouple the shop from the house.

1 Like

Very true. I deliberately bought in a nice neighborhood with no HOA.
I’m debating switching from a storage facility to a small warehouse shop.

If I go out about 10 miles east of where I live, it looks like I could find a small workshop in an industrial / warehouse type building for about what I’m spending on storage. Maybe even a little less.

I"m also reconsidering local makerspaces.
The 800 member space probably still isn’t what I’m after, but there are a couple of smaller makerspaces nearby that might work.
I have no interest at this point in being a director nor maintaining an active maker discipline workshop/area in a big makerspace.

Interesting perspective. Thank you.

Back to the build- does anyone have feedback about top surfaces?

I was thinking of putting MDF on top of the not-quite-a-torsion-box frame.
Then perhaps a top MDF spoil board and replaceable ways for the bearings to ride on.

I was debating a 1/2" vs 3/4" mdf top, and another MDF surface on top to be a spoil board.

More progress today.

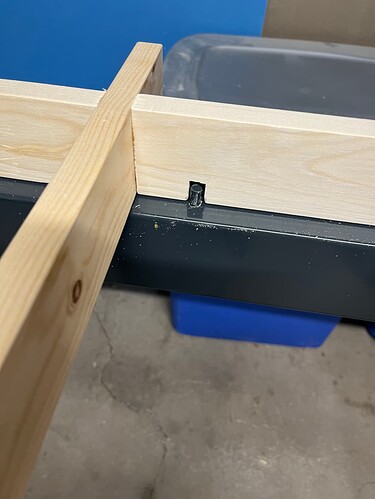
I forgot to mention yesterday that the scaffoldbench has pins designed to lock the scaffold deck/work surface in place. DOH! But it’s nothing that a quick mod with a jigsaw can’t deal with (one on each side)

I ended yesterday with the platform just about ready to accept a work surface.
Or so I thought
I then decided I had to do just a little bit more.
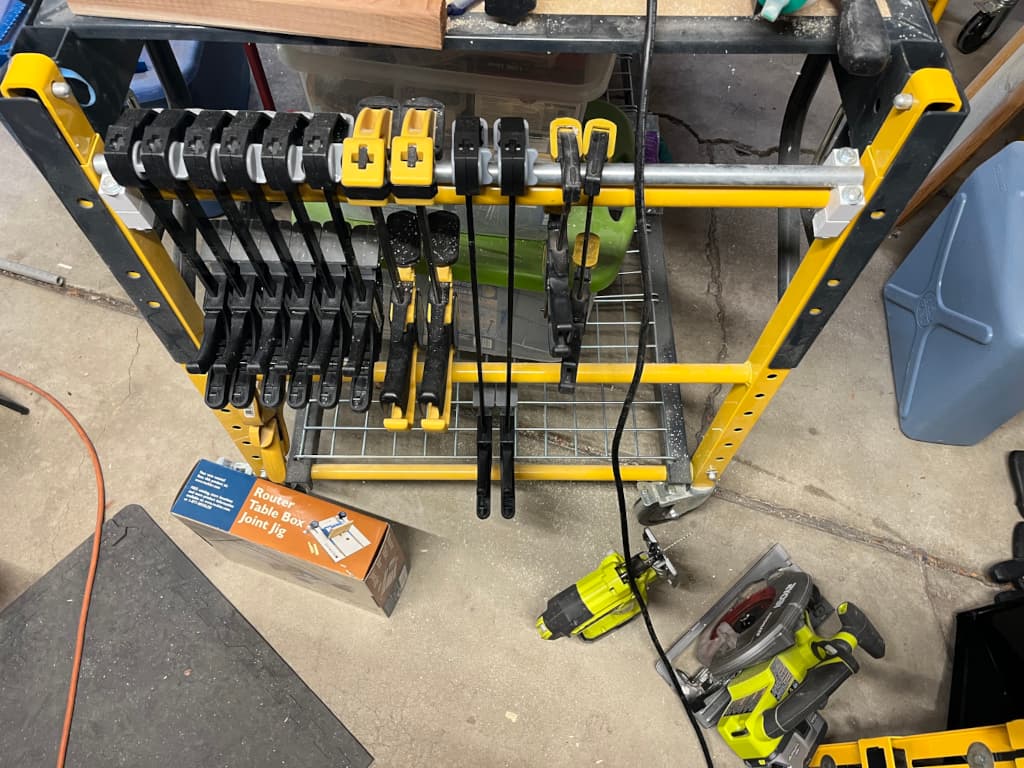
Better round up the rest of the available clamps…

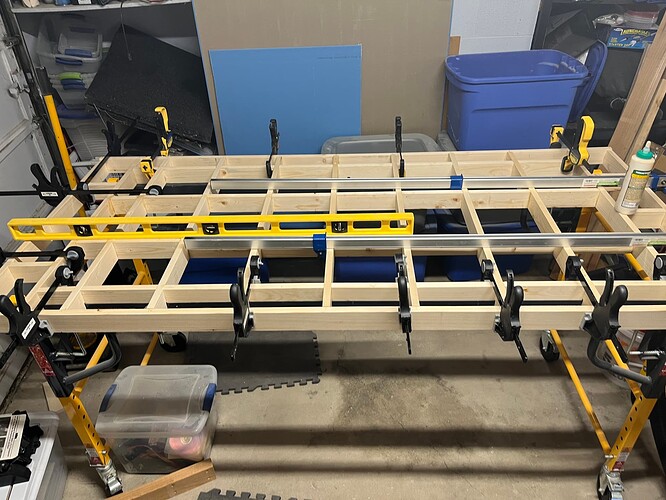
Start of day:

Couldn’t resist “Just a little bit more”

Added wings on both sides, not quite 6 inches out.
Was using the level not to check level (My garage floor is NOT level.). Instead as a straight edge to try and get a flat surface. I have bought two nice aluminum levels in the last 5 years. Both times they walked away. Weird. The crappy plastic one stays home, it doesn’t seem to have any desire to wander away.

If you look carefully, I added two more rows of braces in the middle.
I’m finally learning. Used a stop with my chop saw, so these are as close to each other in length as I am capable of seeing. Made it easier to lay up.

Shortly after this picture was taken, every single clamp of those two styles that I own was in use.
Did I mention I can’t ever seem to have enough clamps?
Nor, it seems, the right types.

OK, so now a note from present self to past self: What were you thinking?
Full 4’x8’ 3/4" thick MDF sheets are HEAVY.
I cut down the one I bought today, while it was still sitting on pink foam insulation in the bed of my pickup.
Even so, it was about all I could manage to move around.

I forgot to take a picture of this step, but I glued up the top of the frame and then used 3 remaining 1x3 boards as spacers acros the short side of the table.
There’s a small 3 inch gap in the glue in a few spots because of that. It bugs me, but should be fine.

I then set the MDF top on those, then pulled the 1x3s out one at a time.

Finally, I positioned the top as best I could.
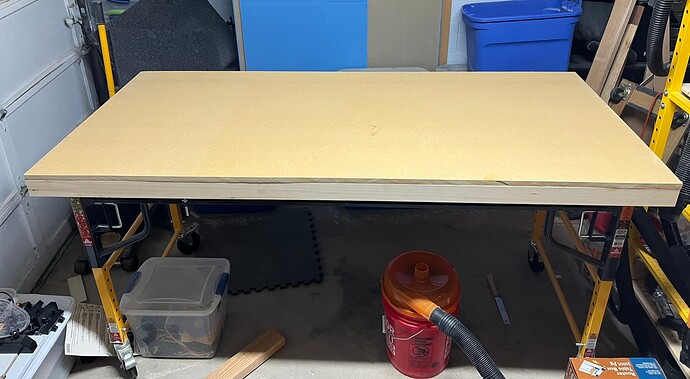
Not perfect, but now my LR3 build has a reasonably flat table.
I have a bit of shim work to do on the left side to get it just a bit better.

When I put the spoil board and runners for the Y axis, it’s going to be 1/2" MDF for the spoil board. I’ll look for some 1/2" smooth melamine or something.

I’m officially DONE with 3/4" MDF unless I have a helper.

At any rate, behold I actually have a bootstrap table and future workbench.

Final table top size is 78 1/2" wide by 36 1/2" deep.

The LR3 calculator says that should yield a usable cutting area of around 63.5" wide by 24" .
I wanted at least 48 inches by 24 inches, so that works.

This is big enough that I could eventually cut my own torsion box table parts in any size up to full sheet- so it’s good for me. I will keep the table as a workbench table even if I eventually cut a new LR3 table with this one.

4 Likes

:laughing:

I love the idea of that table, a lot. I love things on wheels in the shop.

1 Like

I hope it turns out well. It really needs a shelf on the bottom to keep the table legs pulled in tight. I’m starting to think of how I want to do that.

I plan to have the dust collection and some storage for stuff the LR3 uses like bits etc.

I’ve got plan A and plan B ready.

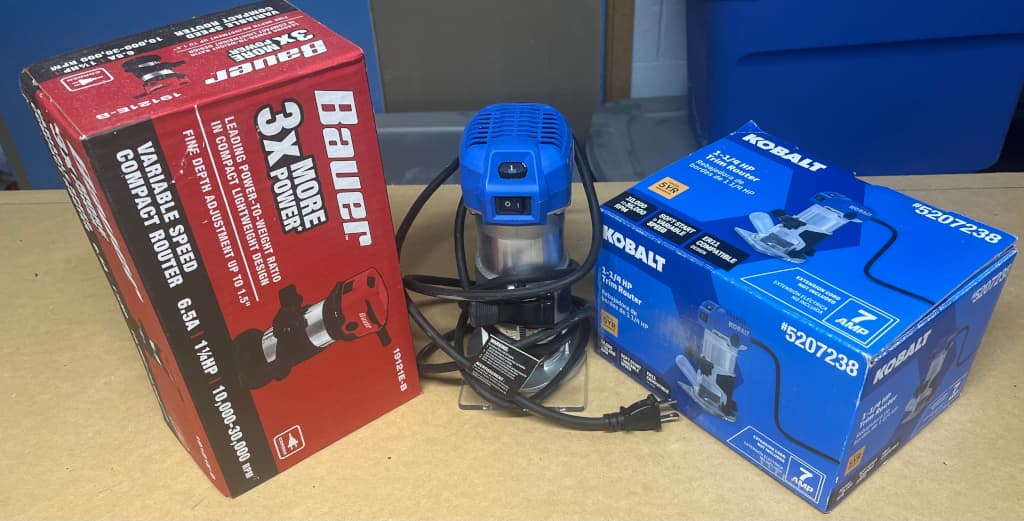
The Kobalt out of the box is one that only slightly stutters.
I’m hopeful I can get it to behave.

The Kobalt in the box that’s still unopened is TBD. For $19.99 on closeout, I couldn’t resist.

There is one more Kobalt I have that stutters badly.
That one is in the beginning stages of being torn down to see why.

The Bauer was also on closeout.
There are other similar ones in that product line.

Either color will clash with the green on my LR3. Oh well.

2 Likes