Misalignment between lead screw nut (on gantry) and stepper / coupler (at the bottom on YZ plate) would usually manifest as one long slow wobble, in which as the LowRider rises, the top of the lead screw either gets closer to the YZ plate or further from it, and then reversing that when going down. If you are getting a consistent “sine wave” type wobble, it’s likely a bent lead screw.
Also, another symptom of misalignment would be an increasing stiffness the lower the gantry moves toward the base. However, general stiffness can mean a lack of lubrication on the lead screw.
I think it could be the nut as that describes the issue of a slow wobble. I’ve used plenty of lube and never noticed wobble on the LR2 so I’ll check that tomorrow.
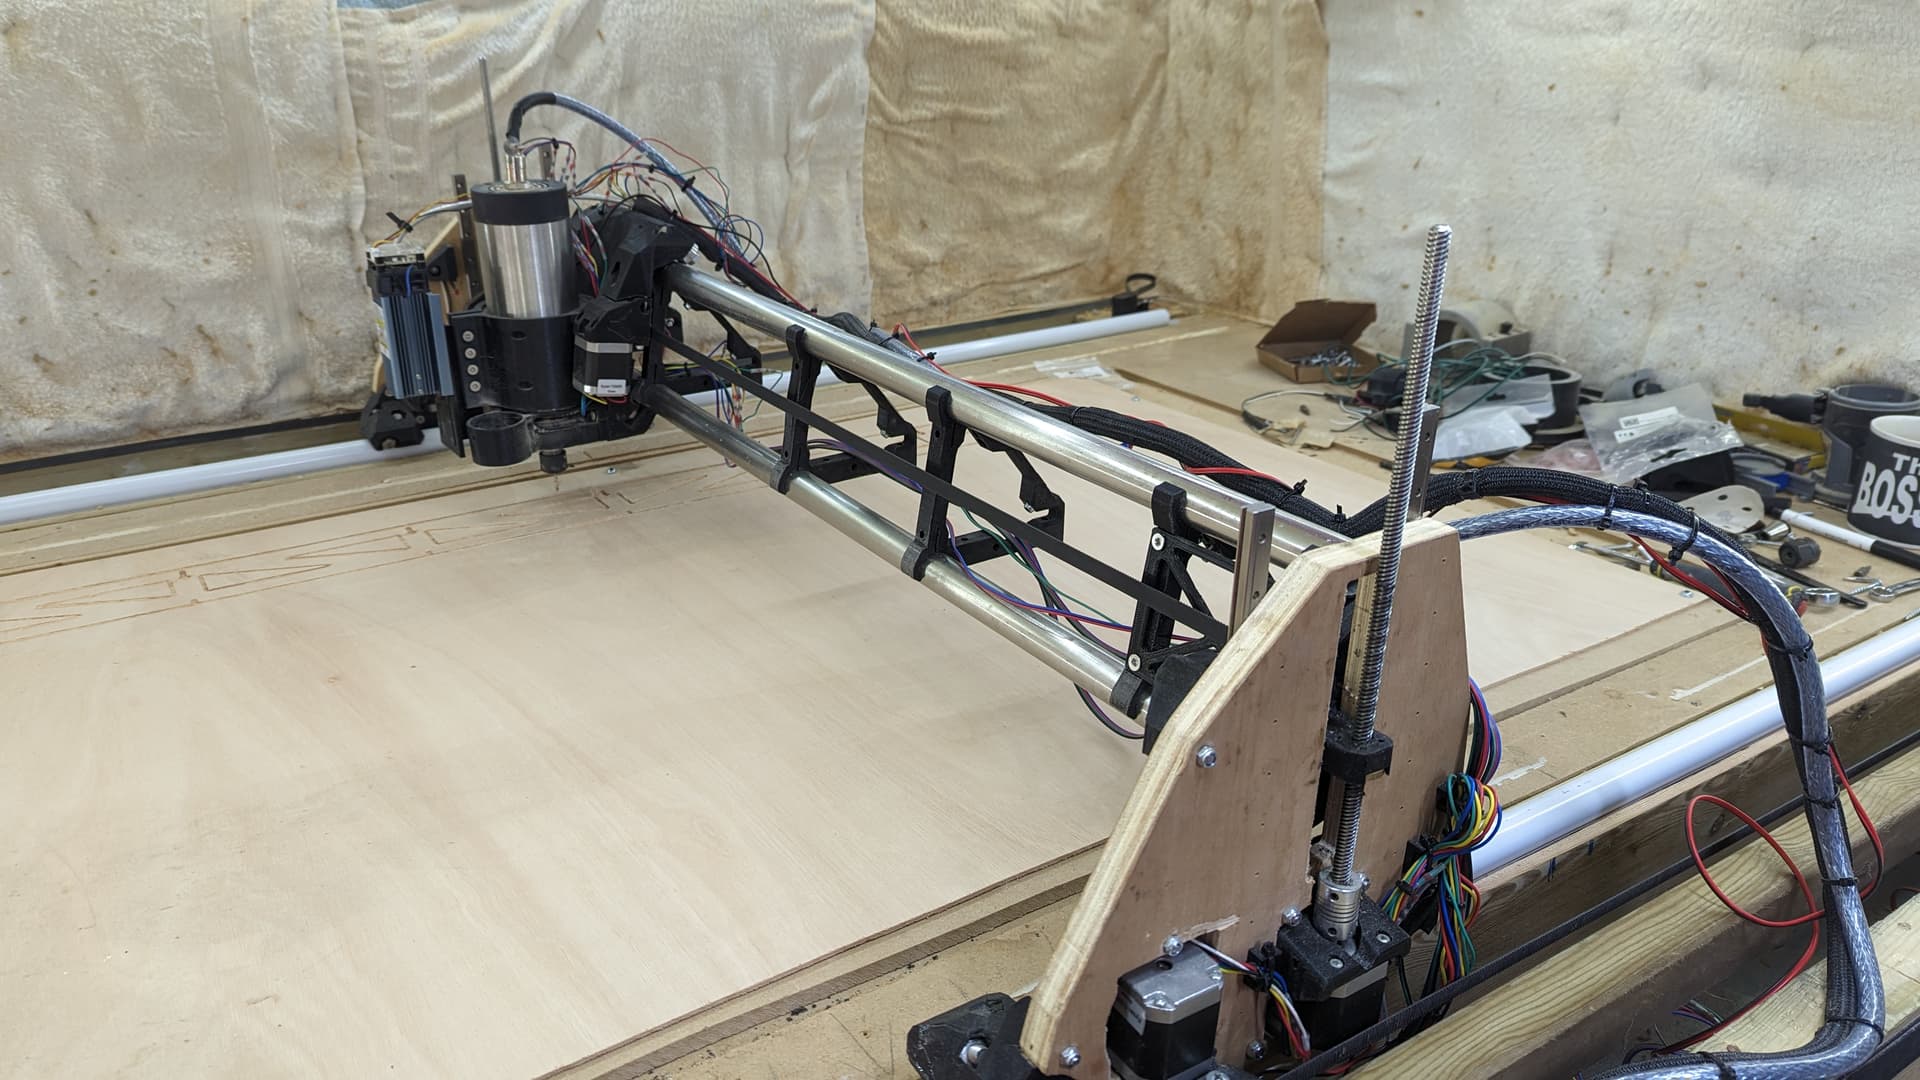
For me, I ran into a minor misalignment on my first LR3, and it seems to have (possibly) been related to minor irregularities in the dimensionality of the 3D printed parts.
My enclosure frame has a .3mm slope and so do my tracks so I’m going to get them straight today and one of my tracks is about 1.5mm higher than the other so sorting that out as well. Instead using wheels on 1 side I’ve bought another length of tubing so going to put that in the aluminum V that I was using for the LR2 wheels so I’ll have the tubing on both sides.
Be really careful when adding the second track. Any difference in width between the two track is going to raise the wheels traveling on one of the tracks. If you are 1mm closer than the gantry. The Z will lift one side up 1mm (on the round side, at least). It was a conscious design decision to only have one track so the build would not be overly constrained.
I’m laying the tubing in my aluminium V groove which is straight so that shouldn’t be an issue but I’ll check heights once done to make sure. Slight error of mine is I printed the rollers as normal instead of mirroring them so they don’t fit. I’ll print updated onces out tomorrow and give them a go.
If you are using v wheels and a v track, then of the wheel has to ride closer, it will ride up 1:1. The bearings on the tubing are also about 45. So they will be close to 1:1 too. Any errors in width will directly translate to errors in Z.
Nah, I mean those things you hung around the whole table as dust stops. Dexter is a series about a serial killer who always hangs plastic foil to not make a mess. It was supposed to be a joke.
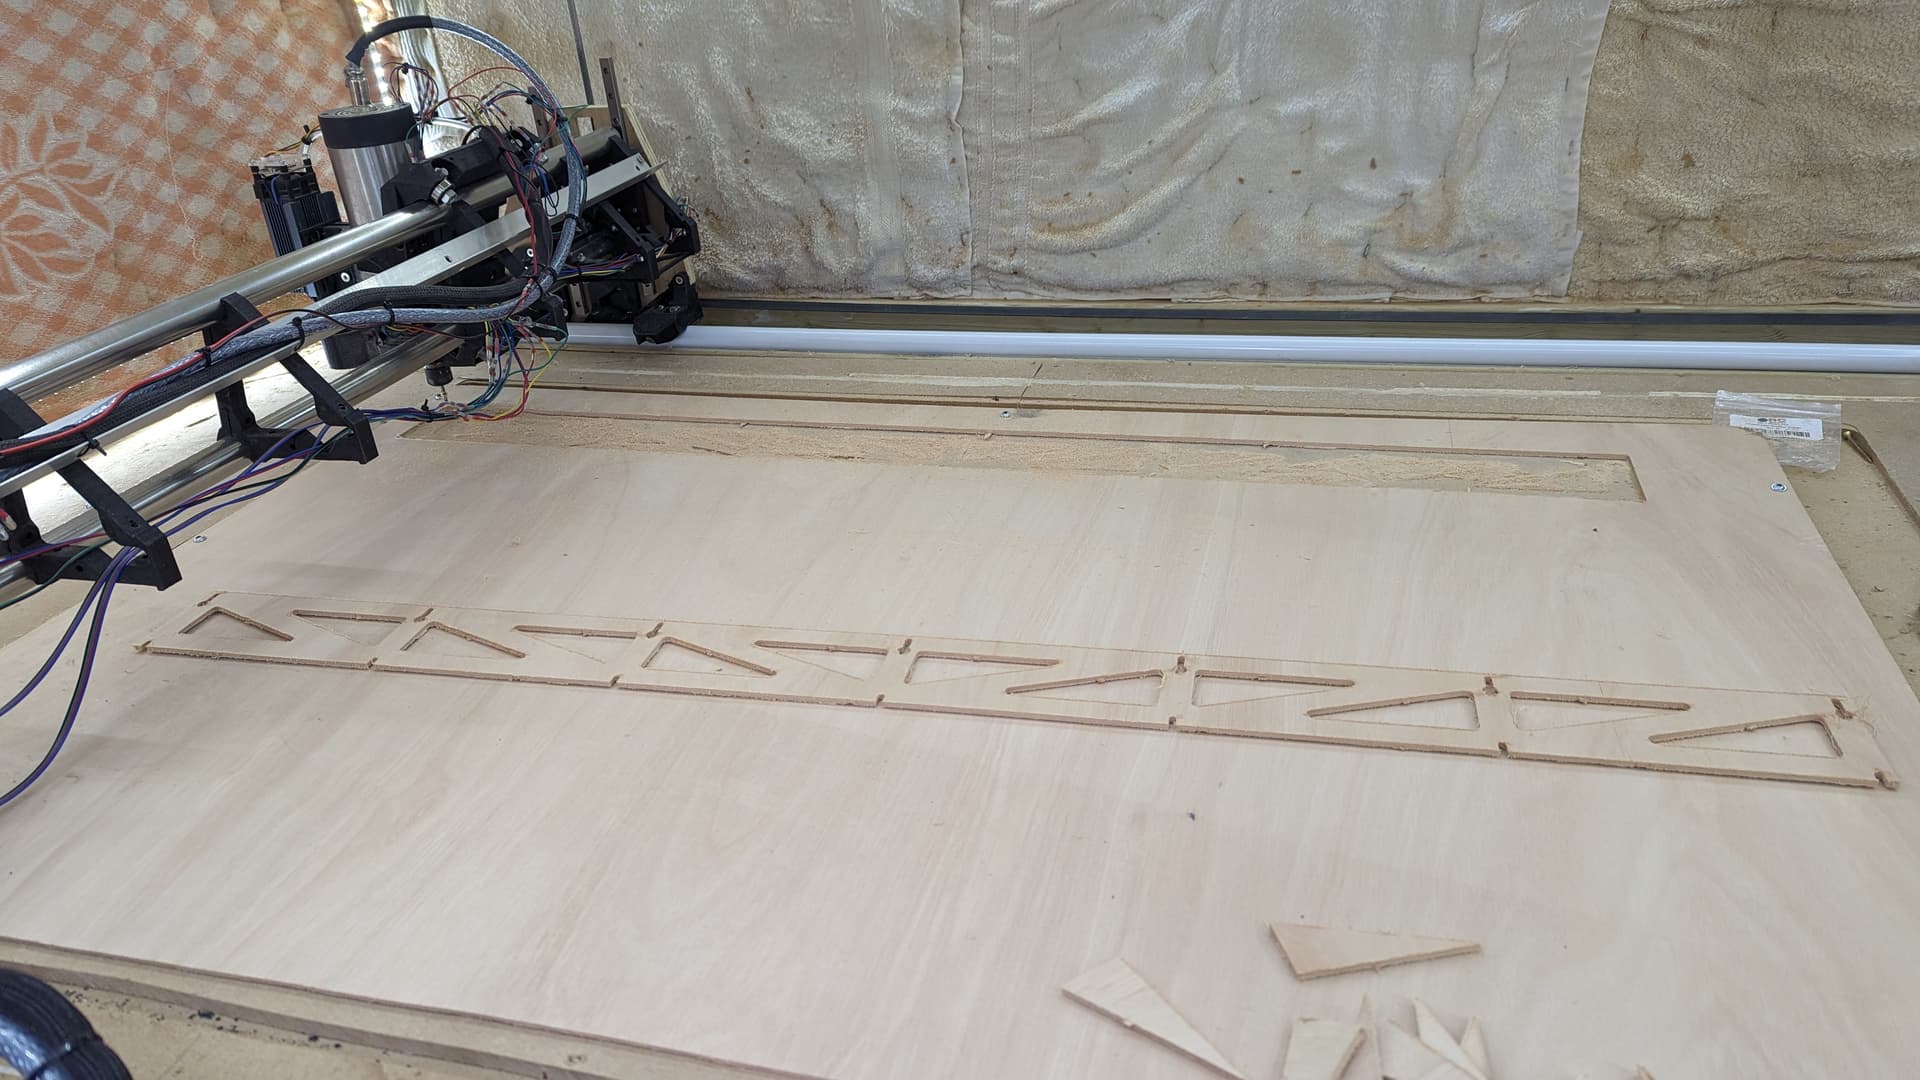
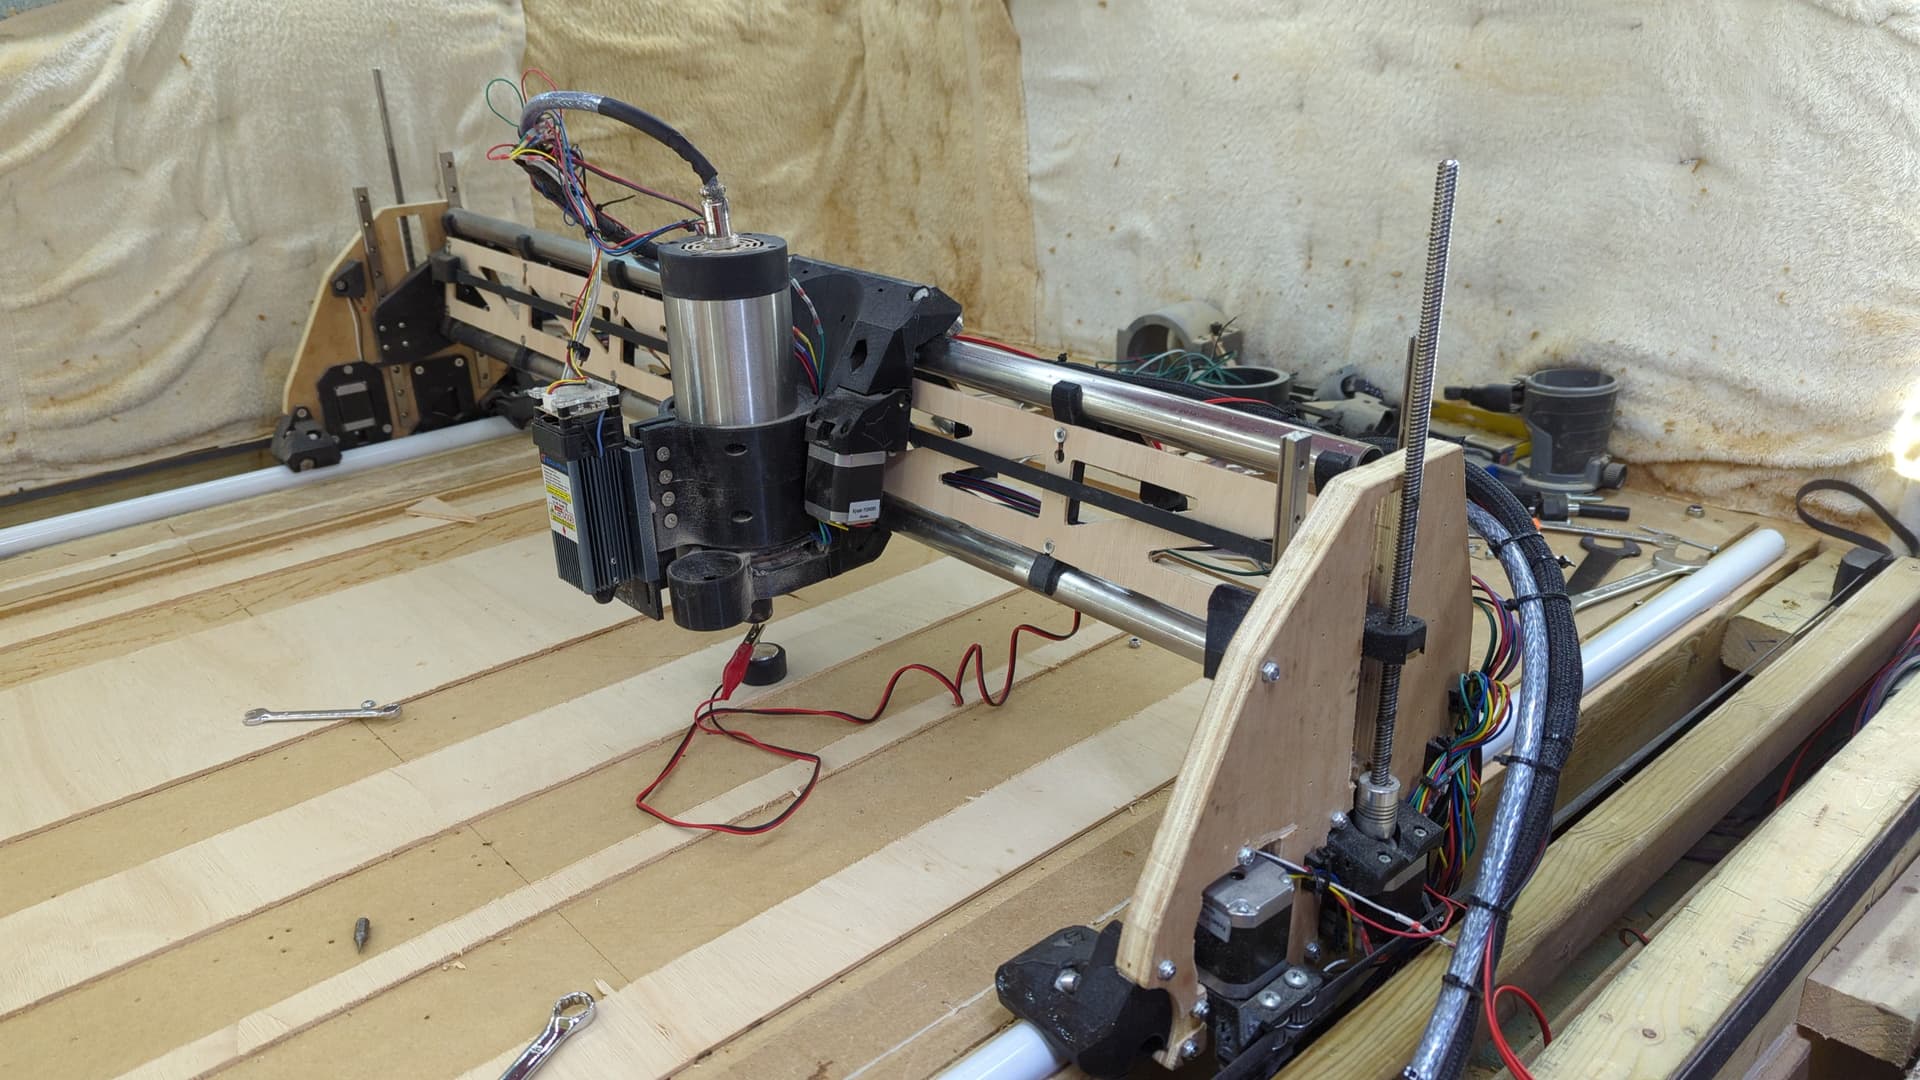
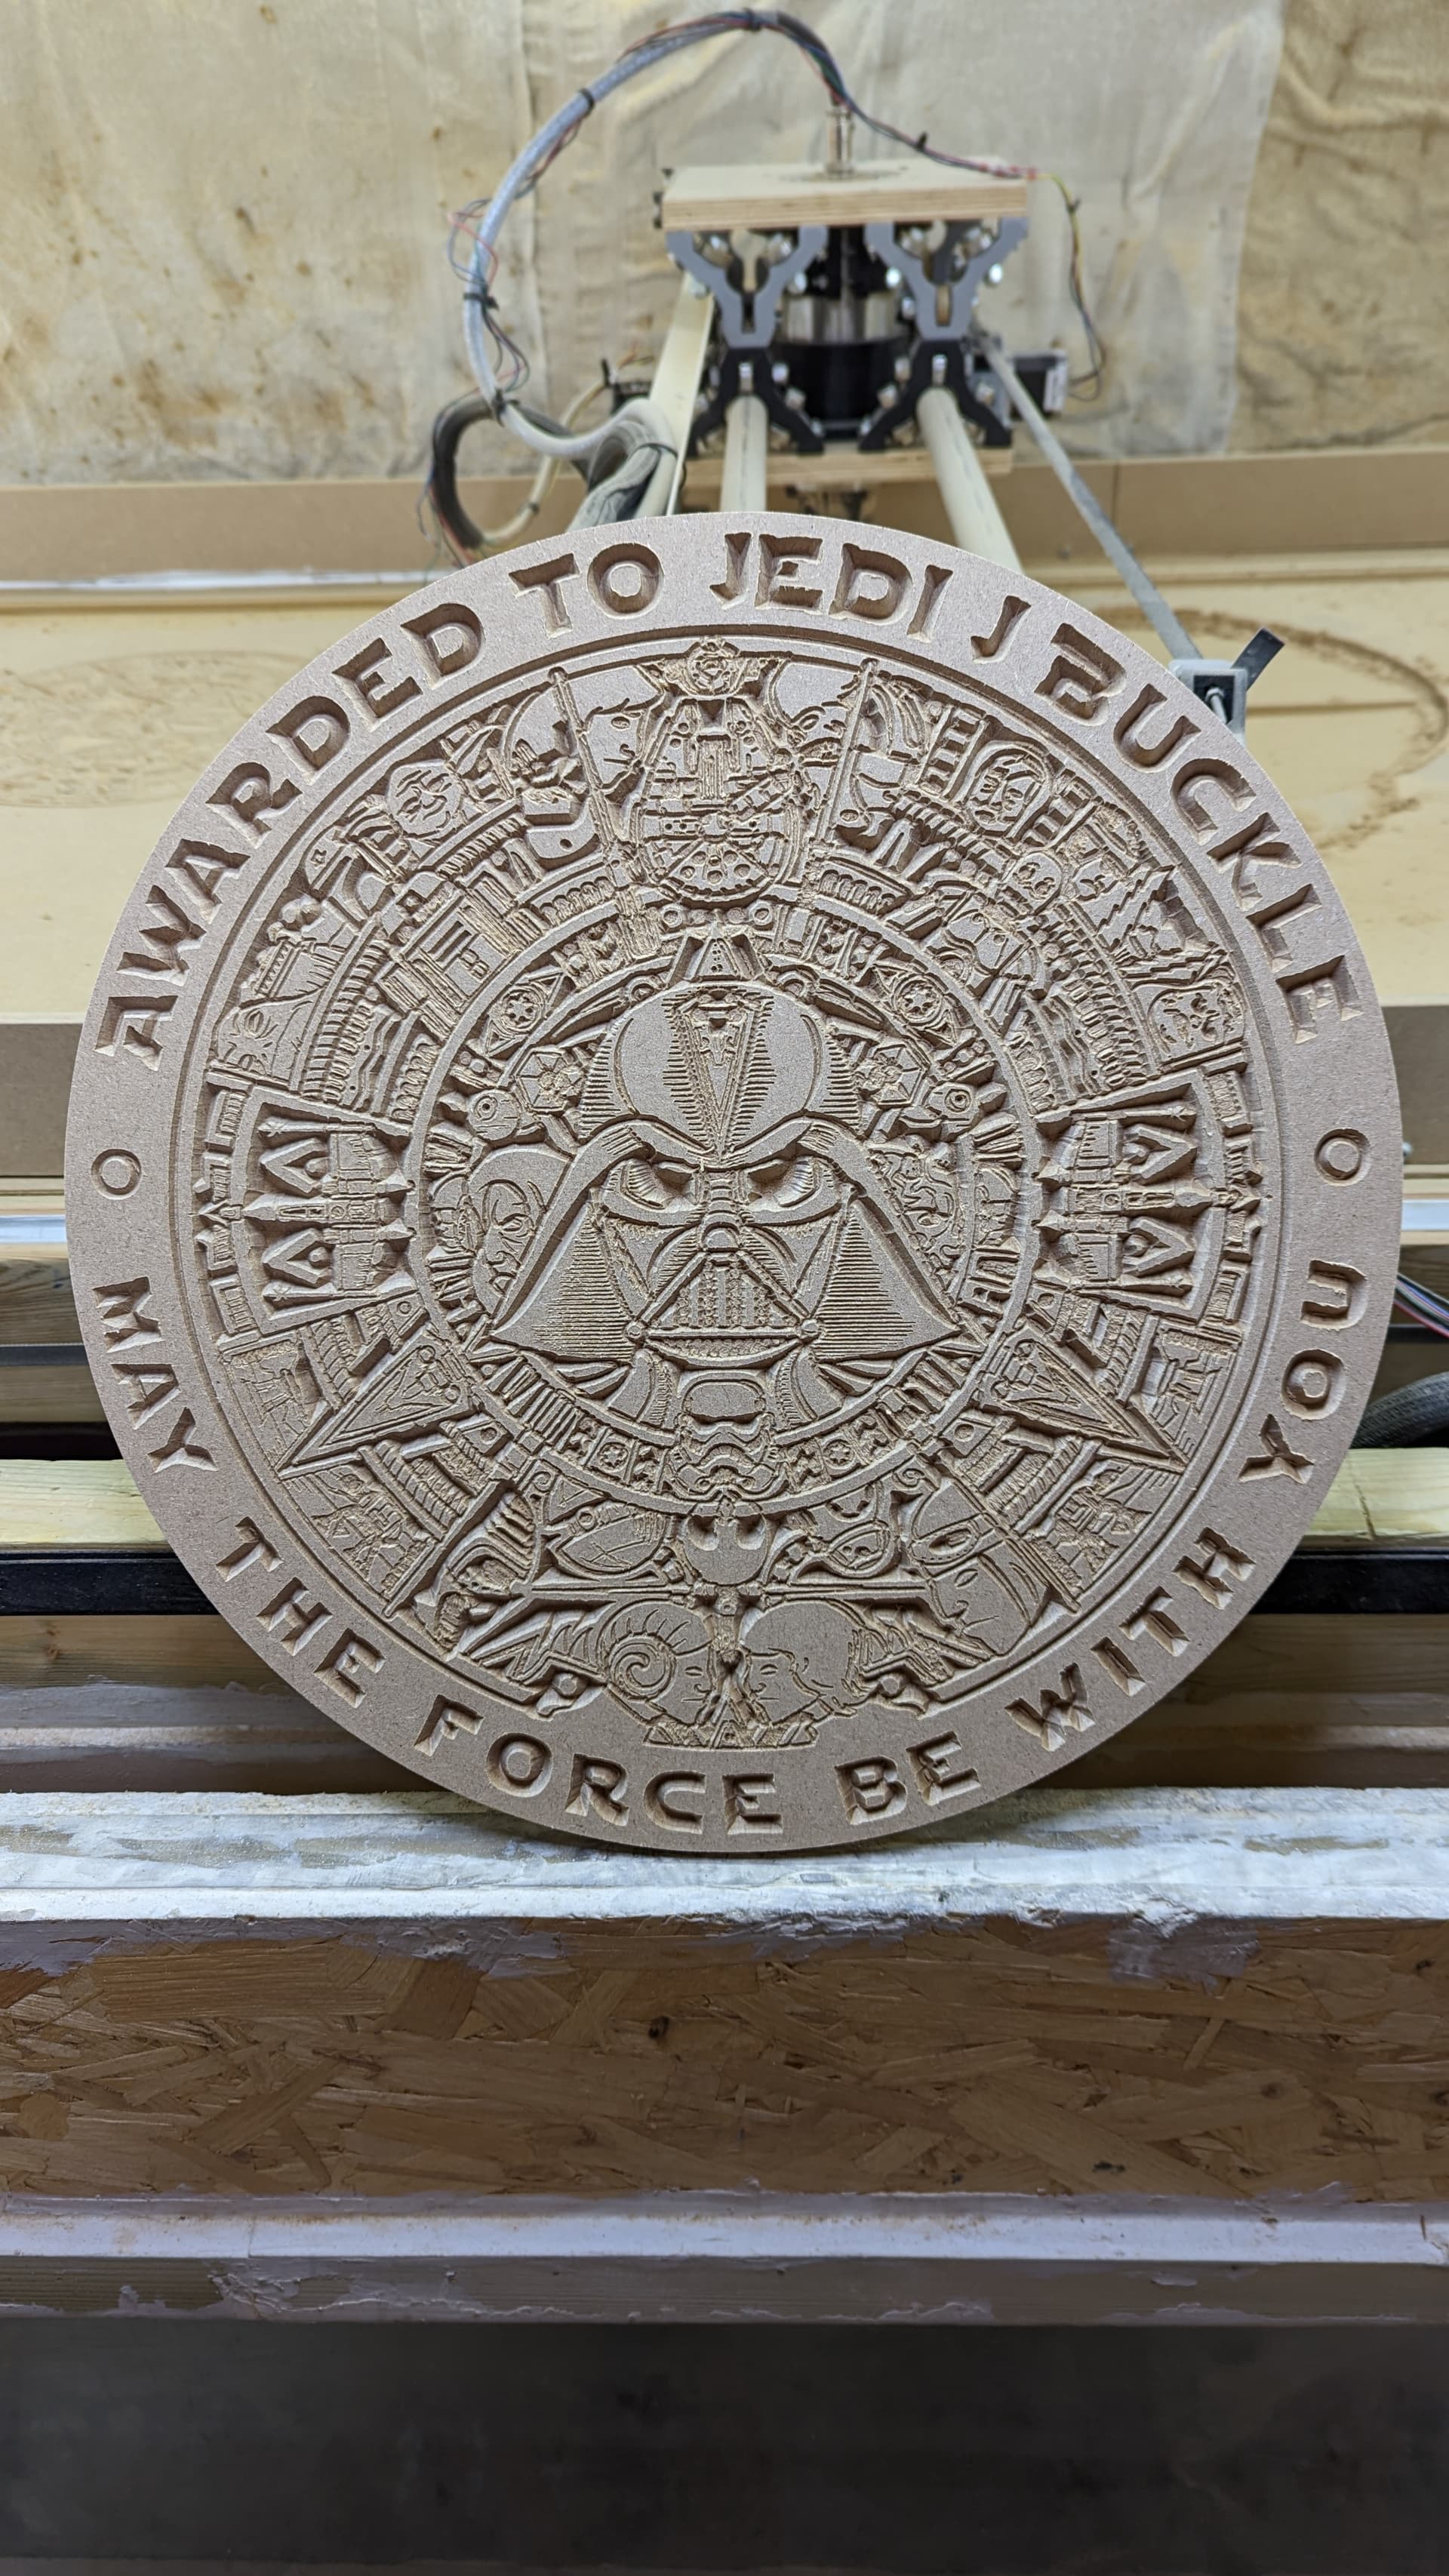
Cutting this on my LR2 very slowly I had to touch a lot of it up with a fine paint brush as it has a bit of tearout. I decided to upgrade because I needed more speed and better quality cuts (don’t think LR2 was perfectly straight, my fault) AND was looking for an excuse to upgrade
Learning as I go along.
LR2 - 60 degree 1/4 inch vbit 4 flutes doc 2mm, 12mm per sec, 7mm flat depth, 15000 rpms, 400mm x 400mm