Strange as this may seem, I hadn’t given the trim router a thought - I think that’s going to do the trick very nicely. Thank you very much for that. I’m sure my patience will get me through on the little bits the router won’t reach.
I suspect it’s best to wait till just before the final polish so I don’t inadvertently shop up the chamfers when sanding.
I also wasn’t aware of the Countersinks for the deburring tool - as you noted I think getting a consistent edge with that is probably well above my skill level at the moment.
I might even run out and buy a new bearing bit just for this! Once again, many thanks!
Oh, I know I have ordered the Prusa 3.9 upgrade (the parts are up on printables, but no word on when it will be arriving yet…) but the speed of the VORON2.4 does have me drooling…
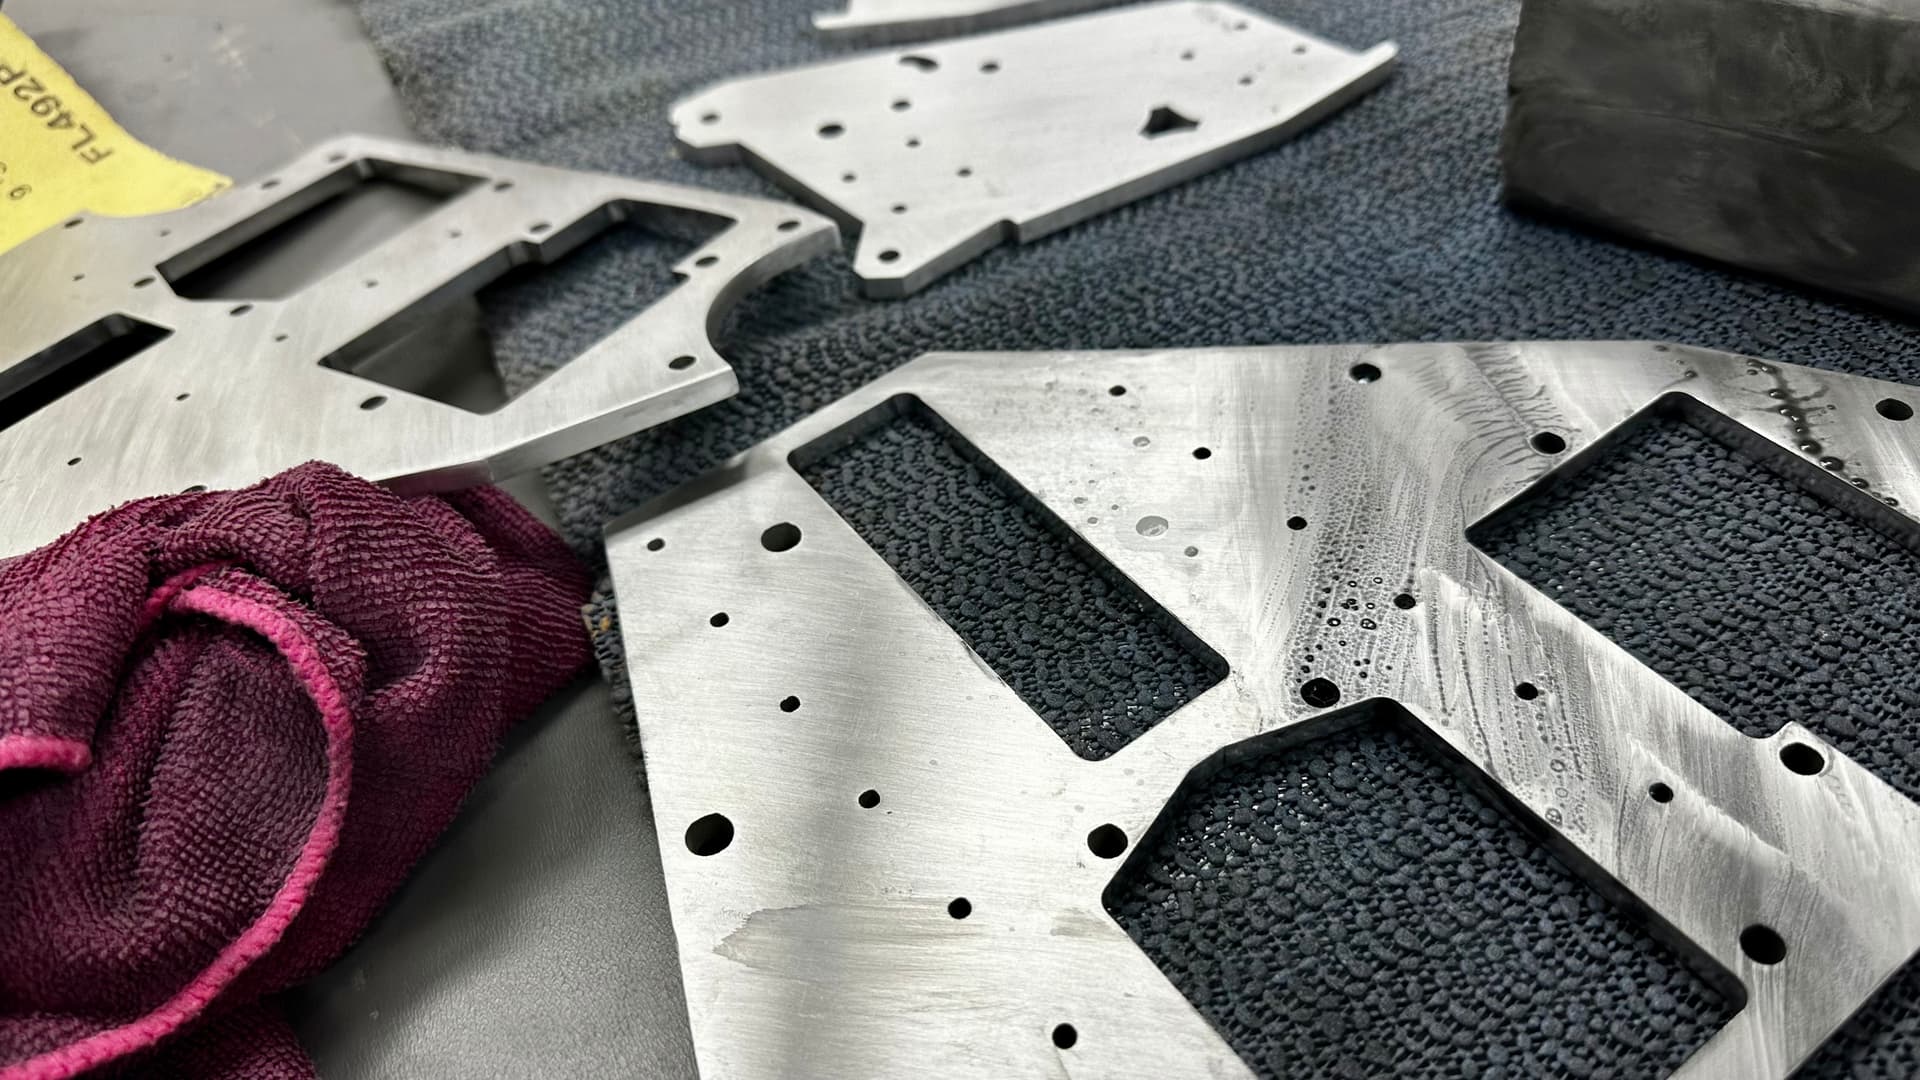
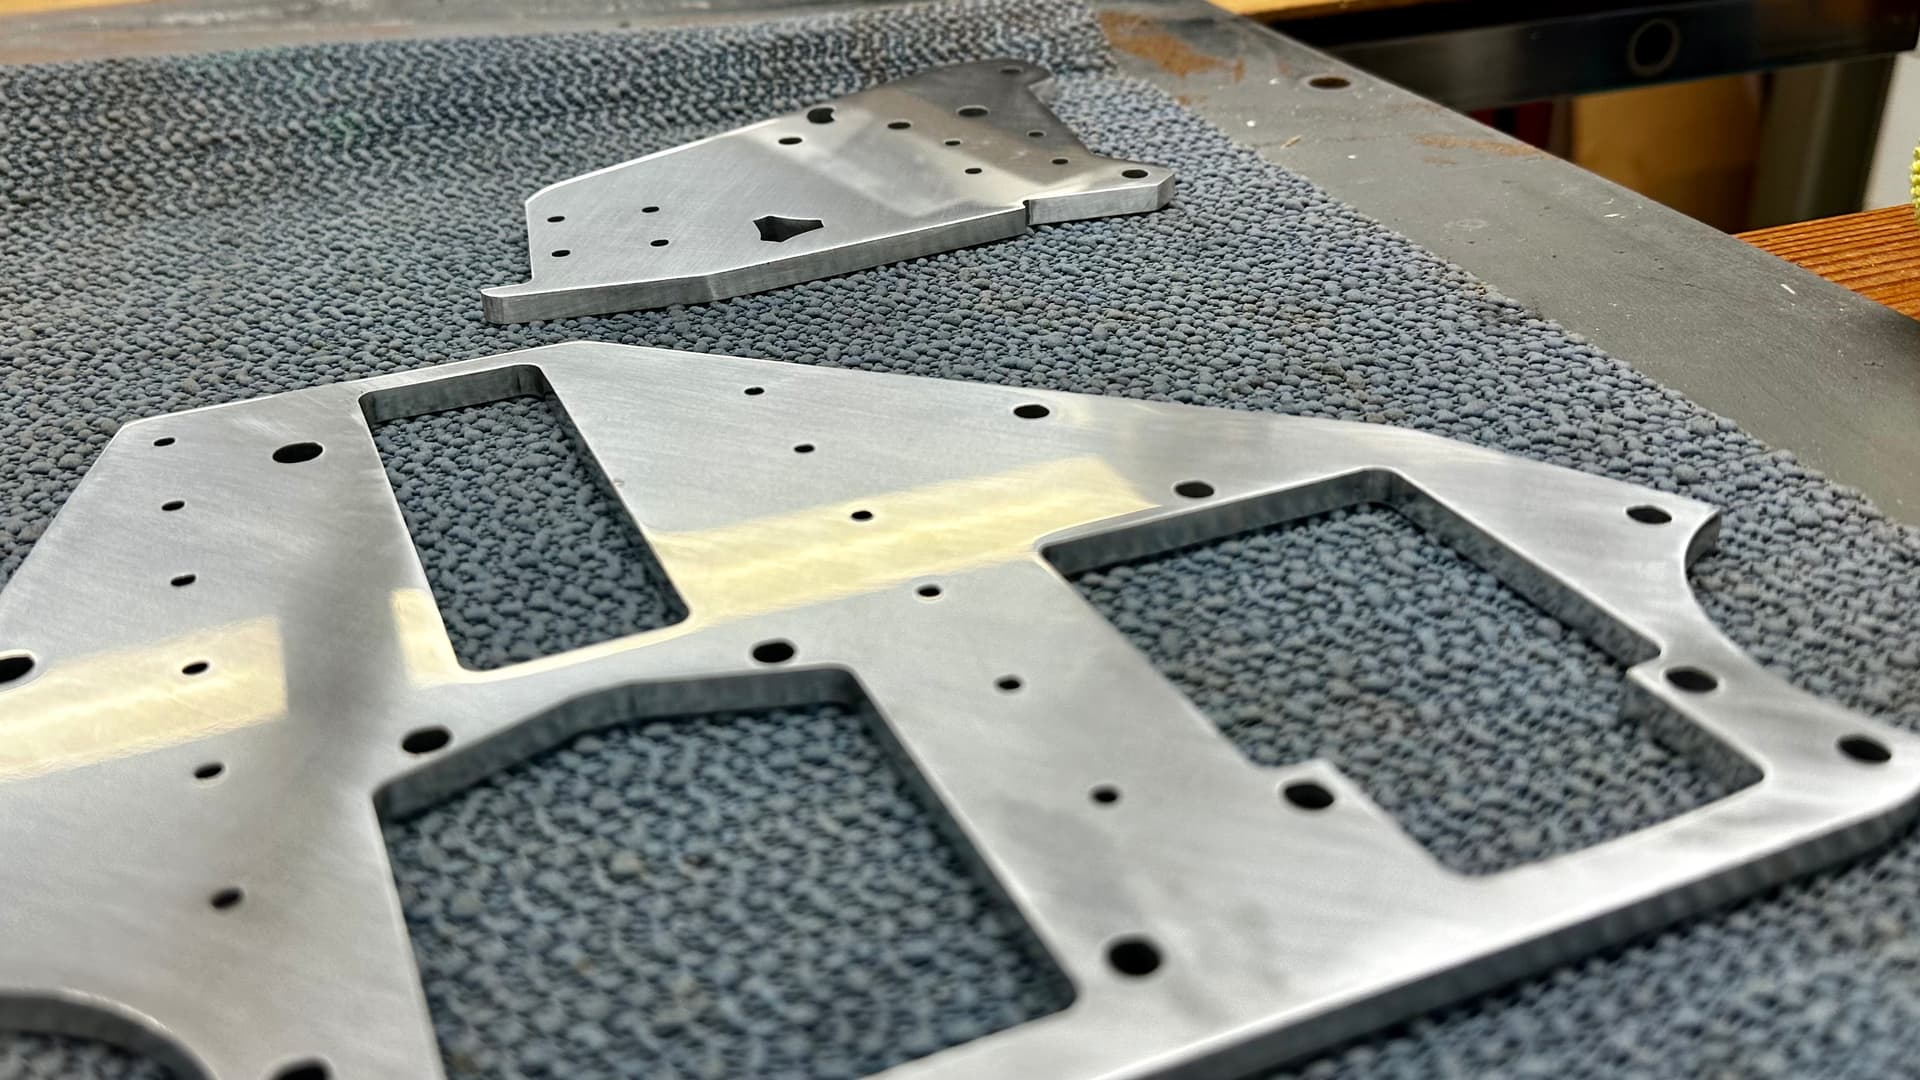
A week or so down the track, and the plates are all happily sanded to 600 grit, waiting for me to pluck up the courage to take to them with the router to chamfer the edges. In my defence a few days off with a heavy head cold after a few days off visiting grandchildren has also contributed to the delay there.
On the printing front, another day or two will see all the parts completed. I did start to do a complete comparison of perimeters, nozzle thicknesses and so on just for fun, but given that there is such a wide variety of speed capability with modern printers and the reduction in print time is pretty linear - increase layer height = decrease in print time, that it seemed pointless.
On the other hand the difference in filament used is also trivial.
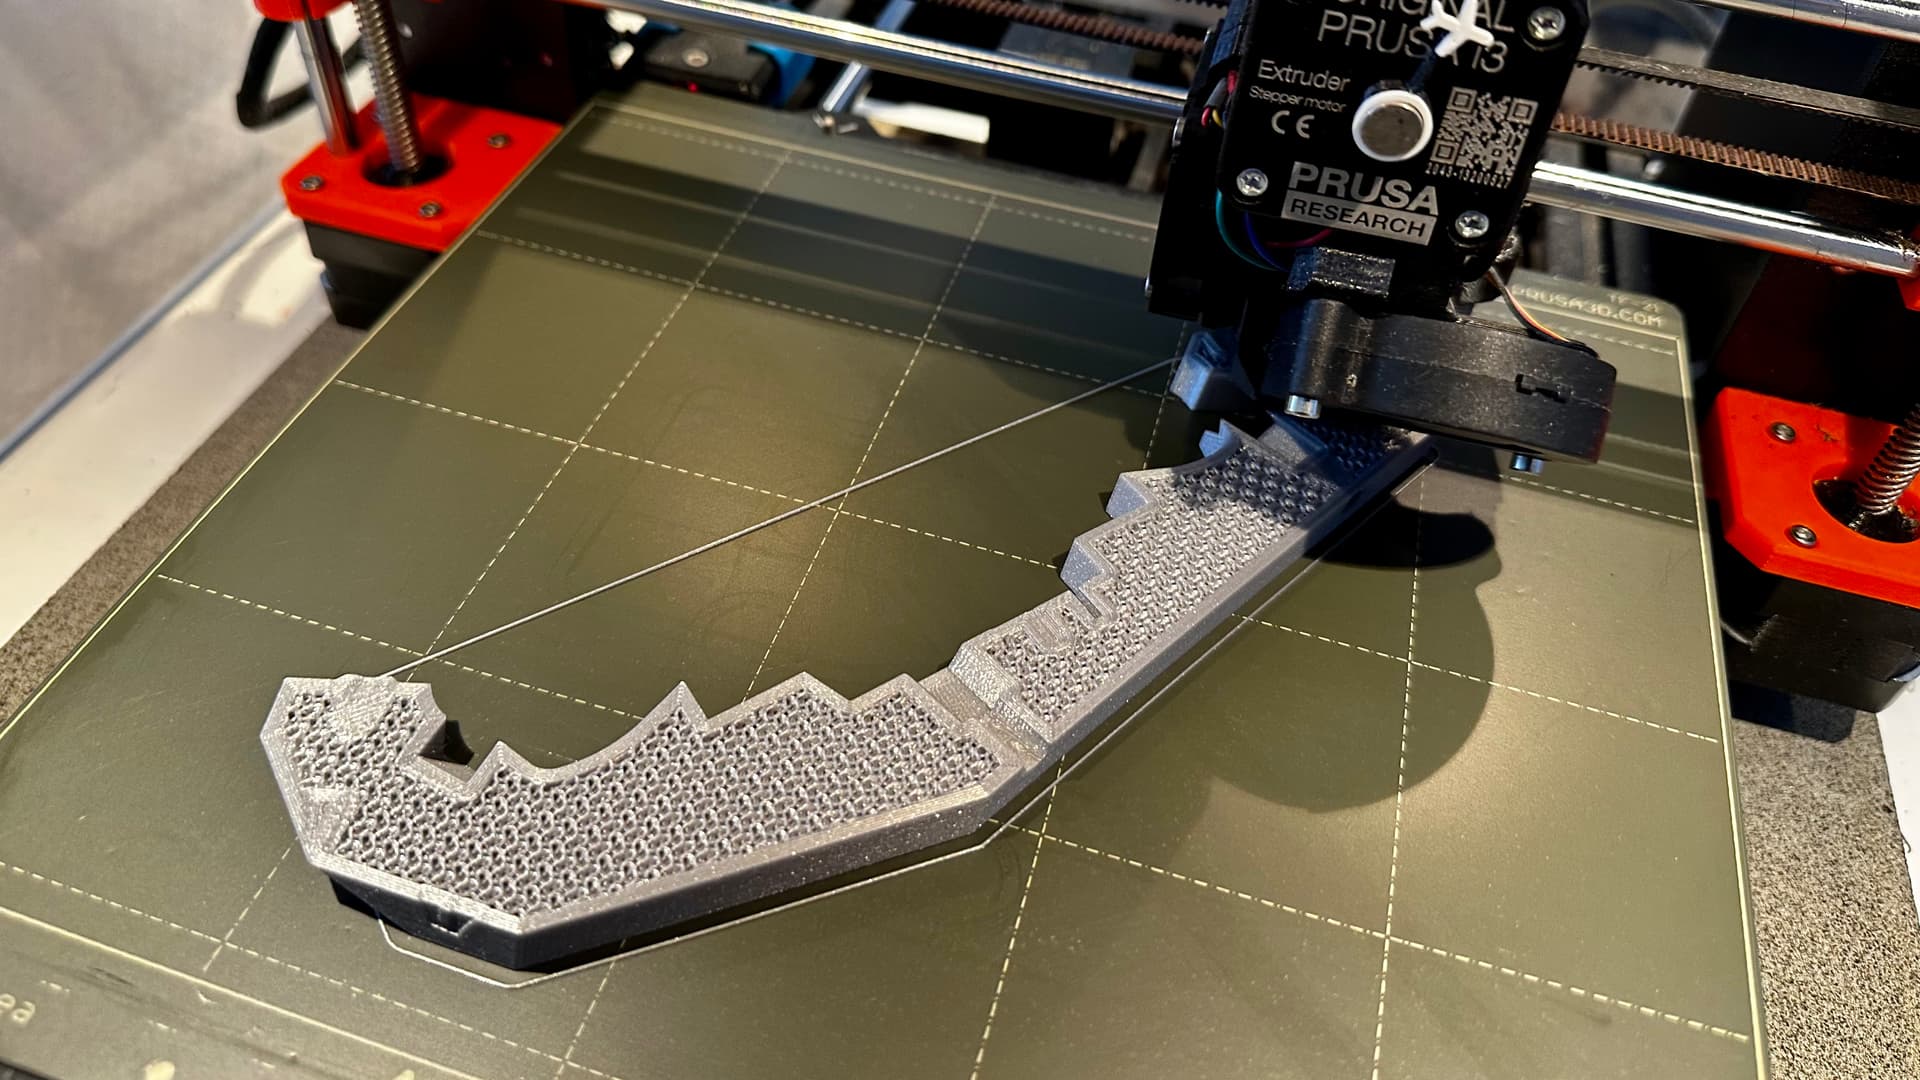
In one of the few areas in which I’ll divert from the company line - I’ve used 0.4mm nozzle, 0.2mm layer height and gyroid infill at the specified densities. I have also used 5 perimeters (2mm wall thickness). I believe this will provide more than adequate stiffness for my use albeit at the cost of a lot of print time!
I print one part at a time, because time isn’t important, and start a fresh spool with the largest items to prevent any accidental conniptions with running out of filament 26 hours into a print!
Here’s a summary of my standard print times - PrusaSlicer 2.5 printed on a MK3s (I expect the Ender and other first gen bedslingers to be similar). Green cells are complete.
I’m at the half way mark, 800 grit almost finished on the other bits and it’s not taking less time than I thought it would. I’m stuck I think, I have to keep going now or I have a set of plates that are neither polished nor a satisfying matt finish, and I knocked around the one I had done enough to start it again, but at the same time I’m not sure whether I have the skill to make them properly polished.
I guess the next few days will tell.
I’ve pretty much decided I’m not game to chamfer the edges so will settle for letting them soften a bit as the polishing proceeds and hope it looks deliberate.
If you want to go back to a brushed finish, something like a maroon scotch brite pad does wonders. That’s what I end up doing with most of the stuff at work to cover marks from workholding etc.
Thanks for that suggestion - I will keep it in the back of my mind and if the end result looks too amateurish will happily scuff it all away.
I think it will be OK as it’s a very “busy” surface and no one is going to be doing make up in the reflections but this is about the process for me rather than the end result so even if I go all the way through and change my mind it’s not a big deal.
I had originally planned to try Jewelling (machine turning) but thought it might get a bit too busy. To make matters worse I’m still considering a design for “spats” to cover the whole outer workings anyway - that will come much later if at all.
I’ve been kind of bed-ridden for the past week. I’m on the mend now, but one would be excused for thinking there’s been some kind of delirium happening. When one’s brain refuses to engage any gear at all, there’s nothing like sitting at one’s bench with some music from one’s youth banging away, and mindlessly rubbing wet and dry paper on some aluminium.
An hour or so a day is all it takes if you stick at it for a while. Down to 1500 grit on all, 2000 on some (top photo) and a bit of a test polish (bottom photo) .
I could rub the little scratches out entirely with a bit more effort (or using a machine) but I’m thinking it looks perfect from a metre away and it will be scratched and dusty soon enough, but I’ll listen to any comments.
To be fair, I finished printing a couple of days ago, and the pieces are too beautiful to get dirty although I suspect they’d be even nicer with the Mk4. I really should order some things to connect to them.
Does anyone have any firm thoughts on why mounting the board inside the beam is a bad idea?
Yes it’s a bit more inconvenient in the initial setup phase, and I’m going to have to mount an extension for the SD card and USB connection, but why is it in a great big box when we’ve already got a box (almost) ready to go?