LR2-LR3 The Longest Conversion (AUS)

I have a new one I made yesterday…adjustable. I can give it to you tomorrow. Two print real quick.

1 Like

I’ll hold off for that then! It will save me reprinting the “gasket” shim in something other than orange!

Out of curiosity, why are the back “dovetails” only dovetailed on one side?

There are no dovetails on the back ones, just a slot.

I made a note, I will post them to printables, If I forget remind me please.

1 Like

Which of your many lists is that note on? :wink:

1 Like

When the boss says “I’ll have a new part for you tomorrow” a sensible fellow might have taken the rest of the day off, but I just saw it as an opportunity to break out some clamps and zipties and get on with things!

I thought I might just have a crown by day’s end, and I probably could but it would be cheating, becasue the longer I went on, the deeper the effluent I found myself in.

Homing X works today, but I trigger the thing manually to avoid the nest of zipties and it gets upset with me and says homing failed even though it clearly didn’t. (This is a repeatable error, not a one off, and it happens when using the V1 special menu as well.)

Then there’s Z which runs out of Z before it touches the endstops - a matchstick sized bend in gadget, or a tiny bit of plastic will fix that. (I need to drop the screw a little on the stepper axle too, but that’s not a biggie.)

Which leaves Y where everything is perfect and almost working as expected, except that I must have been standing on my head when I confirmed the direction the motors were travelling in, so I have to flip the “y”'s. They are both joined in the little carrier I made under the Z axes, so I’m wondering if it’s going to be easier to flip them there (it is) or whether to take it all apart and try to deal with the usb issue while I’m at it.

It might pay to do that because the Mk$ is arriving in a couple of weeks and I really would like to have this choofing before then!

3 Likes

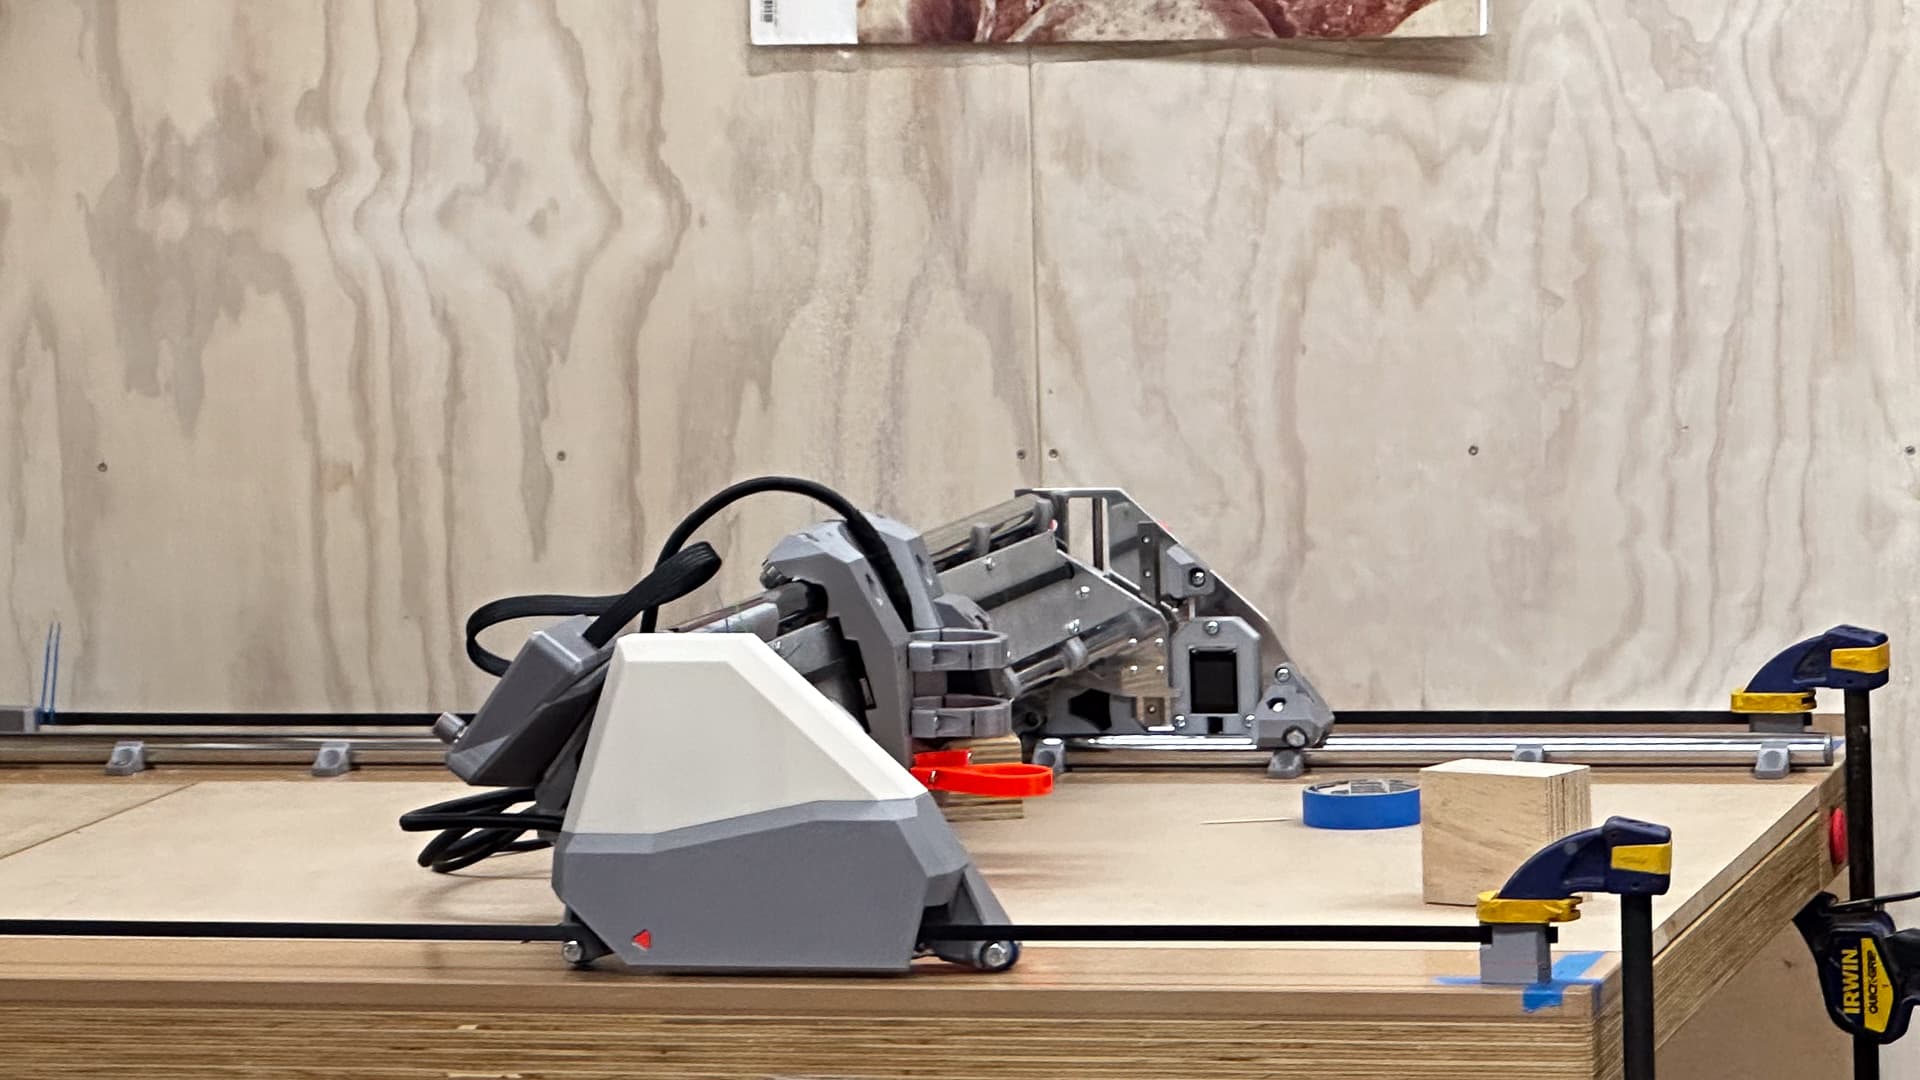
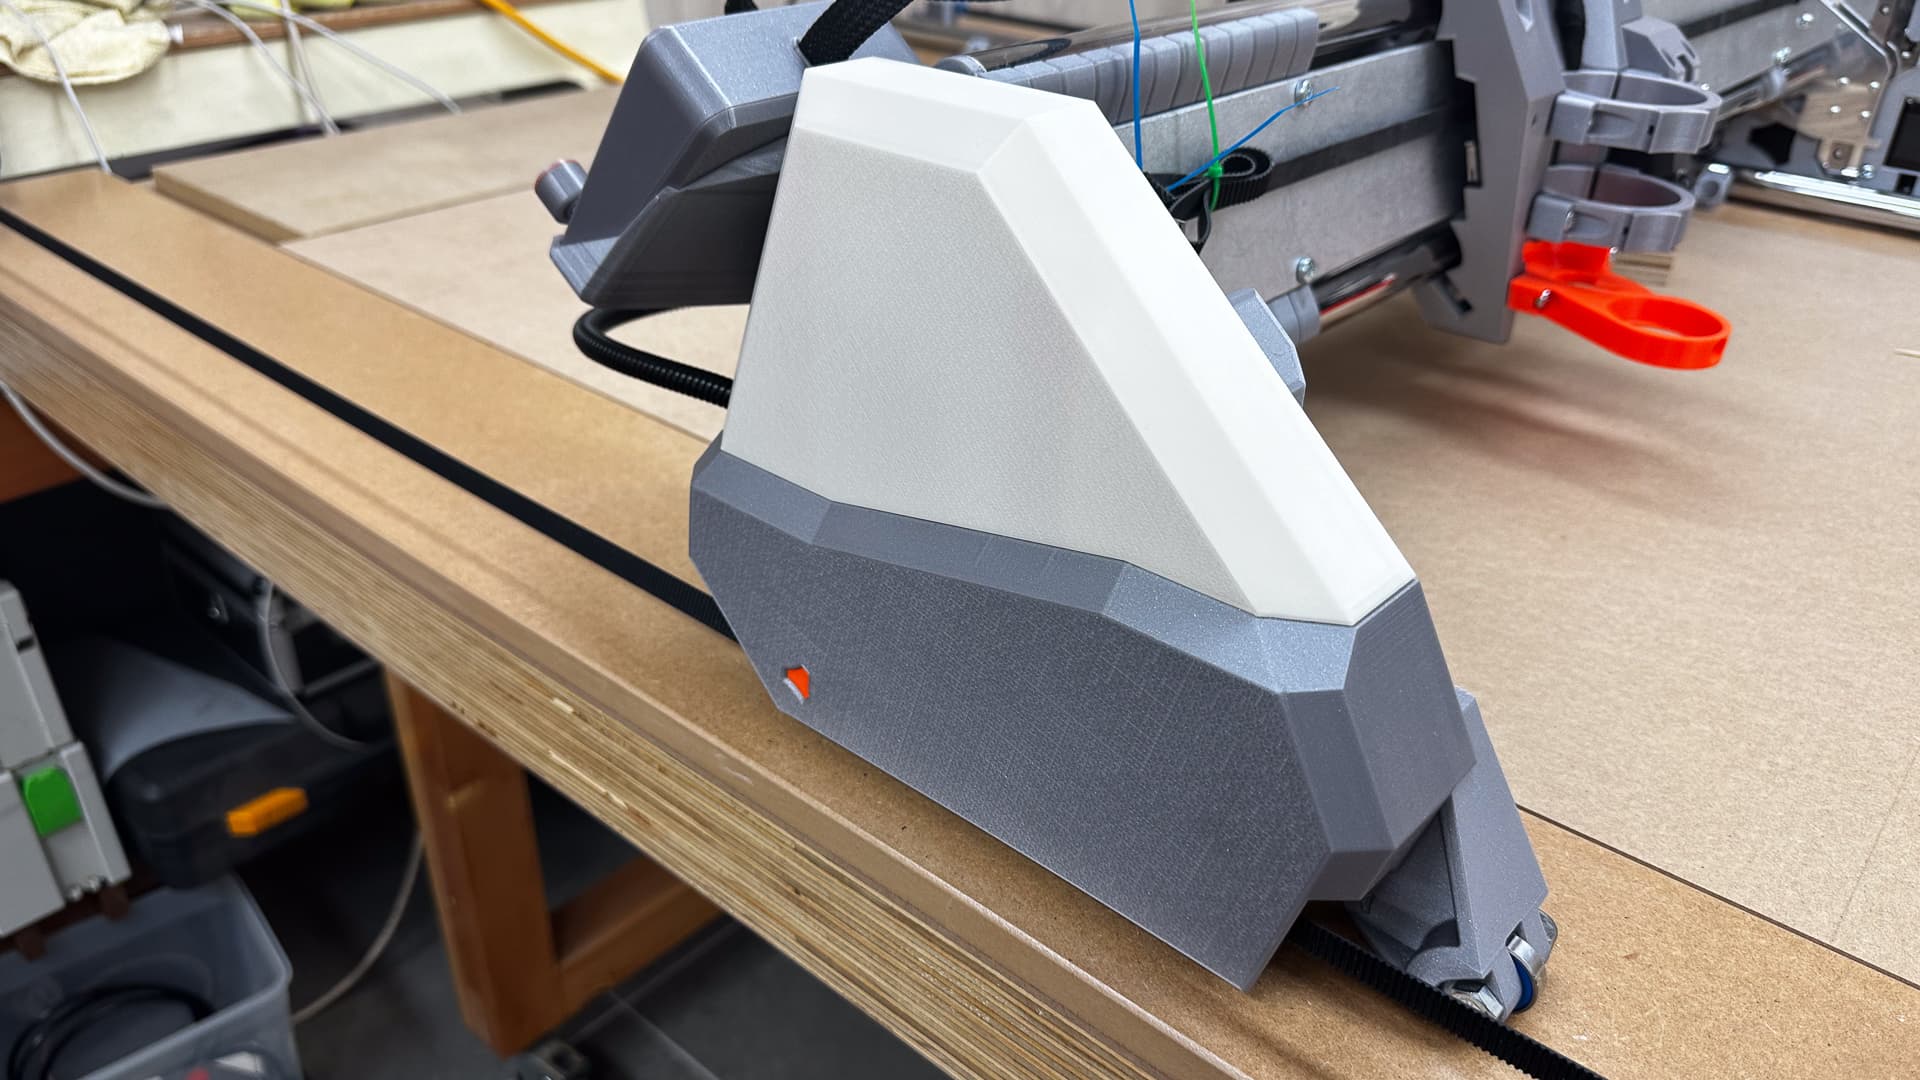
I cannot tell a lie, I was beginning to doubt whether the silver and cream was just too conservative, but the vanilla white Prusament is splendid, and even if the thing doesn’t go, it makes a lovely workshop ornament.

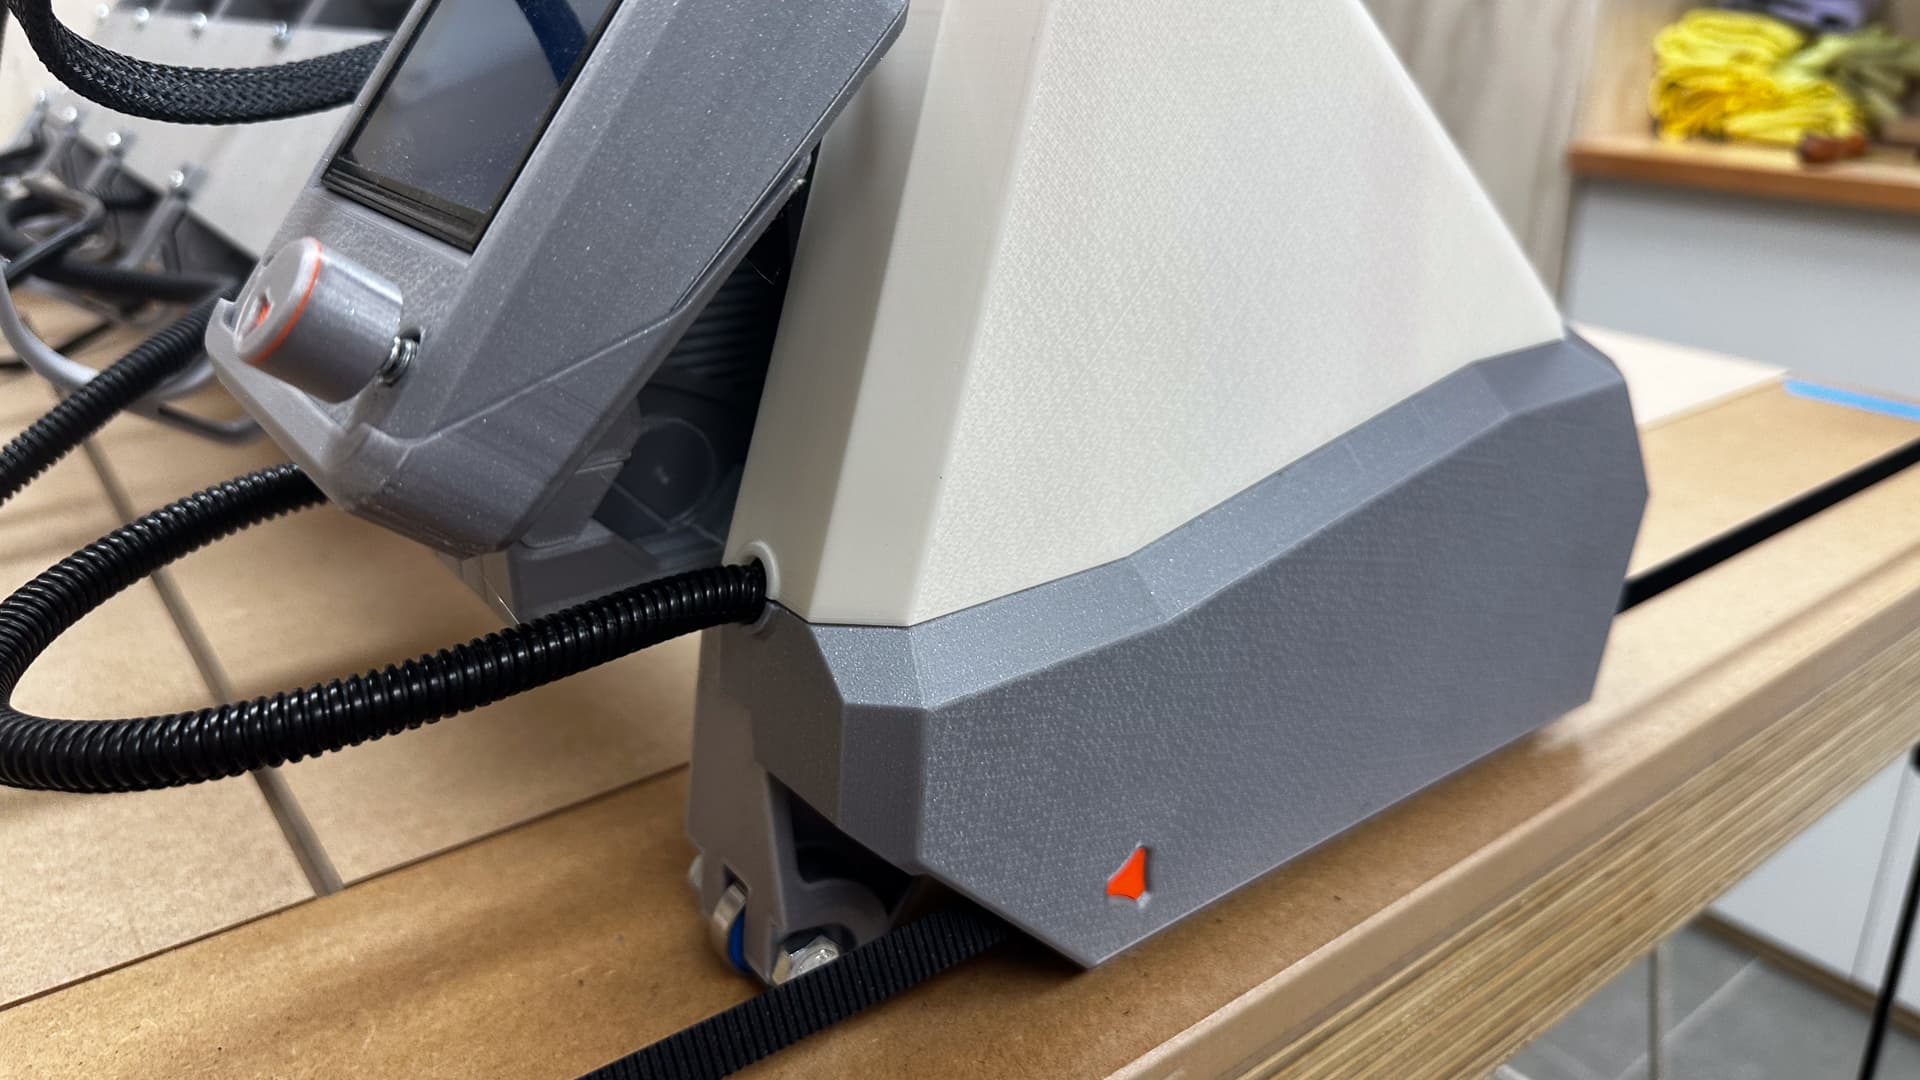
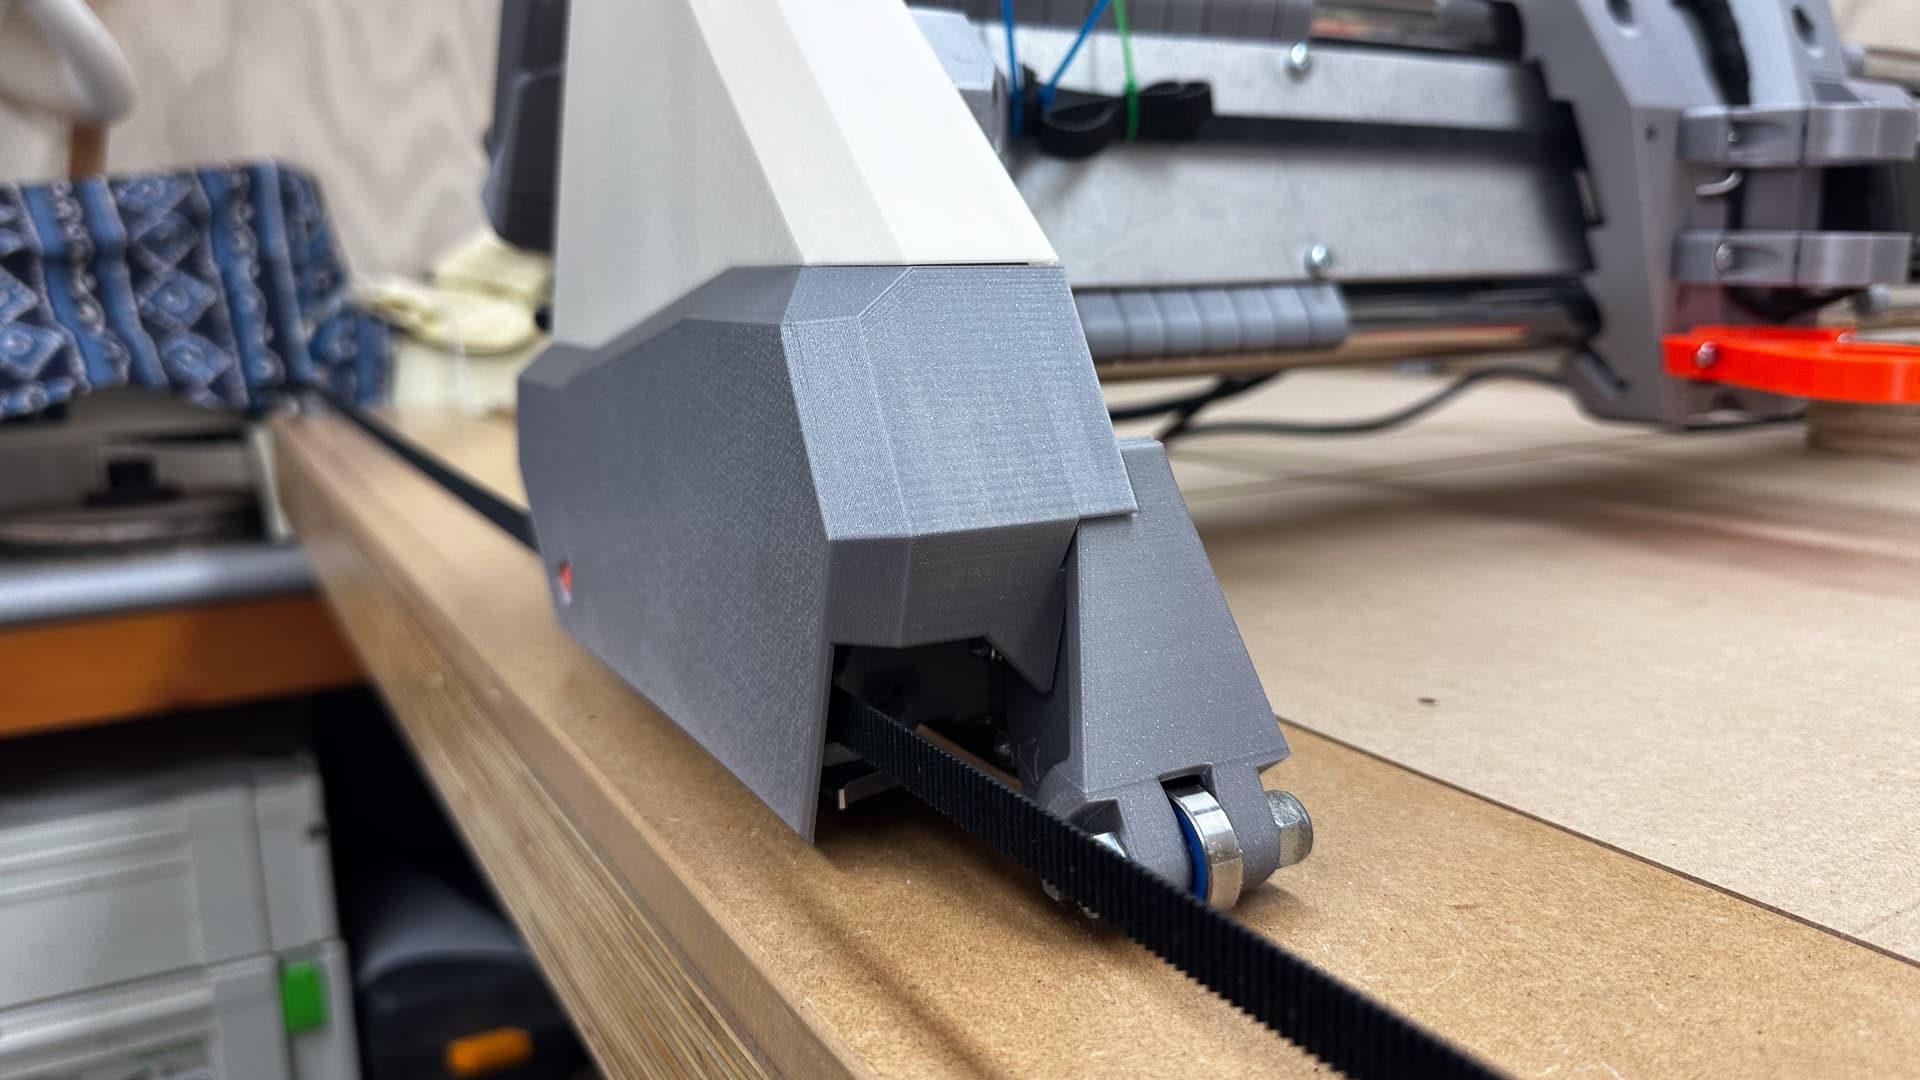
The fenders fit perfectly and really look to be part of the machine. (well one does - the other comes tomorrow)

5 Likes

My guess - possibly wrong - is that the firmware doesn’t like the manual trigger, since the automatic process triggers once, backs off, and then slowly moves the axis in question back to the endstop for a second trigger. I imagine it’ll work just fine once the zip ties go away and it can reach the endstop on its own.

1 Like


Just in case you didn’t notice the adjustment here.

3 Likes

Those things look amazing.

1 Like

:smiling_face: That’s embarrassing, thanks for that. I thought I had them adjusted all the way down, the photos do not lie!
I am afraid I am going to have to put that one down to a bit of brain fade. That and getting the Y axis back to front. Looks like my spacial perception super-power is starting to fade! :open_mouth:

I love your imagining here, and I’m going to run with that! I question my own motives in publishing every little step here, but responses like this may well save me an hour or two of trouble shooting in exactly the wrong direction. Thank-you for standing by as well!

3 Likes

I don’t know if you’ve forgotten or if I’m overly anxious, or even if it’s tomorrow for you yet! (It’s tomorrow here, but I think it’s still yesterday for you!)

Will they be a separate upload or as part of the LR3 file?

1 Like

Front Y Belt Base.3mf (48.5 KB)
Sorry I got sidetracked with some jackpot stuff.
You will need this one and a mirrored one.

I suggest mounting one side fully, and use jut the middle of the slot on the other one. This will let you do a rough adjustment on your squaring real easy before adding the second screw… Then you can fine tune it with your firmware settings.

2 Likes

Nice! Thanks for that - I’ll be able to get the thing square to half the thickness of a sharpie with my eyes closed!

1 Like

I’m not sure that is obvious enough. FTFY

:rofl: :rofl:

1 Like

Definitely could not hurt to spell it out some more. :joy:

1 Like

@jeffeb3 and @DougJoseph I couldn’t figure out how to get all those arrows working, but I moved the plate up instead and it seems to be fine.

And then I went to print the new front mounts (thanks again @vicious1 Ryan.) and remembered I don’t have the Mk$ yet so I’ll just have to wait till this job’s over to print them.

Never mind, a day off the LR won’t hurt I thought, so I went off and made similar mistakes on a cabinet I’m building and will no doubt get back to it in the morning with a fresh brain. :smiley:

2 Likes

As a senior safety monkey around here, I can assure you we don’t really care about your feet. We figure roofing nails and stray Legos should teach you everything you need to know about safety below the knee. Your parents should have taught you about safety between the belt and the knee, and we tend to focus on above the belt safety. No dangling cuffs, proper eyewear, engaging your brain before engaging the robot with the spinning hunk of death metal… And, of course, never turning your back on said robot with aforementioned spinney metallic death attachment. :skull: :fire: :headstone:

1 Like

All sage words.
Not to be too picky, but ear ware is rather important too - hearing doesn’t grow back either.

3 Likes

:rofl: