Hello everyone! I’m new to this forum and have really enjoyed the responses and feedback I’ve received. Recently, I created a topic about my old Langmuir CNC machine, which I am in the process of updating. However, I had to create a new topic because I have an additional CNC machine I’d like to share.
I acquired a large CNC machine that was originally broken down as a plasma cutter, and I transformed it into a CNC wood cutting machine using Mach3 and stepper motors. It’s worked excellently for me, but the machine is quite massive—6 feet by 12 feet—which has made it challenging for smaller jobs.
To address this, I needed a smaller machine for various projects, so I found the Lowrider 4 CNC. I printed my own parts, which was a lot of fun, and I also purchased the hardware bundle, making assembly much easier. I’ve truly enjoyed putting this machine together; the videos, photos, and instructions have been very straightforward to follow. Thank you,Hello everyone! I’m new to this forum and have really enjoyed the responses and feedback I’ve received. Recently, I created a topic about my old Langmuir CNC machine, which I am in the process of updating. However, I had to start a new topic because I have another CNC machine I’d like to share.
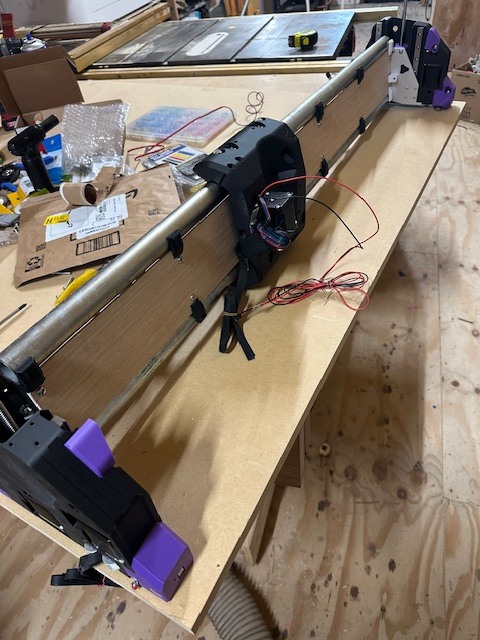
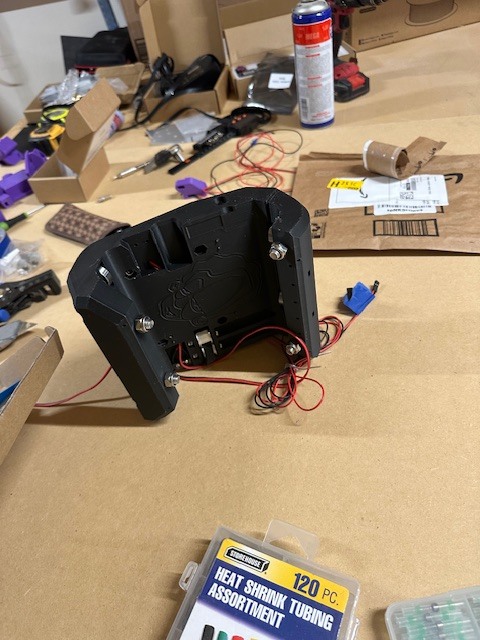
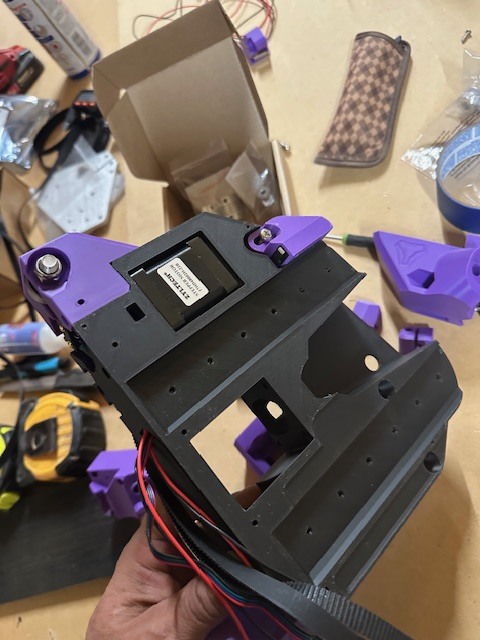
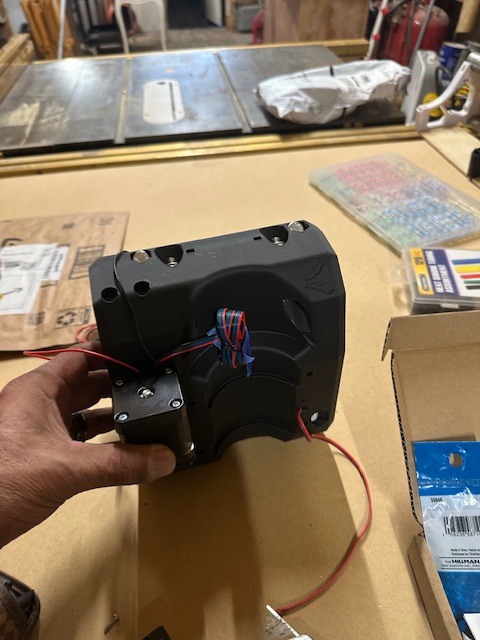
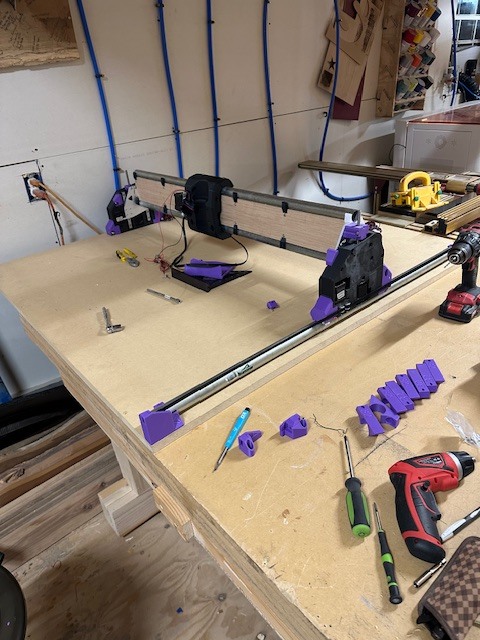
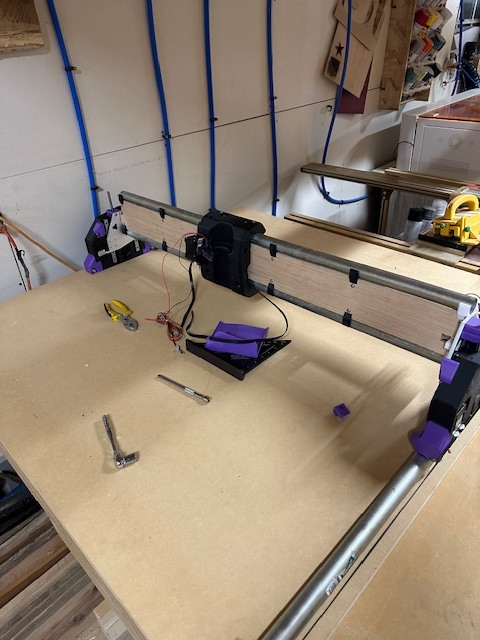
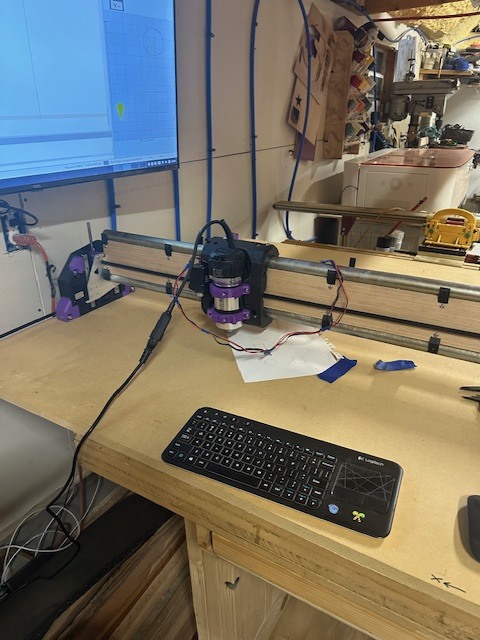
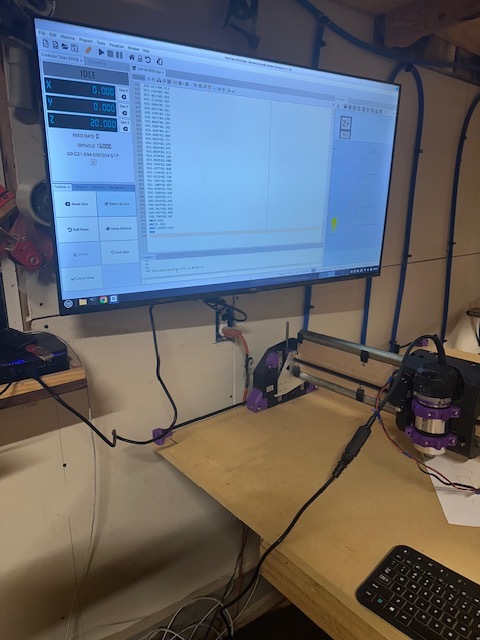
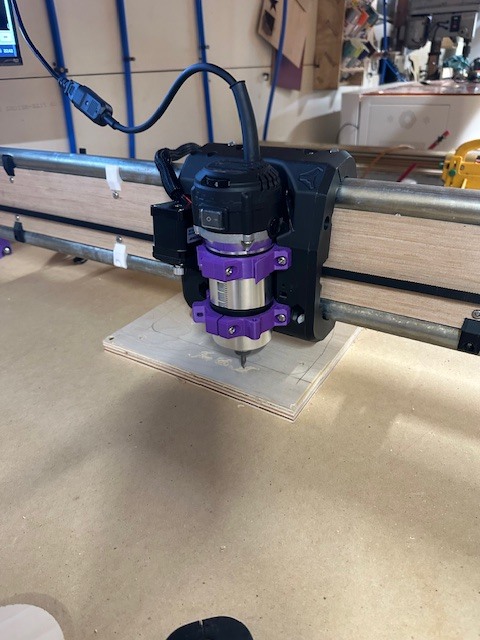
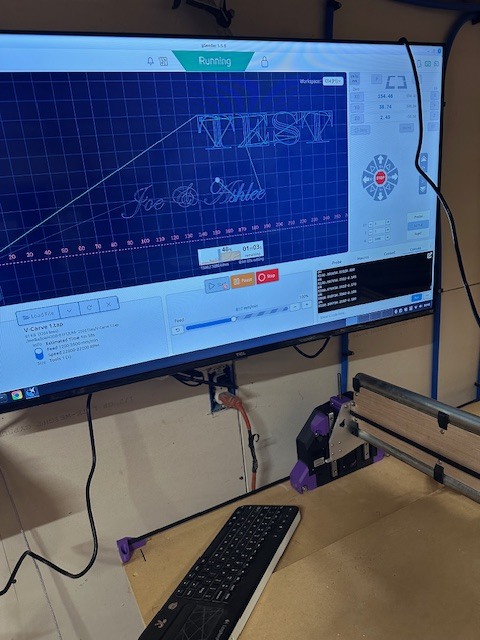
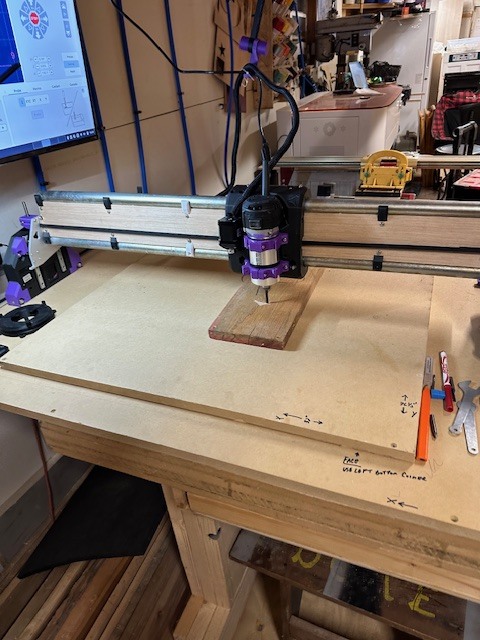
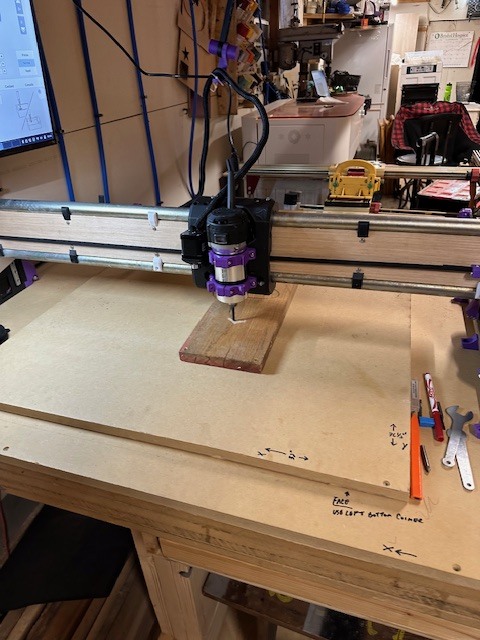
Well, folks, I am steadily making progress. I have completely assembled my machine and connected it to my small PC. I tested a few files, and I have some photos of my setup. The photos aren’t the best, but I will upload better ones soon.
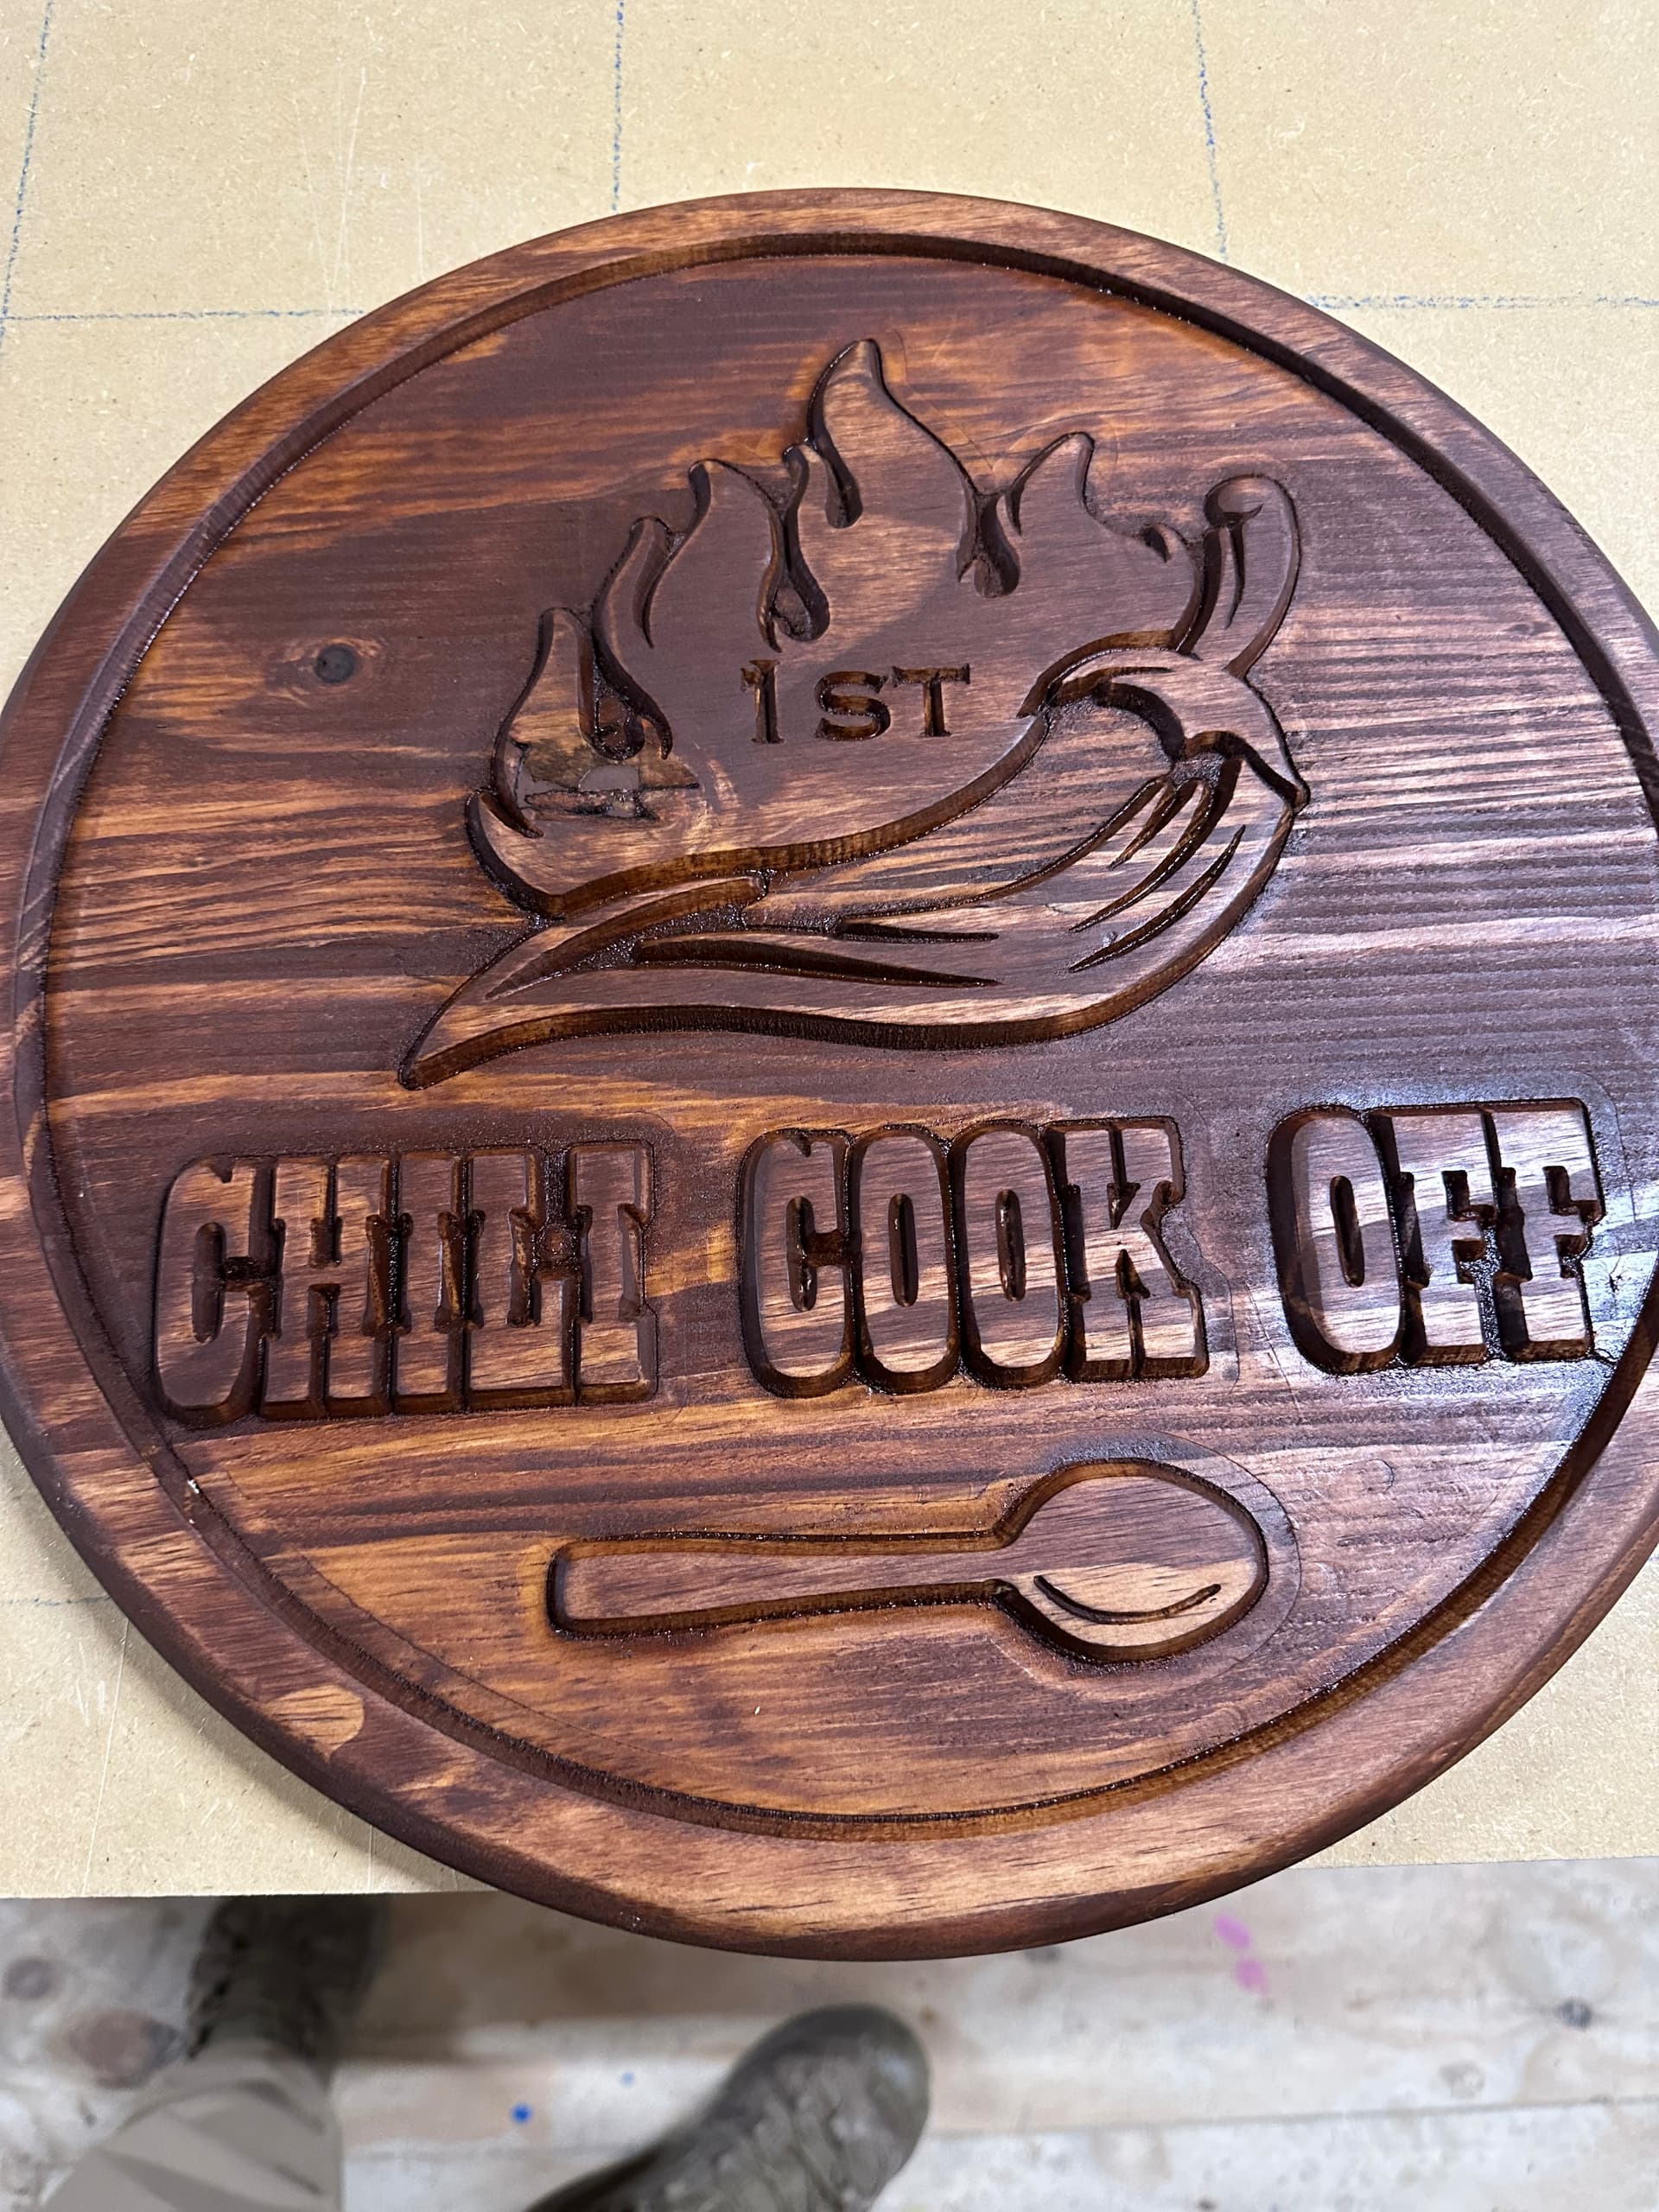
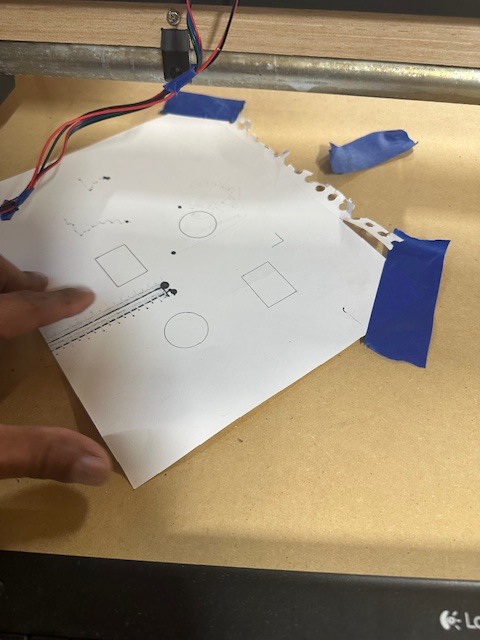
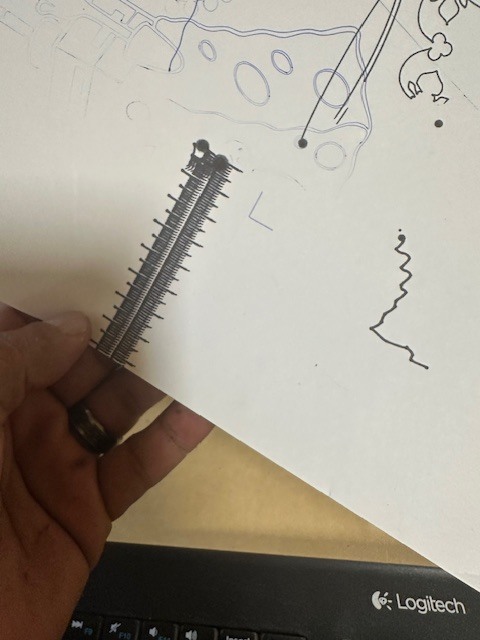
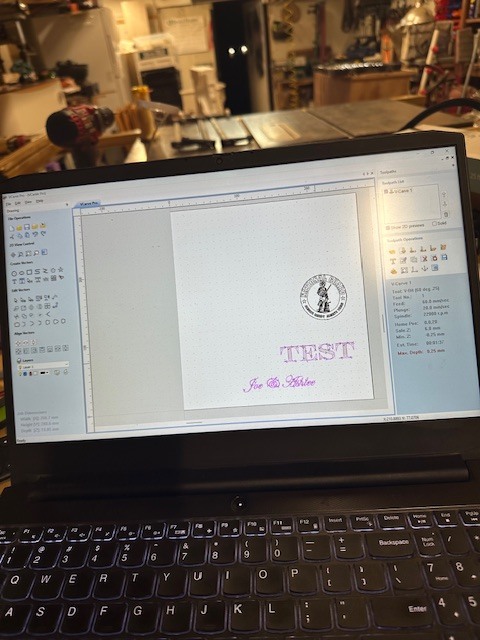
Well, everyone, I’m excited to share that I have successfully completed a cut and engraving with my LR4! It works perfectly! I will be designing a few projects to test if this machine can handle 3D carving and other tasks. I’ll share photos once they are completed. I have videos, but unfortunately, I can’t upload them here.
Nice work!! I have never have done a more serious carve. Curious? How to so neatly paint the black onto the letters? I always struggle with bleed over?
You can use “sanding sealer” before you paint. That will seal the grain of the wood and stop the paint from bleeding over. You can also use tape or some kind of contact paper on top of your board before you do the carve, then your carve will be “masked off” ready for paint when you are done.
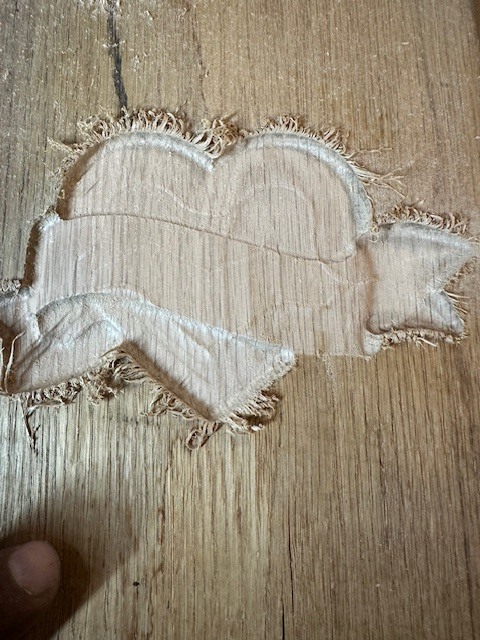
folks, it’s been a while since the last update. Well, I am that guy! Don’t judge; I should have done a rough cut first and then finished, but I am putting this machine through some rigorous tests.
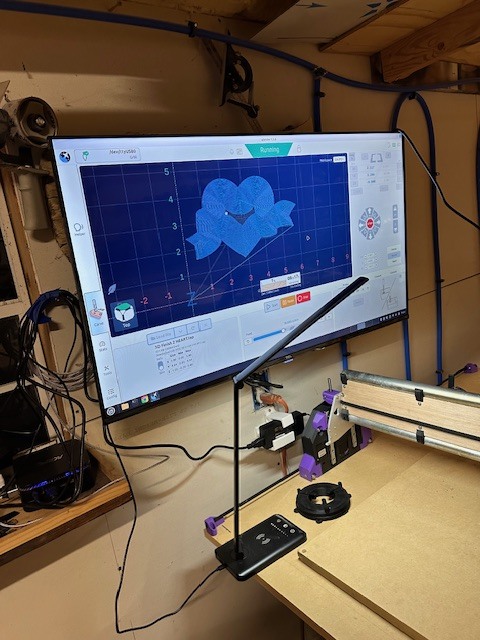
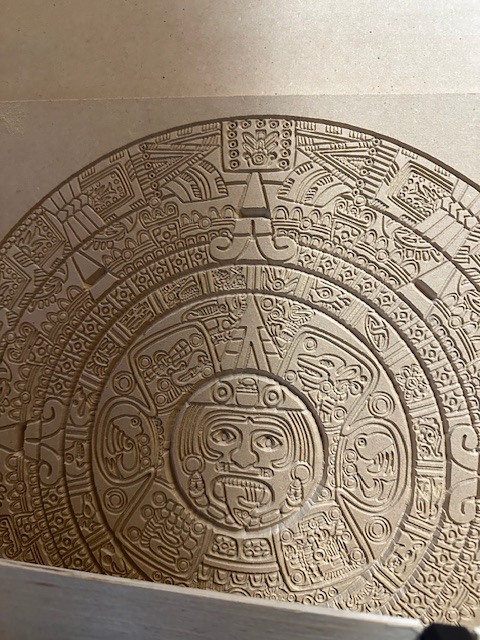
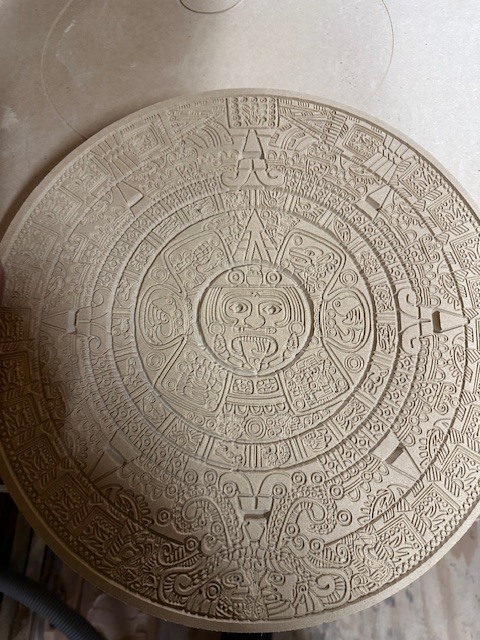
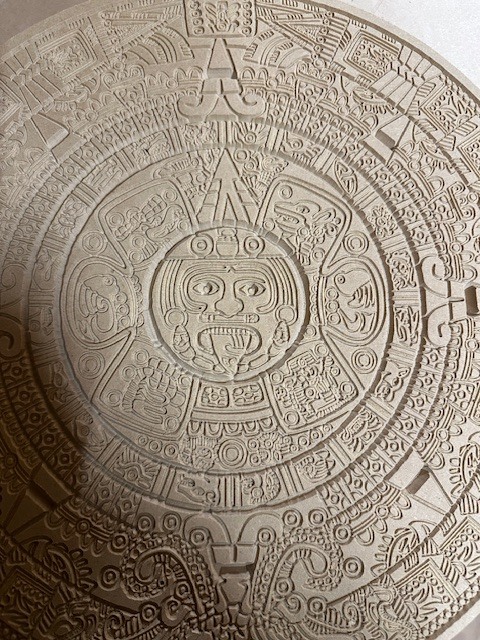
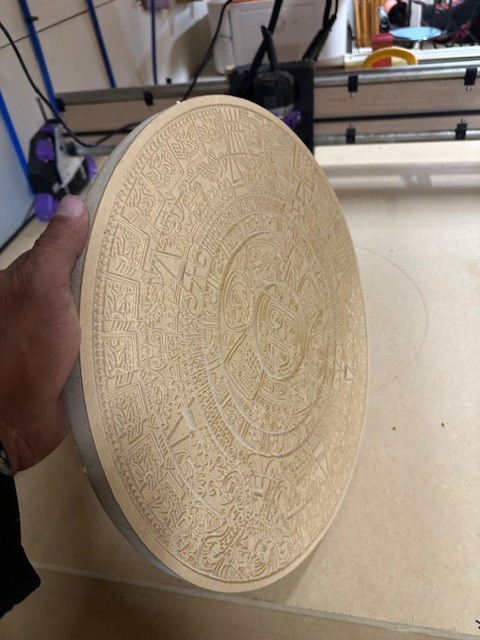
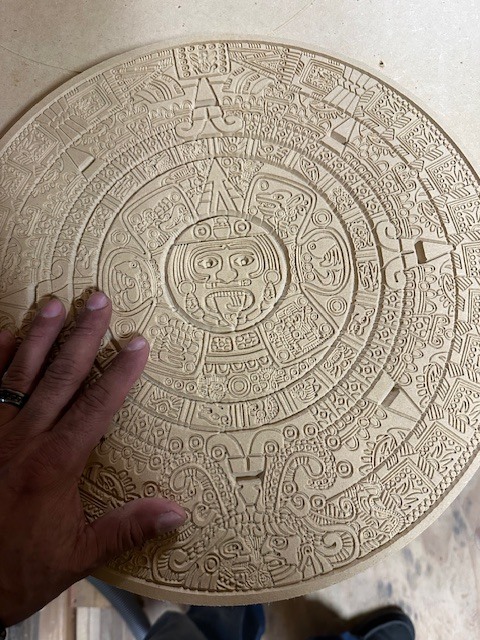
I have officially put this machine to the test, and so far, it has performed remarkably. The precision of the engraving was spot-on with no missed steps, jerky movements, or incorrect depths—it was absolutely perfect. Here are some pictures of an Aztec calendar I created.
I made a critical mistake: I stopped the machine, turned it off, and took a dinner break without marking the original point. When I returned, I moved the machine to what I thought was the starting position and proceeded to cut it out. However, I noticed that the outer circle was slightly off. Despite that, the cut turned out beautifully!