I have two questions for those of you who have built this machine…
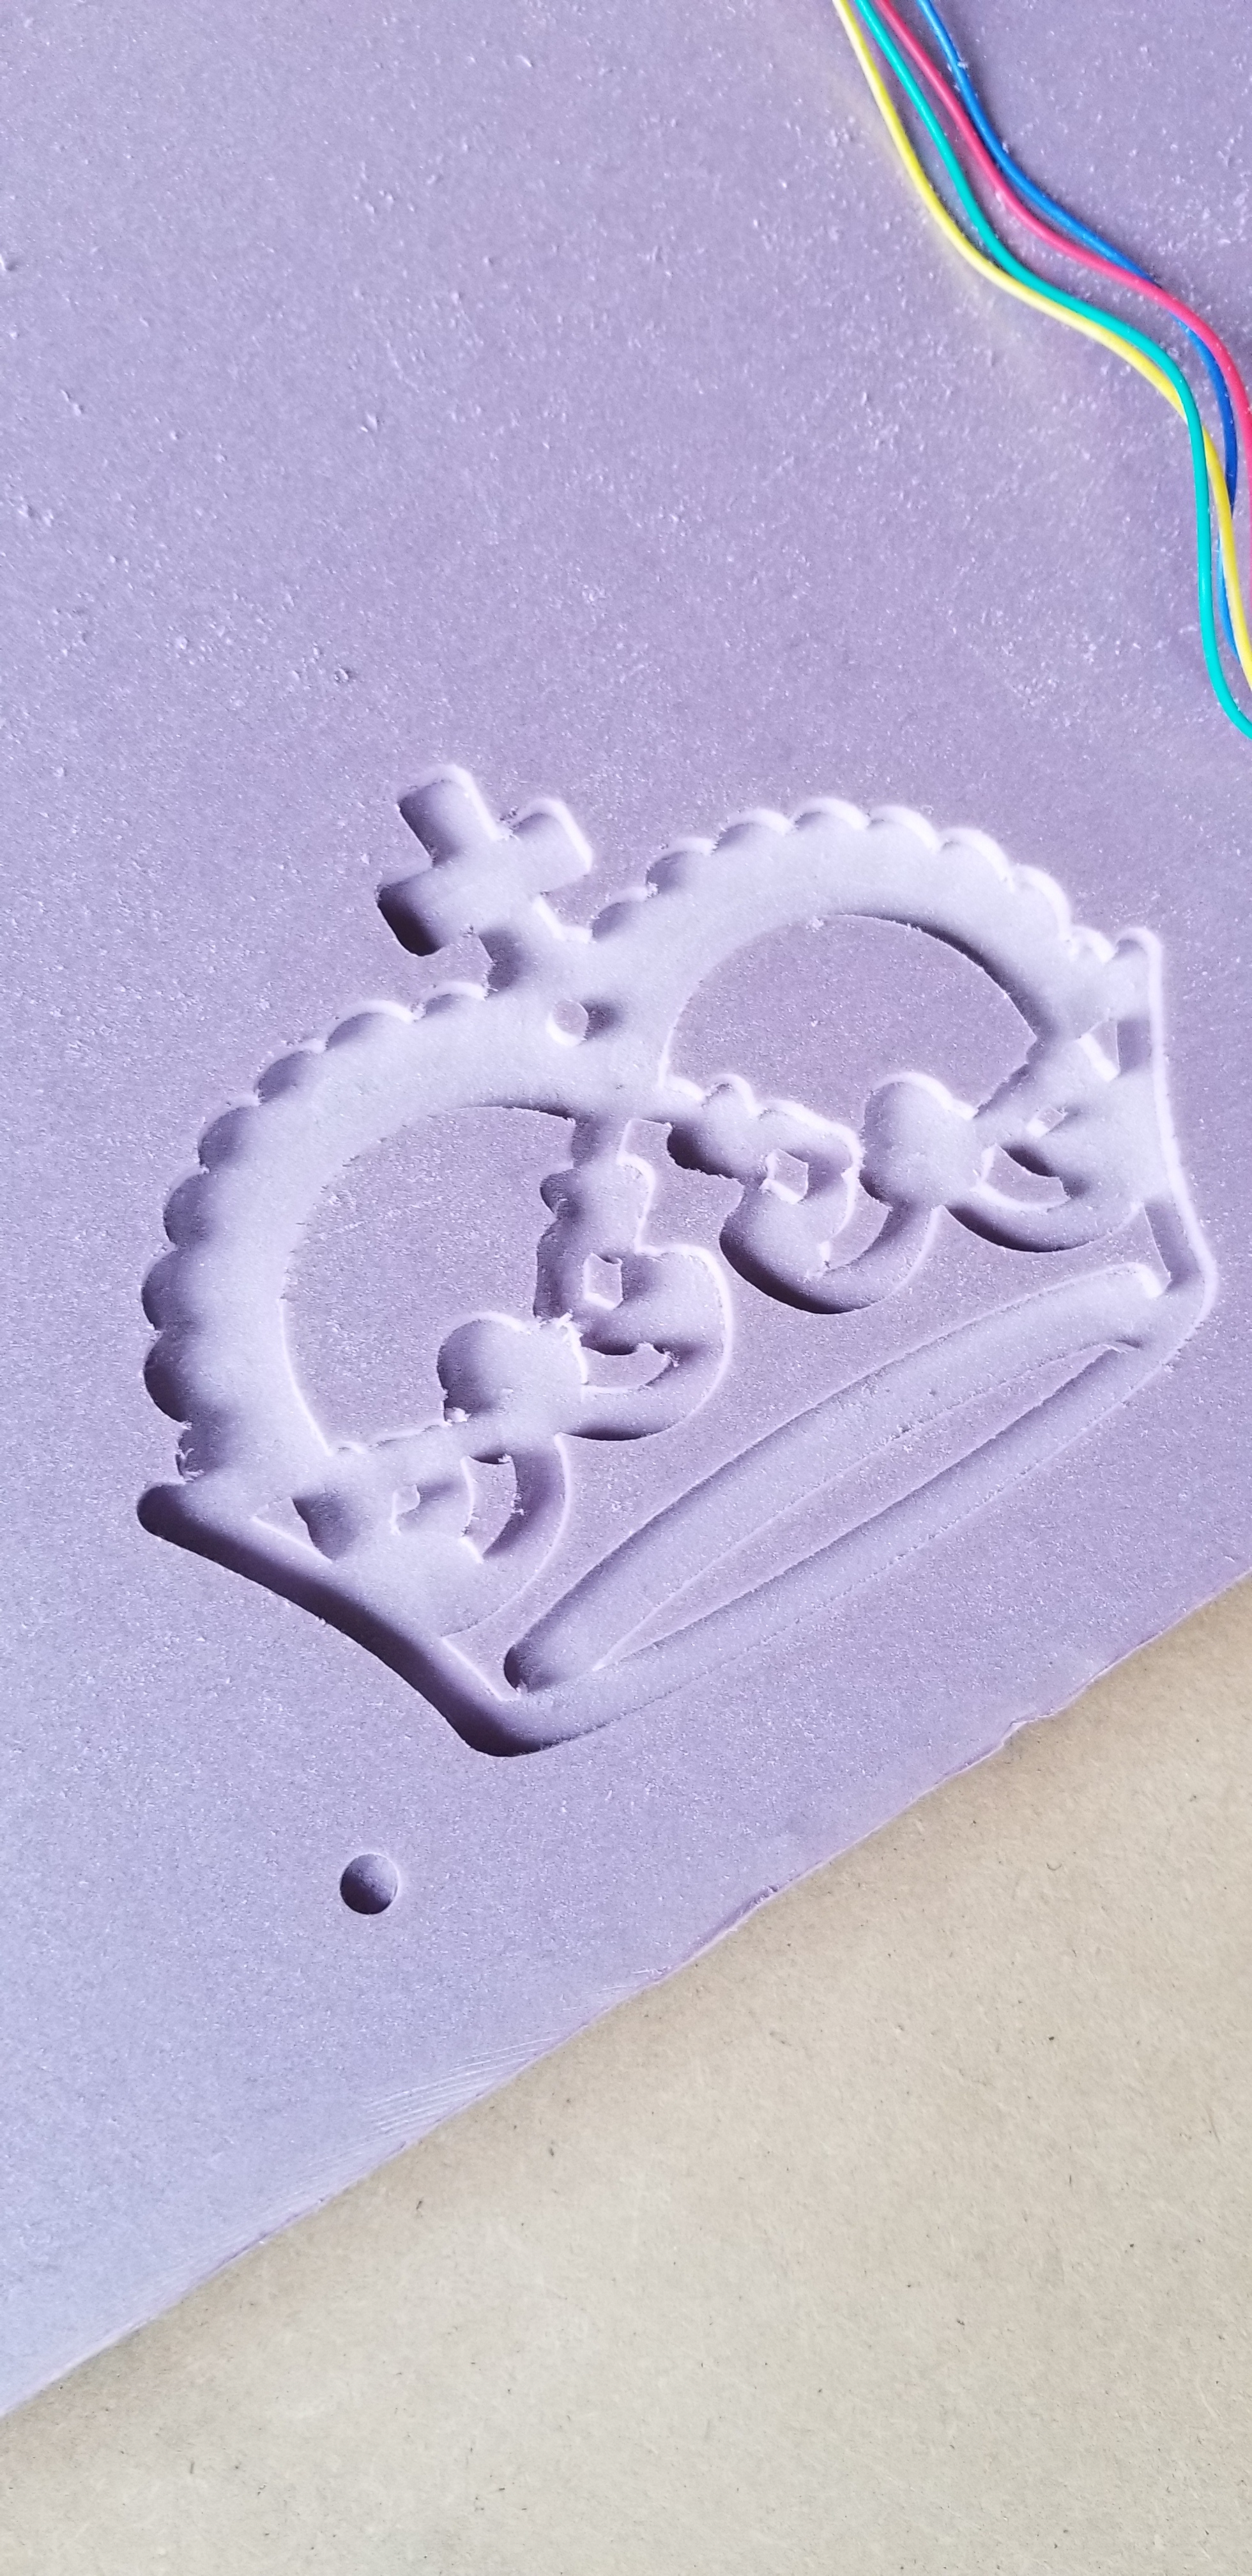
1.) What are you doing with the x-axis wires? (ie, the ones coming from the motor on the carriage)
2.) My y-axis seems to twist a bit…what I mean by that is, once it moves a certain distance, the sides are rubbing on the rails. They don’t quite “bind”, but if I make large travel moves, it definitely affects the axis. Any advice here? Is this common?
The further up the bed it went, the more it got weird. Looks like some sort of missed steps to me.
As it would get to the right side of the photo, it would stop short. As it would come back toward the left side of the photo and get to x0 it would then rumble as the motor attempted to keep moving it left. It definitely didn’t know it’s home position.
I noticed the LCD was also frozen and couldn’t stop the print without unplugging, but it was frozen before it started acting up. In fact, as soon as I pressed “print” the screen stuck right there, and it doesn’t usually do that.
I checked the drivers as this was happening and they didn’t feel very hot… But it was 100 degrees outside, and maybe 80 or so in the garage.
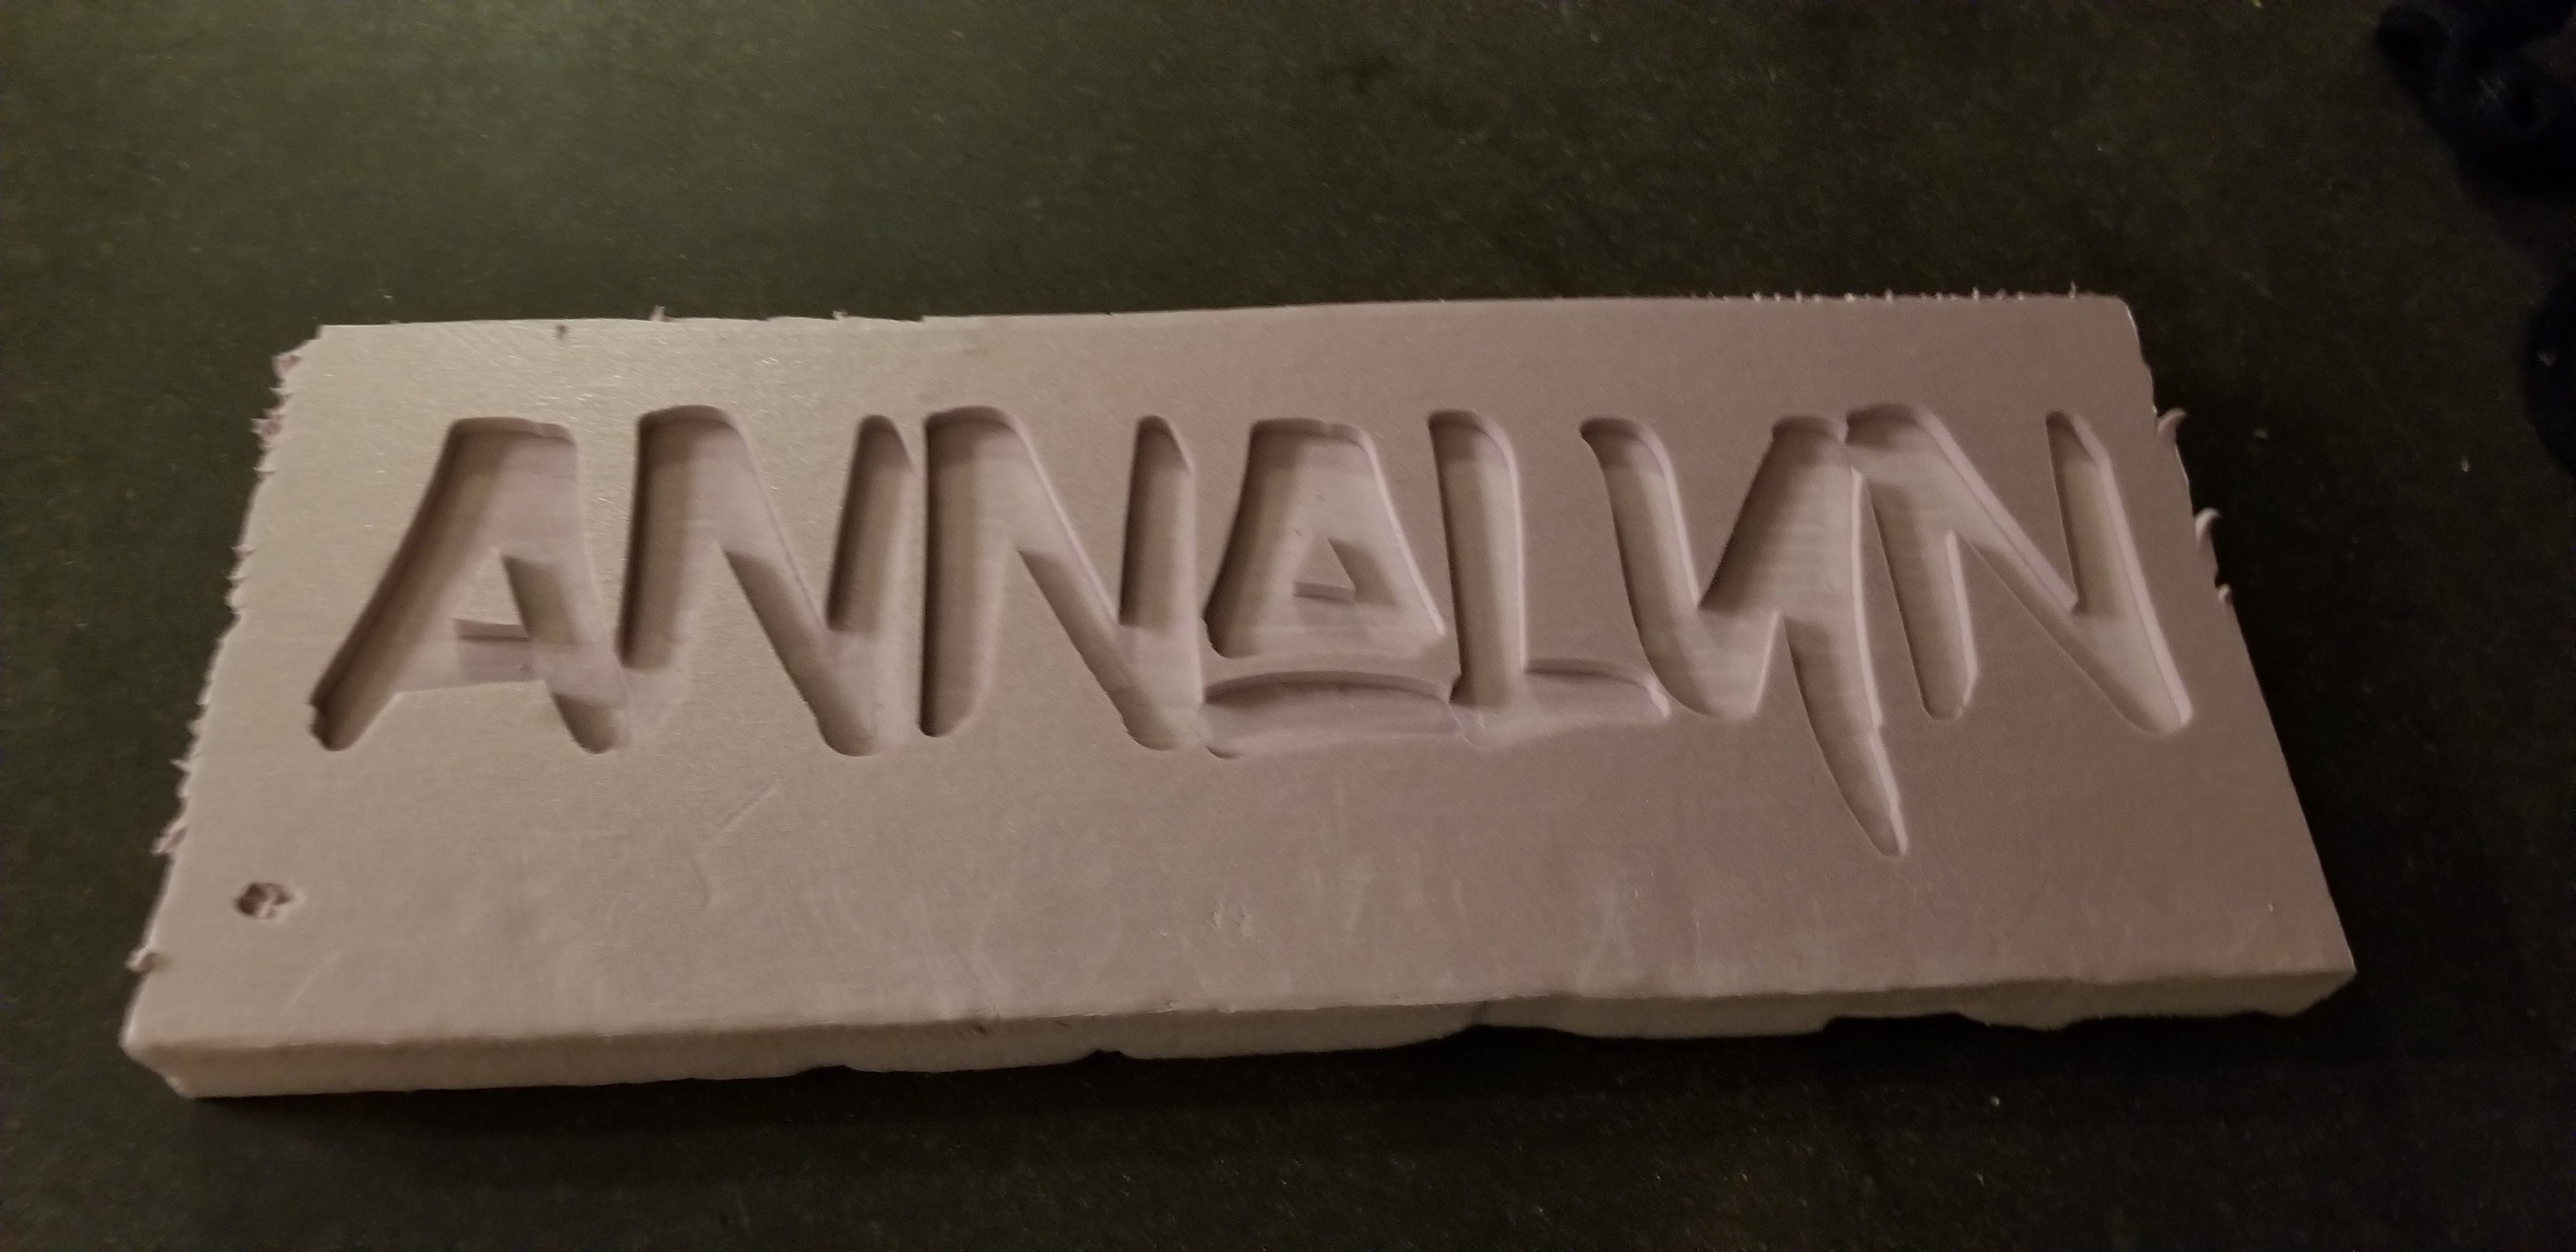
Cut depth is 3mm and it did seem to struggle just a tad but it did fine for over half the spoilboard.
No connectors coming loose? Were the motors hot? Grub screws all tight? Proper incantations performed?
Aside from those things, you’ll have to wait for @jeffeb3 or @vicious1 for better troubleshooting. I do have a couple of completely unsubstantiated comments to make… Surfacing particleboard/OSB, eww! Bad juju! And 3mm seems pretty aggressive for a surfacing pass (although it’s probably not unheard of, especially for a first surfacing). You might also want to look at tramming your router plate. Those ridges tell me your surfacing bit isn’t parallel to your Y-rails.
Now that I’m thinking about it, could some of those big OSB/particle tearout chips have gotten into the bearings on your X-Axis?
edit: When I say “unsubstantiated comments” I mean that I have zero experience with those topics, and that you can and possibly should ignore them; certainly don’t take them as any sort of serious criticism…
Unfortunately my local lumber supply did not have any MDF for the next month, and something has to be there, so this is going to have to do. It wasn’t my first choice, to be sure.
It definitely is aggressive, but the level was at least that far off. Taking 3mm at the highest spots, but only 1mm or less at the lowest spots.
It probably averaged around 1mm or 2mm
I’m aware of this issue as well (was made aware during this) and plan to fix once I get a rough level. Though, tbh the ridges are not really as bad as they look in the photo, the burning from the tool being too high RPM causes a bit of an optical illusion.
It definitely didn’t seem to. I was vacuuming up as it was going and everything moves smoothly now.
It was skipping steps as it was getting to each end of the x axis. Essentially it missed some steps and lost its position or something.