What’s the difference between the one in the shop and this one on Amazon?
Interesting - haven’t seen those. The one in the shop is an actual collet, whereas your amazon item is a collet “adapter”, that slips inside of the 1/4” collet that comes with your Makita router to adapt to 1/8” bits. The one sold on the shop is a total replacement, you remove the original 1/4” collet and put in the 1/8” collet when needed.
I have no idea if one is better than the other. Maybe someone else here has tried them.
Interesting. It’s only $7 so I might as well try it, it’s Amazon so if it breaks or doesn’t do its job I can always send em back
An adapter introduced potential error. The collet is a good investment. ![]()
1 Like
Typically those have poor run out and tool holding. If that slips your adapter, collet and probably endmill are trash.
3 Likes
All right, I wouldn’t want to risk that then. I’ll go order the collet off of the store
2 Likes
Yes they require an adapter. Adapters are not ideal. But they are inexpensive. The ideal use is with an 1/8’ collet you can get for the makita from ryan as he mentioned.
Depends. Yours are likely more robust, but they cost more per mill and have a shorter depth of cut. In terms of cost up front, mine cost more with the adapter (required, but i used this one same as you linked… make sure it is secure and they suck if you change mills a lot during operations), but the cost per burnt up mill is less each, do you can fry 10 for the price of 5 if you feel so inclined. When i was cutting signs from 1/2” ply, I’d cook one of these mills in 4-8 hours and called it the cost of doing business and went through several 10 packs and it was a reasonable tradeoff for the job and the setup at the time. Your use case will likely be different. Some may say my use was wrong snd it may have been. It was non-ideal, but it made money and sure went faster than it was supposed to. The point is to keep trying until you find what works. I was going to use the word fearless, but it is always healthy to fear a spinning cutter, so be courageous.
1 Like
It actually looked Like the ones that I linked still use a 1/8 inch shank, the cutting edge is just 1.5mm, didn’t realize when I linked it last night
The one i have but may not have linked have 19 mm to 22 mm cutting edge so it will do 3/4” depth, though typically only cut 1/2”.
I’d still just get some extra ones off the V1 store. They’re like $5 each. Keep your router dial between 1 and 3 and you shouldn’t burn up one too fast. It’s common for people to run the router too fast and kill bits.
1 Like
I’m going to offer a different view on the issue of the heat resistance of PLA filament.
While it’s true that under some (most?) circumstances it is pretty heat tolerant up to around 50C, I have direct experience with heat related failure of PLA at temps that were likely lower than that. (I have also heard of failures of PLA due to parts being in hot cars in the summertime, but have no direct experience with that. )
In my case, the parts that failed were simple holders for 18650 batteries that I use to power various sensors in my garden. They are simple open trays with spring loaded contacts at one end. And they are always contained within outer boxes (always white) that hold the other components like the microcontroller.
Over a few months, I found that these battery holders had simply warped enough that the terminals would no longer make contact, presumably because of the combination of slight softening and the force imposed by the spring. This is essentially an extreme form of “creep" which is a known characteristic of PLA as well as most other materials.
So, while it’s likely that you will be able to use PLA successfully for most of your LR4, I would be concerned that for any parts that are under stress, the combination of heat and stress may cause failures. This will apply to parts like the router mount, but may also have subtle effects on the core as that is where the weight is concentrated. Over time, the belt holders may show signs of weakening but can probably be adjusted. Most of the other parts which are not under continuous stress should be fine.
If you find that you have issues of this type, you can use ASA filament for those parts. I’ve been using ASA for outdoor applications for a couple of years with no similar issues. In sunlight they do eventually become brittle, but you won’t have that problem.
2 Likes
If I can get a filament company like polymaker to sponsor it, I will re-print all of the parts in the recommended high-temp material. However, seeing as all of the parts were given to me pre-printed, I think I will stick with what I have for now. Also, is it okay to leave the plastic strut plates that were there from RMRRF? I like the design and want to leave it as sort of a memento, unless it would lower the performance, in which case I’ll screw it into the wall above the cnc or something
Those are temporary strut plates. Use them to cut out the permanent struts and then hang them on the wall. ![]()
Read through these docs to learn more about the LR4 and how to make your permanent strut plates. I can tell by your enthusiasm that you are going to love your new CNC.
1 Like
Sounds good! I’ve skimmed through those docs once or twice already, and taken a longer look at areas of interest, so I figured it would be better to cnc the plates, figured I’d ask anyway. Maybe I can do some sort of 3D design similar to the 3d printed one on it later on…![]()
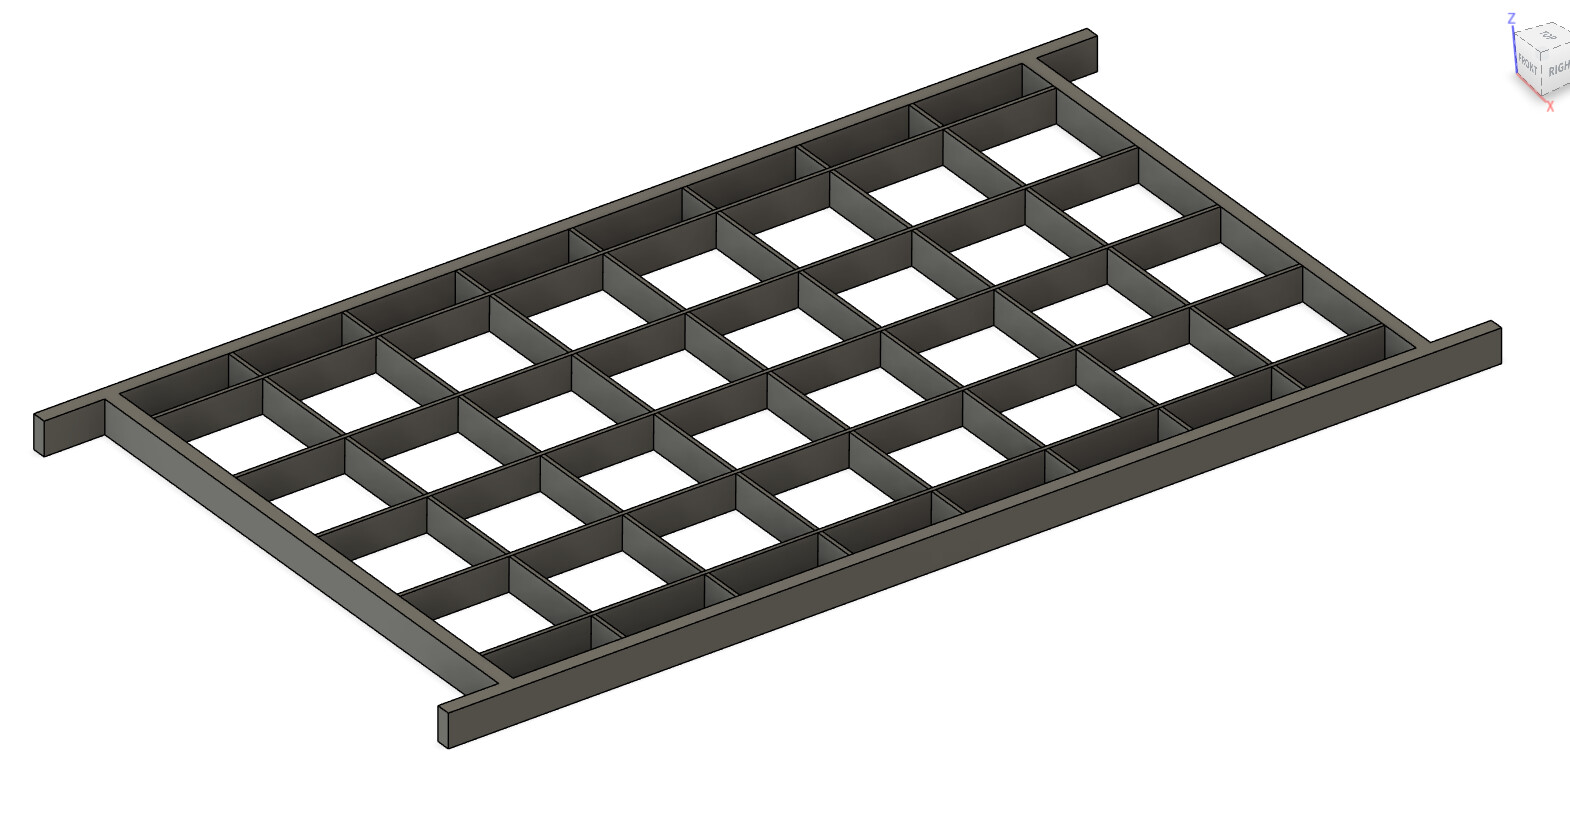
Oh, and I just finished designing the basic frame of my table (I hid the top and bottom boards) and made it fully parametric (hopefully nothing breaks lol). The boards slot together and are designed to be cnc’d out of 7/16”OSB with a plywood top plate, an MDF spoilboard, and an OSB bottom plate. It is also going to have a 2x4 frame since I am going to be folding the whole thing up against the wall, currently working on that design as well.
1 Like
No, those are more than adequate for now.
They are not the standard temp strut plates, they are interlocking printed full span.
If you want to change the width of the beam, then you should reassemble with the printed temp strut plates and use the generator to create a new SVG, then do as Brit says to cut a new strut plate.
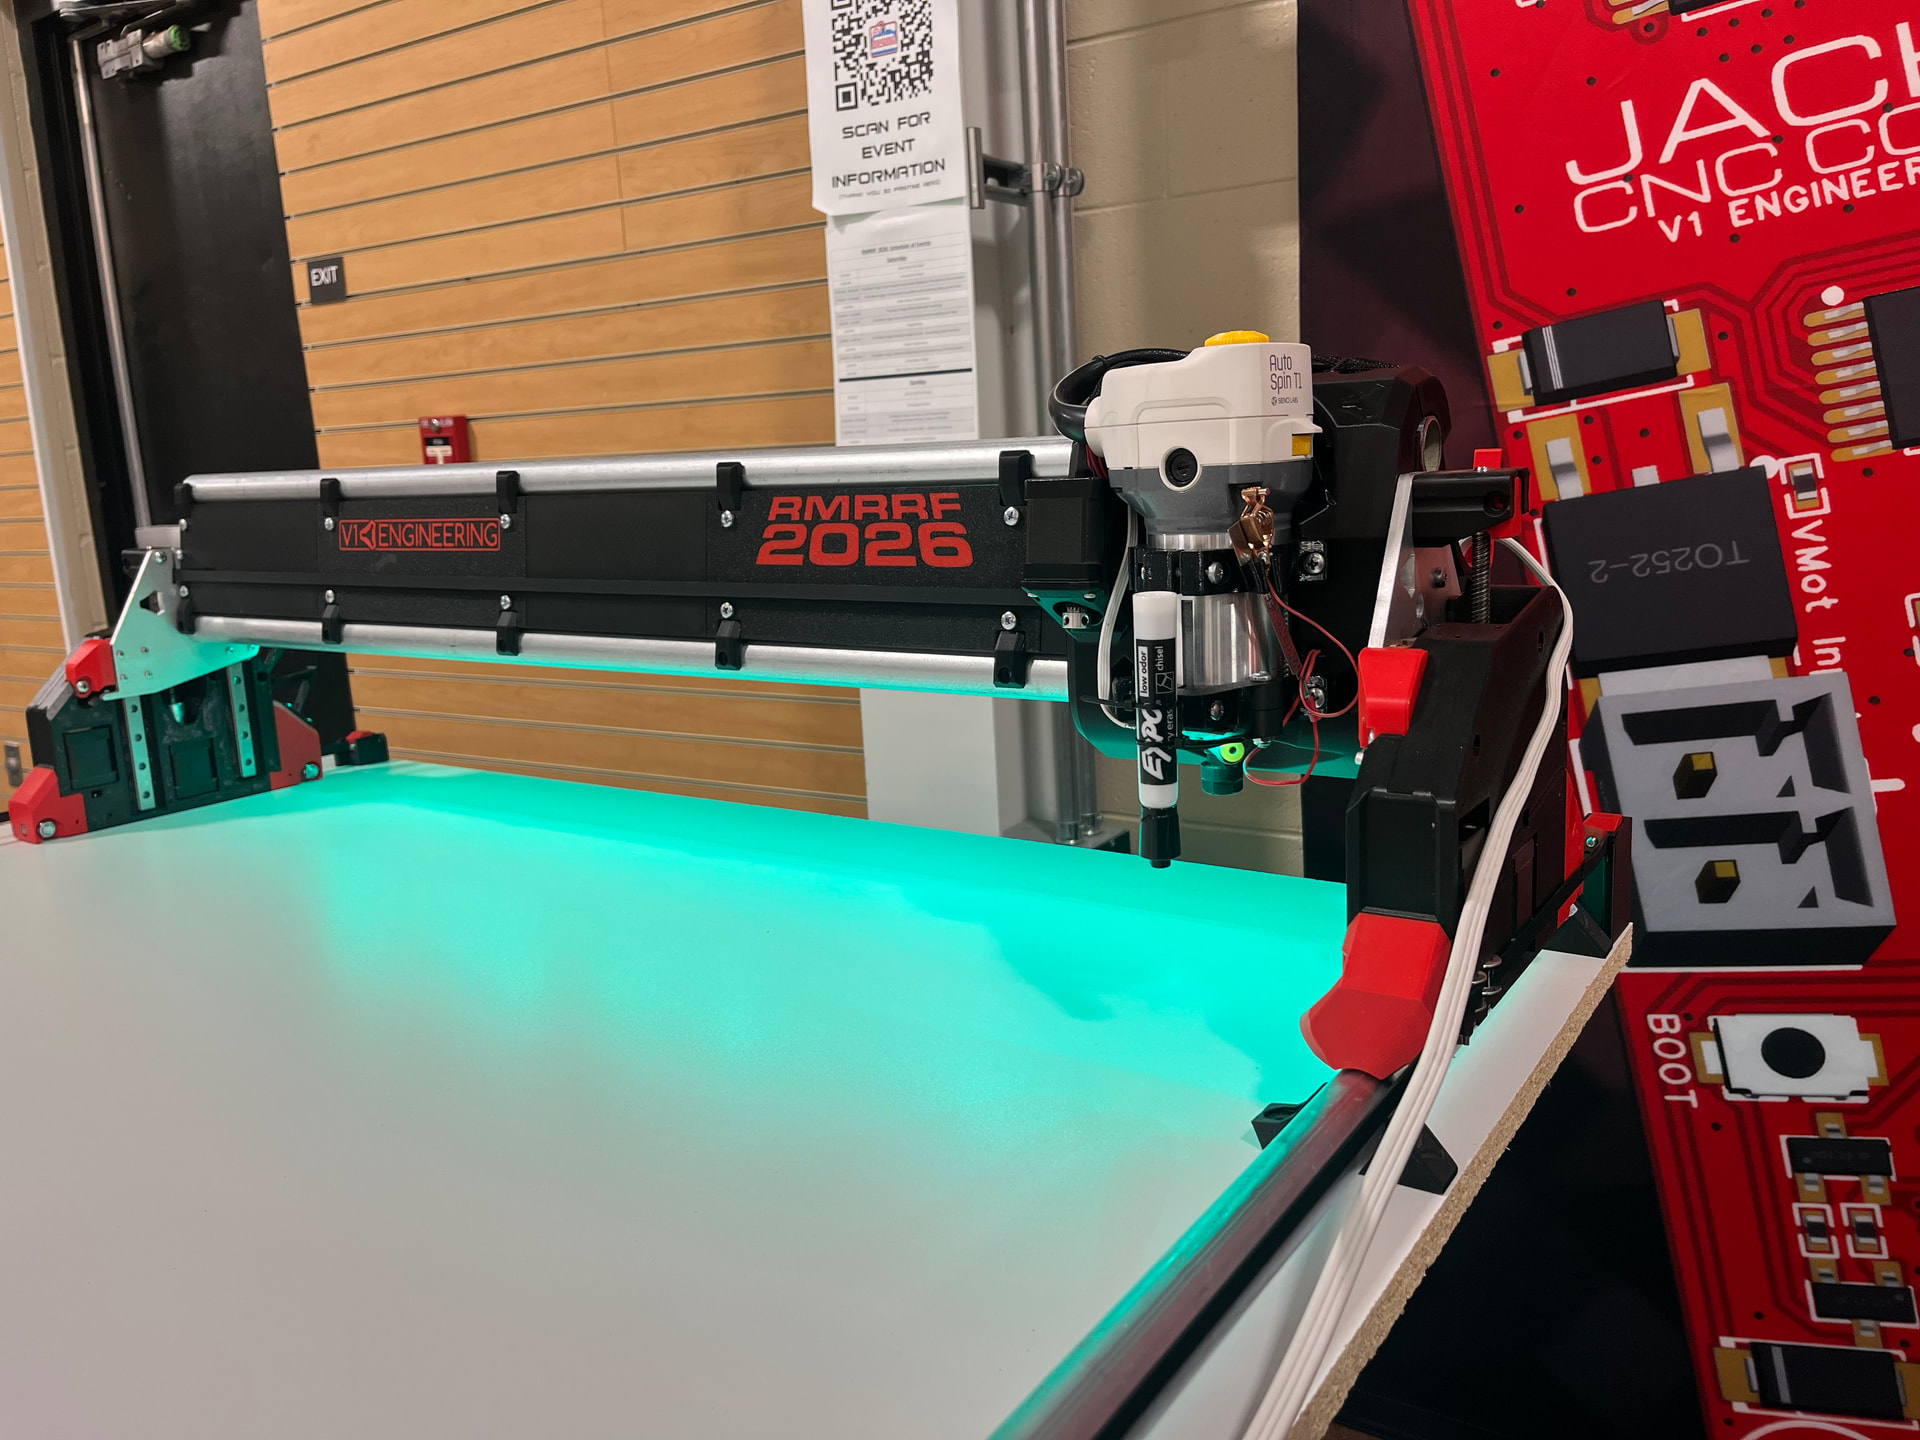
Not many noticed it, but the RMRRF strut plates are multi-color , interlocking parts.
A little Easter egg from Ryan almost no one saw up till it’s now revealed.
Take another close look:
Maybe if you ask Ryan , he could customize one of the interlocking parts if you go to a different beam width.
4 Likes
Okay, that is what I noticed and knew it was different from the normal ones, which led me to ask, and is why I really like them and wanted to keep them.
![]() @vicious1 I was planning on building a temporary table out of 2x4s so that I can cut a full 4x8 sheet. If that wouldn’t be too hard to design, do you think you could generate one of the struts to be a bit longer so I can use this on the longer/wider table?
@vicious1 I was planning on building a temporary table out of 2x4s so that I can cut a full 4x8 sheet. If that wouldn’t be too hard to design, do you think you could generate one of the struts to be a bit longer so I can use this on the longer/wider table?
You may find some useful thoughts about dust collection here. Drag chain AND vac hose - #9 by dwkisker
I use a shop vac with a cyclone that lives down on the floor at the X-min side of my table.
I also have posted some magnetic connectors that are threaded so they screw directly into the hose. Those are on Printables: Magnetic dust collector fittings, threaded for 2.5" hose by Dave K | Download free STL model | Printables.com
2 Likes
Sounds good, thanks for the files!! My plan is to use an old dewalt shopvac with this hose. Any suggestions for a cyclone add-on?
Simplest is the Dustopper from Home Depot and a5 gallon bucket. It’s adequate for the task.
As for the hose, it needs to be very flexible as there are some pretty tight turns as you can see from the images
1 Like