LowRider v4 Build: Twinkle Forge – CNC Coroplast Props for xLights

LowRider v4 Build: Twinkle Forge – CNC Coroplast Props for xLights

Hey everyone!

I’m Seth from Lexington, NC, and I’m excited to finally start documenting my LowRider v4 build. I just recently joined the forums, and now it’s time to jump in and share my journey with the community.

What I’m Building This For

I’m building this primarily to cut and mark corrugated plastic (coroplast) sheets for high-density pixel props used in holiday light displays. If you’re not familiar with the xLights/WLED community, we create synchronized light shows using individually addressable LED pixels.

Here’s an example of one of my shows to give you an idea of what these props look like in action:

2024 Christmas Light Show

The props I’ll be cutting include things like matrices, arches, candy canes, and custom shapes – all designed to hold pixels in precise patterns. Coroplast is the material of choice because it’s lightweight, weather-resistant, and cheap enough to experiment with.

Twinkle Forge

Beyond my own displays, I will be launching an website called Twinkle Forge to sell these CNC-cut props to other xLights enthusiasts. I’m currently developing a full e-commerce platform (web + mobile app) to handle sales of both physical props and digital cut files. The LowRider will be the production workhorse for this venture.

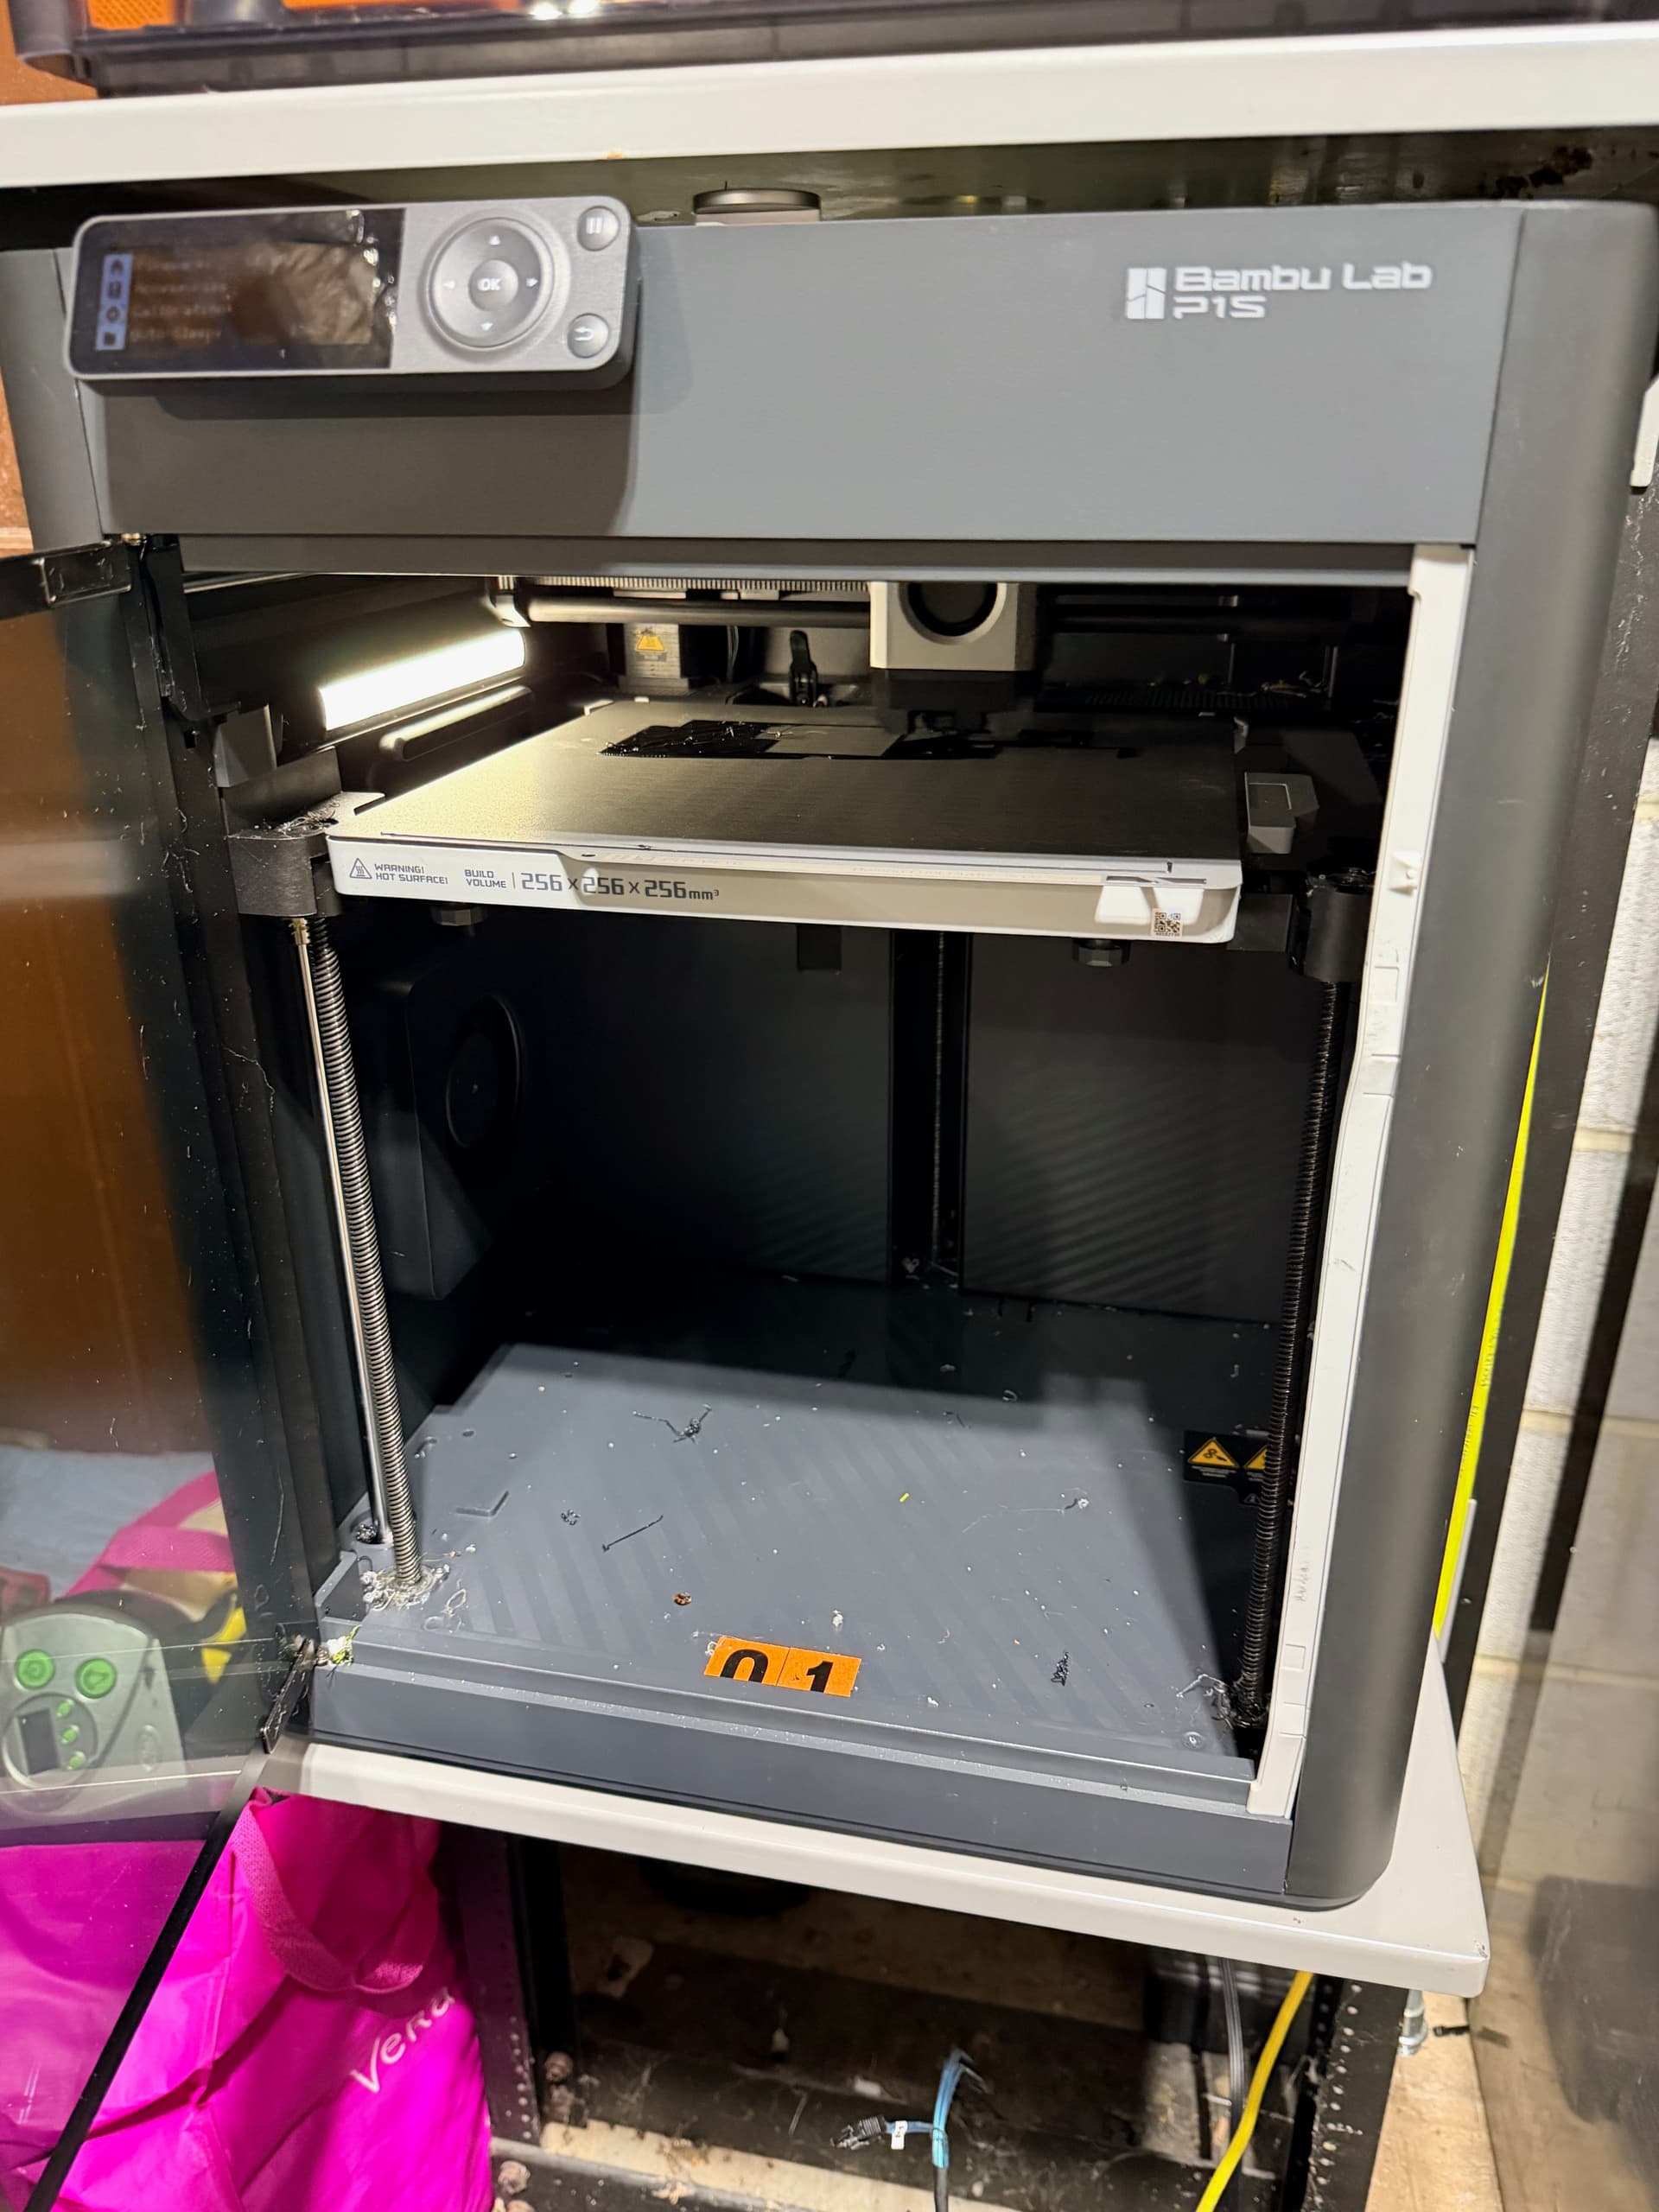
The Build So Far: 3D Printed Parts

The A1 mini and P1S have been working overtime on this V4 printed parts list and I’m happy to report good progress! Here’s where I’m at:

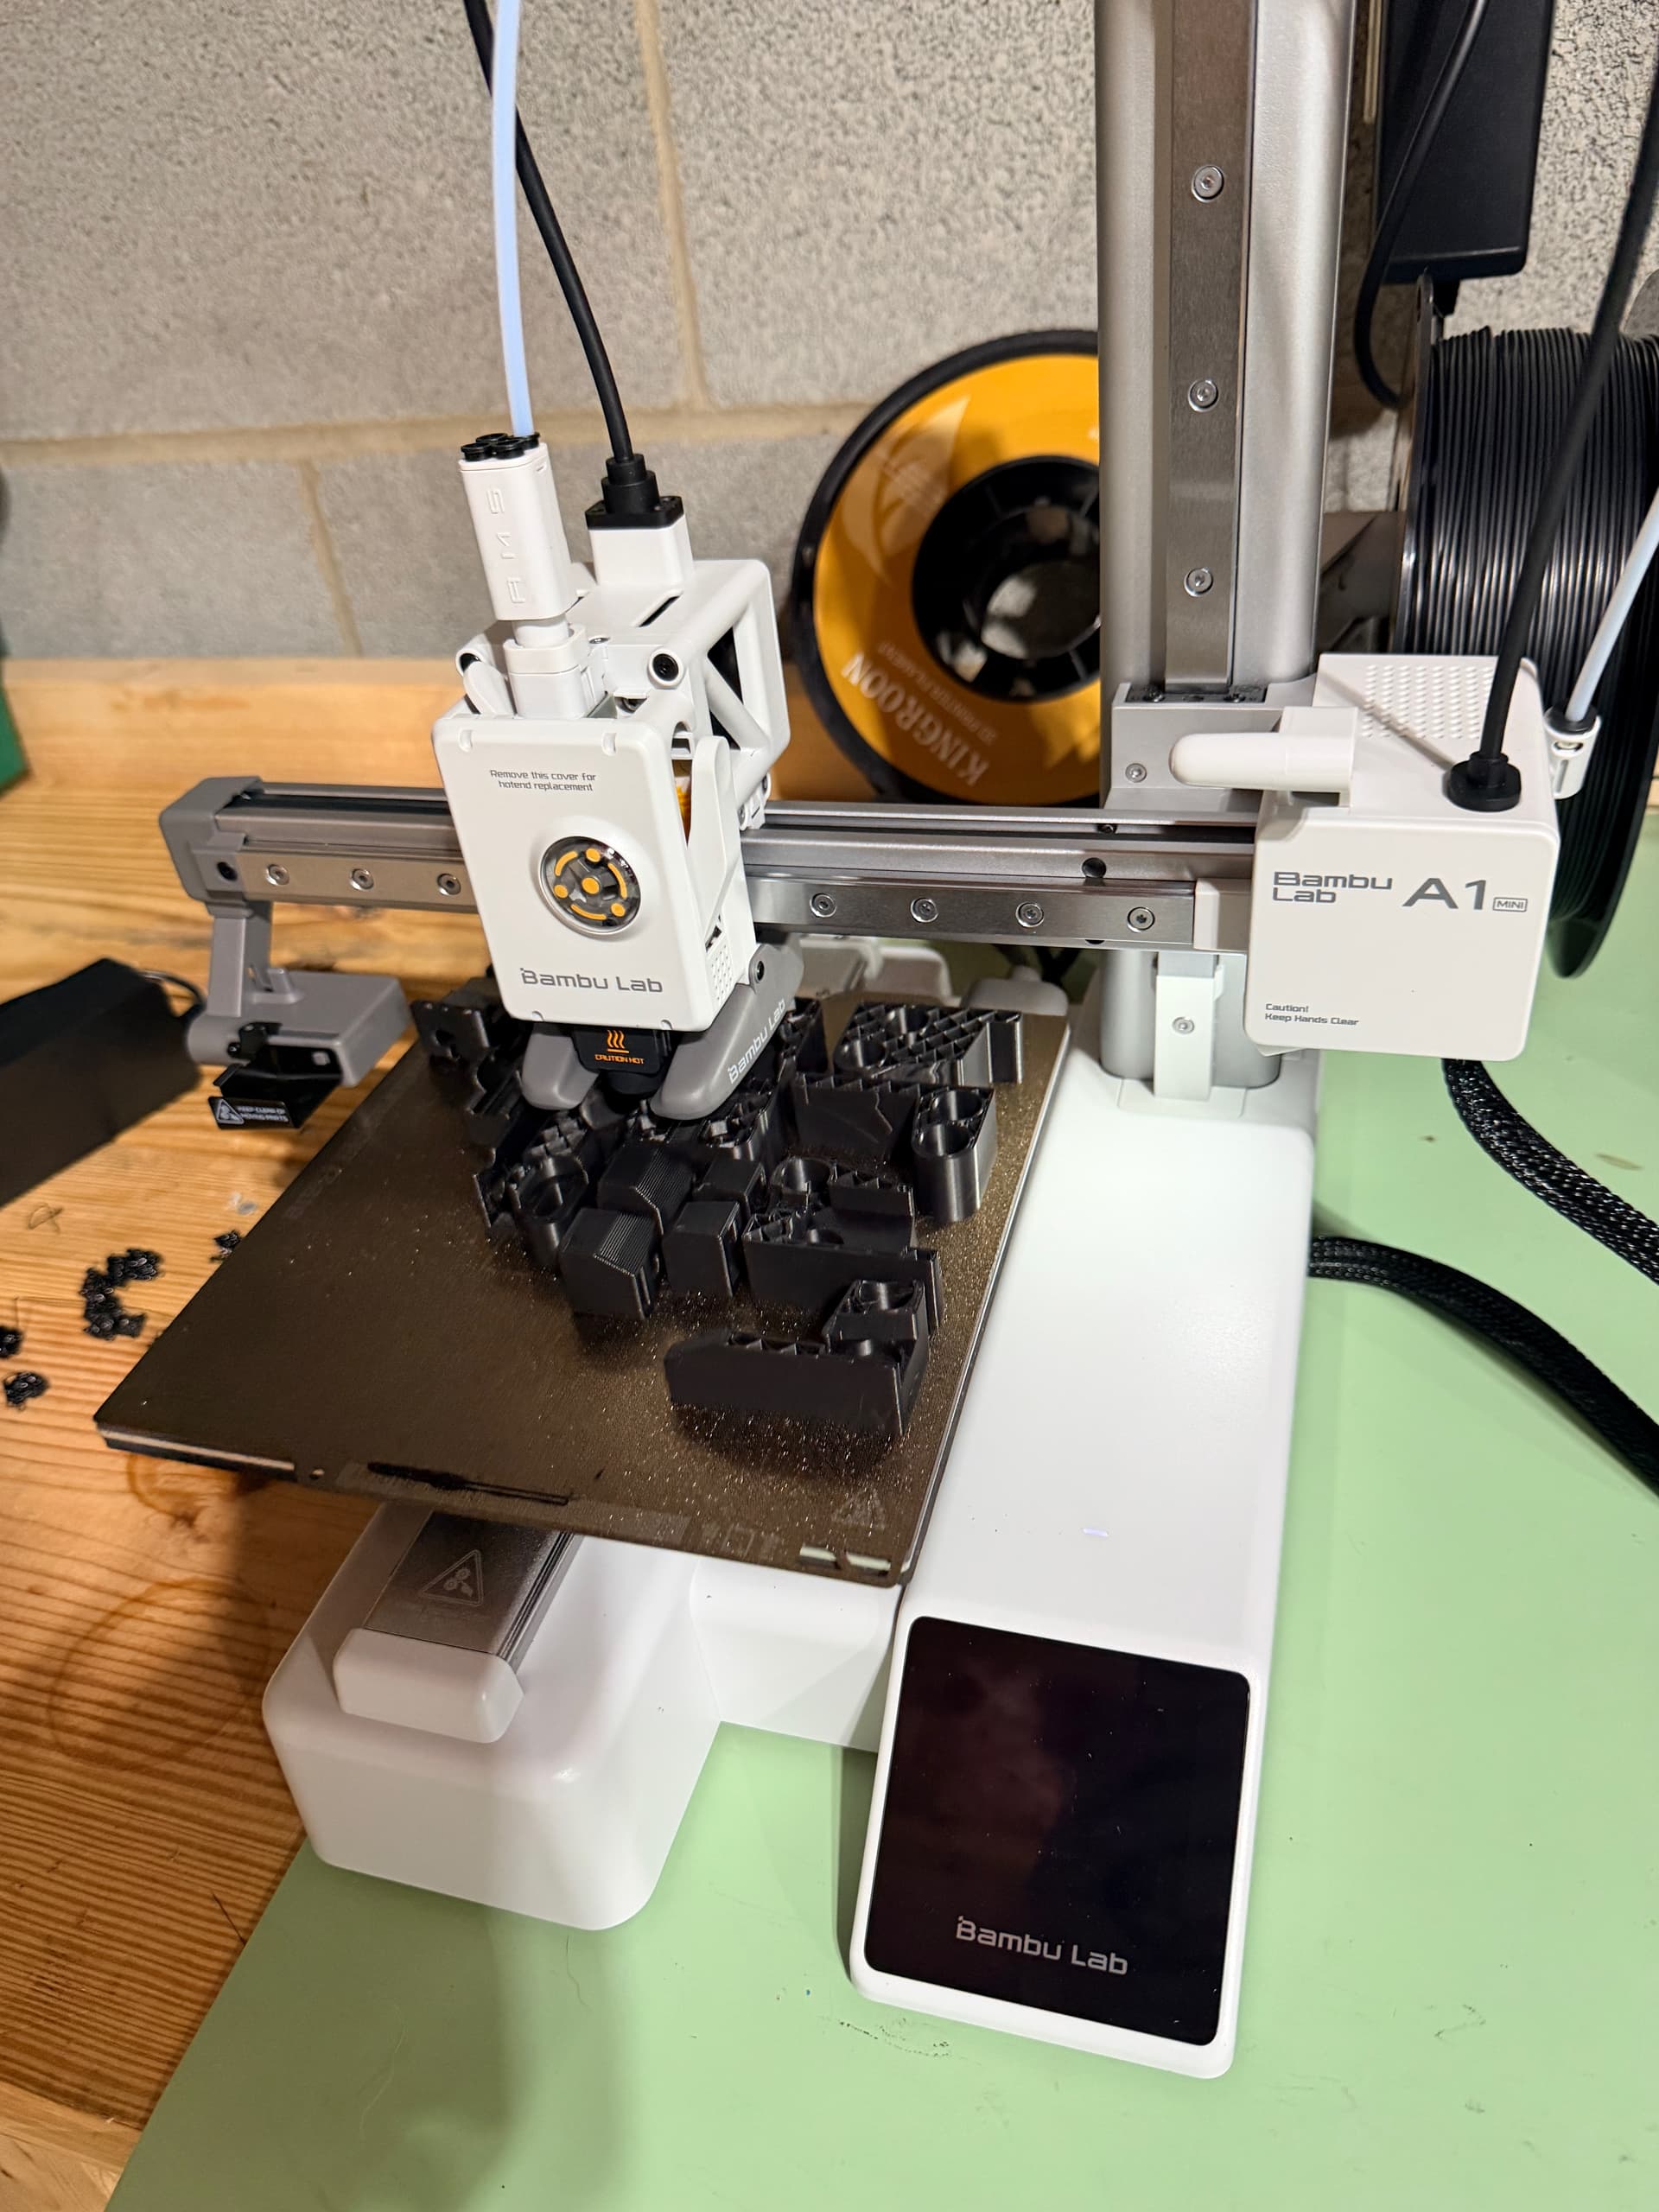
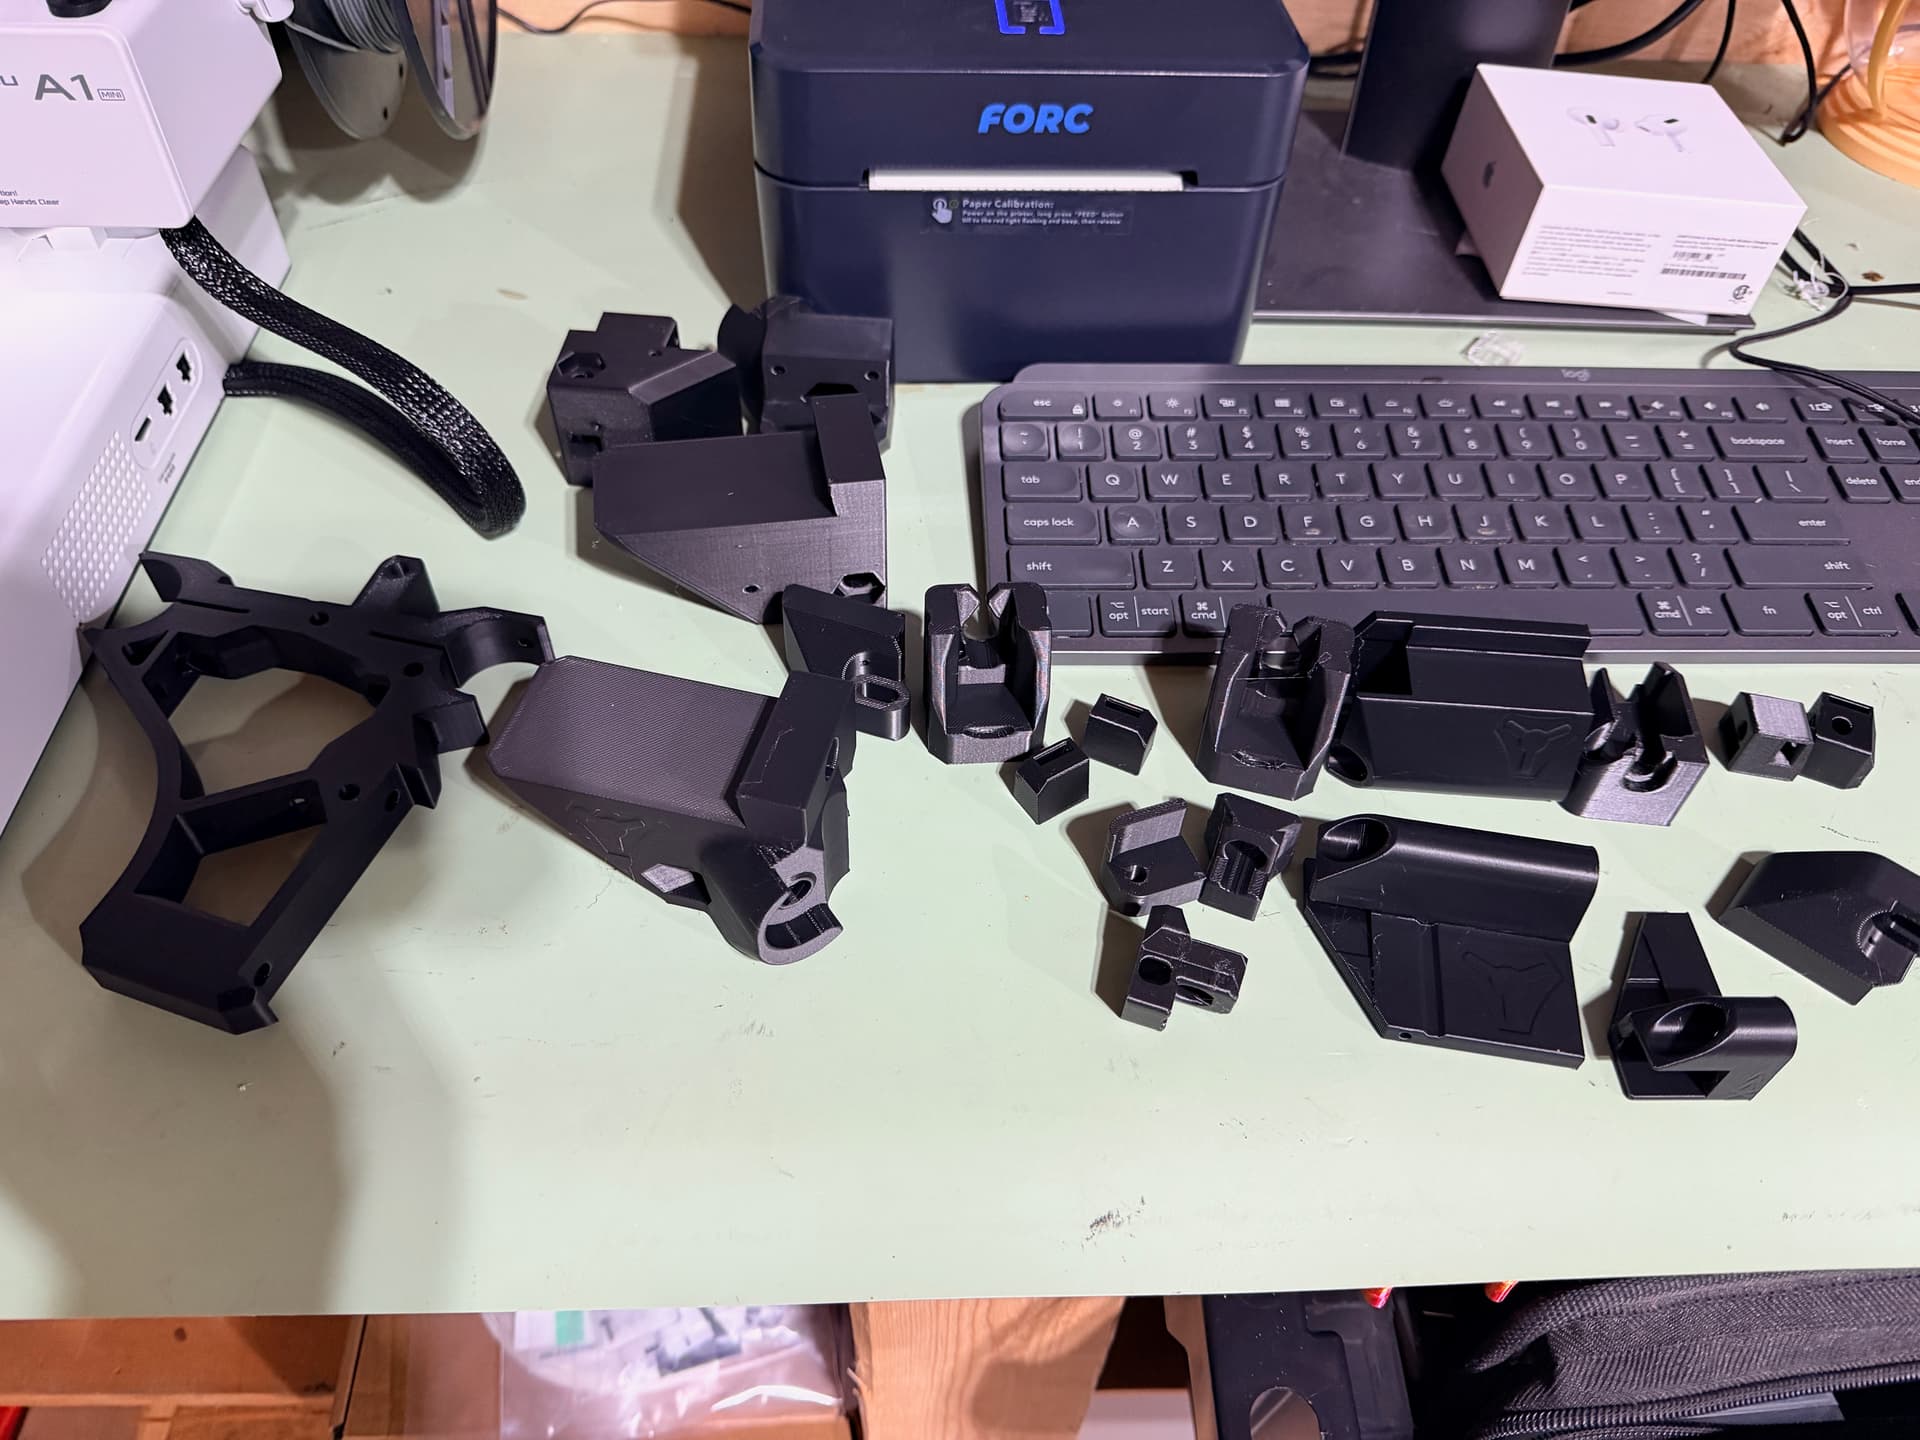
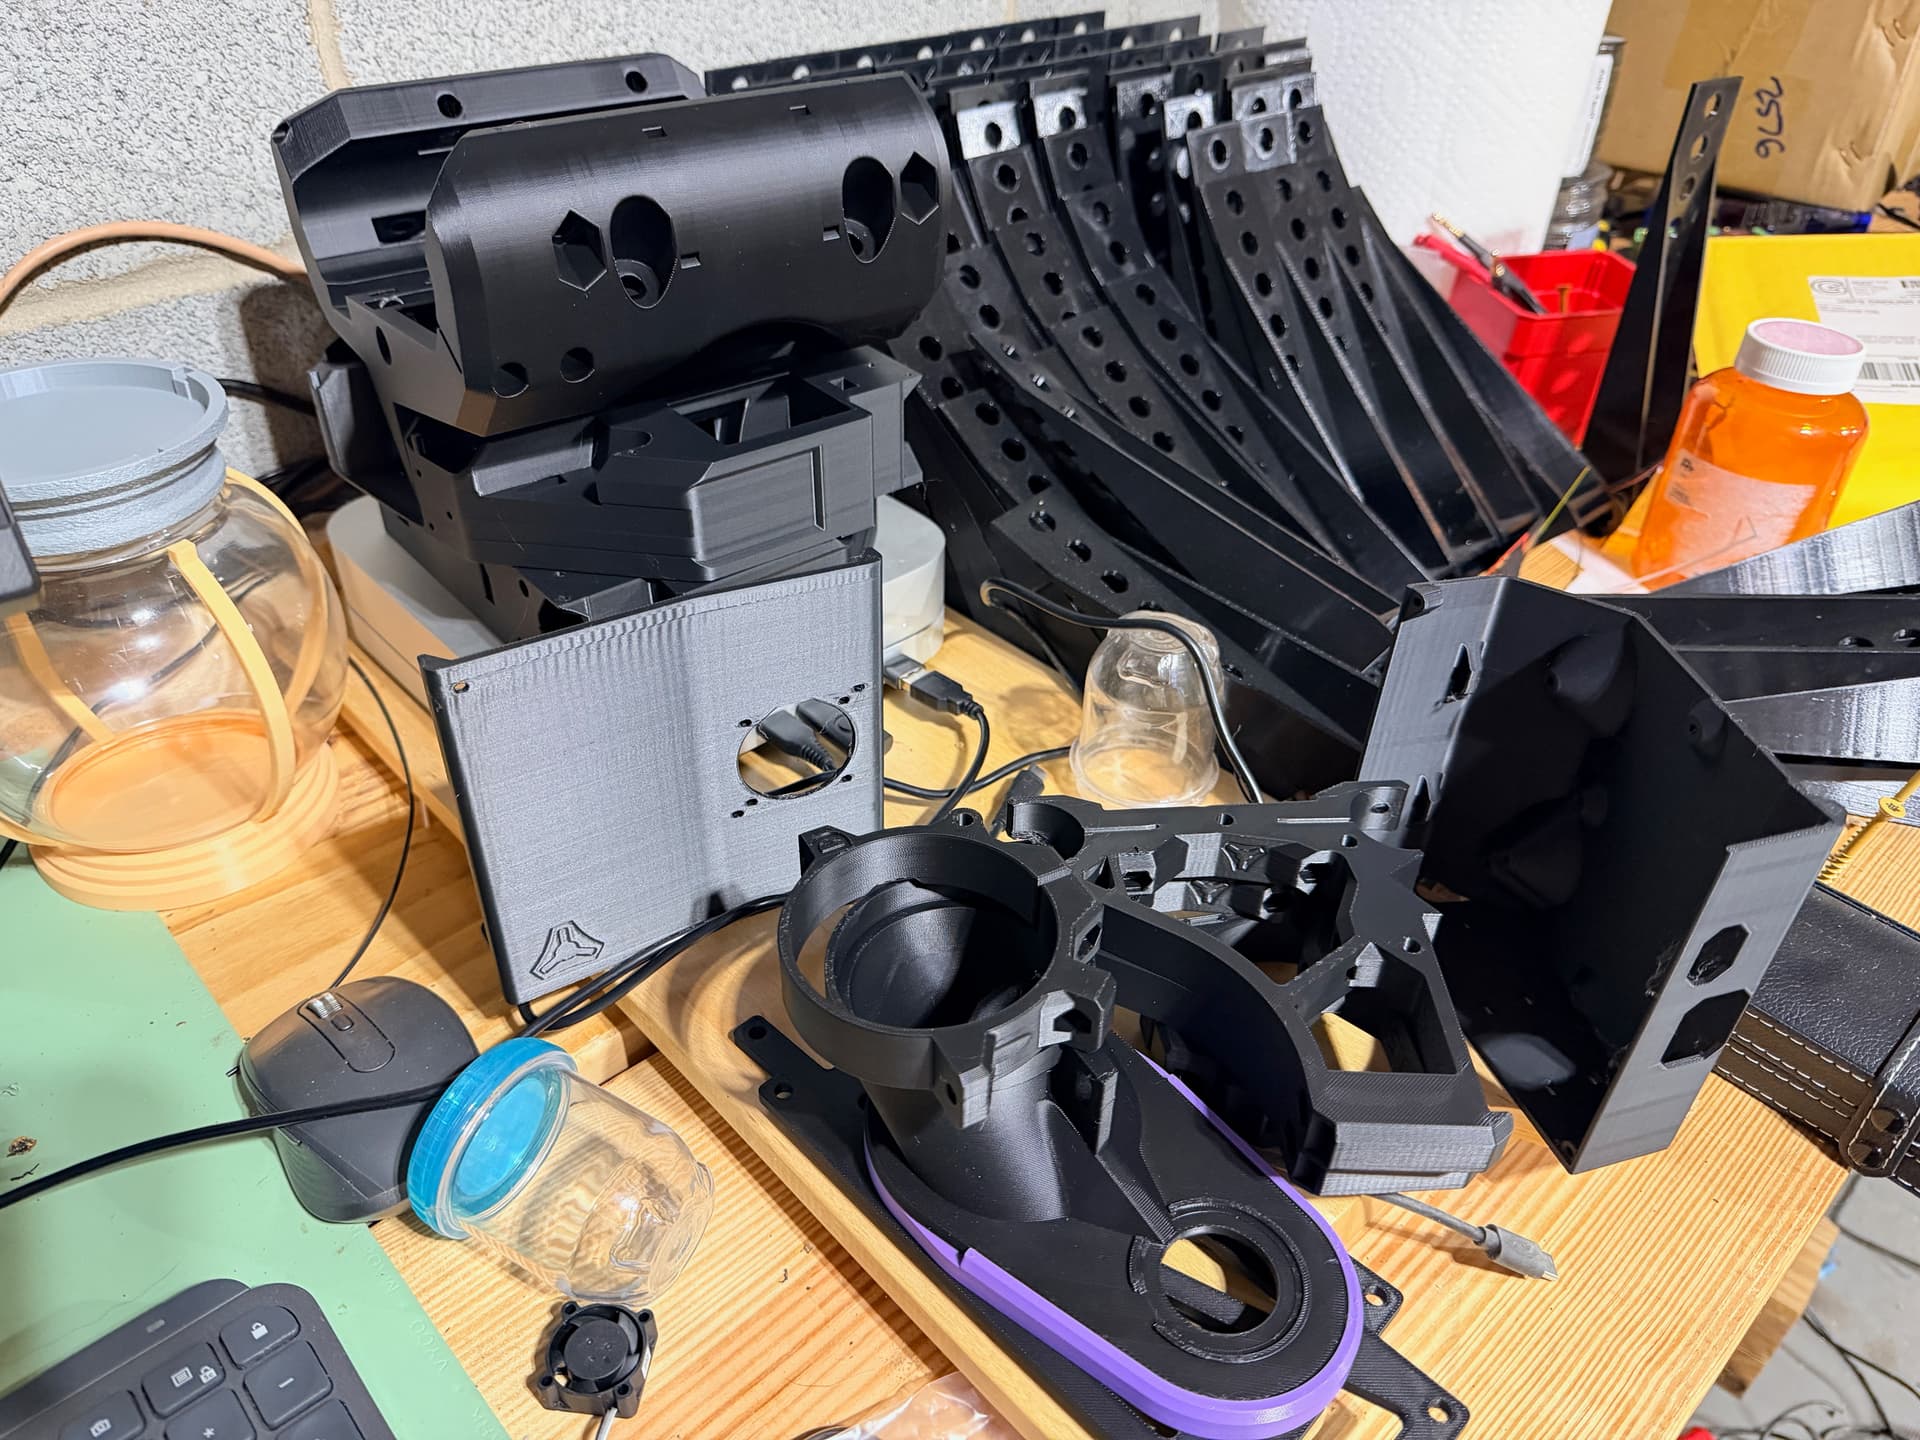
I’ll be updating this thread with more photos as the build progresses.

Multi-Tool Setup: Router + Laser + Paint Marker

One of the more ambitious aspects of my build is that I’m planning a multi-tool head setup:

1. Router (Primary)

Standard setup for cutting coroplast and occasional wood projects.

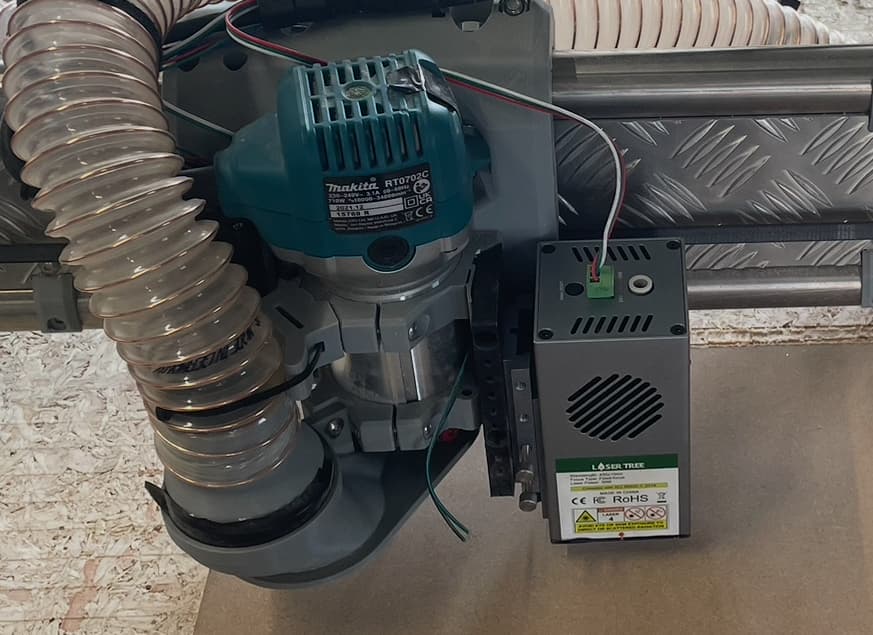
2. Creality 10W Diode Laser

I have a Creality 10W laser module that I’ll be mounting alongside the router for:

  • Cutting coroplast (polypropylene variety)
  • Cutting 3mm basswood and etching designs

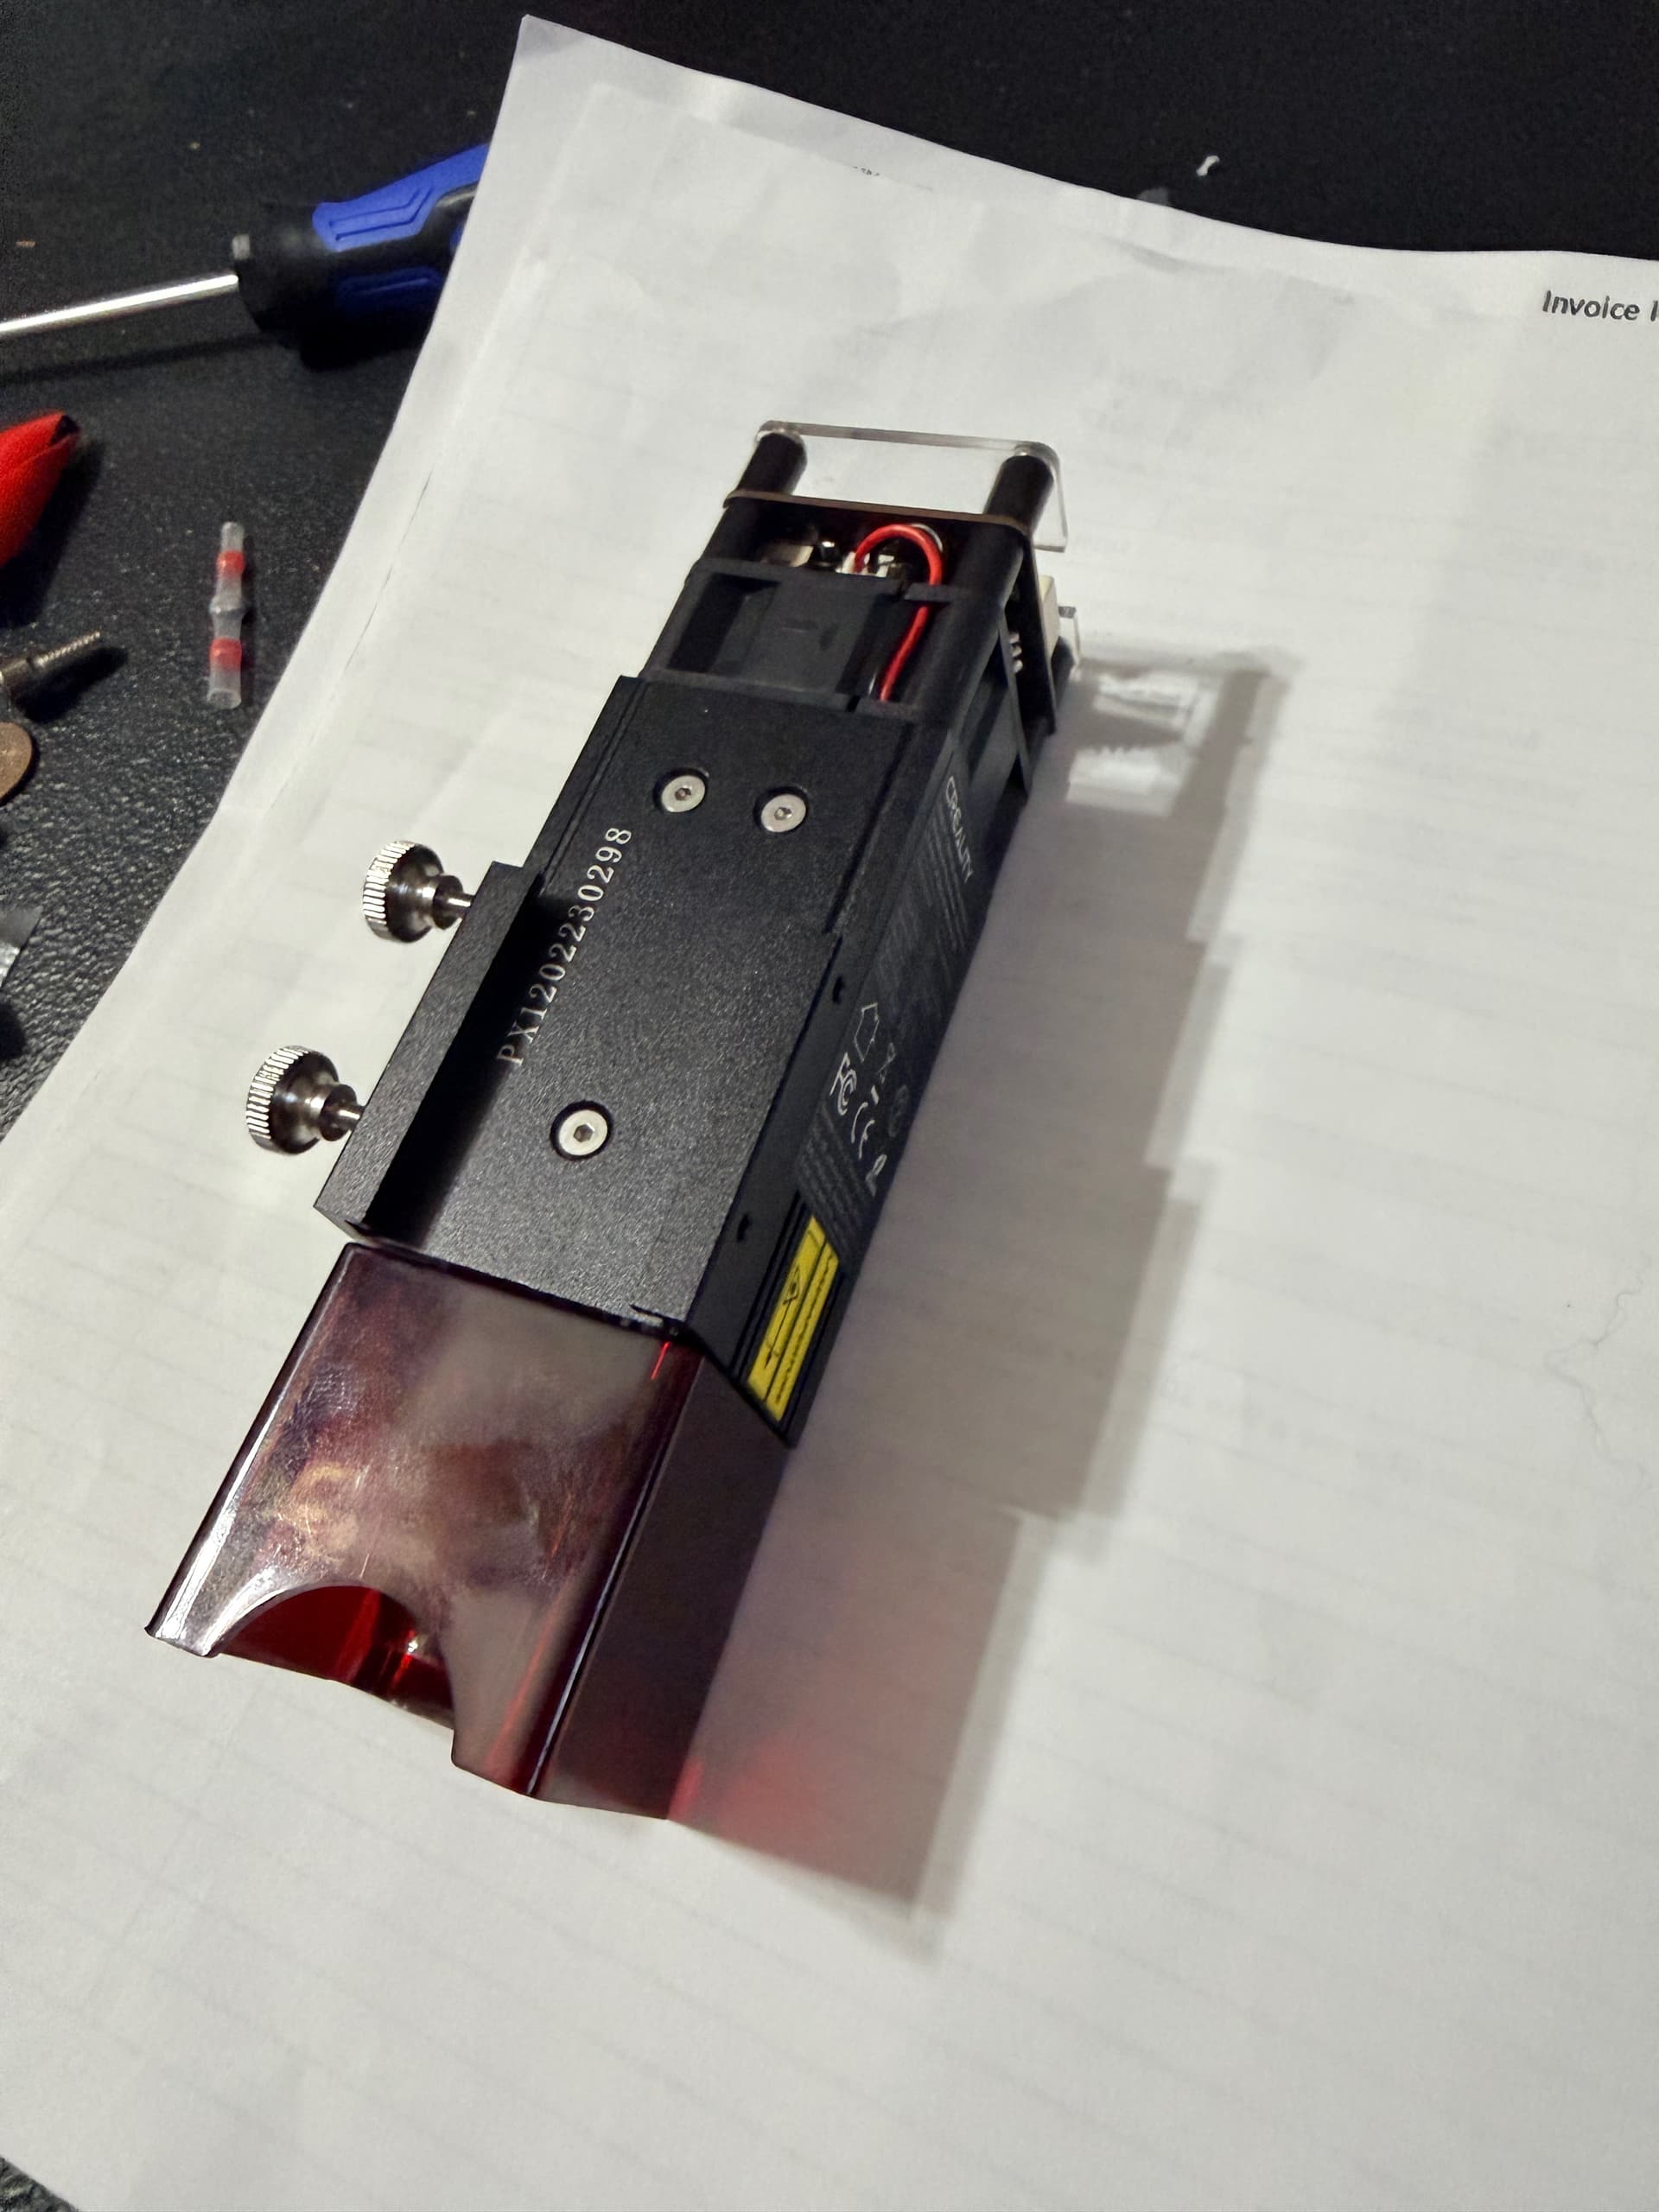
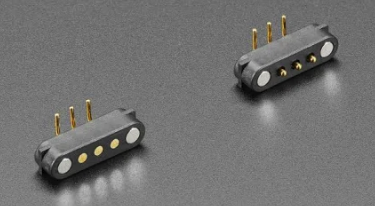
The wiring is straightforward – it’s a simple 3-pin interface (PWM, GND, 24V VCC) that connects directly to the Jackpot3 outputs. I’ve already worked out the FluidNC YAML configuration to add laser support, which I’m happy to share once I have it tested and working.

3. Paint Marker

I’m going to add a paint marker to draw the directional lines for the holiday props. Pixels are directional, so you have to put the pixels in the prop in a certain order. Marker lines help with this step.

Tool Offset Calibration

I’ll be using LightBurn’s offset feature to calibrate the precise positions of the laser and marker relative to the router spindle. The workflow will be:

  1. Set the router as the primary reference (0,0)
  2. Measure physical offsets to laser and marker
  3. Configure tool offsets in LightBurn
  4. Use tool layers to automatically apply offsets during jobs

I’ll document this calibration process thoroughly once I get there – maybe the multi-tool setup will be of interest to others here.

Future Plans: Falcon2 22W Laser

I also have a Creality Falcon2 with a 22W laser module that I’d eventually like to retrofit to this machine for more serious cutting power.

For anyone interested in using Falcon2 modules on third-party CNC machines, check out this project:

:link: Falcon2Universal on GitHub

It’s a reverse-engineering effort that provides pinouts, adapter PCB designs, and firmware to run Falcon2 laser modules on any GRBL/FluidNC setup. The creator is already running a Falcon2 40W on an MKS DLC32 with FluidNC – very similar to our Jackpot3 setup.

What’s Next

  • Finish remaining 3D printed parts
  • Order rails and hardware
  • Build the table/frame
  • Wire up the Jackpot3 controller
  • Initial motion testing
  • Mount and calibrate laser
  • First coroplast cuts!

I’ll be updating this thread as I make progress. Looking forward to learning from this community and hopefully contributing some useful info about the laser/multi-tool setup along the way.

Thanks for reading, and feel free to ask questions or share suggestions!

– Seth

Build Specs:

  • Machine: LowRider v4
  • Controller: Jackpot3 (FluidNC)
  • Primary Use: Coroplast cutting for xLights props
  • Tools: Router, Creality 10W Laser, Paint Marker
  • Location: Lexington, NC
12 Likes

WooCommerce does that really well, even in the free version. If you can develop your own it’s fine, but there really is no need in my opinion. :slightly_smiling_face:

2 Likes

You are 100% correct. Woocommerce is a great option. I just like to have full control over my backend services, plus I want to integrate directly with my native app, so I’ll have to custom build to get some of the features I would like to have.

3 Likes

If you can do it it’s great and the better option to be sure. :slight_smile: I am doing my sales as a small business, so it’s more than enough for me. :slight_smile:

1 Like

That’s awesome! Yeah, for most people, woocommerce is the way to go for sure.

2 Likes

Impressive work shown in the video!

Also, you’re off to a great start on your LR4, and I look forward to future updates!

1 Like

Thank you Doug! :oncoming_fist:

2 Likes

Quick Update

Making good progress on the printed parts!

3D Printing: Down to my last two prints - should be wrapped up this evening.

Electronics: Jackpot3 is ordered from V1E and on its way. Looking forward to getting that plugged in and starting to play around with FluidNC.

Multi-Tool Planning: I’ve been doing some homework on running multiple tools. Planning to set up:

  • Router (relay on gpio.26) - Tool 0
  • Creality 10W Laser (PWM on gpio.27) - Tool 100
  • Paint Marker (solenoid on gpio.2) - Tool 200, for pixel placement guides on my xLights props

For anyone else thinking about adding a laser to their LR4 with the Jackpot3, here’s the YAML snippet to add after the existing Relay section:

Laser:
  pwm_hz: 5000
  output_pin: gpio.27
  enable_pin: NO_PIN
  disable_with_s0: false
  s0_with_disable: true
  tool_num: 100
  speed_map: 0=0.000% 1000=100.000%
  off_on_alarm: true

Paint Marker Config (Tool 200)

I’m going with a solenoid-actuated paint marker for marking pixel placement lines on coroplast. Way easier to wire props when you have a visual guide showing where each pixel goes!

Components:

Part ~Cost Source
24V push solenoid (10-15mm stroke) $5-10 Amazon/AliExpress
3D printed mount - Design in Fusion 360
Return spring $1 Hardware store
Flyback diode (1N4007) $0.10 Protects controller from solenoid kickback

Wiring to Jackpot3:

Jackpot3 Output 3 (gpio.2) ──┬── Solenoid (+)
                              │
                         [1N4007 diode across solenoid, cathode to +]
                              │
              24V GND ────────┴── Solenoid (-)

YAML config:

Relay_Marker:
  output_pin: gpio.2
  enable_pin: NO_PIN
  direction_pin: NO_PIN
  disable_with_s0: false
  s0_with_disable: true
  spinup_ms: 50
  spindown_ms: 50
  tool_num: 200
  speed_map: 0=0.000% 1=100.000%
  off_on_alarm: true

Tool Switching

With this setup, switching tools is just:

  • M6 T0 - Router
  • M6 T100 - Laser
  • M6 T200 - Paint Marker

LightBurn handles the tool changes automatically when you assign tools to different layers.

More updates once the Jackpot3 arrives and I start assembly!

3 Likes

Personally I remove the laser when I’m not using it. I don’t know if it could be damaged by exposure to vibration but I don’t want to find out.

1 Like

Hmm, definitely something to take into consideration. Maybe I could make the wiring a quick disconnect using some magnetic pogo pins.

1 Like

I’m fortunate that my laser has a plug connection so it’s easy to change

3 Likes

Oh yeah, that is awesome! How many watts is that laser?

30W optical power.

1 Like

Is that like optical inches? Is it a grower or a shower? :joy: :duck:

2 Likes

Diode Laser vendors like to play silly with over exaggerating their size so yes.

3 Likes

What version of LightBurn implemented this? I am not familiar with that capability and was recently told by LightBurn staff that I’d have to use MillMage instead for this.

So, I looked at this a little deeper, and you’re right. I must have completely mis-understood the capabilities of lightroom layers. Thank you for the comment about Millmage. Looks like I need to take a look at this as a possible alternative.

1 Like

Not to say that you can’t use a different LightBurn custom gcode machine configuration for each different tool, and run each tool layer separately, changing the selected machine and rehoming between each tool.

You can use the laser pointer offset setting to handle the tool offsets.

Yeah I use that feature often and it works well.

Give us a shout at support@millmagesoftware.com if you have any issues.

Our docs are very thorough - docs.millmagesoftware.com

1 Like