Appreciate it Colin!
Core Assembly Complete! 
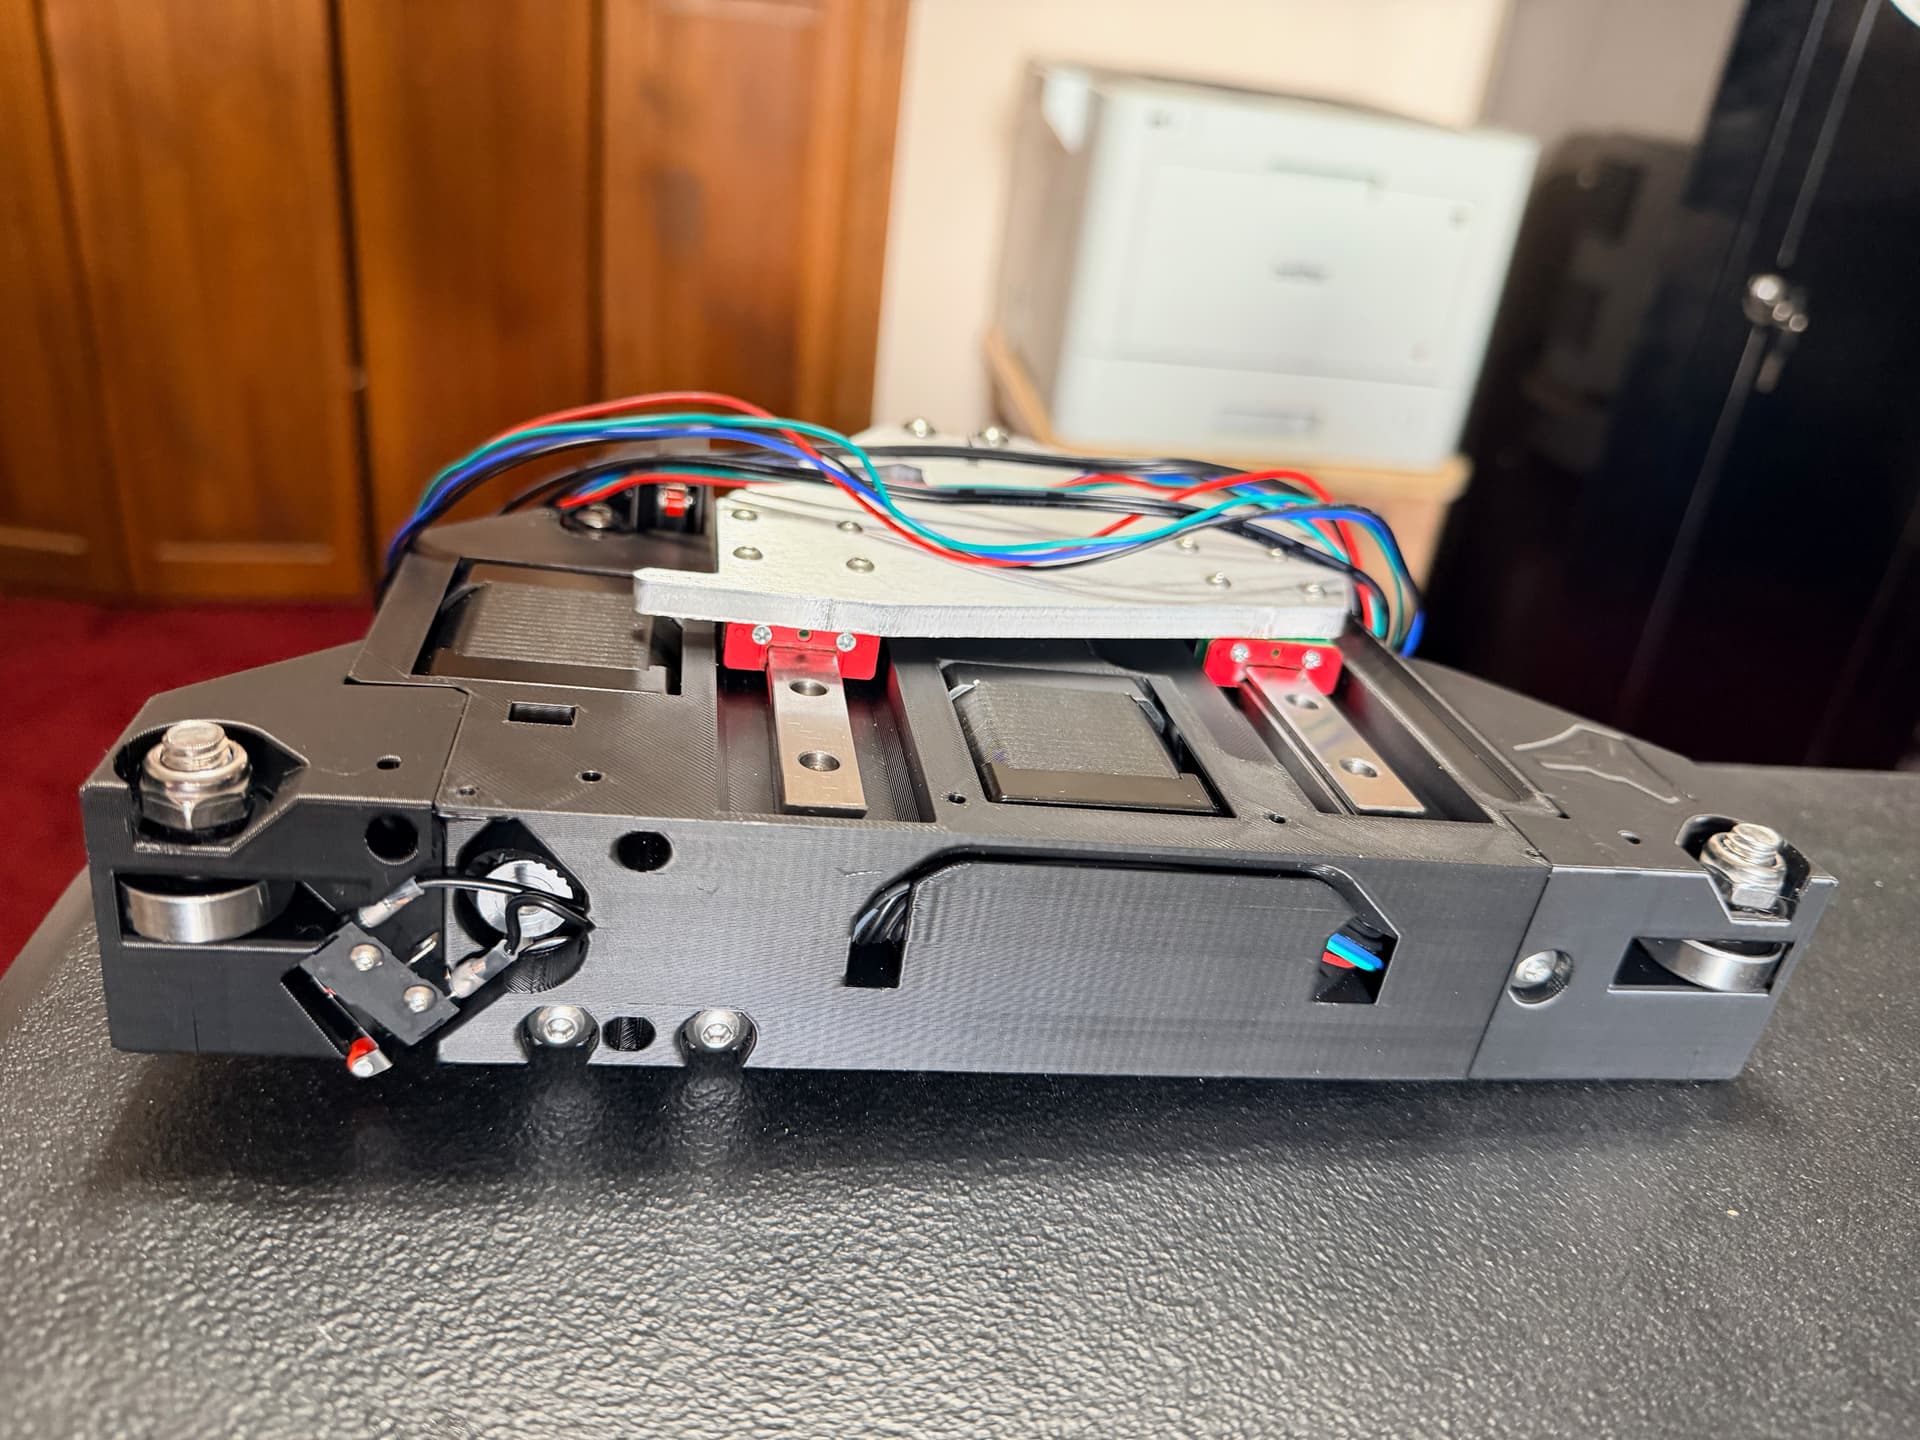
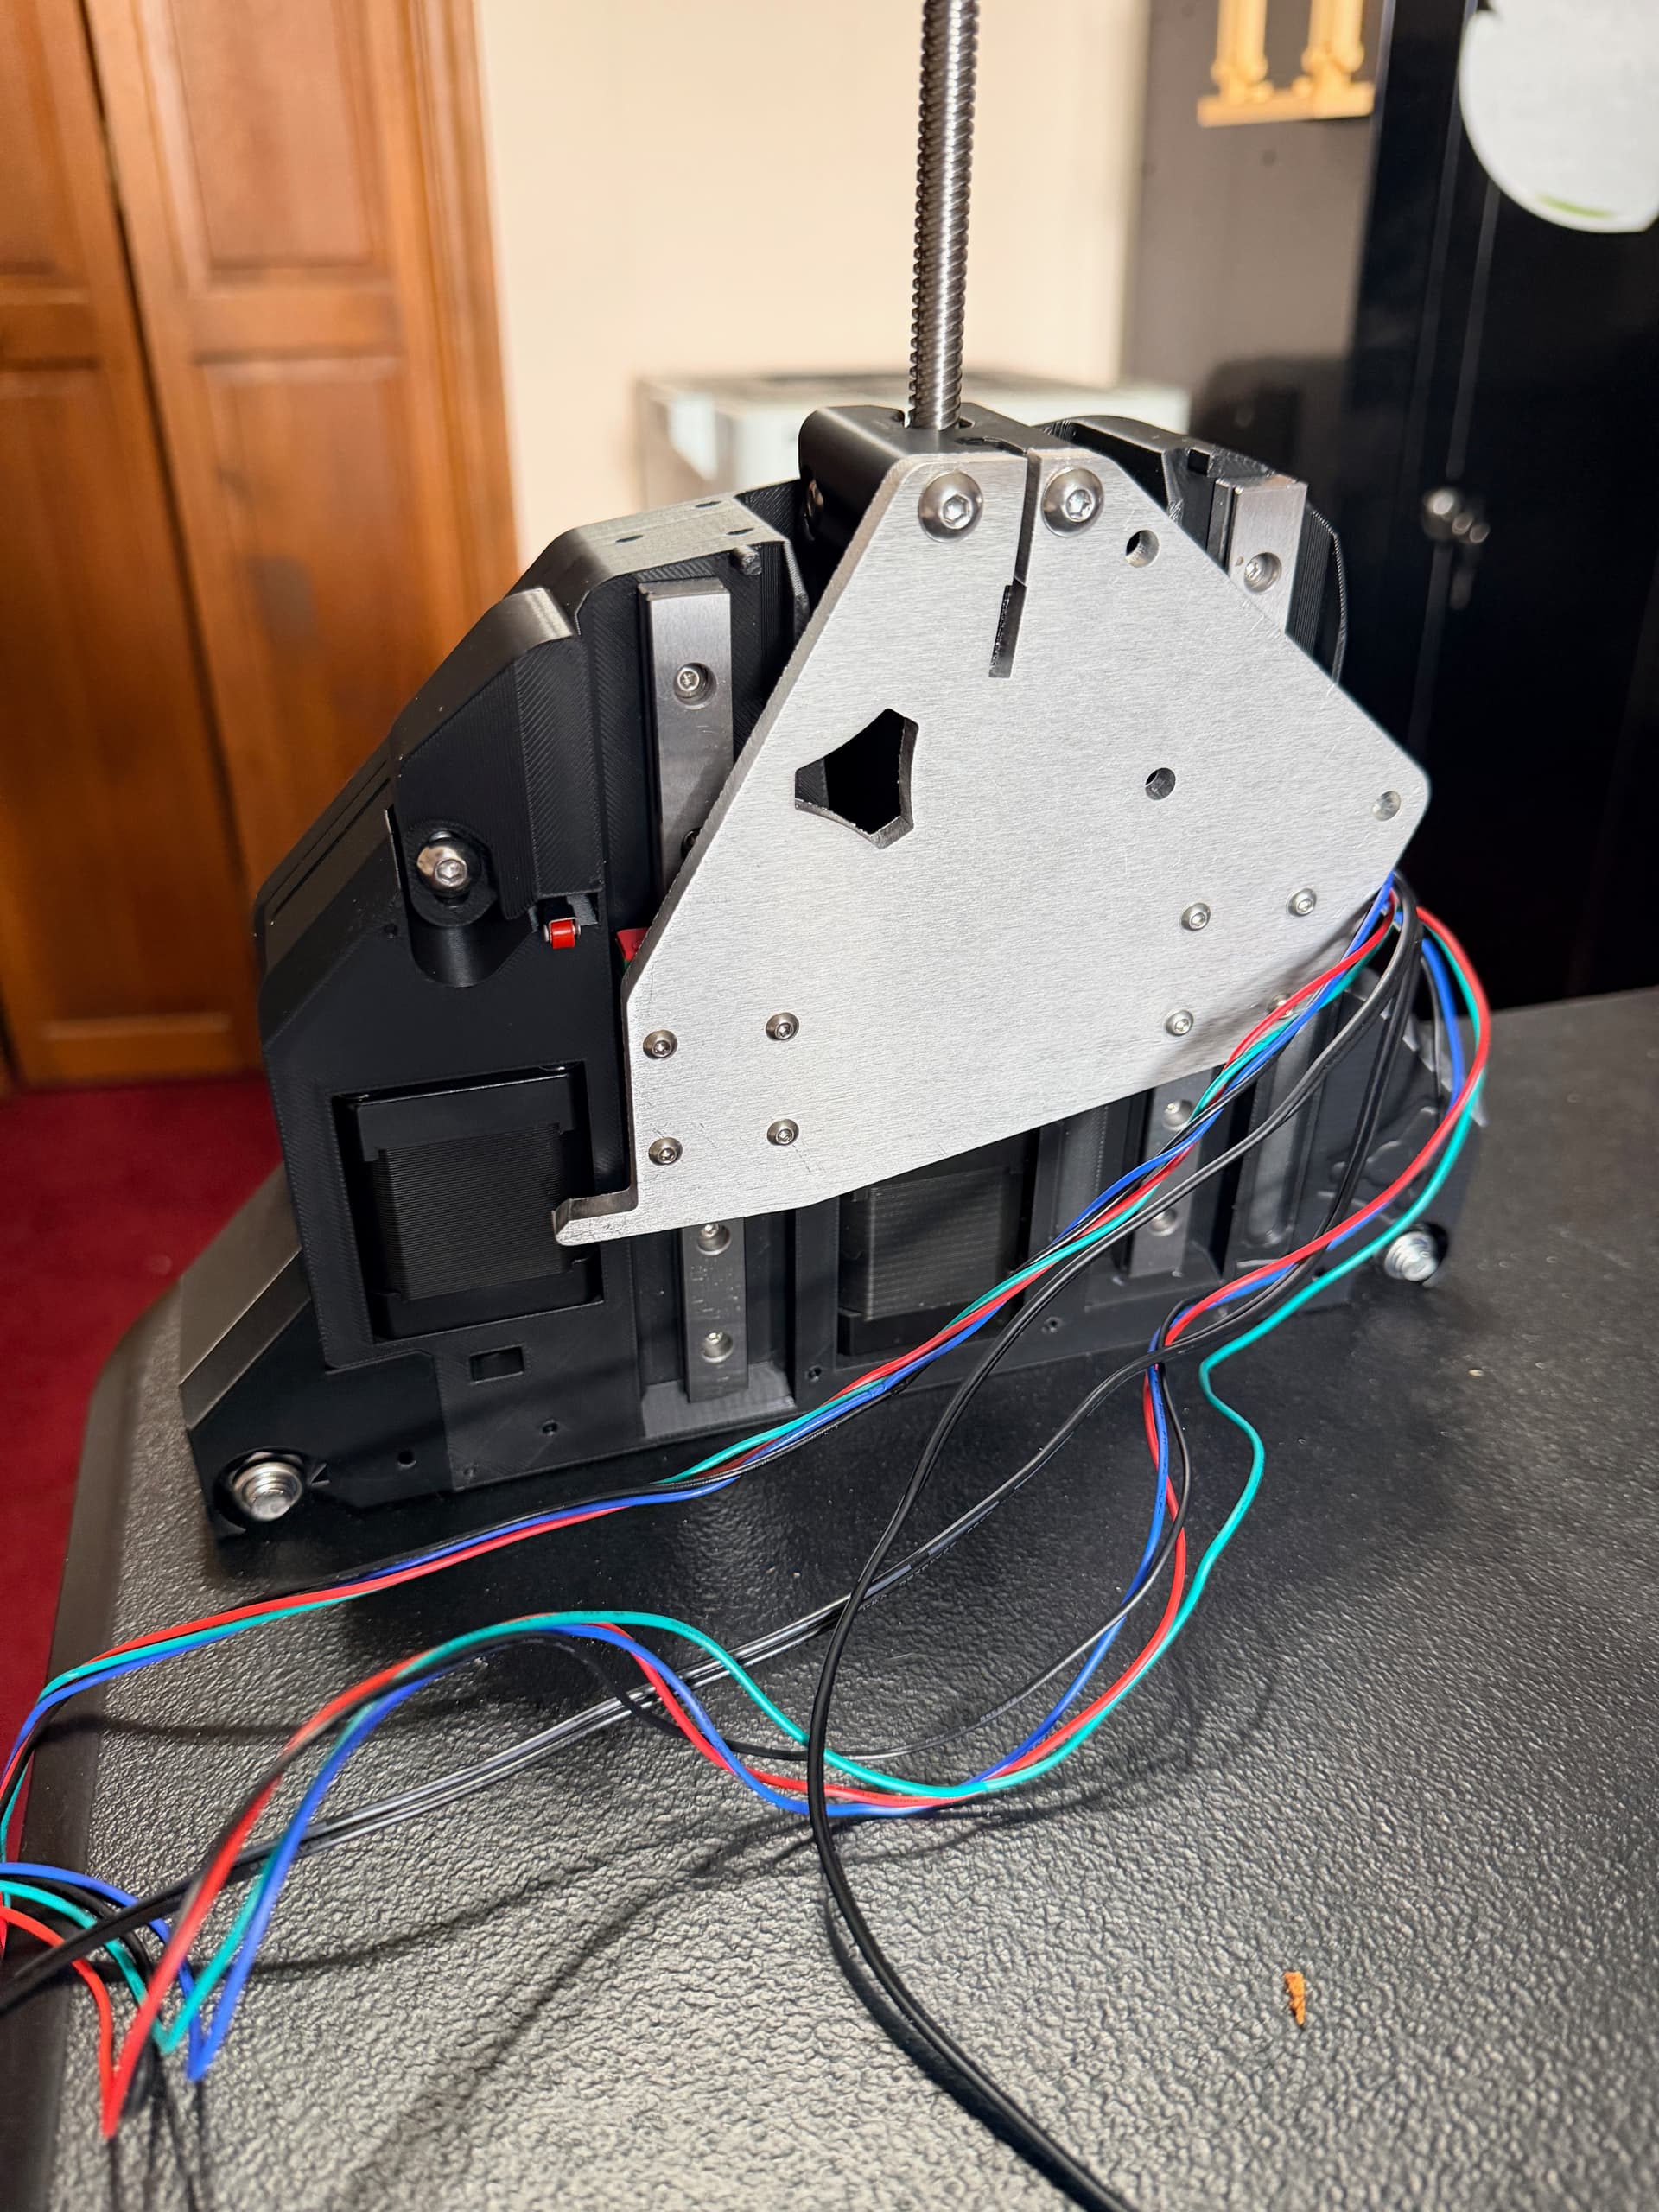
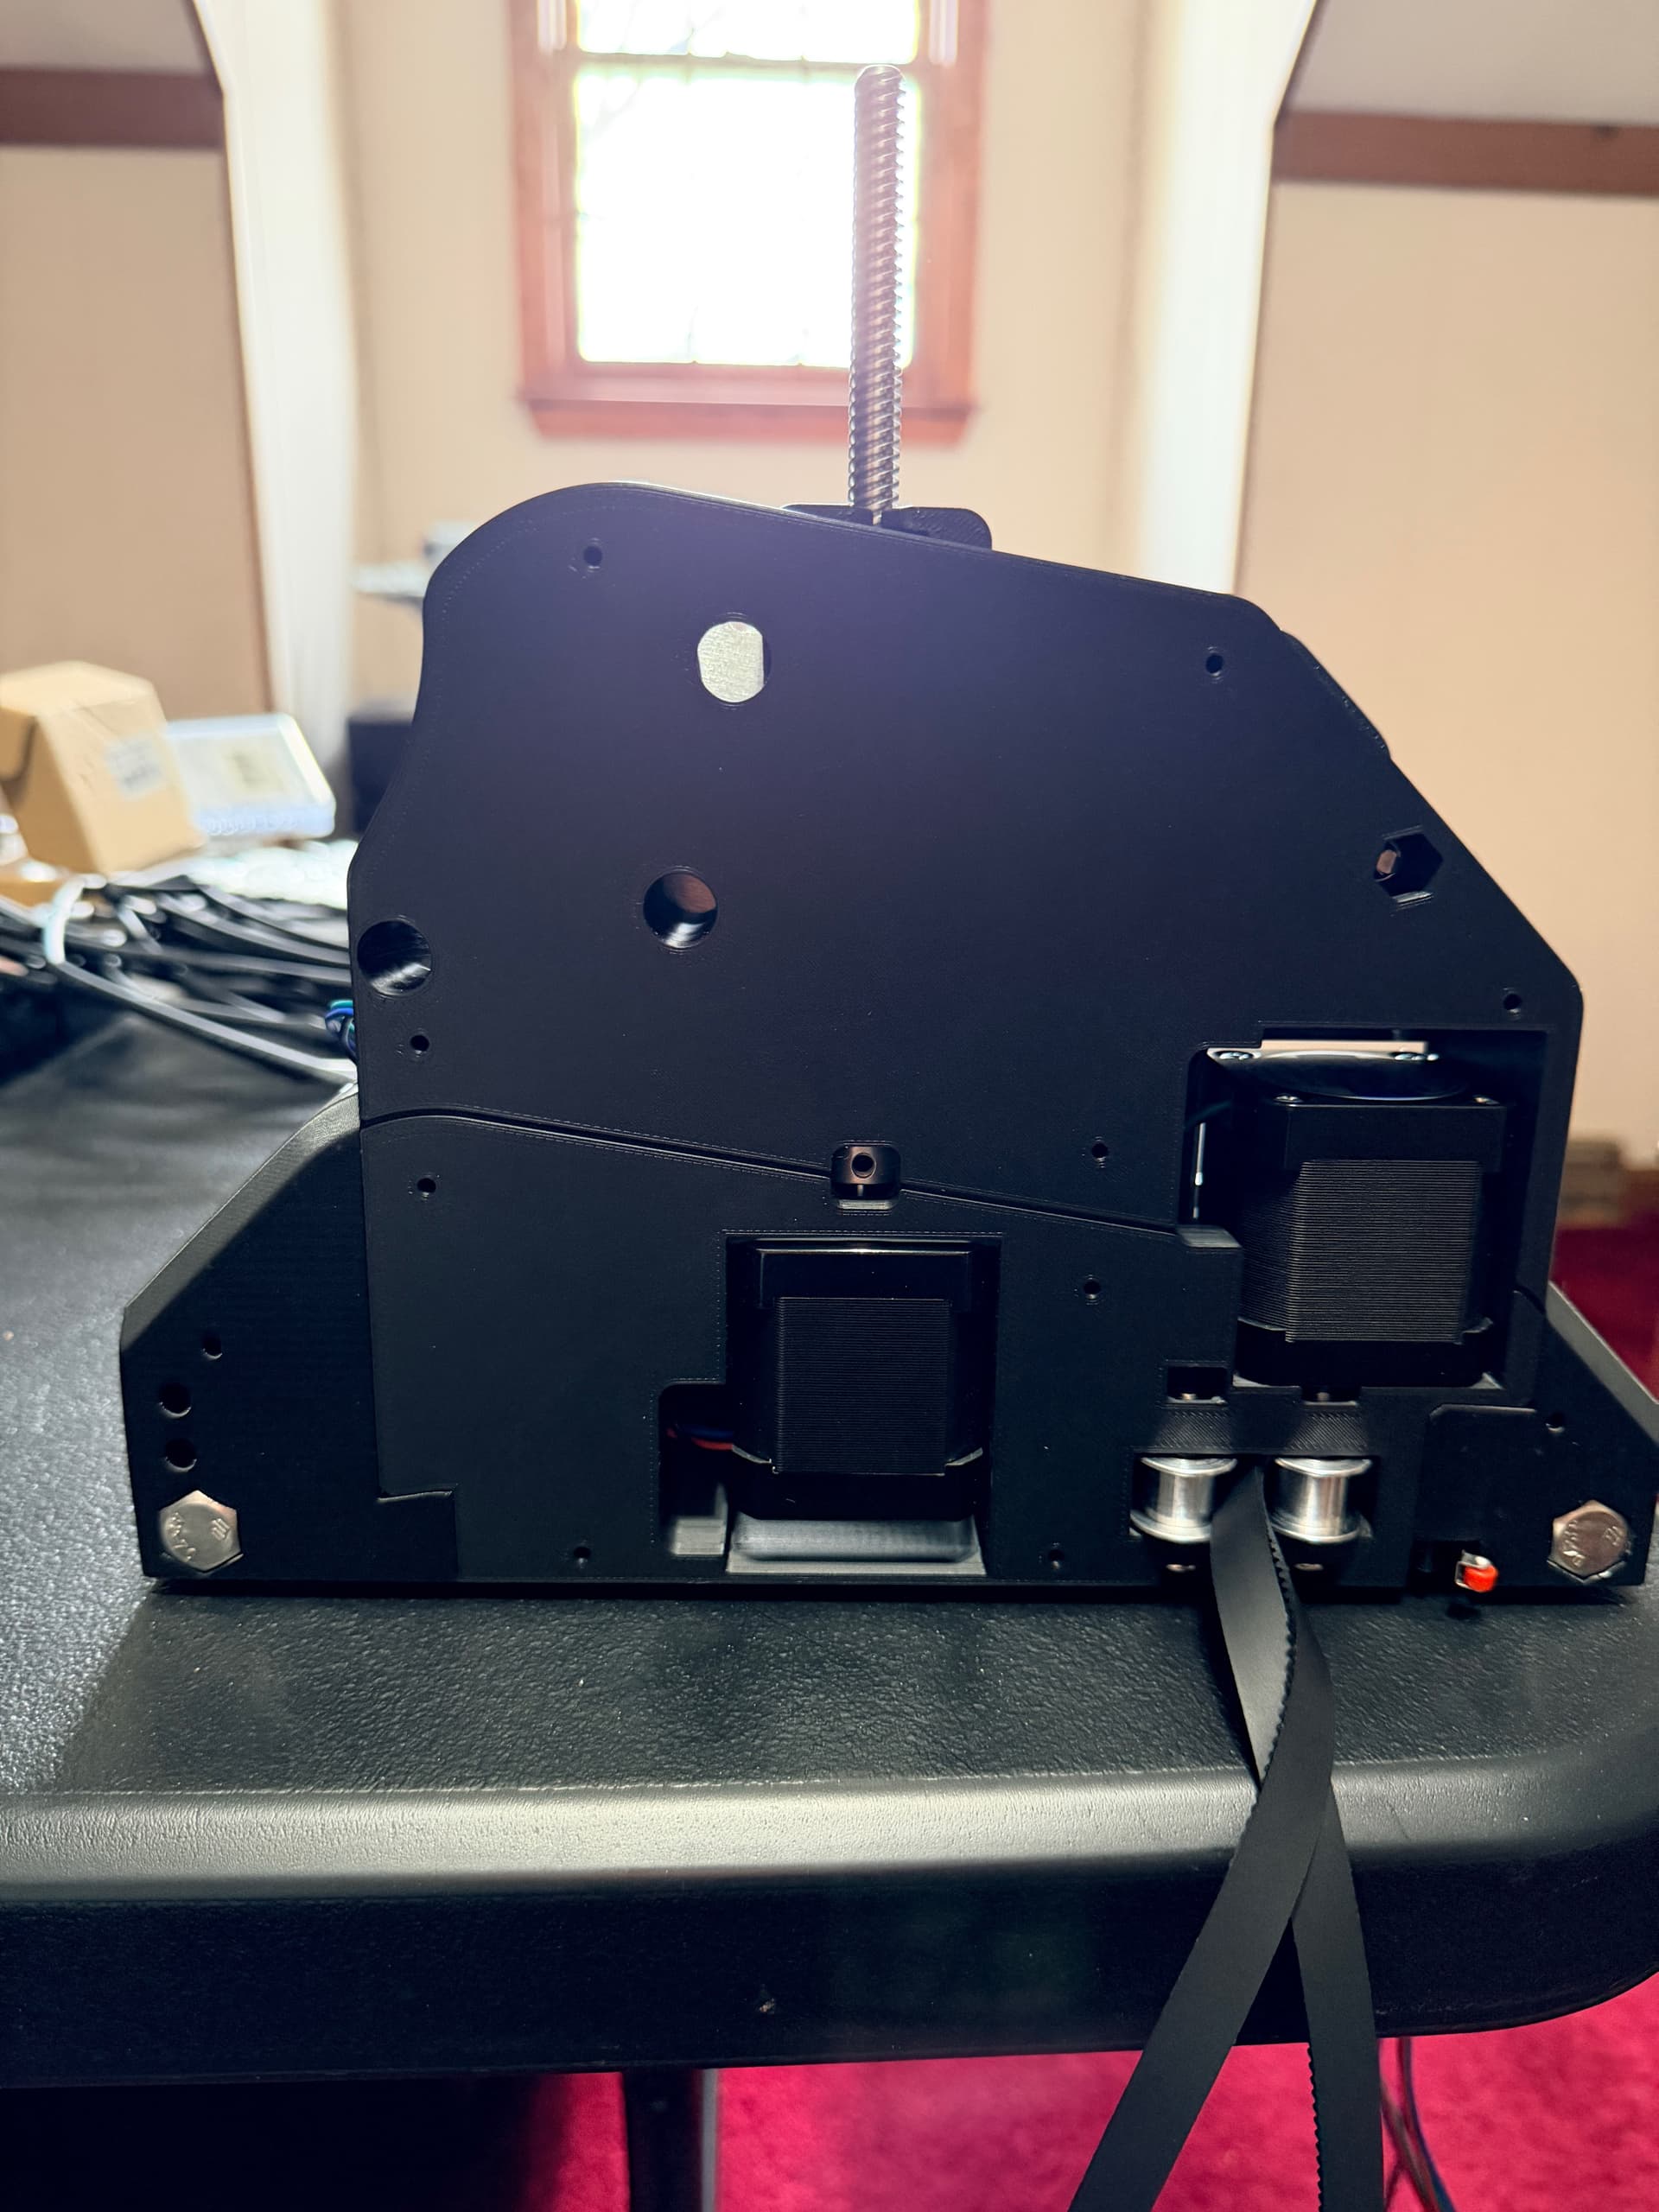
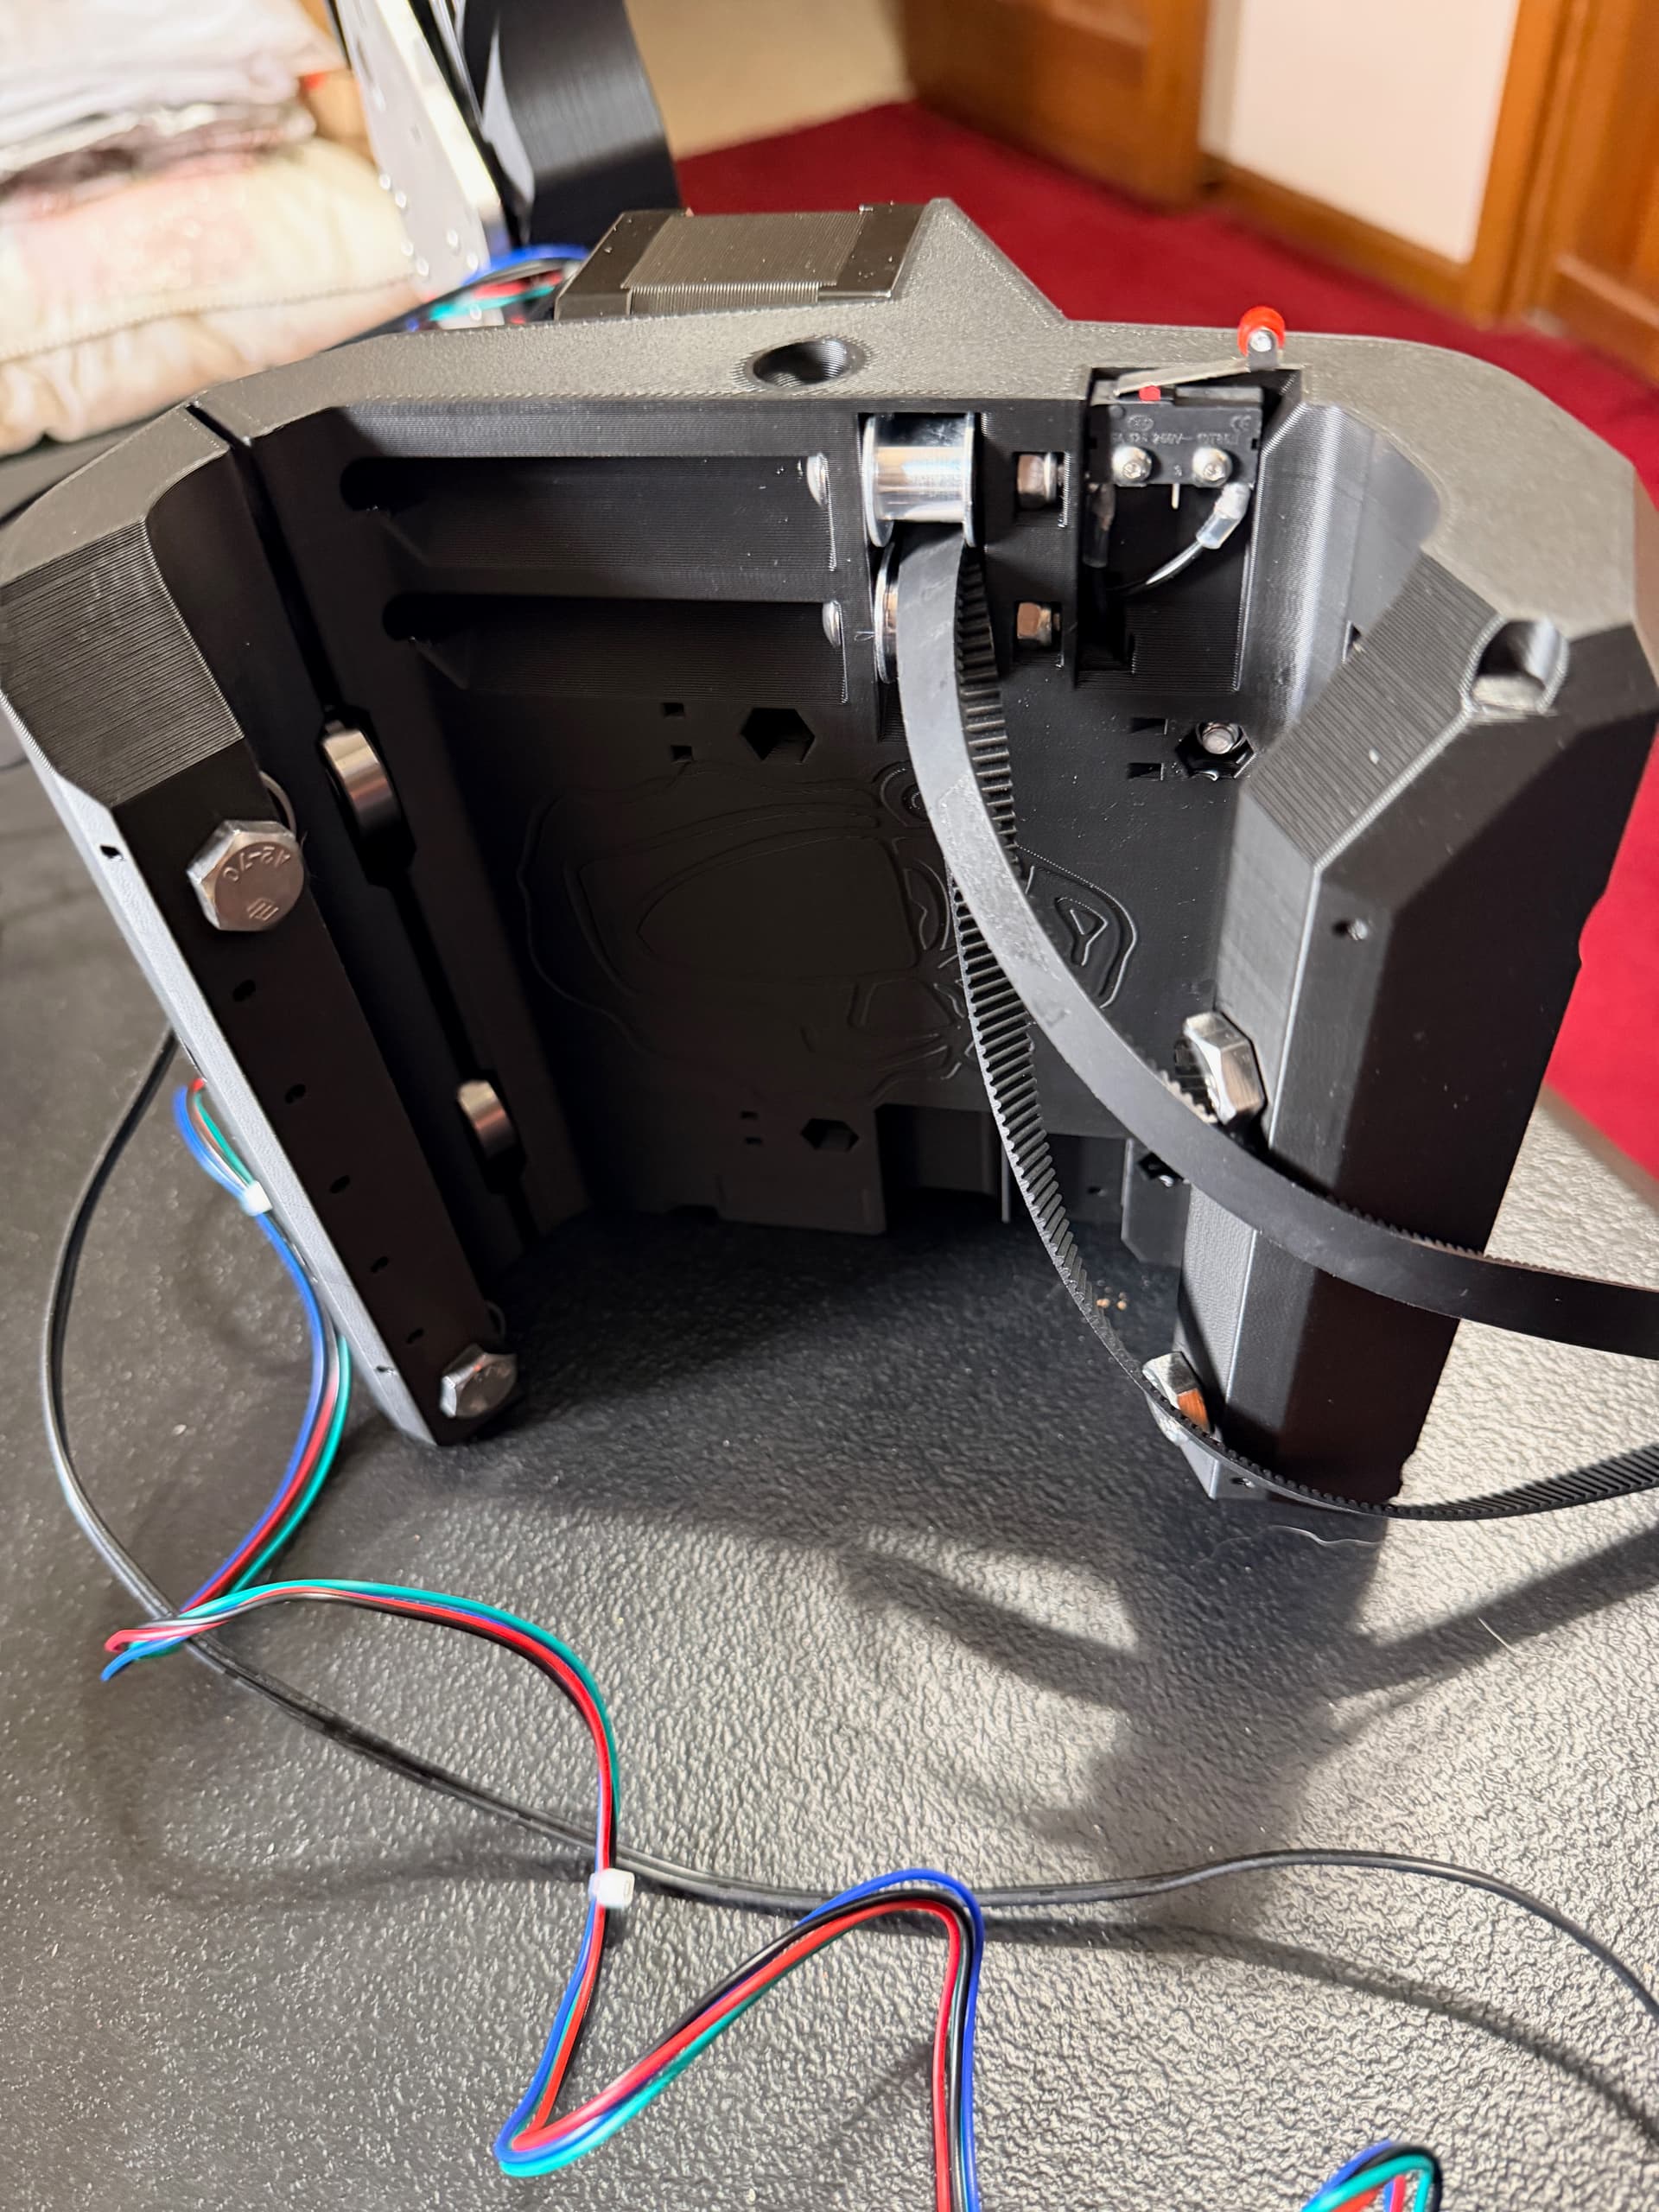
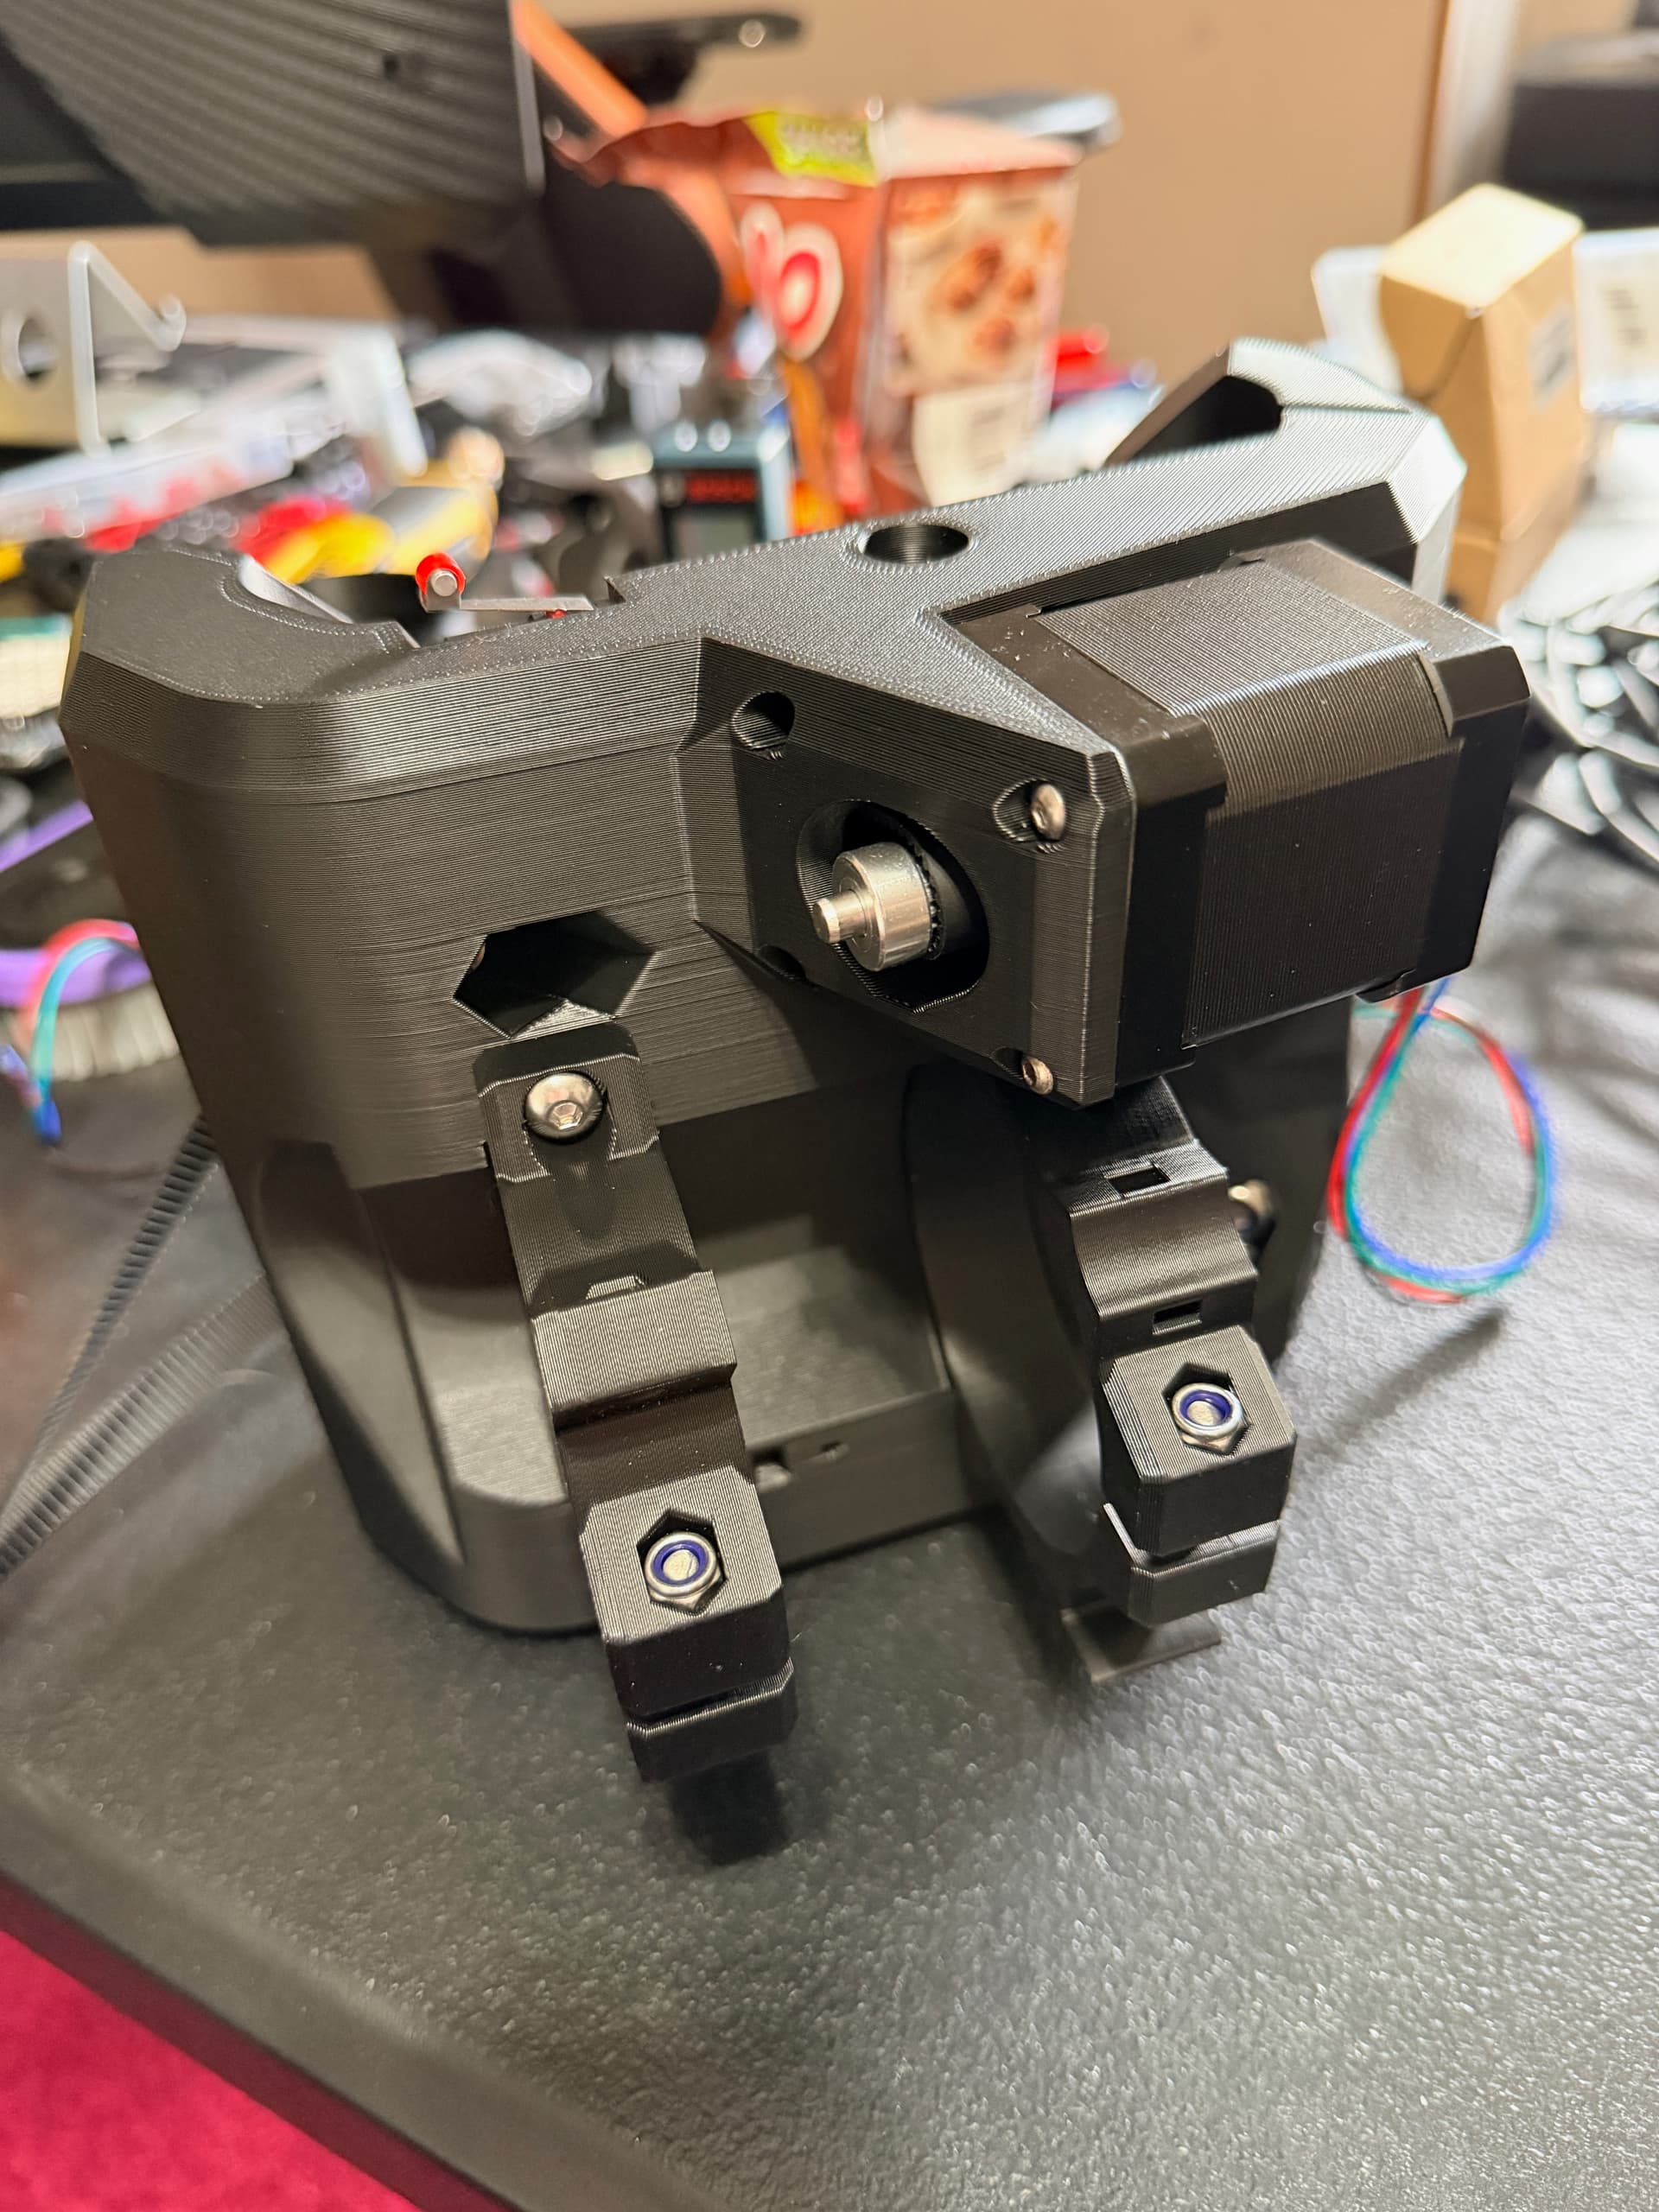
Big milestone this week – the LR4 core and left YZ plate is fully assembled and looking solid!
Assembly Notes
The printed parts came together really well. Had a few snags with the m5 bolts for the YZ rollers, as the fit was too tight, but I was able to drill out the holes a smidgen to get the bolts to slide in with minimal resistance.
What’s Next
- ☐ Assemble the right YZ-plate and beam assembly
- ☐ Construct the table/frame (contemplating torsion box, or a rolling table with storage underneath)
- ☐ Mount the Jackpot3 and start FluidNC configuration
- ☐ Initial motion testing
Can’t wait to see this thing move!
7 Likes
It’s Alive!
Huge update – the LowRider v4 is fully built, operational, and running its first tests!
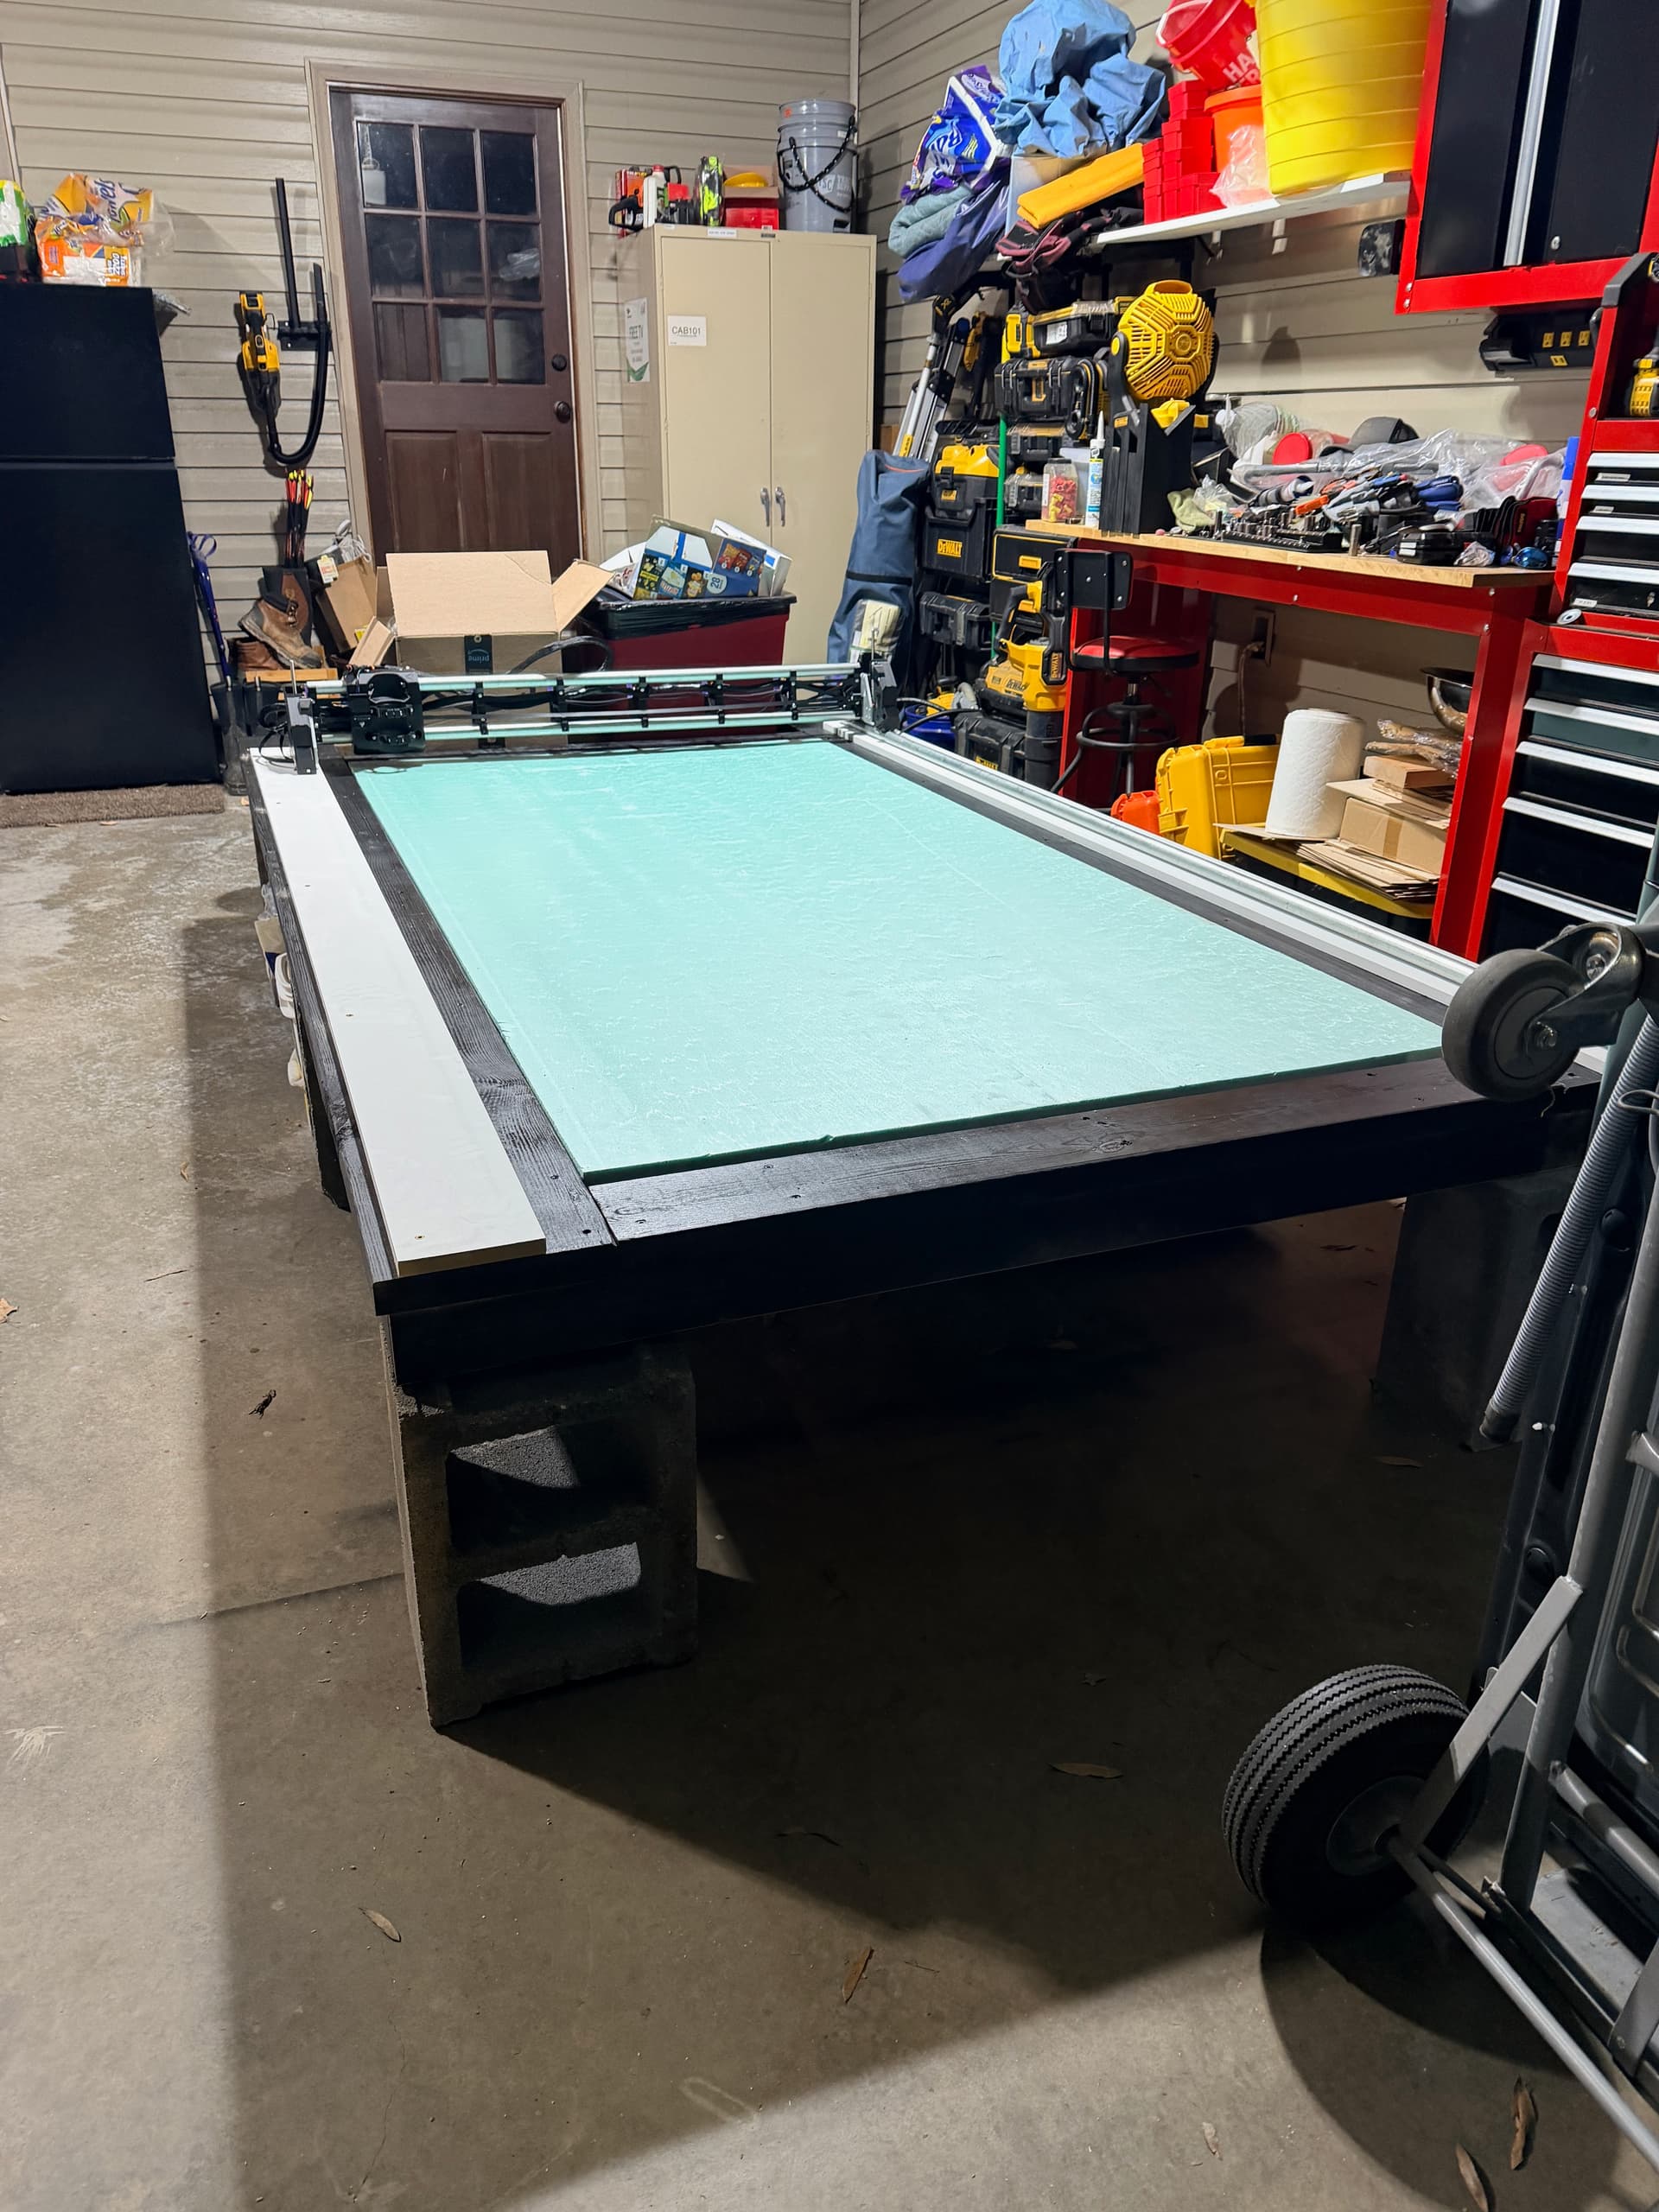
Table Build
Started with a basic but sturdy frame using 2x4 lumber and 3/4" plywood for the deck.
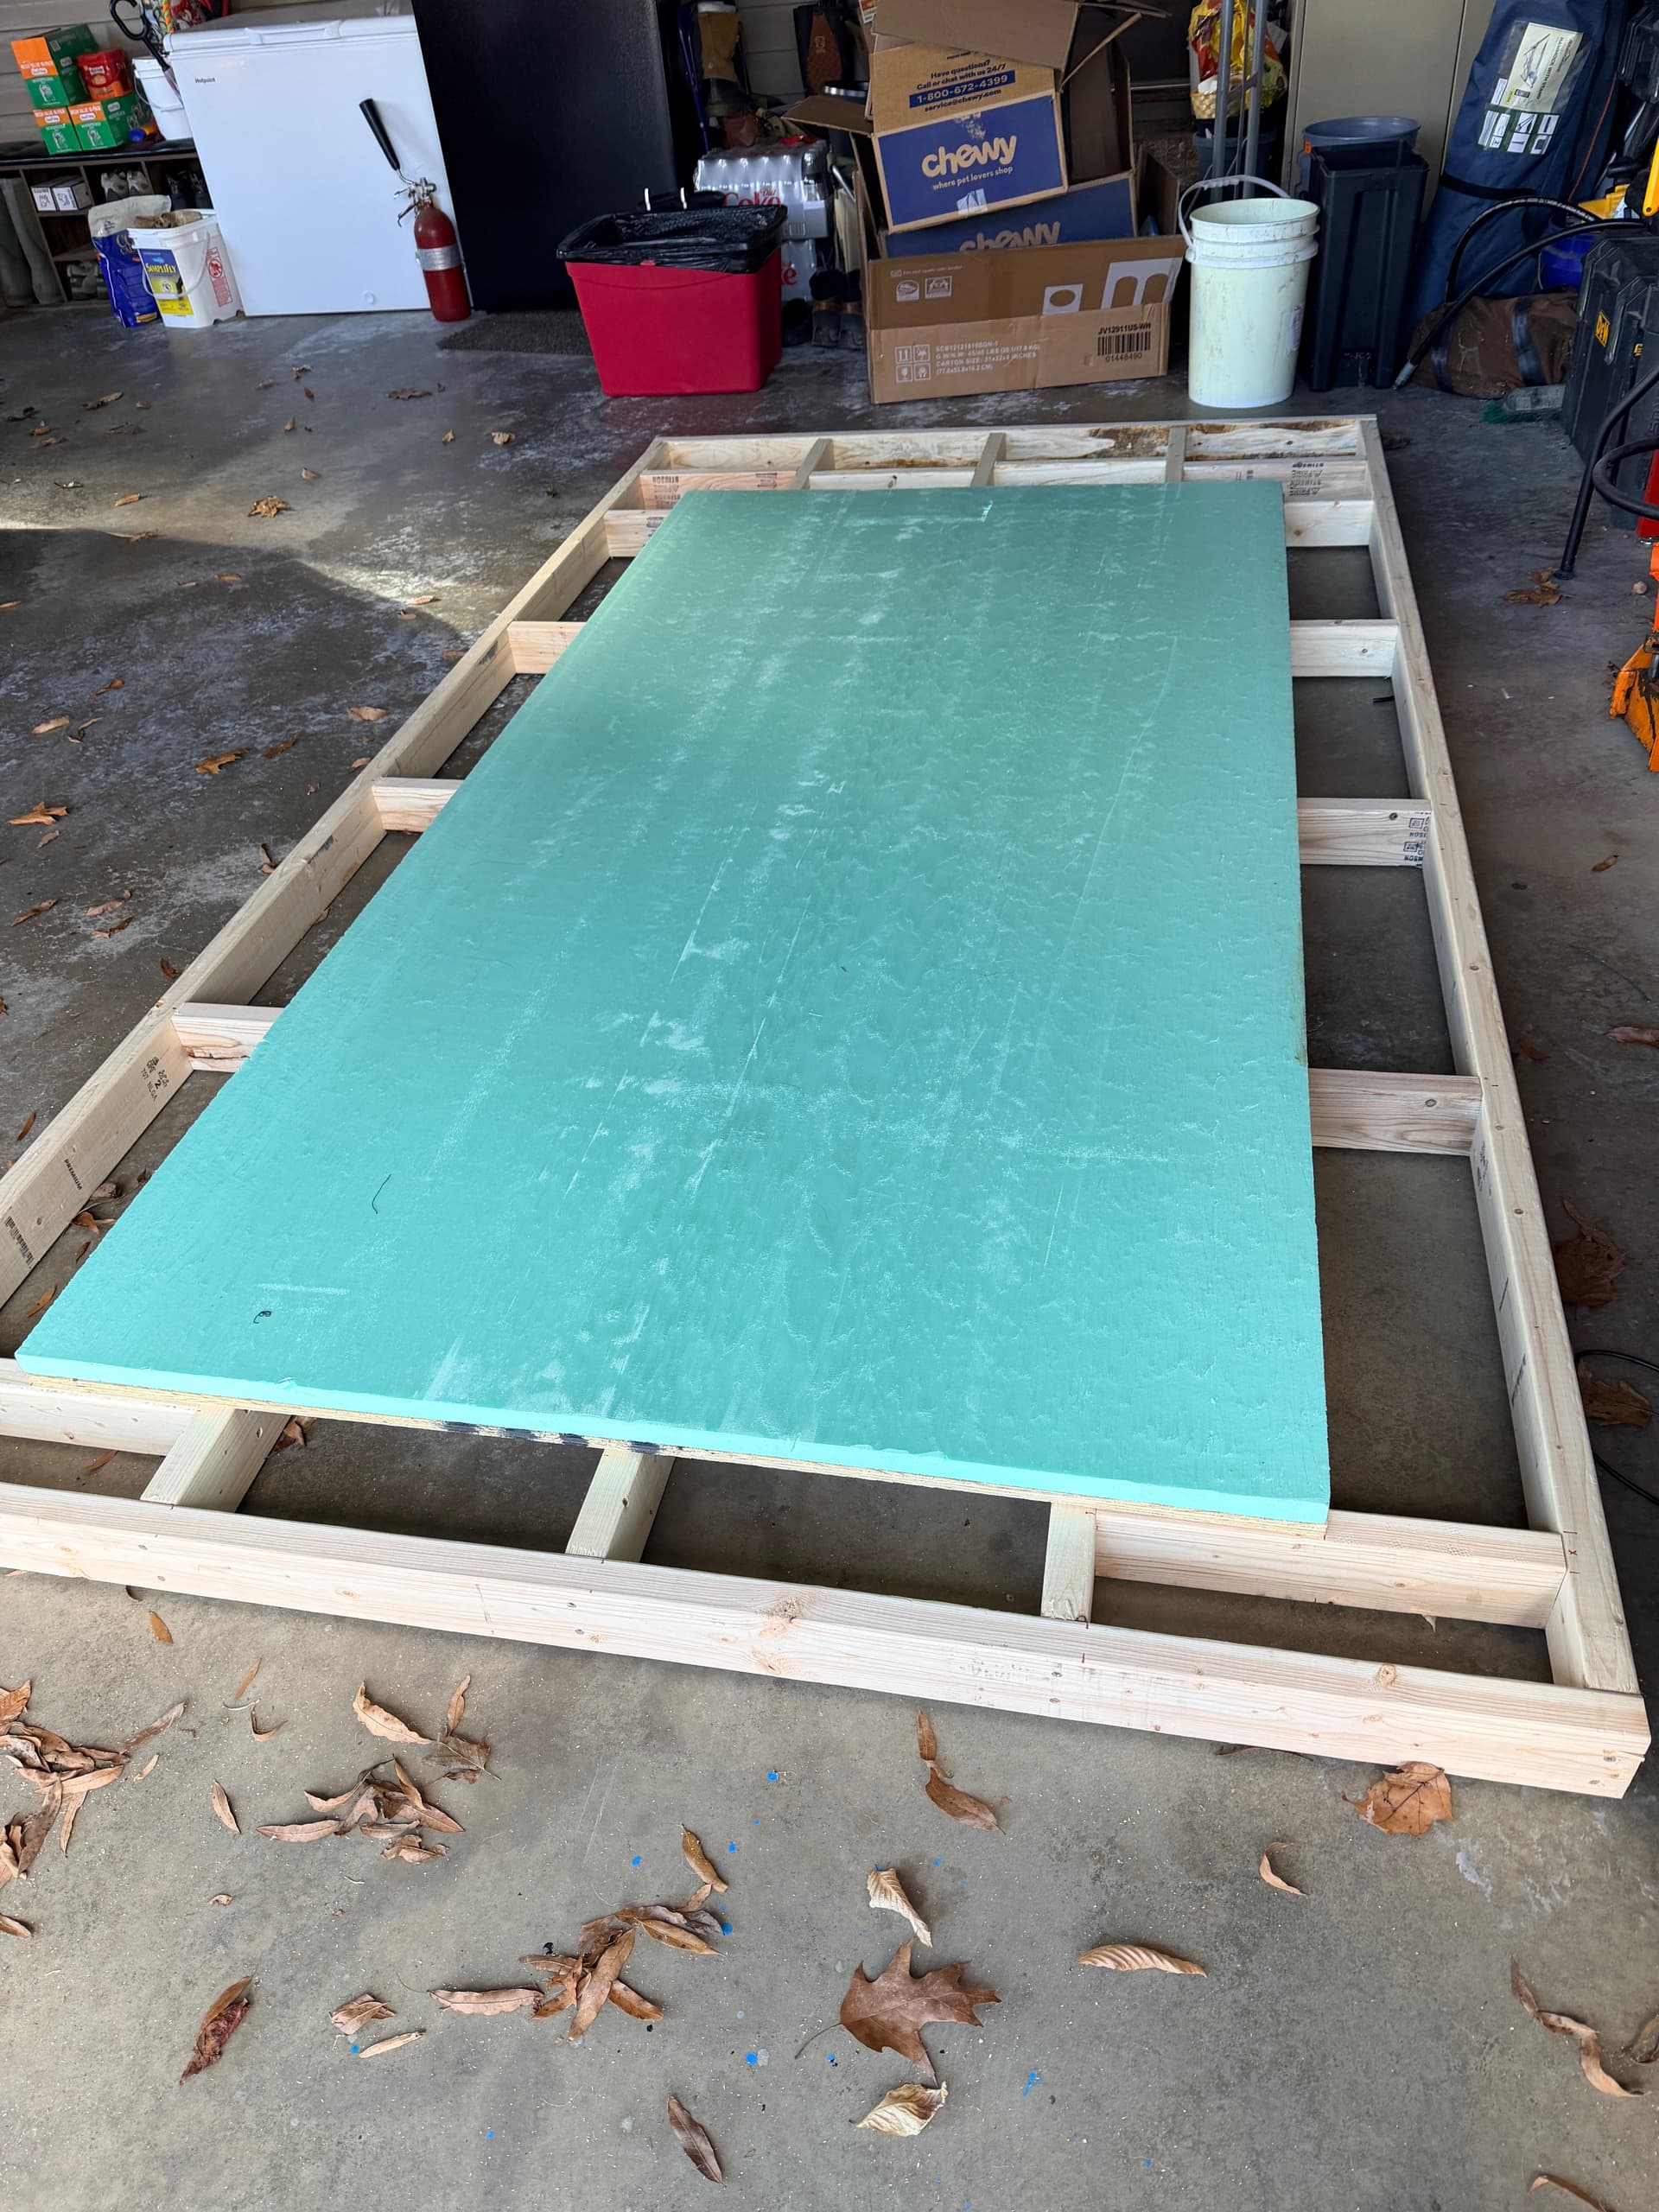
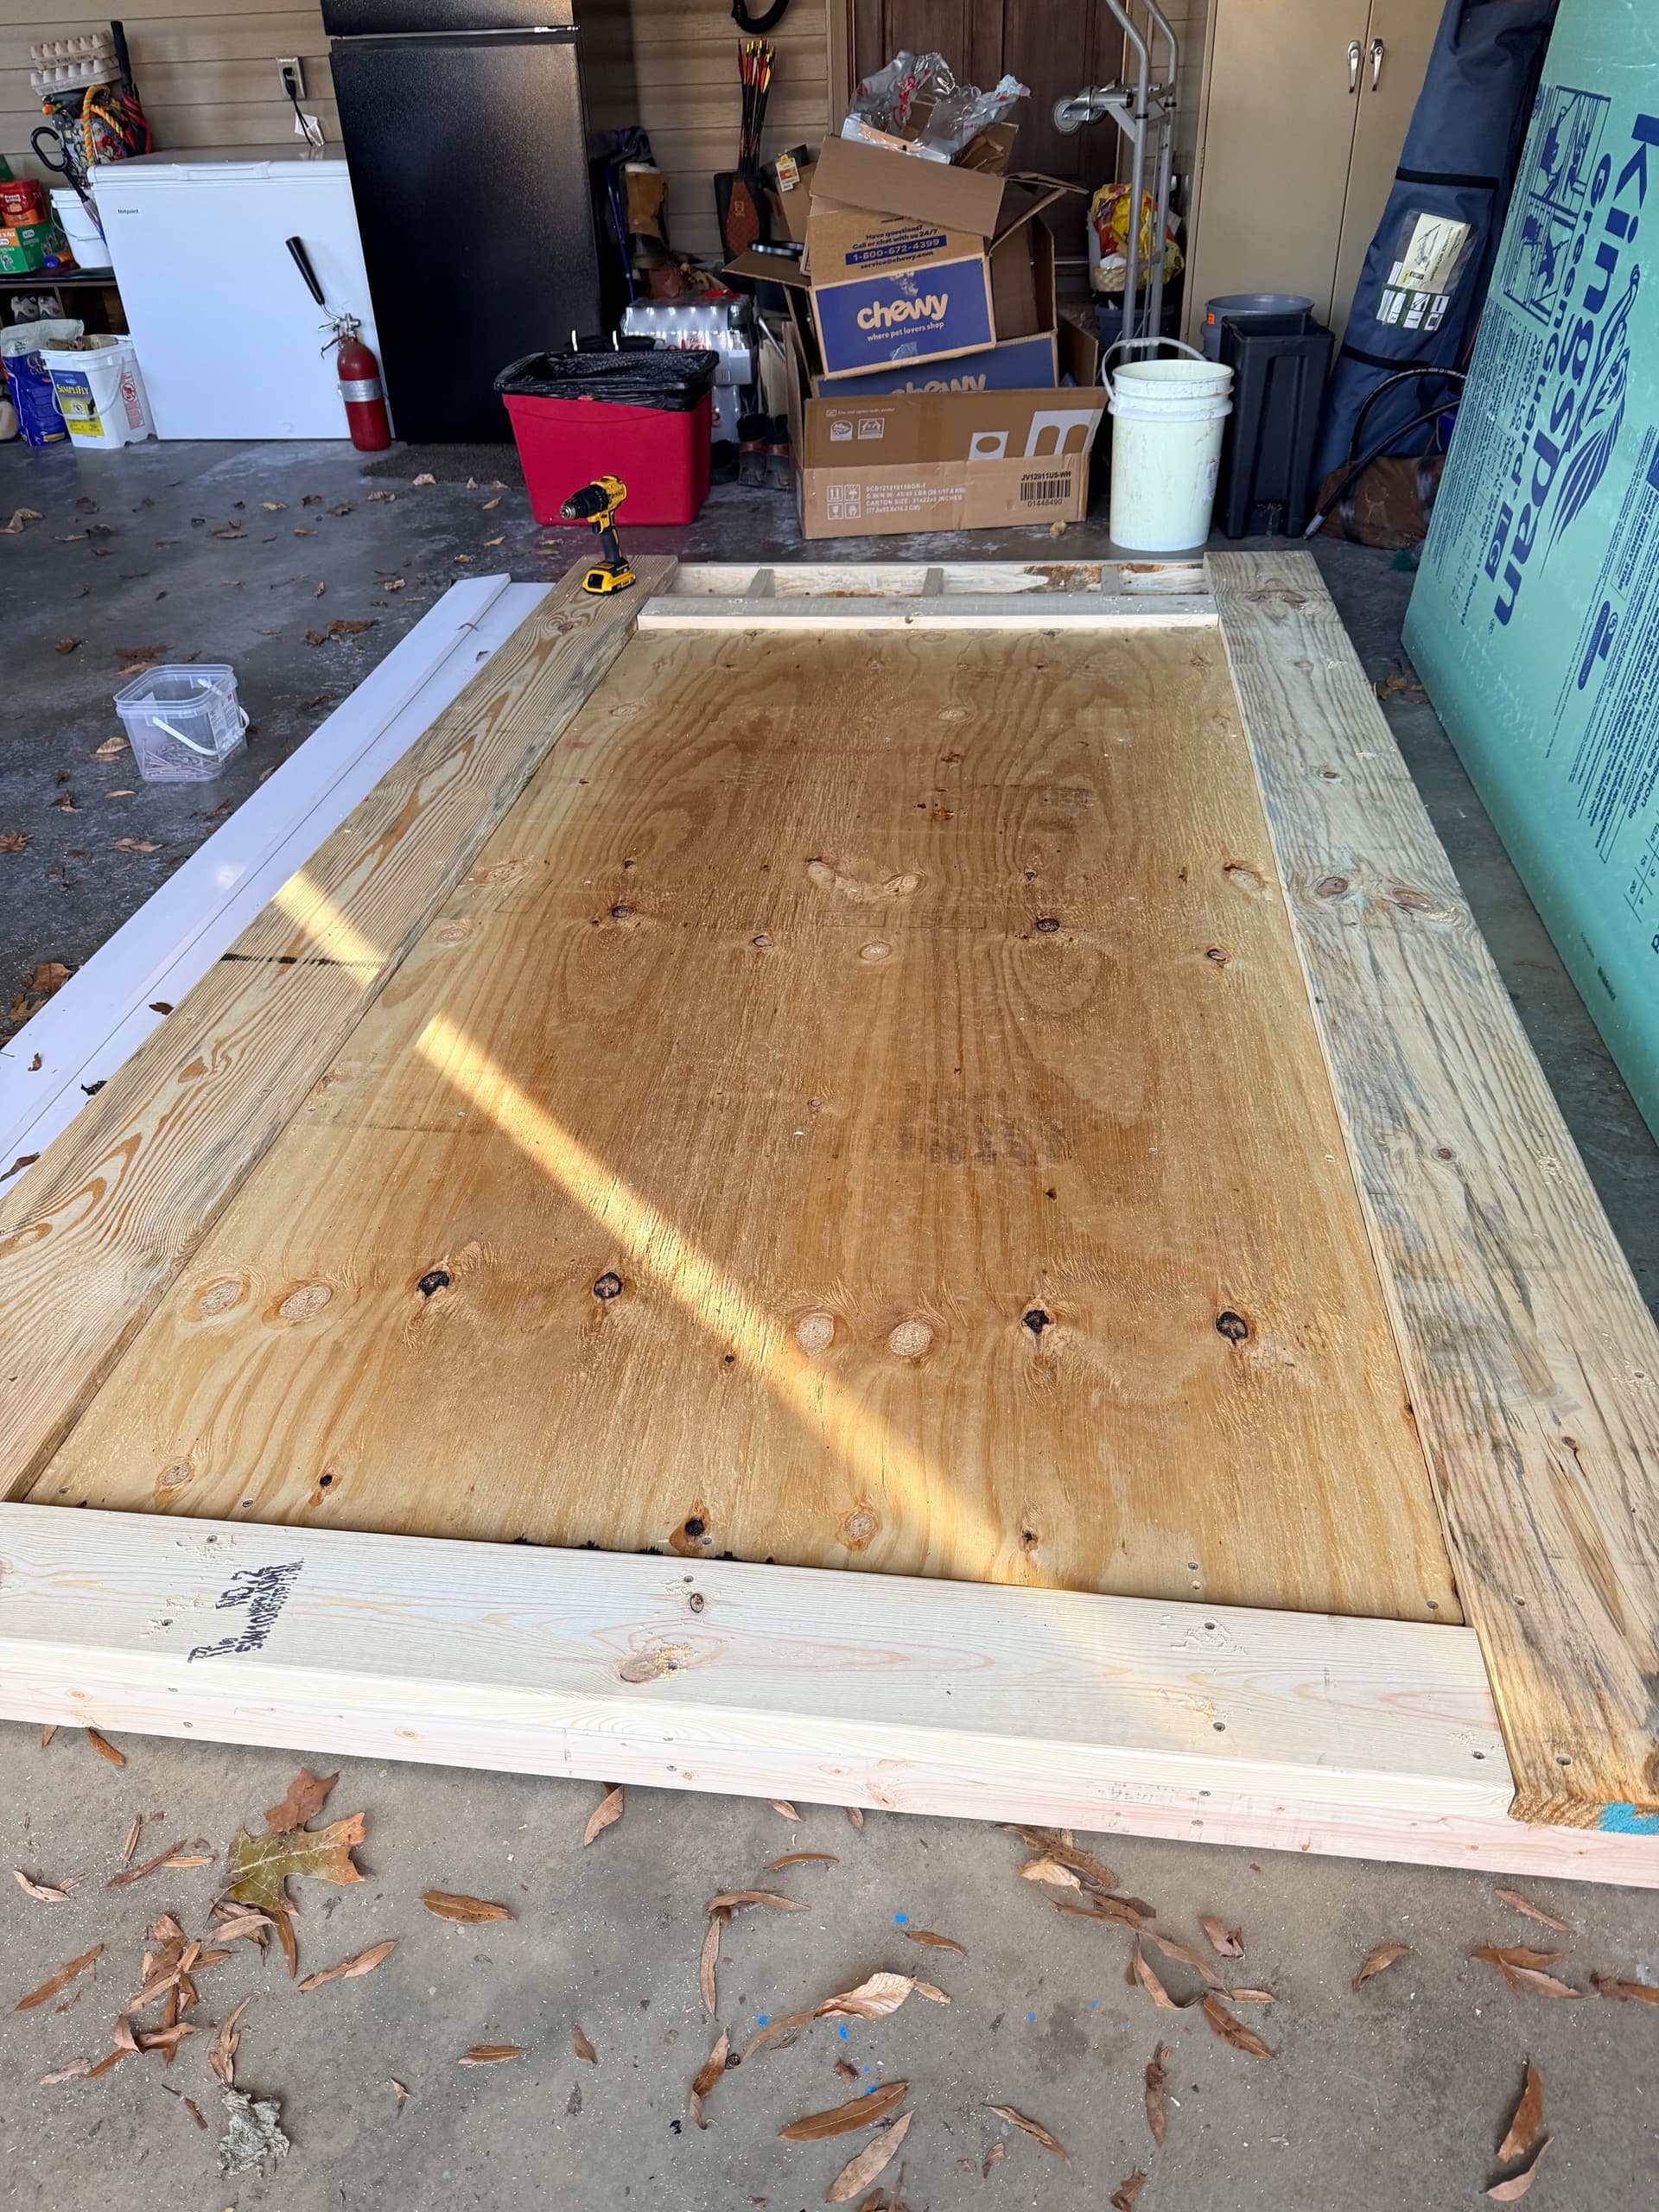
Table frame taking shape – 2x4 construction with plywood deck
The foam board spoilboard is perfect for my use case – cheap, replaceable, and I can cut right into it without worrying about hitting a hard surface. For coroplast cutting, this setup should work great.
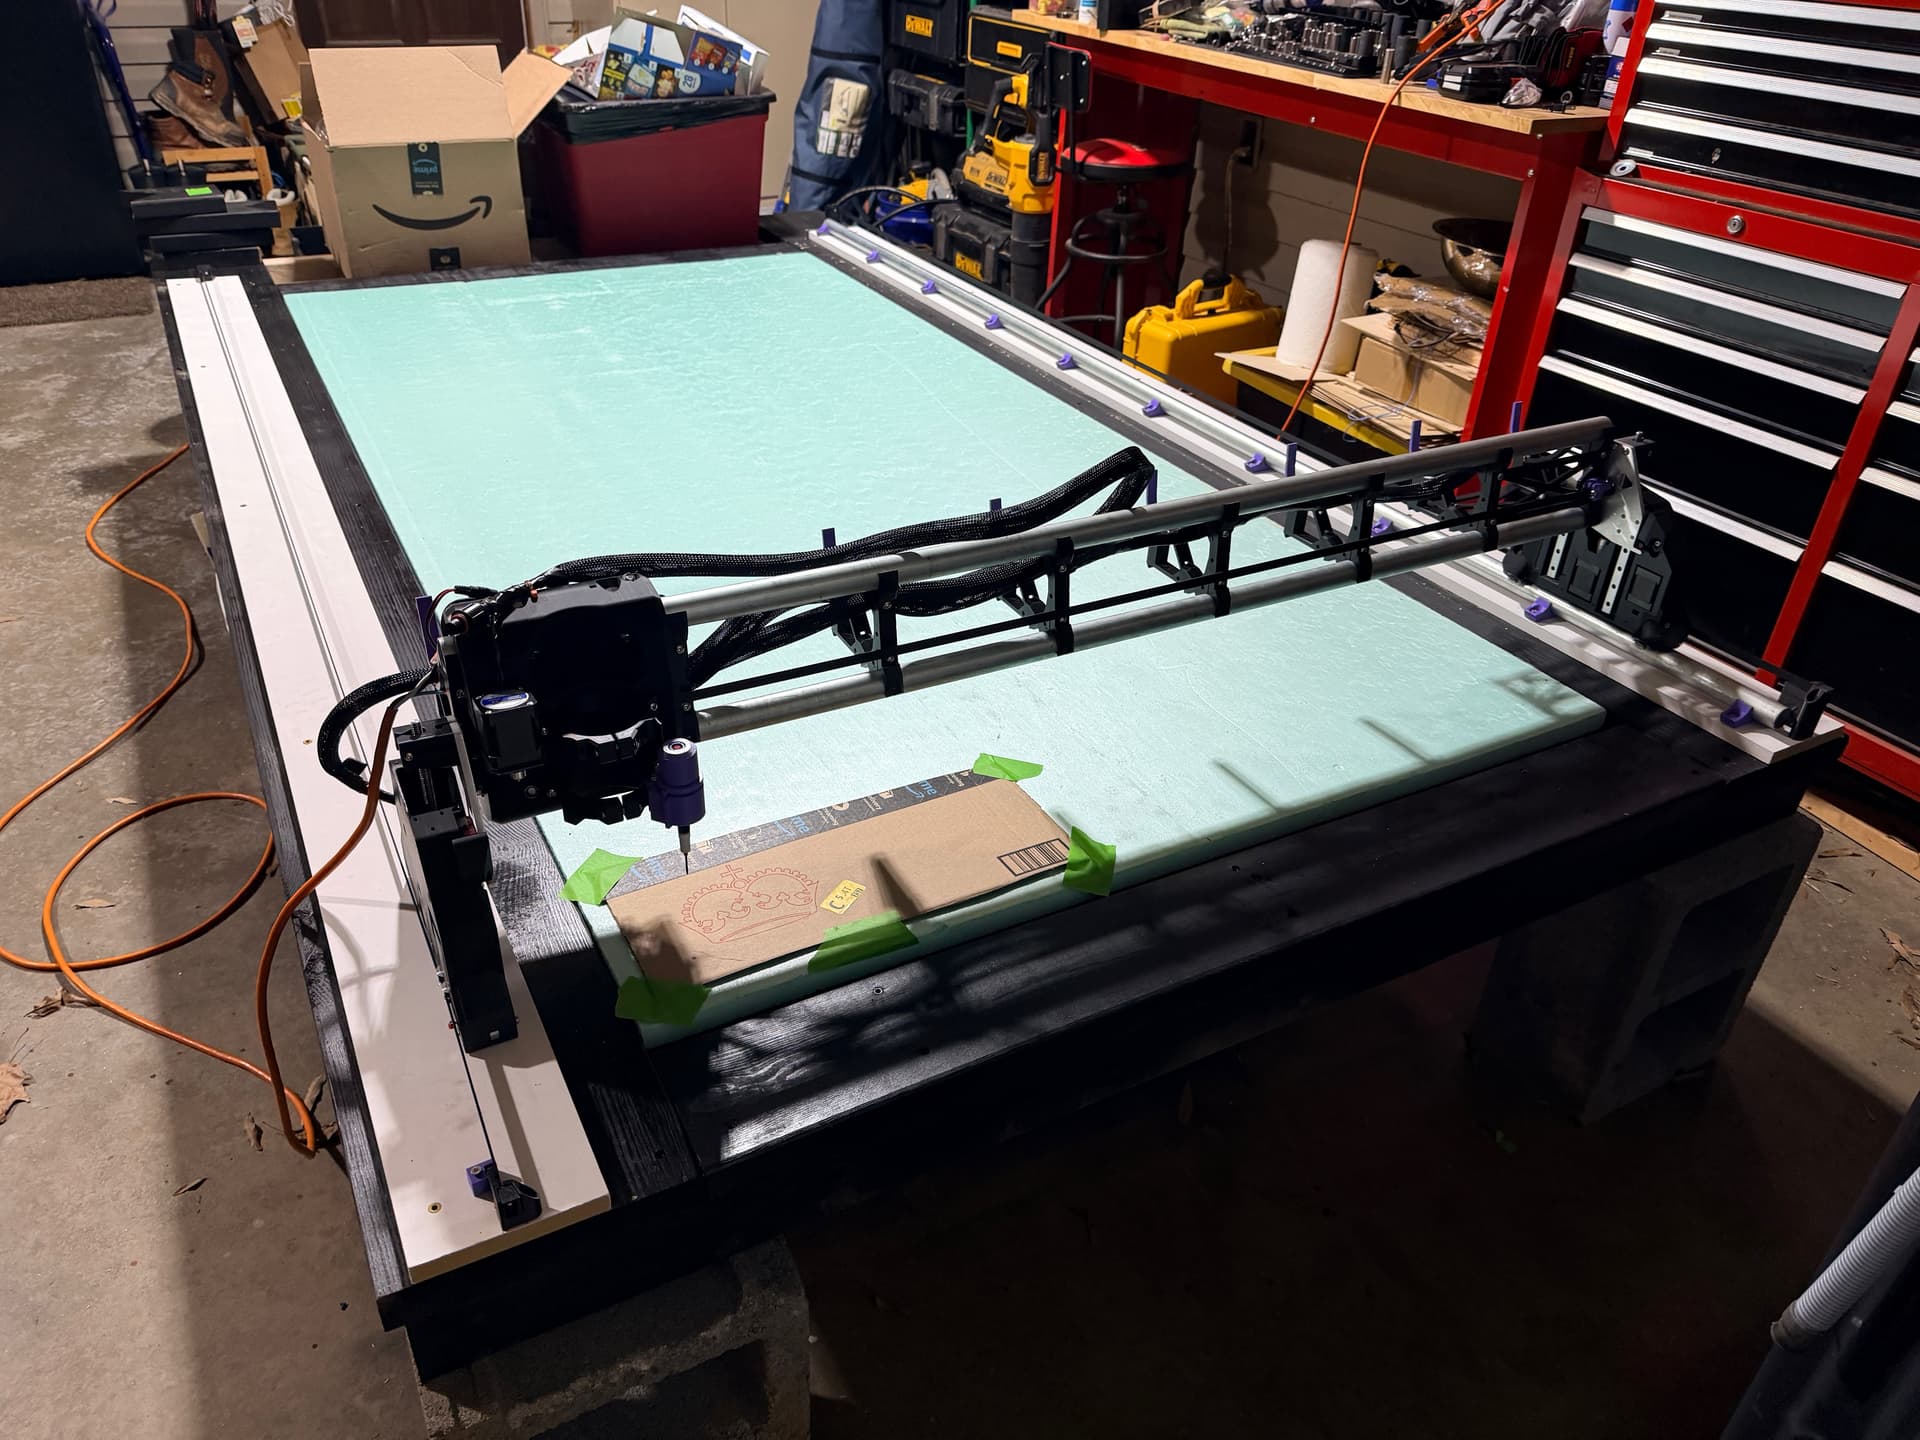
Full Machine Assembly
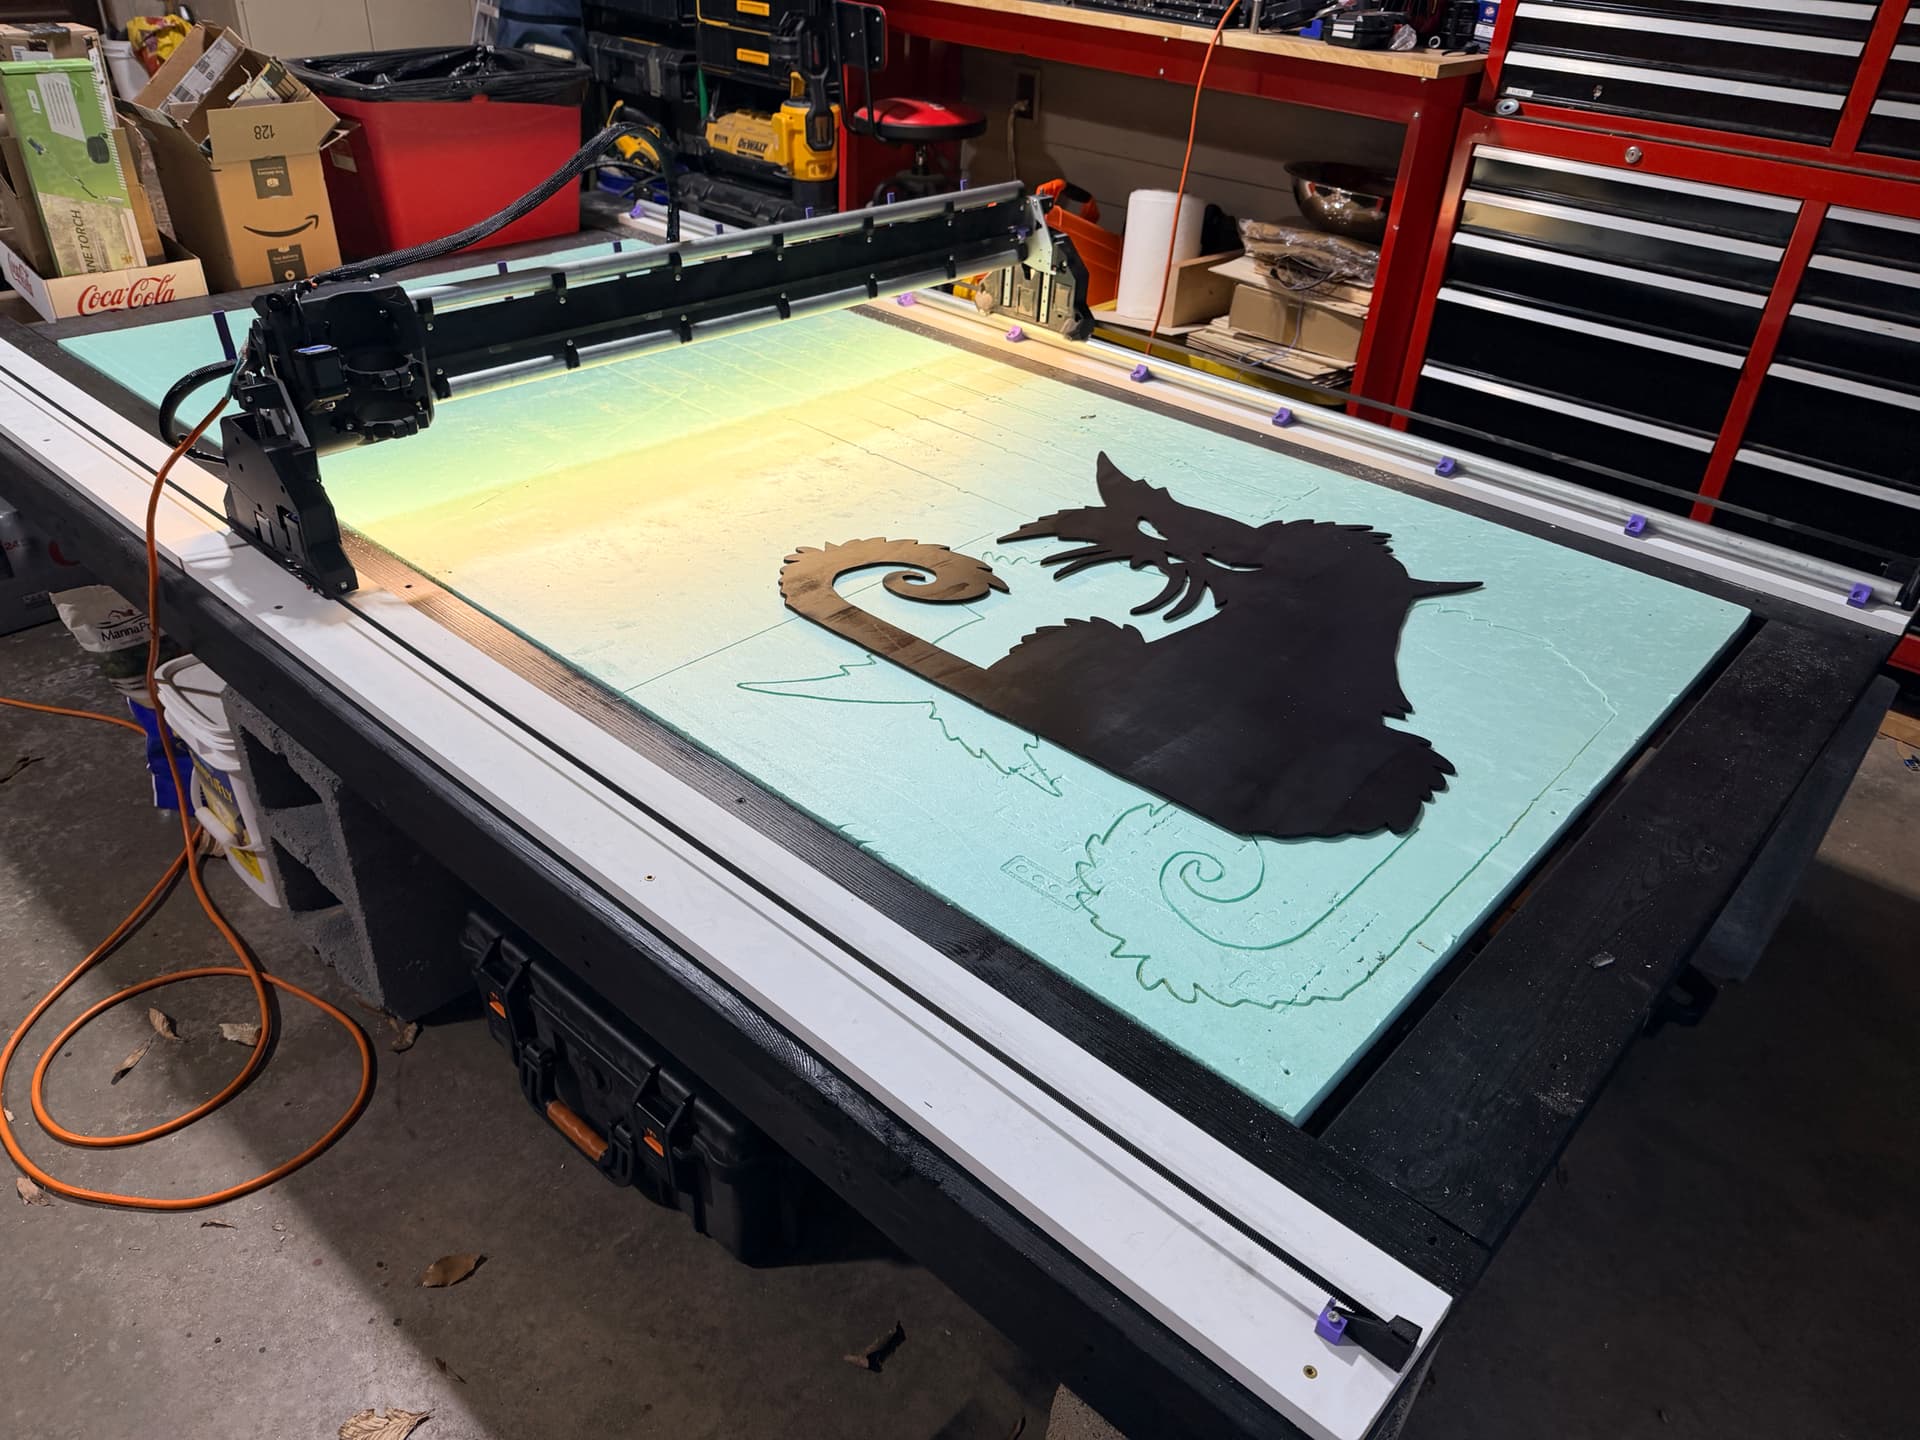
Full table view – she’s a big girl!
Got everything squared up, belts tensioned, and wiring cleaned up. The Jackpot3 is mounted on the side and FluidNC is running smoothly.
First Tests: Pen Plotting
I wanted to validate accuracy with some pen tests on cardboard. Much cheaper to find problems this way!
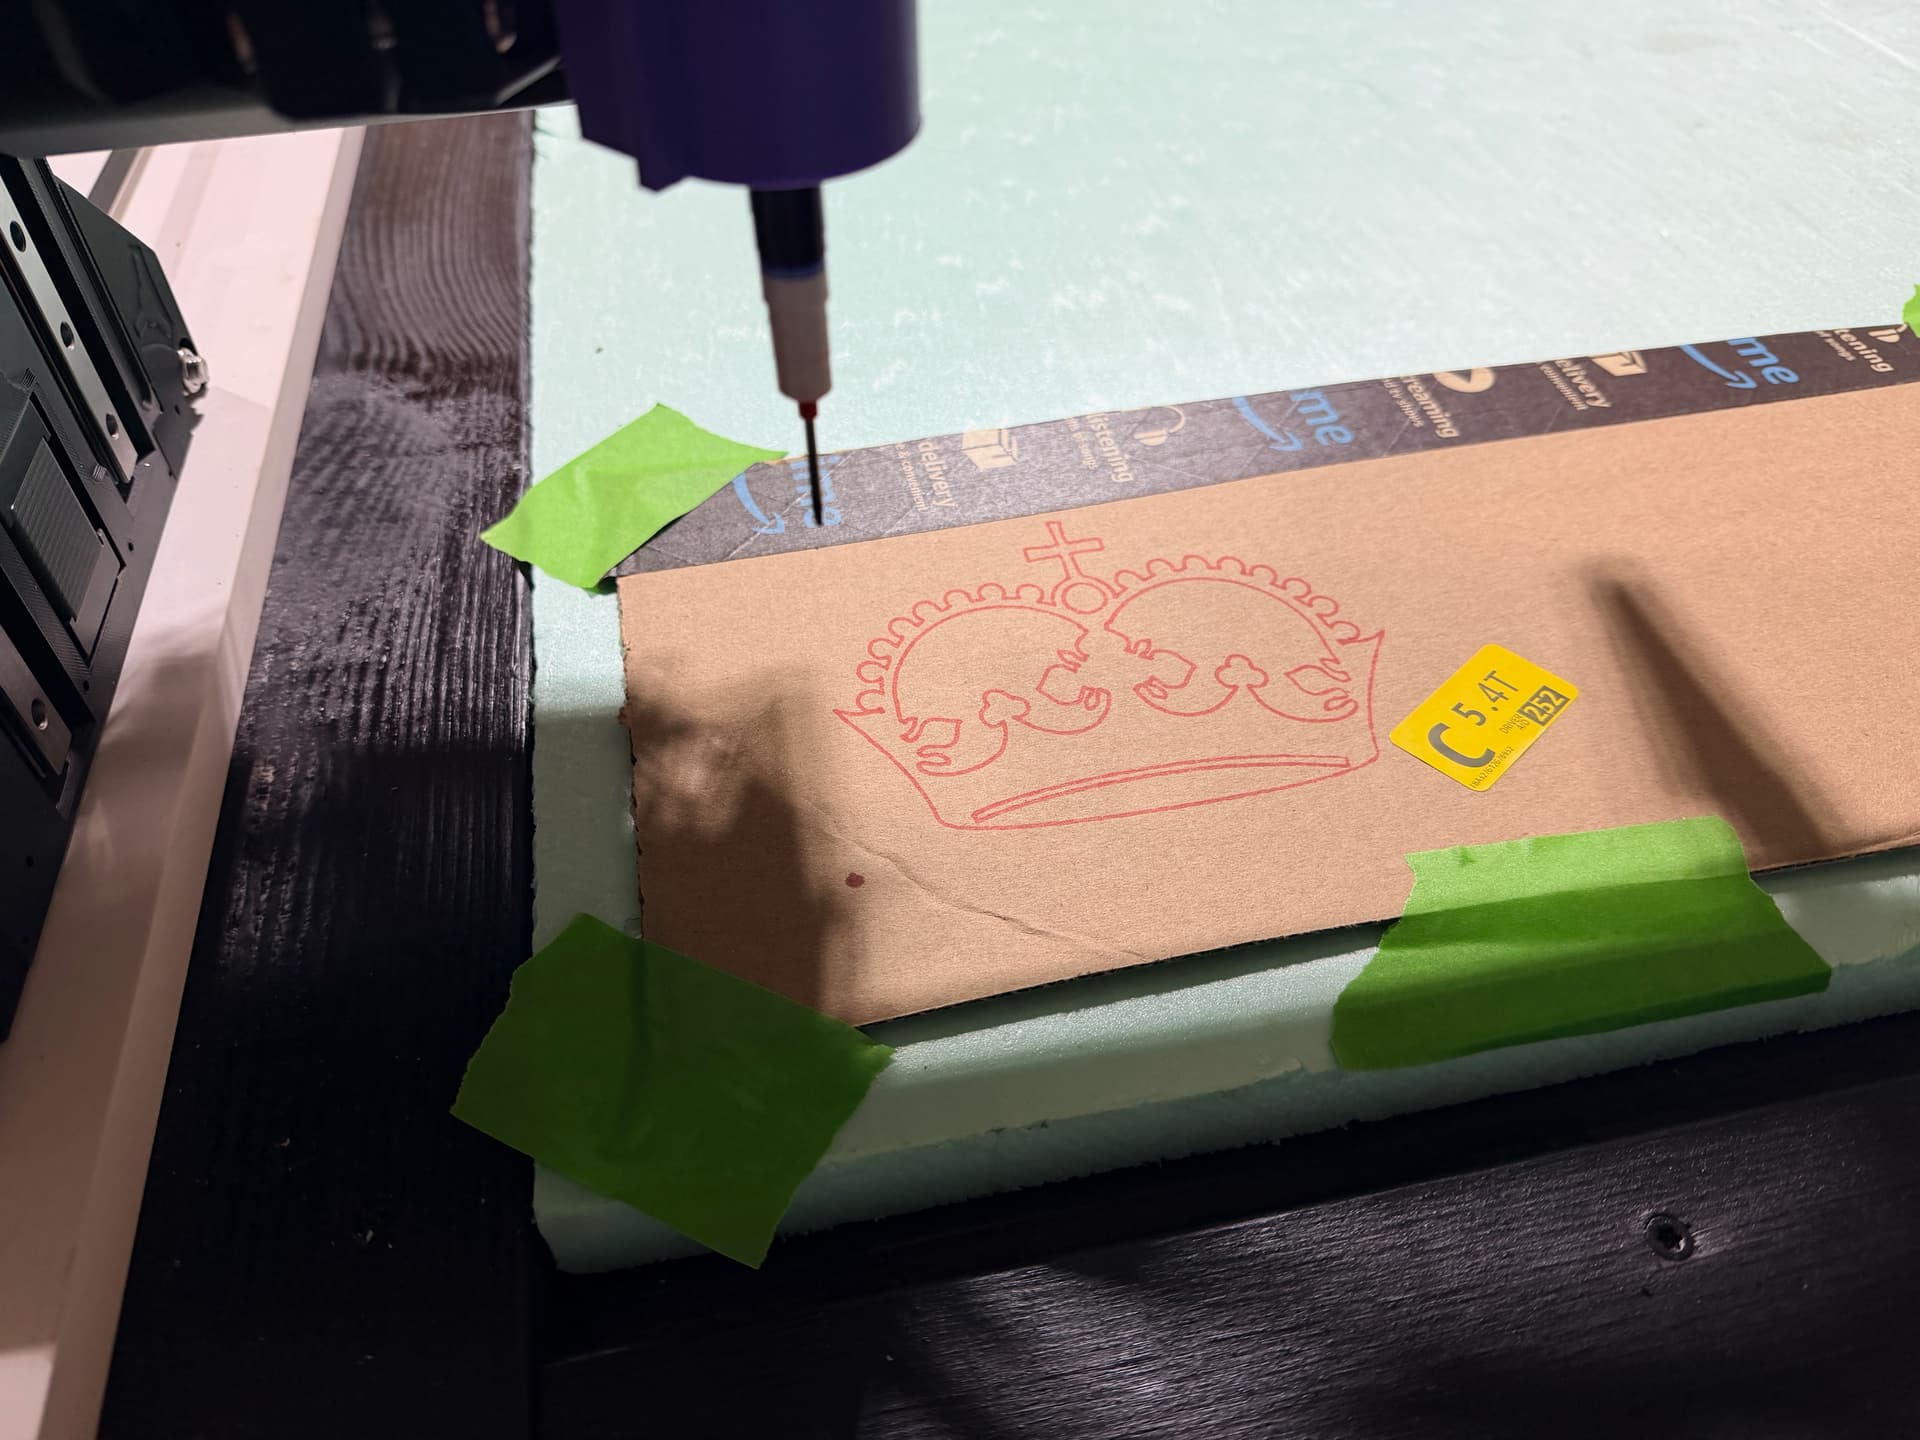
Crown test – looking good! Nice smooth curves and the lines connect where they should.
The crown came out great. Curves are smooth, no obvious issues with small movements.
The Problem: Y-Axis Drift on Large Moves
Here’s where I need some community wisdom. I ran a test pattern for one of my xLights pixel props – a simple shape with rows of circles for pixel placement holes.
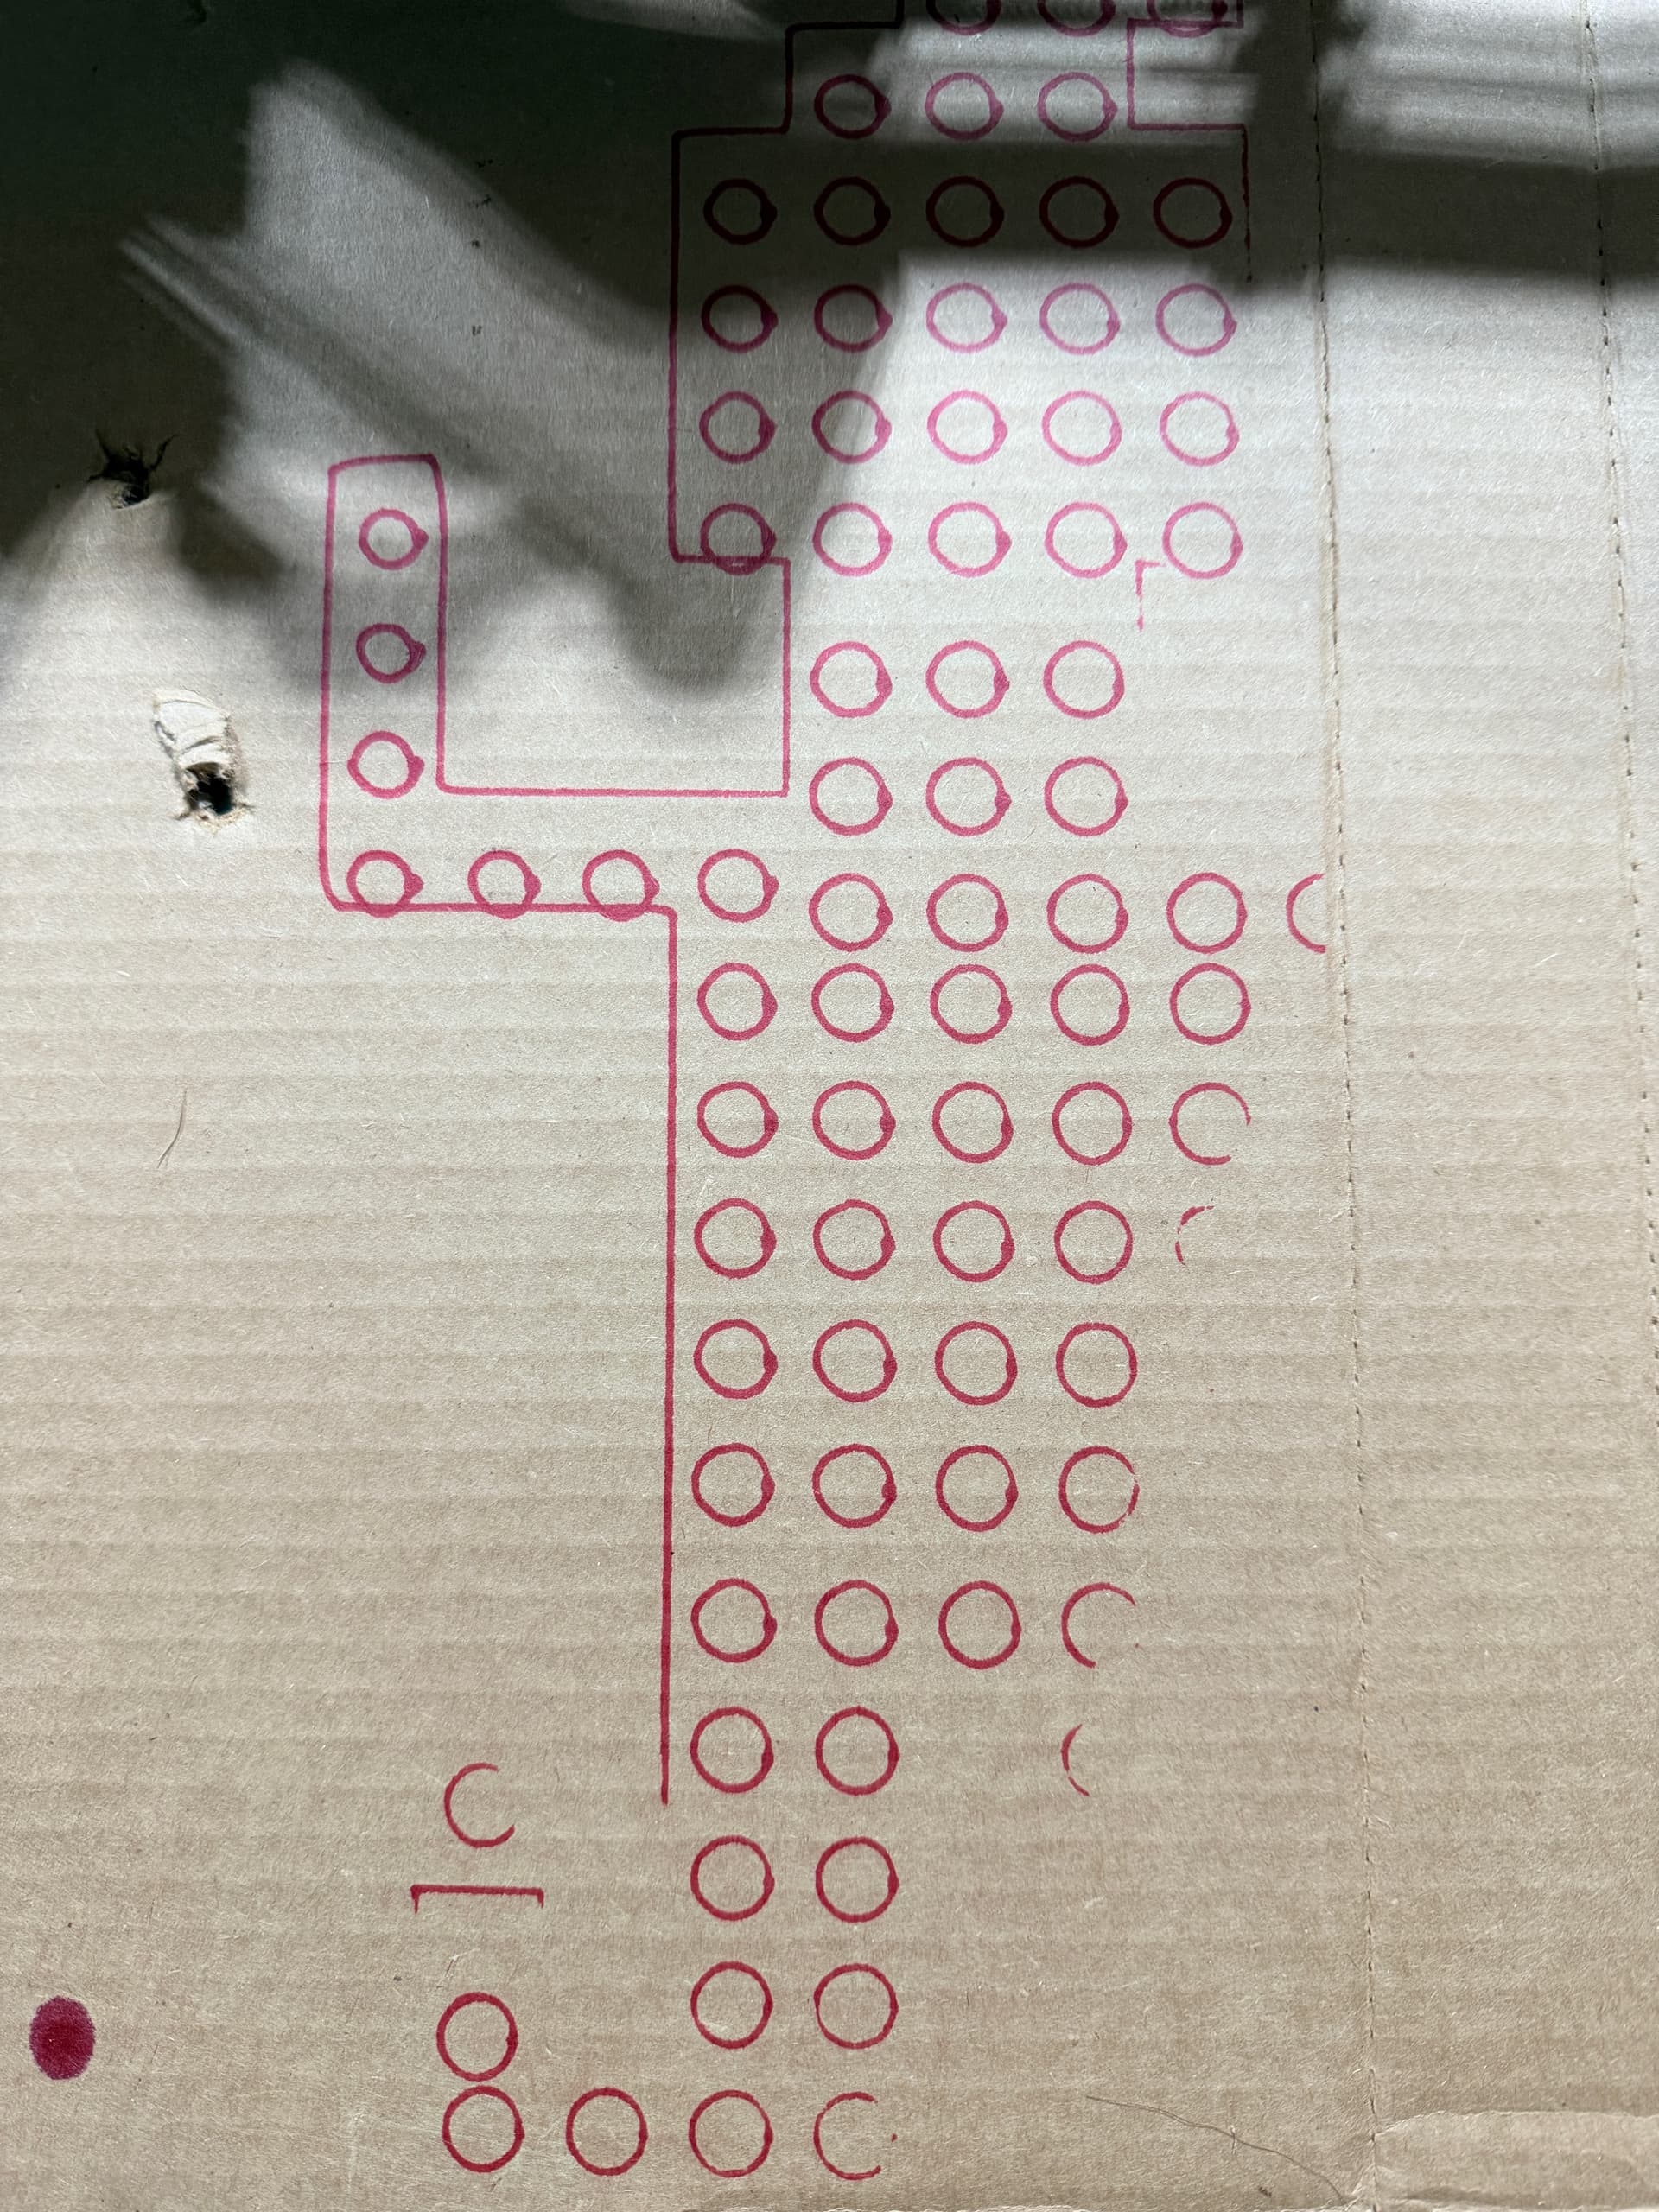
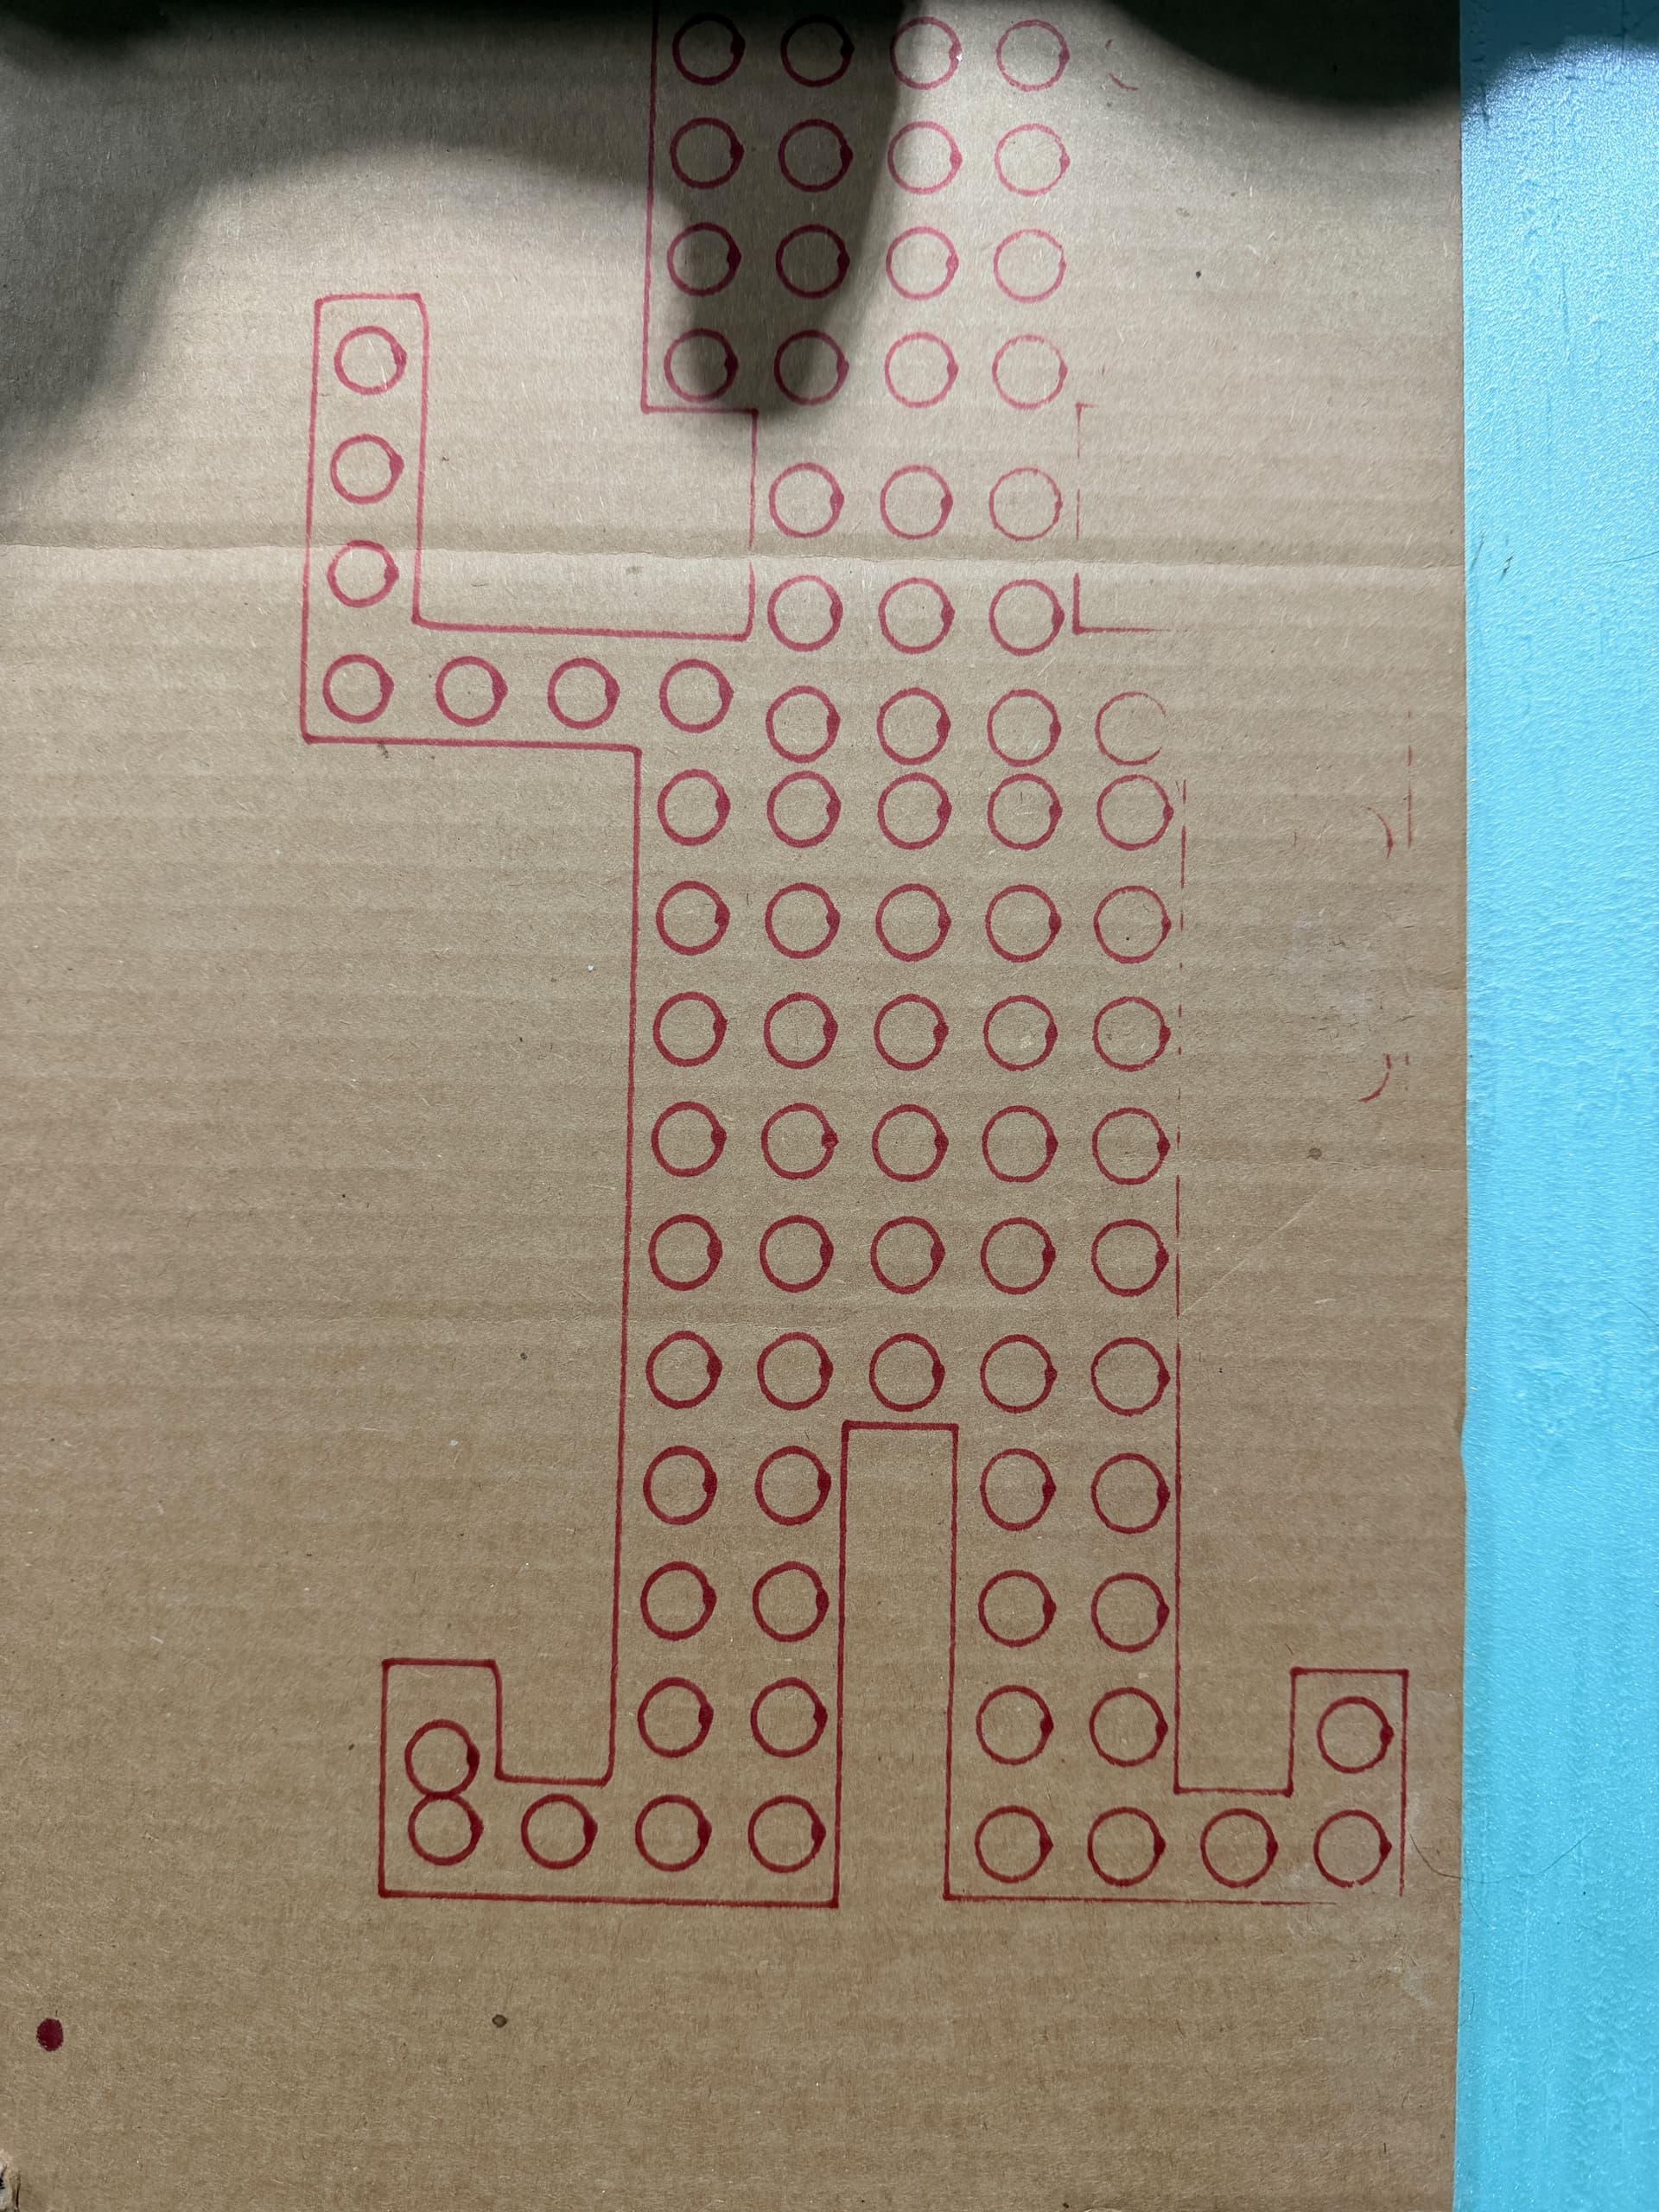
Pixel prop test patterns – notice the alignment issues
After large Y movements, the circles aren’t lining up properly. You can see in the middle near the left armpit. That circle was drawn after it came all the way down from drawing the tip of the hat.
Small local moves seem fine (circles themselves look round and consistent), but something is off when the machine traverses longer distances on Y.
I don’t hear any skipping teeth on the Y belt. Has anyone else run into this kind of drift issue? Curious if it’s mechanical or configuration-related.
What’s Next
- ☐ Diagnose and fix Y-axis accuracy
- ☐ Run a full-size test pattern once sorted
- ☐ First coroplast cuts!
Getting close – just need to iron out this alignment issue. Any suggestions welcome!
– Seth
3 Likes
Time to check the grub screws - they can work loose from vibration if you haven’t used some temporary thread locker on them. Make sure the pulleys aren’t shifting on their shafts.
3 Likes
Ah, the grub screws. That would make sense! I appreciate that.
1 Like
Grub screws are the first thing to check, for sure.
A couple of other possibilities that could cause skipped steps:
- Core binding on cables, wiring, hold down screws, etc.
- Too fast of movement (skipping steps on acceleration)
- End mill binding
The last one seems unlikely if using a pen on cardboard, but you never know
1 Like
So, I tightened up the slack a bit in the Y belts, and that seemed to solve the problem.
3 Likes