Thanks! That is exactly what I needed!
Already ordered the board and the programmer. That adds 3.5eur to expenses. Also 6.35 EUR for fans for main board fan as well as 3.85 for heat shrink tubing and cable sleeves.
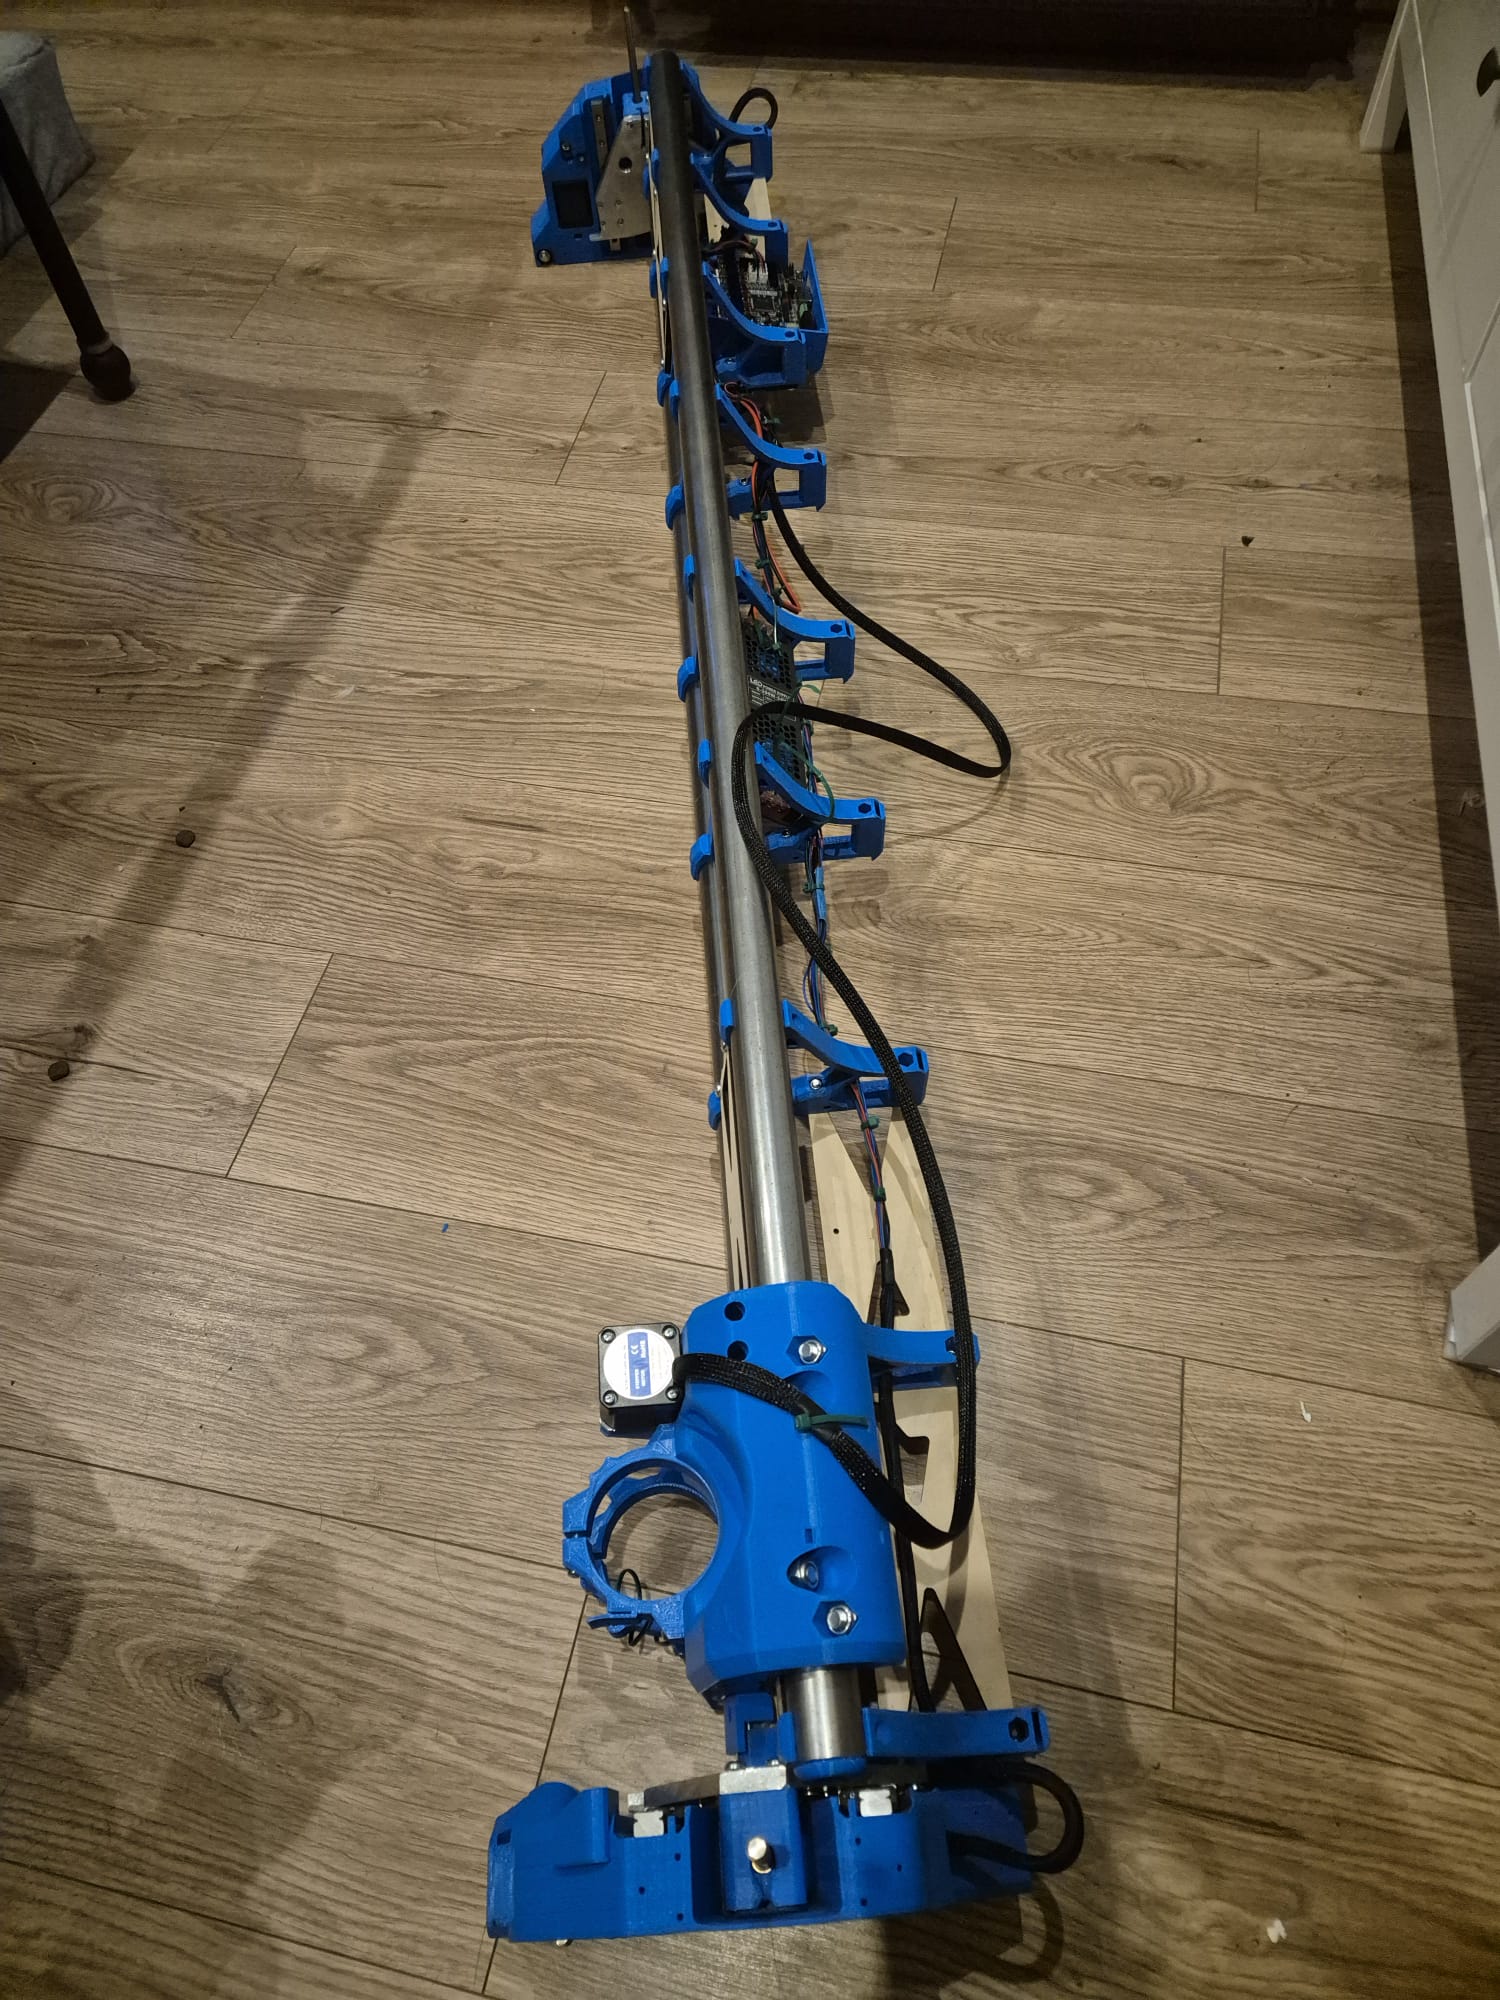
Today finished motor and end stop wiring. Still have to do 220v stuff, but not today. Some wiring sections look better than others, might print some covers to hide my shame in the future.
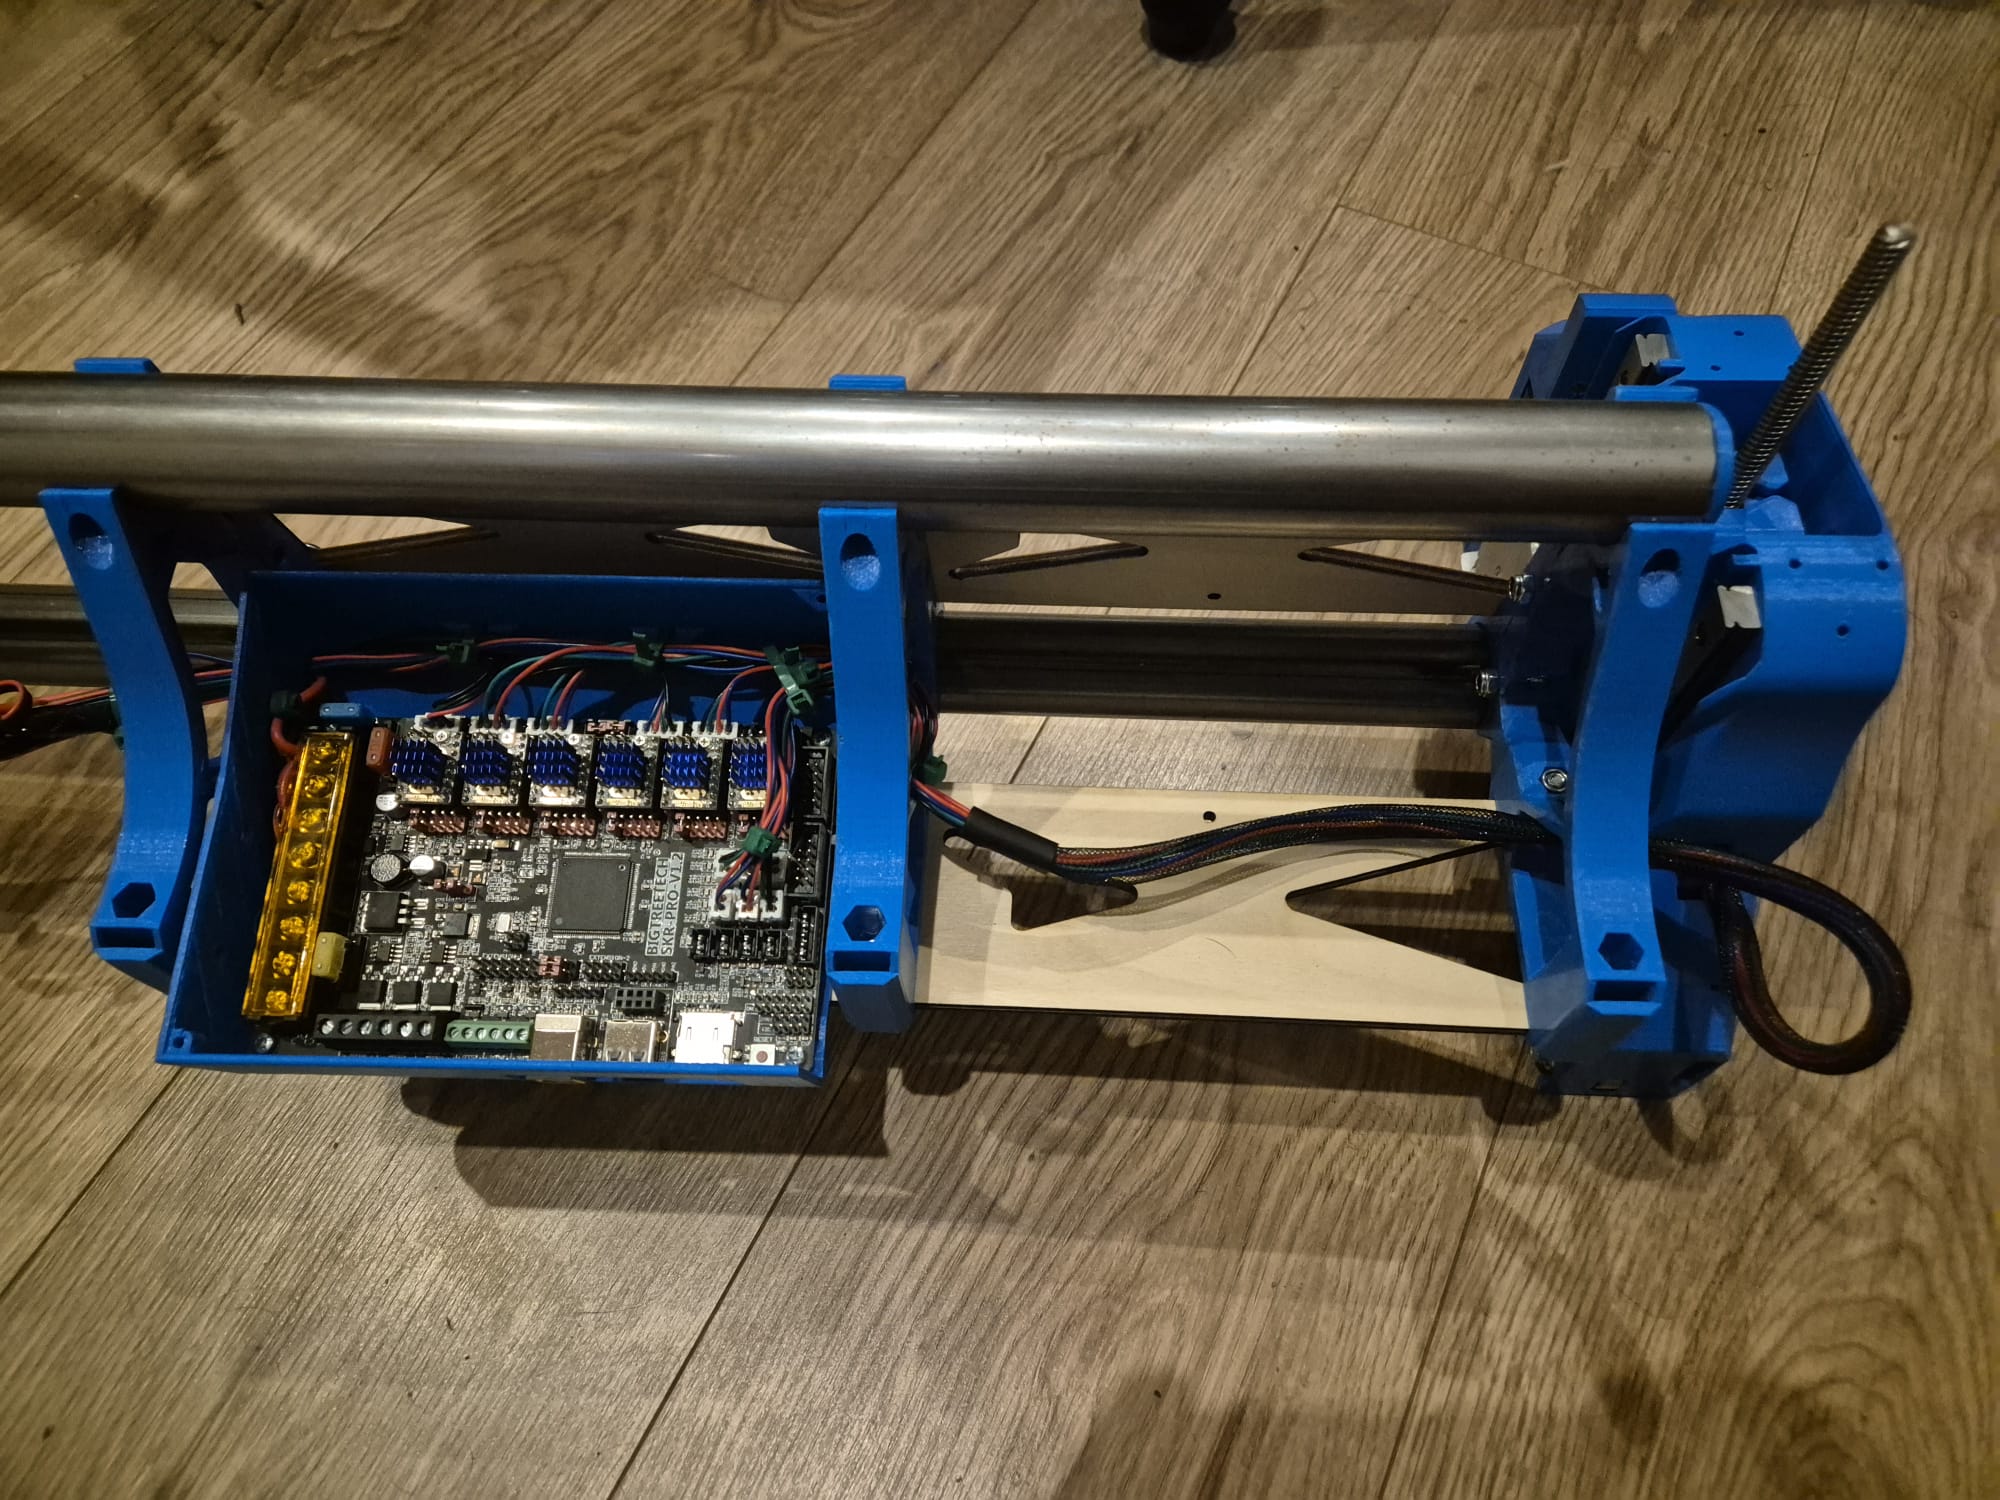
For anyone interested there is a large chance of EXP1 and EXP2 pinout between the SKR board and non SKR screen is flipped, as in my case, so you just have to cut another connector key hole, so you can plug in the cable reversed. In my case I also think that the EXP1 and EXP2 on the board doesn’t contain the NeoPixel output, but the screen has it in the pinout, so I will have to modify the wiring a bit.
In total there are quite few things to address in the firmware/hardware for my build:
Have to get the NeoPixel backlight signal going for the screen.
The Y axis and Z axis motors work but X isn’t working, the X endstop looks triggered all the time? will have to check pinout, maybe something on EXP1/EXP2 is messing with it.
One Z motor moves up, one move down.
Y direction I will be able to confirm only when there are belts on the CNC.
But progress is progress and I’m happy with it.
EDIT: 2 hours later:
Z axis found where to flip the direction in software (//#define INVERT_Z2_VS_Z_DIR), but one of z endstops wiring has a broken circuit, because I didn’t crimp properly. Also X endstop, same crimp issue. After fixing the X endstop motor still doesn’t spin, so suspecting a X motor crimp issue as well. Z homes fine now. Probably for the ones that are working I will just apply some glue to the crimp and cross fingers on each CNC start up.
Also will have to test every wire and watch few Youtube videos to refreshen my crimping knowledge.
Applied some hot glue to the crimps, a lot of zipties, so it should be ok, only time will tell.
Now I think I have the base functions working, all axis moving, all endstops triggering and at the correct sides. The only axis that I could home is Z, as there are no belts. I think I can add the X belt at this point, that would allow me to check the X direction. So I’m nearing the point of needing the table going ASAP.
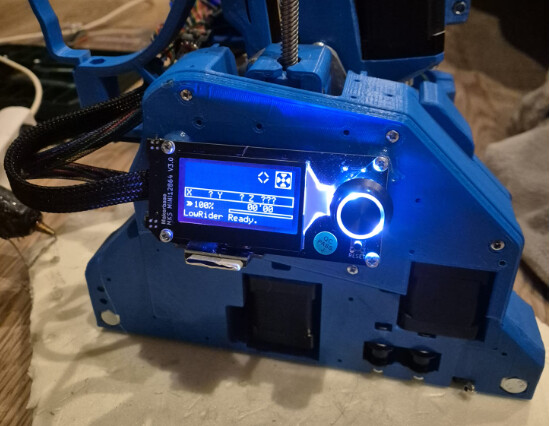
In the firmware I set the screen Neopixel pin to PG3 on the SKR board, it matched the existing wiring to the screen, so no other hardware modifications were required. I quite don’t like the default behavior of the screen color, so I might have to check in the firmware how to get it turn on non-white by default, but that is not a priority at this moment.
It’s very easy to removed the terminals from the JST shell and replace them in a different order, you just need something to release the locking latch.
I think I have done something like that at work, but I don’t trust my crimps enough to attempt this
Today managed to add the X belt, and edited the firmware, X homes properly.
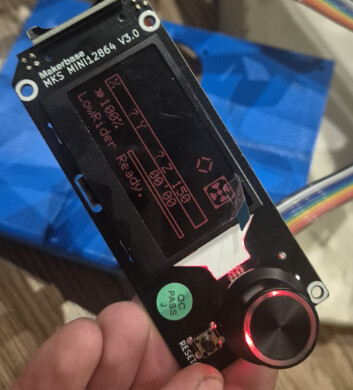
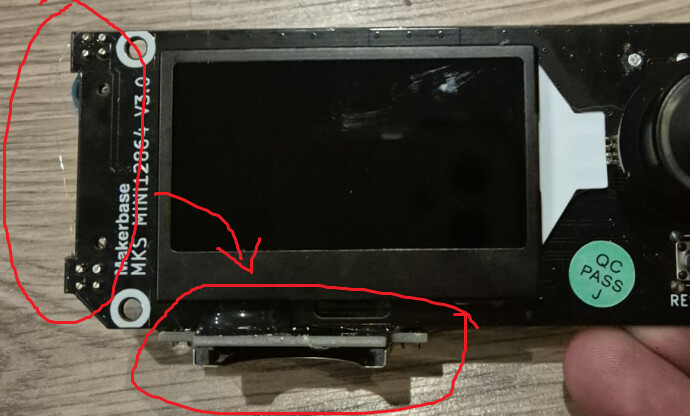
At the start of this build I wanted to build custom peter plates that will hold the screen in place. Well today I finally understood were my issue lies with that and it was the SD card placement, so a bit of butchering and this is the result:
I don’t crimp jst pins, life’s too short I buy them precrimped. But taking the crimped pins out of the housing is very easy and you can put them back in any order you want.
This weeks update feels like taking two steps back and one step forward.
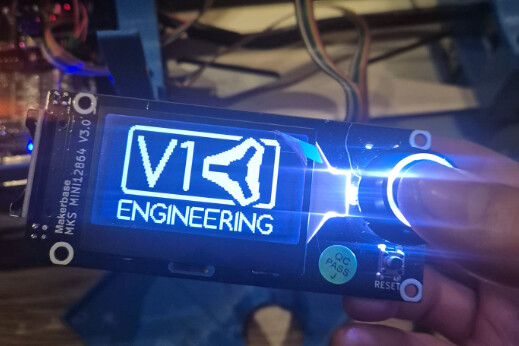
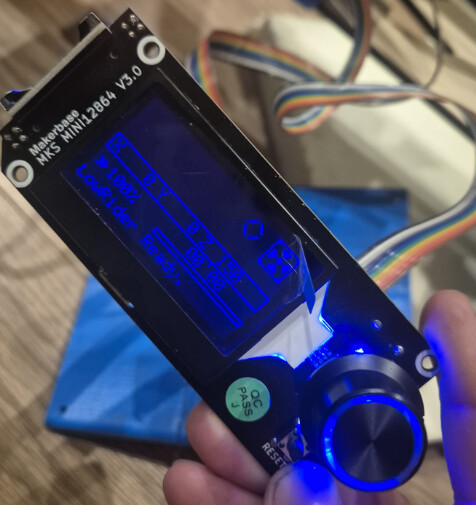
Ended up breaking the encoder on the screen by playing with my custom lowrider’s side plate. It looked like it had potential, but oh well, things happen and I have to move on.
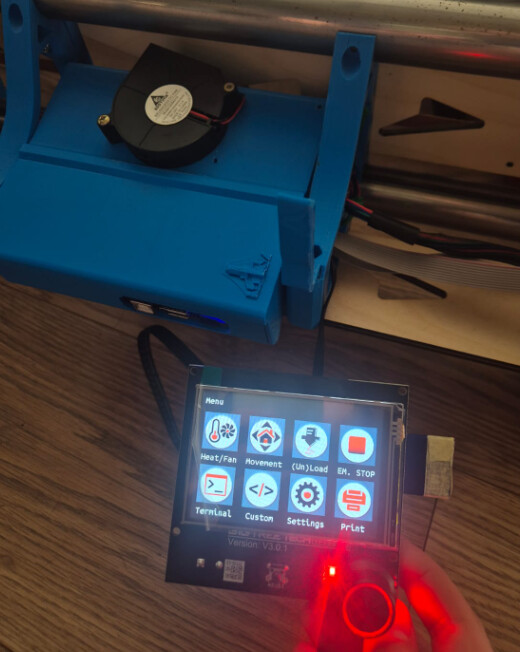
I don’t have any encoders on hand to resolder and quite frankly after all the spent time, I just don’t want to deal with this, there are multiple things why the screen feels cheap and not for the long haul. So I ordered the SKR touch screen, will see how that will go.
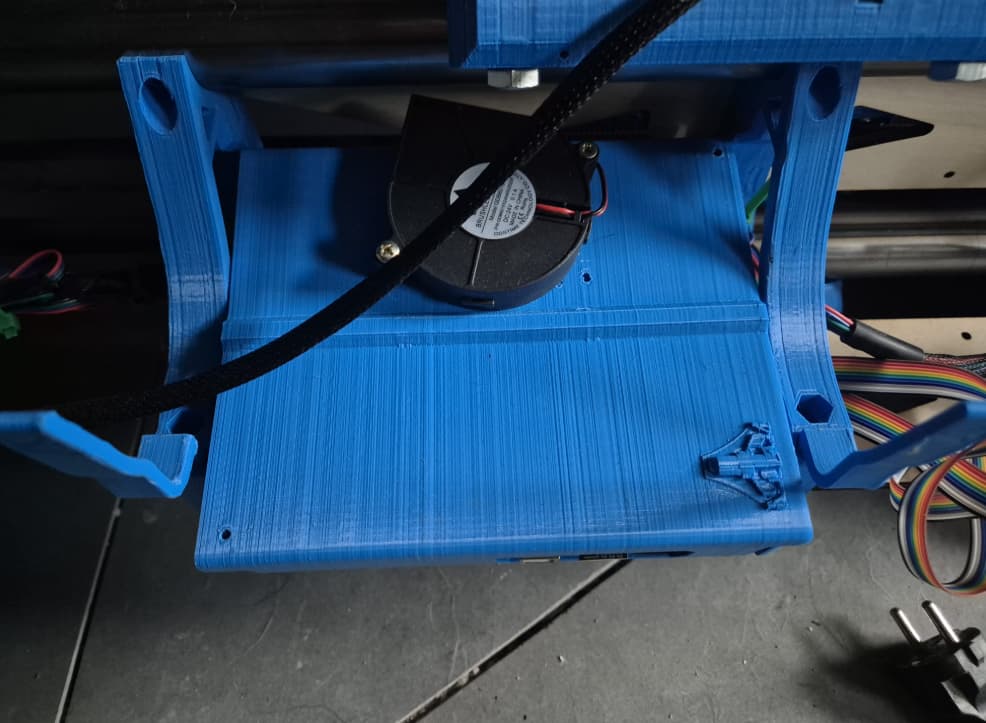
So that adds 26.92 EUR to the total. Grand total right now: ~ 564 EUR. My ordered fans were a bit bigger than stock, made them fit on the board cover, I had to reprint the board cover anyway as my first print cracked.
Currently the time I can spend on this is a bit limited, there are too much things to juggle
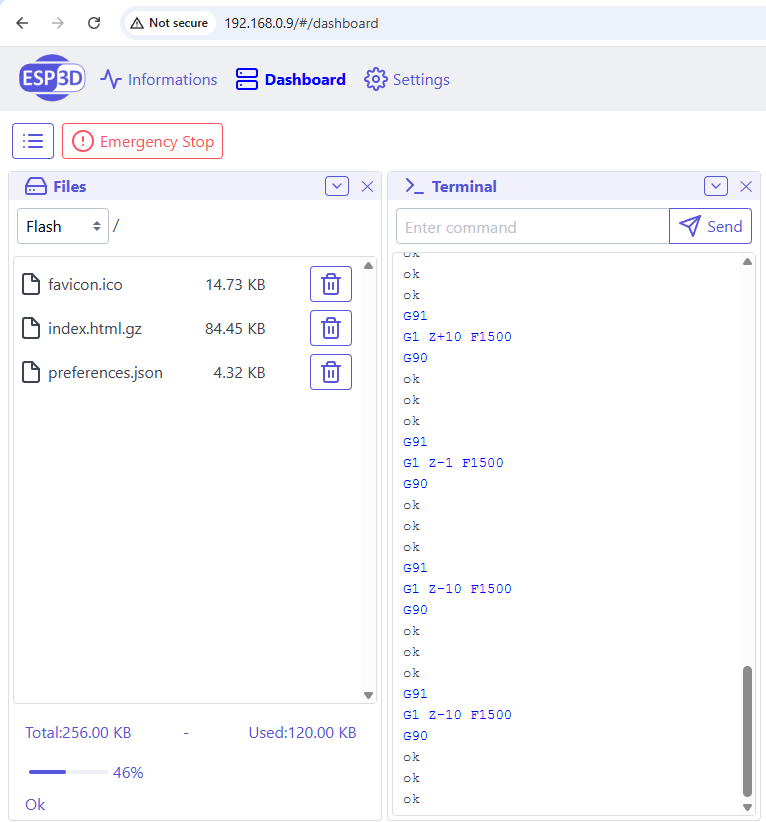
Btw in CMD you can use command “arp -a” to list the devices in the network, I have only few of them, so it was easy to just go through the list and find the CNC.
This is the new cover. First one cracked, and this one was already modified for the bigger fan, also added a bit of extra material to make it less likely to crack. Unfortunately I forgot to turn off the support feature, so wasted a bit of material and still have to clean the logo area.
Another mini update:
So had the London holiday, it was amazing, and the things we managed to do really charged my battery up. But with that and some other things, I didn’t quite have time to do anything on the lowrider. But I only need to work for another week and then will have another 2 weeks off, so hopefully without my 8 to 5 I will have the time for the table build at last.
In this time I only managed to connect the new screen and upload firmware to it.