@DougJoseph took the words out of my mouth! In my short 2 day experience with it, I don’t see a need for the impeller upgrade, not yet atleast. It’s such an improvement from the shopvac (and I had a decent one) that I can’t fathom the difference the impeller upgrade would do yet.
A better filter and Doug’s trashcan mod are on my list for sure, but I think I’ve got to atleast get a little dust on it first before I start upgrading the thing.
I also want to figure out the plumbing for the rest of the shop too before working on upgrades to it. I’ve got a table saw, miter saw, planer, and some other stations that it would be nice to plumb in.
I should add. Completely stock, this is super serviceable. It doesn’t need any upgrades especially coming from the shopvac cyclone situation. I just need to figure out what hose size makes sense for plumbing in my router for instance
Largest size possible (but no reason to increase larger that the fan intake) to the tool.
Blast gates as close to the main truck as possible, to minimize the branches not being used.
Reducers and flexible hose, (minimal length of flexible) as close to the tool as makes it easy to use / function.
So no, I personally don’t think you need 4” at the boot. But take the 4” as close to it as you can.
But I also don’t feel there is a “wrong” answer, as long as you are getting good pickup, and aren’t starving the impeller of air.
There will be (or should be) other opinions.
And there’s plenty of videos on the tube, talking the finer points of tight 90’s (no), sweeping 90’s, 45’s, wye’s, metal vs metal duct vs PVC, grounding or not, etc. In case it’s a rabbit hole you’re looking for.
Please, go off topic in public! We all want to know what questions people have and what the answers are. Who knows when that answer is going to help someone in 3 years when google sends them here.
I am positive there are 10x as many people that view the forums than actively participate. One of them has the same question you do.
Am I not doing myself any favors by using 1/8" endmill? I mostly see myself breaking down plywood, lots of slotting cuts. Would it behoove me to step up to a 1/4"? What kind of benefits/drawbacks would one find doing that? I imagine it allows for easier chip removal? Less deflection? CNC world has way more variables than I think I was prepared for
I did the impeller upgrade. For me, it was worth it. Whether it is worth it to you is going to depend on your piping. I intend to have it extending all over my shop, etc, so I wanted the extra air flow. I probably wouldn’t have done it if I was just using it as a portable unit.
It will increase the CFM noticeably, and there are a few YouTube videos where they measure it and give hard numbers. I didn’t measure it, but I can feel the difference.
I have 4" run on the ceiling to the center of my table, then drop a 2.5" hose down to the machine. Works great. Very little makes it outside of the dust shoe
1/4” resists deflecting better than 1/8” - and could have better speed without sacrificing accuracy. For a lot of profile cuts it’s what I use. I switch to 1/8” when I need finer details (smaller radius corners).
I have some one flute 1/4” endmills and some two flute. There’s a lot of love about the one flute. That allows there to be a really nice wide pathway to get the chips out.
A 1/4" bit takes a substantially larger bite. Any savings you might gain by the slightly more rigid bit is lost to the larger bite you need to take until you get to a really fast pocket. You are much much slower in a slot though.
I highly recommend using 1/8" for slotting.
We are not using 4ton cast iron machines, if you are flexing a 1/8" bit in wood or plastic the CNC is surely moving far more.
Ah best to keep the 1/4" for pockets, that make sense. I’ll keep chugging along! I’m really itching to wrap up the table so the router can have it’s dedicated space and not be in the middle of my main working area. Once I can do that I’ll be able to take my time and really learn to dial things in properly and test around. Thanks for the input!
I ended up breaking down the temporary table after I got all my struts cut from a modified Doug’s table. Gave me some room and time to get some other projects done around the house. Now I’ve got some projects that are ready for the Lowrider so time to get things set up a bit closer to what I’d like!
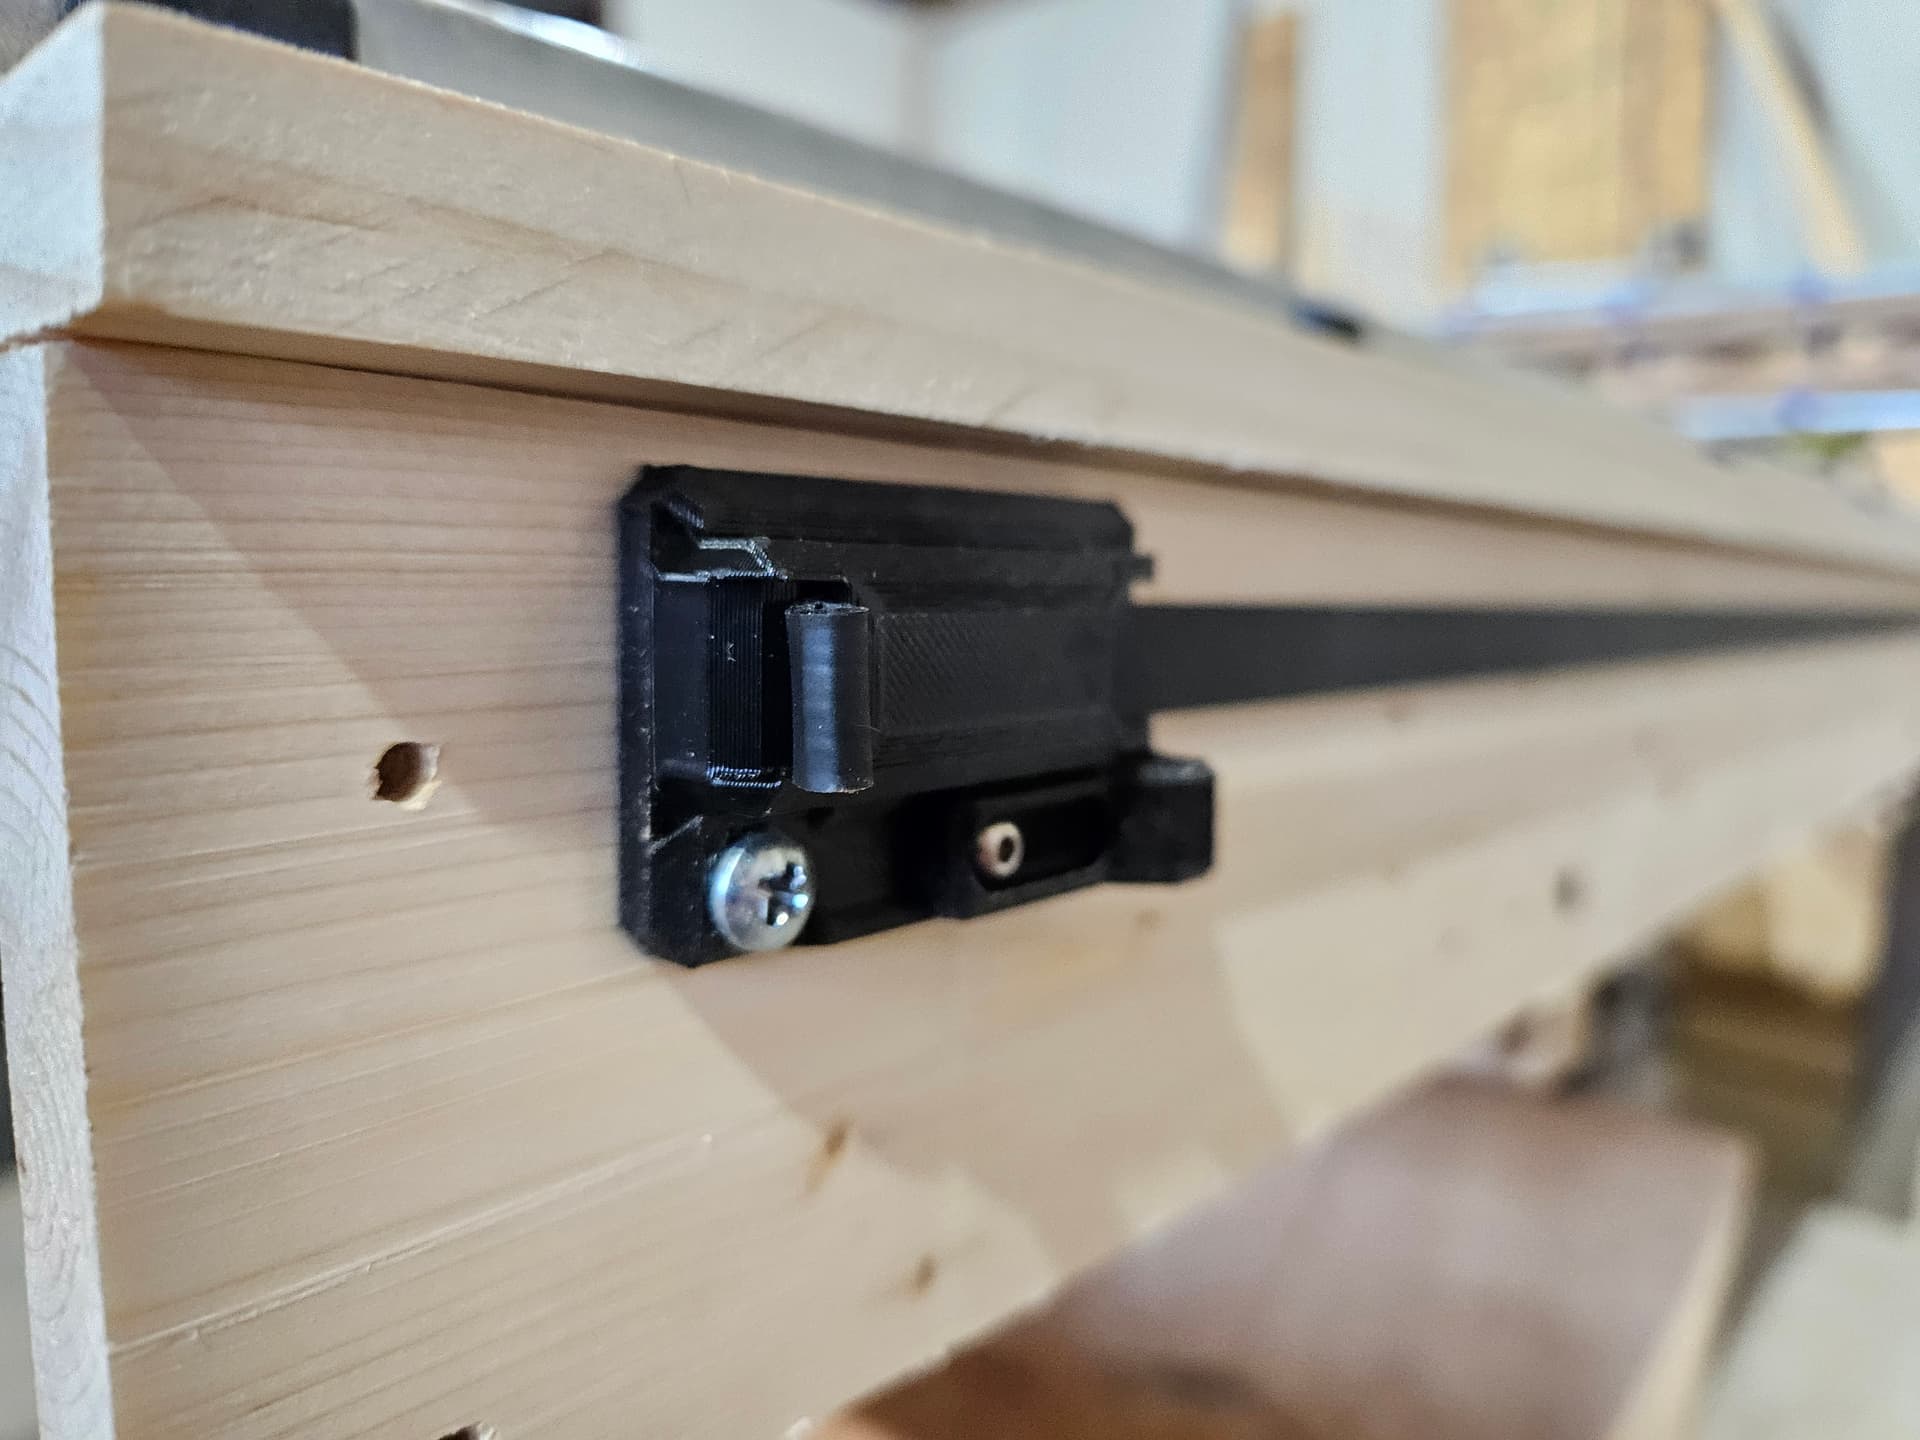
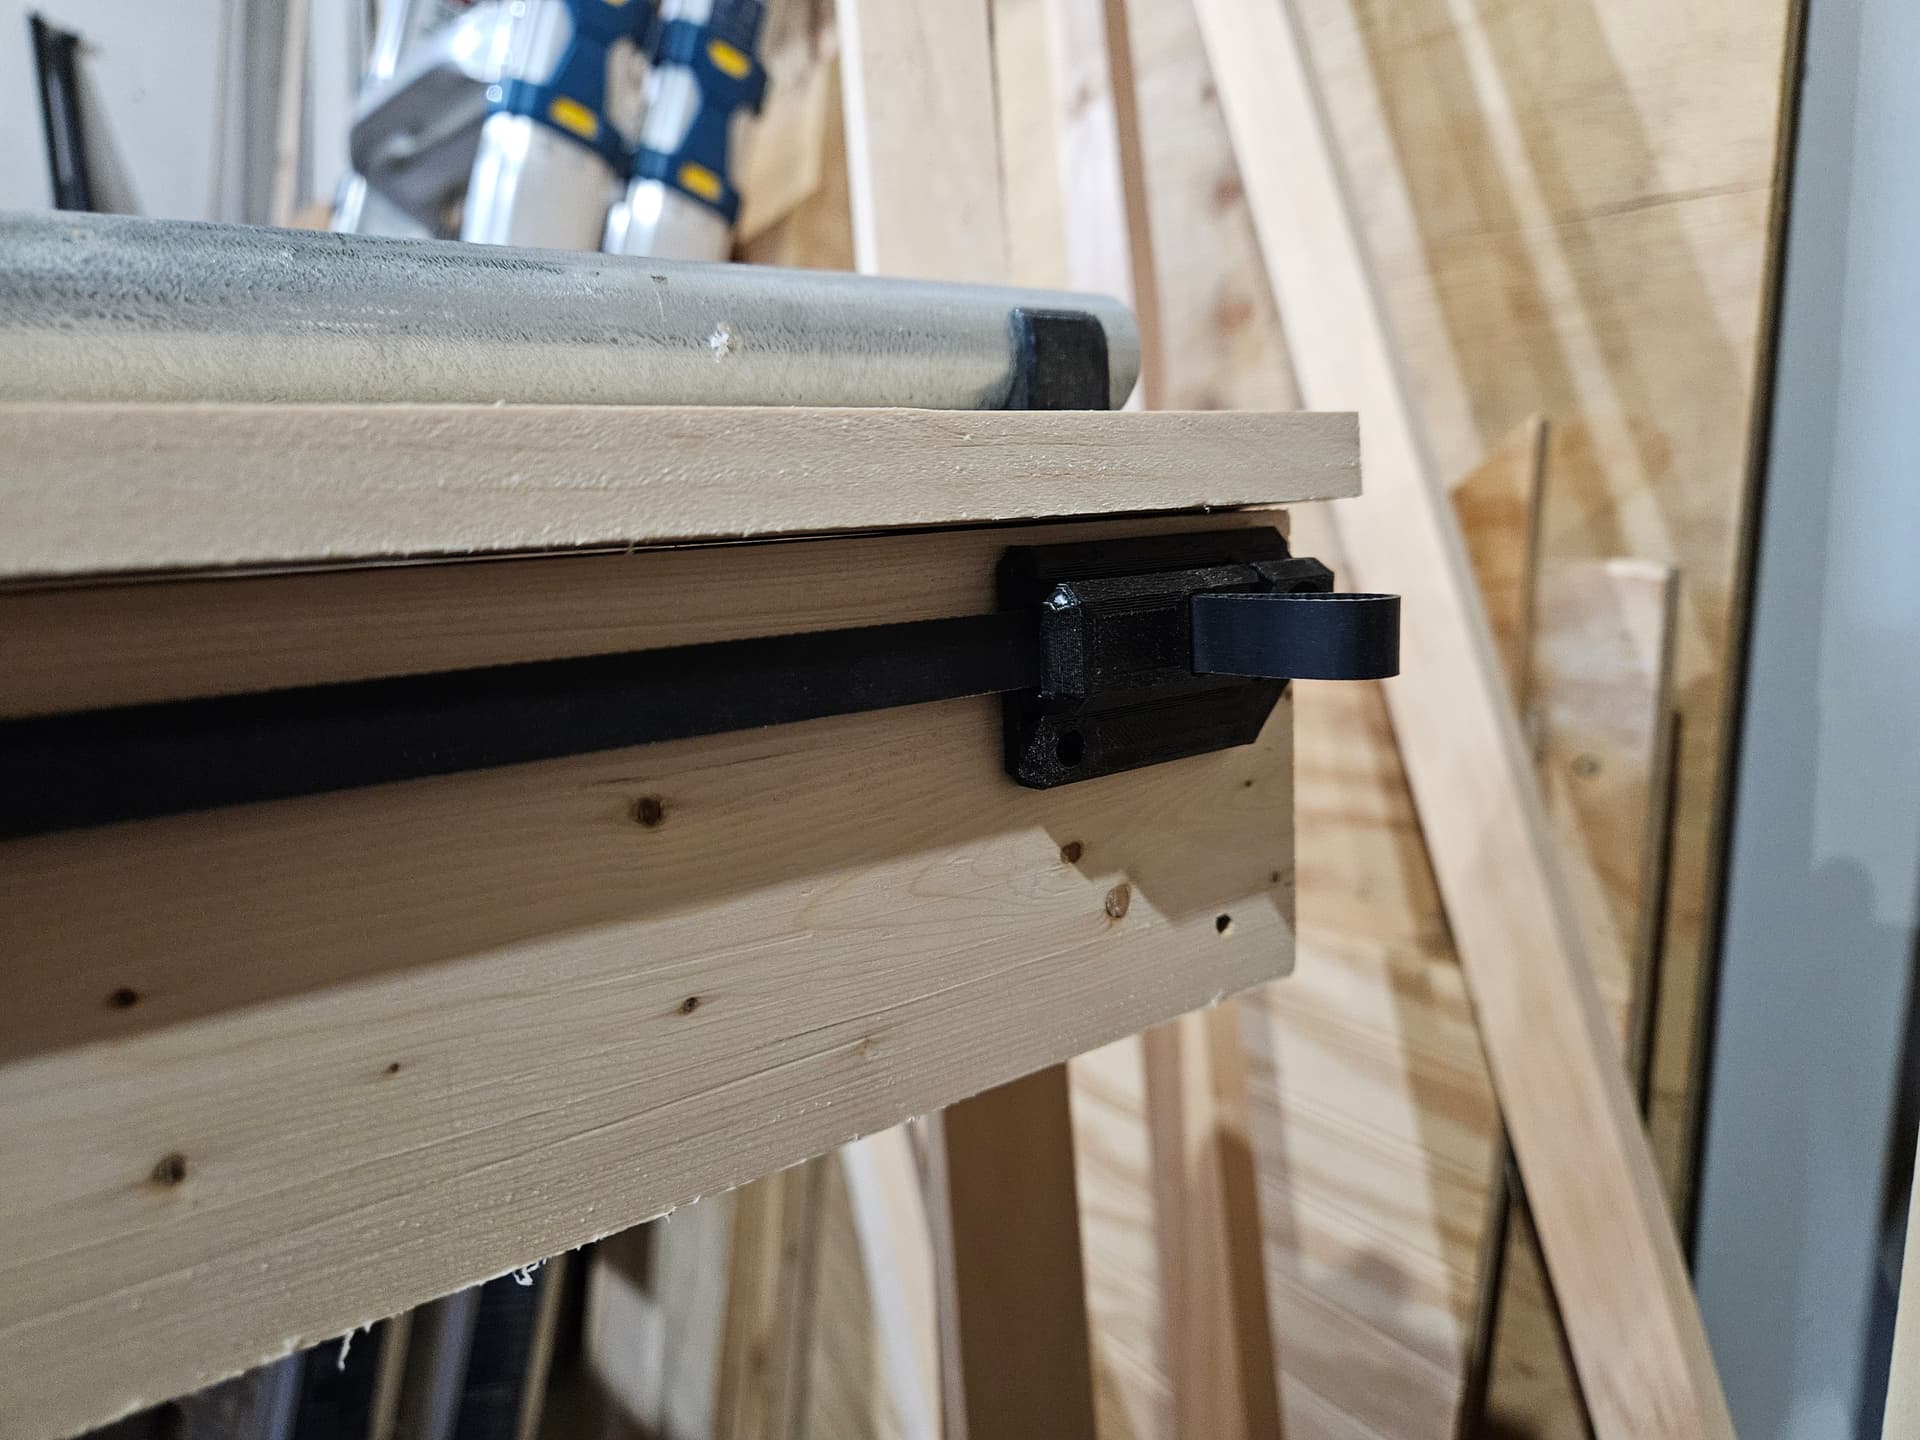
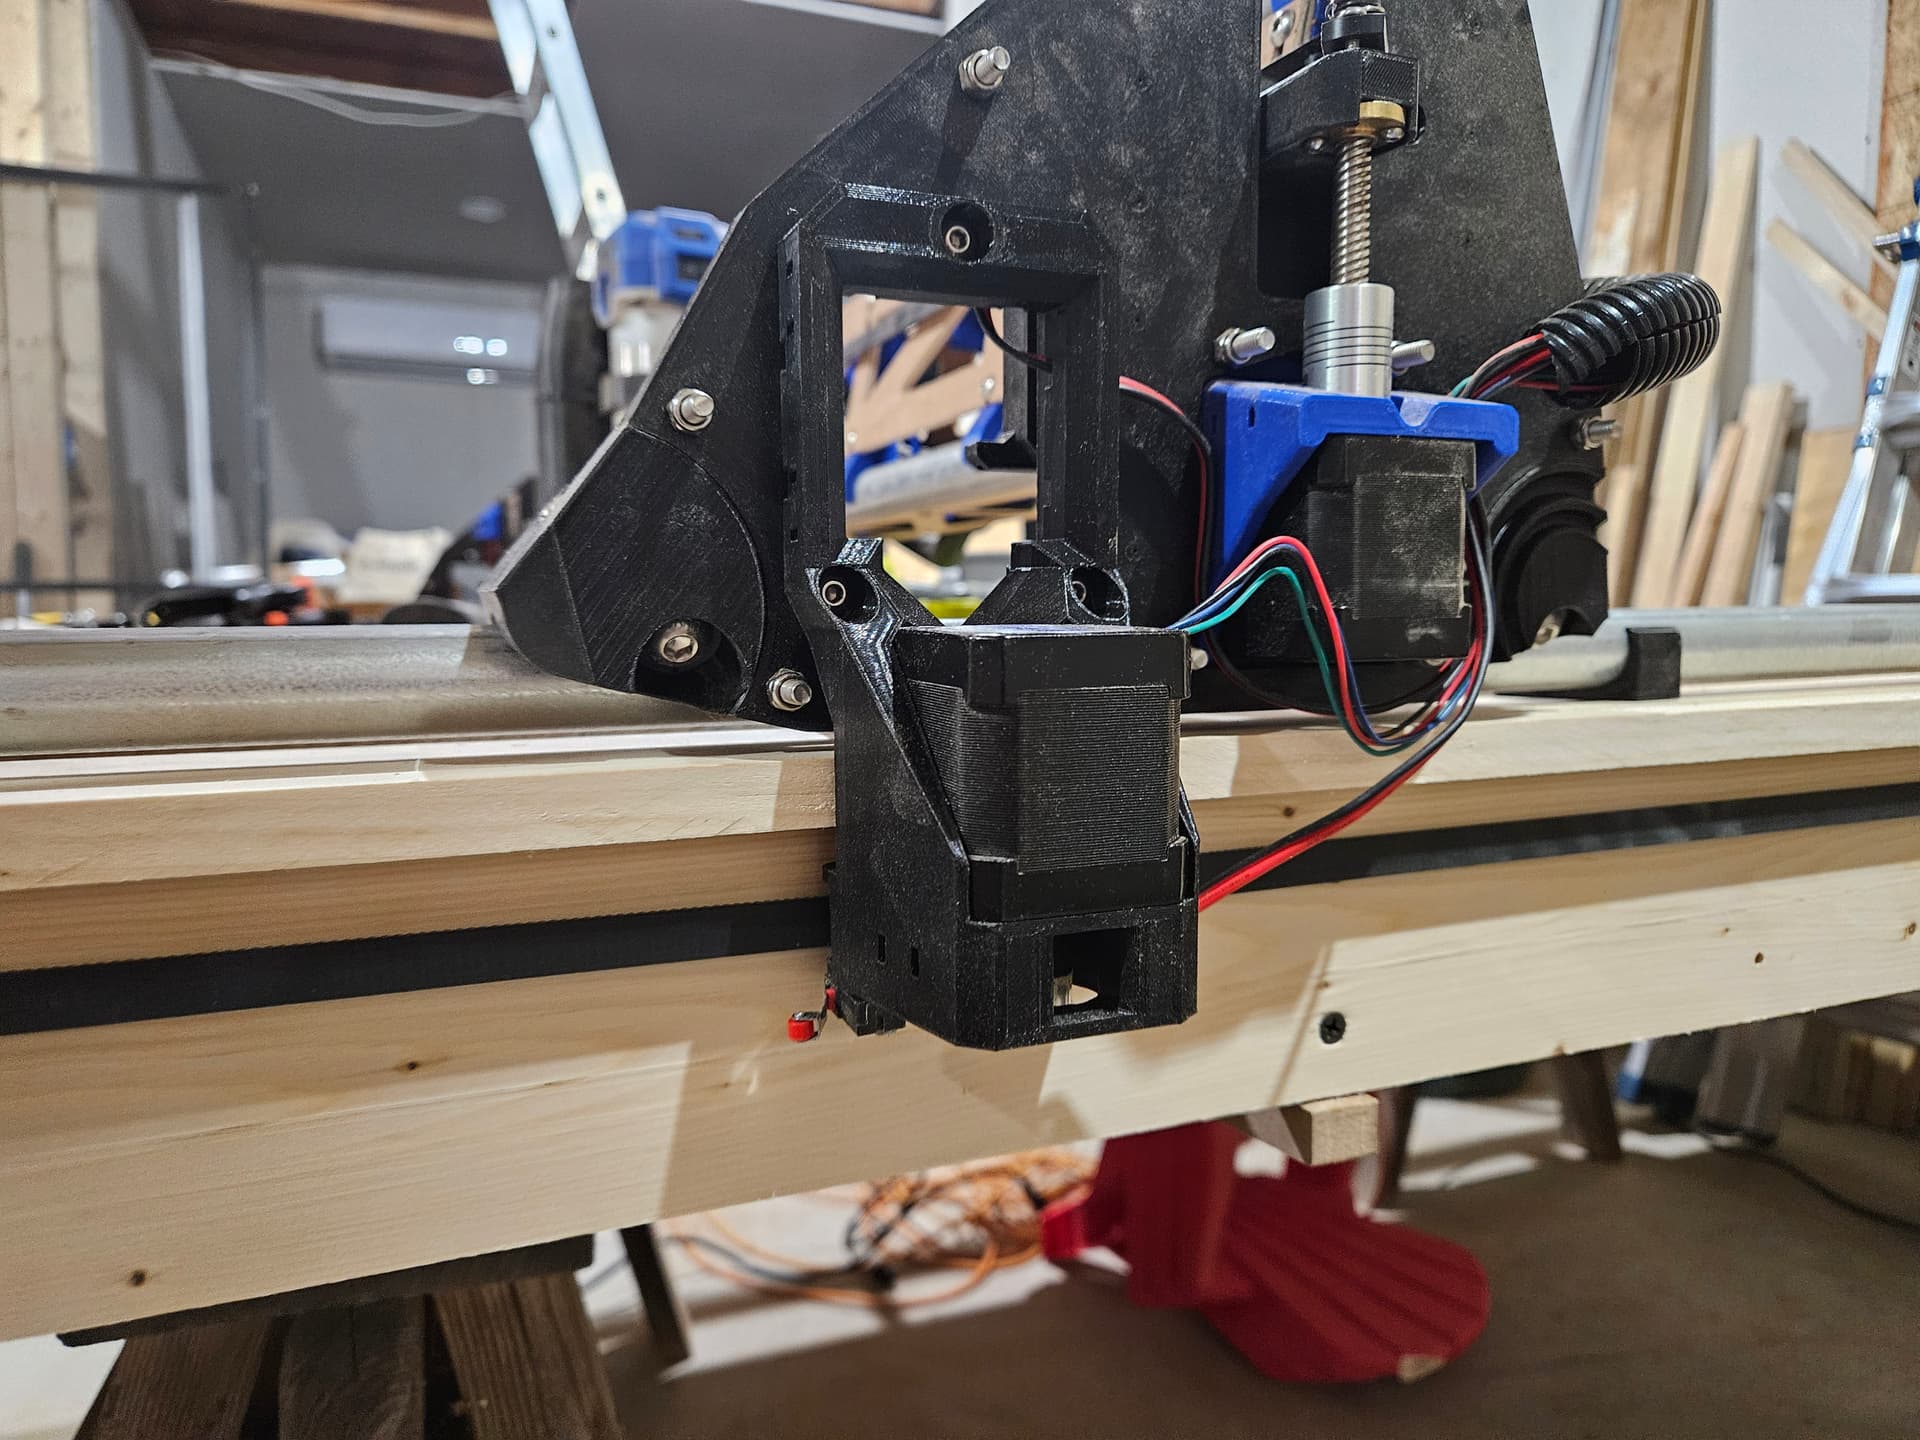
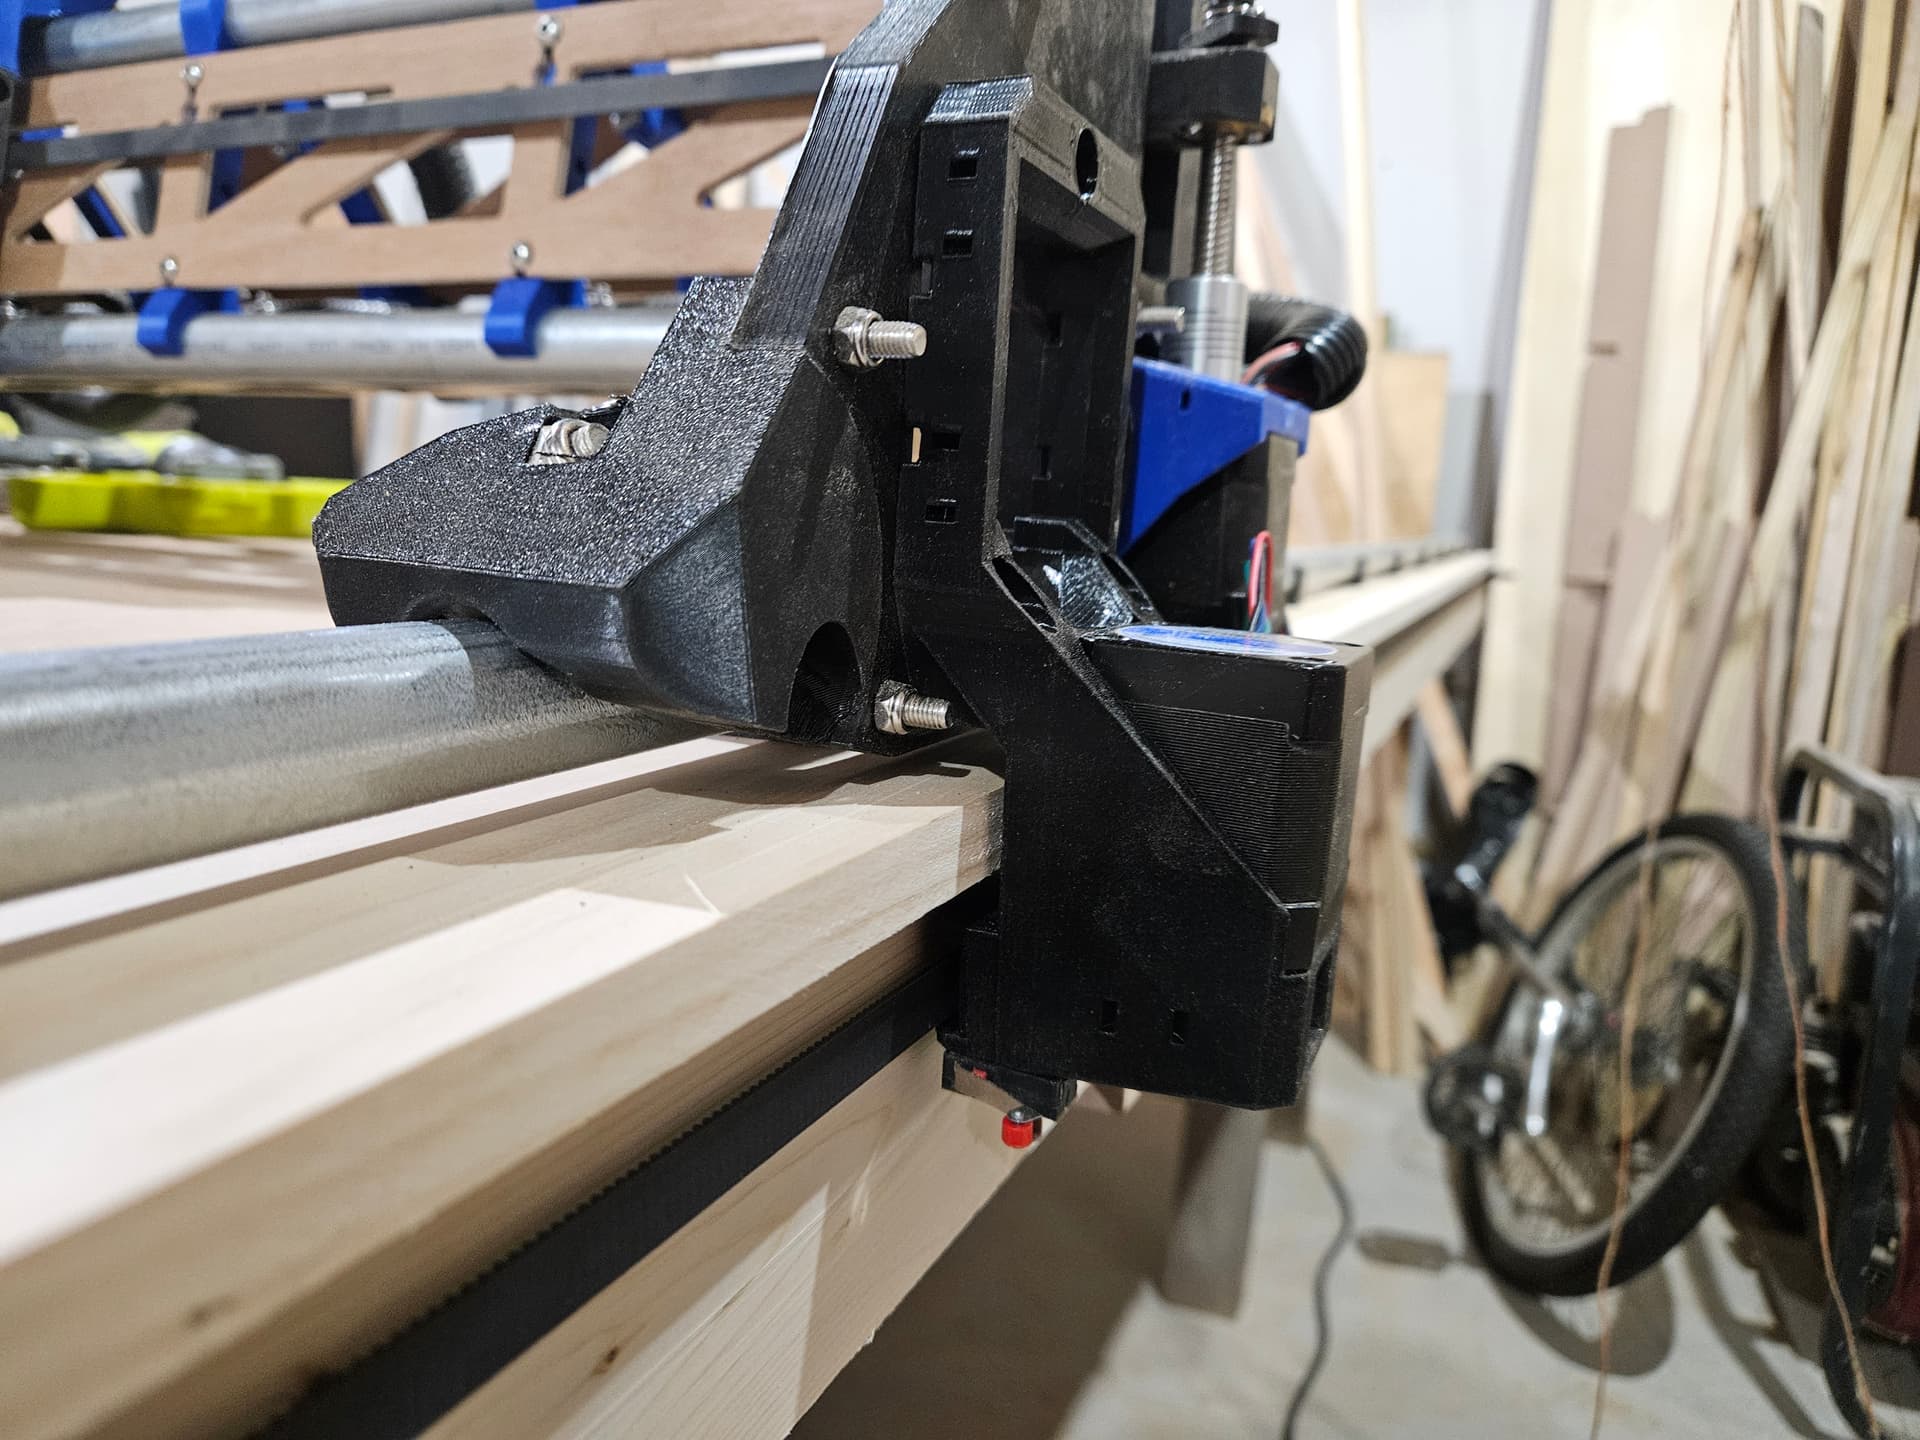
I finalized my remix of Fabiens side mounted Y motor bracket as well as my belt holders and I gotta say, I love them. Super tight, super strong, super out of the way.
I plan on cleaning up some of the edges,filling some holes, and eventually my first surfacing of my spoil board which I’m excitedly nervous about. I’d like to mill out a solid mdf cabinet door as a an upcoming learning project of mine so any suggestions would be awesome.
Absolutely, I want to make one tweak for the limit switches. I think my limit switches might be larger than normal ones cause I had to drill in an additional hole to make mine work. I’ll get them posted today though!
Crazy question for those who know, I’m planning my first surfacing of a 4x8 spoilboard… It’s a 1" 3 flute face mill. Is a 2hr 55min estimate realistic? I guess I wasn’t expecting to have to stand around for 3 hours watching it surface the whole spoilboard. What’s it normally take you to surface?