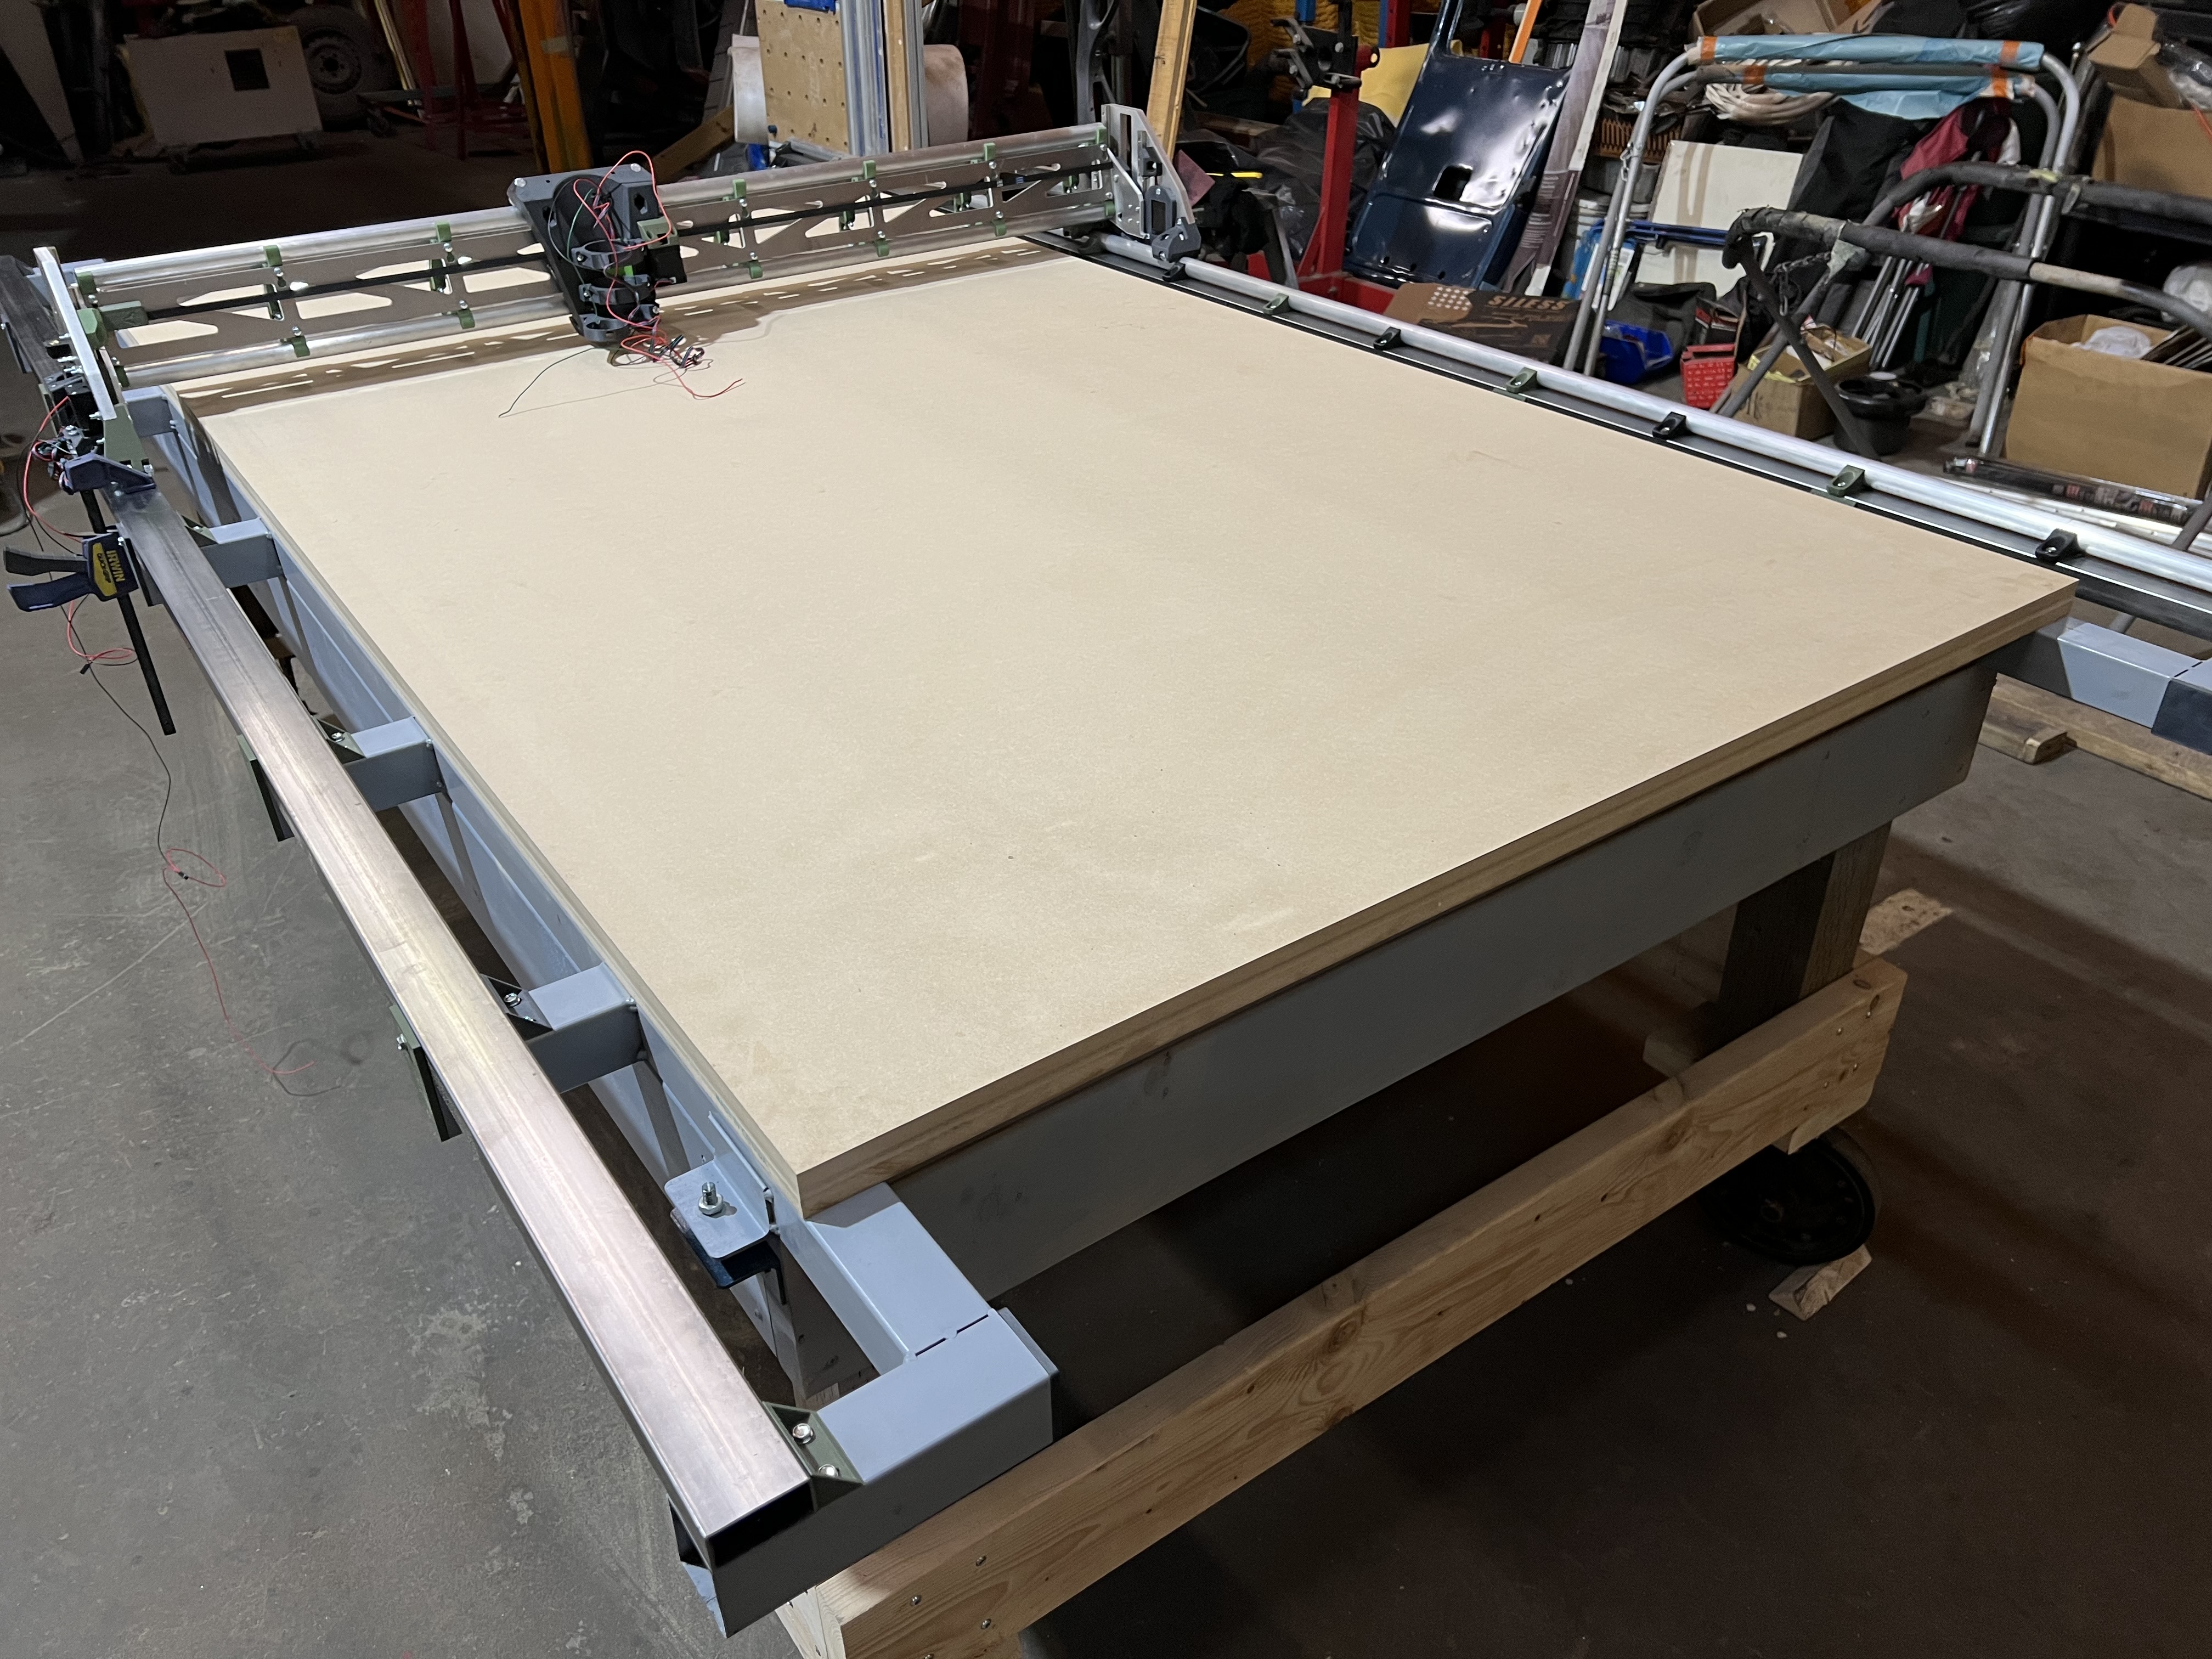
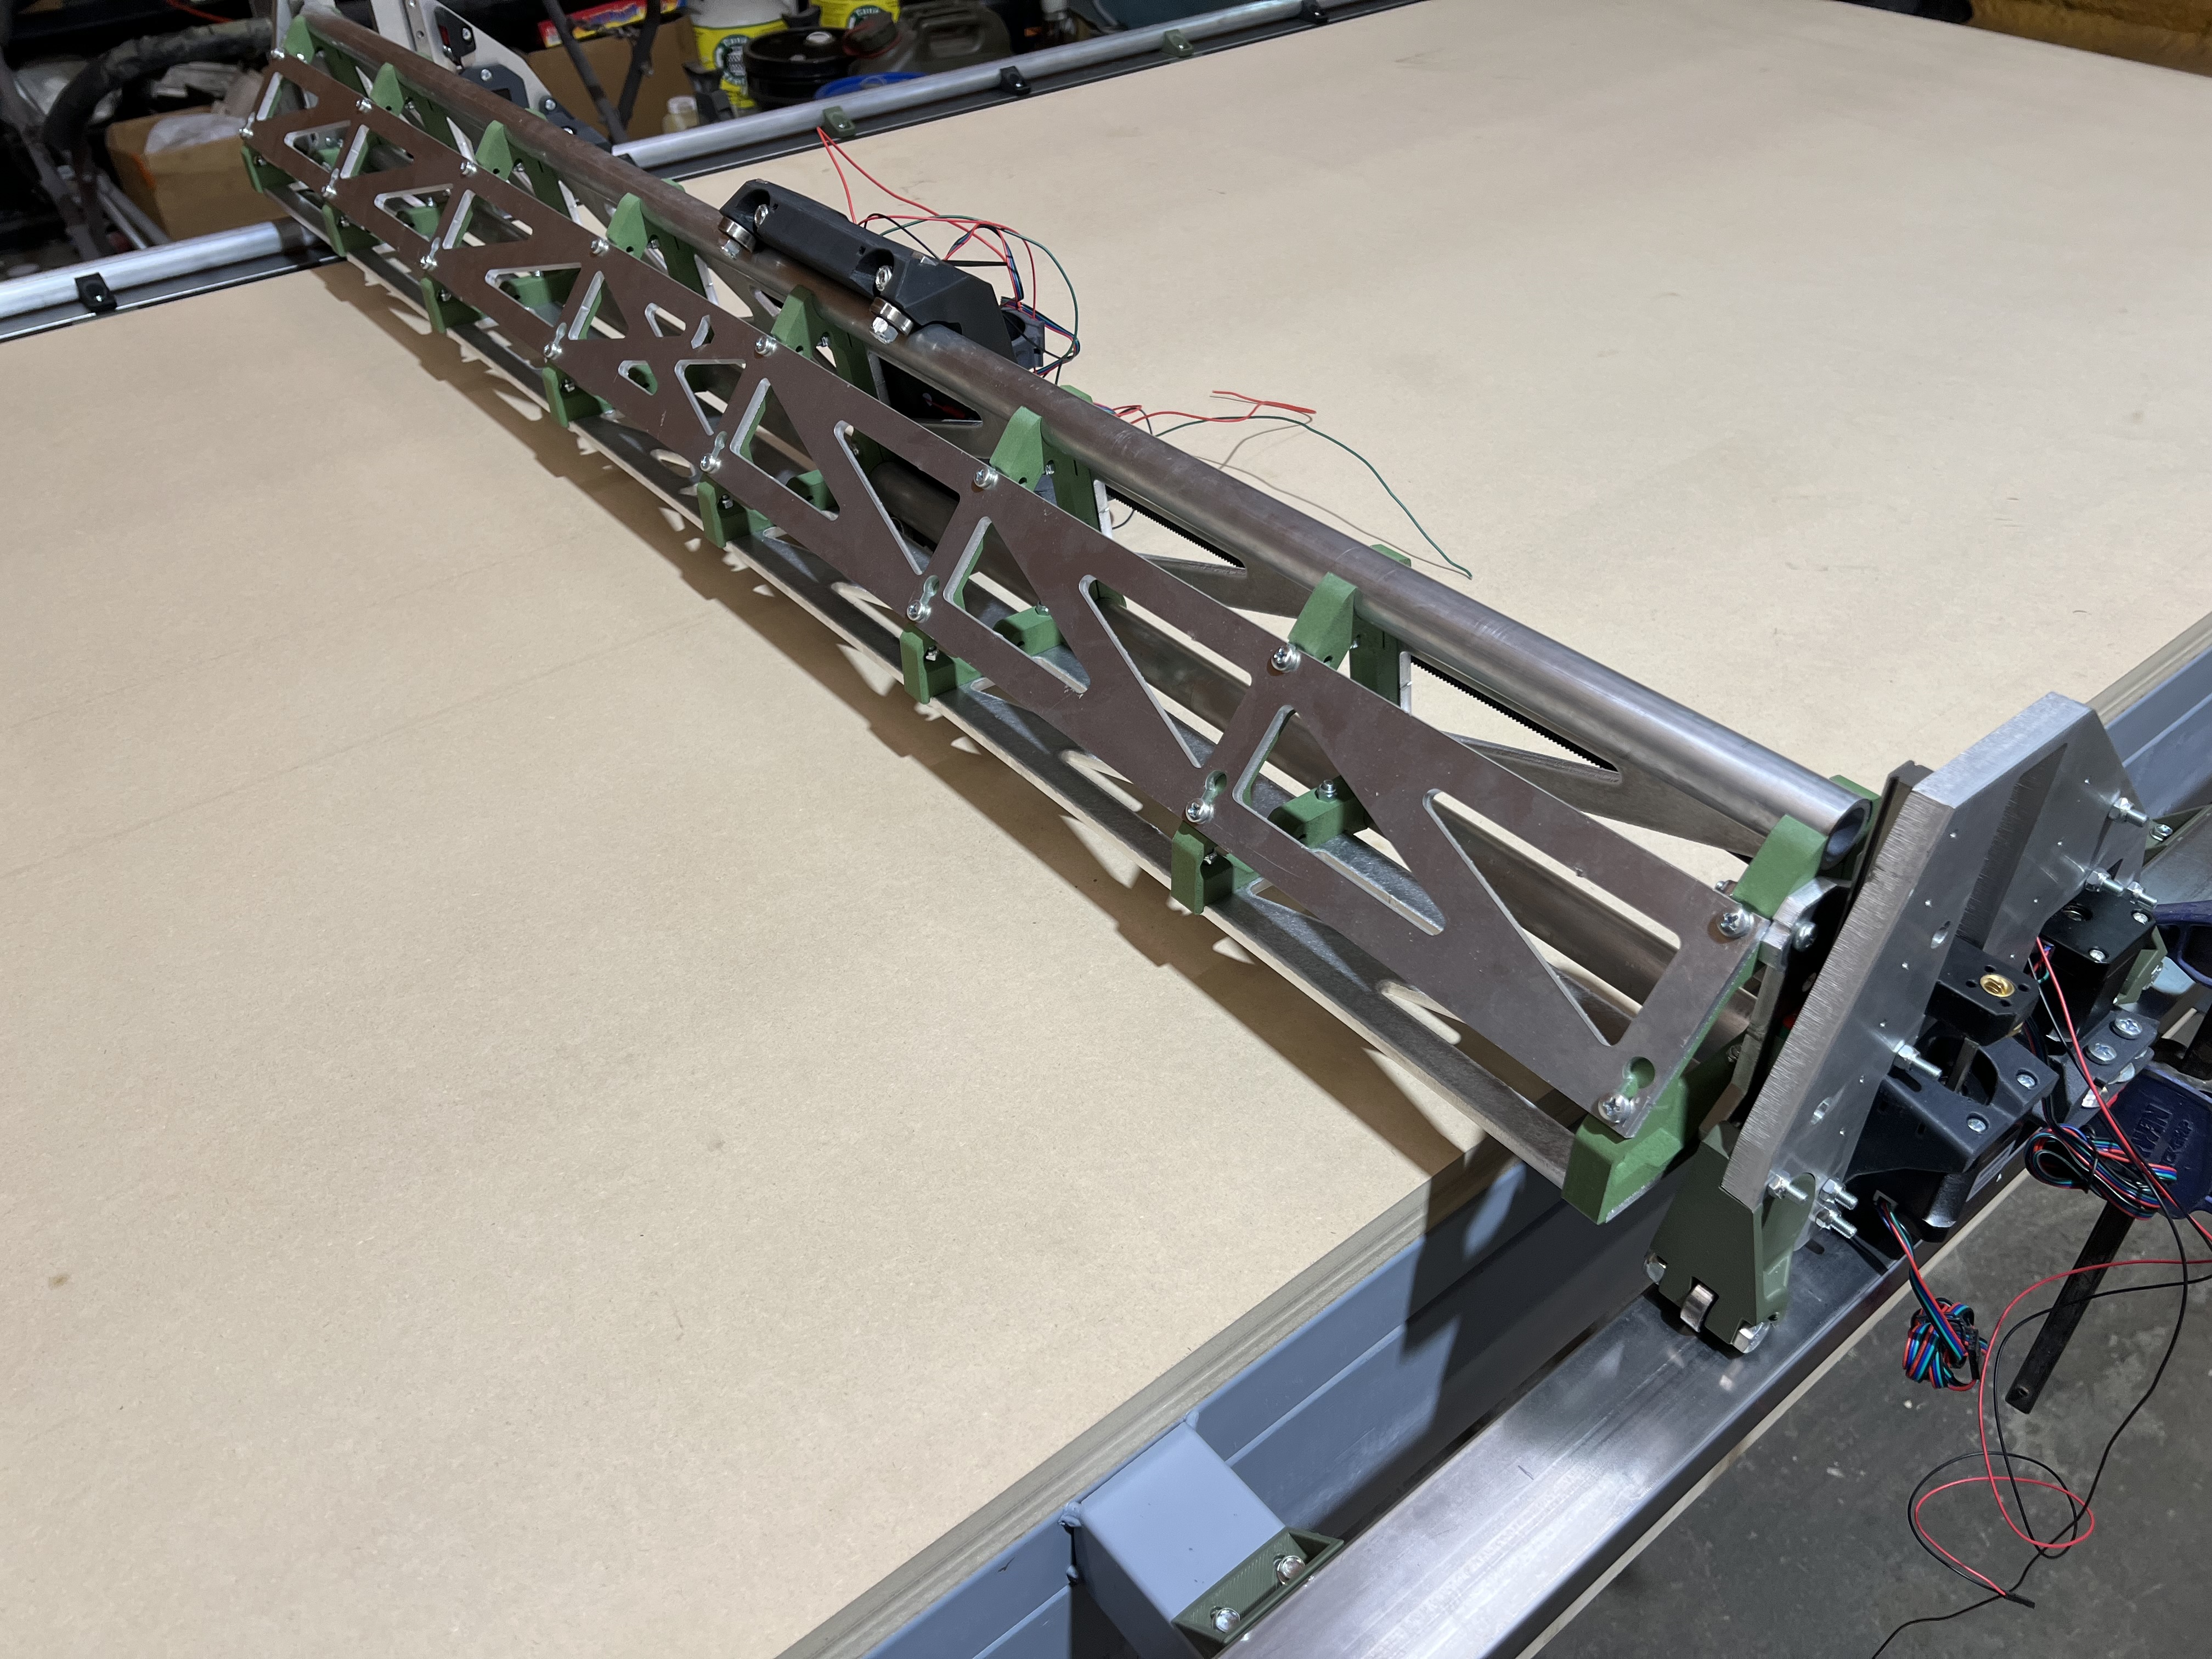
My build, full size table, steel 2”x2” square tubing subframe, seating on a wood frame. There are 4 level adjustable tabs between steel frame and the wood structure. Rails are 1” OD 1/8” thick wall aluminum tubing. All struts and XZ YZ plates are laser cut aluminium plates, no longer a budget friendly build but whatever. All step motor mounts and router brackets were printed with ASA-CF for better heat resistance, rest are all PLA or PLA-CF. Thanking you Ryan for such a great design.
9 Likes
Man, everything about your LowRider and your table just screams quality, rigidity, and nice. Excellent.
1 Like
Welcome to the forum. I’m in Chilliwack, still building mine. Where in BC are you?
1 Like
Thanks, have watched some of your YouTube videos, great stuff! Still have a lot to learn, I’ve built a CNC plasma table couple years ago but router cnc is new to me especially software side. Two questions I’m encountering right now, 1. How to make a grid drawing for a vacuum table? What software to use? 2. Need a recommendation for a surfacing bit so I can level the MDF top for the vacuum table.
2 Likes
Surrey;)
2 Likes
I tried two different brands, and I liked this one much better than the other. It worked well for me.

1 Like
So, there’s a type of cutting bit that has a rounded shape, it’s called a box cove bit, and if you were to use it, your drawing could literally just be straight lines, and everywhere you told it to cut would be a groove with a rounded bottom. It’s a thought.
As for software, a 2D drawing to make those lines, can be made with either 2D vector illustration software, or 3D that’s being used to only output 2D.
2D vector illustration software is available from many different sources / vendors, including free and open source, to paid but affordable, and all the way to paid and ridiculously expensive. Here are three, one in each of those categories:
- free and open source: Inkscape
- paid but affordable: Affinity Designer 2
- paid and ridiculously expensive: Adobe Illustrator
There’s another option that’s about halfway between #2 and #3: CorelDRAW
I have Inkscape, Affinity Designer 2, and CorelDRAW. I also used to have Adobe Illustrator, but I don’t currently.
In the realm of 3D software that can render 2D:
SketchUp has both free and paid versions, and the free version is “in-browser” only. They use to give a free version that could be downloaded and installed on the user’s computer. The last year they offered that was 2017.
Fusion 360 has both free and paid versions. The free version is a “Hobby User” license, and is quite capable, having almost all the features of the paid version.
I have both SketchUp (the 2017 version), and Fusion 360.
I used to have the paid SketchUp Pro version, at a discount because of a school I’m with.
I used to have the free “Hobby User” version of Fusion 360, but I currently have the paid version, but free, because of a school I’m with.
1 Like
It looks really, really great, the aluminium tubing could provide to be a problem though since the bearings are harder and are pretty surely going to destroy the tubing over time. So either think about replacing them or check often whether the bearings are still tight. ![]()
1 Like
Great, thanks a lot!
1 Like
Very good point, I’ll keep an eye on them, thanks for reminding me about it. these are 6061T6 not the softest aluminum, the gentry is not that heavy besides most time only half weight is load on the long Y rail, maybe I’ll only replace top rail on the X gentry? But being a slow moving object, it might reduce surface wearing? Once it moves on its own I’ll report back. Cheers
1 Like


Do have couple questions though,
-
The crown gcode file was downloaded from v1e site, on the file there’s set origin code G92 X0 Y0 Z0, but if I follow the step by step guide using estlcam to generate same file I don’t see G92 X0 Y0 Z0 added, do I have to manually add the code to set my origin every time once I moved to a desired location?
-
On the guide, one of the options to set origin is to use the LCD touchscreen, I have skr pro from v1e, move the tool to wherever I want and “set it to home” but I don’t see that option on my screen other than HOME (x0,y0,z0)
Thanks in advance
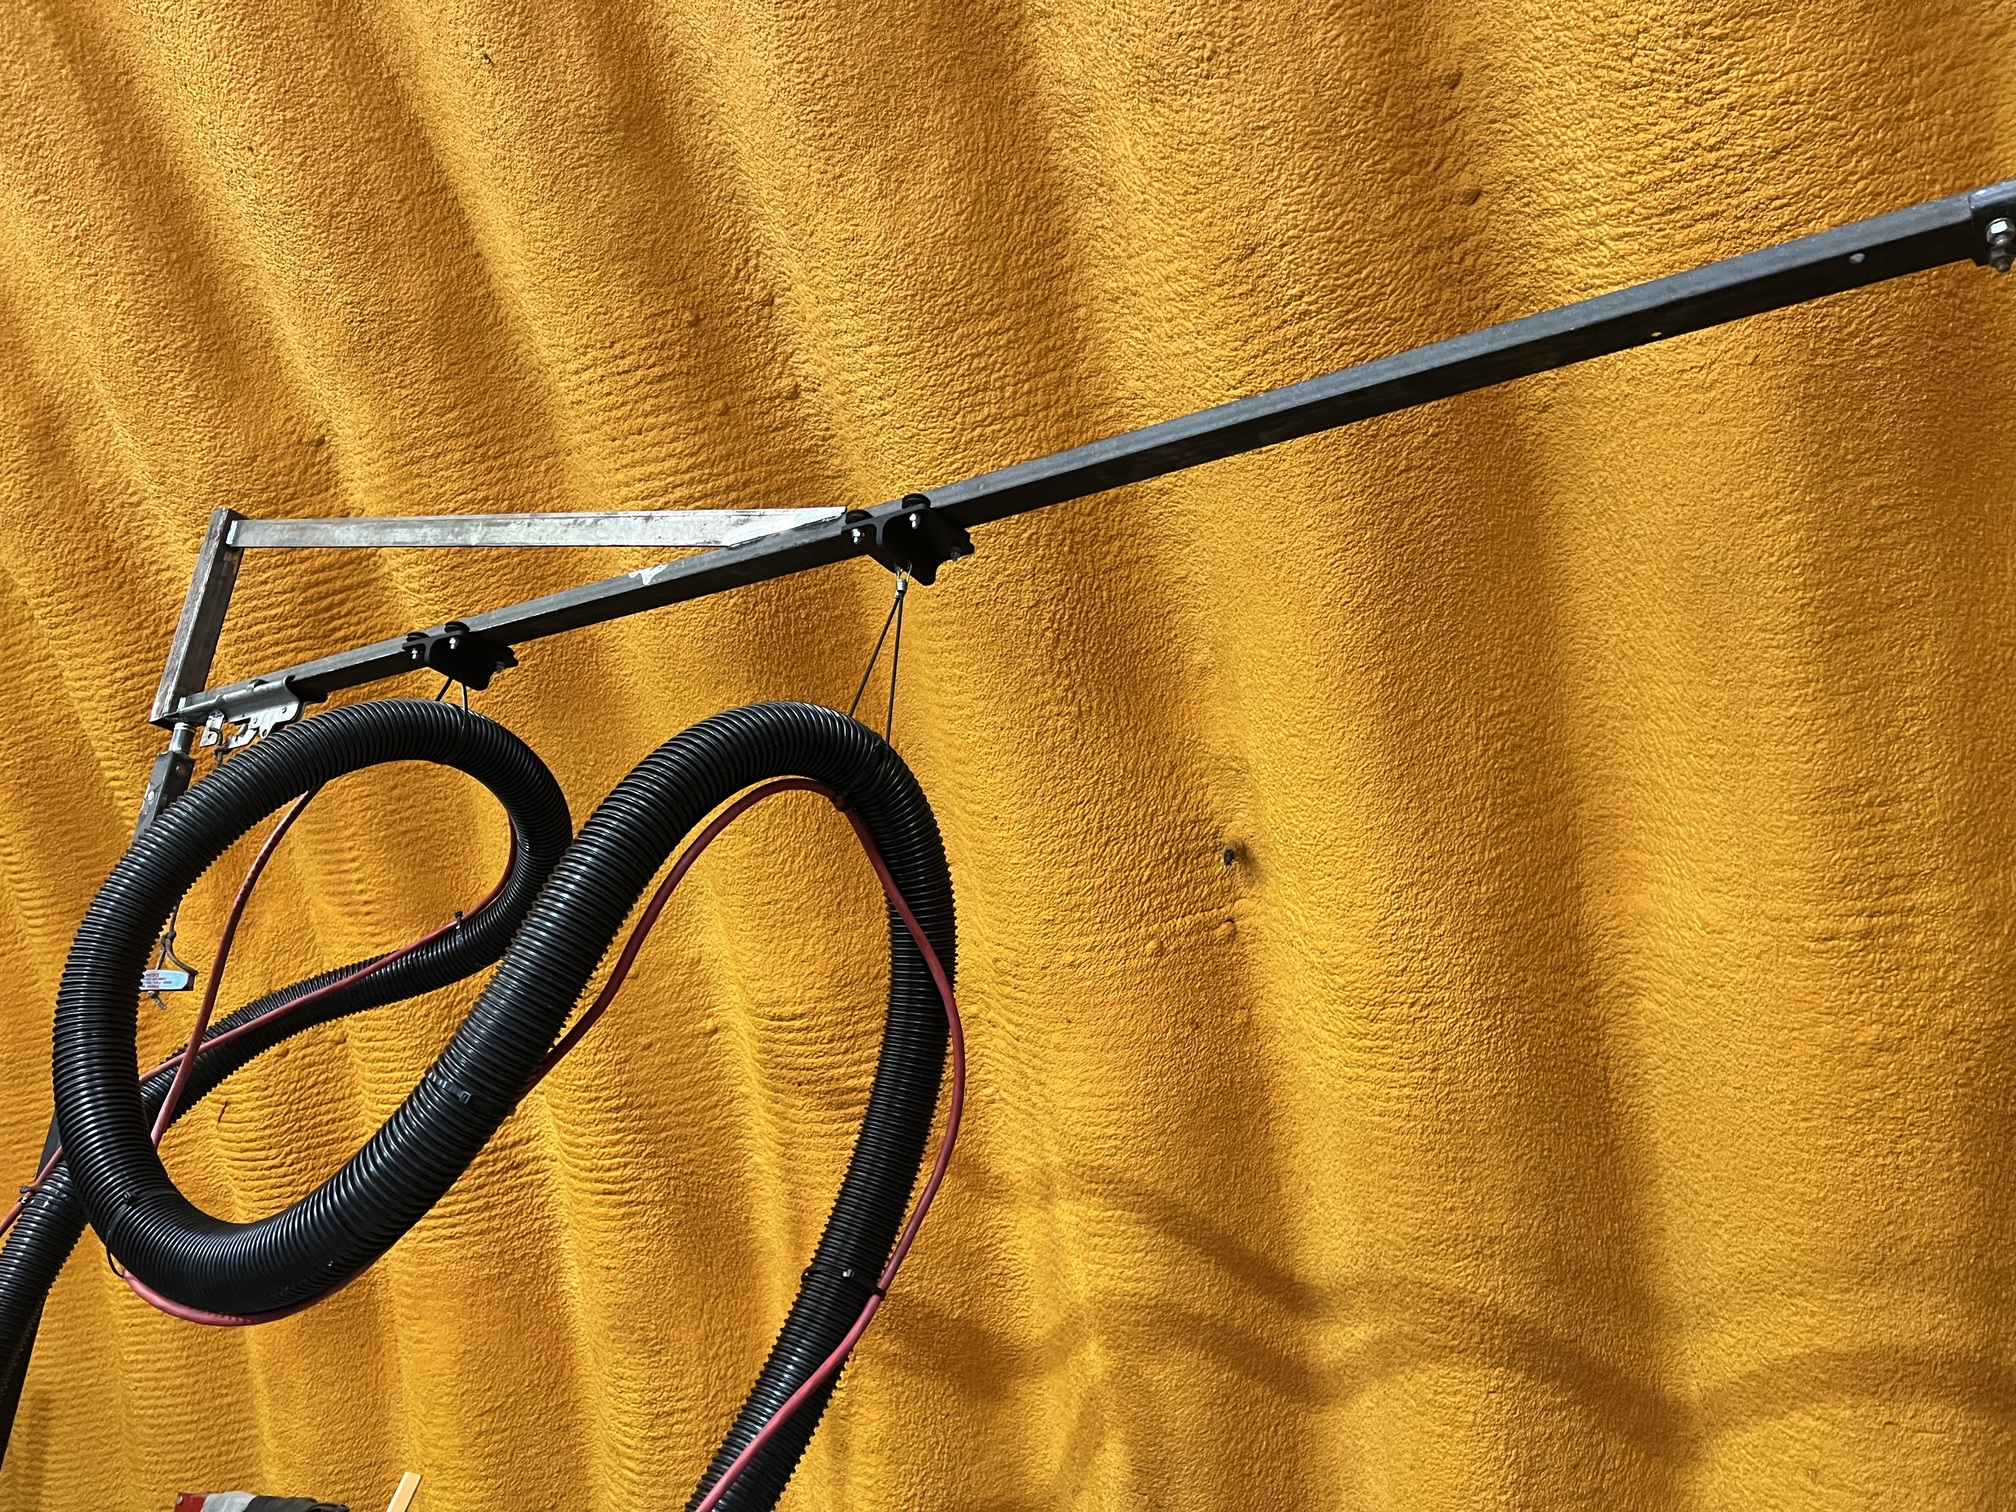
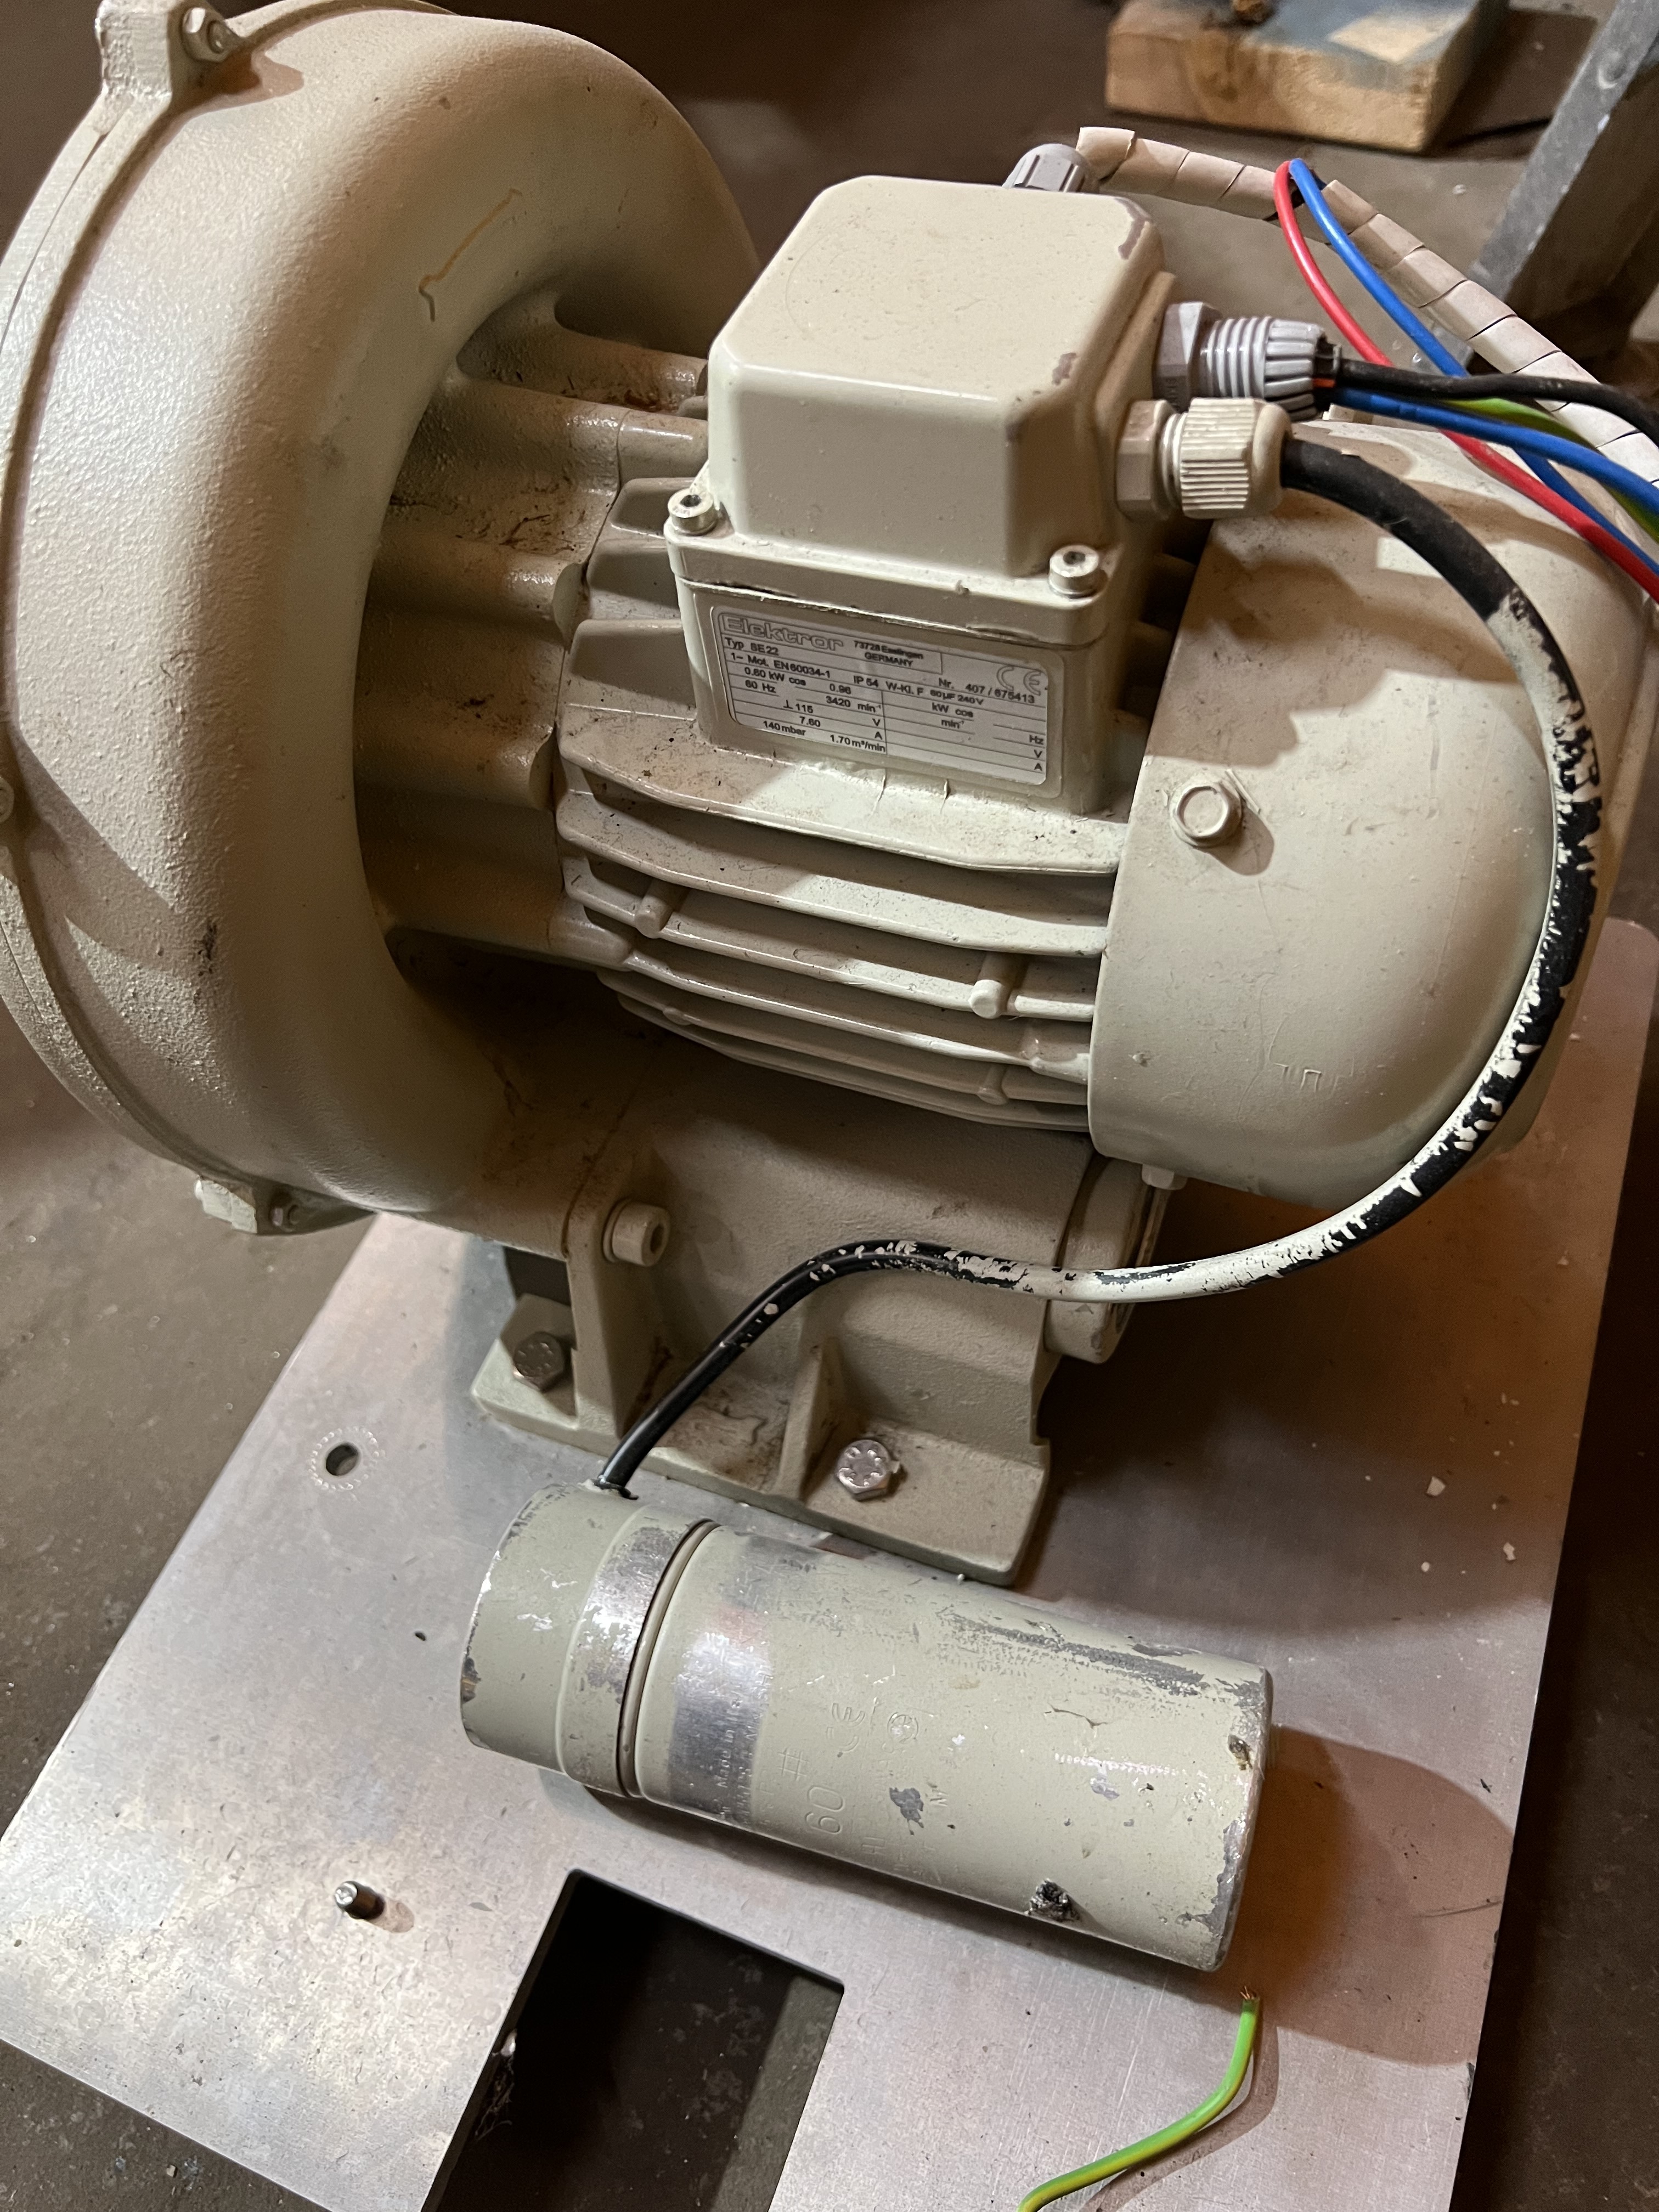
Also got a blower, feels more suction compare to my shop vac, hope it will work with the vacuum table I’m gonna build
This build looks really good. Congratulations on the crown!
Found my answer for question #1 at “milling basics” docs.
Someone said vacuum table? ![]()
Second one:
That was my first one:
1 Like
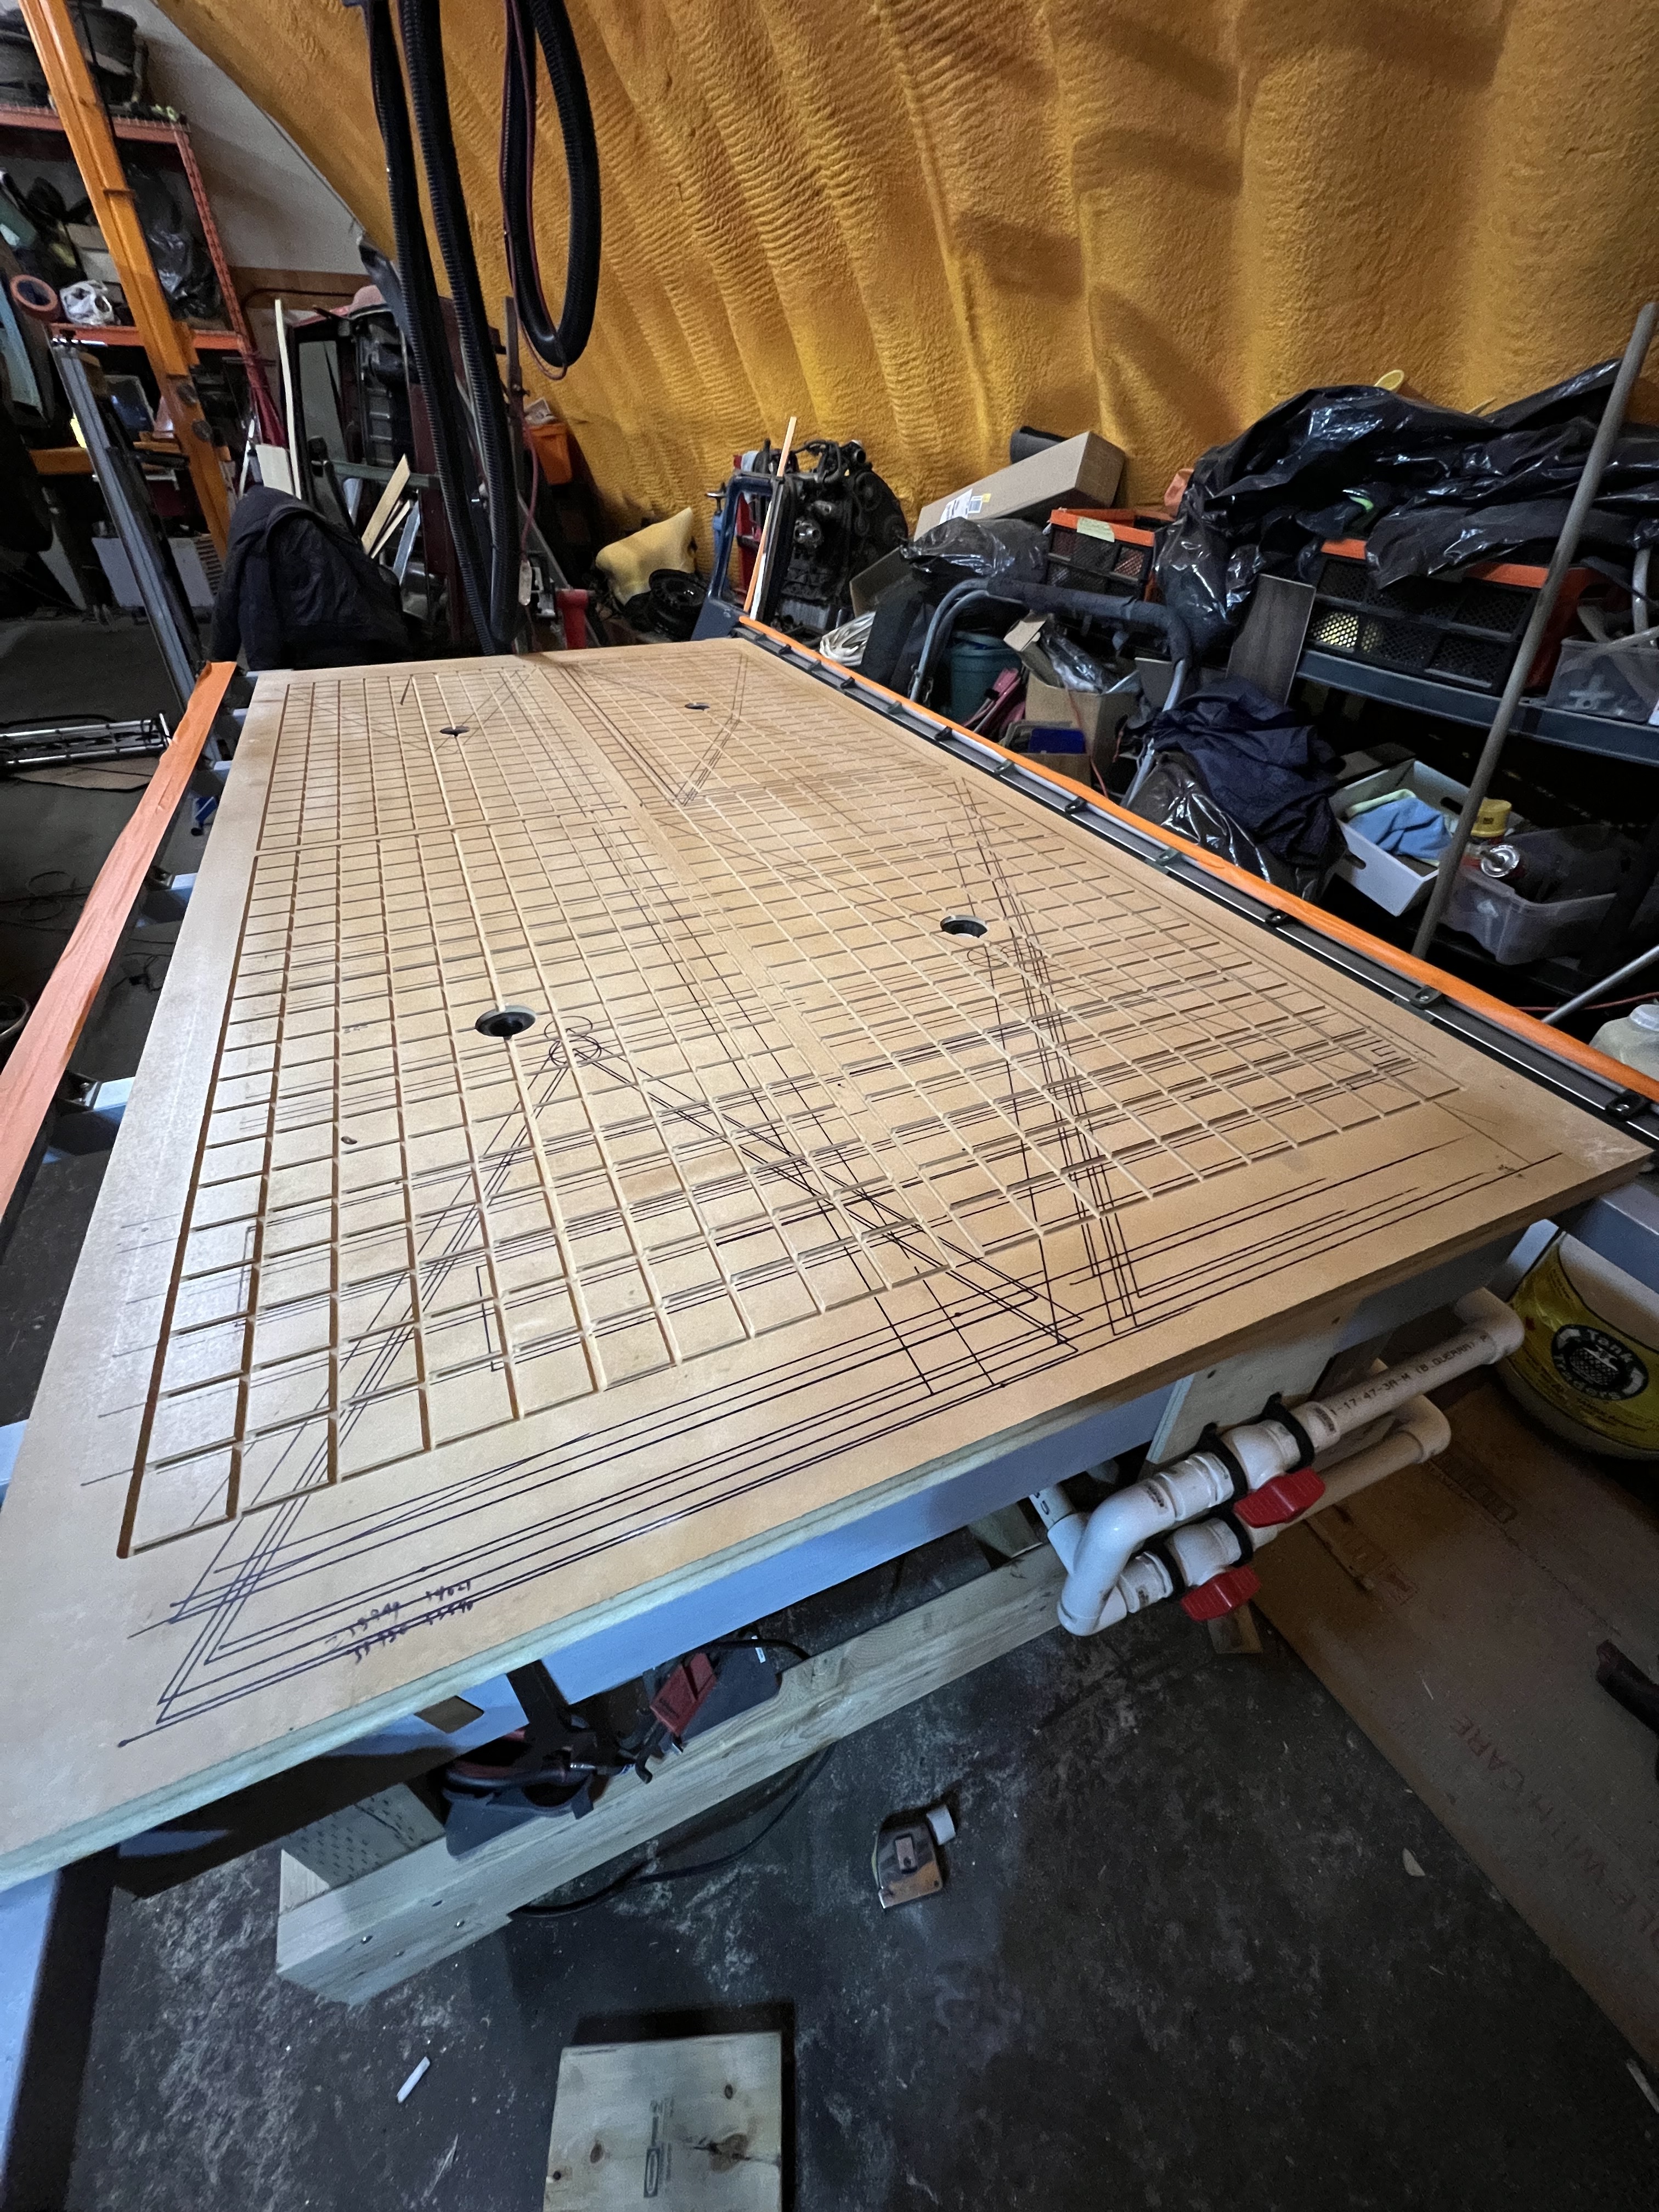
Started cut my vacuum table, at least 8 to 9 hours to finish these slots, Then found out the pause button on the Touchscreen not working properly…

2 Likes