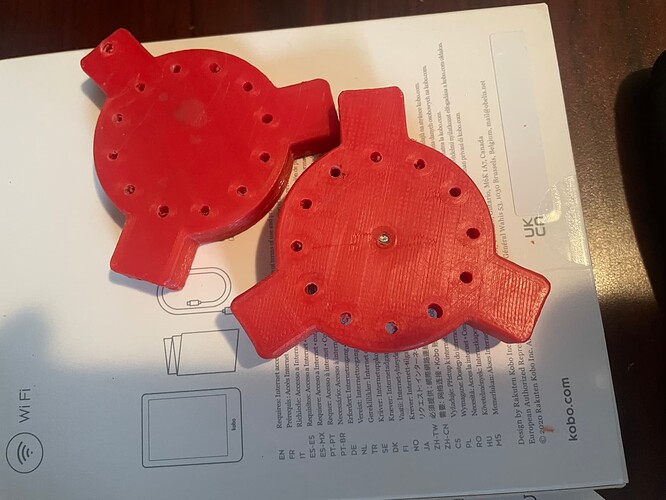
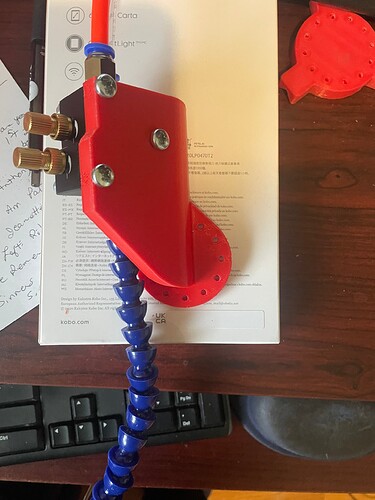
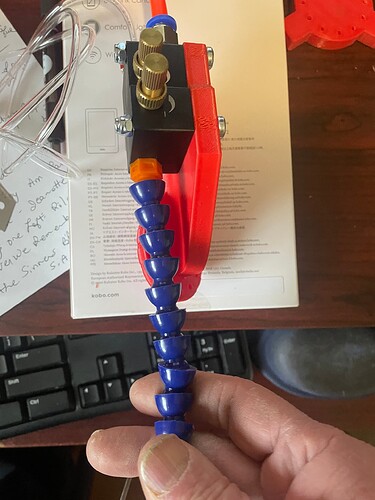
So I printed the kinematic tool holder assembly using:
- Part A - @DougJoseph’s original
- Parts B & C - @jamiek’s “mountains and valleys” remix
- Air Mist Holder - @DougJoseph’s angled remix “Side B”
There were a few hiccups along the way…
-
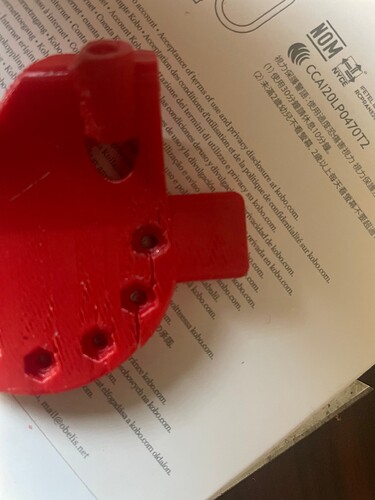
For the base (part A), I found that the captured nut recesses were a bit small (maybe my nuts were too large - wait, that didn’t come out right). The first time I tried installing the nyloc nuts, the printed part cracked at the recess:
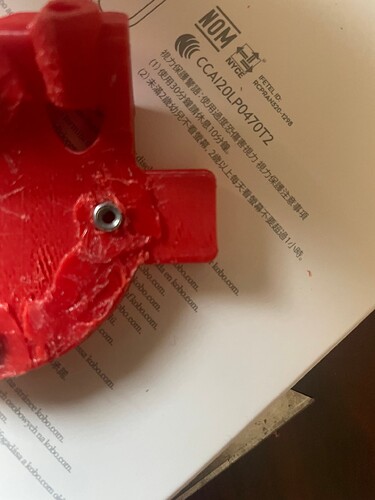
I printed another one, and used a heat gun to soften the PLA as I pressed the nuts in by hand, but it cracked again in the same place, although not as severely. I used the solder gun/extra PLA method to repair it.
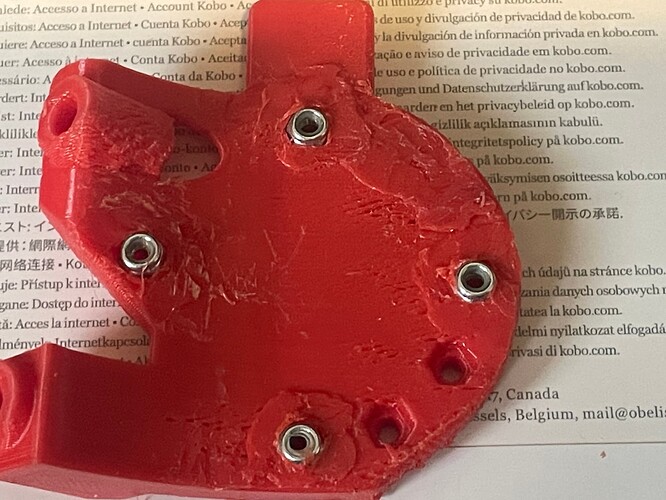
I found that using only three screws resulted in a bit of flex at the 3 o:clock position, so I drilled a hole and used the soldering iron to flatten a screw recess. (M3 x 30,mm)
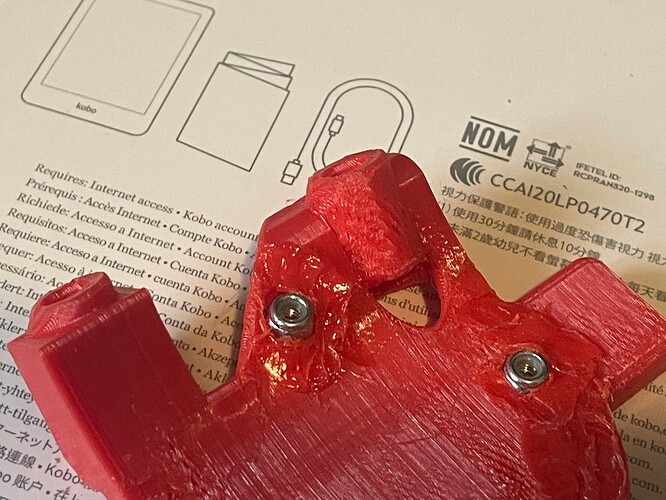
I also added some extra PLA around all of the nuts to keep them securely in place (one or two of them kept falling out, even though they were very tight going in).
-
The holes in the mobile and fixed (B & C) “mountain and valley” parts were way too small to fit an M3 screw through without cracking the print, so I reamed/drilled all of the holes with a 7/64 drill bit, and the M3s fit (still snug, but easy to thread through).
-
The M3 x 16 screws mentioned somewhere above were too short to connect the Air Mist Mount to the Mobile (C) part, and were even a bit short for connecting the base (A) to the fixed (B) part. M3 x 20 for the Base/A and 20-25mm for the B/C are needed. Unfortunately on my second trip to the supply store, I grabbed a bunch of parts that were in the 20mm bin, and when I got them home they were all 16mm, so I need to wait until the place opens again on Monday and exchange them for the right ones. So the assembly is on hold at the moment.
I will note that the Side B version will allow you to mount the air mist chassis on either side of the print. I used the “opposite” or left side, and there is plenty of clearance.
I think that mounting it on the “normal” or right side would probably still clear the YZ plate, but for sure the “Front” version would have some interference issues
More pictures once I get the longer screws…
