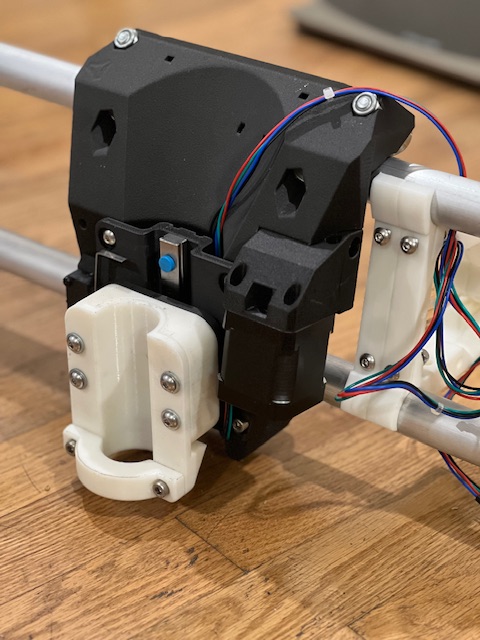
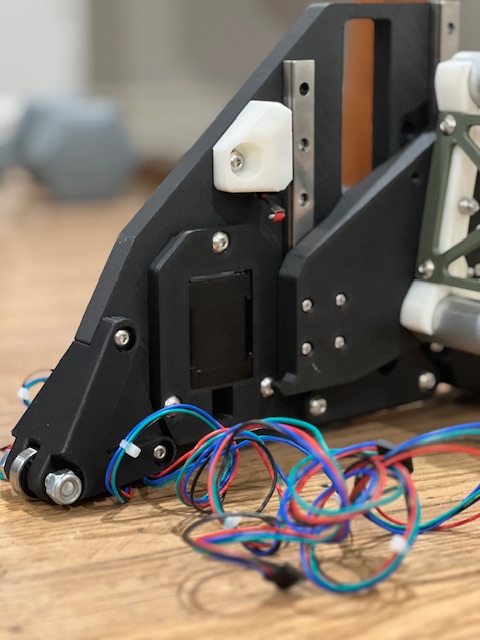
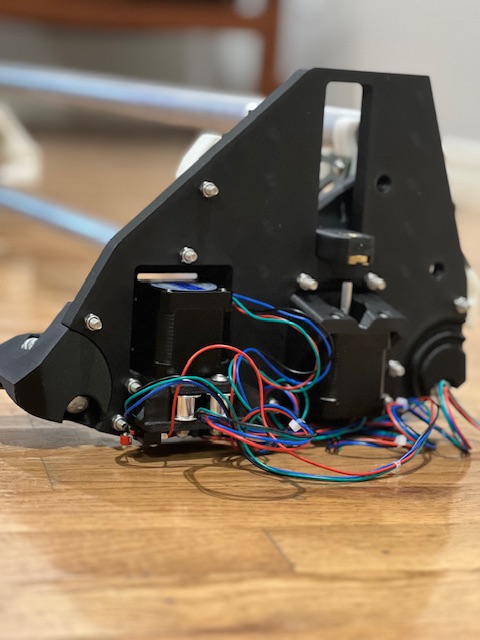
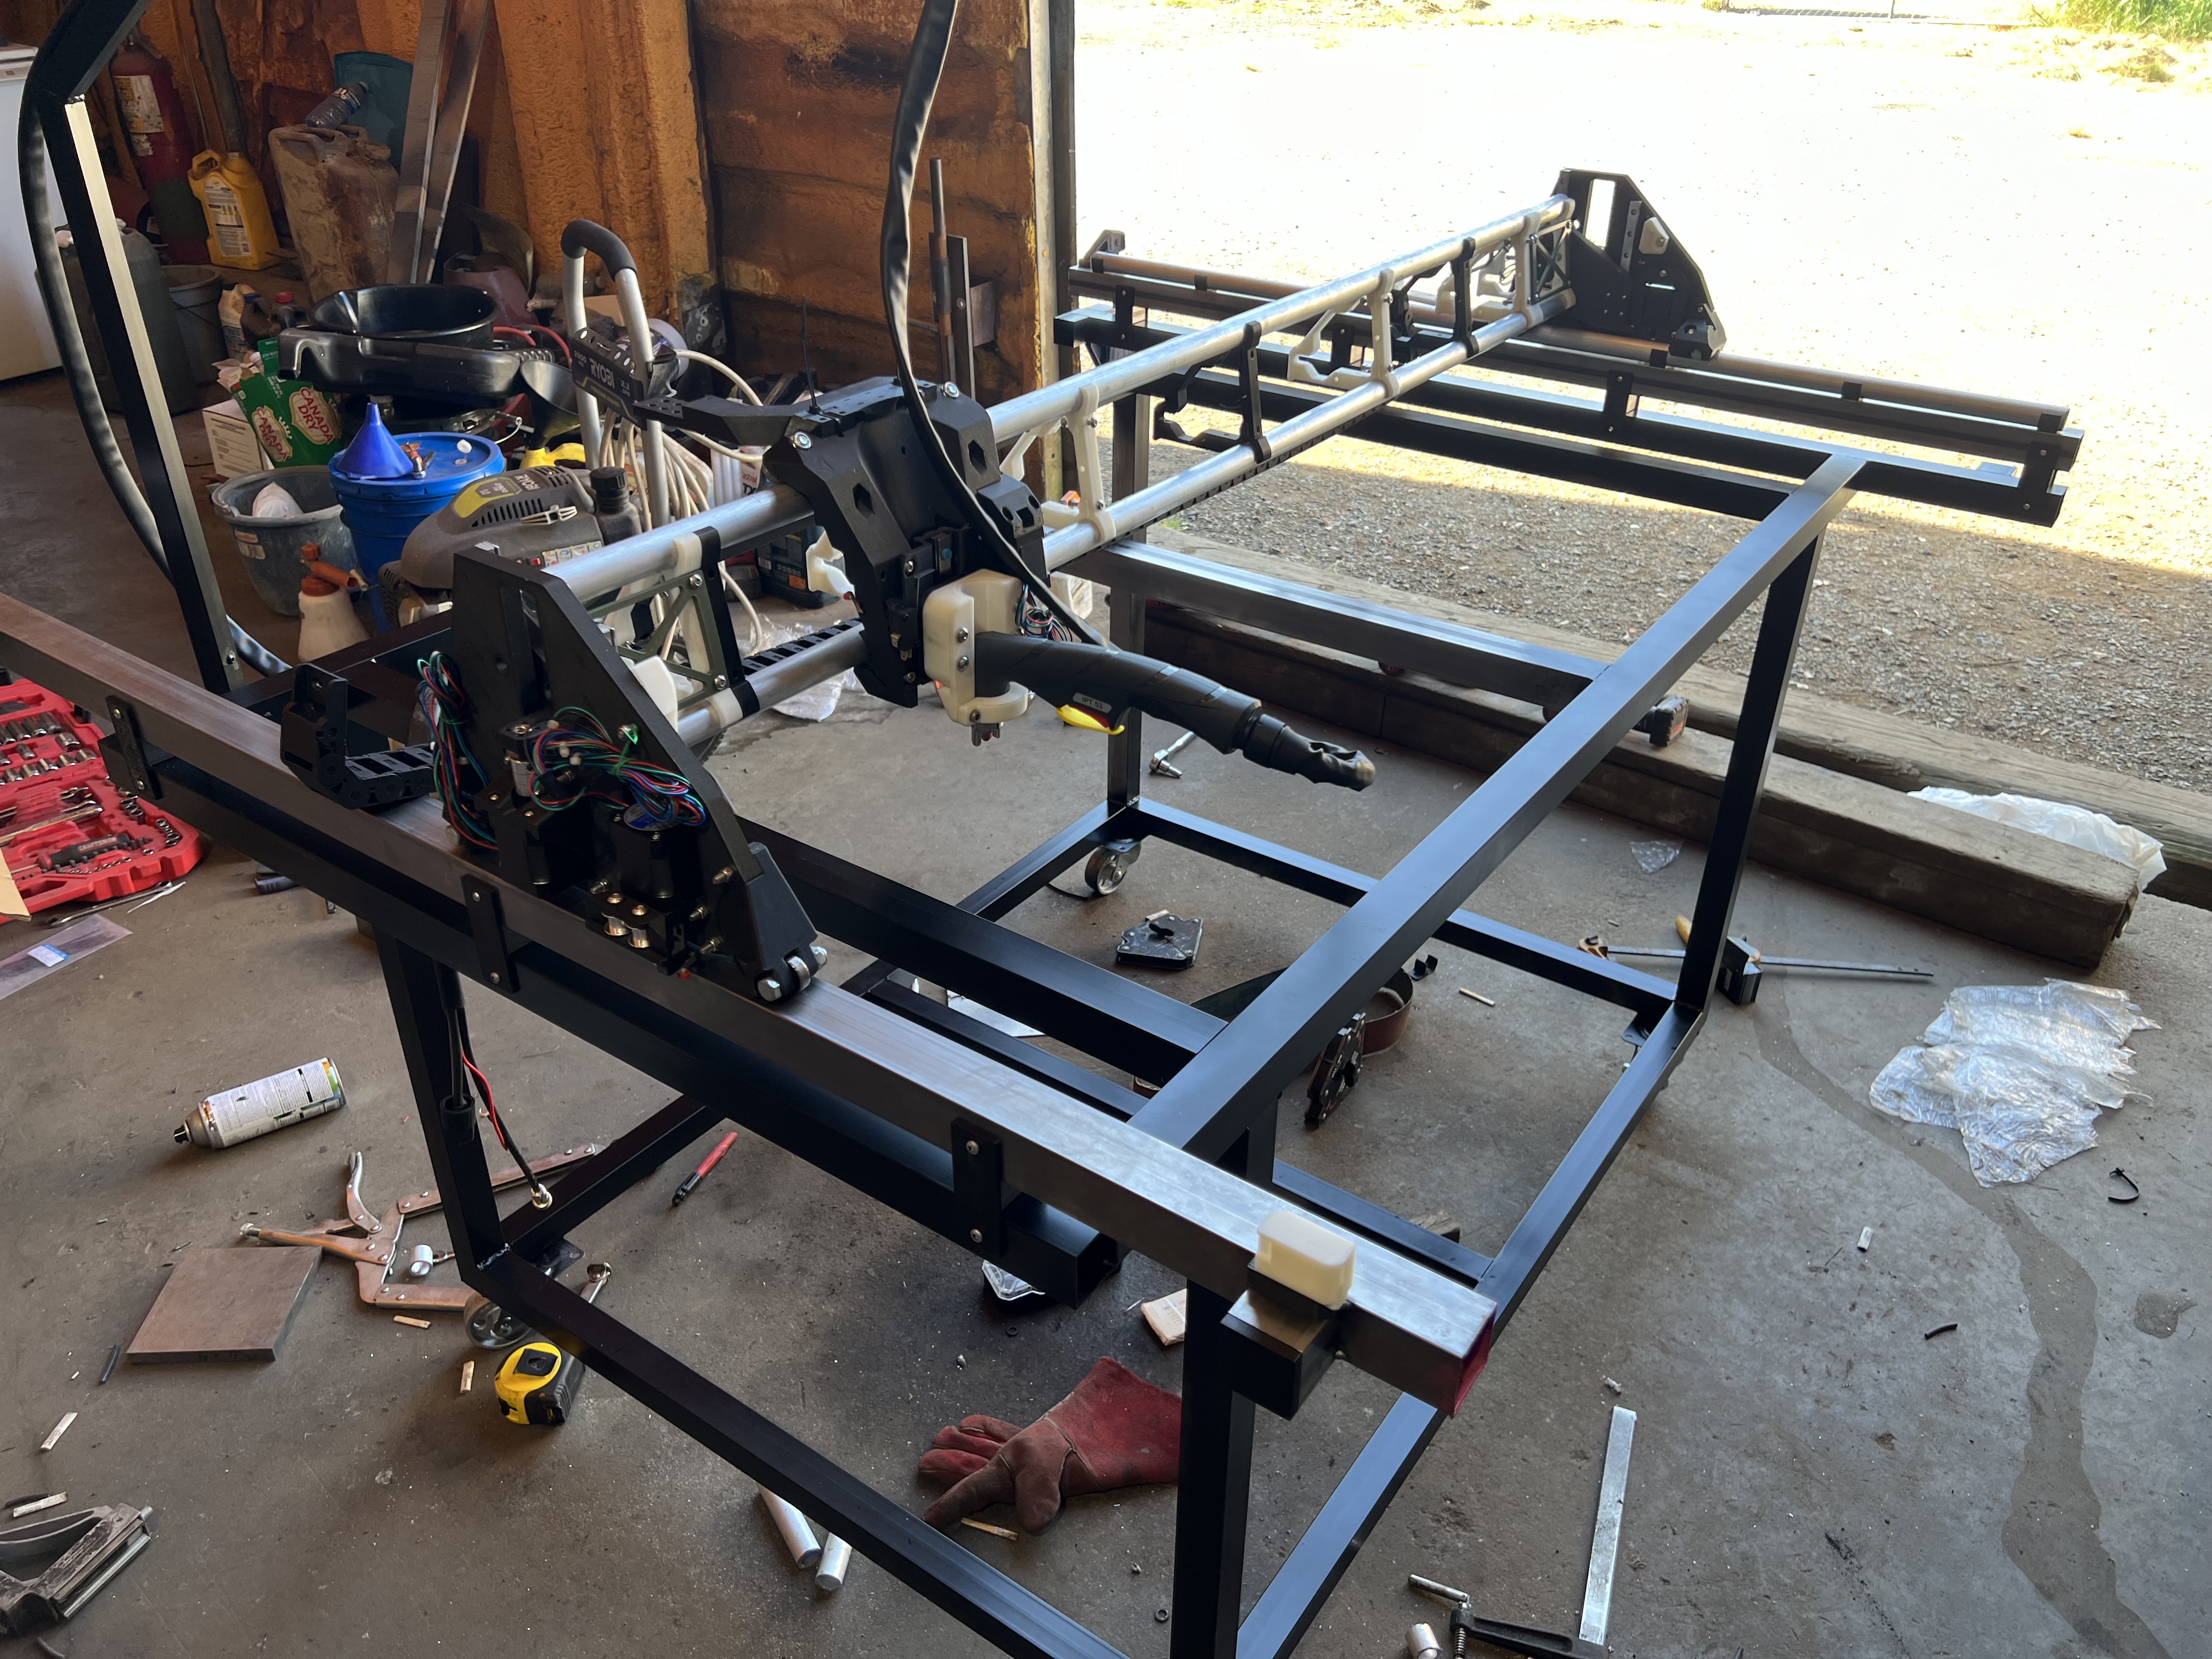
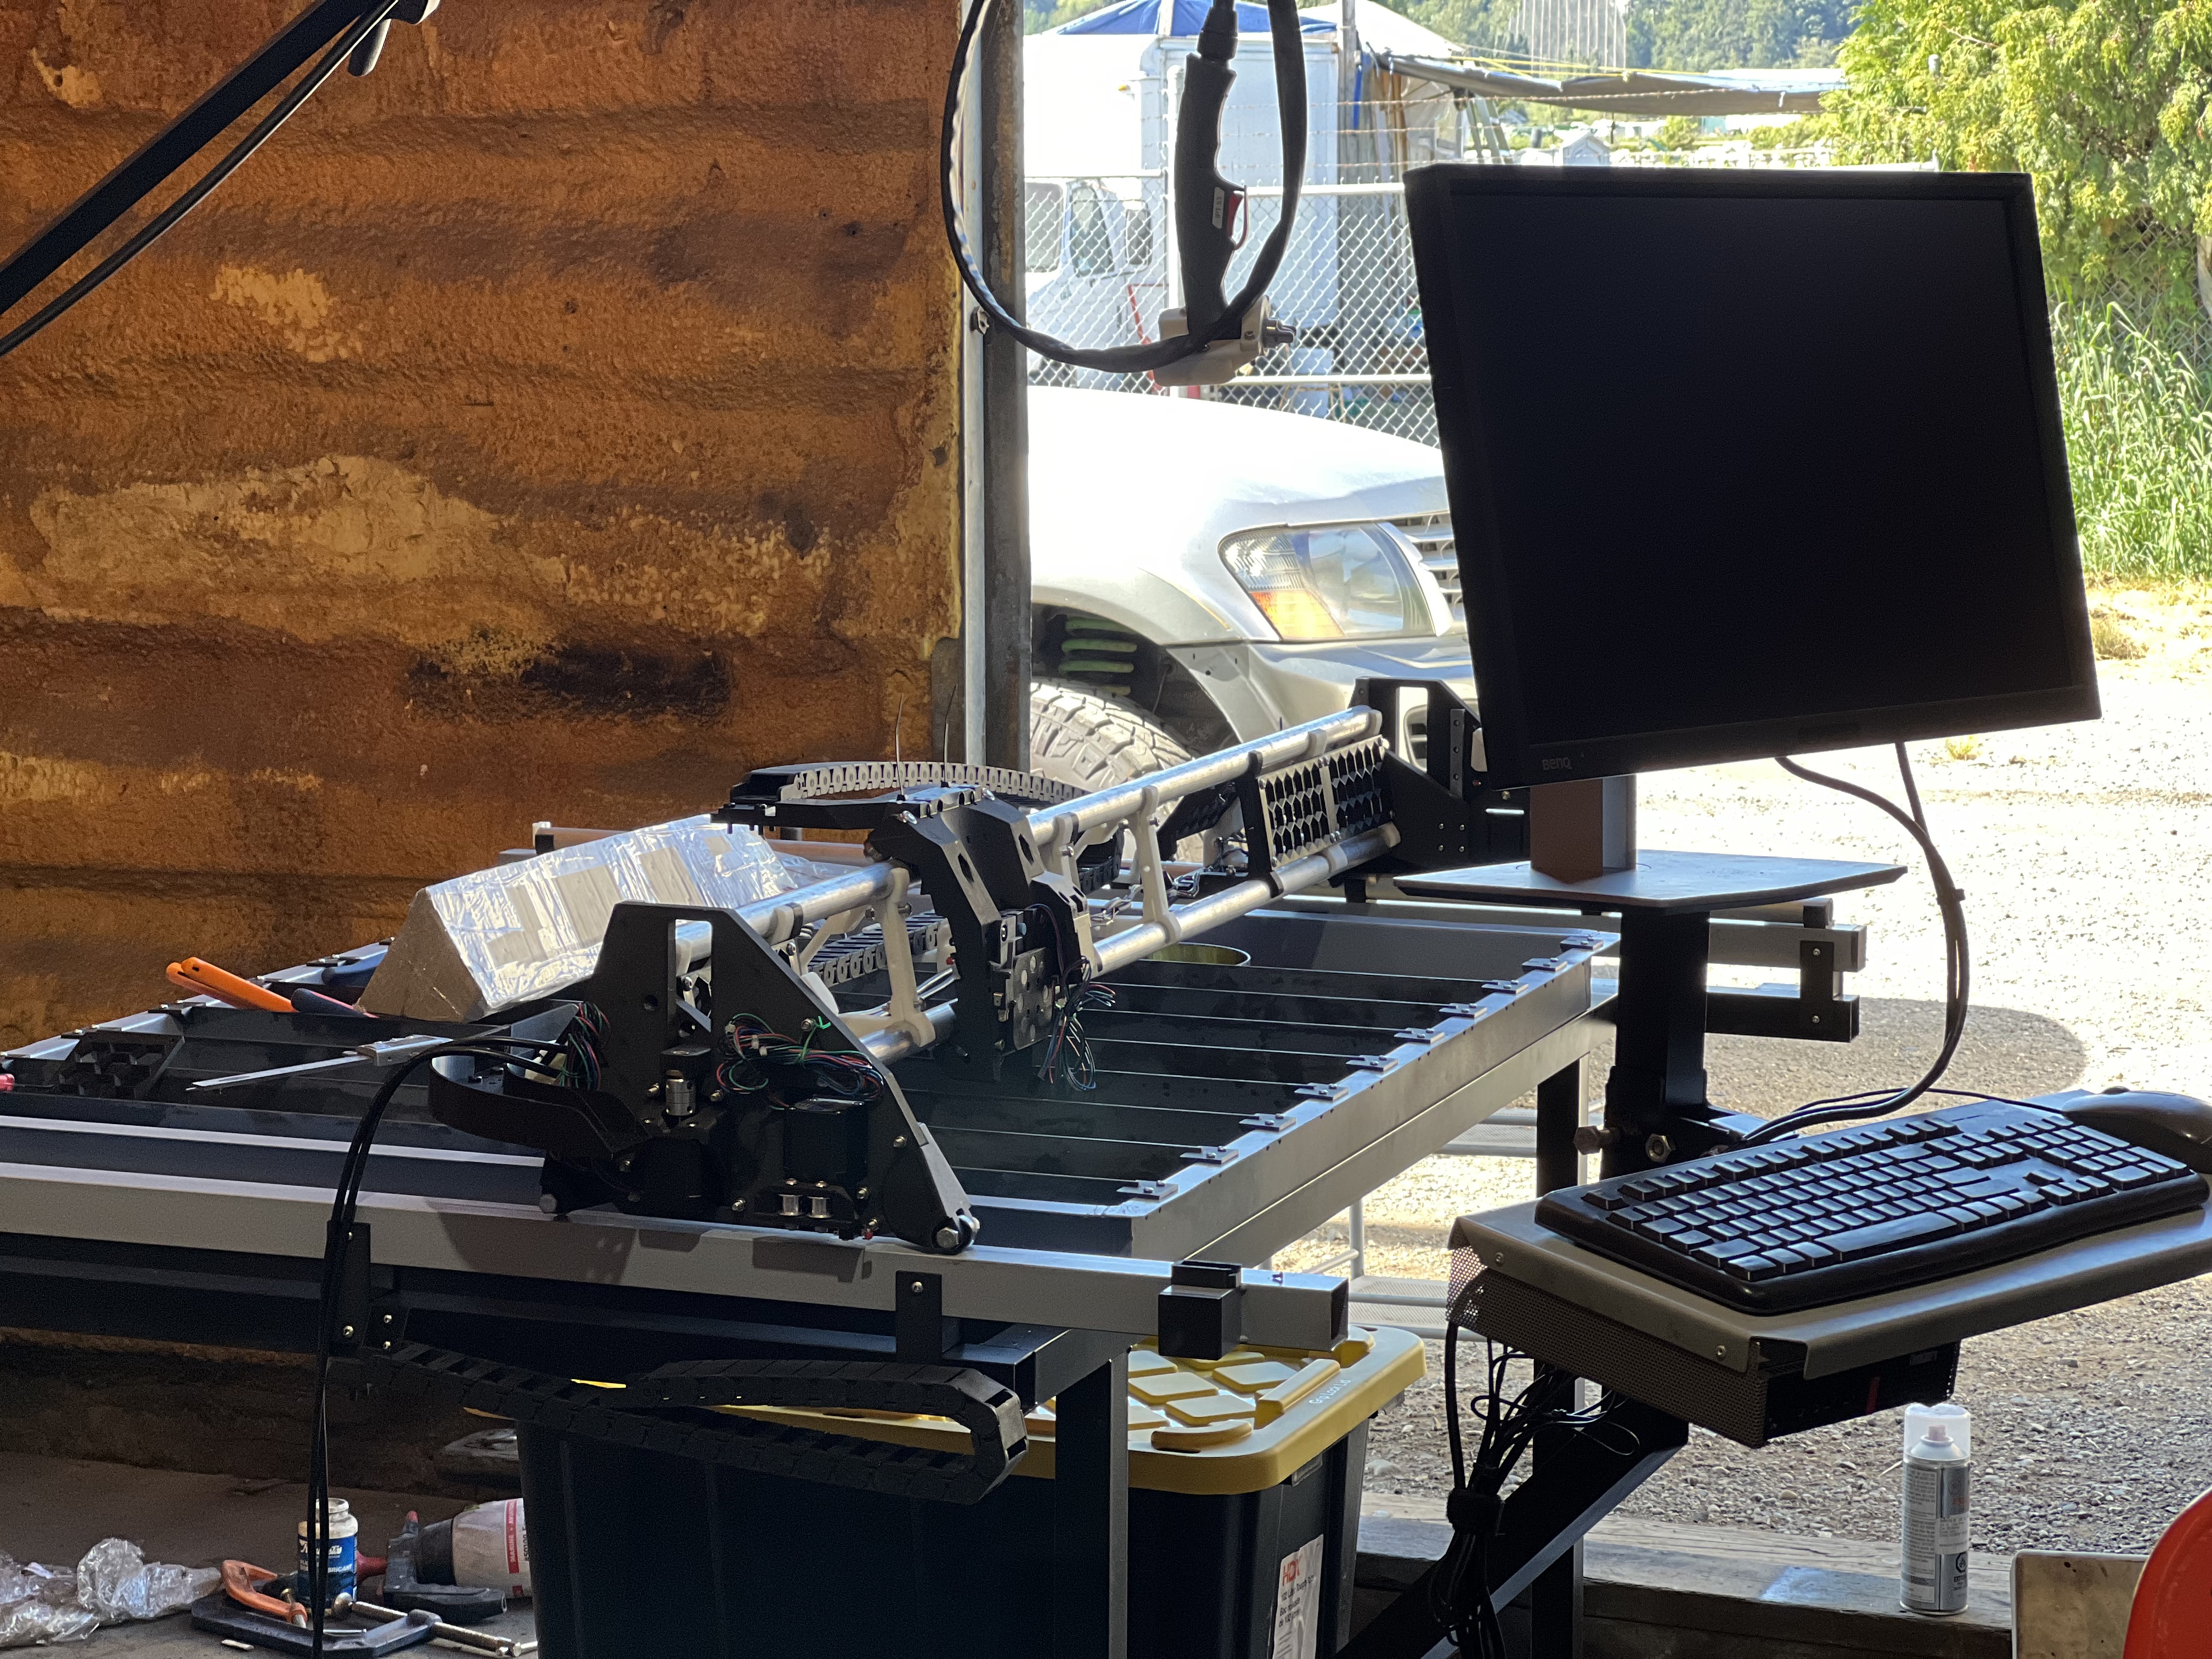
Here’s new lowrider gantry, back parts are all done in pet-cf, white are pla+, aluminum tubing. Slightly modified torch holder base on @DougJoseph design and mirrored the float head design of his.
Anytime I see plasma setups they don’t seem to use the usual control setup of a skr or jackpot. Is that because the plasma cutter interferes with their operation?
Plasma works best with Torch Height Control and the SKR doesn’t have that ability. Not sure if it’s something that could be added for the jackpot or not.
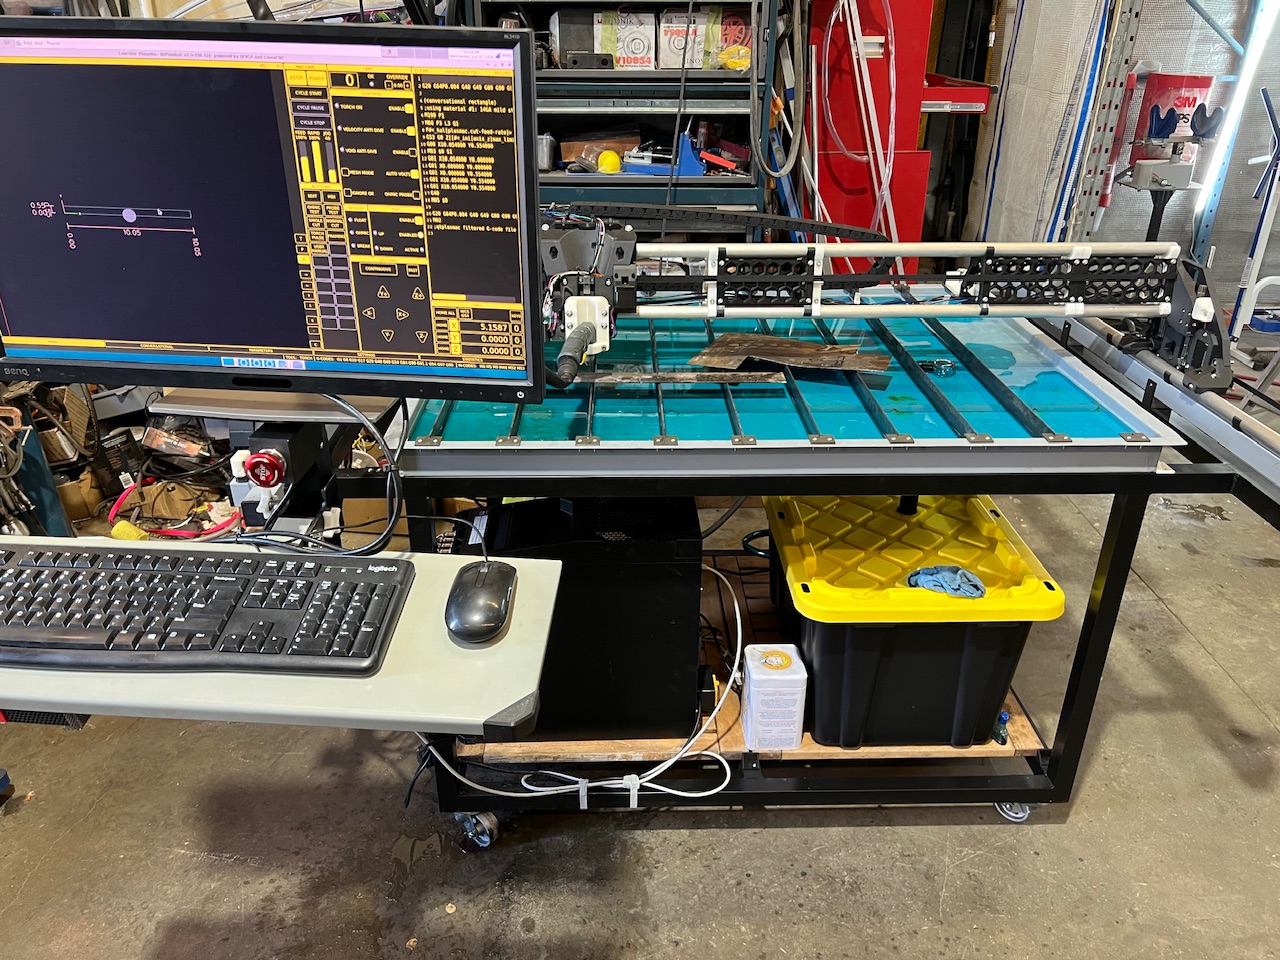
My first homemade plasma works great, I used it for 4years without torch height control, anything over 18ga, you don’t need to worry about warpage too much, just pay attention to feed rate and amps, also a water table helps a little bit of heat distortion. If you are cutting metal occasionally, you just need to design a removable torch holder that can be attached to lowrider router core, and not worry about THC, design a table that works both for wood and metal cutting. You can still use SKR I guess.
When I upgraded from a mpcnc to lowrider I had at the back of my mind I could mount my cheapo plasma so the mpcnc wouldn’t go to waste… still on the todo list.
A Few Notes Worth Sharing — Might Help Others with Similar Builds
@kd2018 and @DougJoseph provide very detailed instructions on both hardware and software configurations. Reading through them a couple of times will give you a solid overview of what’s involved and help you decide whether to proceed with your build.
Be sure to read the LinuxCNC and QTplasmaC user manuals thoroughly. Don’t worry if some parts don’t make sense right away; you don’t have to understand everything to successfully complete your build.
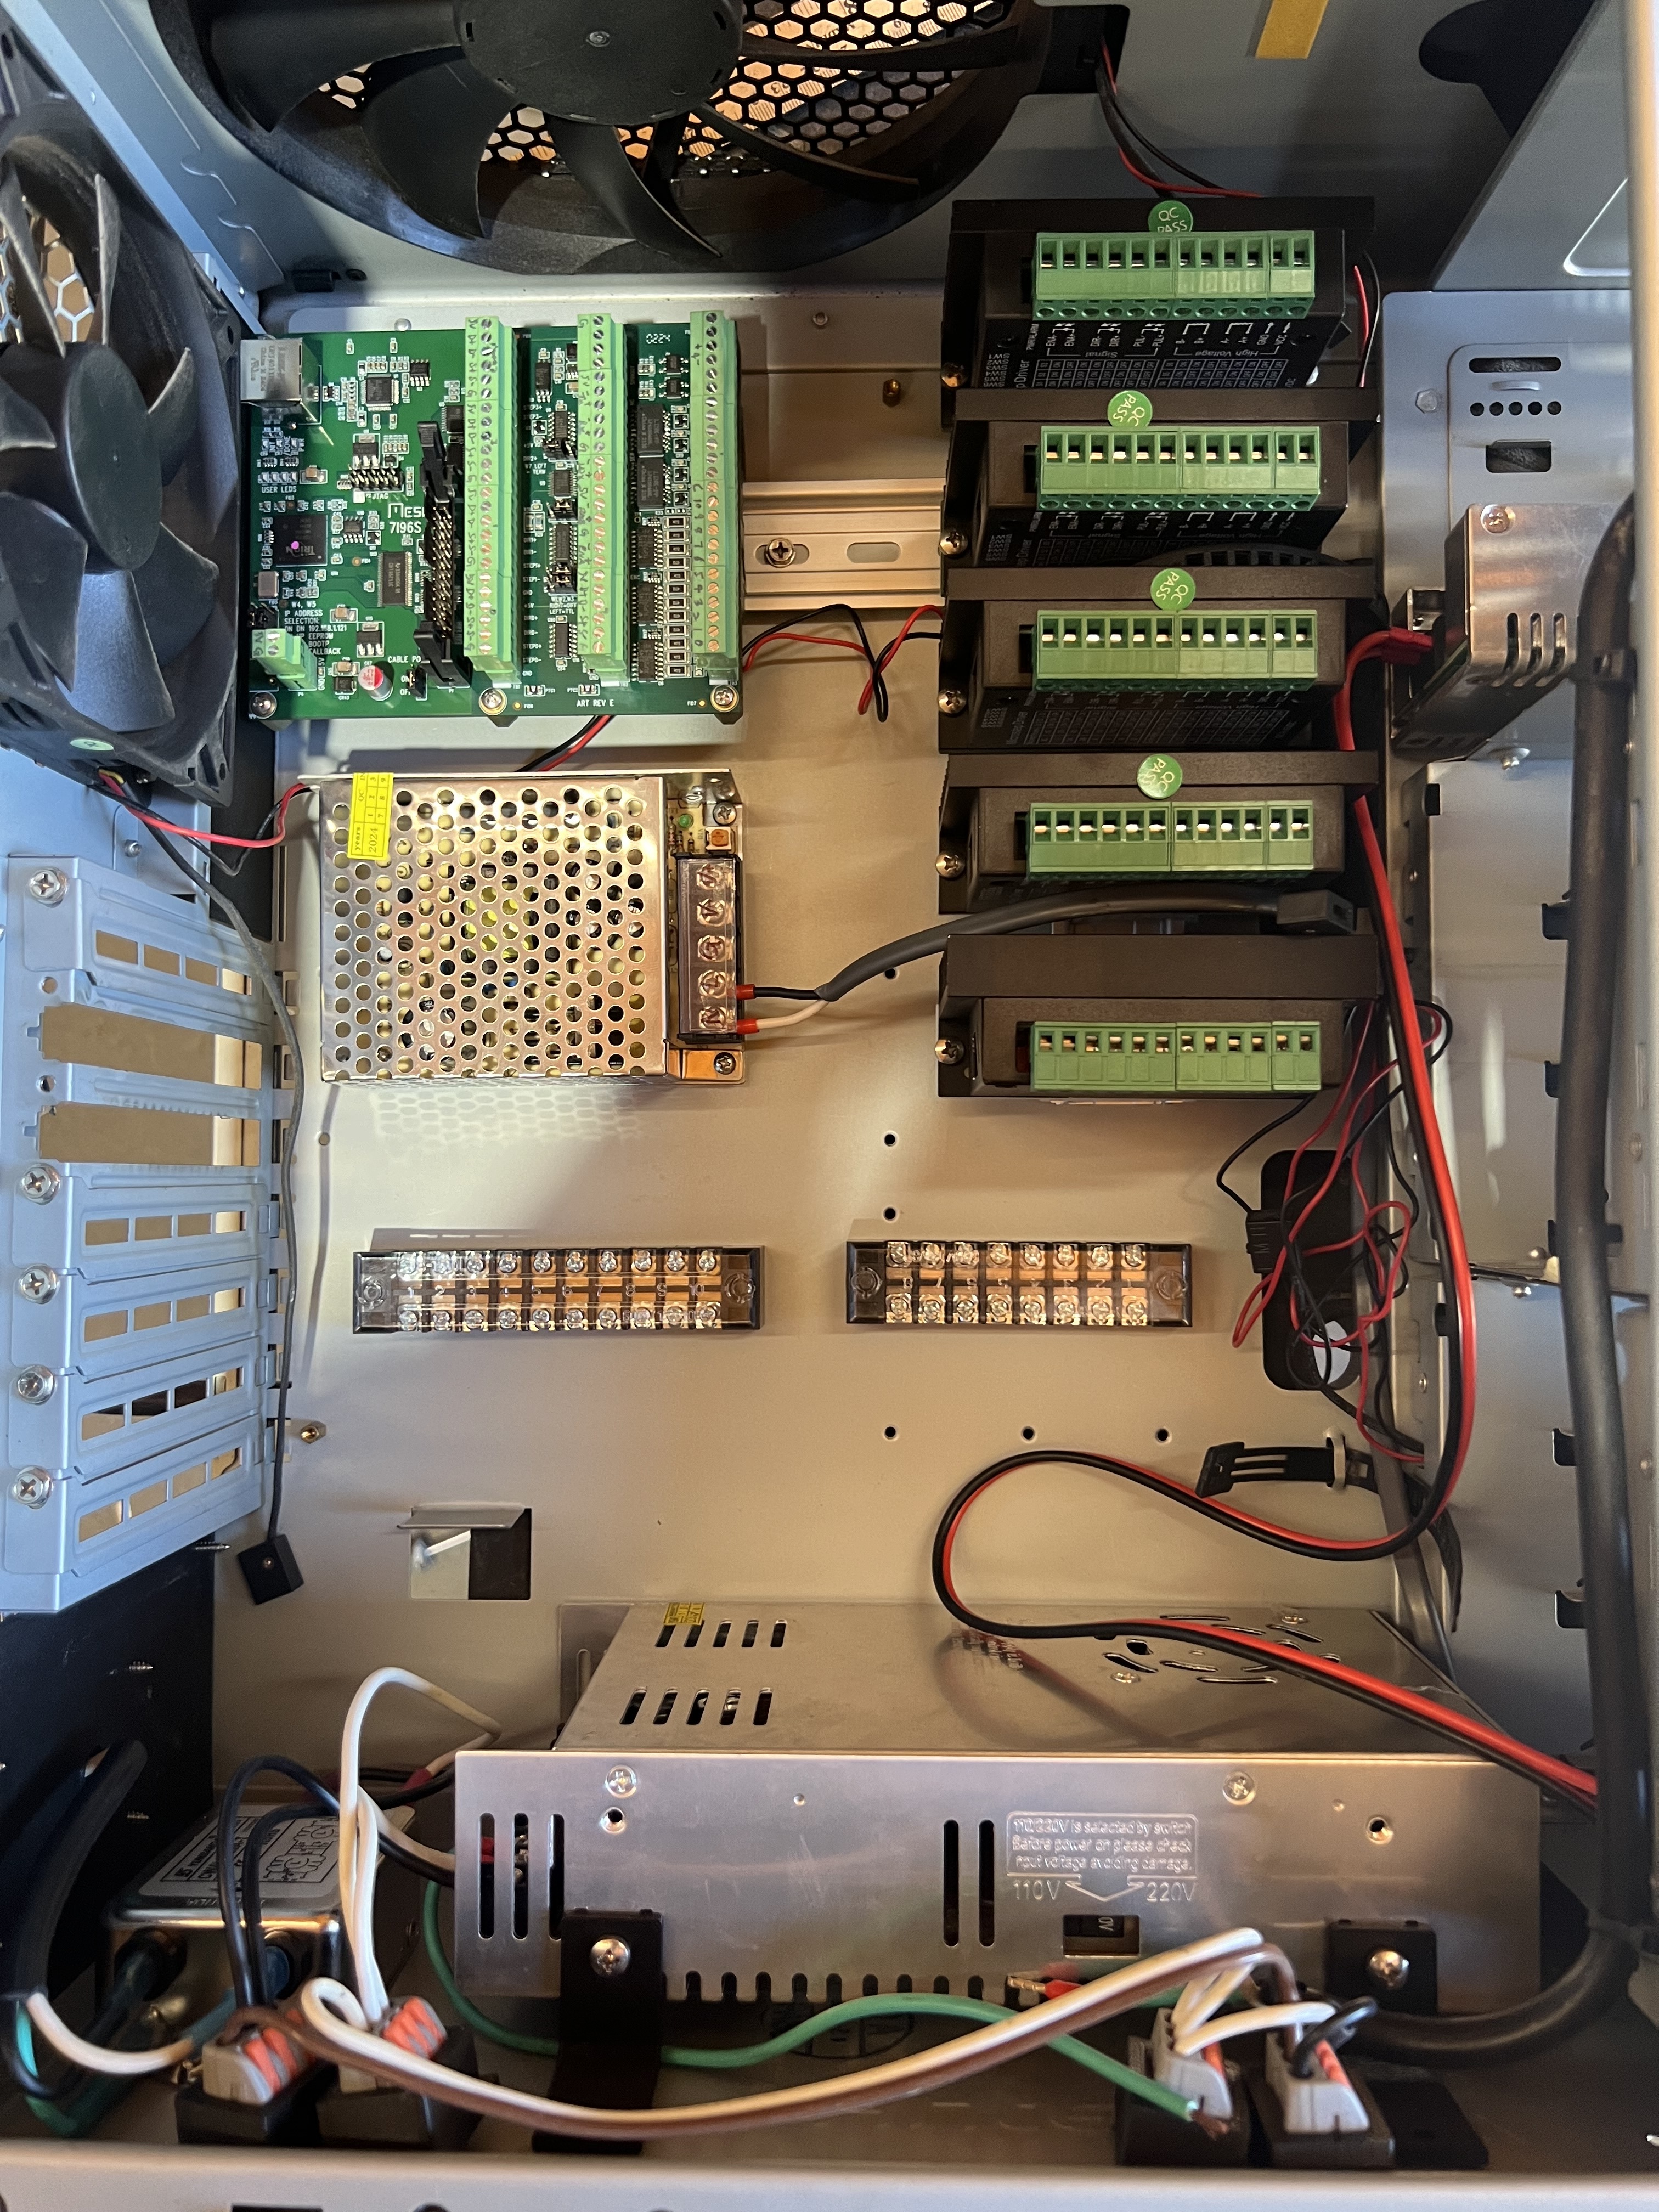
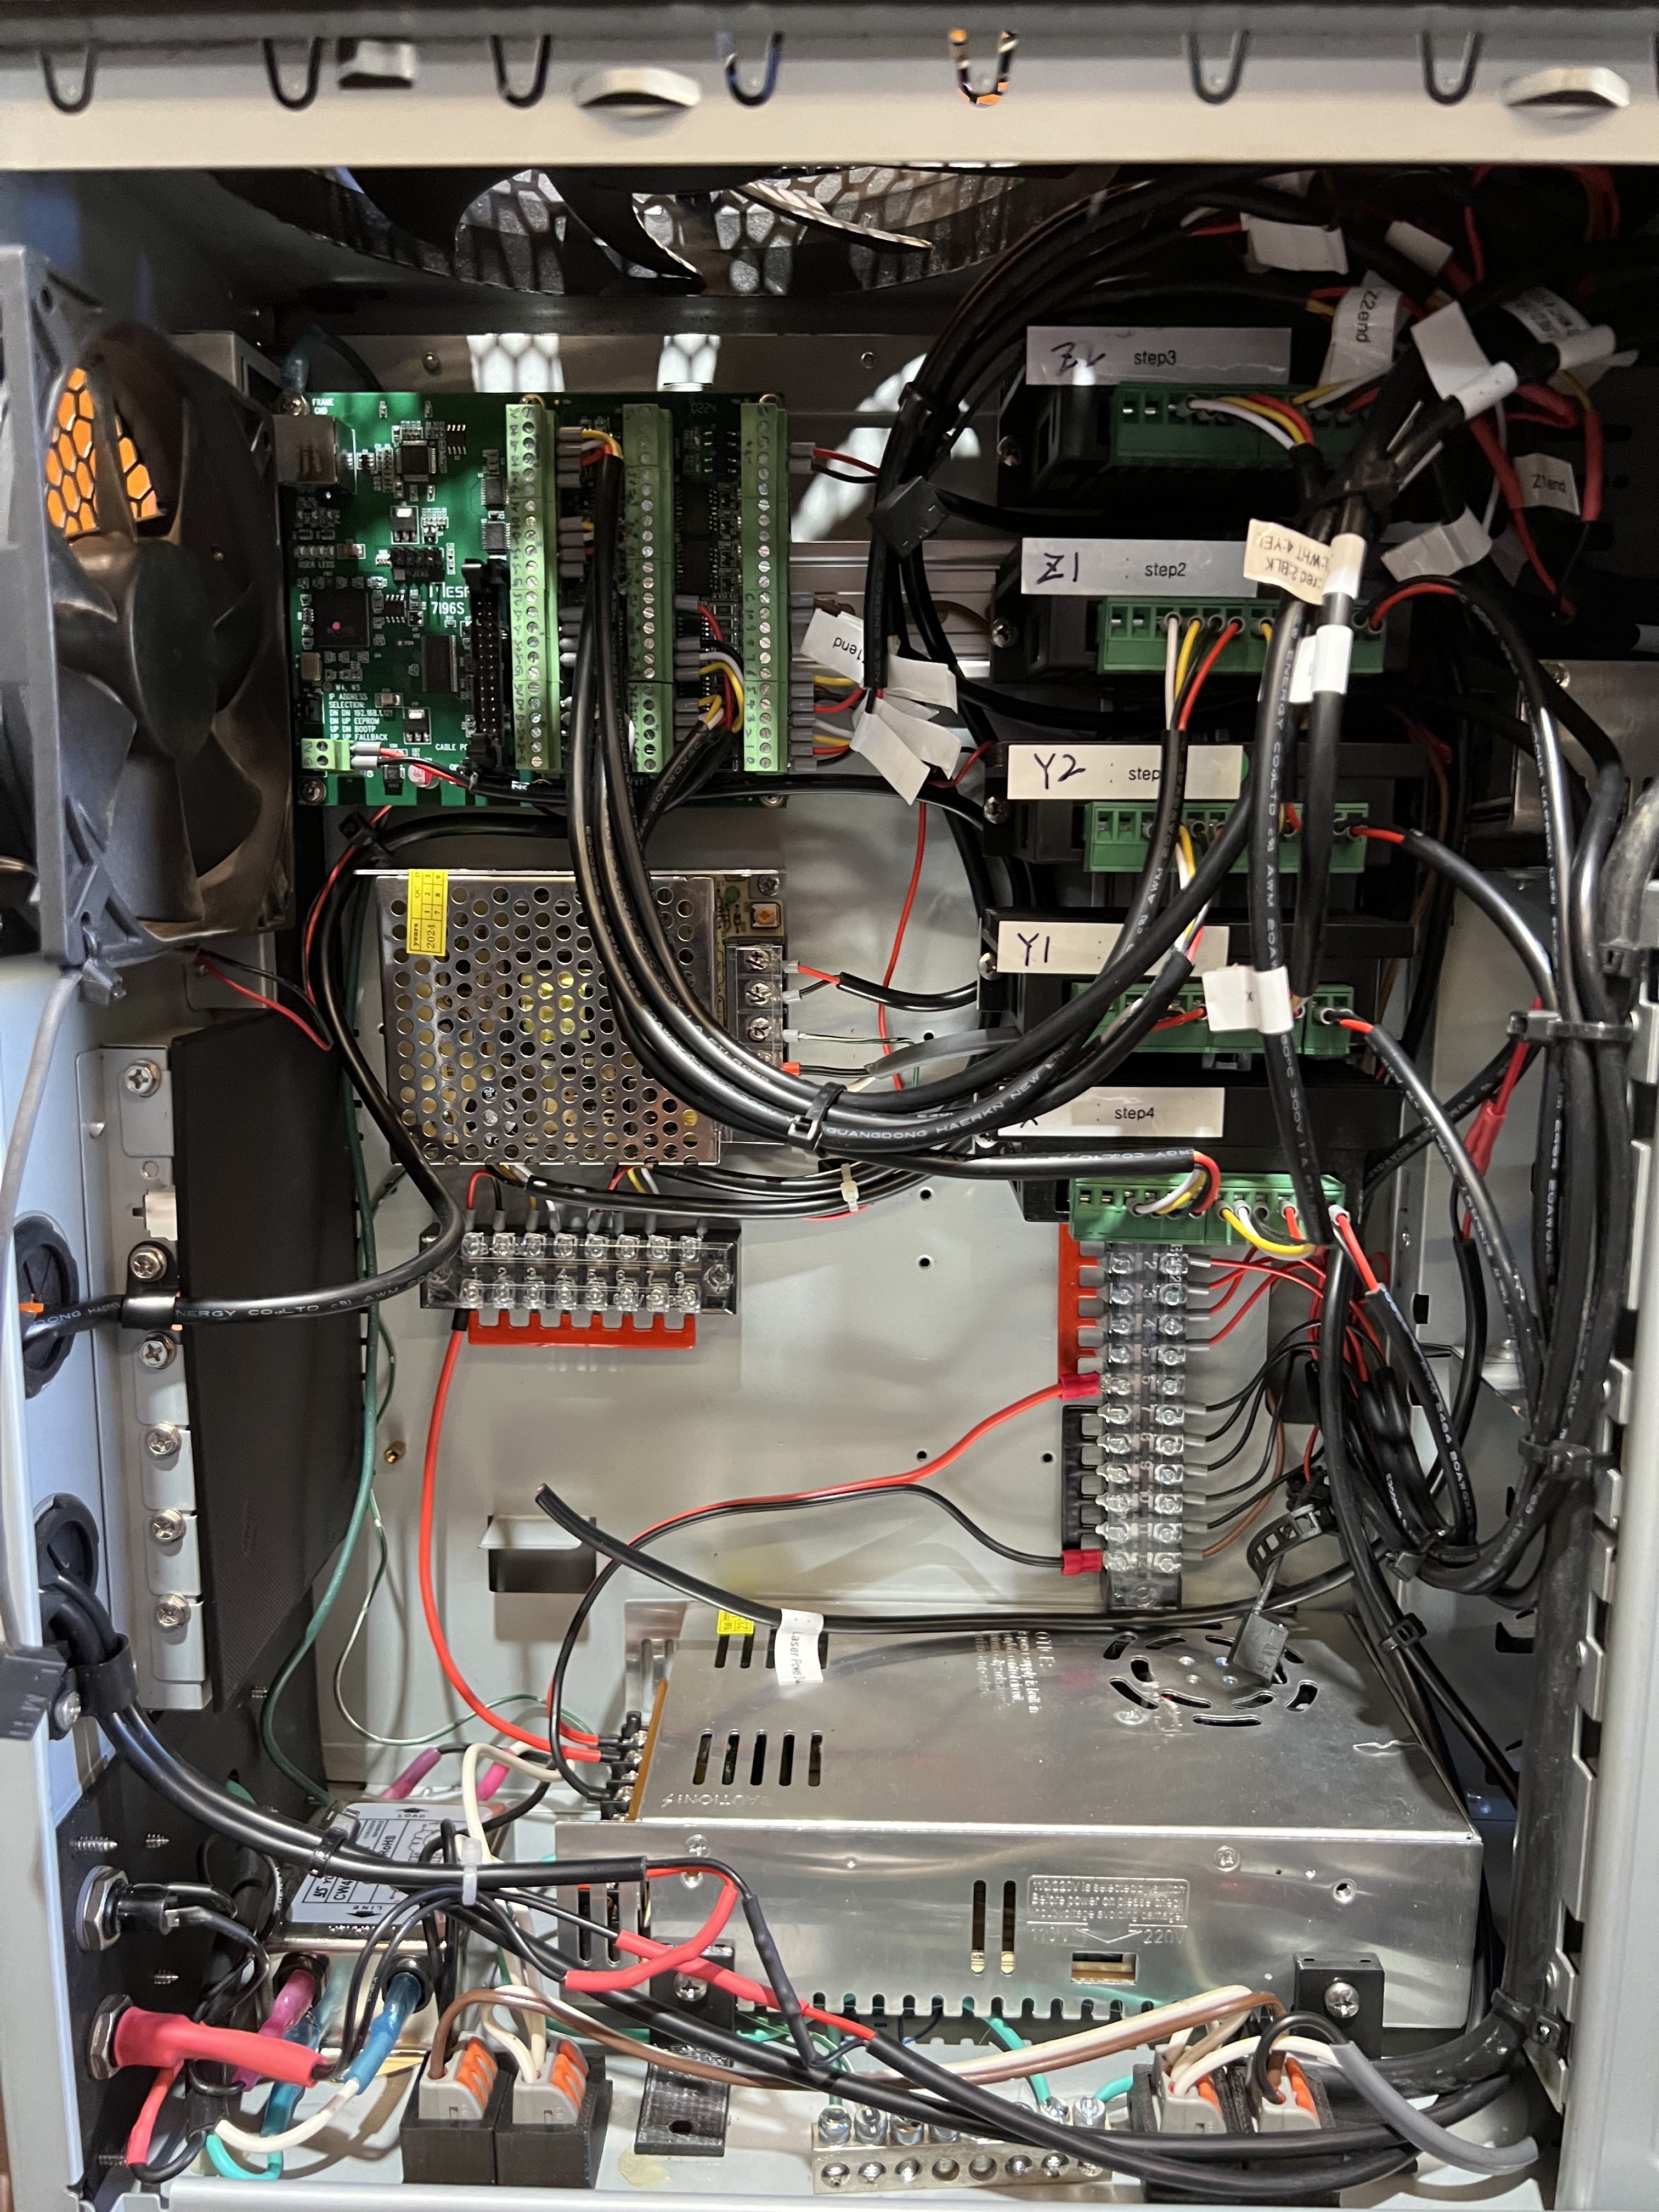
The manuals for the MESA 7i96s and THCAD are crucial, especially regarding jumper settings. As Kyle mentioned in his post, I initially forgot to set the IP address jumper, which prevented my computer from connecting to the 7i96s (10.10.10.10). Additionally, make sure to set the frequency divider jumper correctly on the THCAD2.
For drag chains, you can either use Doug’s oversized 3D-printed version or two sets for the Y-axis and one for the X-axis if you have smaller chains.
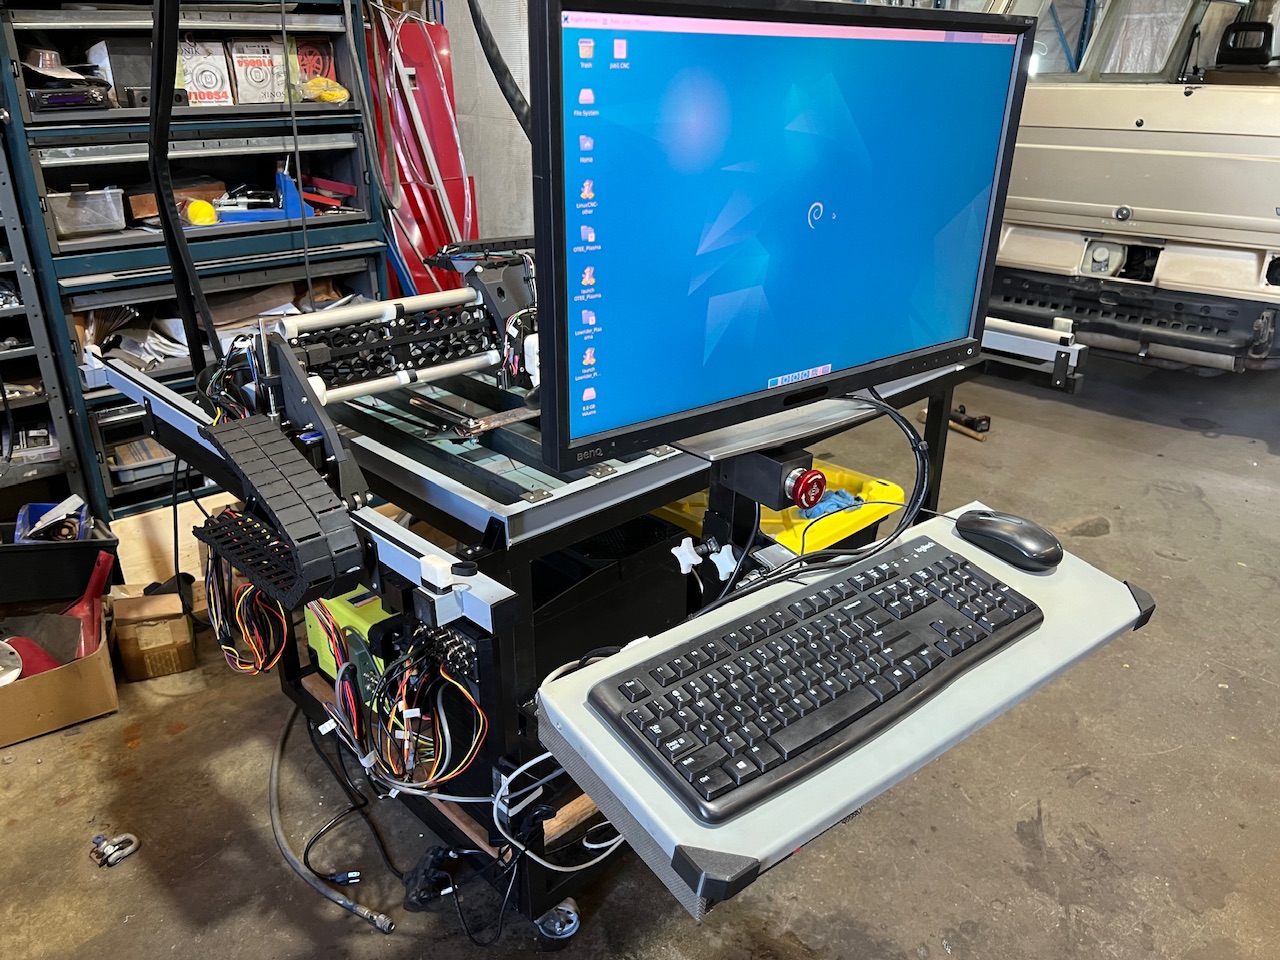
If you are installing the latest version of LinuxCNC and QTplasmac, there’s no need to modify any .ini or .hal files; all configuration can be done through the PNCConfig wizard in LinuxCNC.
Regarding the “Laser Button,” it took me some time to figure this out. I initially thought I had to modify or add code to the .hal file for it to become visible. However, all you need to do is home all axes, then go to the settings tab in QTplasmaC and set the offset. The laser button will then show up in the DRO window. I added a 5V crosshair laser from Amazon and wired a relay to control it. The pin to use is set through the PNCConfig wizard—there’s no need for manual modifications to any .ini or .hal files.
On the cost front, everything is more expensive in Canada compared to the U.S. Just for the table materials, I’m into about 500 CAD for a 1/16th wall, not 1/8th. If you don’t factor in your time, it ends up costing less than a premade unit! Doug has listed all the component costs in his post.
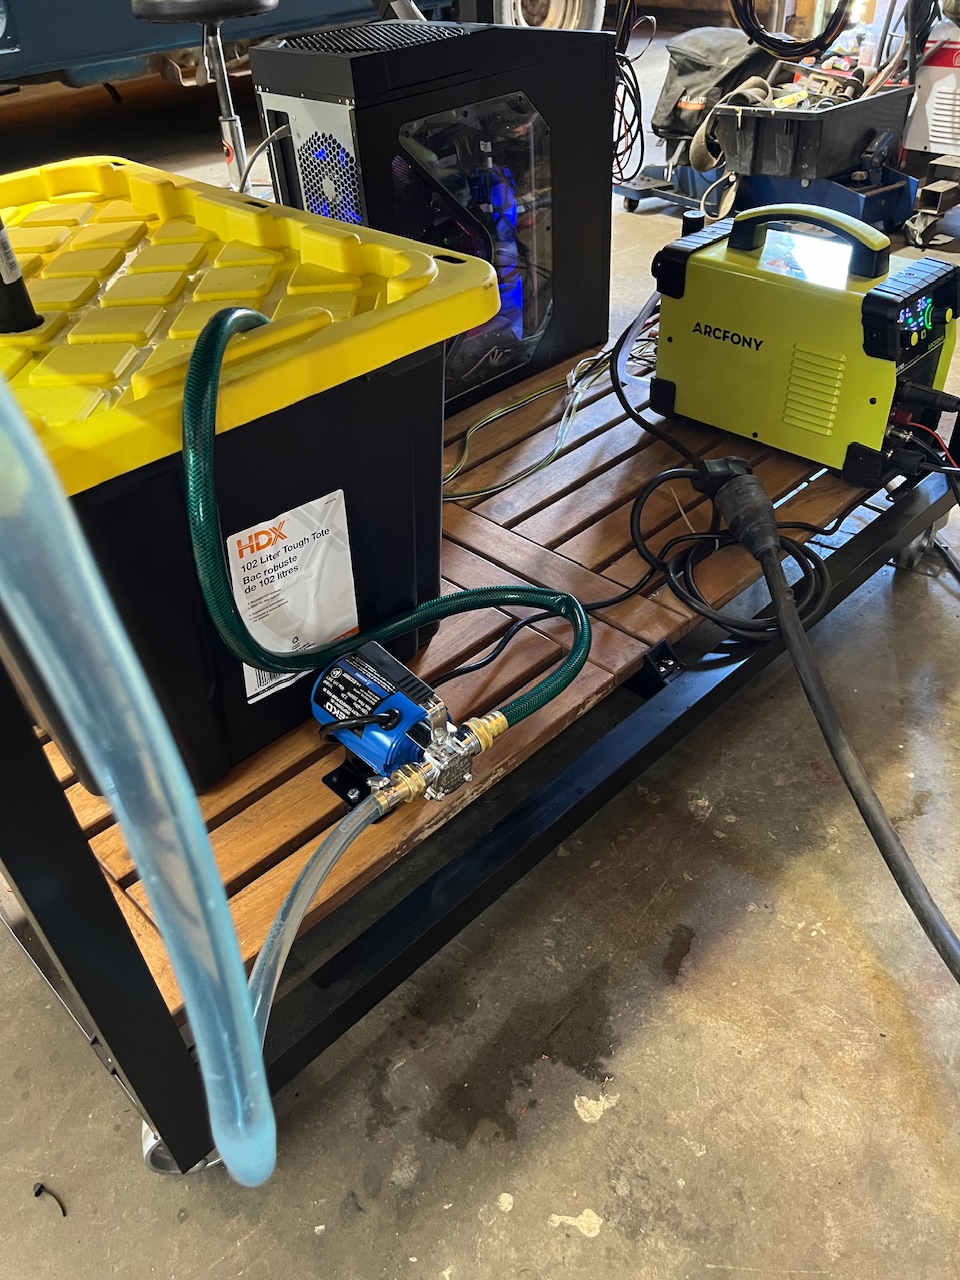
I encountered an issue with “Torch On” and “Arc OK.” I bought a budget CNC-compatible cutter that had a confusing description regarding which two wires corresponded to “torch on” and “Arc OK.” I mistakenly wired them oppositely, but thankfully, I didn’t blow anything up.
These inexpensive plasma cutters work on a 1:1 ratio. I placed a 1 MΩ high-voltage resistor on each leg, changing my ratio to 1:21. I had never bought high-voltage resistors before and was surprised at their size—my resistor is too large to fit inside the plasma cutter case. As a result, I made an additional housing alongside Doug’s THC holder.