I am considering building a LowRider for two main purposes: Full sheet cutting for projects and maybe trying out at least making my own guitar bodies, maybe necks, too. It seems like, though, it may make more sense to do something like a Maslow for full sheets and then maybe a smaller LowRider with a drop table for guitars? What exactly is a drop table, anyway? I’m having a hard time finding an example of one. Haha!
Any tips are appreciated! I am new to CNC, have 4 printers, definitely not new to DIY or electronics, have built a voron, and work in IT, so most everything involved with CNC comes fairly naturally to me.
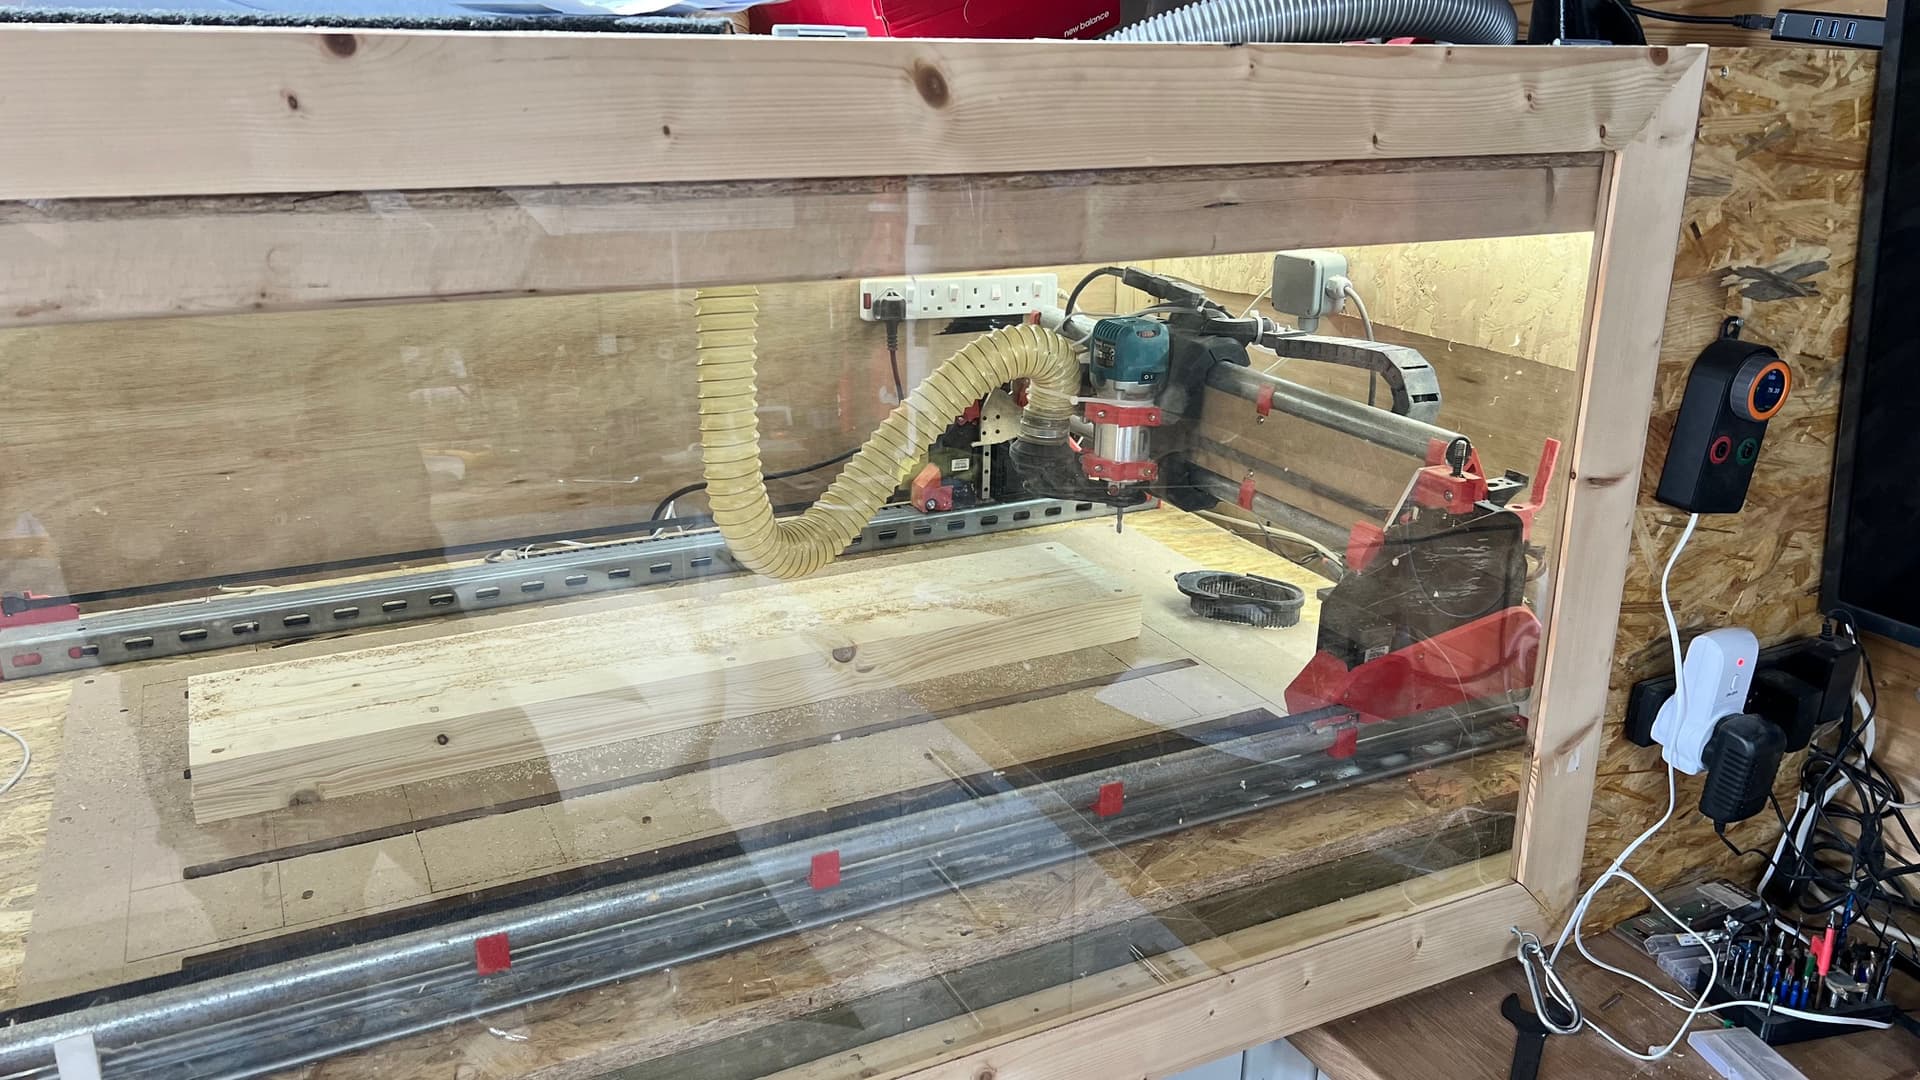
I sized my Lowrider specifically for doing guitars. I wanted to be able to do through-body necks and concert sized bodies.
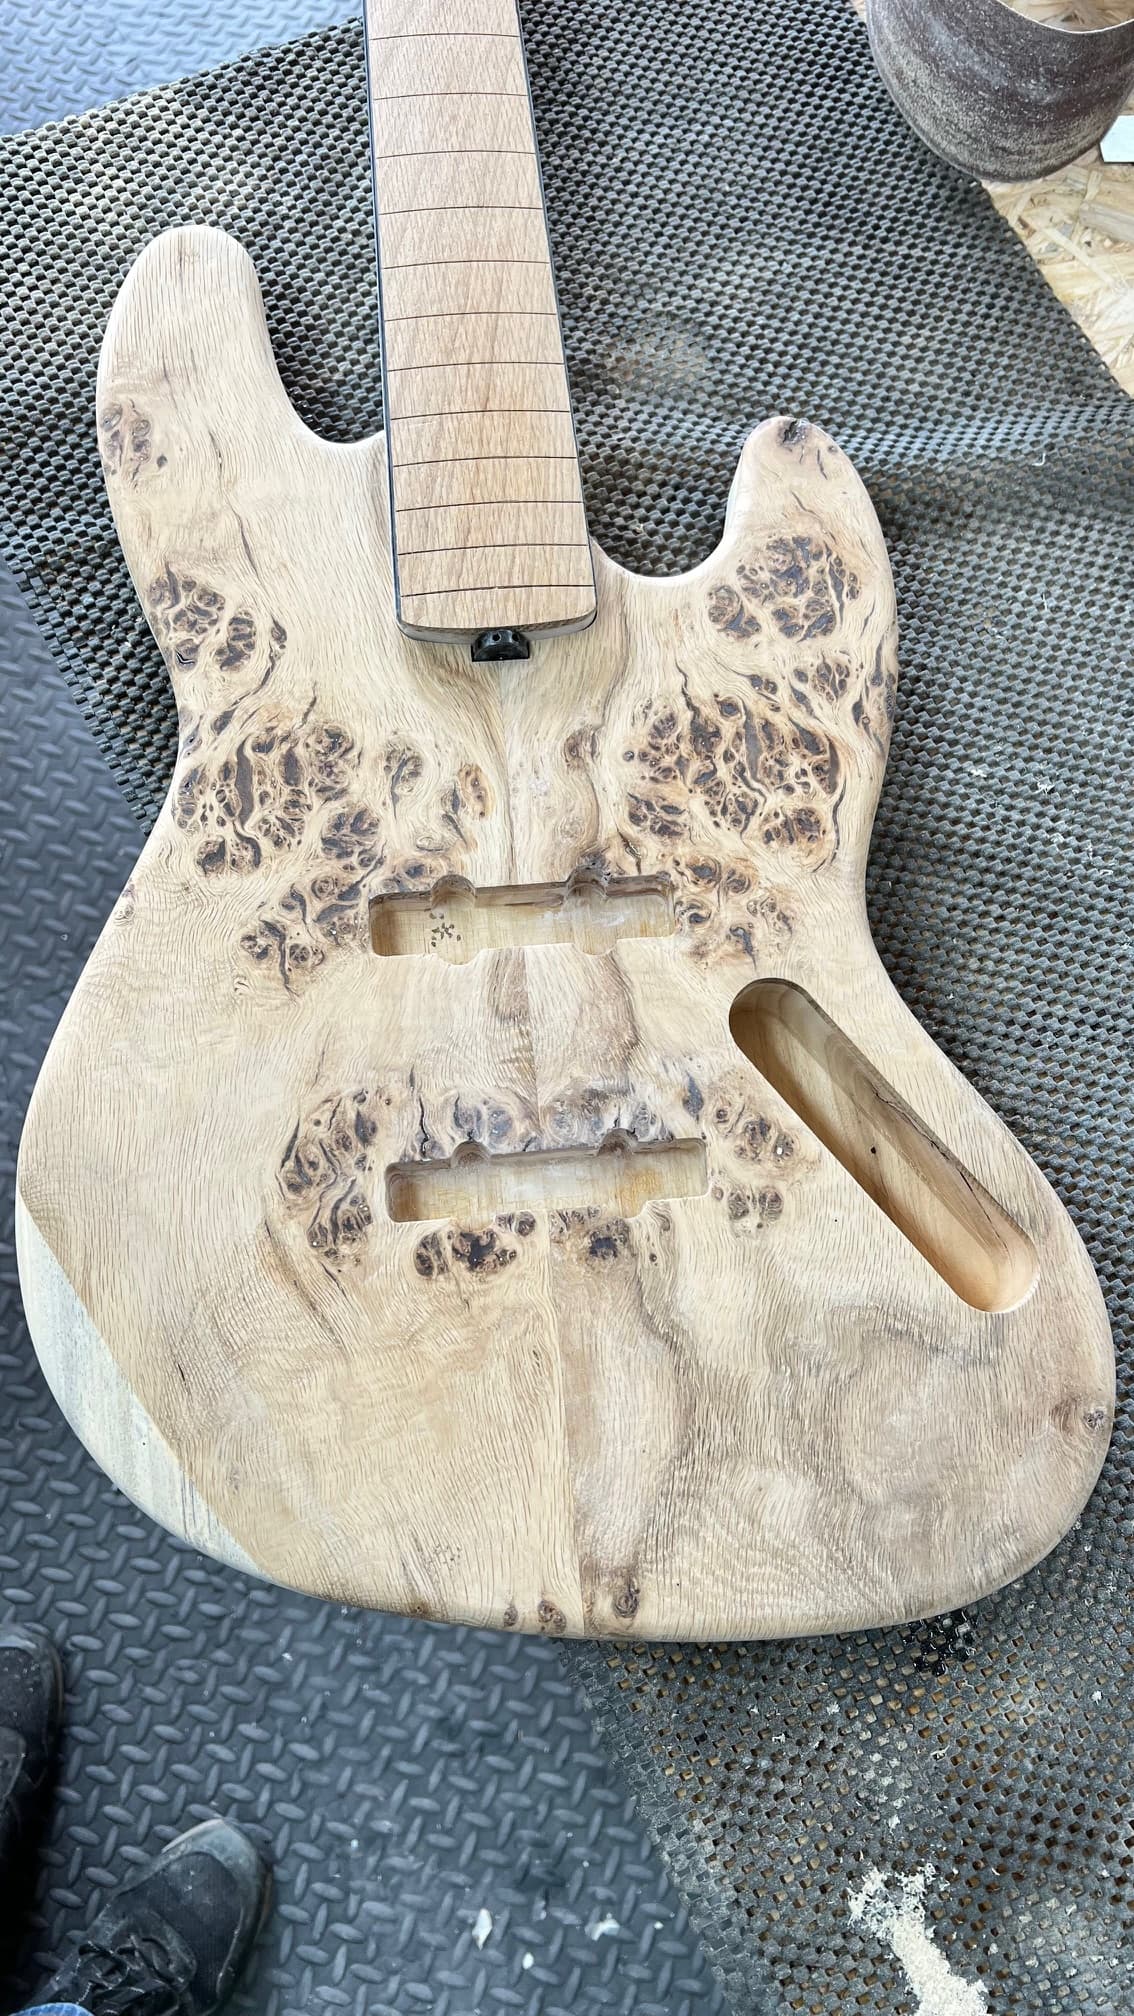
Milling bodies and cutting out profiles is a breeze, although you do have to be aware of feed rates for the different woods. I’ve ruined a few nice pieces of wood by going too deep, too quick. The bit will snag the grain and send the Lowrider off in a wrong direction.
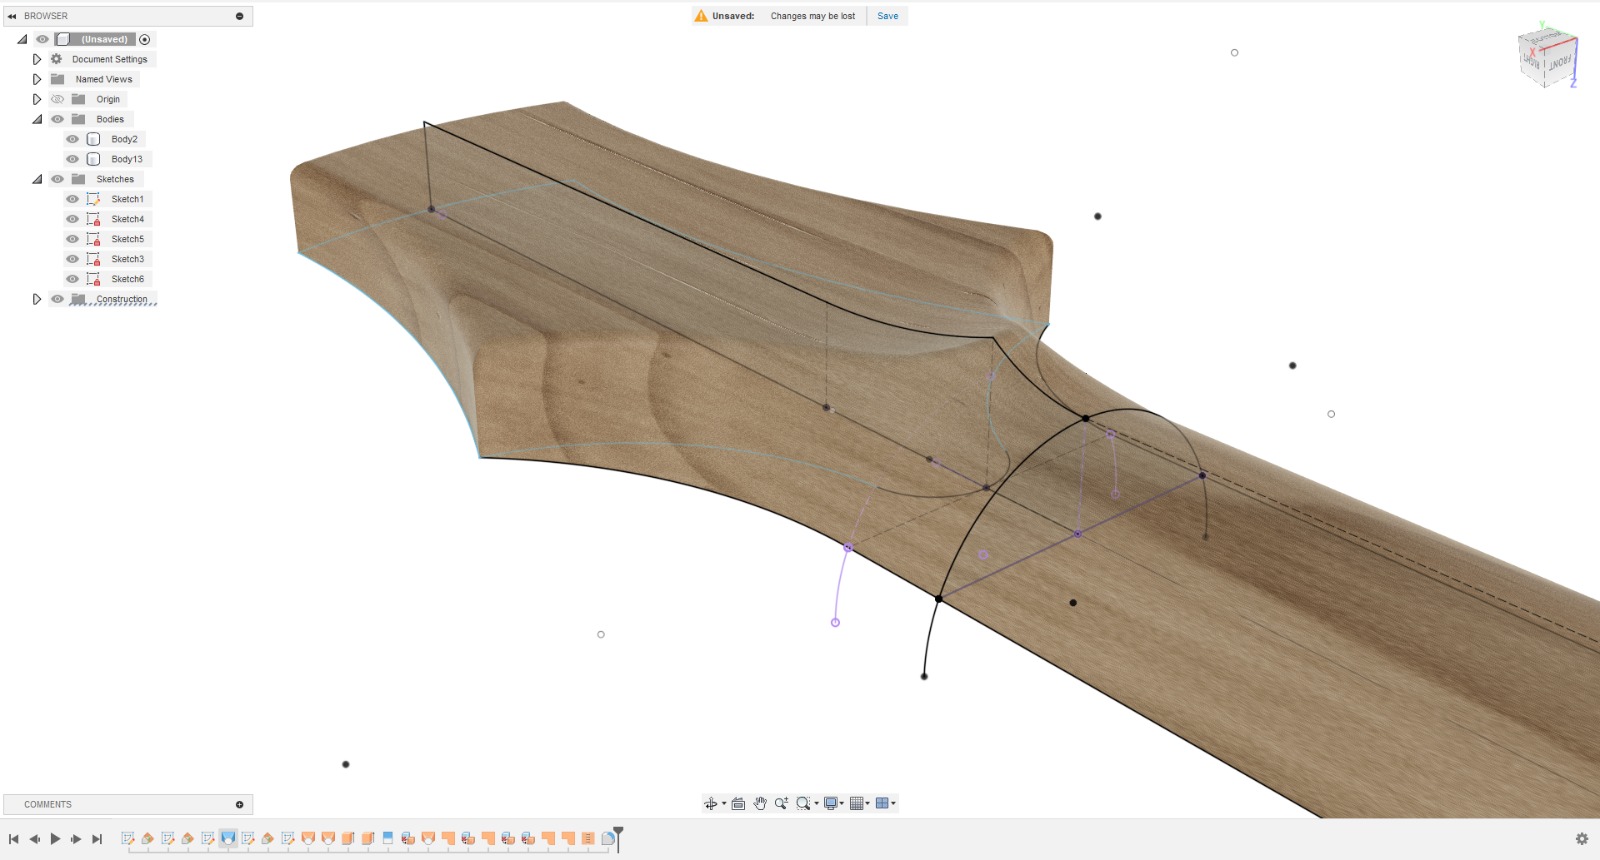
3D profiling is the challenge. The Lowrider is great, but it’s the planning preparation which takes the time and effort. In particular, turning 2D plans and drawings into 3D reliefs that need to match on 2 or more sides/planes. Does anybody have a good workflow and technique written down?
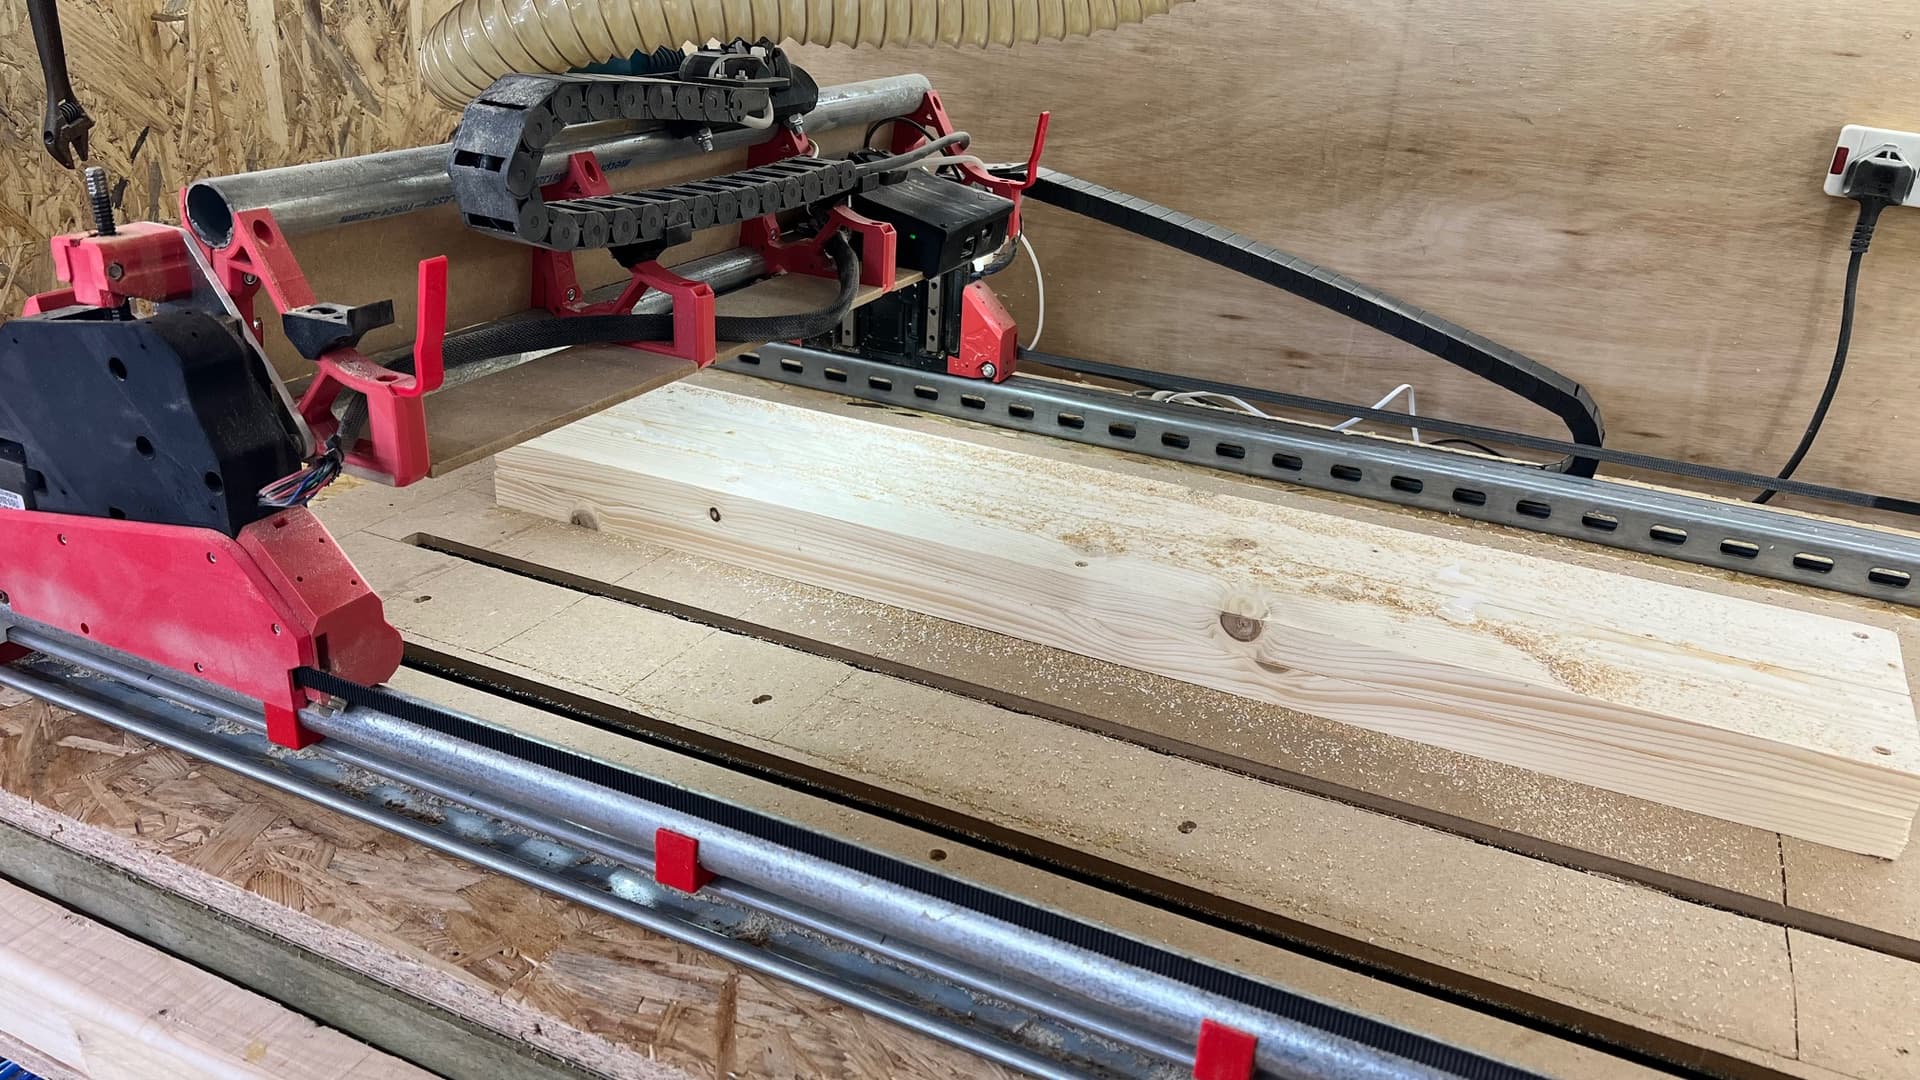
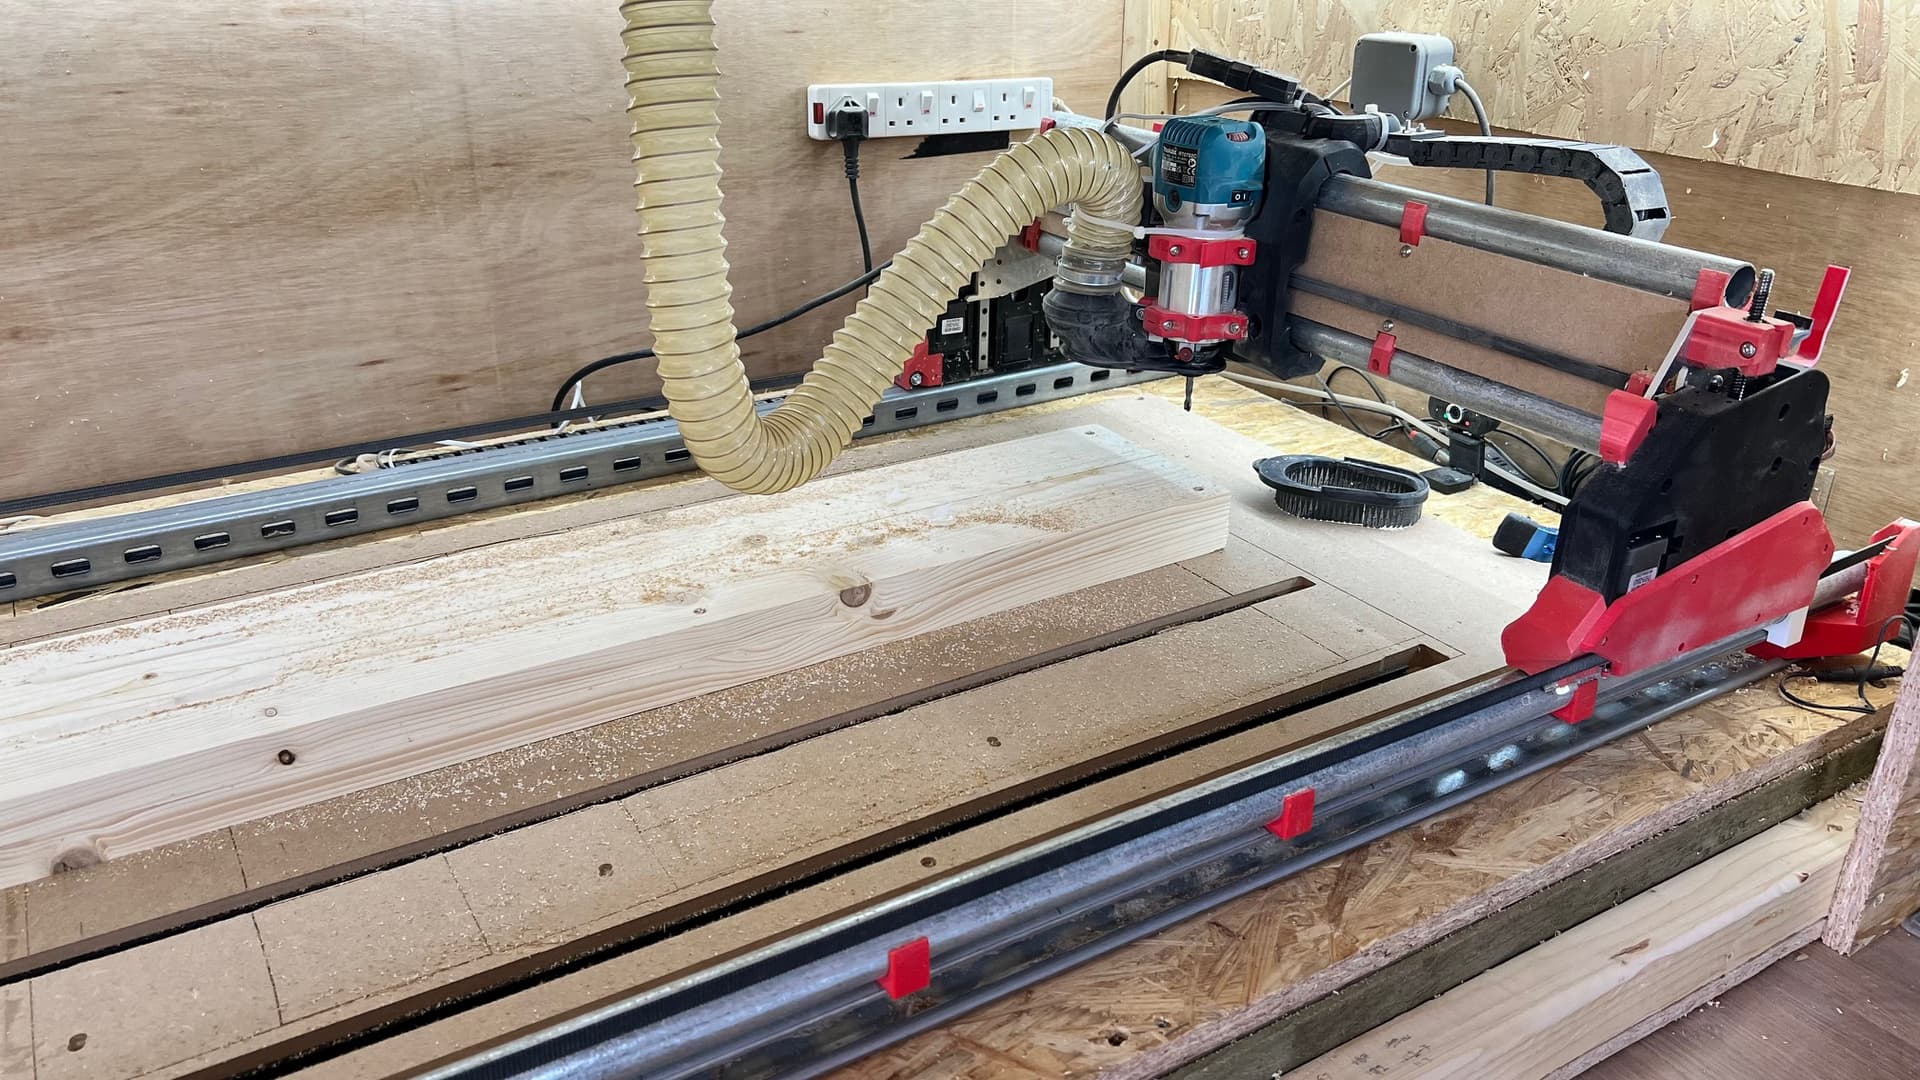
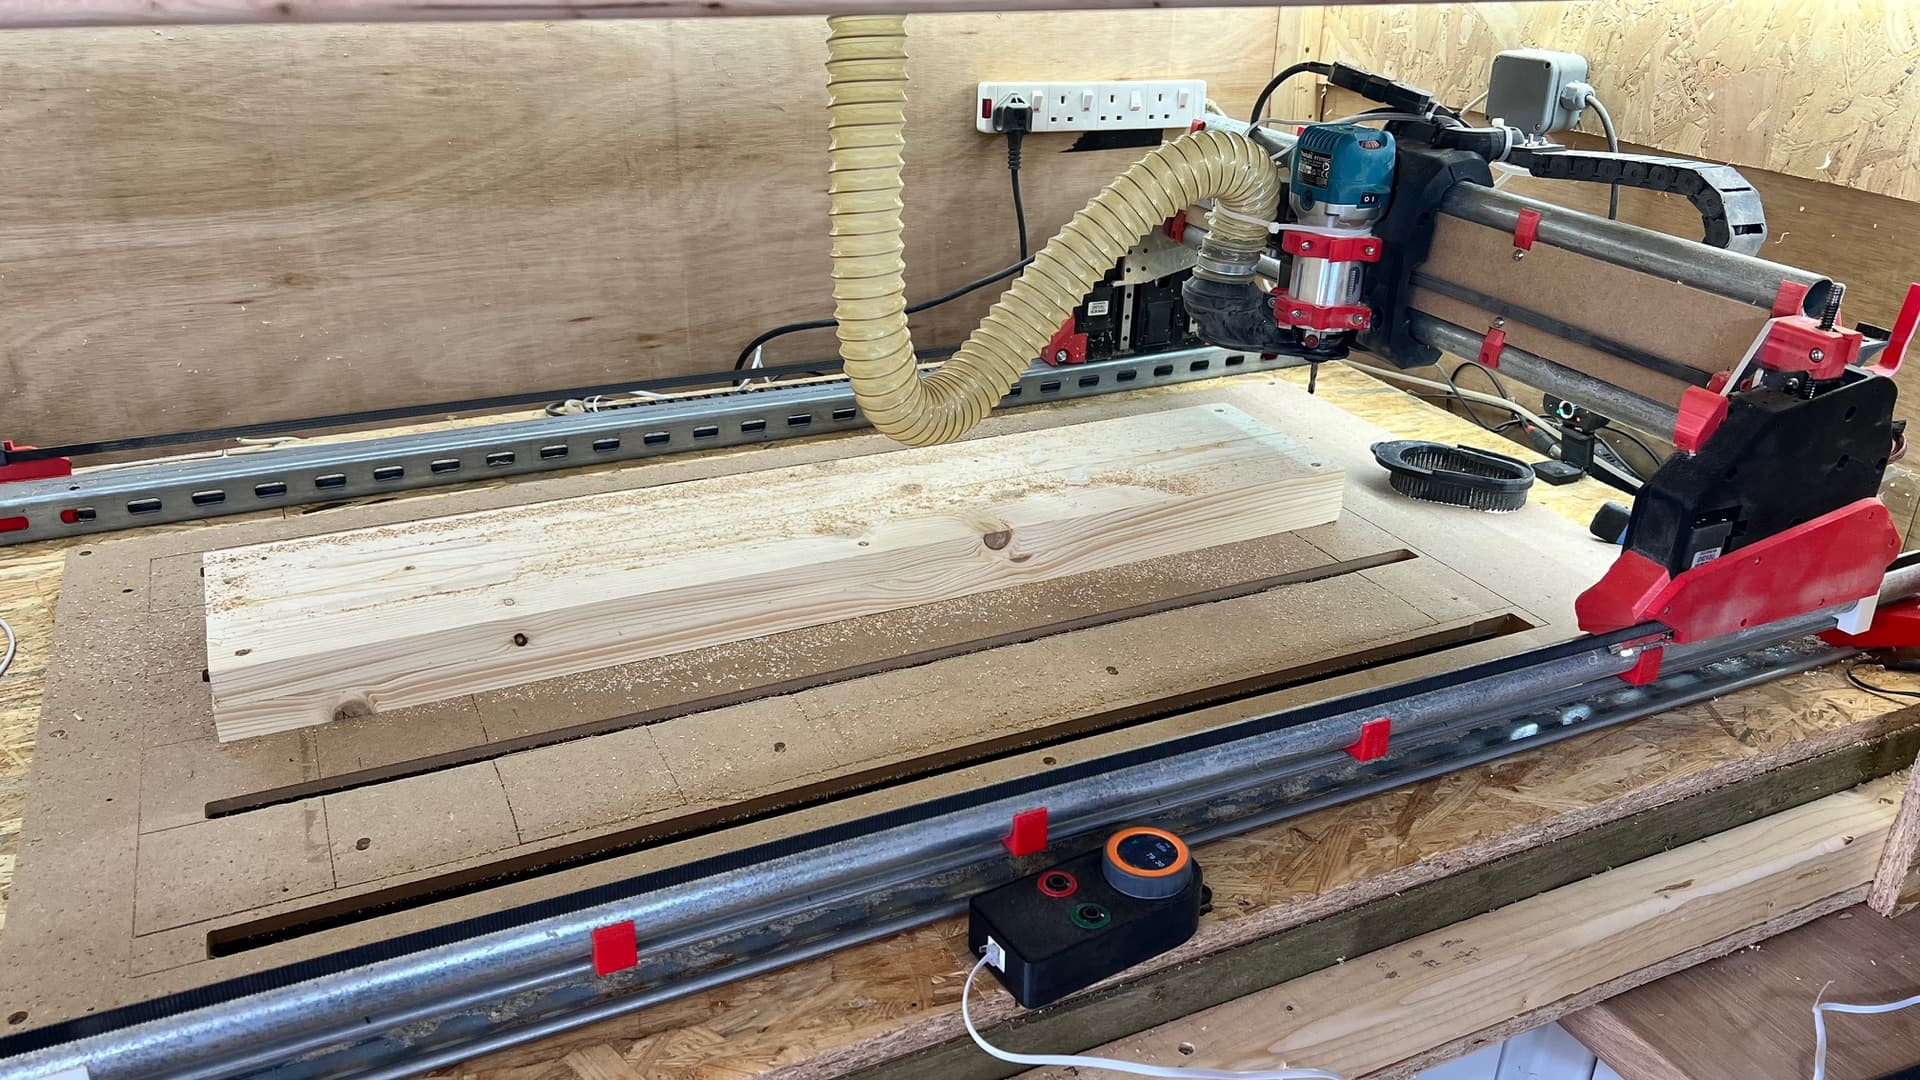
No need for a drop table, as I have raised my Lowrider up on UniStrut rails. I do however have to raise the material up on packers to get the reach to the bottom.
My Lowrider is also in a box with a perspex front, to keep the dust and noise down, and I have extended the control pendant to outside of the box.
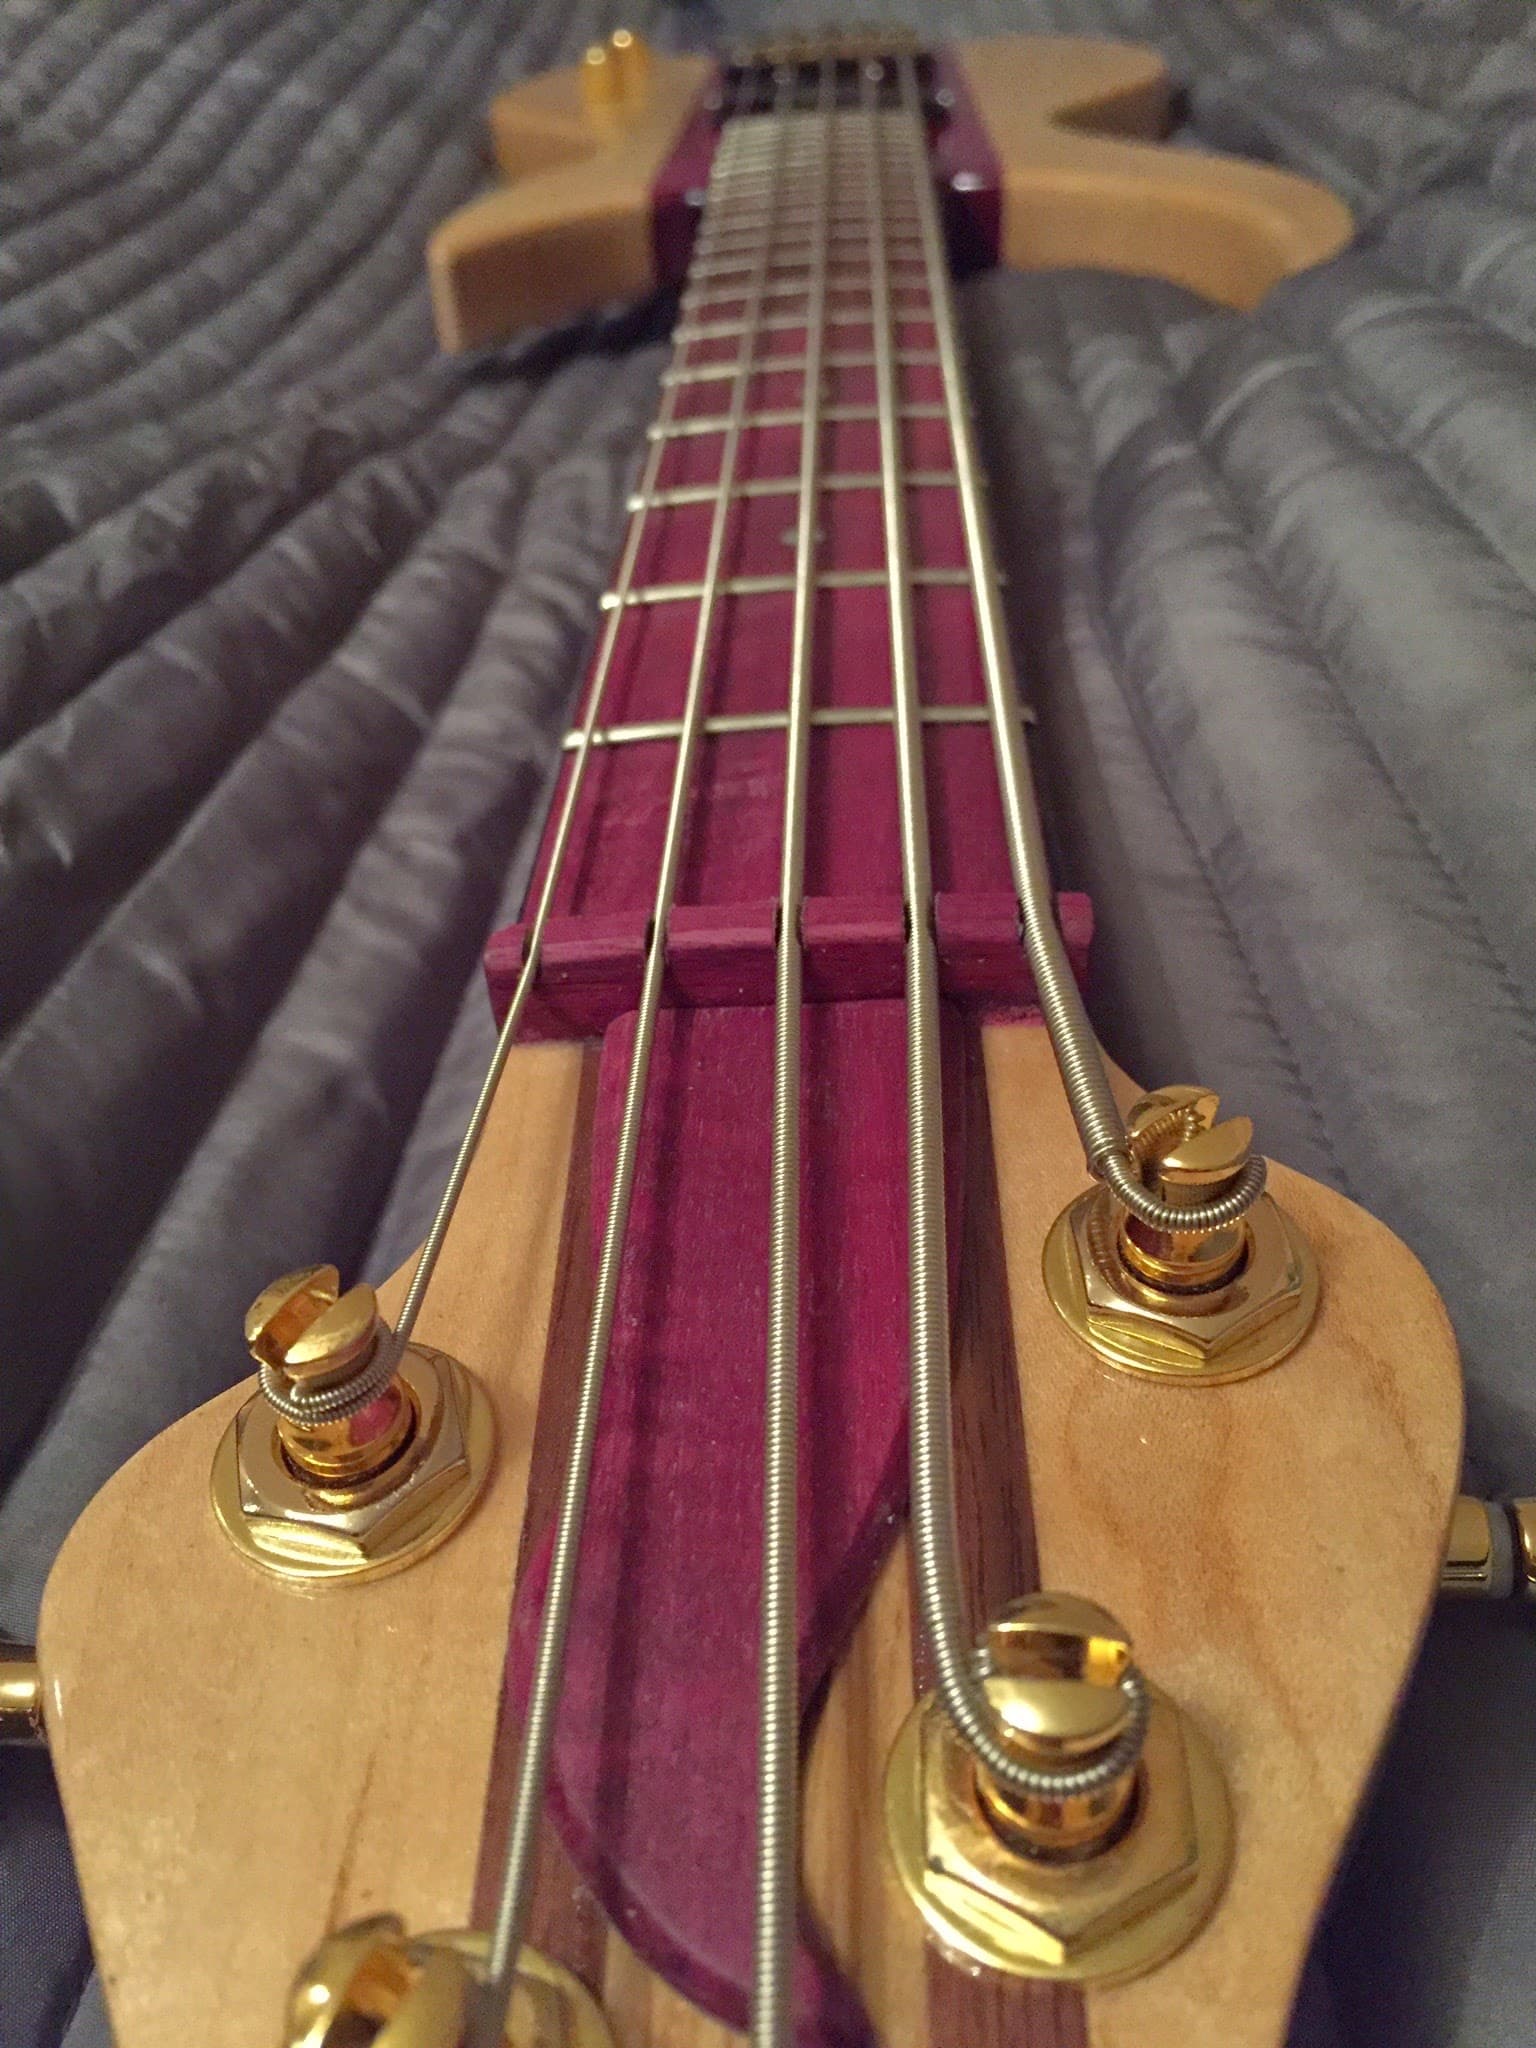
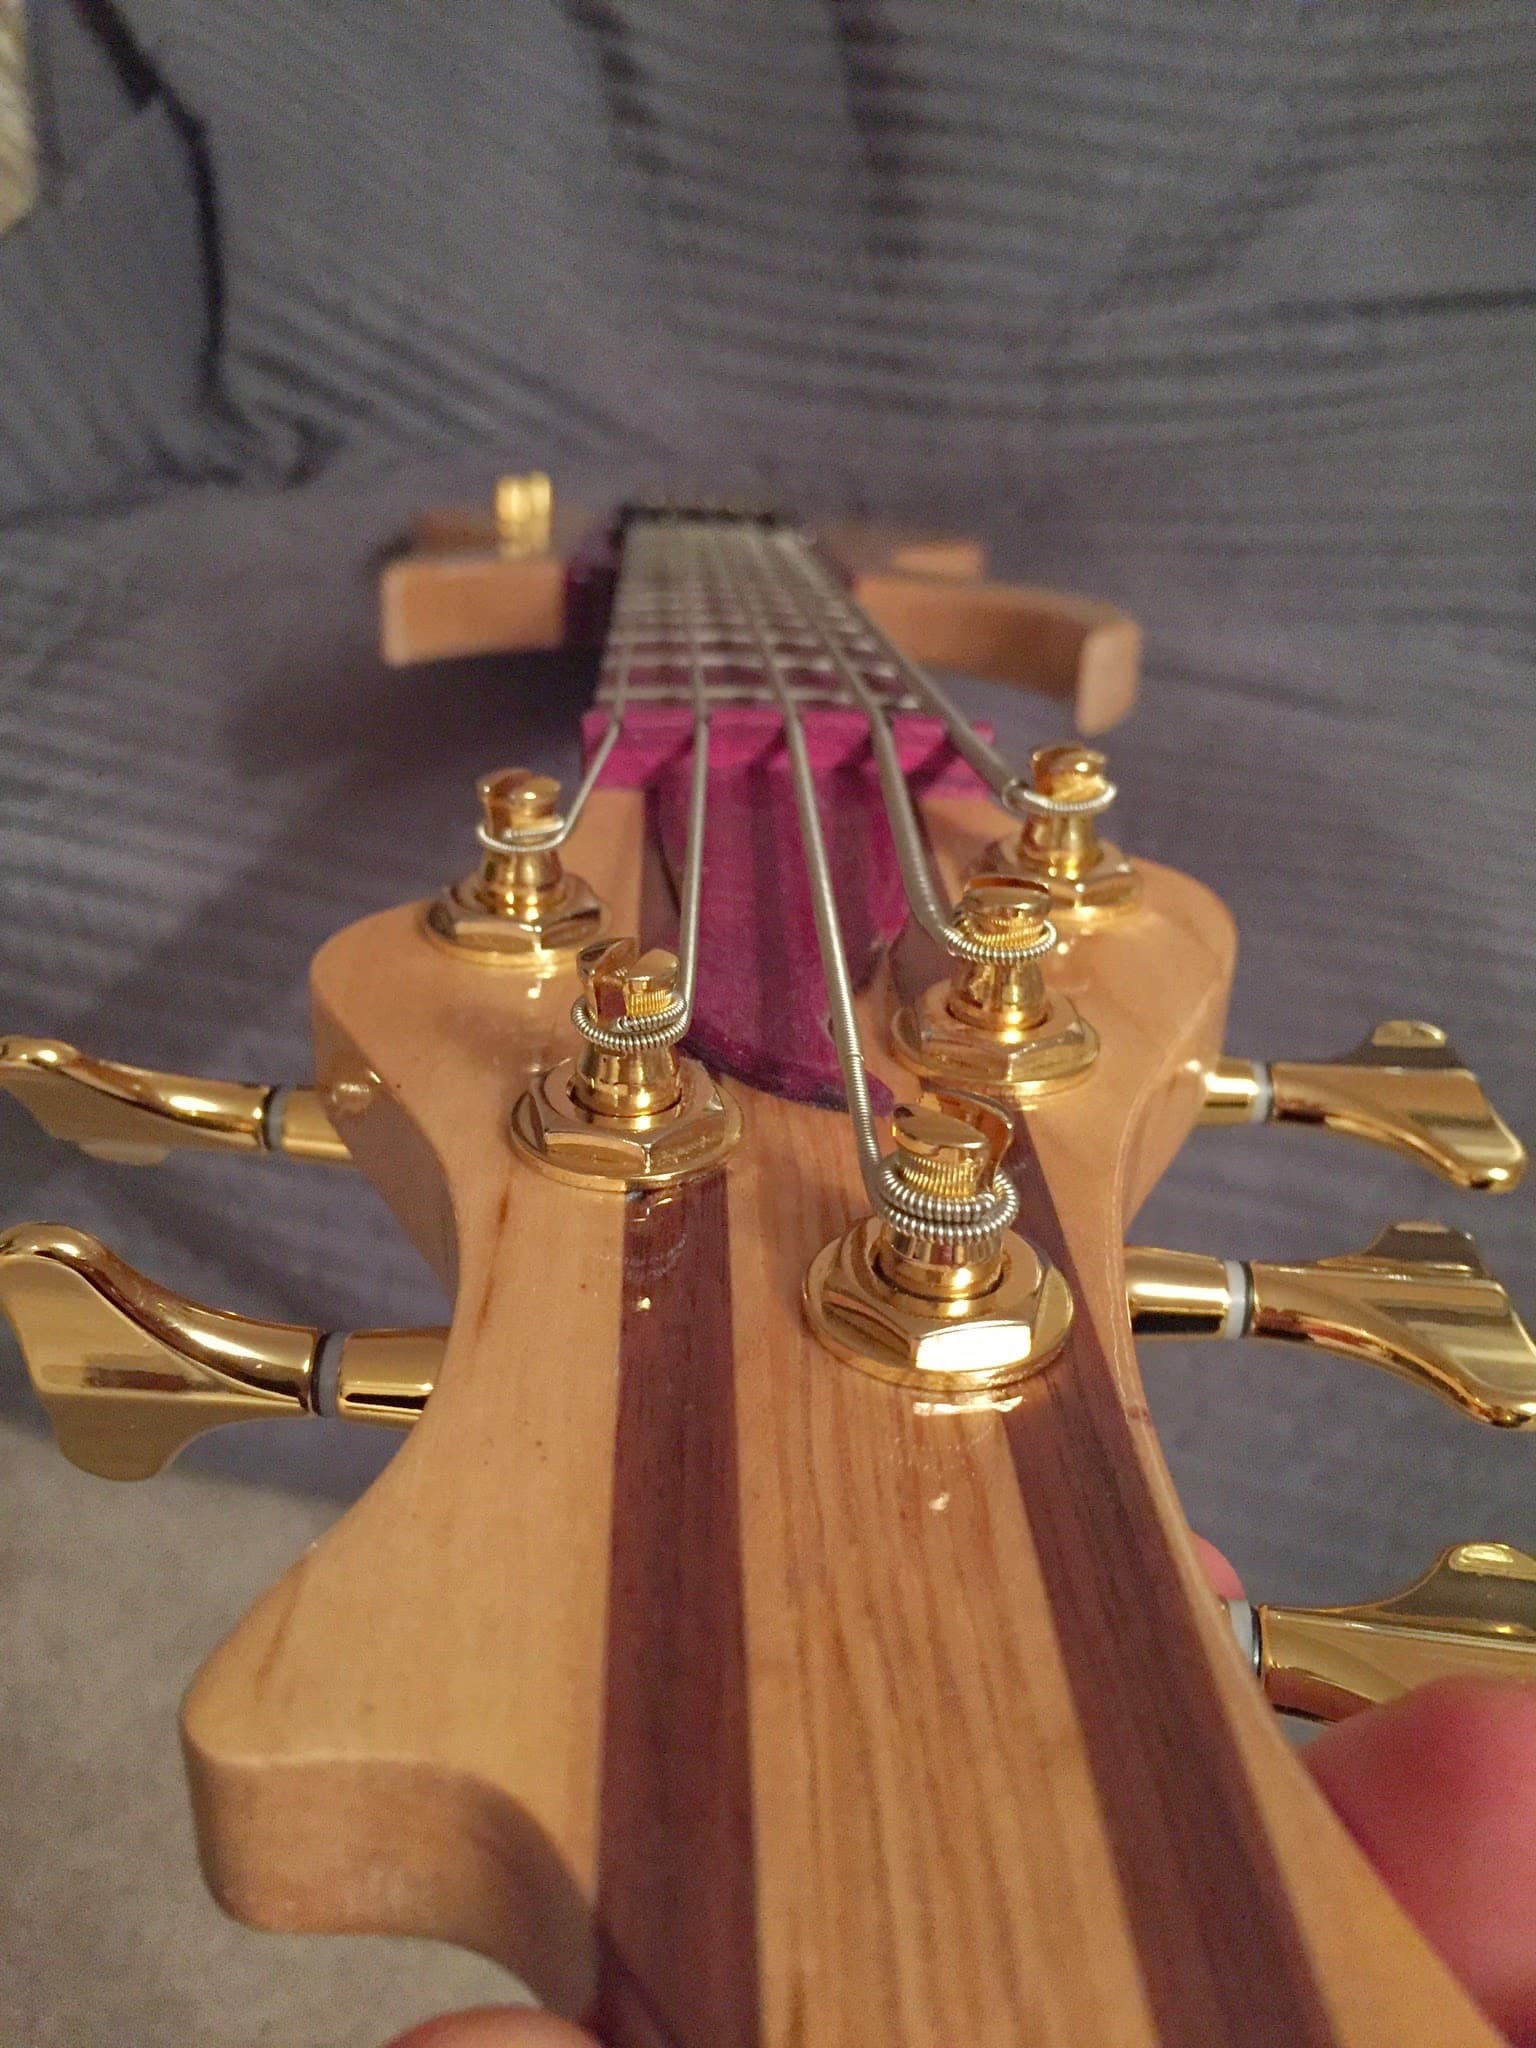
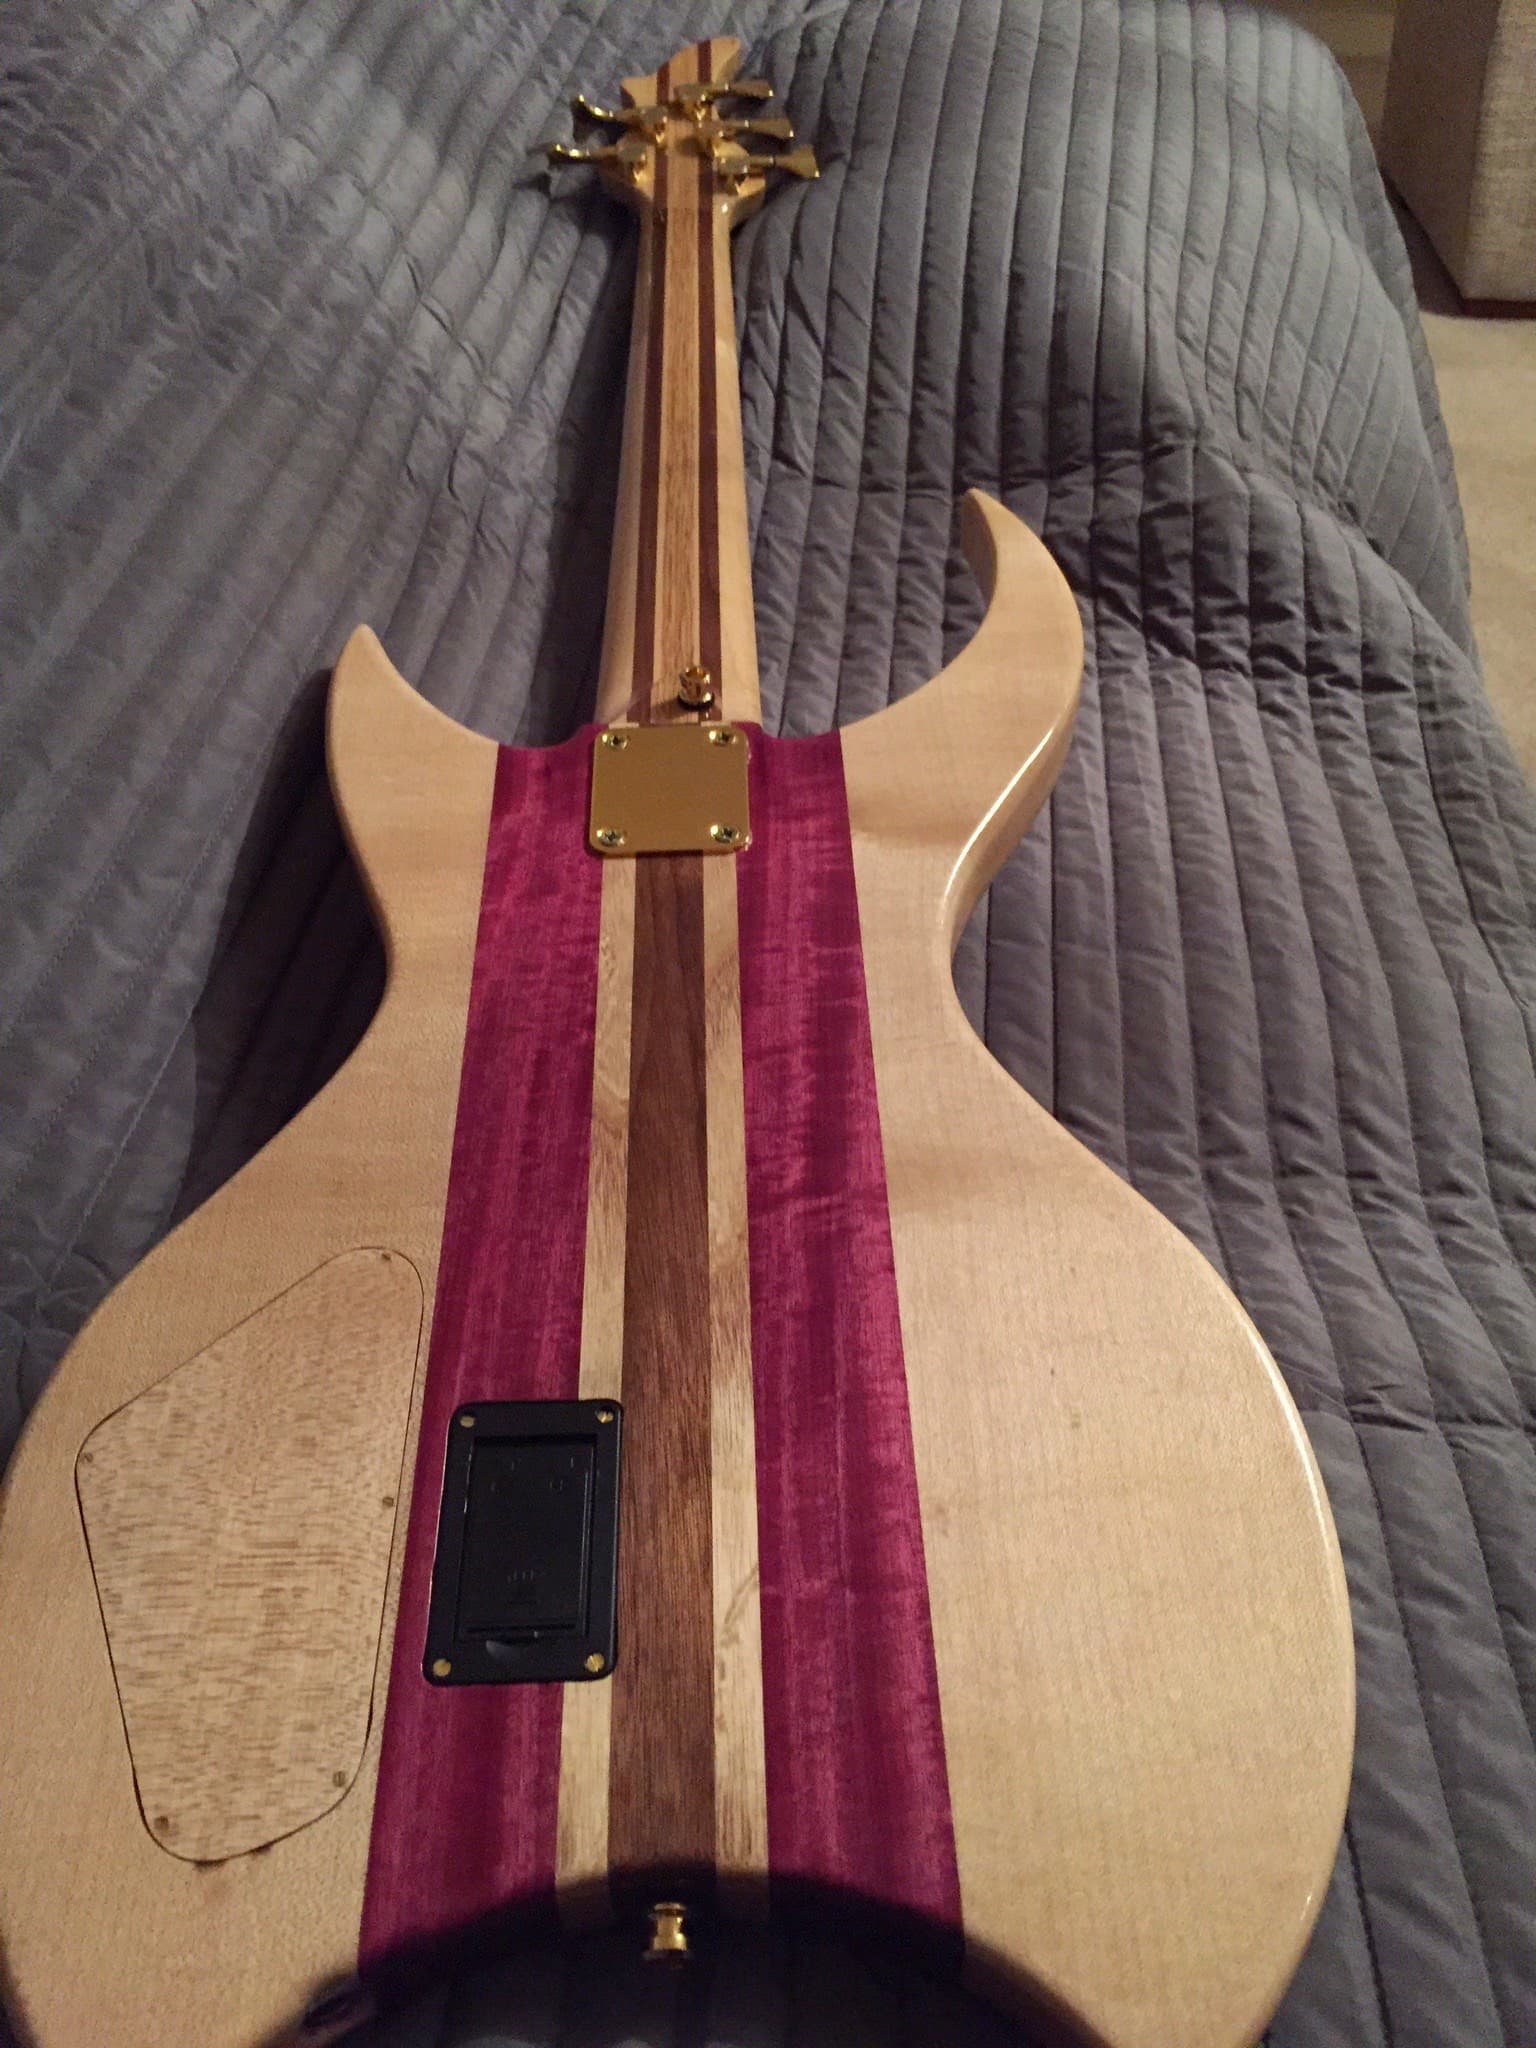
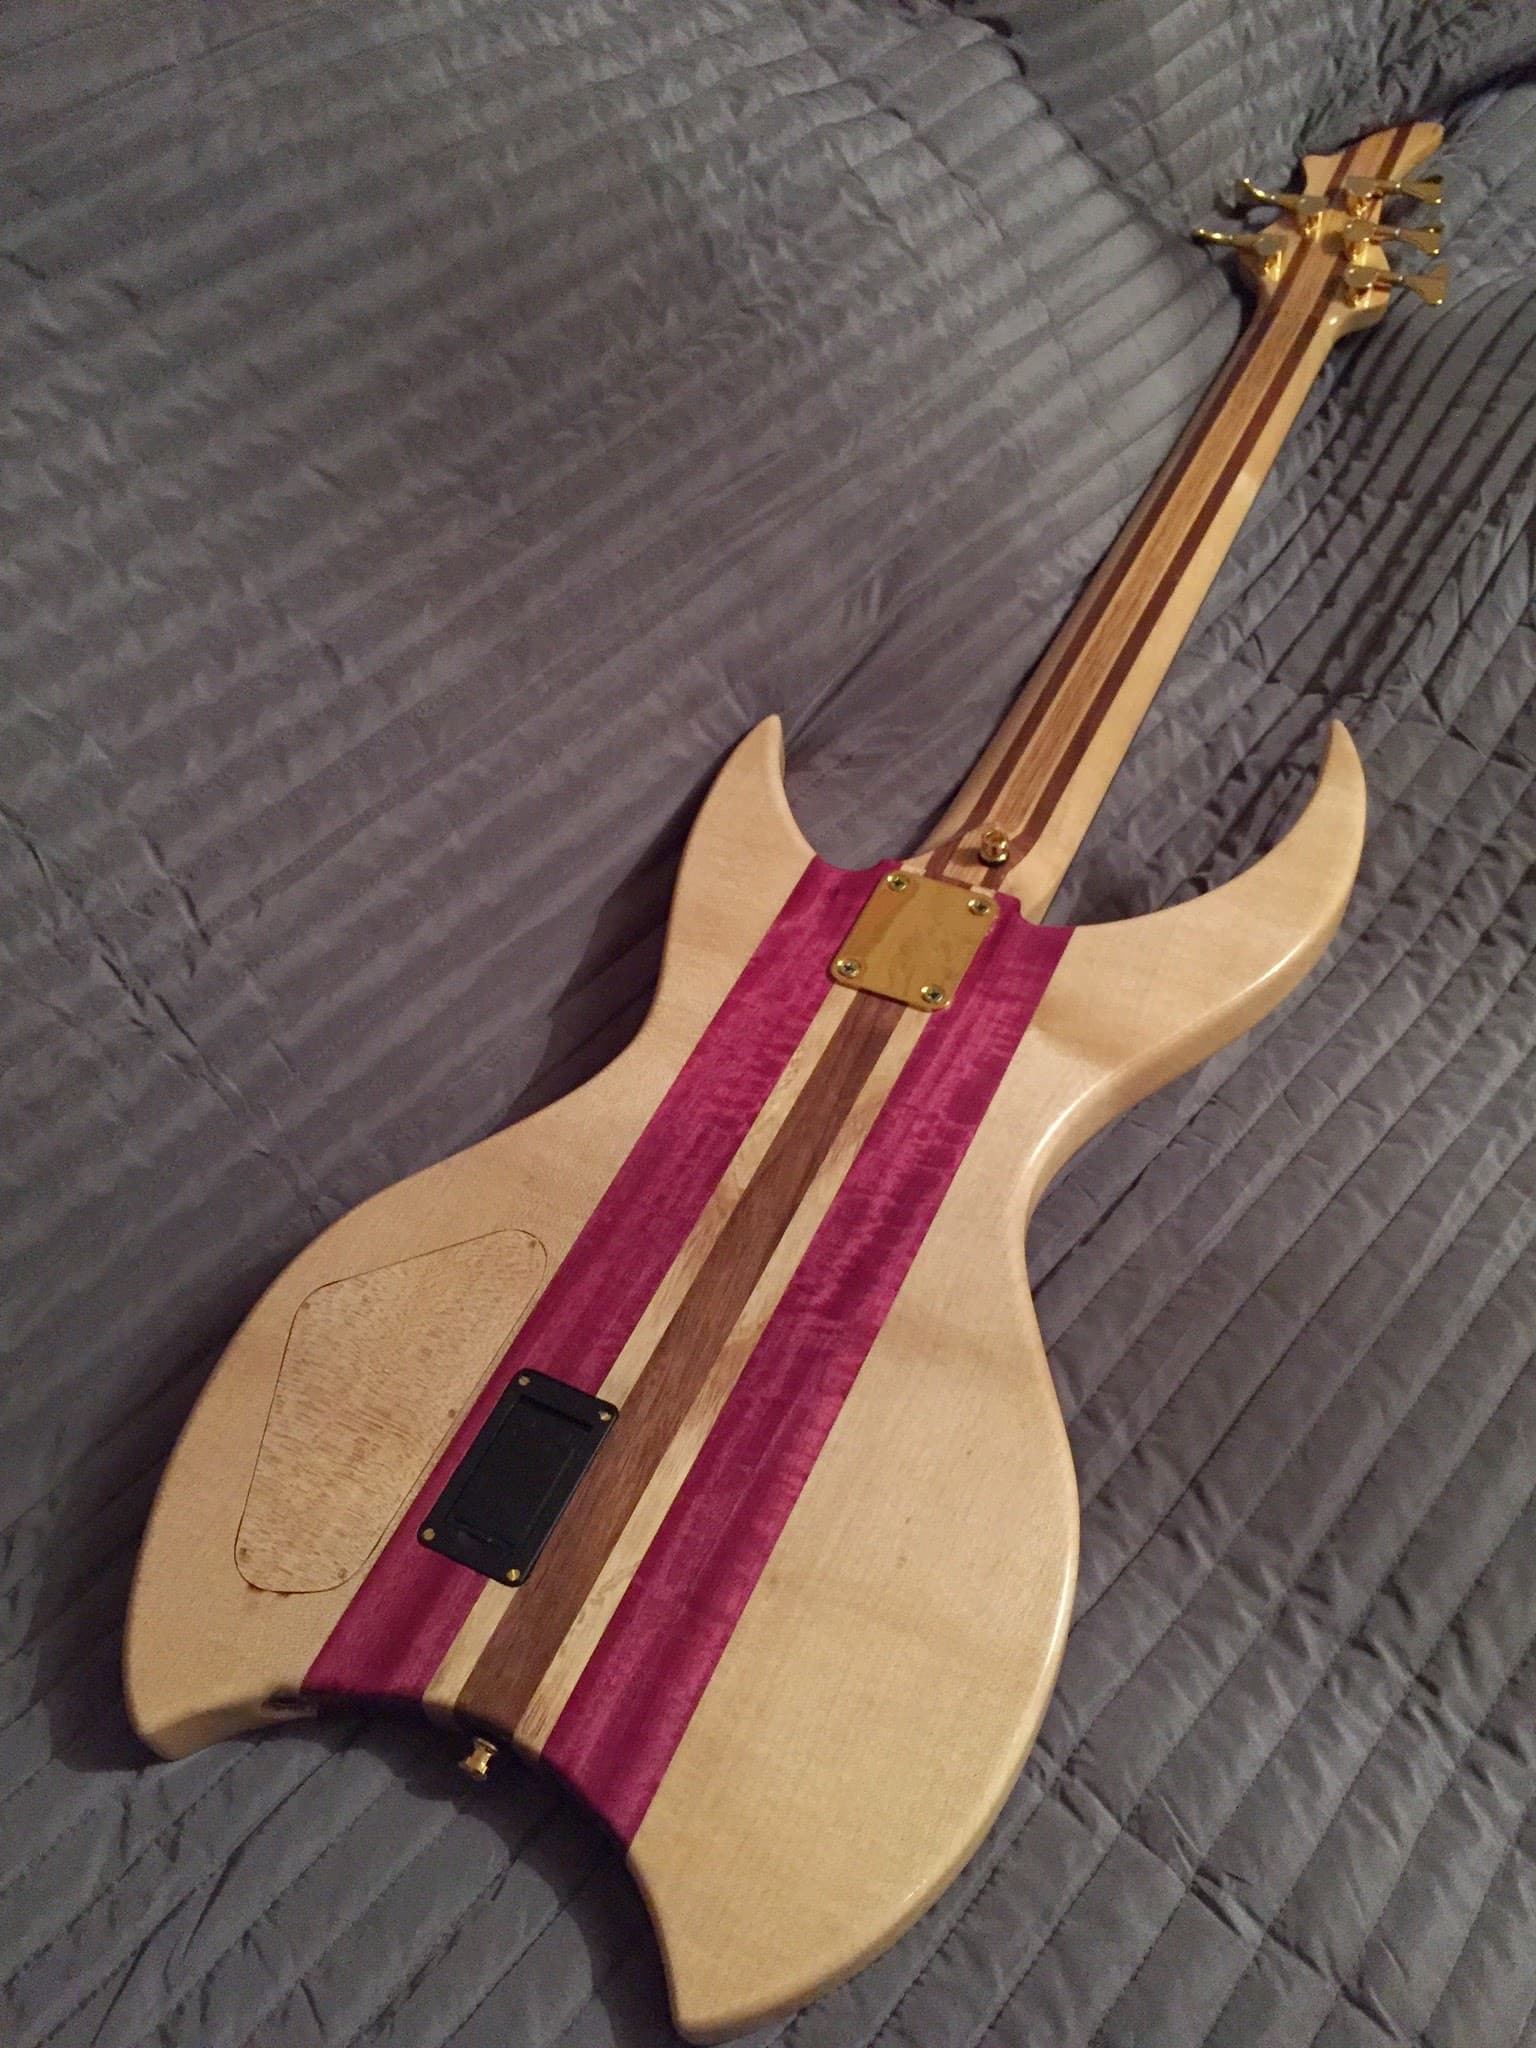
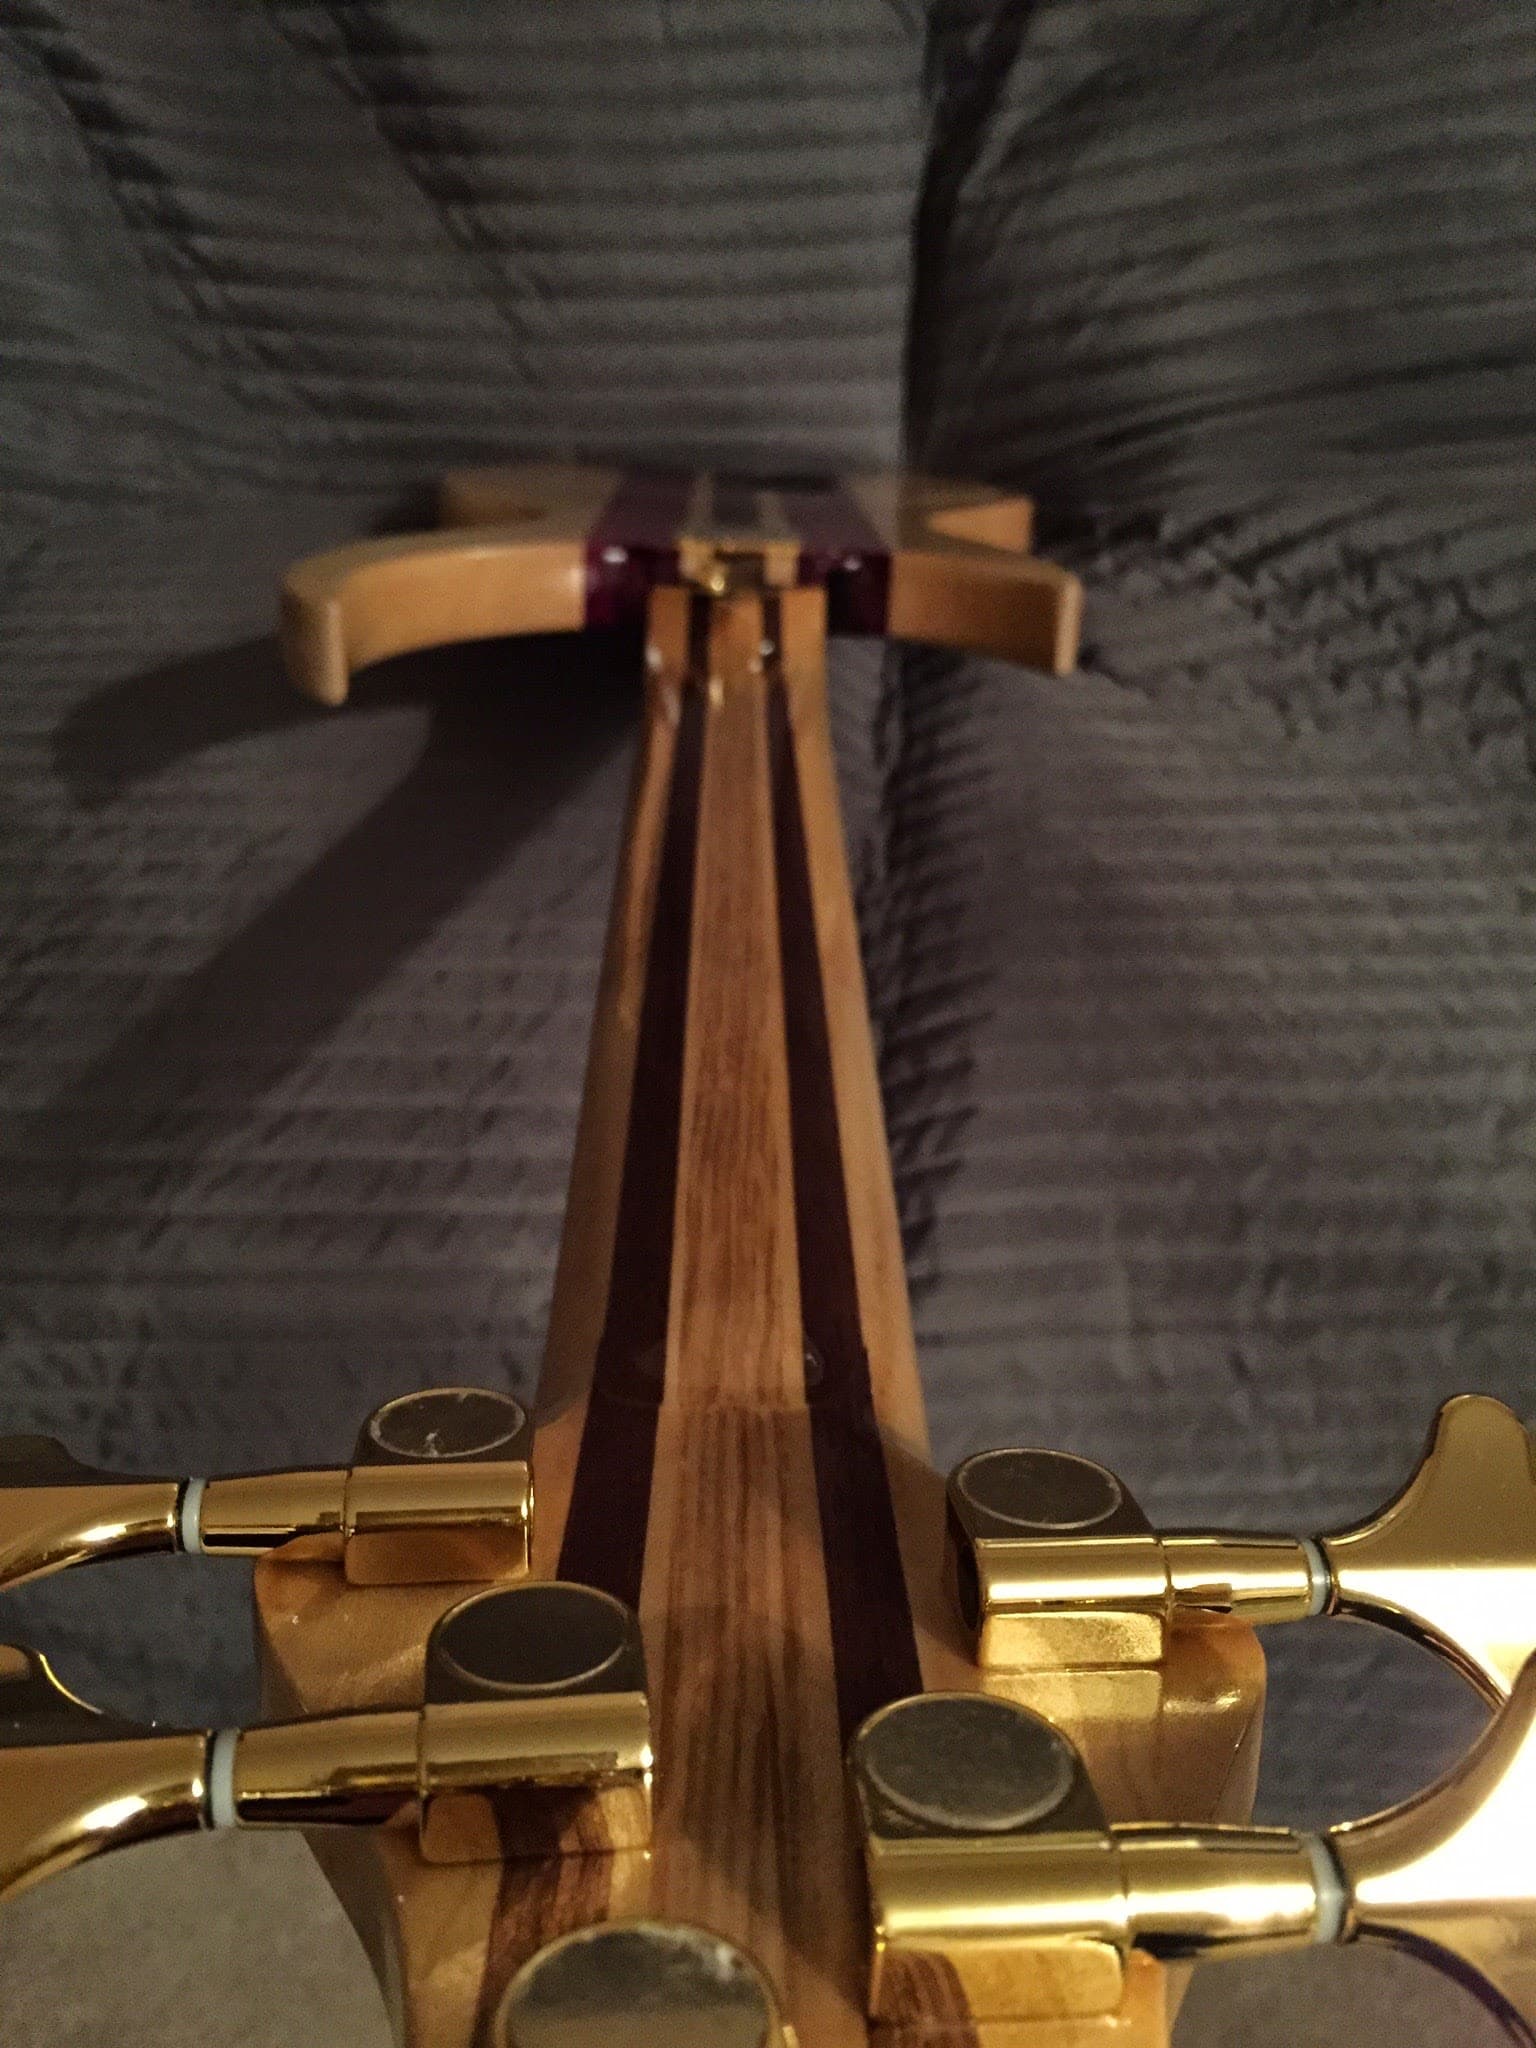
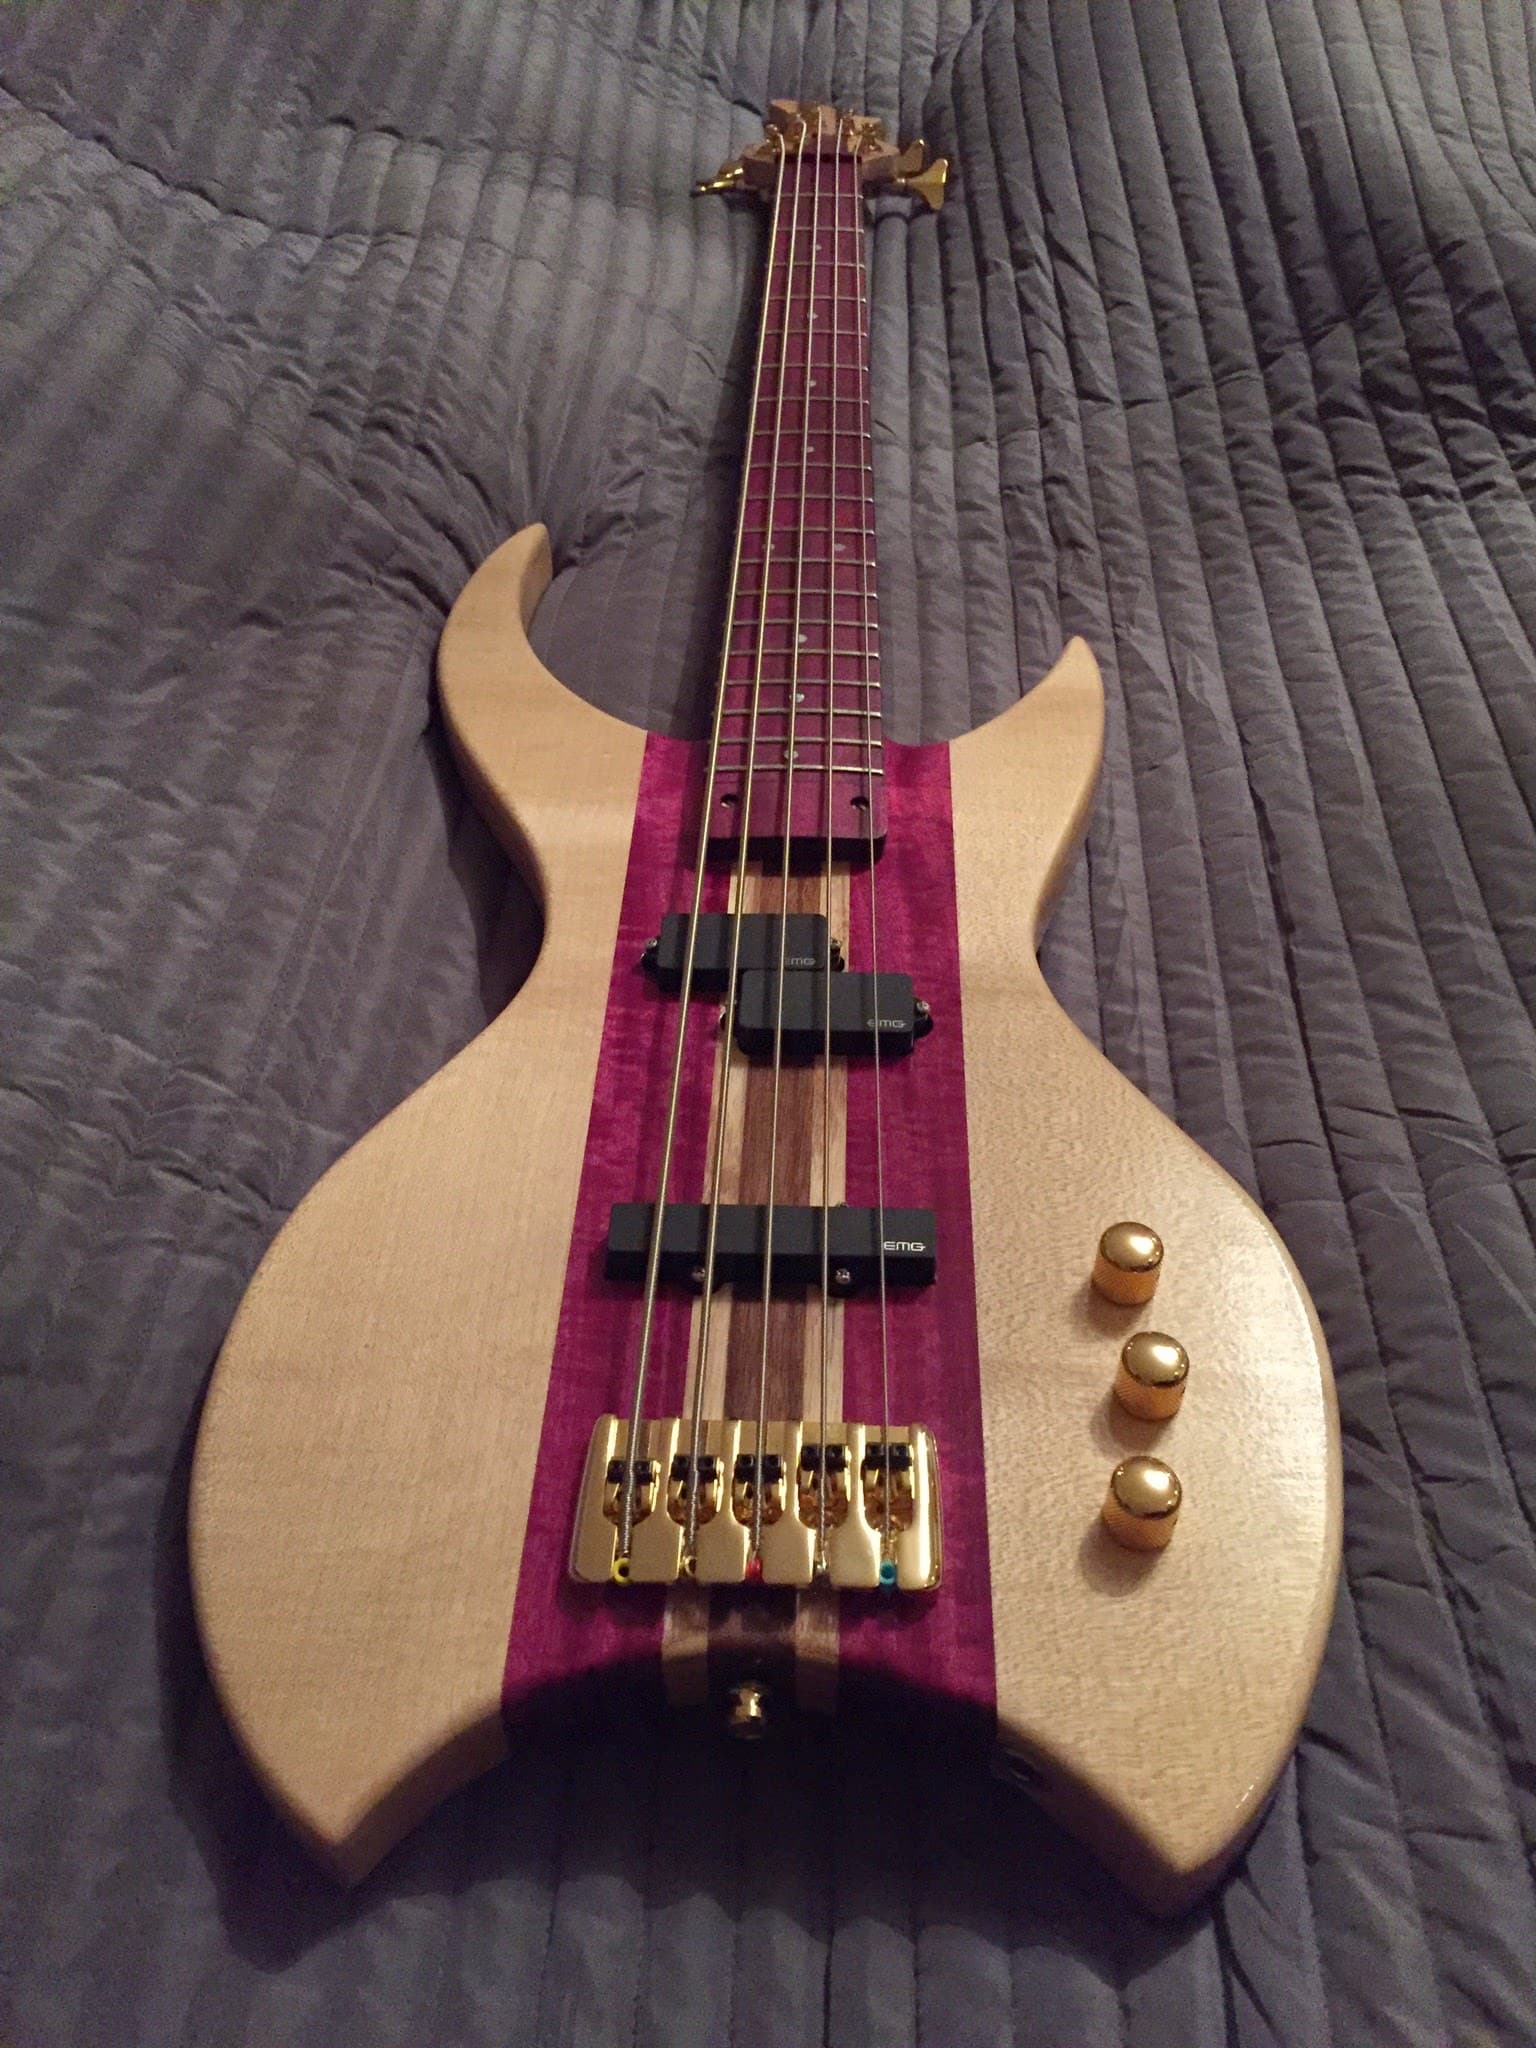
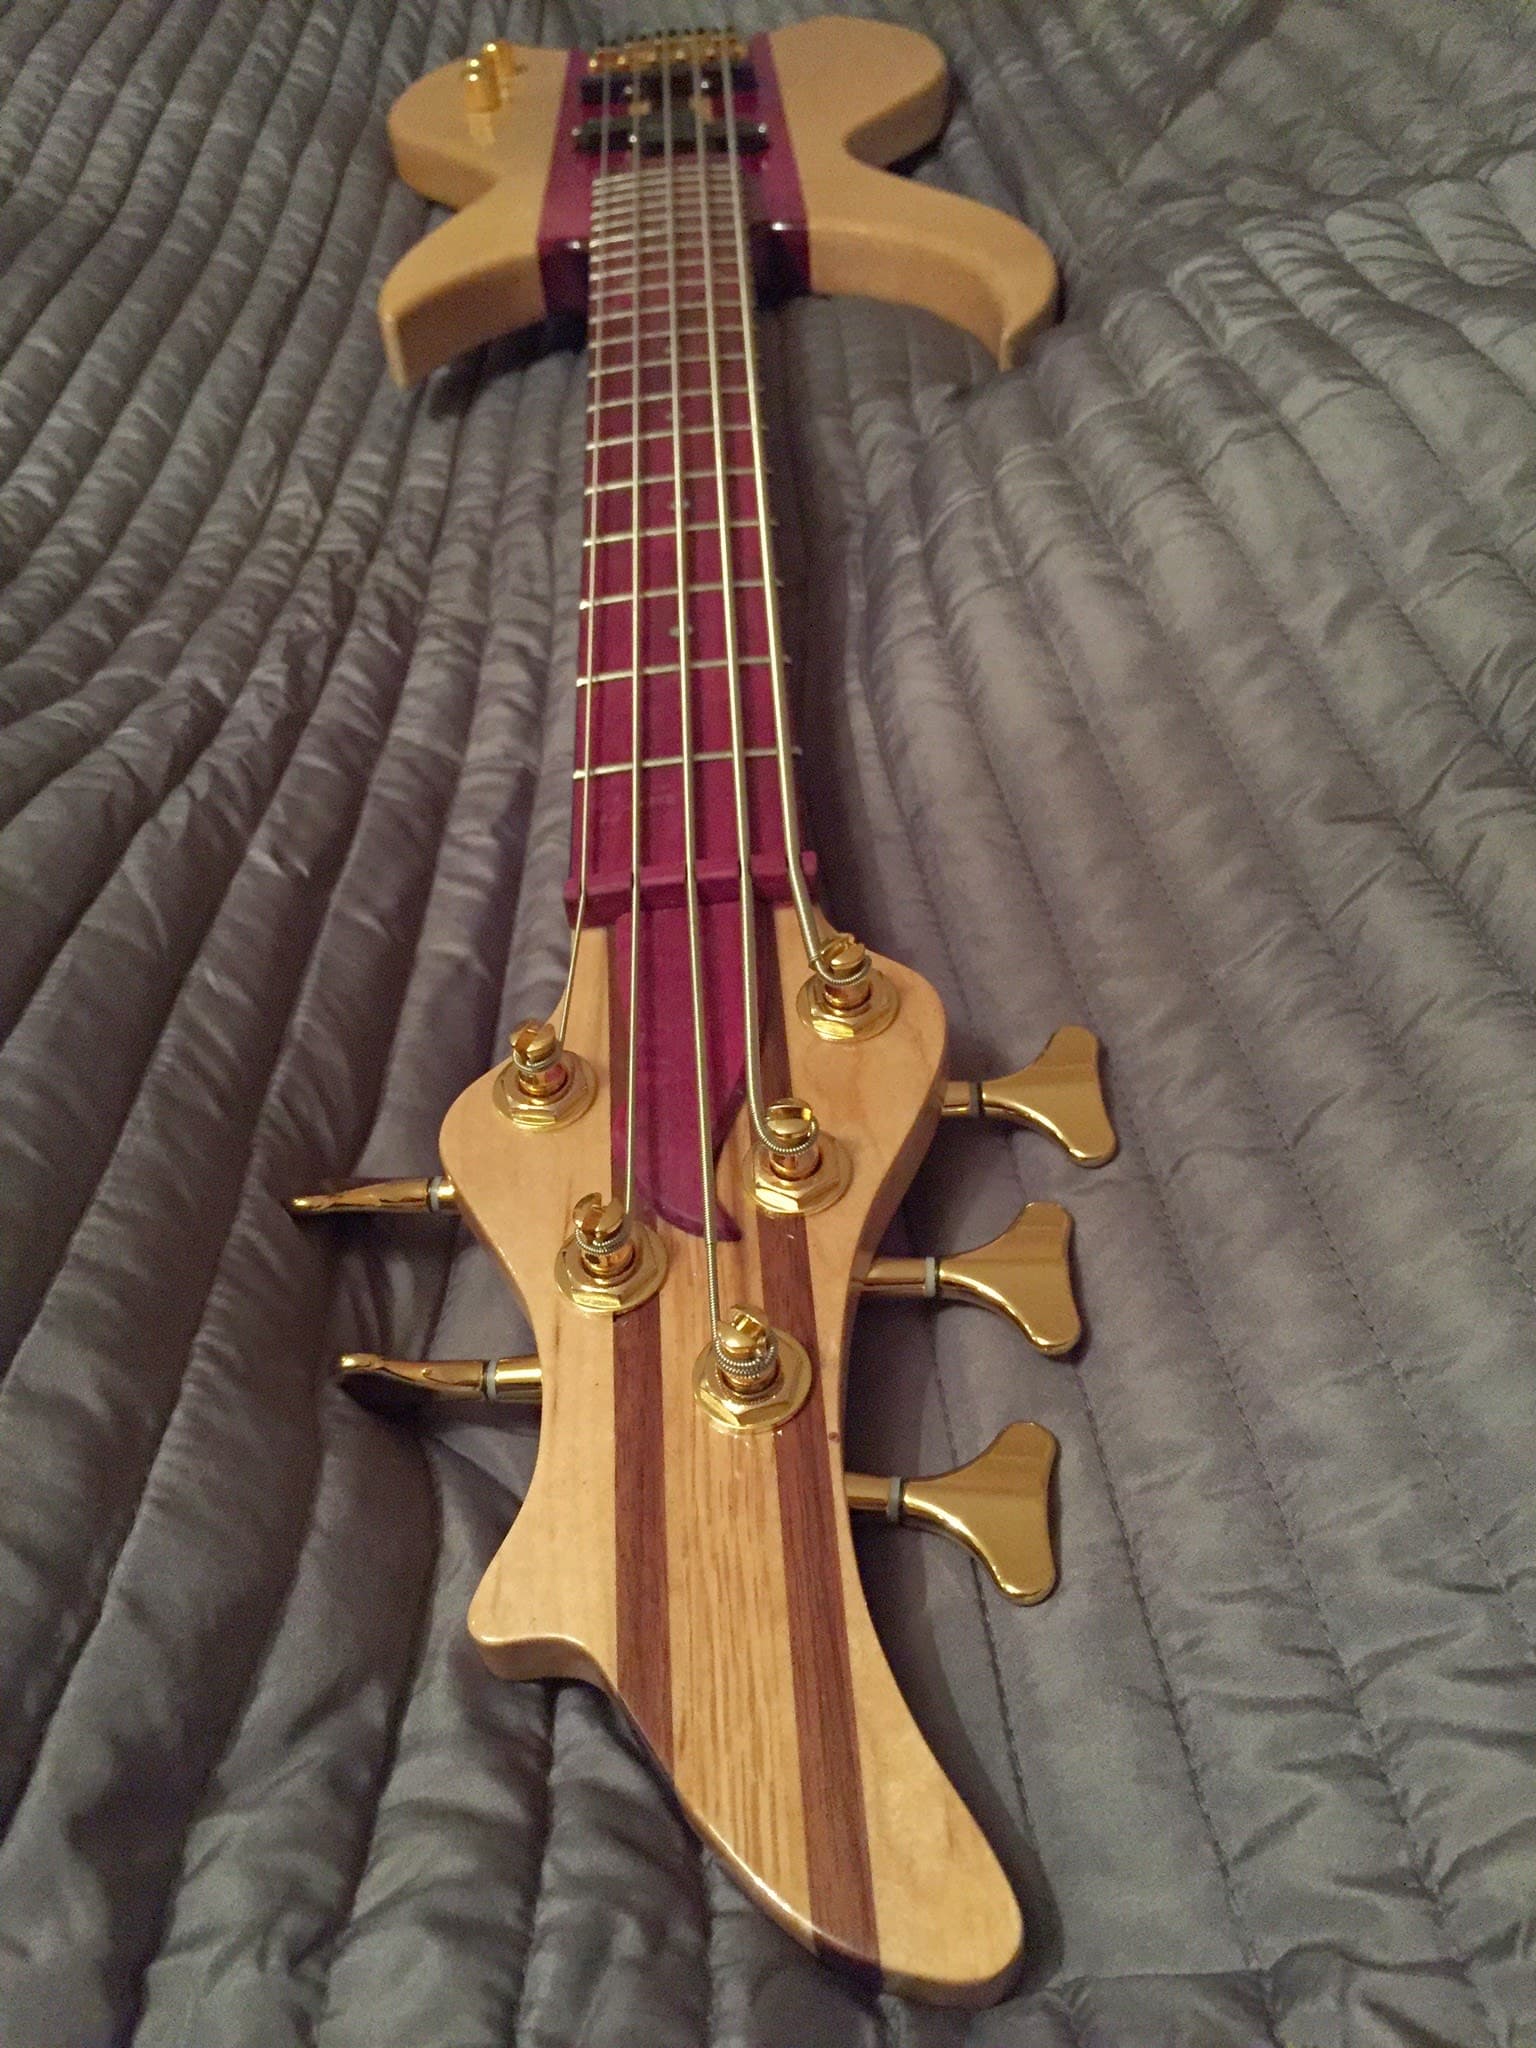
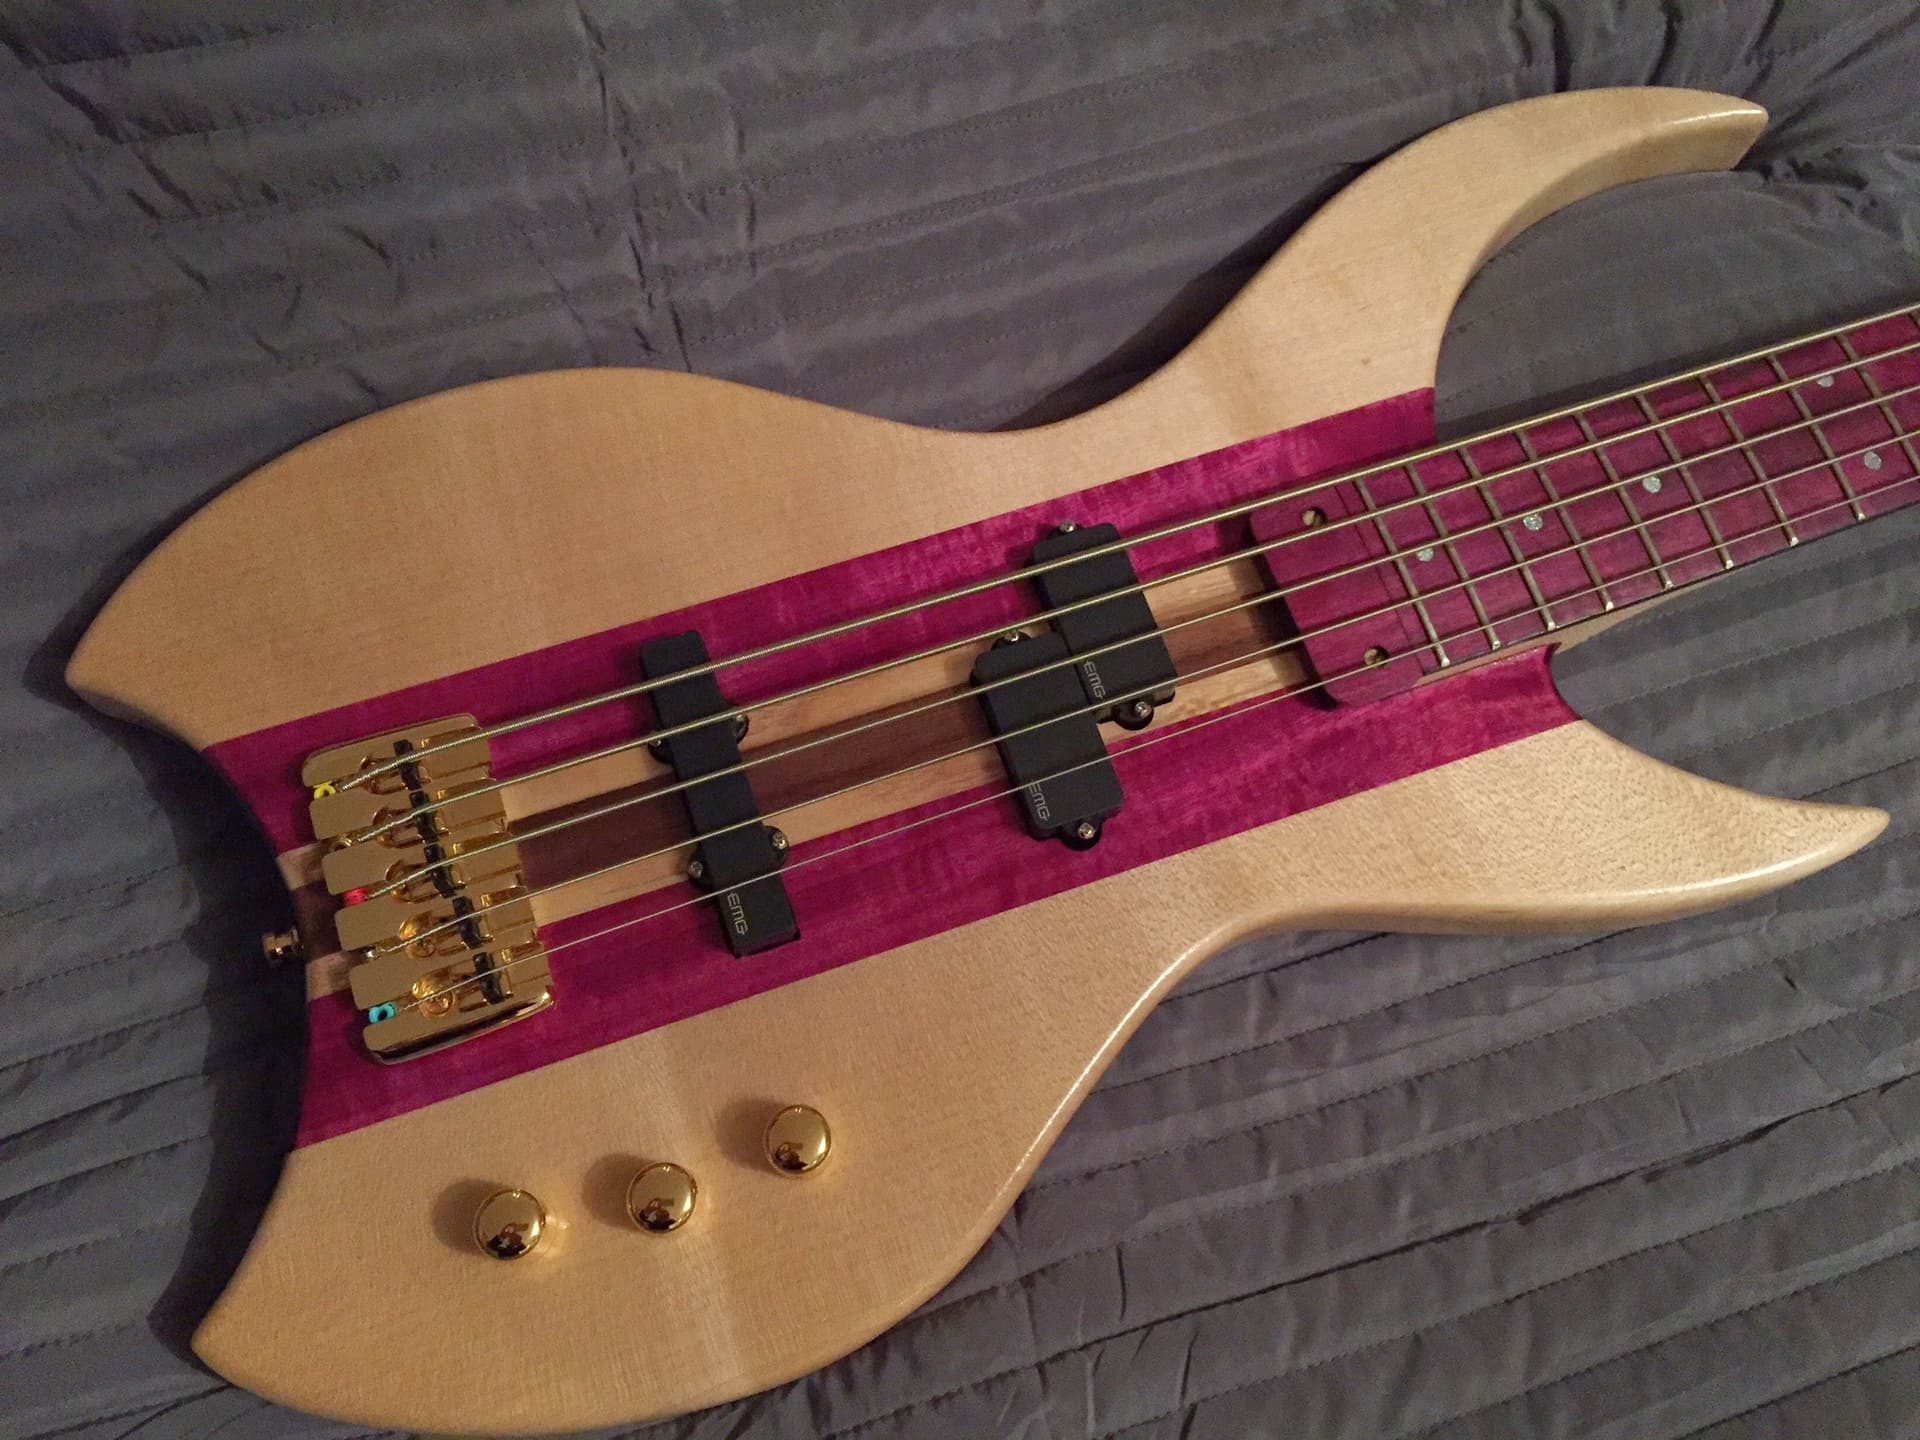
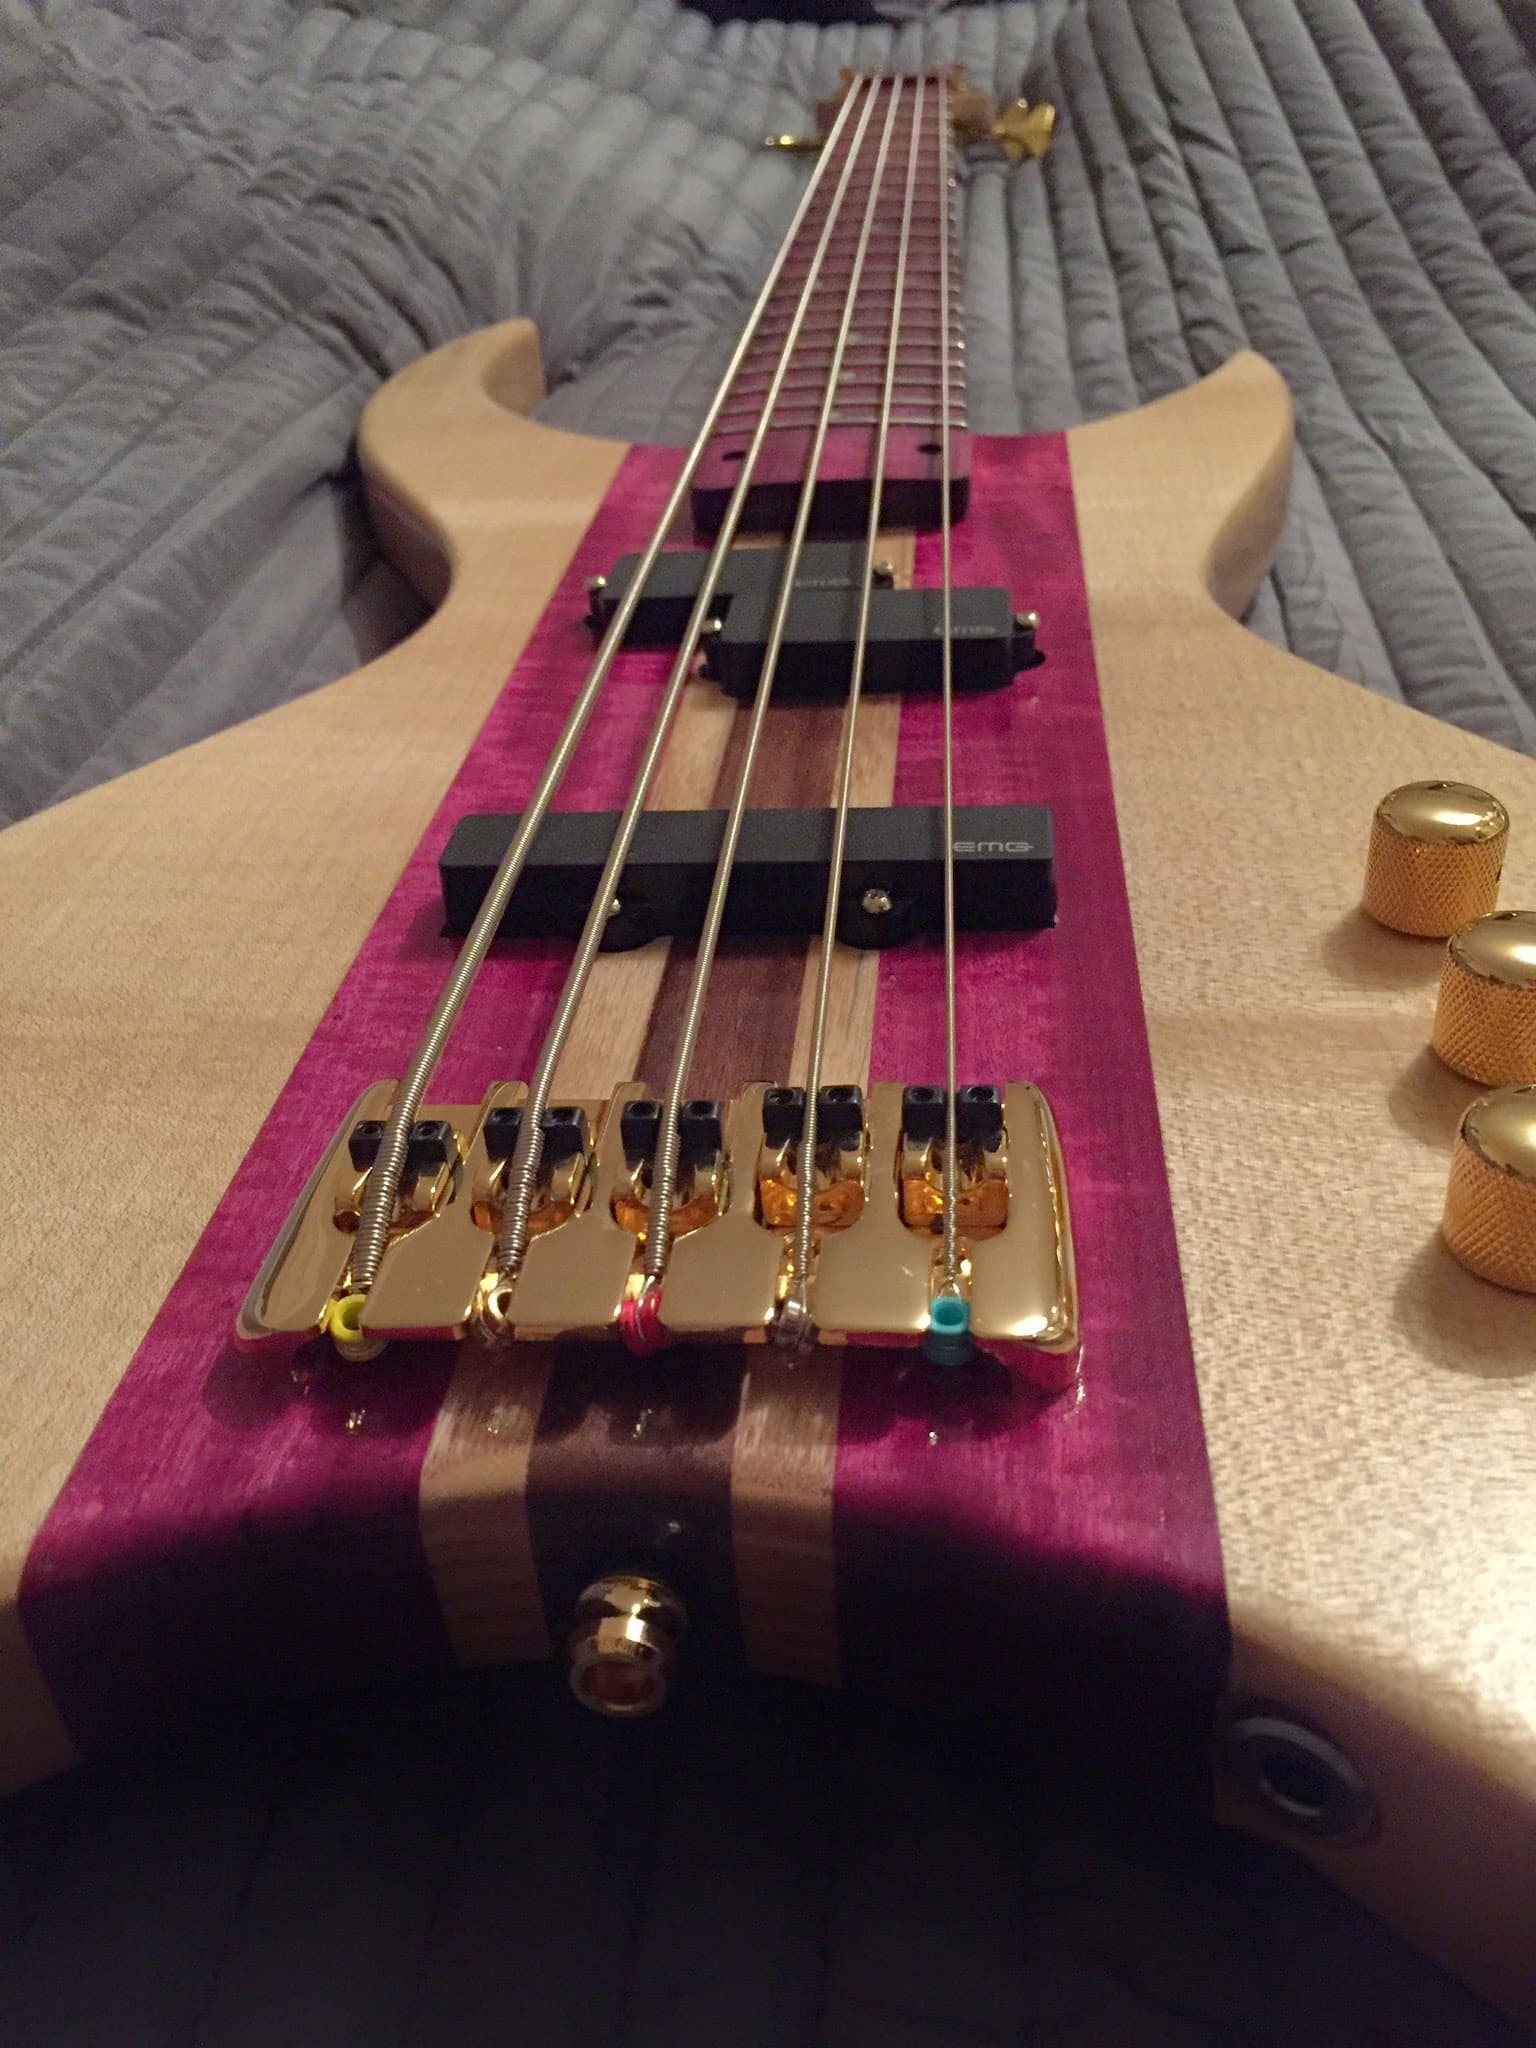
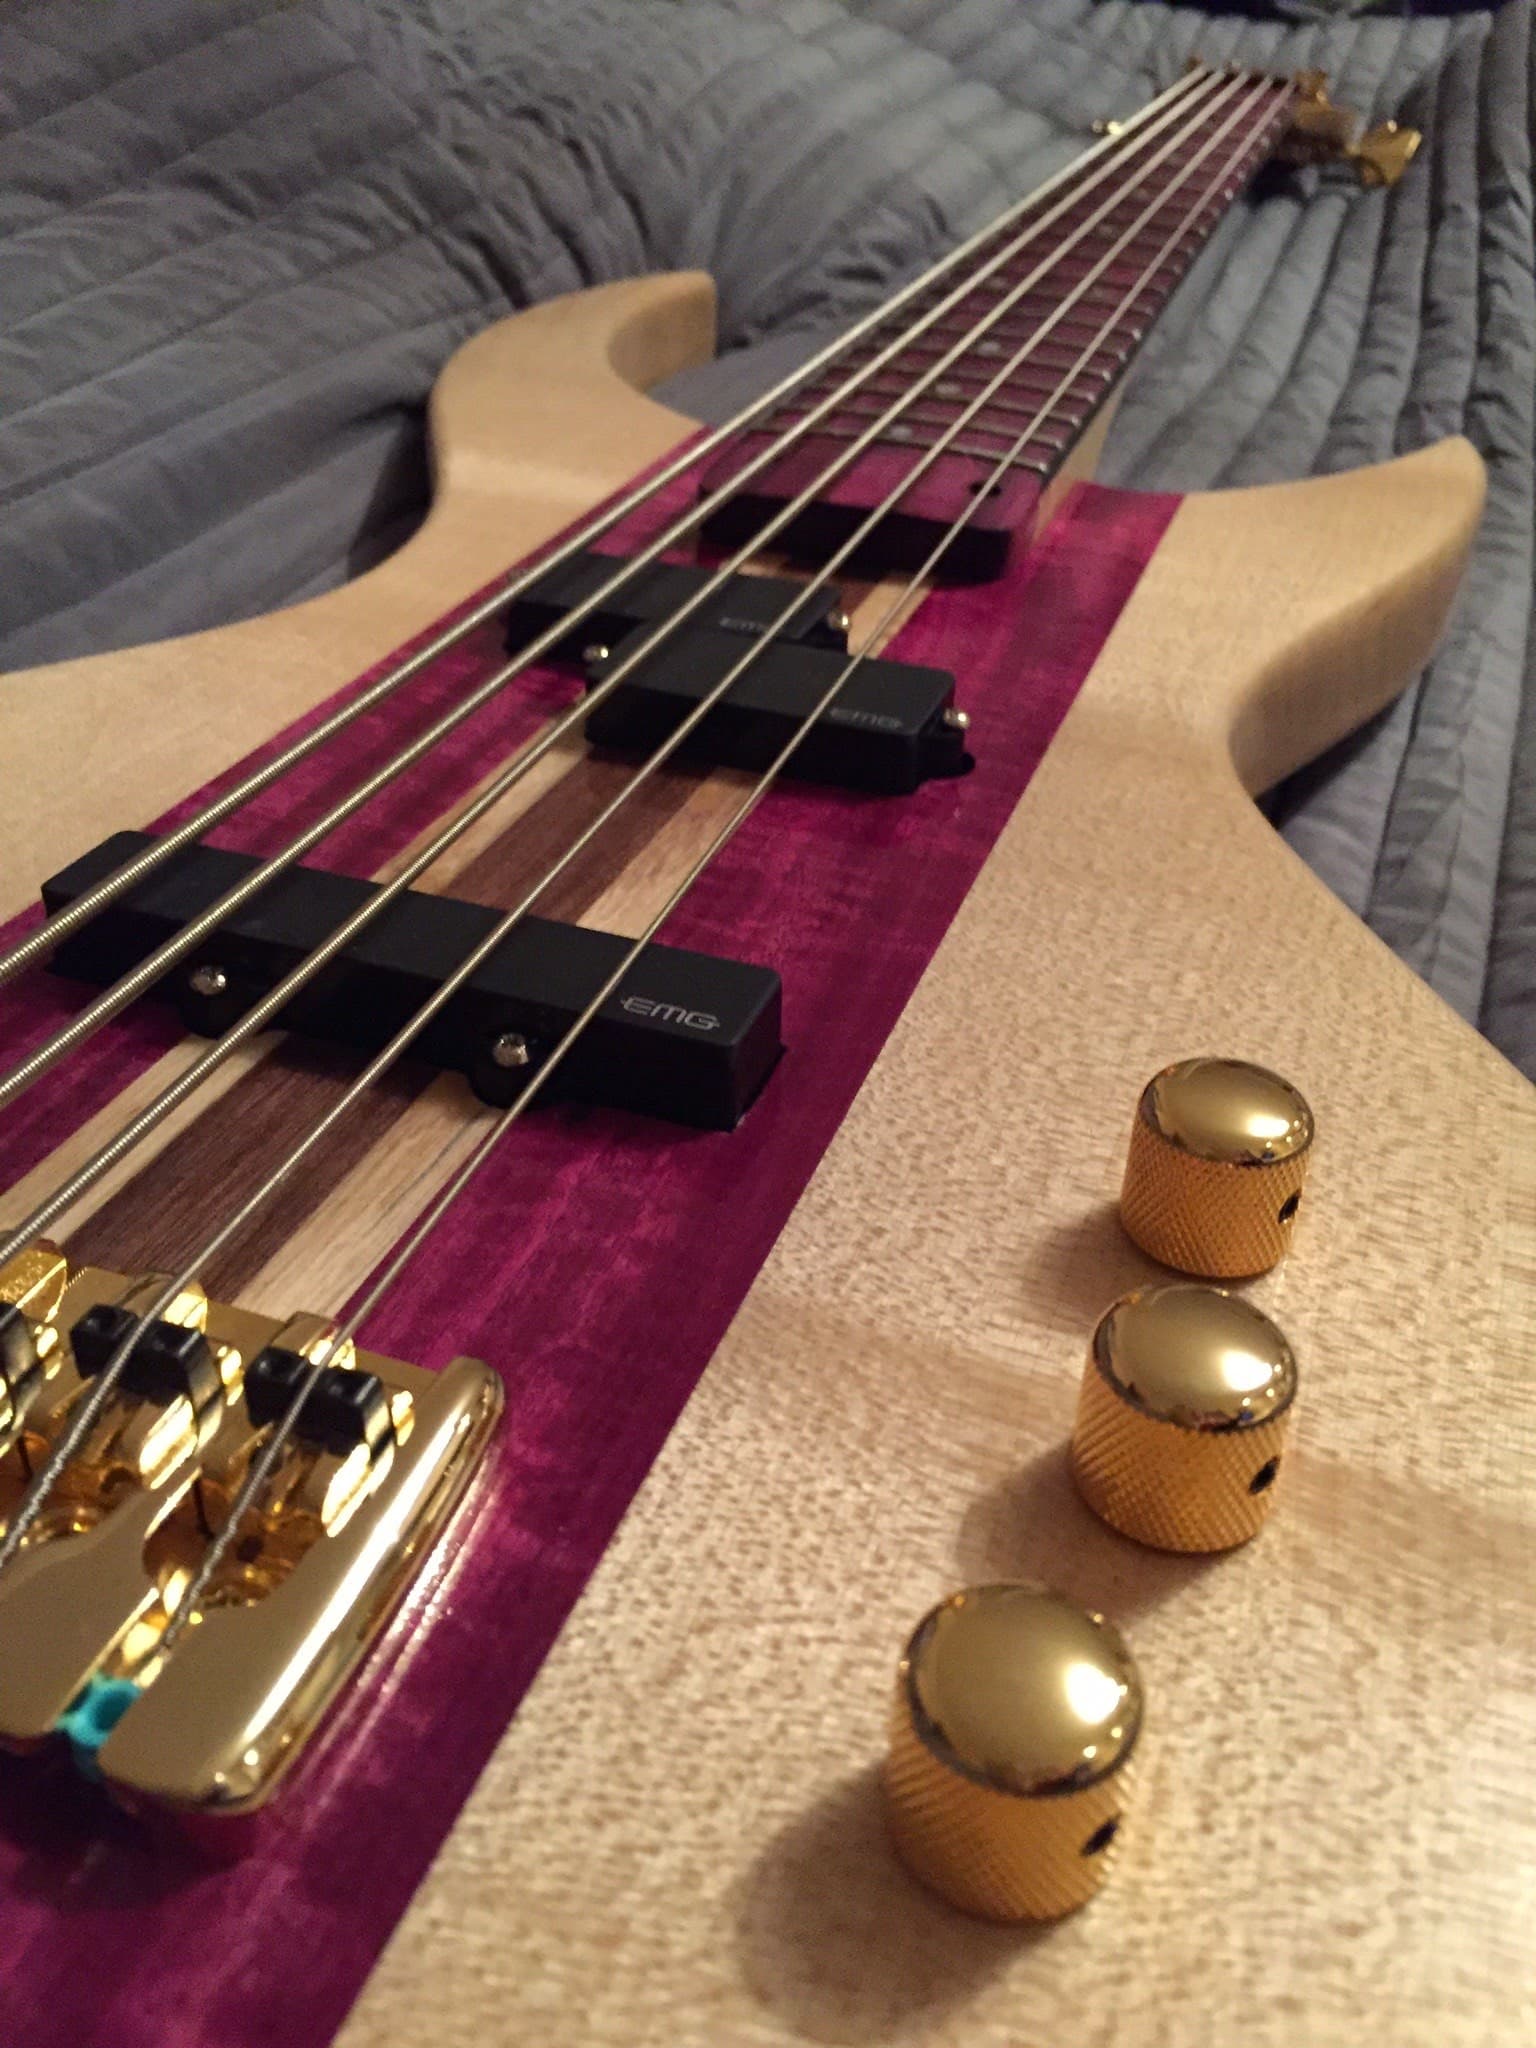
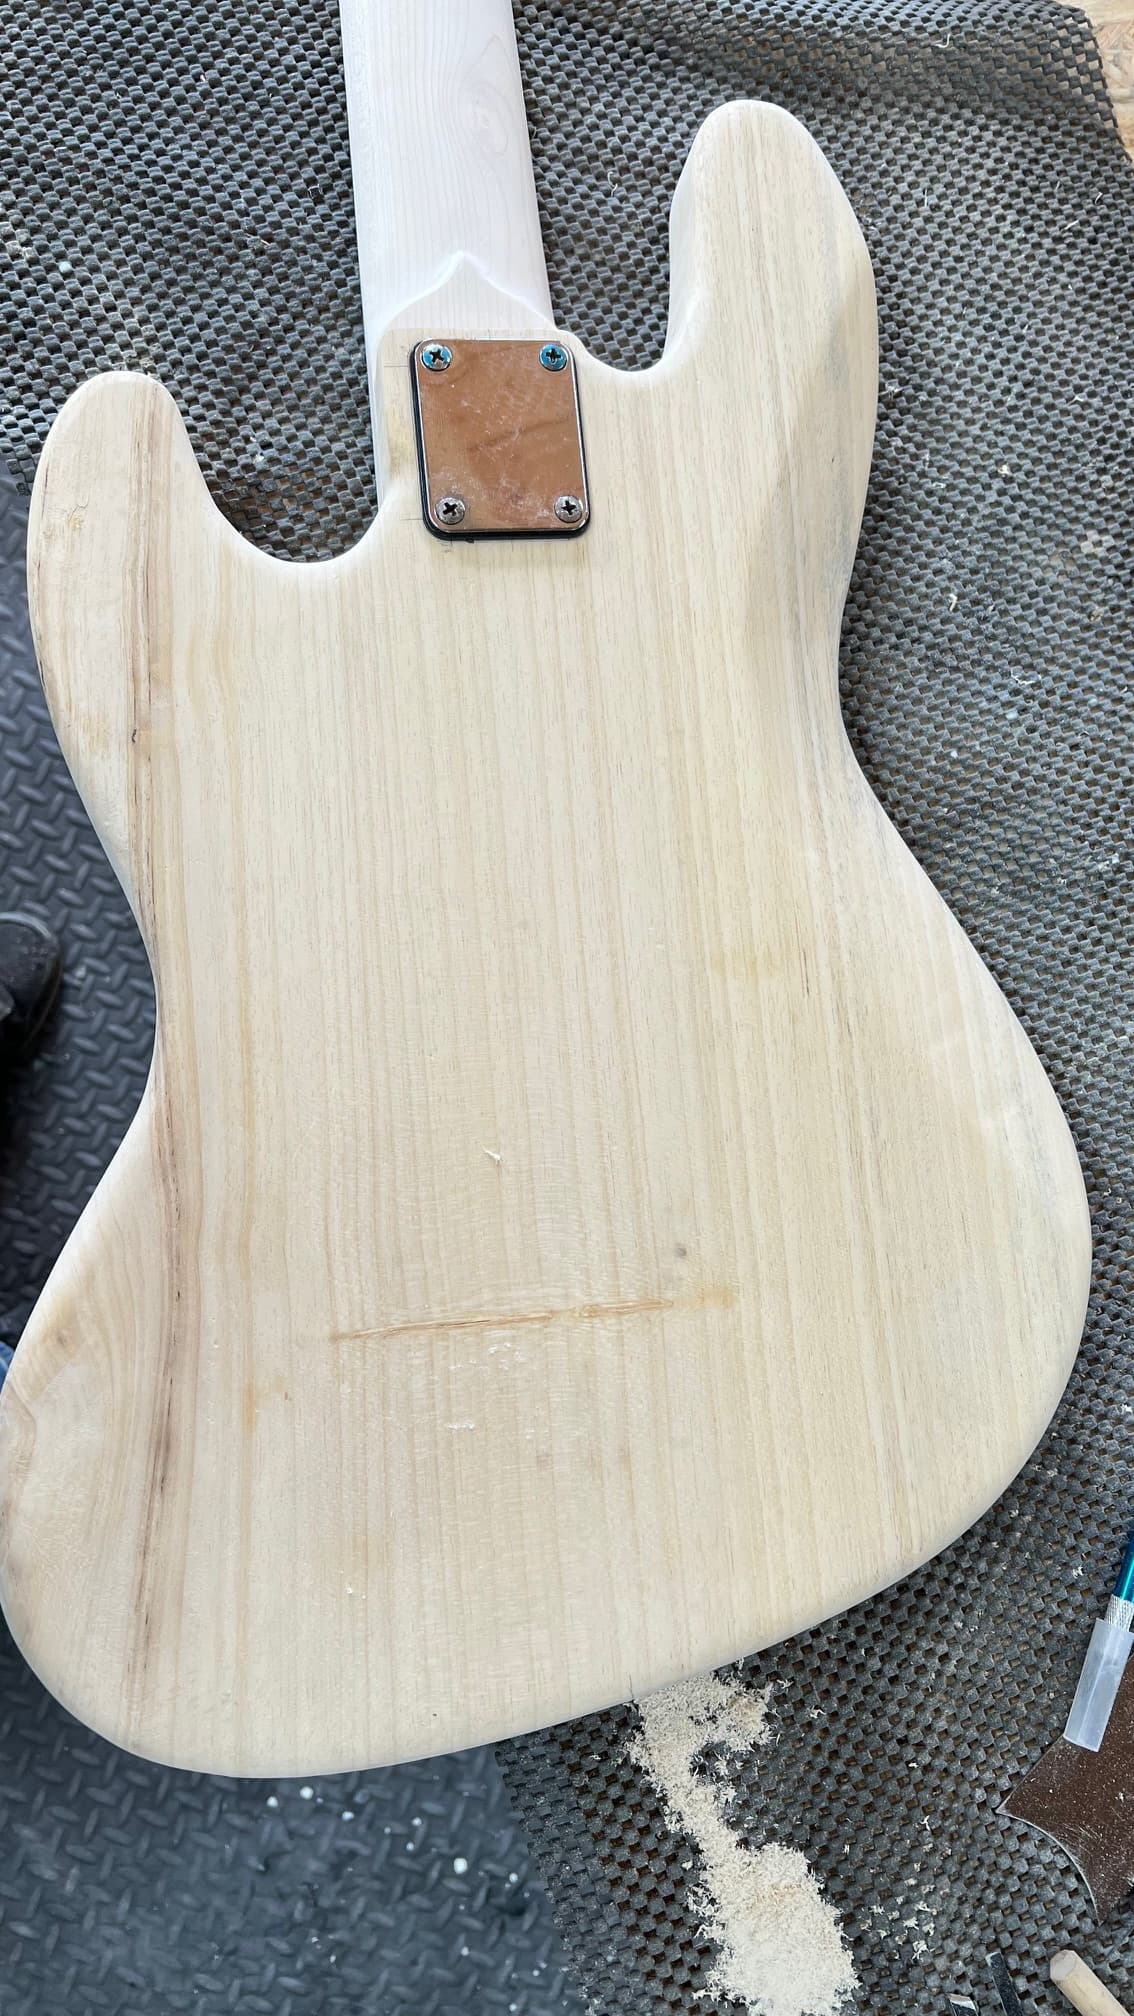
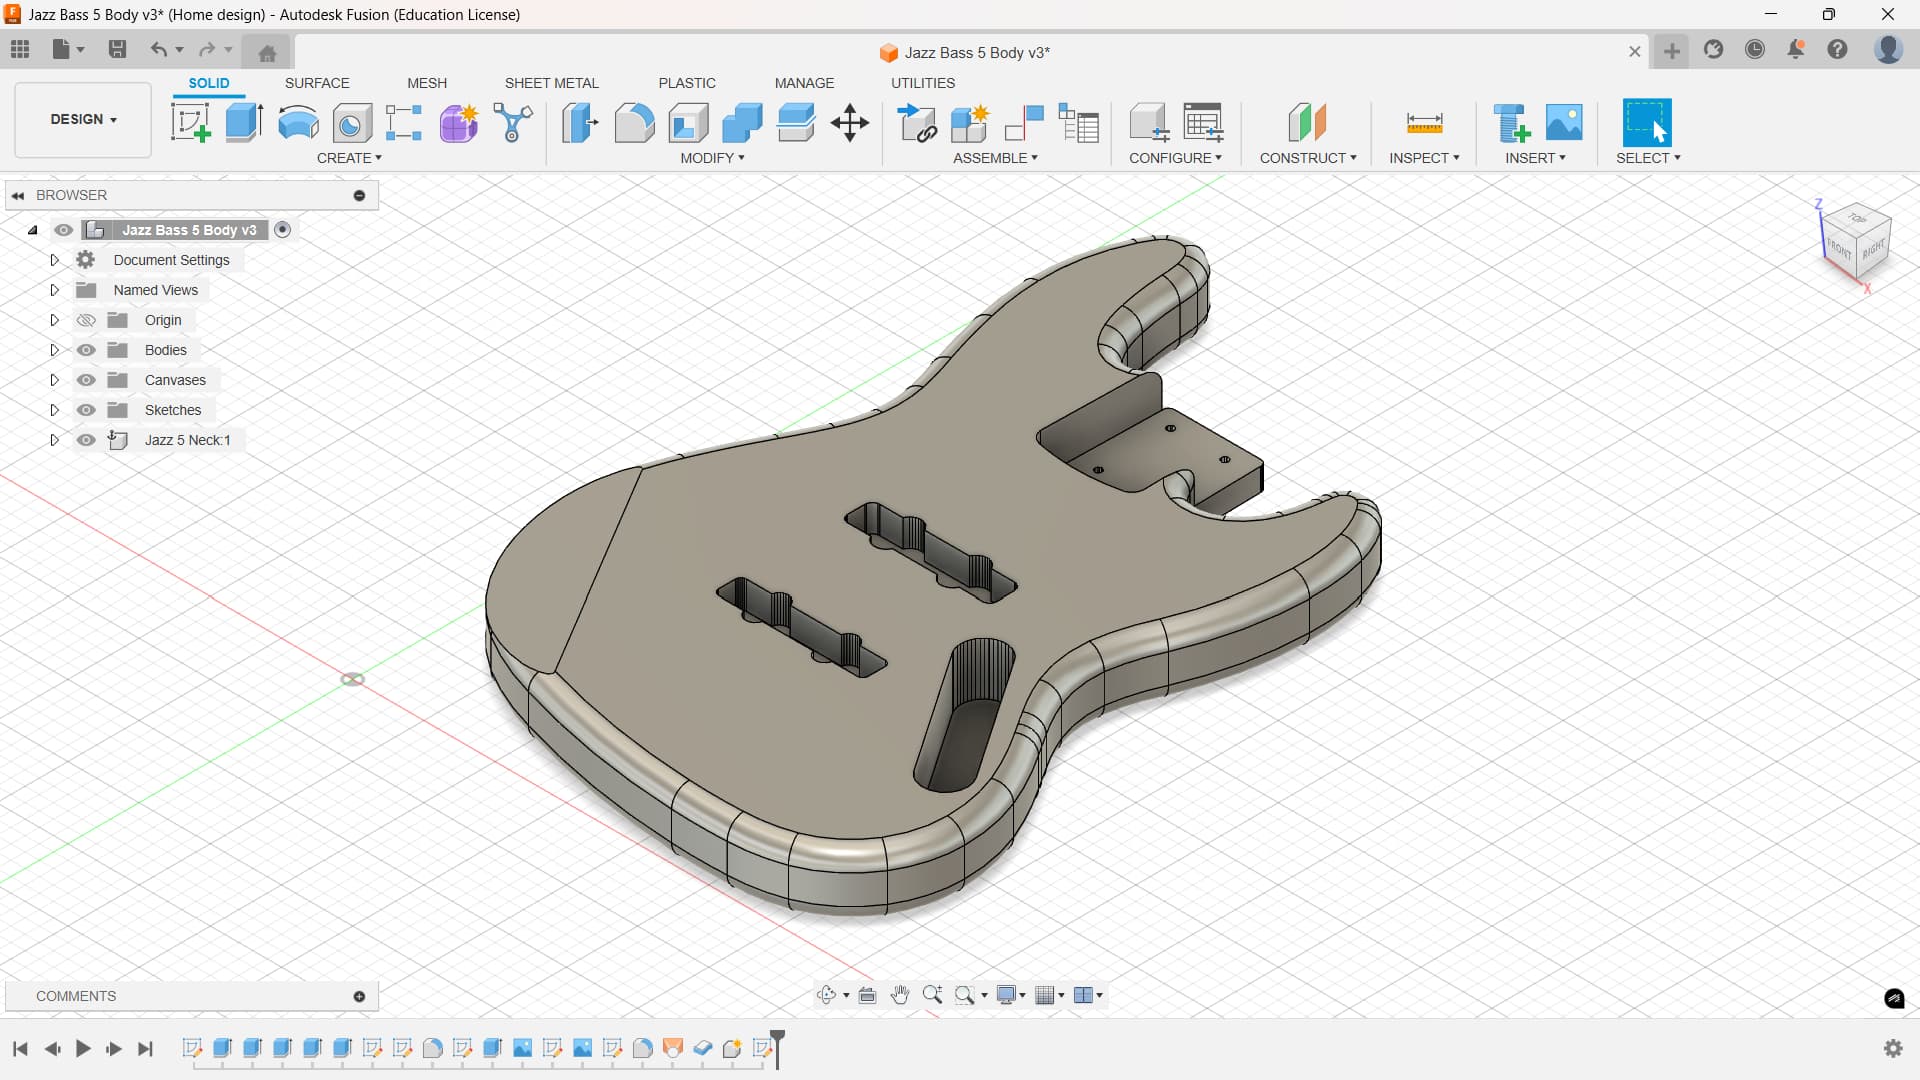
This guitar is a Jazz Bass 5-string, with a Obeche and Pippy Oak body and M
I had previously used Unistrut on my Lowrider 3 using Doug Joseph’s design. When building the Lowrider 4, I thought the extra depth would be useful. So I just mounted the new machine on my existing Unistrut. Depending on which cutting bit I’m using dictates wether the machine bottoms out or not, and hence if I have to lift the workpiece up. You just have to make sure that the material you use to lift it is level with the machine.
Same here… A u-bass has been on my todo list for ages…
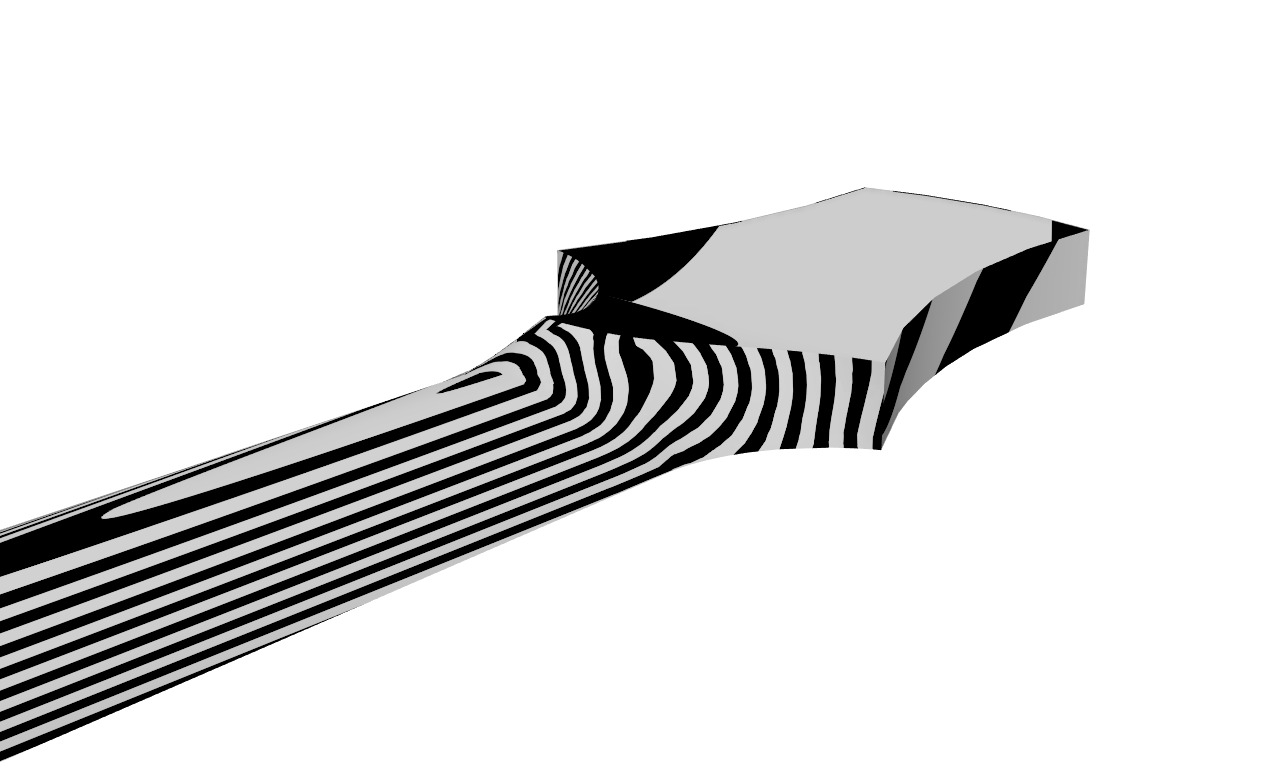
Just modeling the thing s already a huge challenge, it’s a whole diferent mindset and workflow..
I spent 3 weeks modeling the head/neck and neck/body transitions last year… i managed to get the head side right but dropped the ball on the body side…
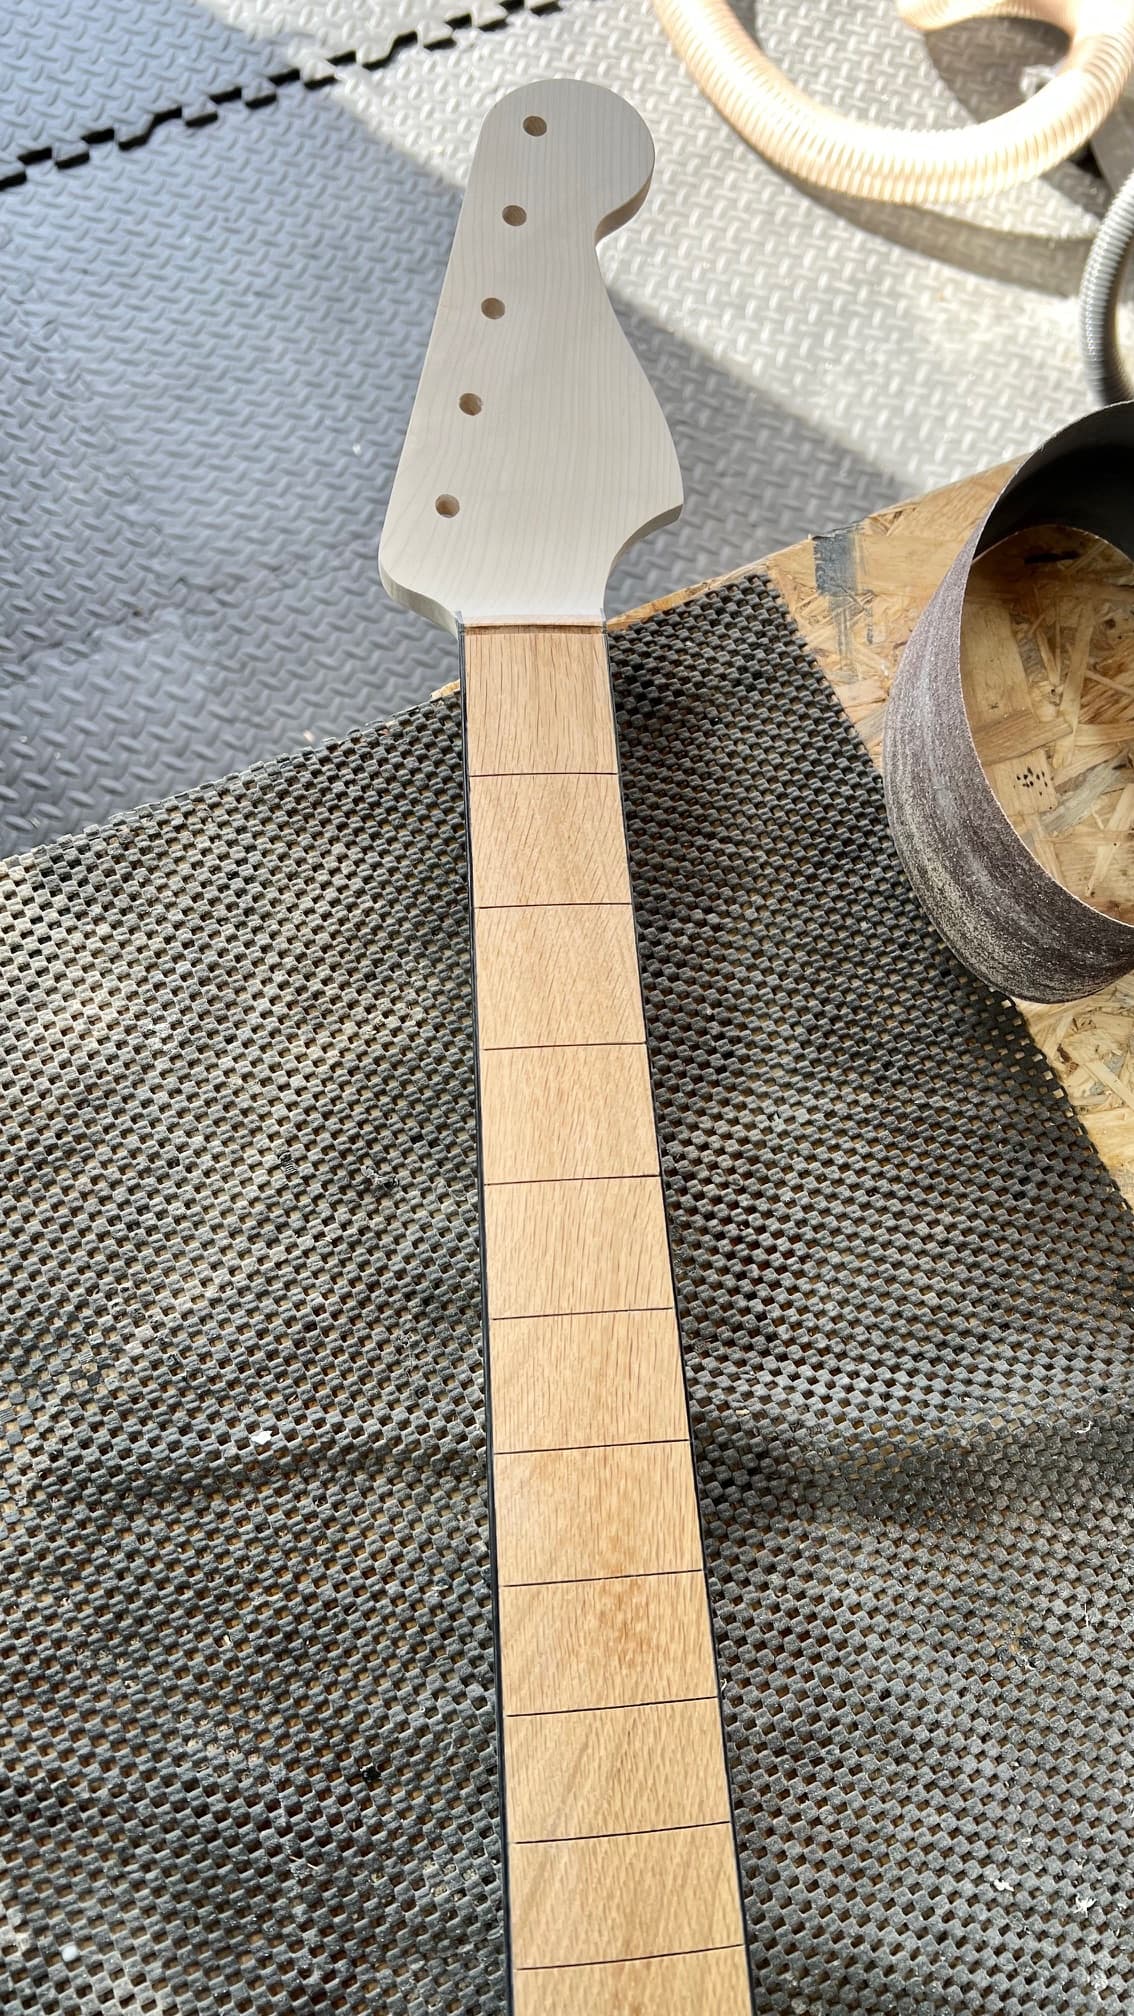
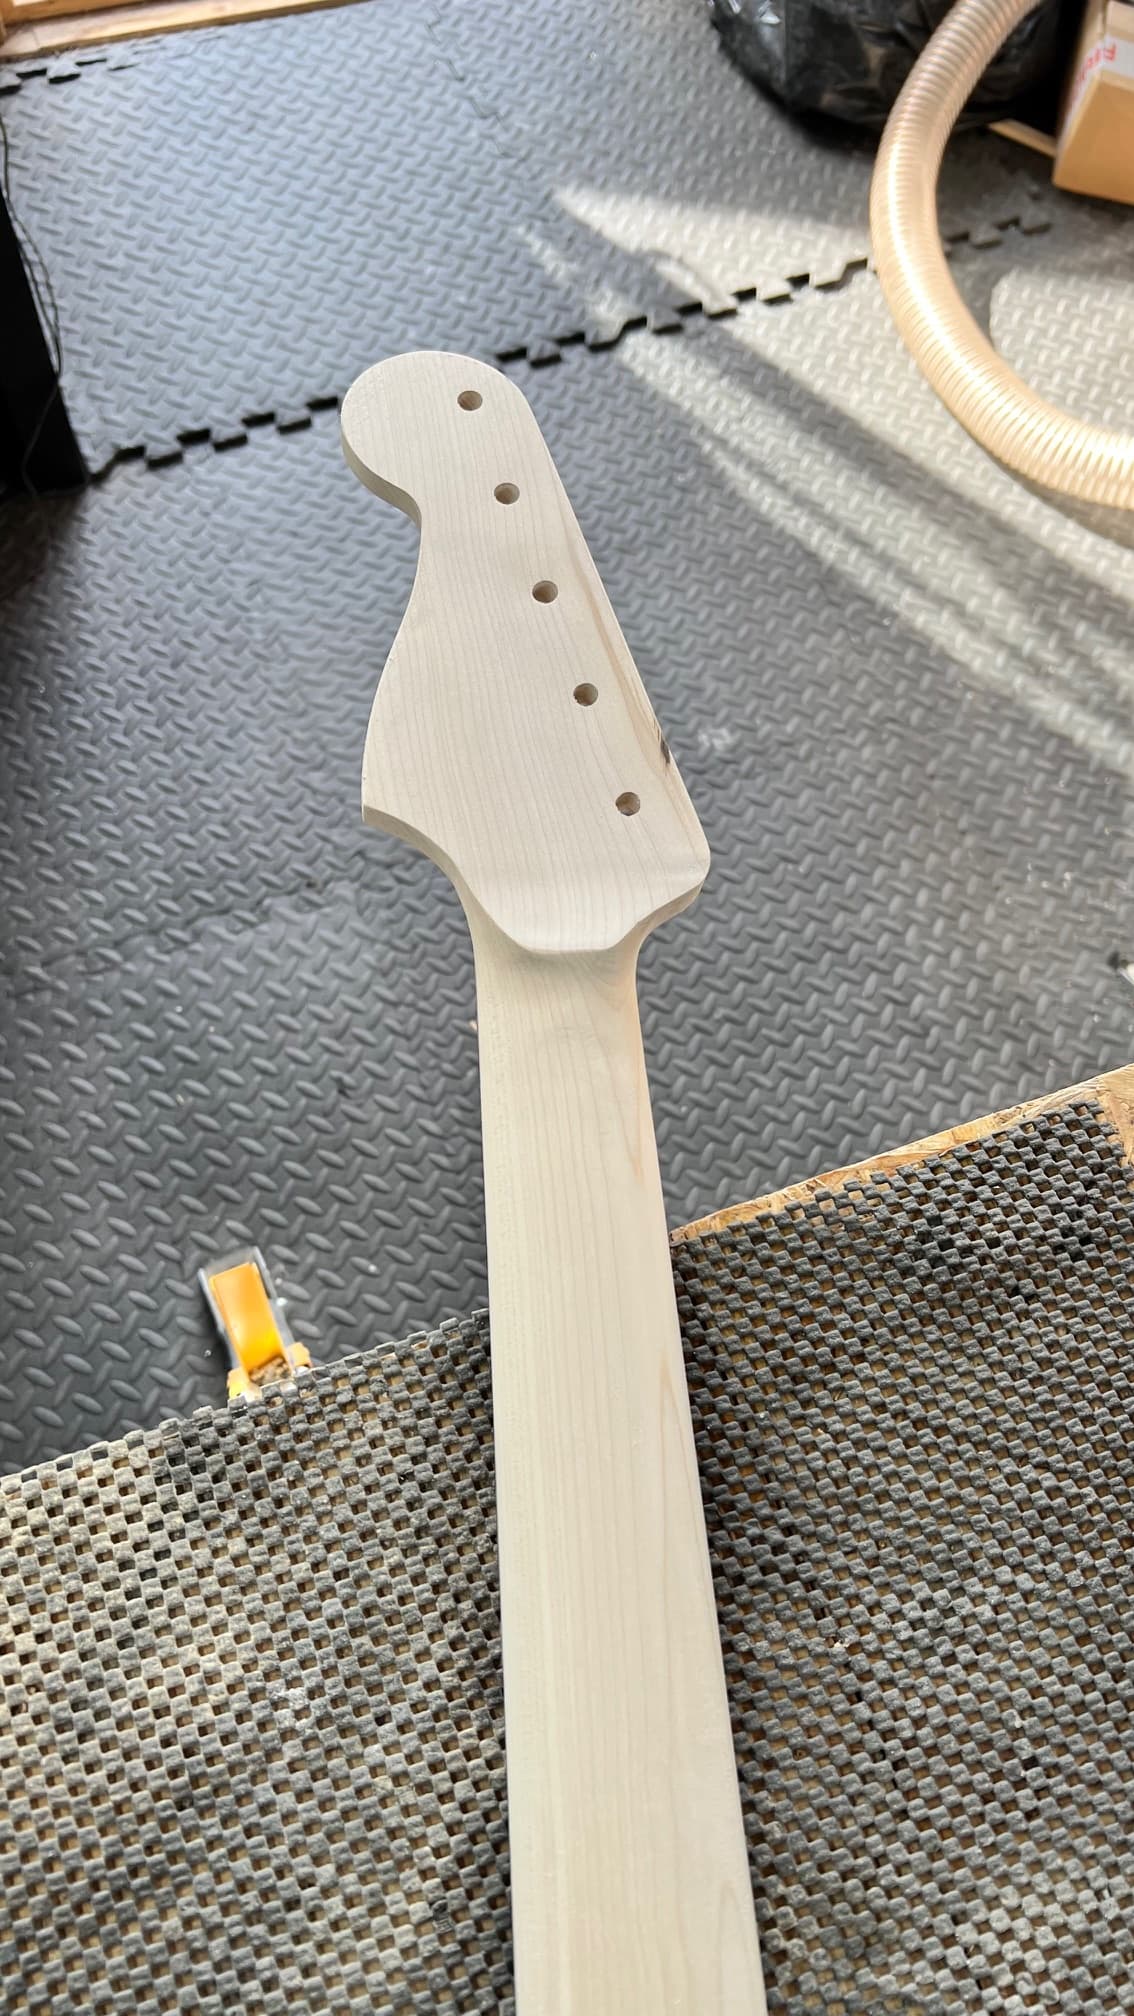
I model it for the critical parts (neck-body transition, fretboard profile and slots, pickups and other cavities), but I still like to do the reliefs by hand.
I start with 2D plans imported into OnShape as a guide. Then I build up the model from there. I’m still a basic CAD user, so tend to model all parts/components seperately. My next steep learning curve is finding out how to model seperate parts in a project and seeing how the fit together. For this I’m starting to use Fusion, but it’s hard going
I found a good source for a limited set of 3D guitar plans at https://lonelystarguitars.com/. Relatively cheap, but you still have to figure out how to use the 3d files. This is when the workflow isue comes in, as I can only mill in 2.5D. The material still has to be turned at least once to get the other side milled.
It’s sometimes easier to mill in basic shapes with depth, rather than milling 3D reliefs. It’s certainly quicker.
I never used multiple projects for different pars in F360, mainly because it quickly require a licence
I should start to learn how to use components though….
Concerning 2.5d milling, once the model is done in Fusion360, I find it pretty straightforward to do the CAM program with 3d carve, F360 does a great job at that
It’s long, both for planning the paths and cutting, but it’s quite easy
For two-sided milling and registration, I’ve seen a lot of makers registering the body from the mic cavities
Another common strategy is to leave the blank around the body until last minute, and drill 4 symetric positionning holes through the blank and cnc table, then use those holes with dowels to align the blank
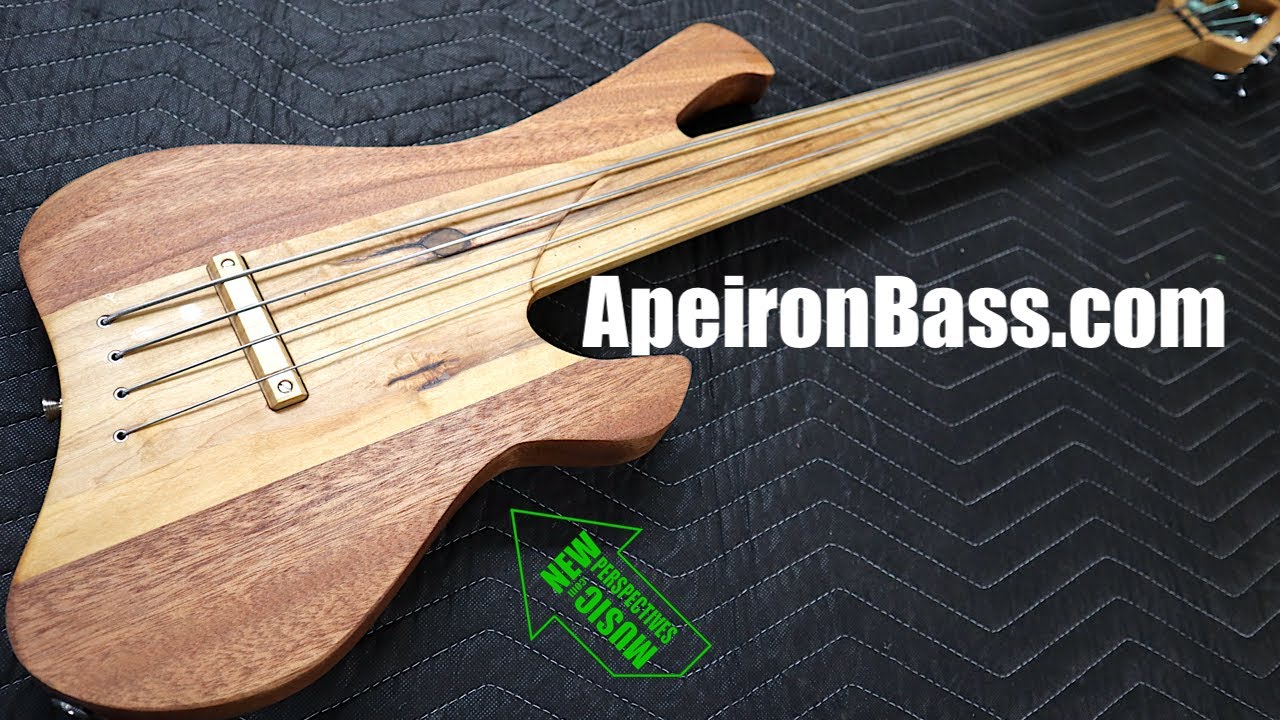
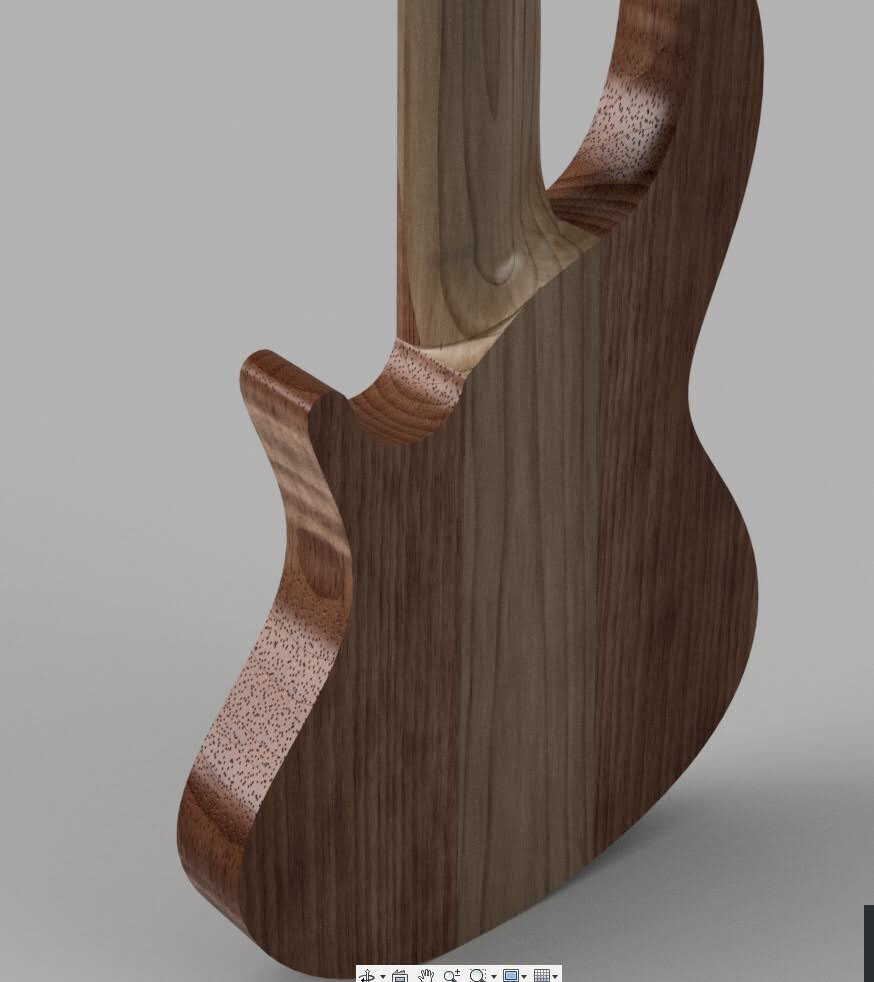
Or you could go all “Tim Sway’s” with his Apeiron bass, that was specifically designed to be cnc cut from a single piece of wood, from the back side (it ended up needing a small cavity cut on the front side for the bridge though)
It’s surely a bit “raw” but I kinda love this novel approach
My main motivator to build the LR4 was to make guitars! I’m starting to feel comfortable with the machine, planning to try it this weekend.
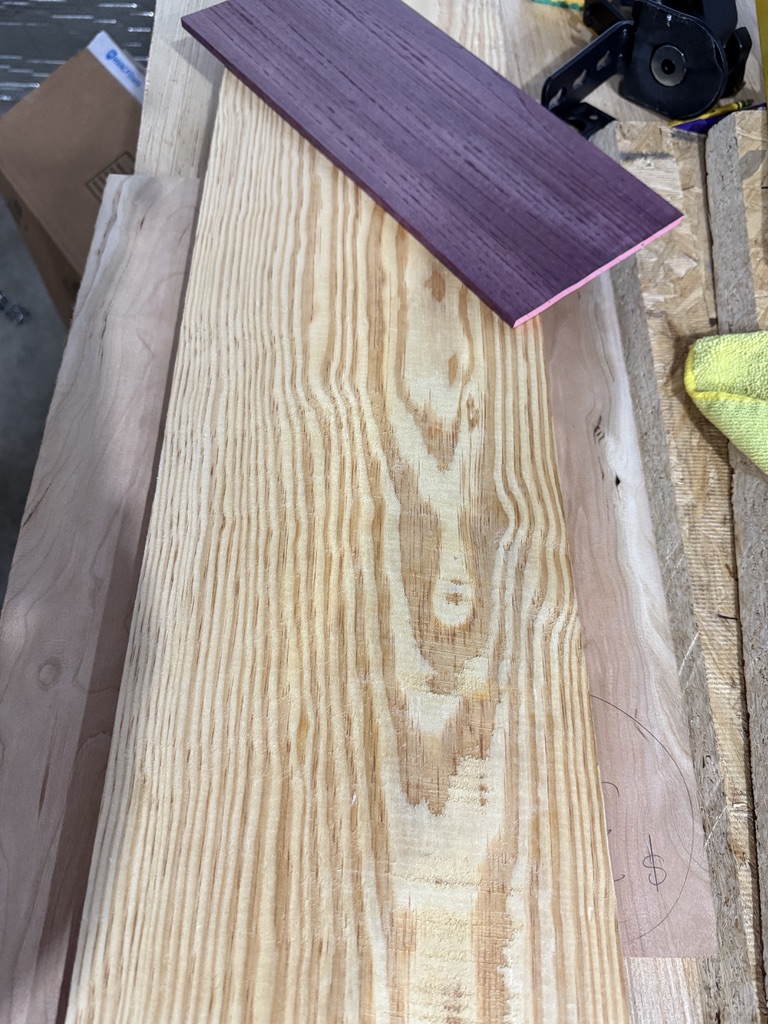
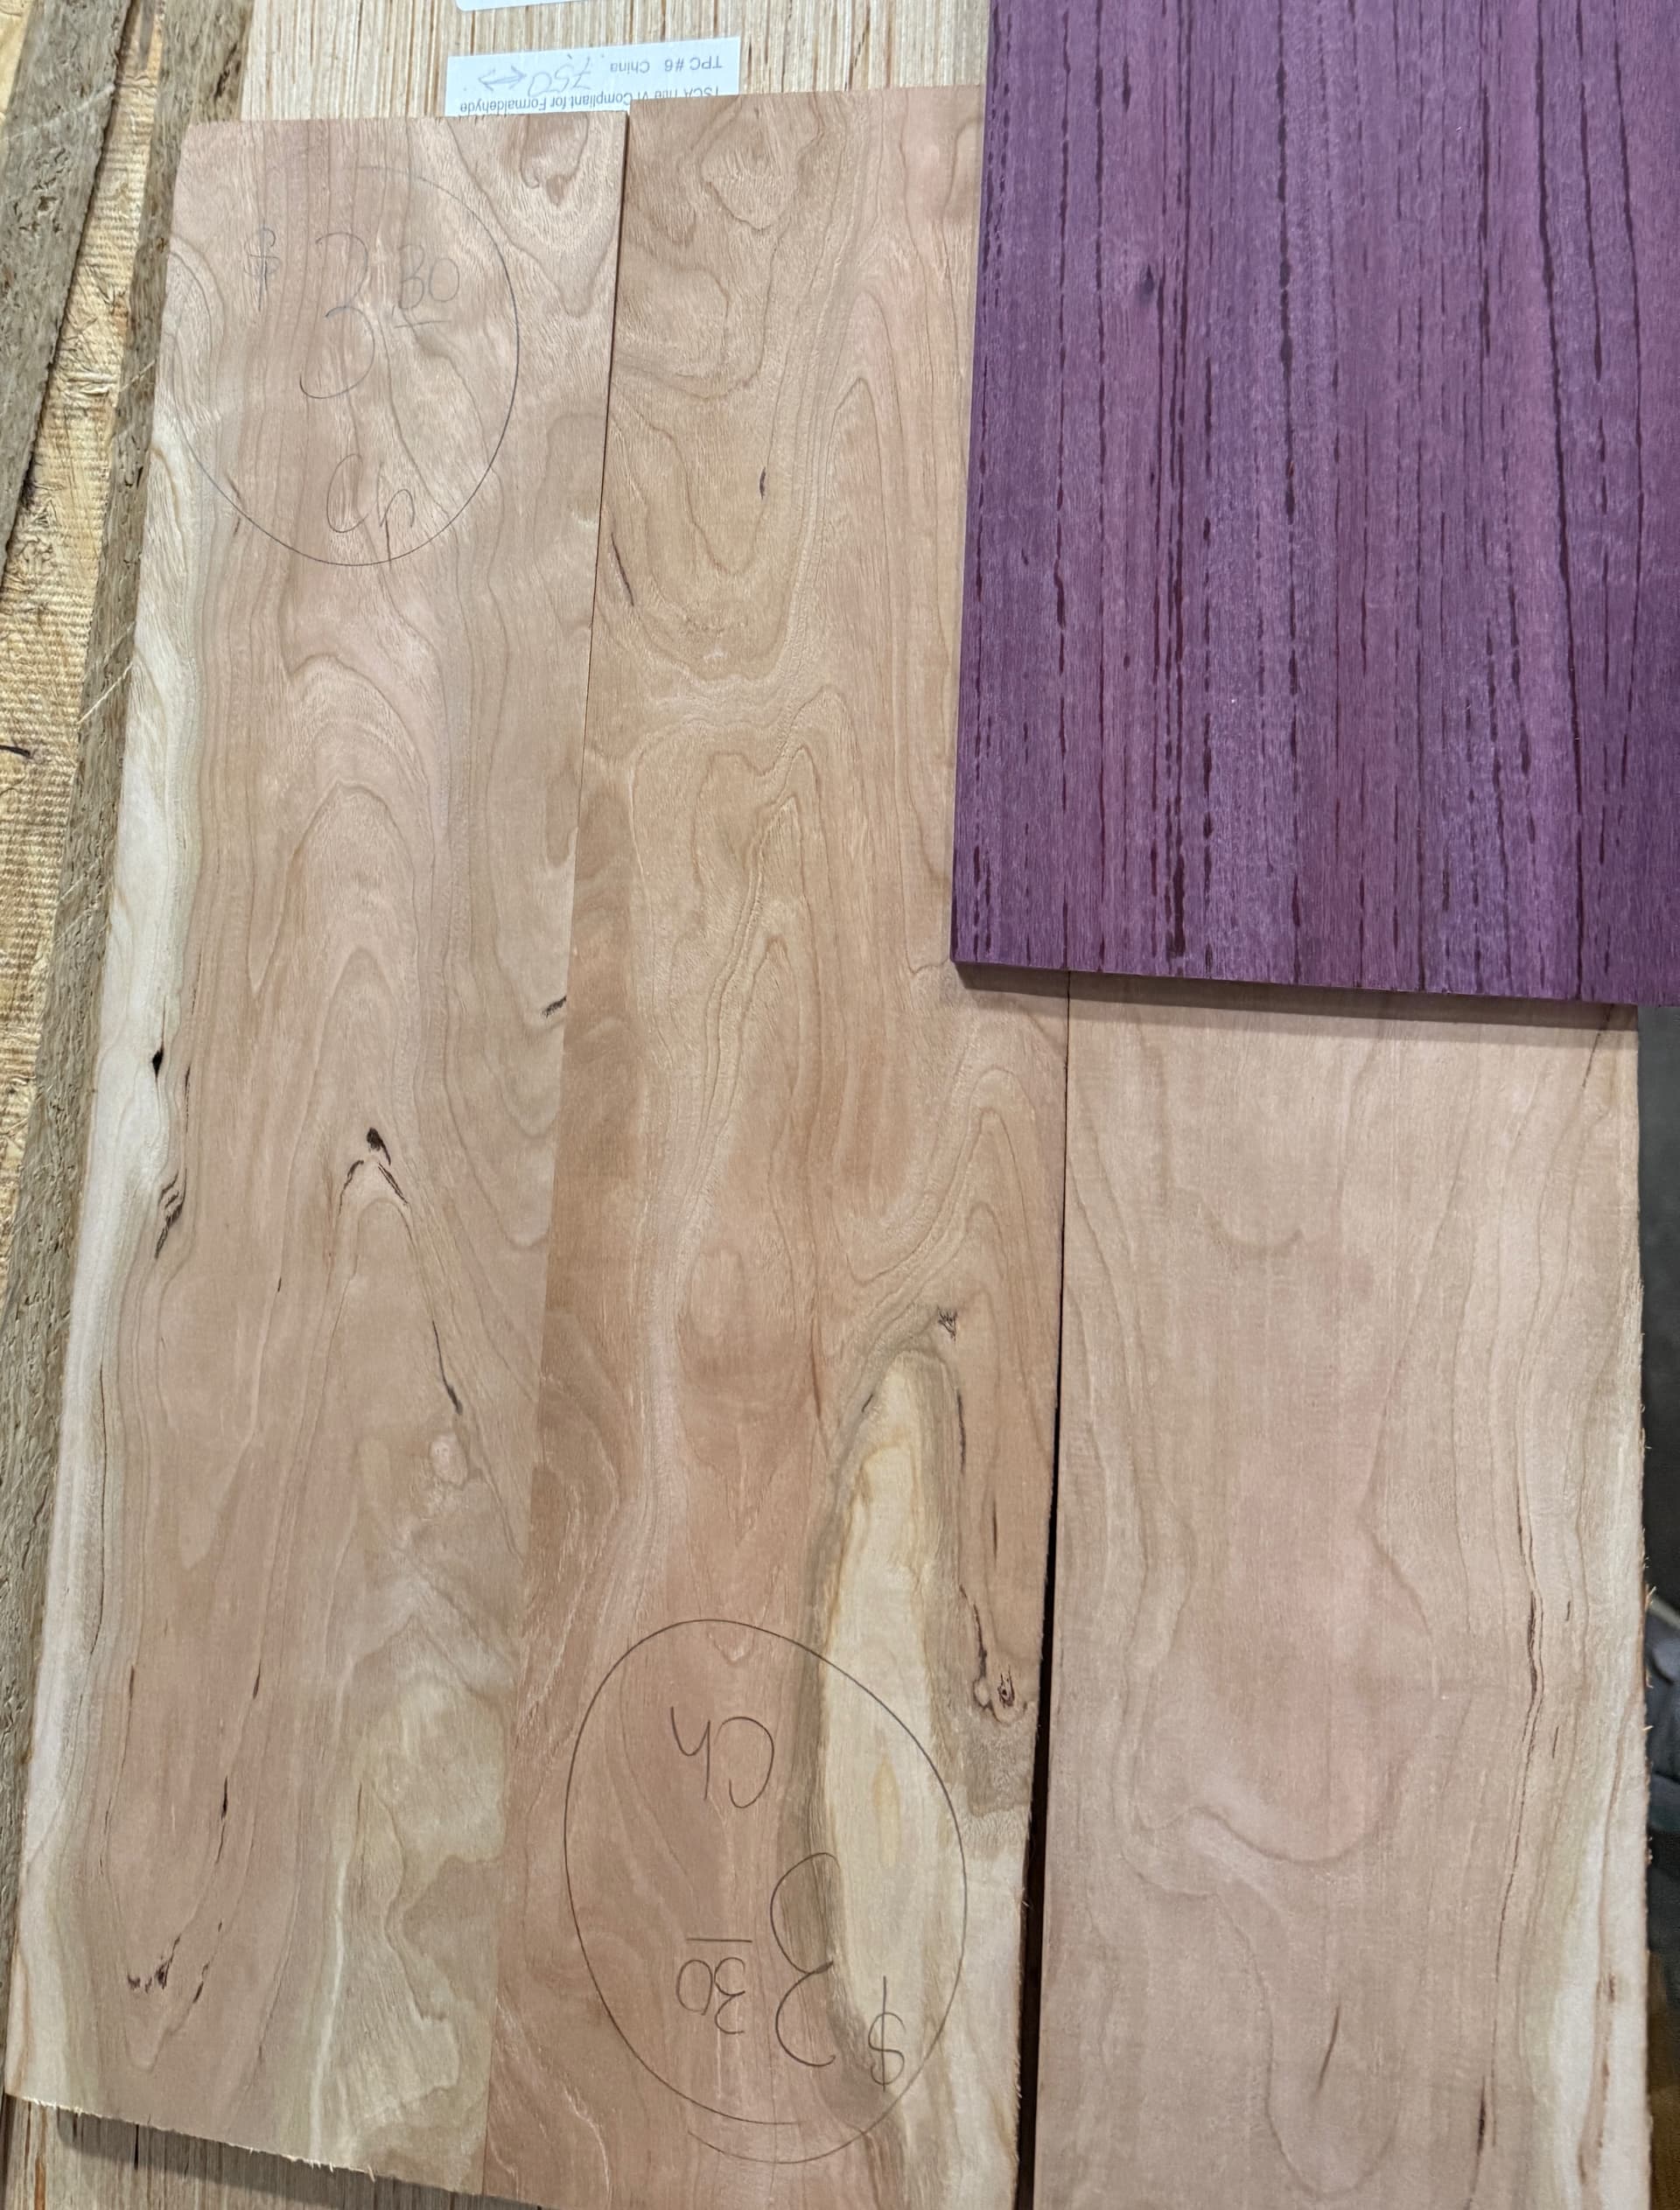
Just went to the wood store (blessed to have one, right next to a plywood /mdf store too) and grabbed some appealing stuff from the bargain bins, and letting the wood speak to me. Purple’s my favorite color so I bought a slice of Purple Heart to use as a pick guard
The grain and color on this yellow pine said “Flying V” to me:
For some reason people love making scale 3D print models of guitars, so you can find a 3DP model of a guitar you like and download the STL/STEP file and just scale it up! It gets you a nice starting point at least
I bought plans for a Flying V from this site, but it looks like they aren’t currently in business https://electricluthierlab.com/. Damn shame, paid $21 and got every single piece of it in multiple file formats and units, they were super thorough. I’m sure there are other good ones though, just sharing what high quality looks like in this super niche area.
I love Purpleheart, but it’s hard on the tools and the grain can be a nightmare. My first bass guitar had a Purpleheart fretboard, body laminate and truss rod cover. It’s quite hard to come by over here in the UK.
I’m looking for a workflow/instruction for taking a 3D model (step, stl…) right up to the point of sending the g-code. Someone must have documented it somewhere. Failing that, I’ll have to write one myself, but each time I’ve tried it previously I seem to bumble along in different directions trying to find solutions to the next problem on the way. Then I can’t remember all the successful steps I’ve taken
You can just load an stl into Estlcam, select two sided machining, pick the clearing and finishing endmill and set some tabs. That’s basically it.
That bass looks absolutely gorgeous. But you are right, purple heart really is hard on the tools… I am cutting some of my rolling trays from it and I have to go soooo slowly as not to skip steps. Splitting purple heart also ruined my first, small table saw.
Absolutely gorgeous, phenomenal work! Also great inspo on the usage of Purple Heart the wood store sells blanks for making bowls out of it, I couldn’t believe how dense/heavy that wood is especially in a big ol cube form lol.




 (it ended up needing a small cavity cut on the front side for the bridge though)