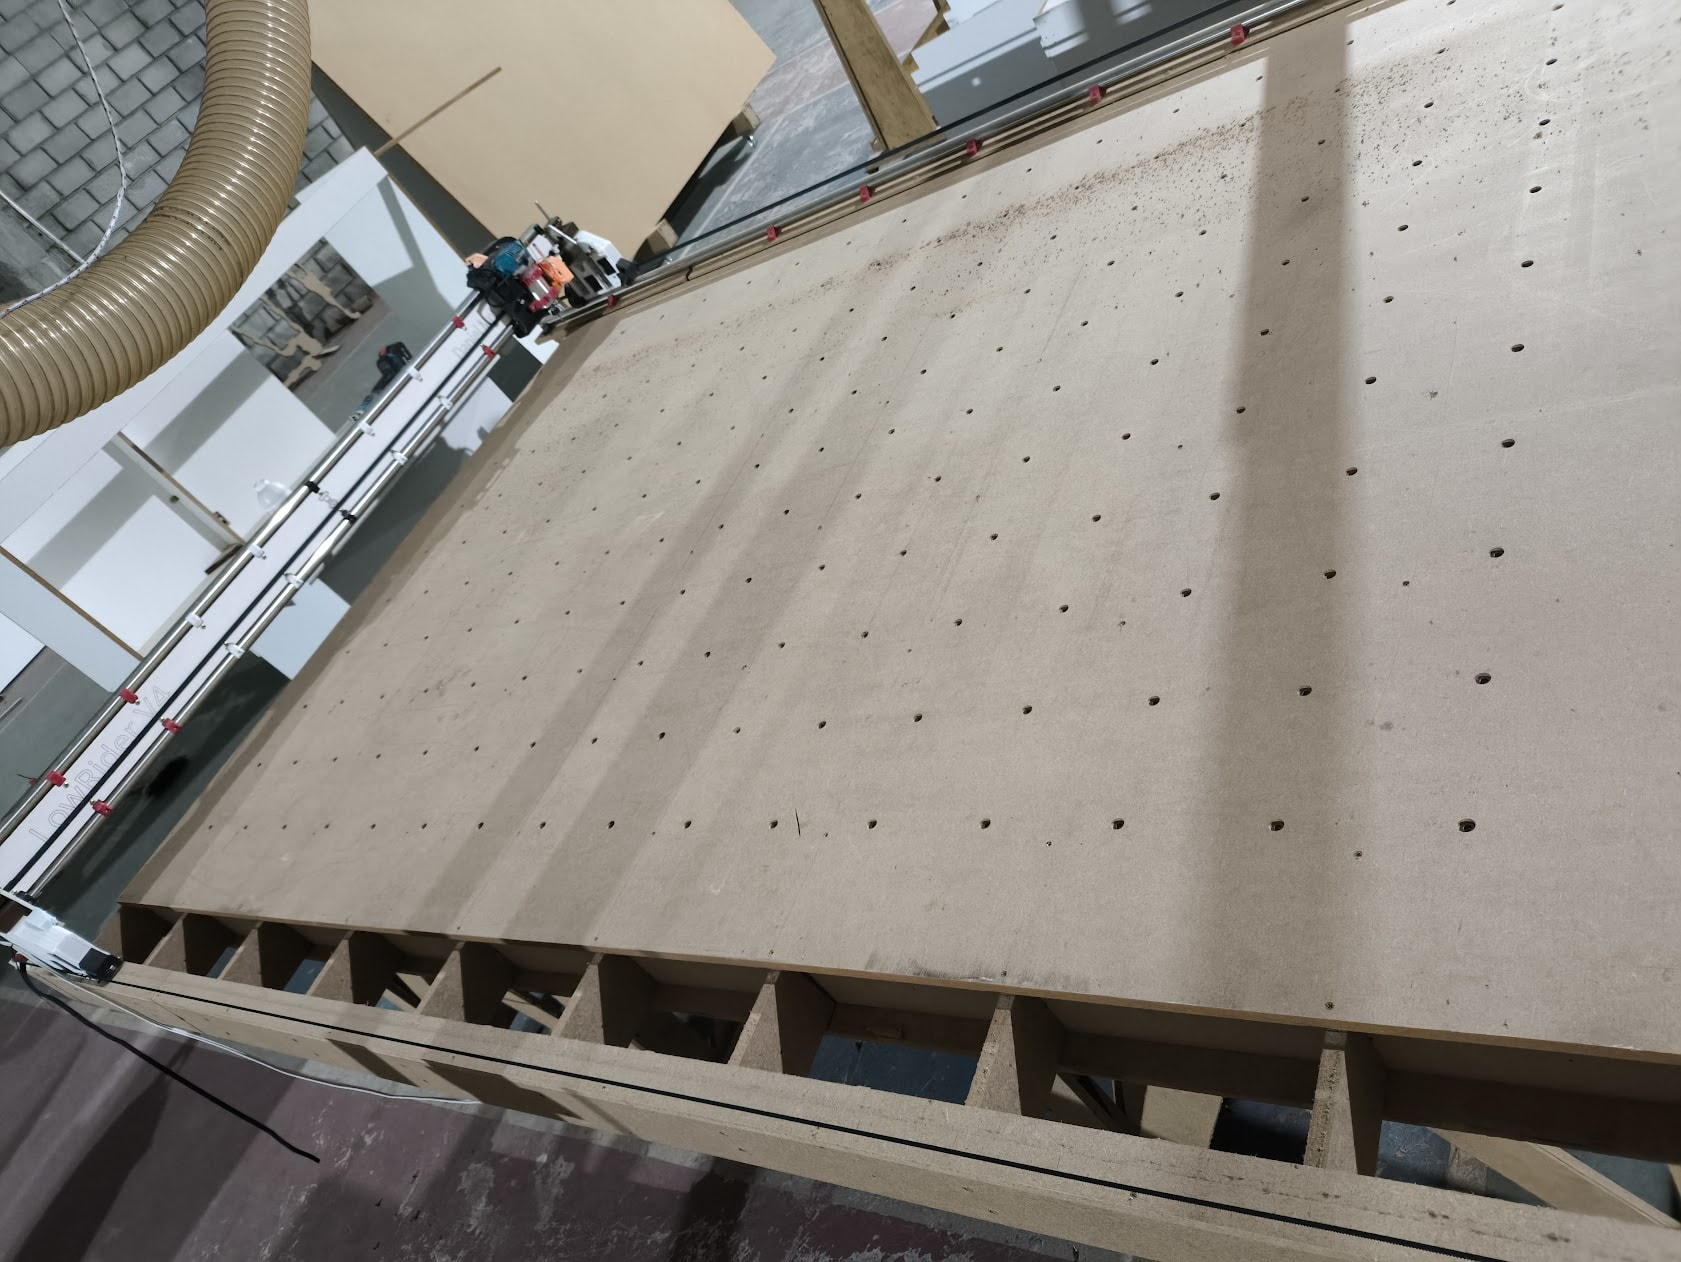
DO NOT TRUST THIS. I AM A DEVELOPER BUT THIS IS CRAZY VIBE CODING. CLAUDE DIDN’T SAY NO TO MY CRAZY IDEAS. IT IS NOT COMPLETE AND THERE ARE DEFINITELY THINGS WRONG. THE V1E DOCS ARE THE SOURCE OF TRUTH.
If you’ve been following along in this thread, you’ll have realized that I’ve lost my mind.
Somehow I started messing with a FreeCAD MCP and I went down a spiderweb of rabbit trails.
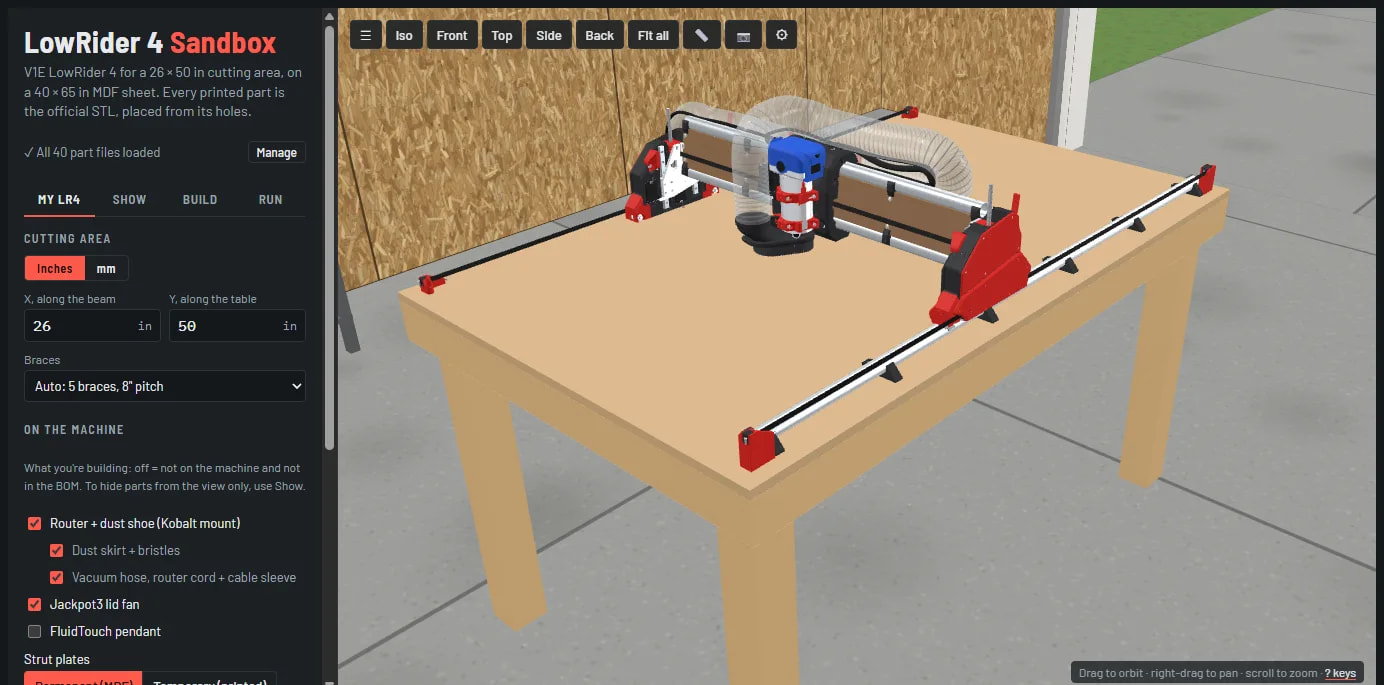
I’ve been building a 3D model of the LowRider 4, and it’s now a web page anyone can use.
The Github has a good detailed description of what it does and how to get started.
You can use this for real in your browser. You just need to download some files off Printables.
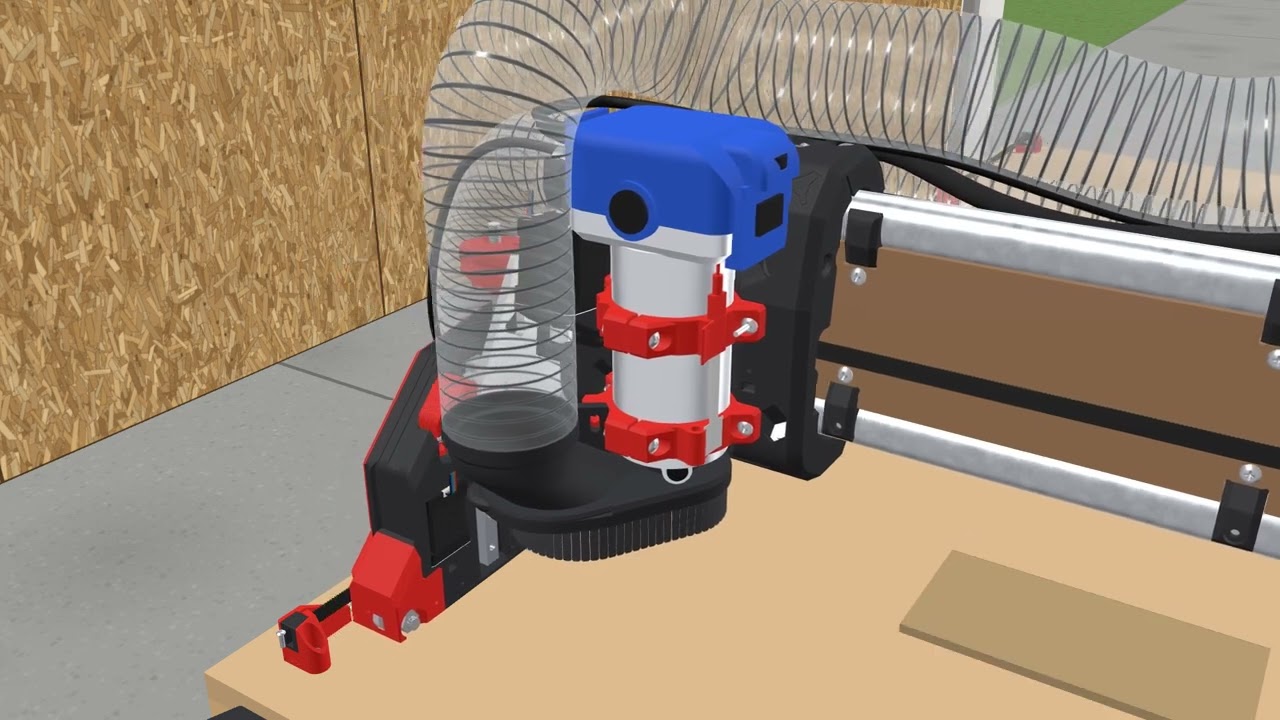
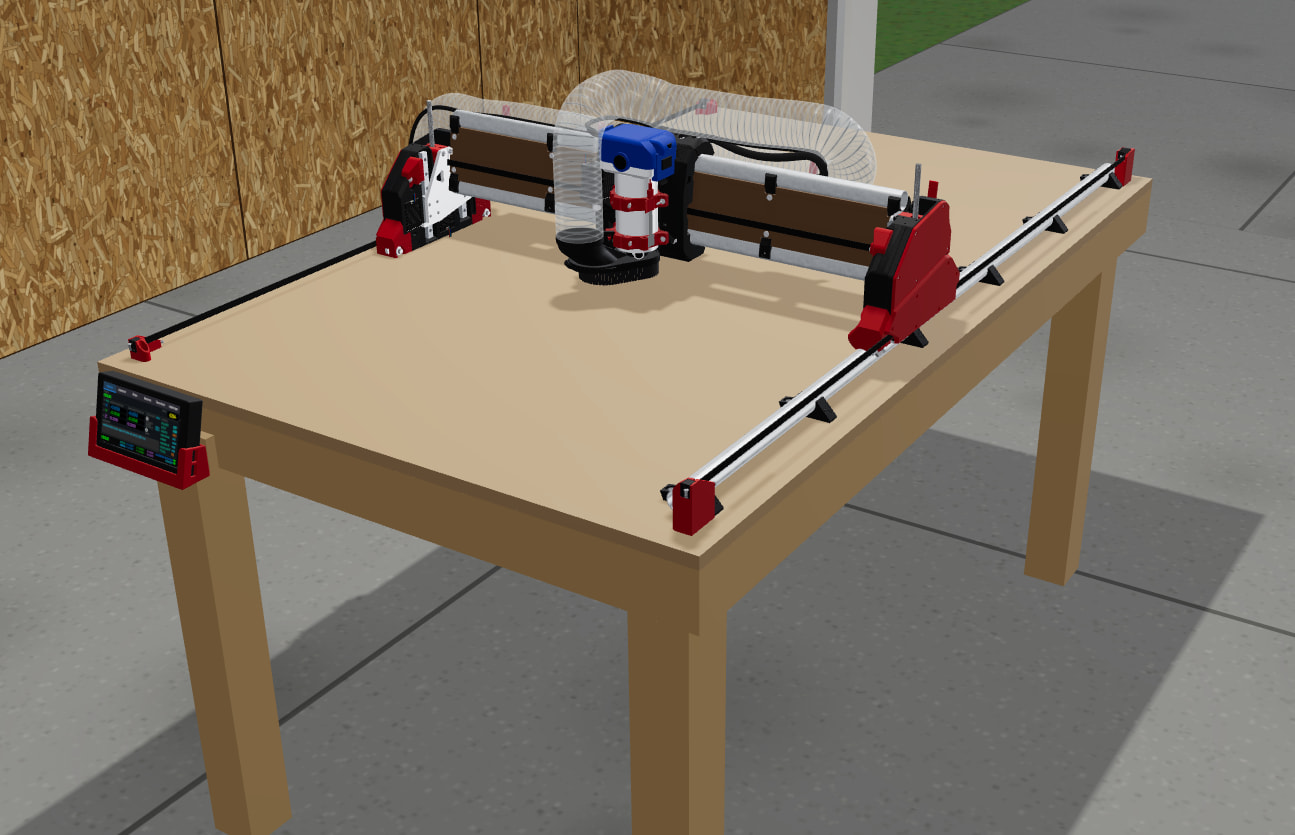
Enter your cutting area and it draws the whole machine at that size, using V1E’s actual printed part files. Each part is placed from its holes and mating features, and every fastener is checked.
What it does
Size it: any cutting area in inches or mm. It works out the braces, rails, belts and table, and gives you V1E’s calculator cut list.
Build it:
the full BOM for your size, with hardware counts
strut plates as DXF / SVG, or as G-code to cut them on the machine itself (V1E’s build order, with the temporary struts)
V1E’s JP3_LR config.yaml with max_travel_mm set for your size
Look inside it: hide parts by assembly or by printed / hardware, or open any assembly on its own with its parts list. You can explode it along the bolt lines, cut a section, see the hardware in X-ray, and measure between hole centers.
Run it:
play G-code and watch the stock get carved, with probing, M0 pauses and tool changes
or boot the real FluidNC firmware in the browser: home on the switches (each Y motor squares on its own switch), jog, probe, use the console
there’s also a FluidTouch pendant on the table you can drive
Extras:
Machine sounds: steppers, router, shop vac (plus a “robot noises” mode for fun)
A workshop around the machine, where you can enter your building size to see how much room you have
VR on a PC headset (I haven’t tested this at all), and links that share your exact build
The part files aren’t on the site. They’re V1E’s, so you download them yourself, free from V1E’s Printables pages: the LowRider 4, the Kobalt mount + dust shoe, the Jackpot3 box and the Peter Plates. Drop the zips on the page. They’re read in your browser and nothing is uploaded. The page links to each download.
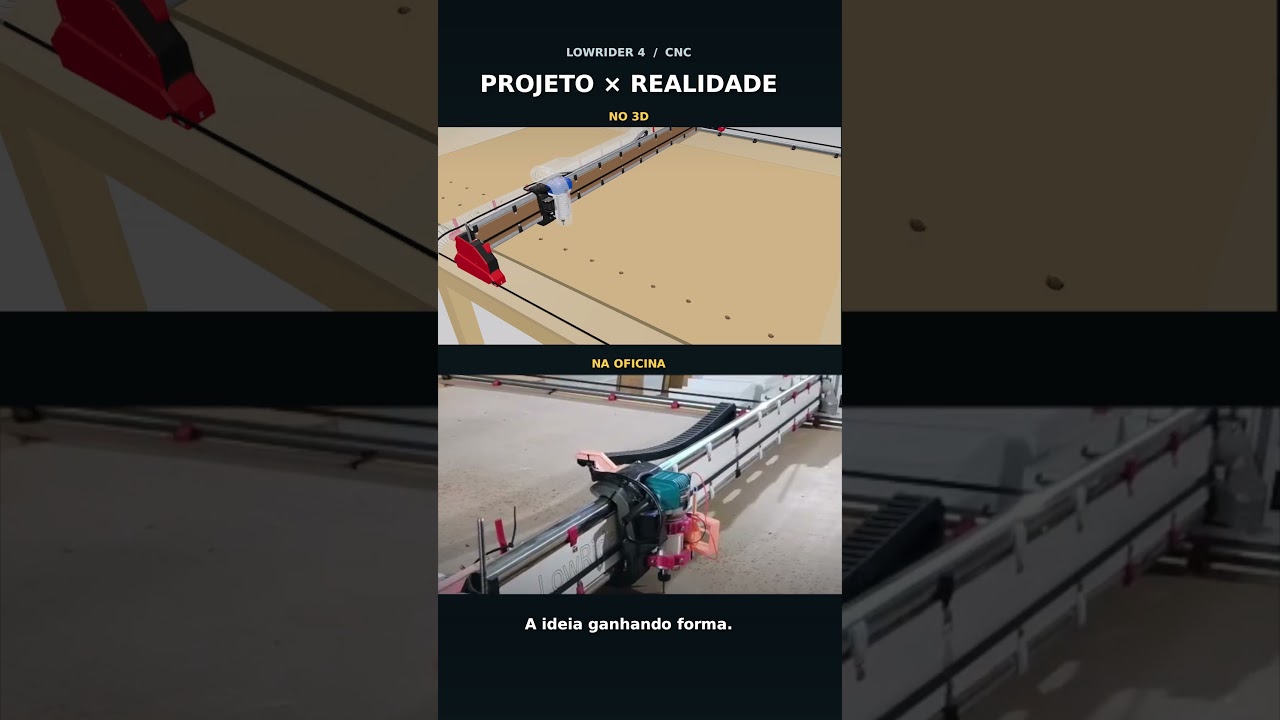
Please double-check before you cut, print or buy. It’s still being worked on. I’ve checked the model against V1E’s photos and my own measurements, but treat the numbers, BOM, G-code and config as a starting point and verify them against the V1E docs.
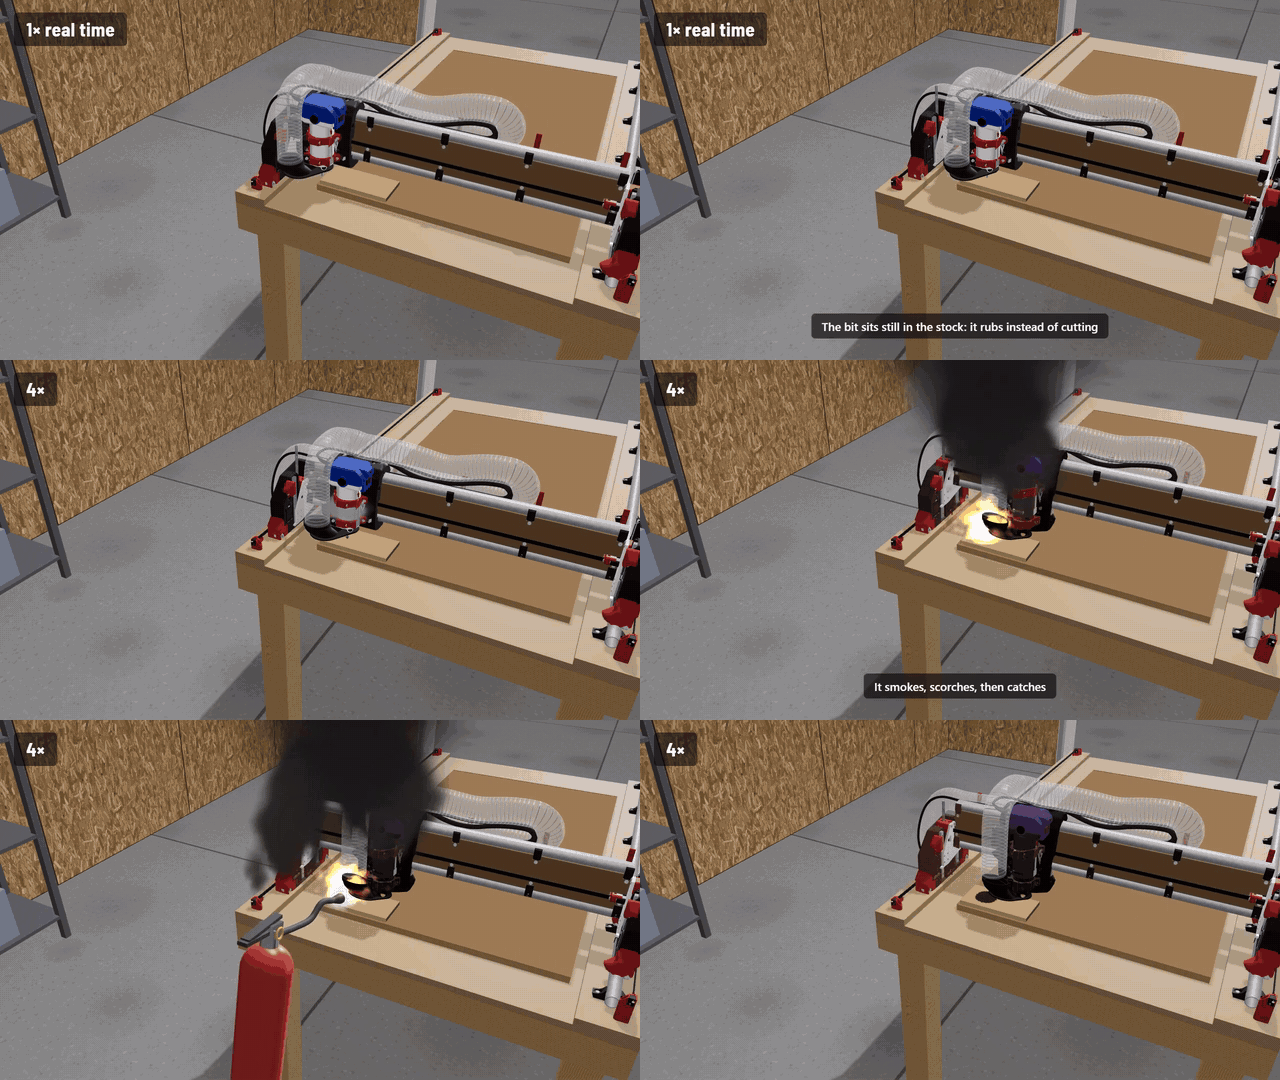
This video was generated by a gcode file with special comments.
Note there are 2 simulation modes: Basic which interprets the gcode itself, and FluidNC which runs it for real. There are some changes in a sim fork I made so you can speed it up.
Right now, you can’t use WebUI or FigUI with this. However, I have a change coming where you can put a UI (or multiple) on the virtual flash or SD card and open that in a new tab/window from the simulator. It works.
There are also some things that rely on my special gcode to set bits and stock size. I’m making some changes to allow you do that manually like you would in real life.
I also have some planned changes for an imperfect machine. Right now, the spoilboard is perfectly flat and the machine is perfectly square and the router is perfectly trammed. So, this will allow for things like simulating how squaring works and surfacing a spoilboard. I even plan on being able to keep all the cuts in the spoilboard so you can run a surfacing job to see how it cleans it up.
There are interesting things that get discovered. Like when trying to get everything to line up, the one side was higher than the other. Some of that was errors in positioning, but after all that, it still says that one side is 0.25mm higher than the other. I’m using the parts for EMT (29.5). Makes me wonder if the 30 would line up perfectly.
I think this will be simulated accurately enough that AI can be used to create plugins and custom gcode scripts and such.
Man, I’ve been pushing back on using Ai, but its inevitably coming down on me. So cool what things people can do.
Thist be helpfull for new people to simulate their stuff to better understand how the lr4 it works aswell! And I thought the lr4 couldn’t get the cnc entry bar any lower.
And some simulated boxes and dust and spare parts that slowly pile up on the table after each week of non use. This would mimic the real life feeling that “by the time I clean that mess I could have done it by hand”.
Either that, or we have!
This is so beyond my comprehension in every respect that I just sit and stare in awe!!
How cool! I’m going to explore some more. I love this forum because you get to follow several projects at the same time—I’ve found my own little corner here with people who share the same tastes as me.
I am so skeptical of AI, but some things are really cool about it (like the small programs I can just create that do stuff I wanted to do forever).
This is one of those things. I am definitely going to use this in my Makerspace Club so they can learn to work with a CNC before they are allowed to use the real one.
This is so cool! I am considering not bothering to cut real wood anymore, just simulate my projects! No more sanded knuckles, splinters. Big savings on equipment and wood stock!
I just pushed out a ton of updates. It’s a little less vibe coding and a little more “agentic engineering”. Still things to tweak, add, and test but it has significant improvements.
I particularly like the in app “help” videos. Shows things like an intro, why homing matters, probing and zeroing, squaring, etc. I really like that you can now have an imperfect machine (out of square/tram) to the point that you can run a surfacing job and see the lines from being out of tram.
Whatever you do, avoid implementing simulated gravity, part-level FEM, and distributed mesh connected generative machine creation. That’s how it all started.
I realize saying this is unbelievably cool is neither particularly insightful nor helpful and is a wild understatement, but I am so blown away I don’t know what to say
Thanks. I’m still shocked this exists. I didn’t plan to make this but I like where it ended up. I’ve learned awhile ago that silly ideas can turn out better than expected and even if it doesn’t, you’re still going to learn something along the way.
Using AI is weird. On one hand, I’ve had a lot of good ideas to get this where it is. On the other hand, I haven’t written any code. There are parts of this where I could make or modify this myself. There are others that are way outside my skillset and either I couldn’t reasonably implement or would have taken a significant amount of learning and time.