Lowrider 4 finally finished! But something is funcky with the Z raise

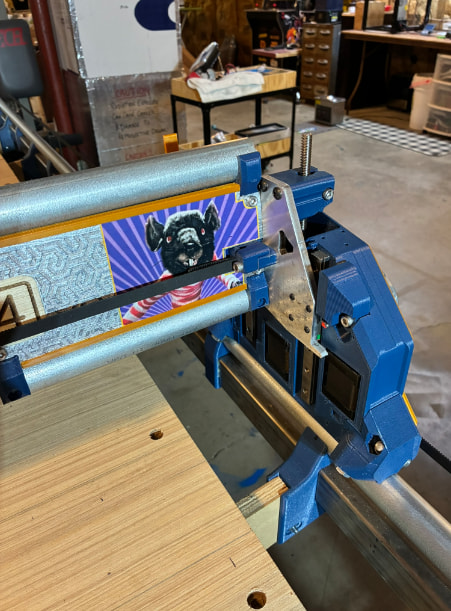
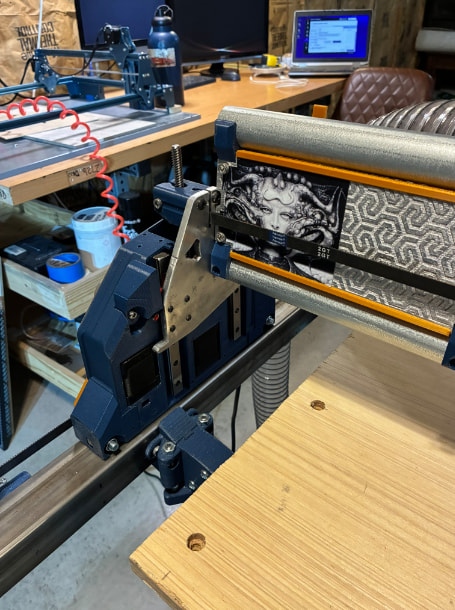
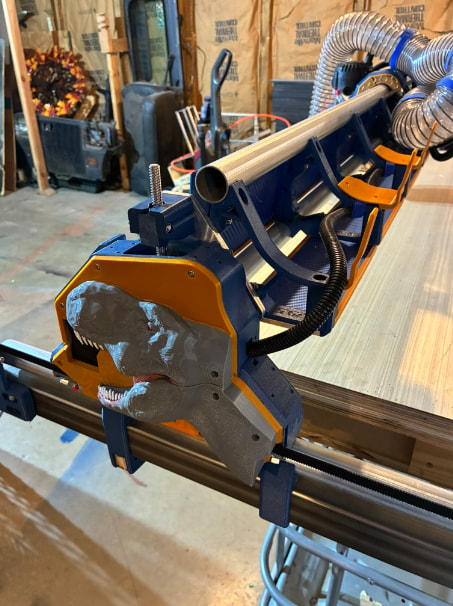
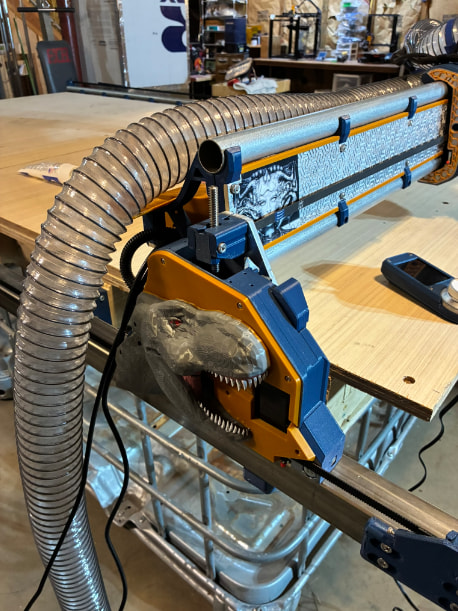
Hello All! I’ve finally got my LowRider 4 to that amazing stage of moving it around. Here are some pictures…

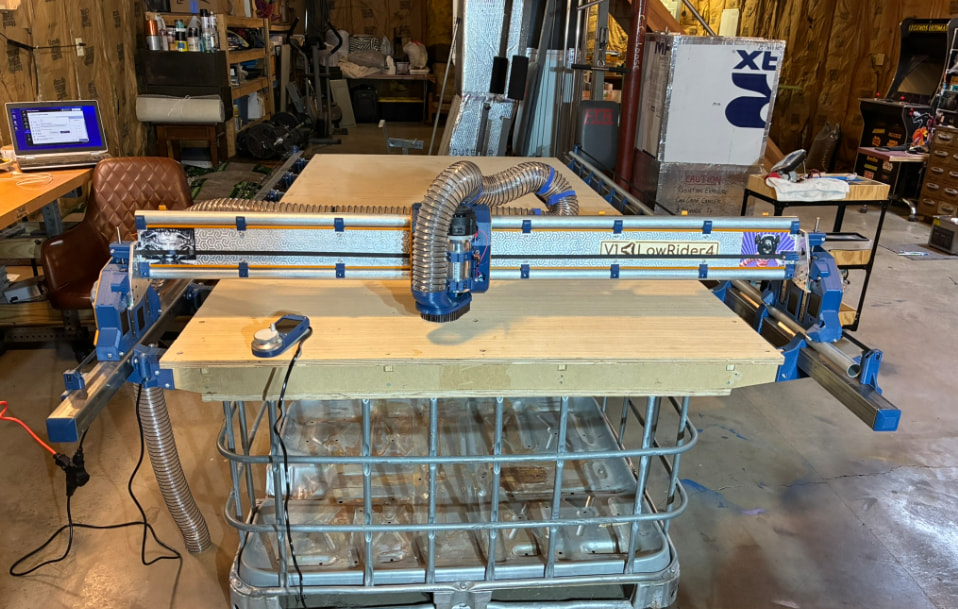
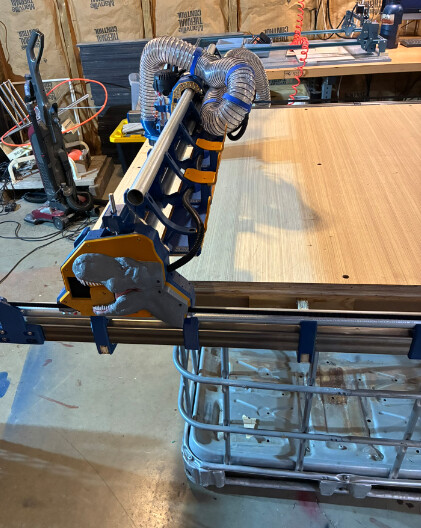
Feel free to laugh at my redneck table mounts! I get IBC totes at work for free so I’m temporarily using 2 of the cages cut down as my table supports.

I cut the the XZ plates on my first V1 build, the MPCNC Primo.

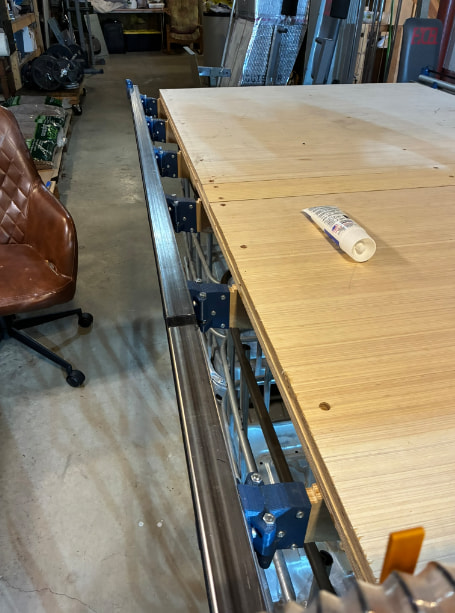
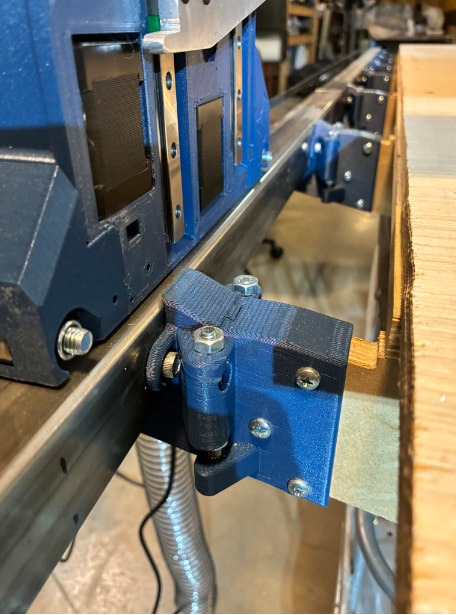
I did my ways out of some square stainless steel tubing that I sourced for free. I used the parametric table plans that Ryan and Doug had worked on and made mount system to hold the ways to the table ribs.

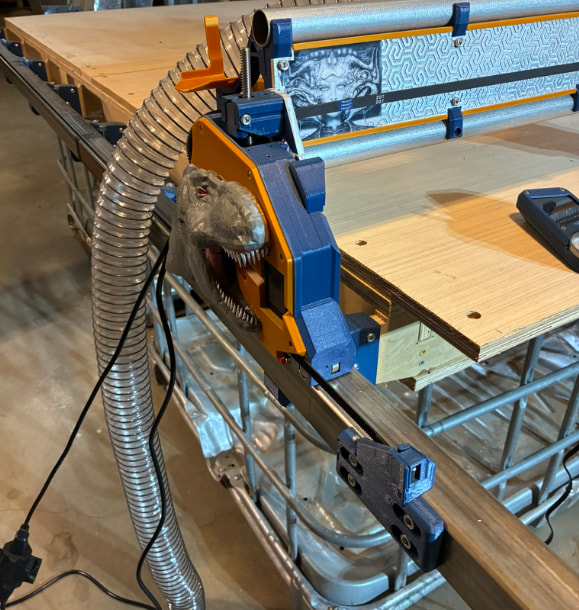
It’s been an absolute blast working on! I would’ve been to this point 8 months ago, but I got sidetracked with a new sunroom on the back of the house for the wife. Also, as some of you may seen in my other posts, I’m putting up a 30x40 Quonset building as my new workshop. So, for the last 8 months the only thing that hadn’t been finished was the x-belt. But the one positive to walking away for so long, was that the Jackpot 3 released. I went ahead and pulled the Jackpot 1 out that I had previously installed and replaced it (and the control box) with the Jackpot 3.

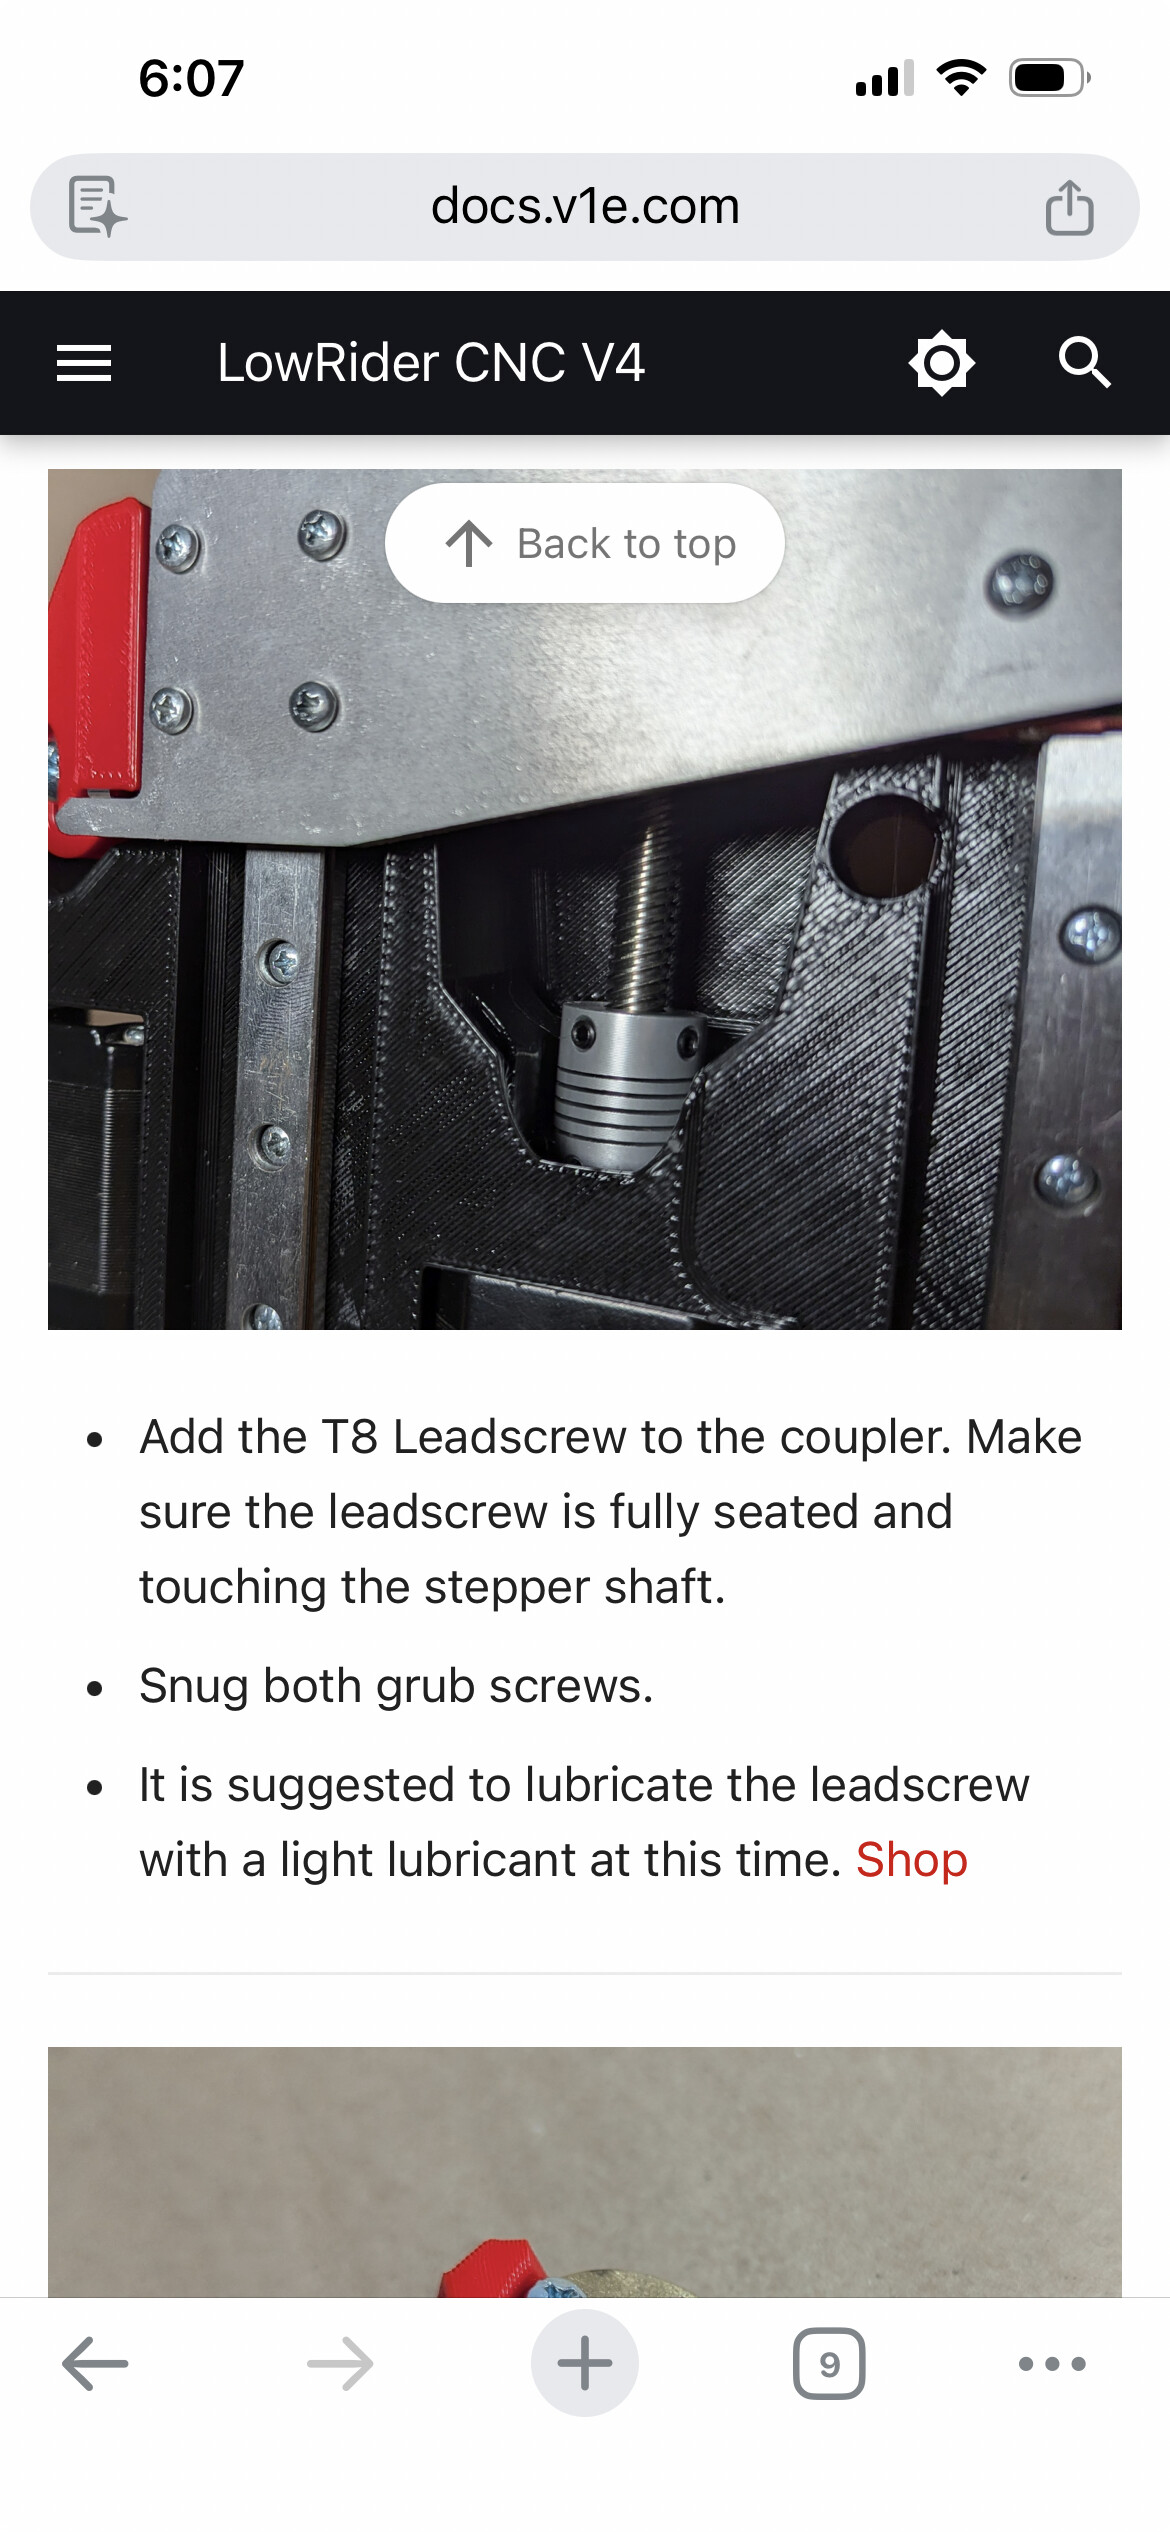
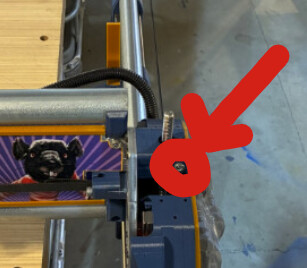
Now I’ve gotten to the fun part of moving it around. And everything is going good except raising the Z axis. Not every time, but frequently enough the Z-skips steps. Sometimes it happens on the x-min side and sometimes it’s on the x-max side. And to top it off, like a complete jackass, I tried tightening the set screws in the coupler and egged out one of the set screws, not just on one side, but both!! However, they were already really tight and I used a drop of blue Loctite on the setscrews when I originally built the unit 8 months ago. I could be wrong, but I don’t think it’s slippage between the motor and the lead screw, I think it’s exceeding the the NEMA 17 motor. Here is a video in which you can hear the noise it makes…

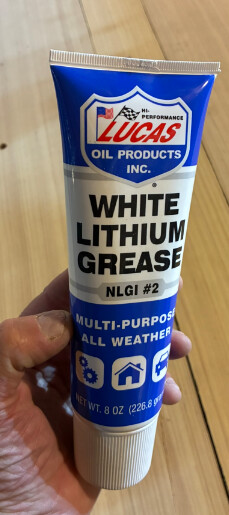
I was thinking about lubing the Z lead screws with white lithium grease, but I thought I’d run it past you gurus first.

My last issue, I also built a FluidNC pendant and I wanted to change my config.yaml file with the following:

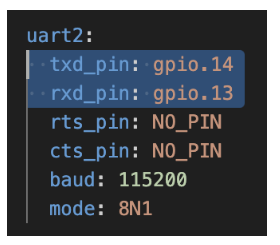
(thanks to @DougJoseph for the info) however when I try to export from FluidNC I get a export.json file. I’m obviously missing something, so could someone point me in the right direction?

In advance, many thanks!!

7 Likes

If that all you have, I would think that would be better than nothing at all. I would bet no lube is why you are skipping steps now. Usually we use Super Lube grease for the leadscrews. If you bought a kit from V1 it should have come with a small tube.

1 Like

Cool, thanks!

I can’t believe I missed this:

1 Like

It happens more often than you would think :rofl:

Seems to work just fine and was cheap.

Engineering at it’s finest.

2 Likes

I didn’t do a kit from V1, I printed/milled everything at home. I was able to find Super Lube synthetic grease at the hardware store. They only had it in the little tubs, so I have enough to build 400-500 more LR’s!

Anyway, it solved the problem!

I also figured out my question about the config.yaml location with @DougJoseph post Which config.yaml? - #3 by DougJoseph . I was thinking you somehow exported/modified/imported through the FluidNC WebUI.

I really don’t think I’ll use it much, but building it was a really fun diversion!

2 Likes

Good deal! Glad it worked!

points for the tote repurpose, the avatar placement, and the dinosaur side plate!! Very nice!

2 Likes

What a cool looking build!!!

Make sure you take out both of these screws, one on each side,


it says it here, but I also did not include a picture to insert them. Still gets a lot of people.

Maybe that part should just be remade without the hole?

1 Like

Some of us have put them back in (very loosely) after previous, er, incidents.

1 Like

I wasn’t sure if anyone would pickup on the Rat sticker, good eye!!

Thanks Ryan! I was at a boring meeting last evening and rereading the instructions and I saw that. I couldn’t remember if I left them in or not. I’ll pull them out today.

1 Like

They have a place in heavy duty use, it just takes an extra check to make sure you put them in and the axis can freely travel all the way to the bottom.

1 Like

I’ve never seen anyone use them. Have you? Make it an optional part that is only linked to in the docs, but not in the printables files so there isn’t any confusion.

Like: if you are using it in this and that configuration, replace with… There’d be a lot less questions this way.

1 Like

Mine have been in since beta. No problems (at least none related to that).

1 Like

They are in on my machine, and every prebuilt that leaves here. Not one problem. I’m too scared to ship them without them. Someone will grab it and have a XZ plate in their hand and the YZ on the floor with little bearings going everywhere.

1 Like

They are not tight at all though. Just in enough for the M5 screw to get to the nylon on the nut

1 Like

optional stuff like that makes selling printed kits harder, and the instructions slightly more confusing.

If I add a picture with a red “X” over the hole and a sentence describing it I think that would solve the problem.

2 Likes

I wish we could figure out why people have a problem with them in and fix that. I haven’t had one bind up at all so I cant figure out what it is that’s causing people issues.