Sorry but this cracked me up during assembly 
“Roll them around on your table making motor noises to make sure they work right.”
9 Likes
been lurking for a month after discovering the lowrider. Super stoked. Just started printing in PETG and ordered the core parts kits.
Looking forward to officially being part of the community. 
1 Like
Welcome in !
Unless you have a very specific reason for PETG I highly recommend PLA for at least the XZ plates, and maybe the core.
1 Like
Ryan, I know it’s early days so take this as a question with notice -
The recommended infill for each part is listed, and presumably that is a “catch all” for all kinds of printing and infill - my usual modus operandi for structural bits is to add wall thickness rather than infill.
Most of the beta team appear to have printed with large nozzle sizes. I will probably (for my own stupid misguided reasons) go with a 0.4, as will no doubt many others if they are new to printing. It stands to reason that a 0.4 nozzle will need twice the number of perimeters as a 0.8. Is that why the heavier infill recommendations than previous versions?
Thanks, P
1 Like
I do not see any reason to do more than 2 walls, 3 at the most with any size nozzle with any filament. Infill has a purpose as well as walls. Too thick of walls and you lose out on shear stability.in the print plane.
Cnc kitchen has done significant testing with this but typically only reports on strength in one direction at a time.
1 Like
Think of it this way. This is how the parts were printed for testing. If the infill is above 30% its because it needed it. If you want to do it another way you should have a strong grasp on why you would do it differently from the specs.
1 Like
I used a 0.4mm nozzle. Recommended infill percentage, 3 perimeters 6x top/bottom (0.2mm layers).
Not the fastest settings, but works.
1 Like
Thanks to you both - @jeffeb3 those were my thoughts - but I can’t help but ask questions!
I didn’t think too hard about it. Those are my standard settings for just about everything. My default infill is 20%, but I listened to Ryan.
2 Likes
Doese the kit include endstop switches as it’s not mentioned on the list
2 Likes
Same question here, I ordered the kit and it did not list end stop switches or wiring for them.
Can we get a link to order the correct amount of switches and wiring for them as shown in the LR3 assembly. Thank You
1 Like
Hi Ryan,
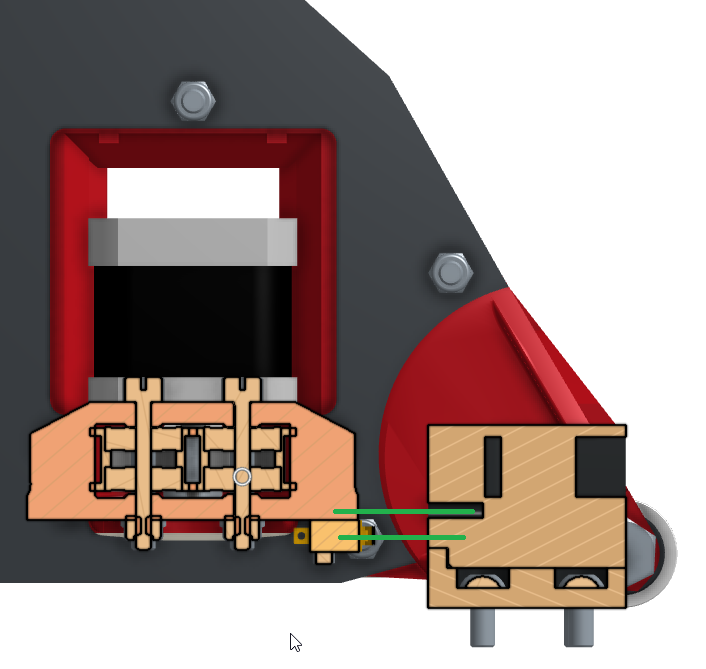
I am new here, even though I followed the forum discussions many times before. Durring my LR3 build, I always assumed that the holes in the front-y-belt-holder parts are meant to accept a screw as an adjustable stop for the limit switch mounted on the y-drive part, but I noticed that the hole and the limit switch does not seem to line up. Is it the same on the beta machines or have I got it all wrong? Thanks.
1 Like
Thank you!
I tend to use PETG down here as it gets very hot and every PLA i’ve used tends to droop and sag quite quickly outside (will be milling on my outside bench under a cover and regularly 100f down here in FL and will see UV). any of my structural prints that i’ve used PLA outside i see noticable wear in just a few days due to the heat and UV. I’ve seen much better results with PETG when printed properly (proper fusing between layers, strong walls, proper infill for the application). I’ve also noticed that the PETG tends to be a little more ductile under extreme stress vs how brittle the PLA is. With the PETG, I can notice a stress, and then print something stronger to replace before the part completely fails. with PLA, i can’t tell if its too stressed until it’s too late and it simply abruptly fails.
I’m too lazy to switch my nozzle to .6 or .8 and have to recalibrate everything for the time being (maybe for the core to lower the estimated 18hrs), but my typical structural prints i do .2 layer height, .6 extrusion width 6 top and bottom solid fills and 4-5 perimeters. In these prints I am using the recommended infills, but using gyroid infill instead of rectilinear as it provides more strength in all directions.
I do have 3/4 of a roll of black PLA that i plan to use up on all of the black parts and will see how they hold up. If i notice any issues with either material, i will switch. appreciate the heads up.
1 Like
i do intend to mill some metal xz plates shortly after getting assembled and calibrated.
We are looking for the least ductility (spring). If a part is stretching or bending, it does so at moments of high stress and maybe not under less load. That equals inconsistencies. Another way to look at it is I would rather have a part break once than make all my cuts wrong, but parts breaking is an extremely uncommon occurrence other than over tightening.
If you need PETG because your parts are in the sun that is fine, but PLA is best in all other cases for the reasons you stated. I work in a 110+ garage and PLA is fine, but there is no direct contact with the sun. I just have to say this as your statement reads as a recommendation.
If you are using endstops you would never use a screw, that would be less accurate. Use M666.
If you are not using endstops then the screw hits the Y drive and serves as a hardstop as intended.
The Rambo’s come with switches and wires, the SKR PRO’s do not. I have that noted in the pages of the boards themselves. Looks like I need to add that info to the LR3 bundle page?
2 Likes
Outdoor-rated spray paint is a quick and easy way to add some UV protection to PLA that gets exposed to the sun. I’d recommend white to minimize solar thermal absorption as well. If you do stick with PETG, then PETG-CF has a similar flexural modulus to PLA and will negate some of the issues Ryan mentioned with the way it flexes under load.
3 Likes
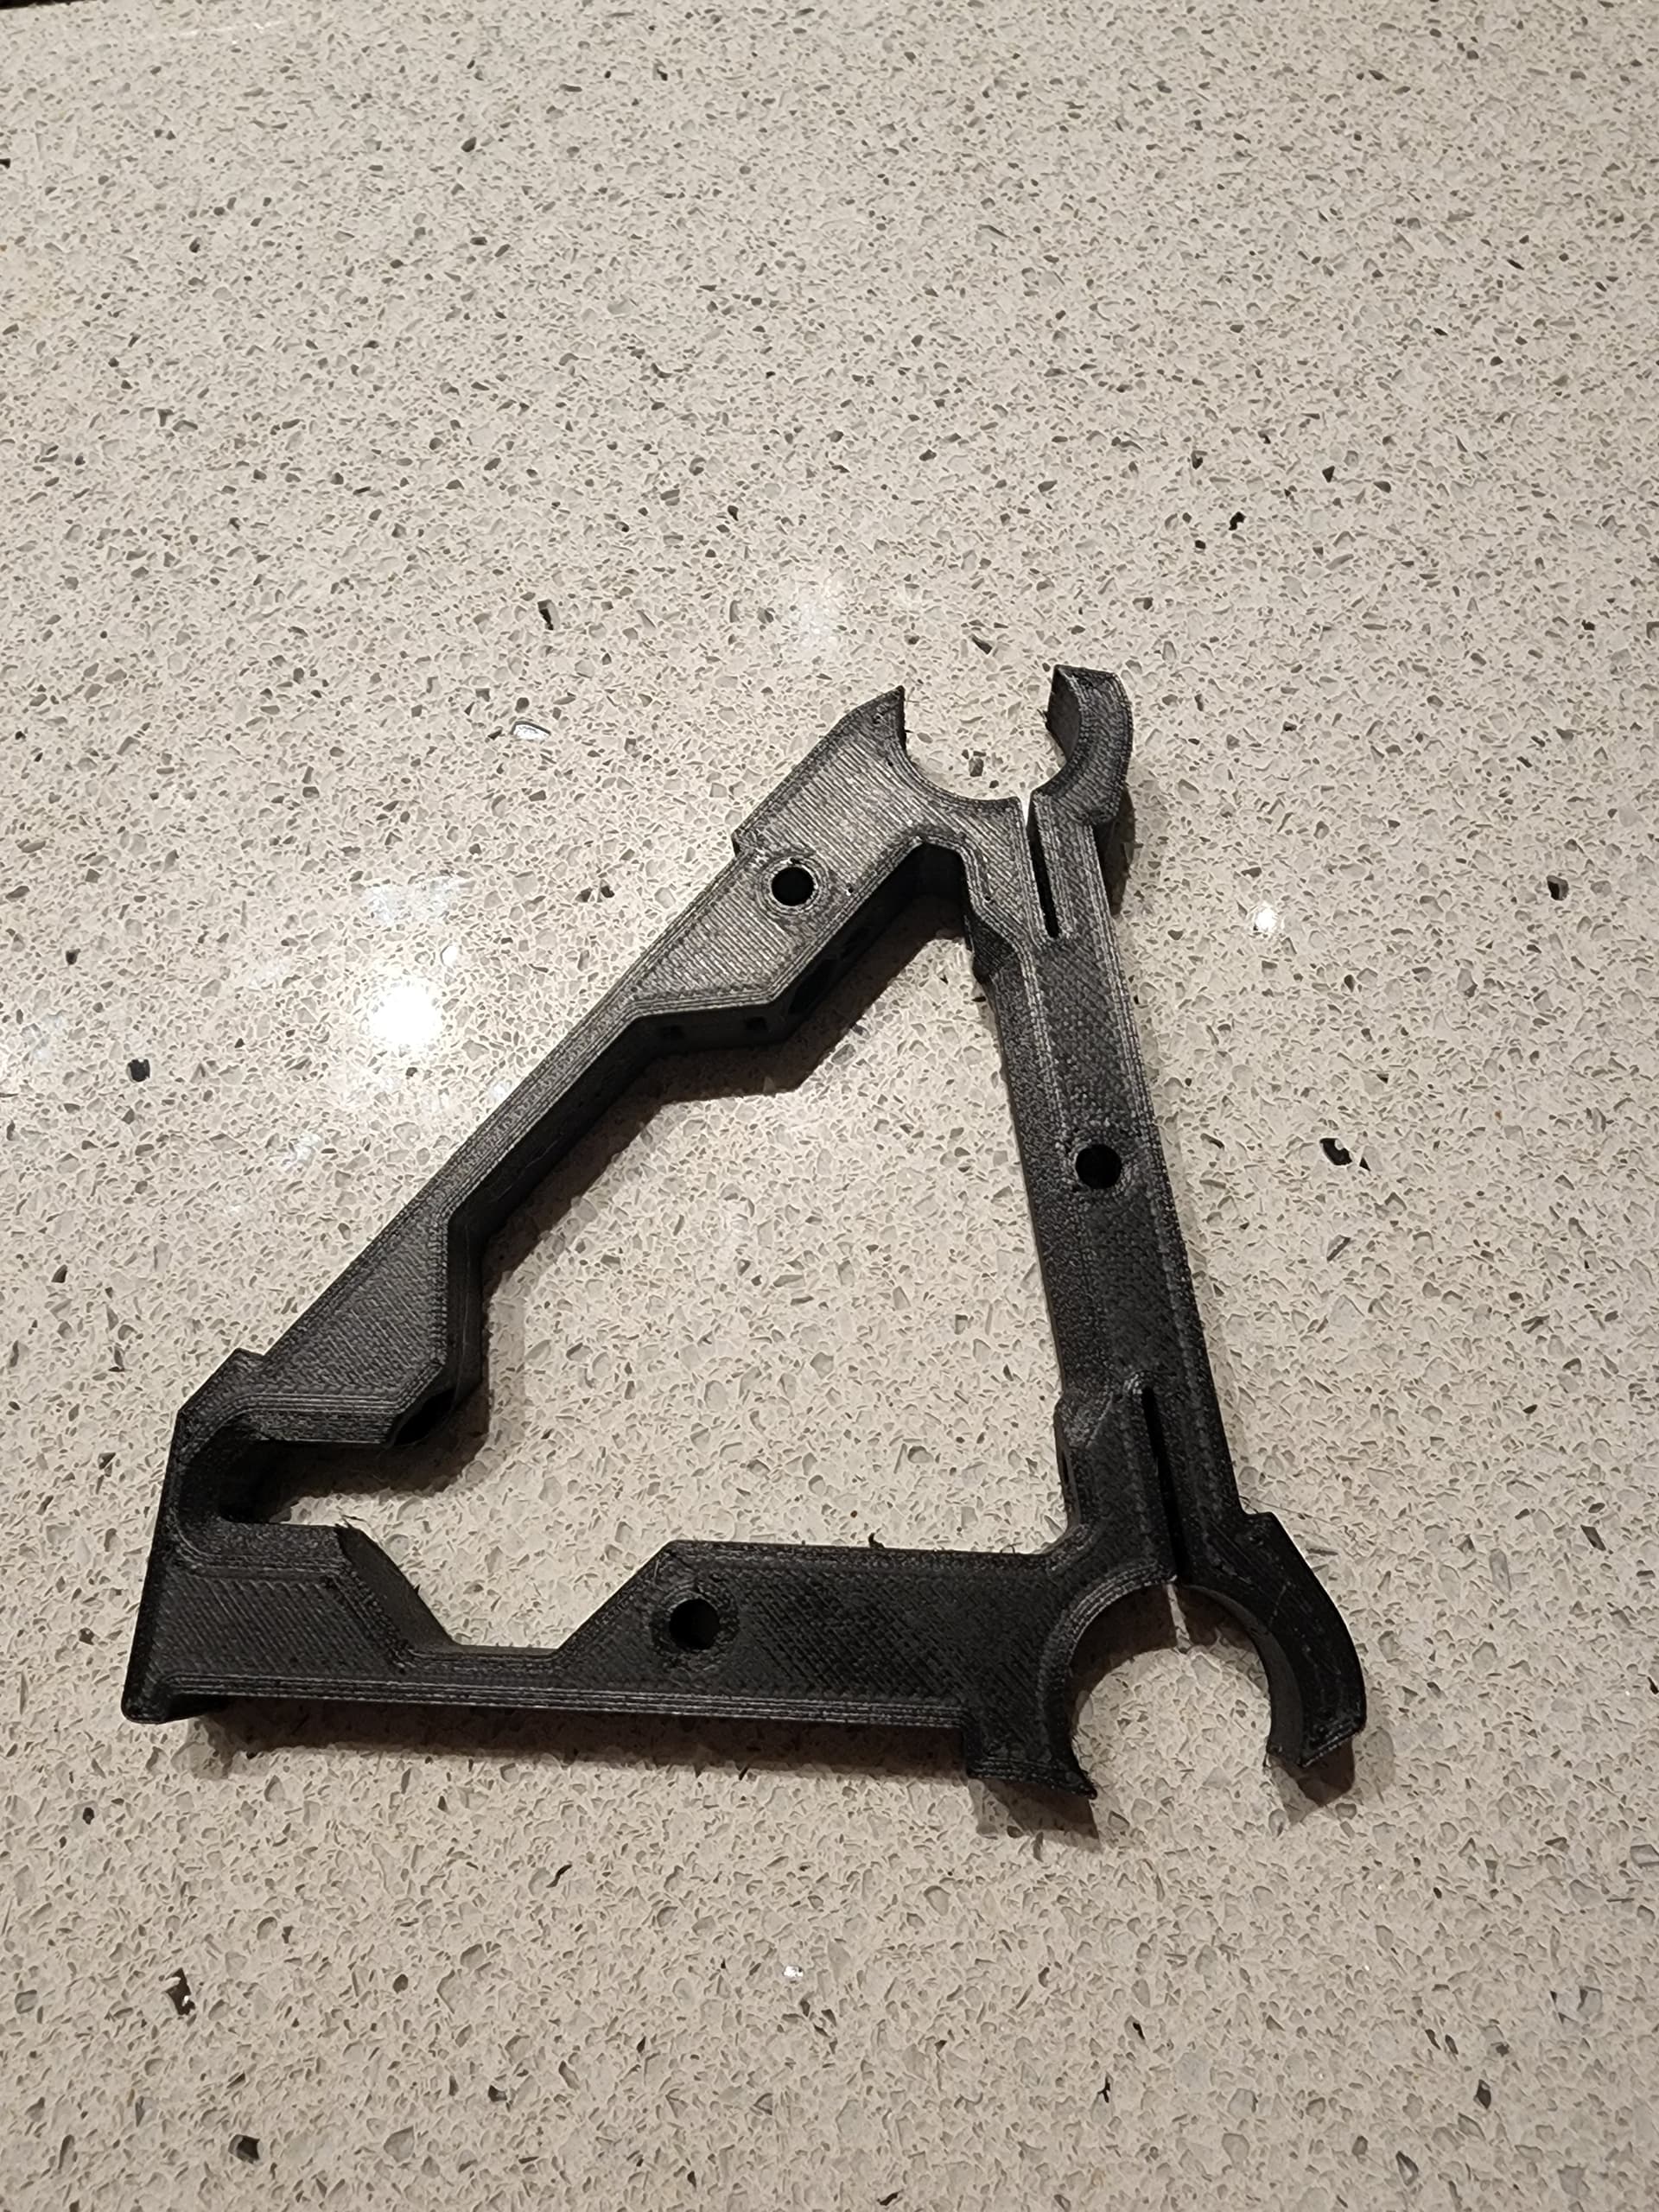
Yeah, it’s a little confusing. Maybe offer a specific endstop switch & wiring kit as an option when purchasing the SKR Pro from your store?
I just purchased the wiring kit and four endstop switches from your store when I bought the SKR Pro but I don’t see the wiring kit anymore.
I think what the others were asking in this discussion is if the endstop switches and wiring are included in the LR3 bundle in the store though.
3 Likes
Yeah, it’s also a little Confusing just how many end stops are needed for the LR3. I assume 2 per axis?
Only one for X. But two for Y and two for Z.
3 Likes