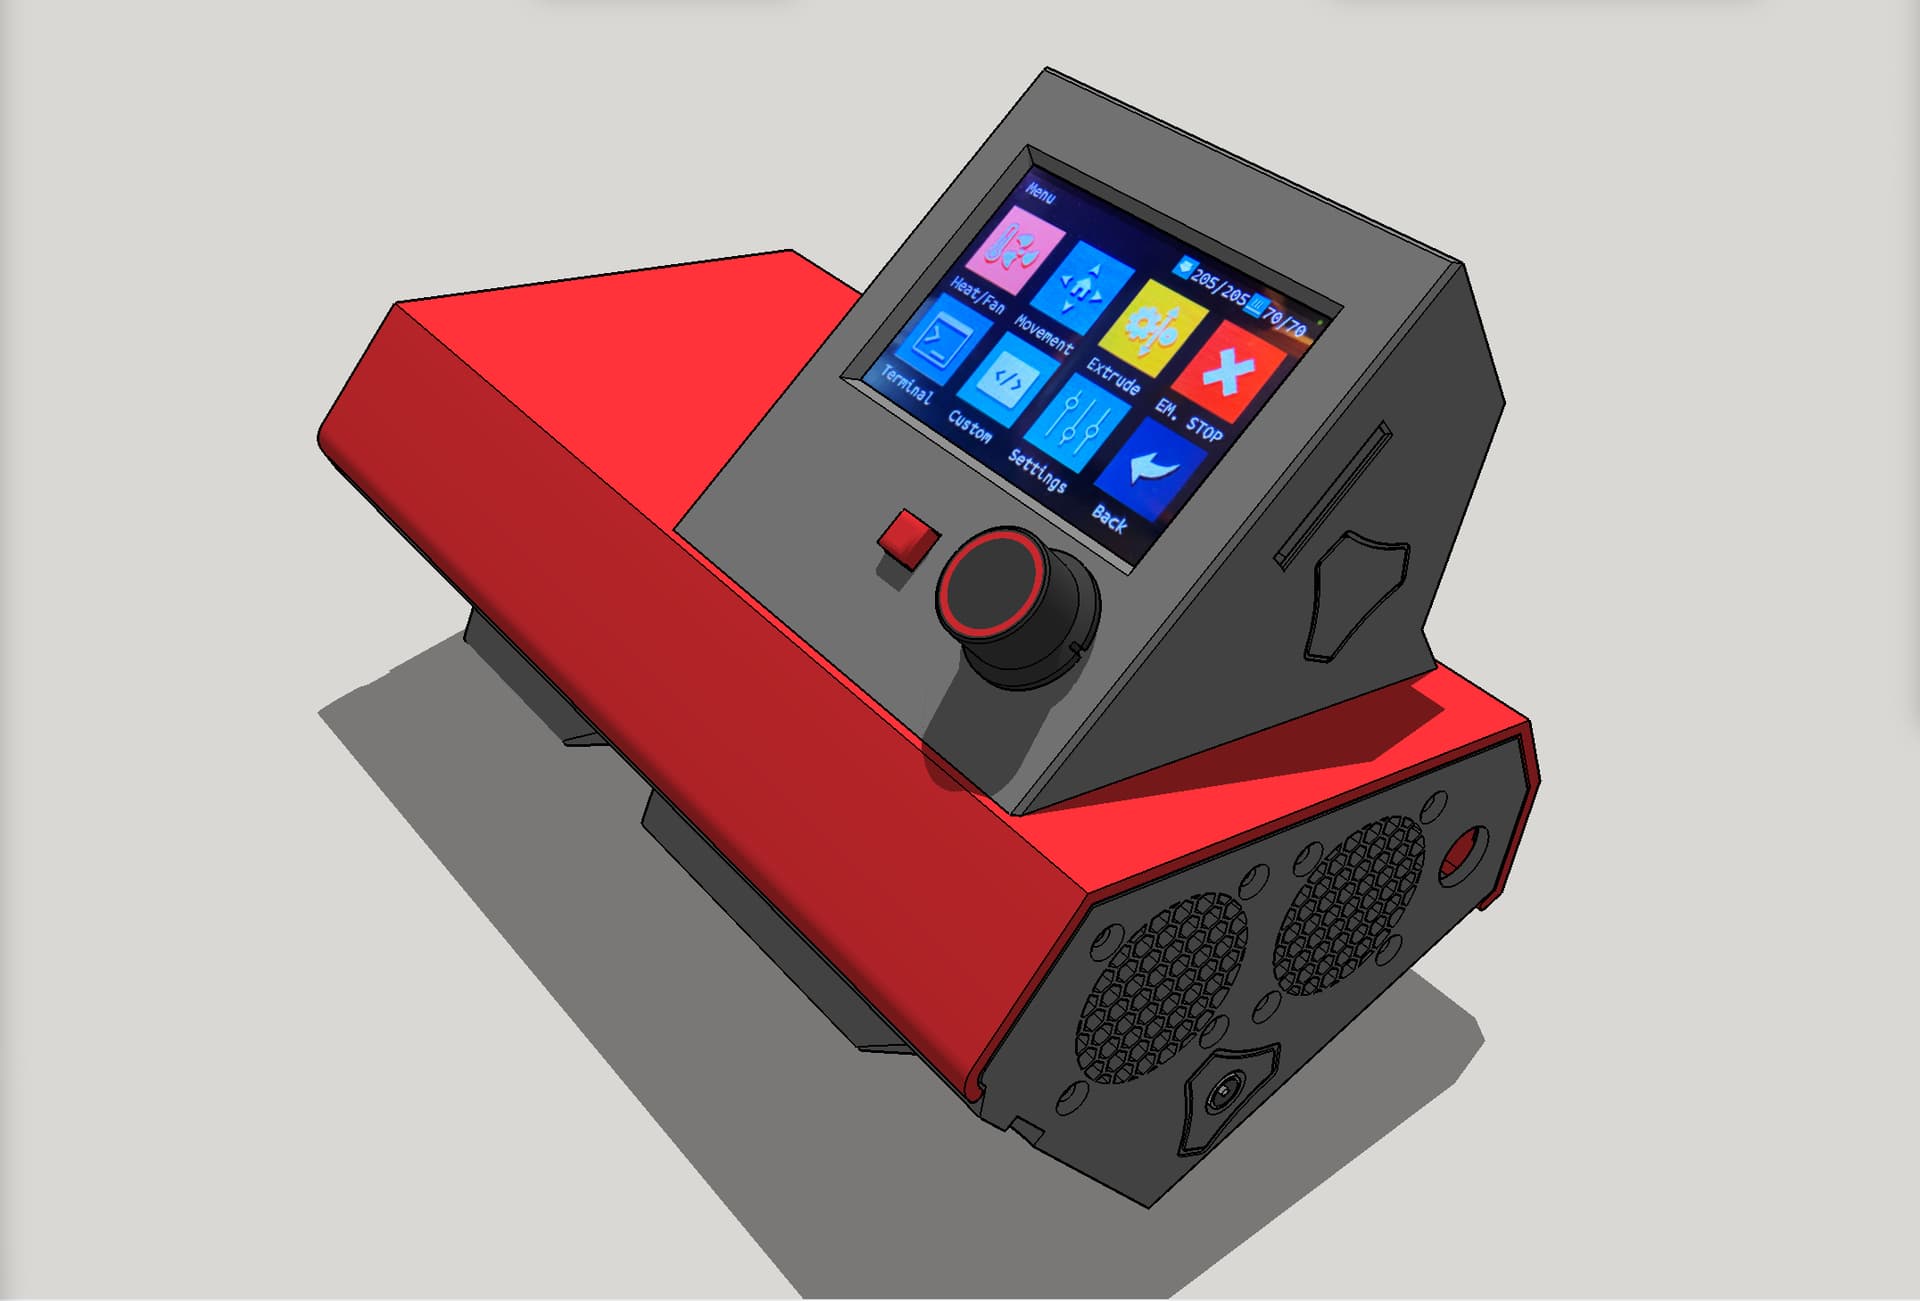
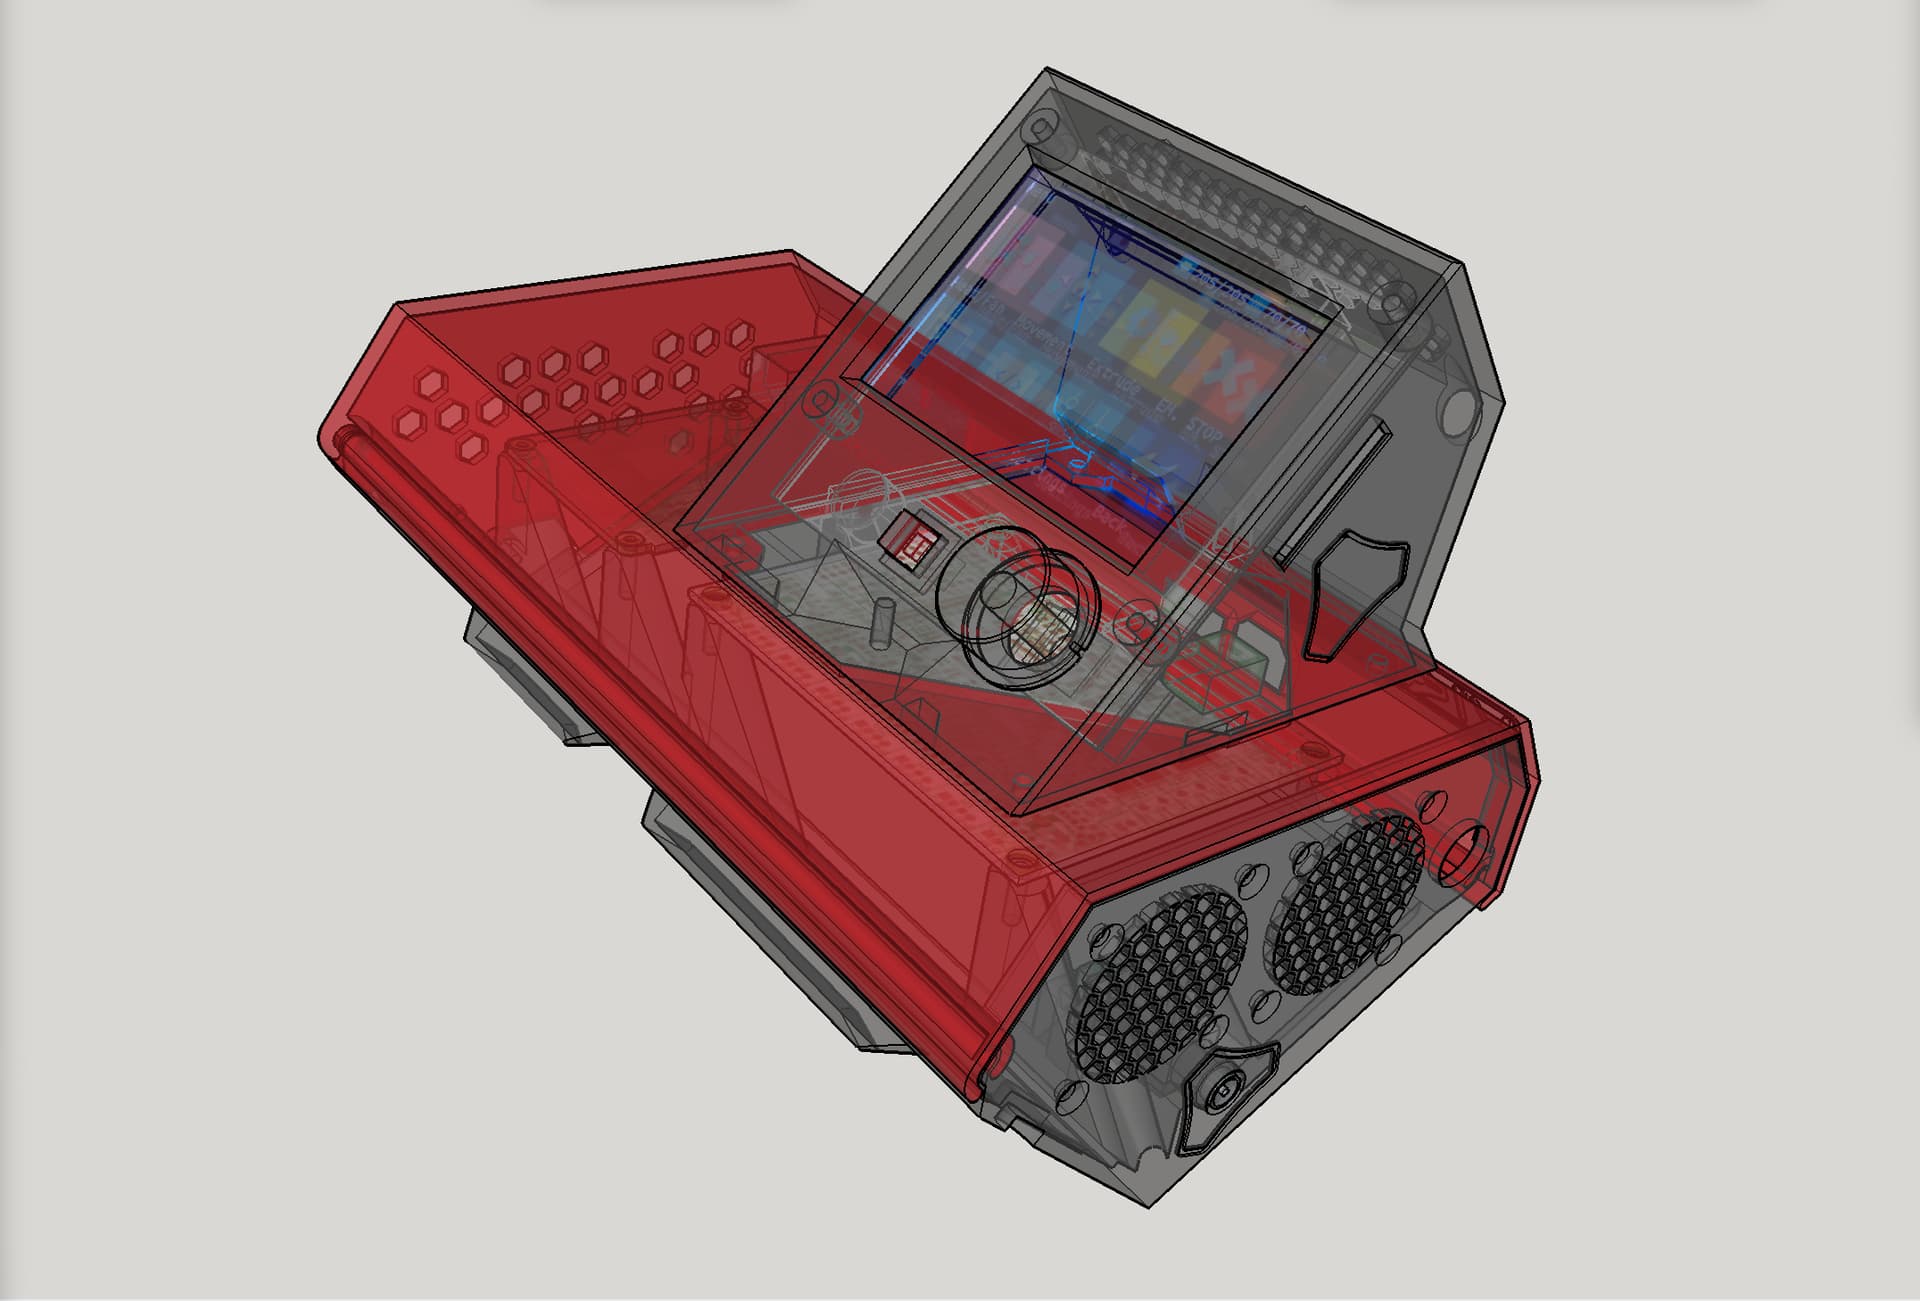
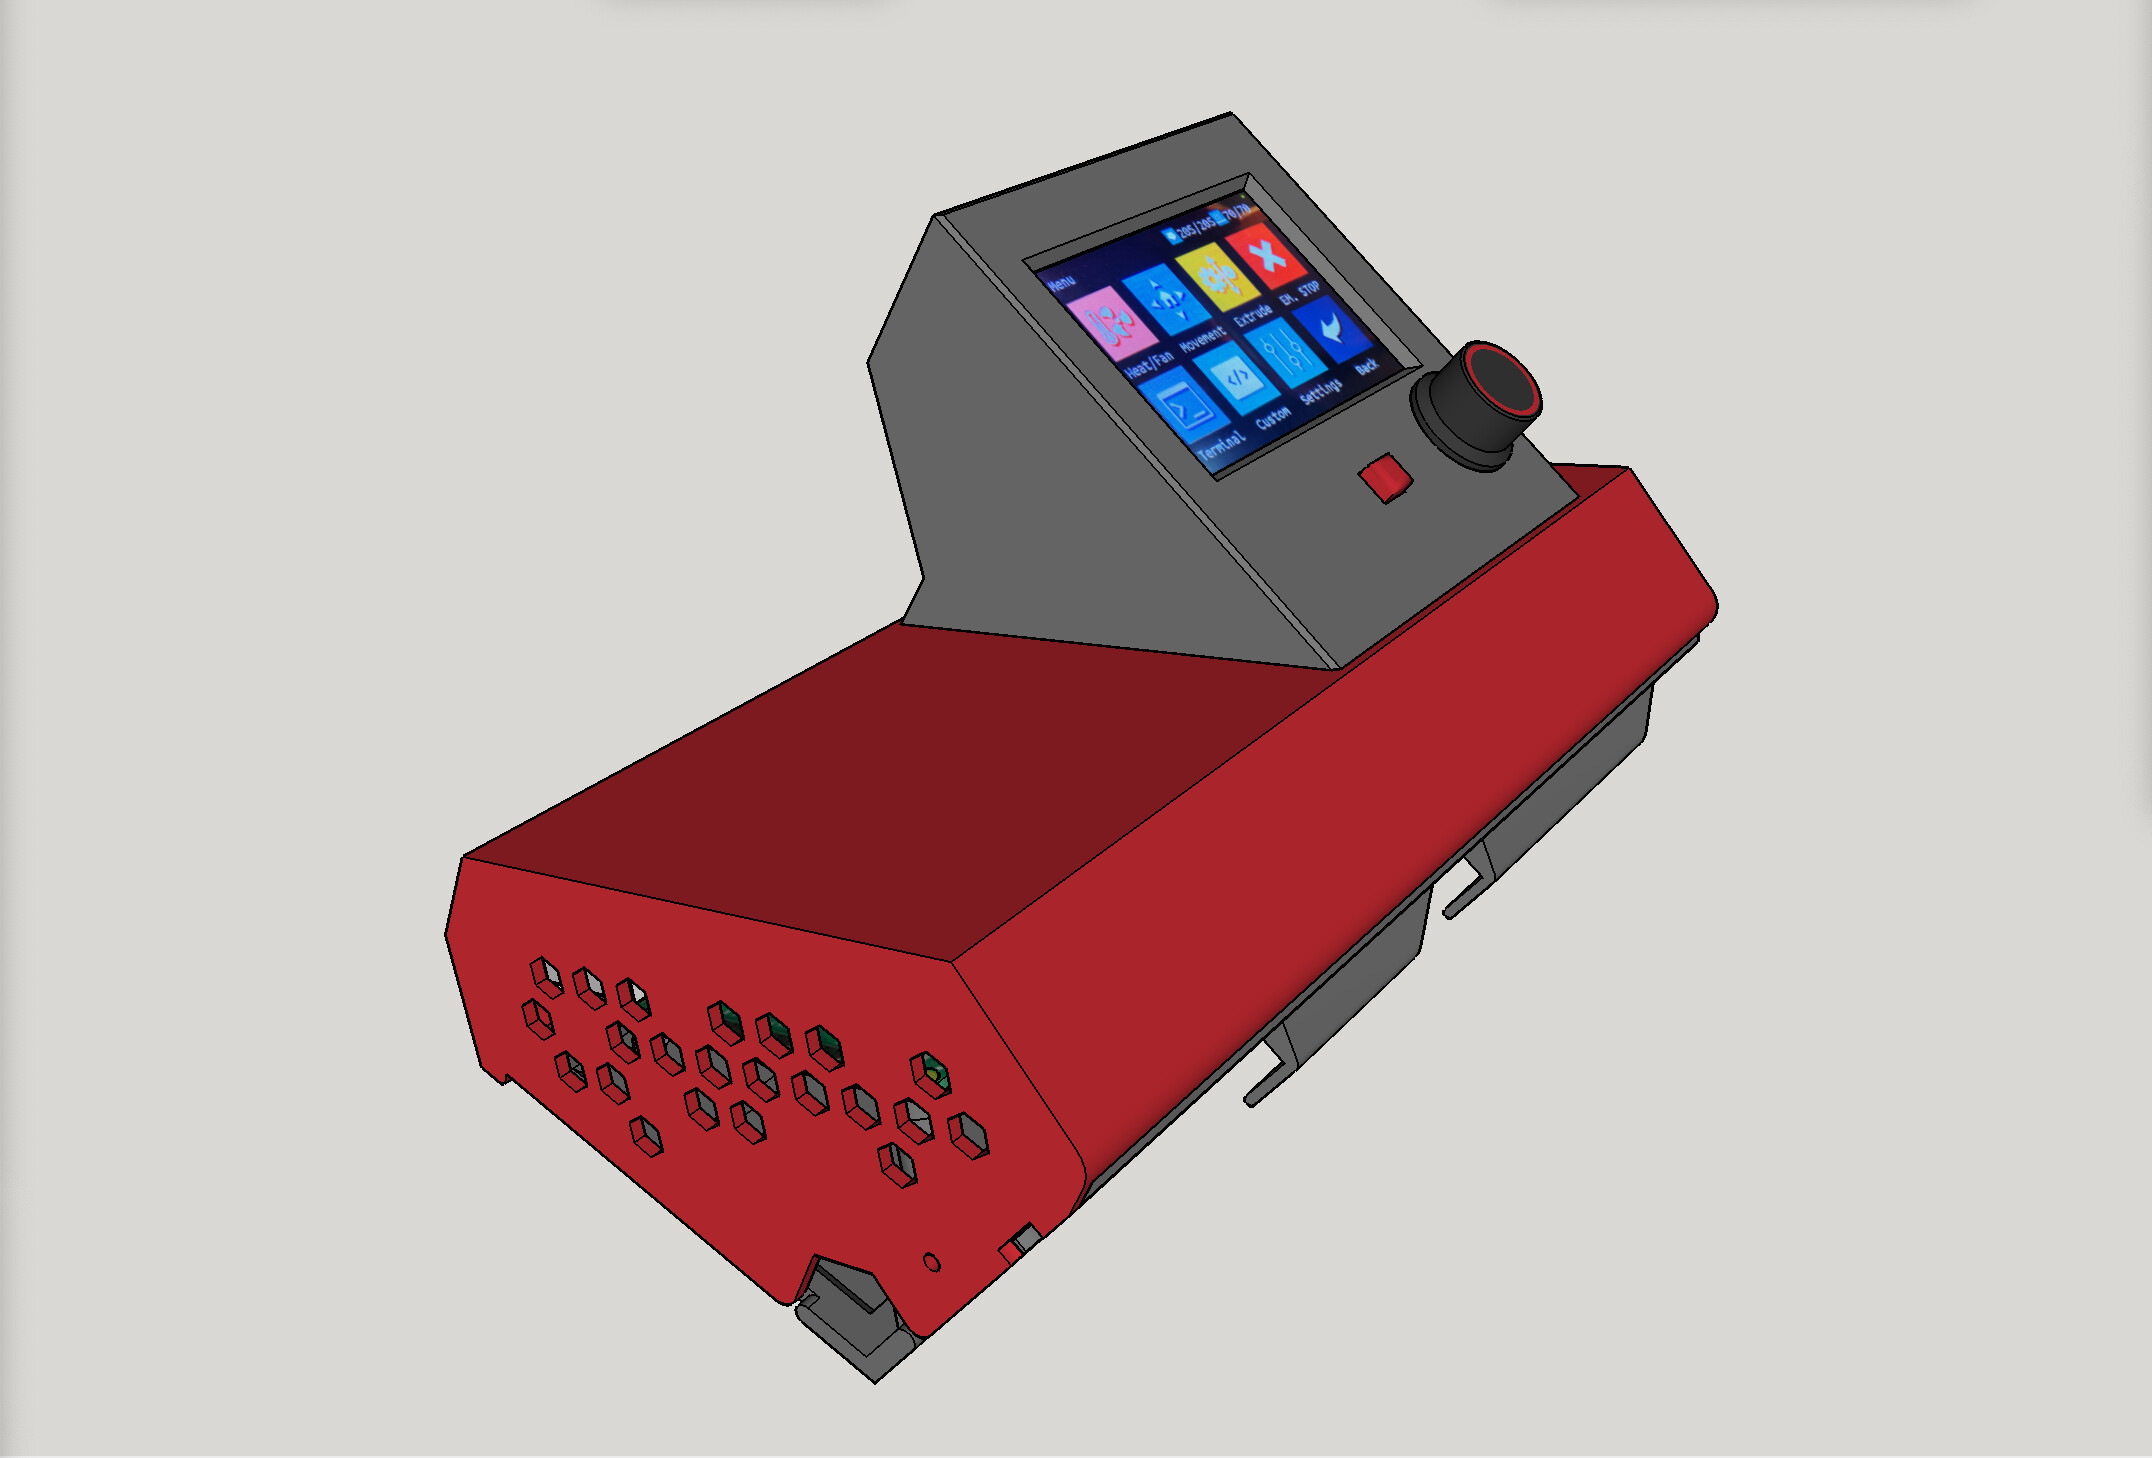
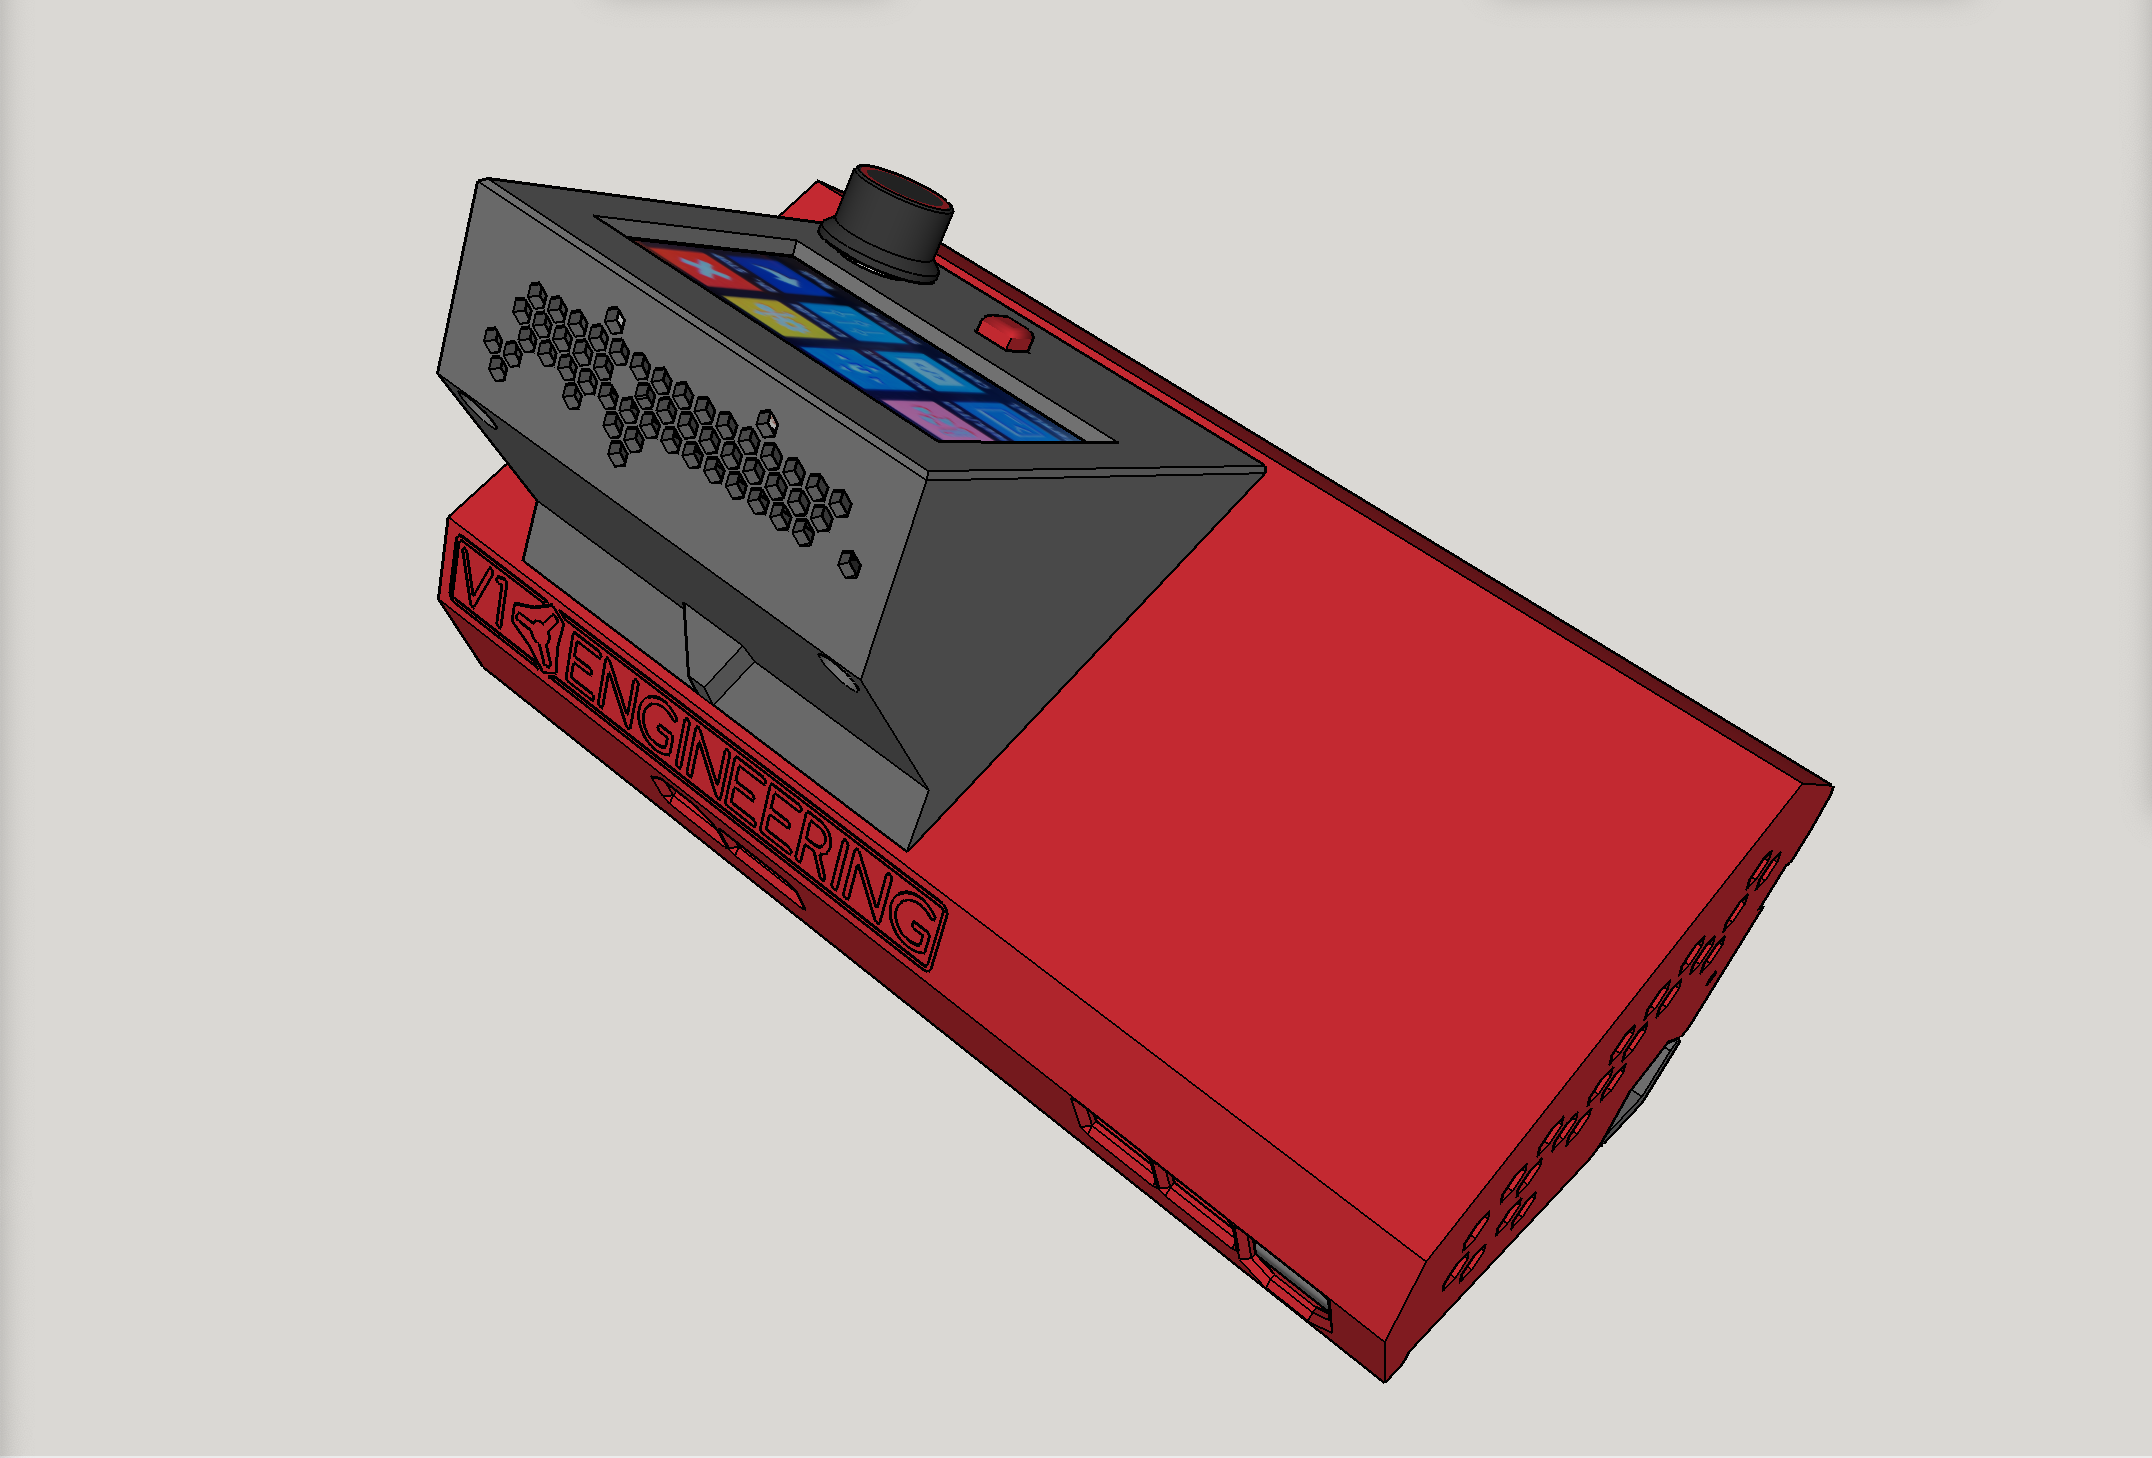
LowRider 3 CNC - control box case for BTT SKR 1.4 Turbo board, Raspberry Pi 4b, and BTT TFT35 E3 touchscreen (v1.3.5)
The key differences here are: SKR 1.4 Turbo instead of SKR 1.2 Pro, and Raspberry Pi4b.
Click here for download page: LowRider 3 CNC - control box case for BTT SKR 1.4 Turbo board, Raspberry Pi 4b, and BTT TFT35 E3 touchscreen (v1.3.5b) by Doug Joseph (design8studio) | Download free STL model | Printables.com


The following is copied and pasted from the Printables listing:
This remix was requested by Stefan Raatz , who desired a case for holding an SKR 1.4 Turbo (instead of SKR 1.2 Pro), as well as a Raspberry Pi 4 model B. I’m not aware of him having printed this remix yet, so consider it untested for now.
Quick heads up:
These remix designs were somewhat “intended” for the case being positioned on the X-max end (right side) of the LR3 gantry. If you are planning for placing it on the X-min (left side), then the only concern with simply sliding the case to the other side is that positions the cooling fan intake holes toward where the cuts happen instead of facing outward. Perhaps the easiest work around is to flip the fans so they pull air out of the case instead of pushing air into the case. Previously I had mistakenly suggested simply mirroring the printer parts, but I had not actually done it, and when someone tried, they pointed out that mirroring does not handle reorienting the openings on the lid for the ports on the PCB(s). Sorry for any confusion.
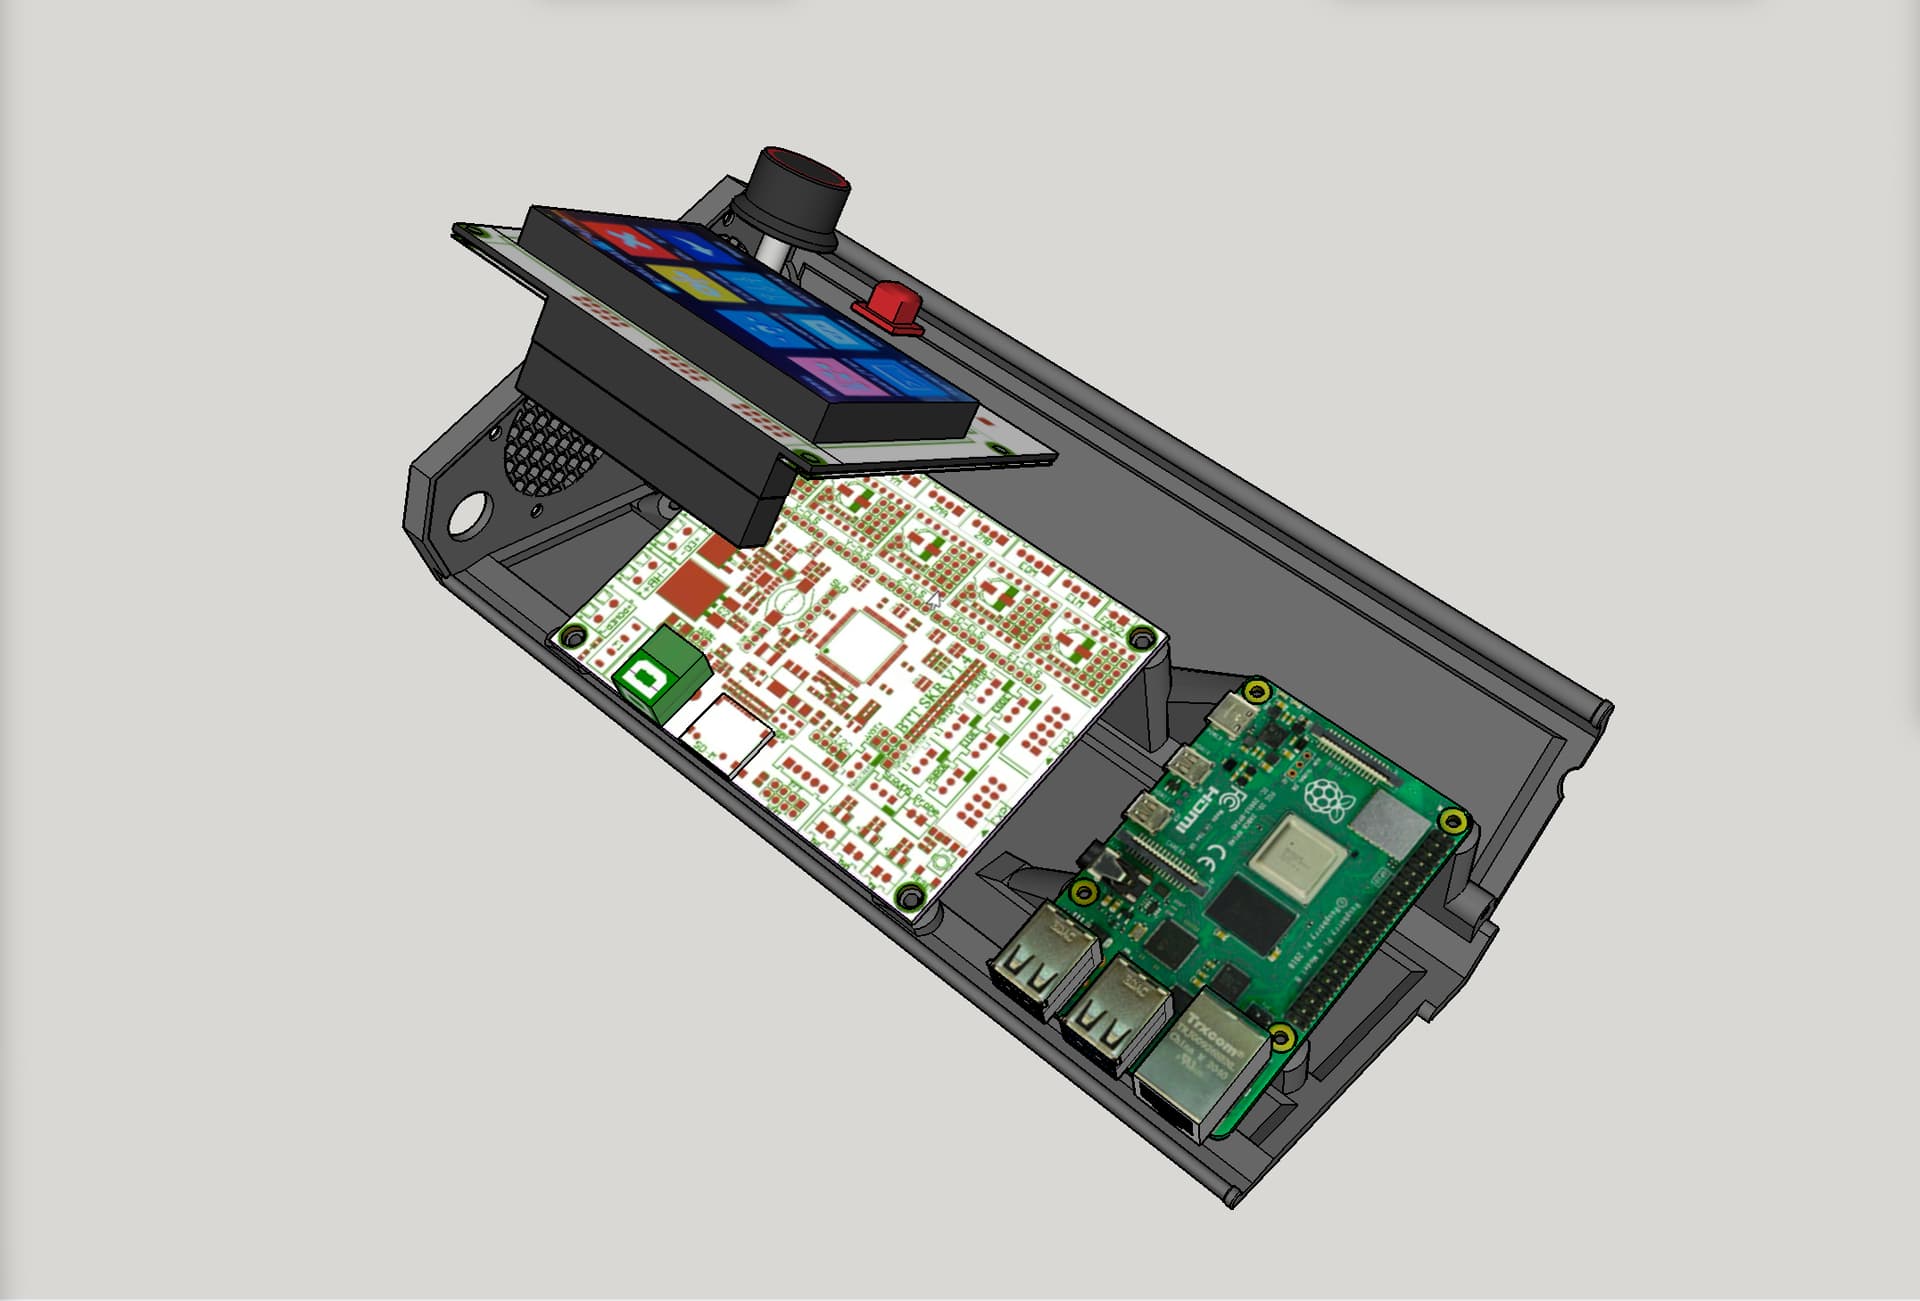
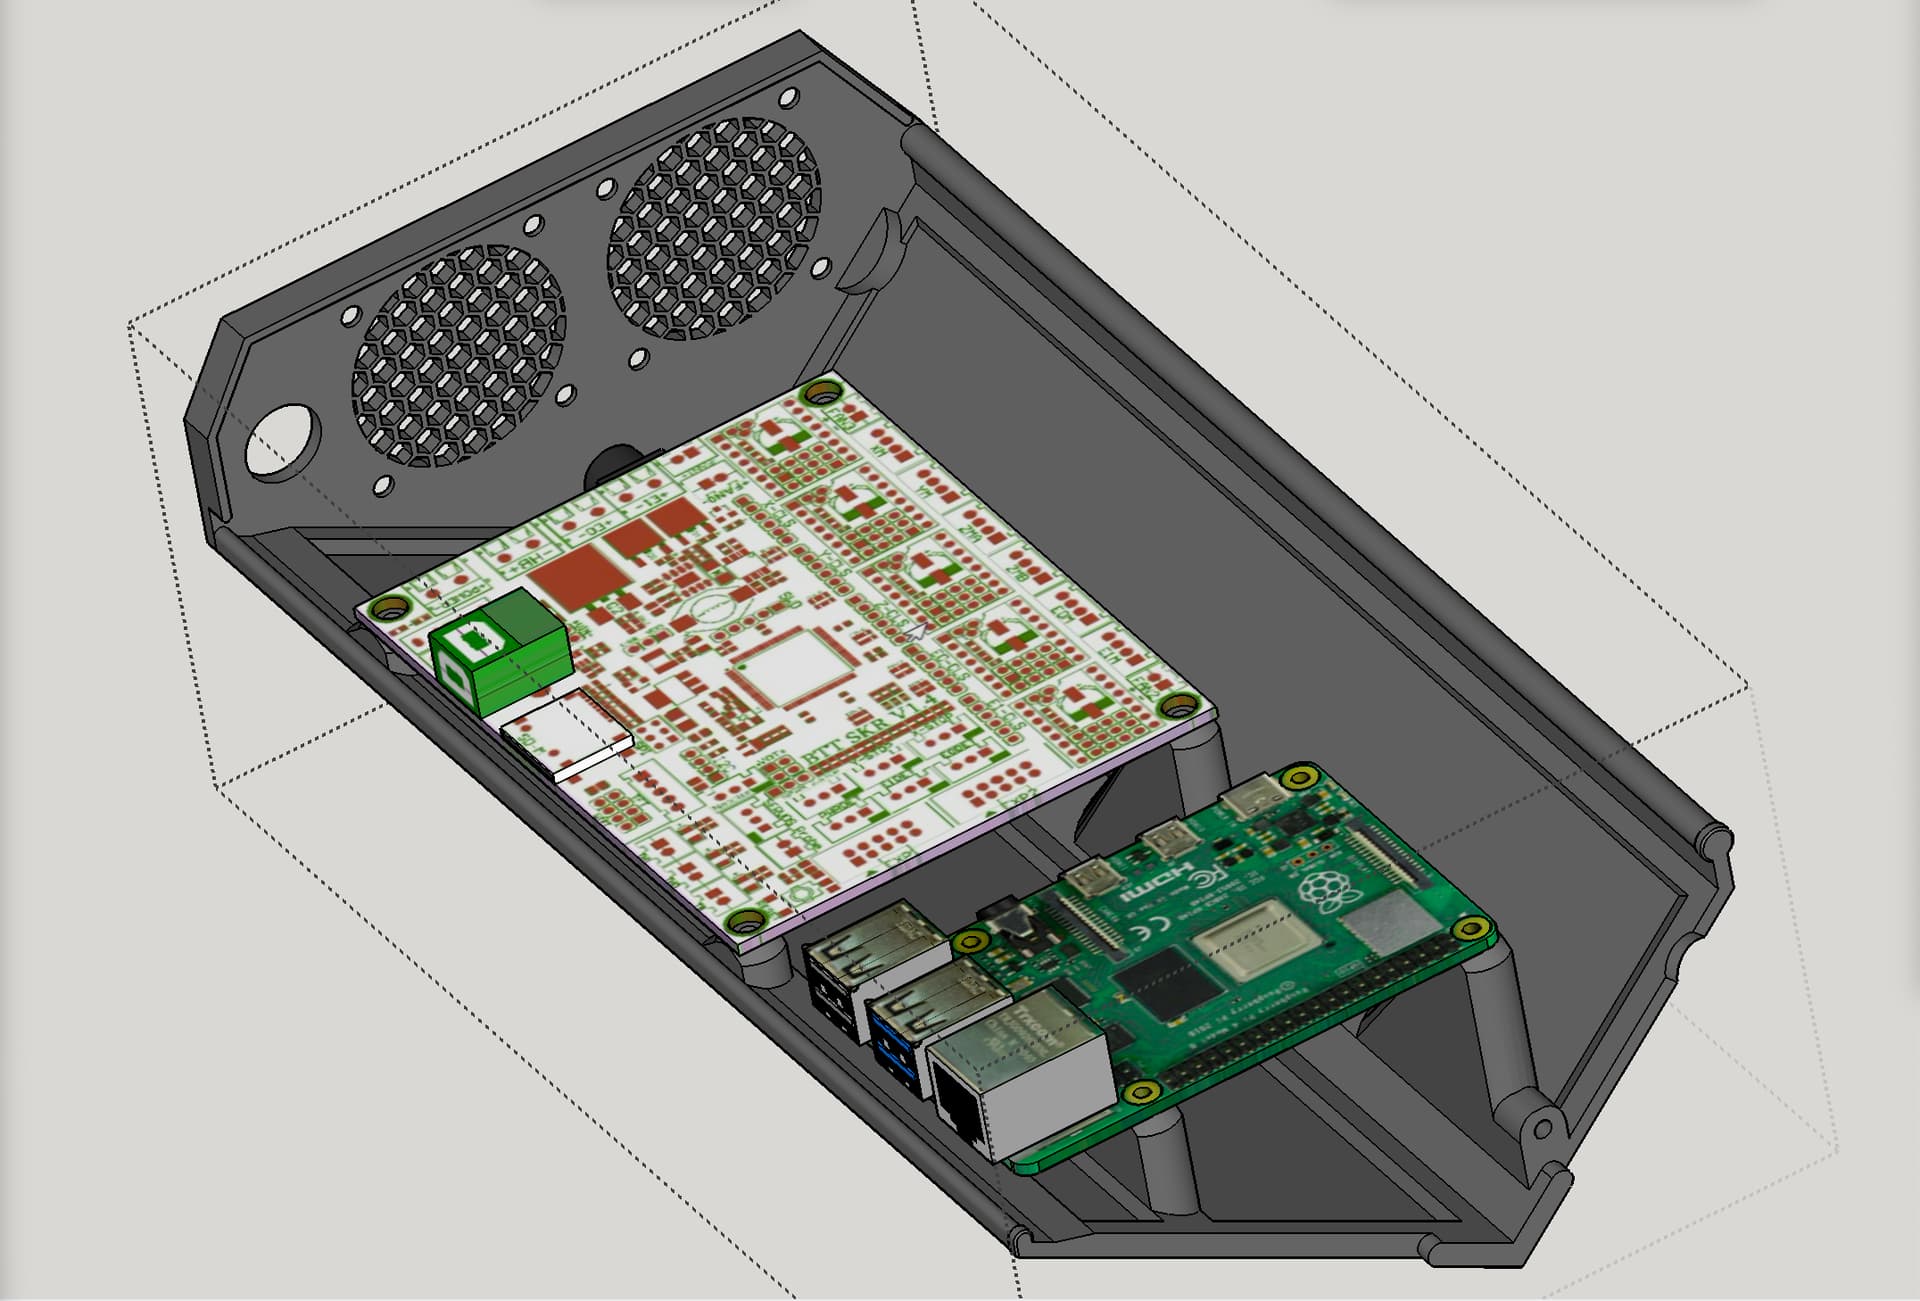
This remix has changes to the base and lid for only one new purpose: so that an SKR 1.4 Turbo (instead of SKR 1.2 Pro) can be used, as well as a Raspberry Pi 4 model B beside the main board.
This is for an E3 version of the TFT. If a non-E3 version of the TFT holder is desired, it’s available in another remix, but changes to this remix’s lid would be needed. Contact me if desired.
This remix maintains the following previous latest features:
- Made such that a single set of prints can have the TFT holder facing either way: out toward X or out toward Y.
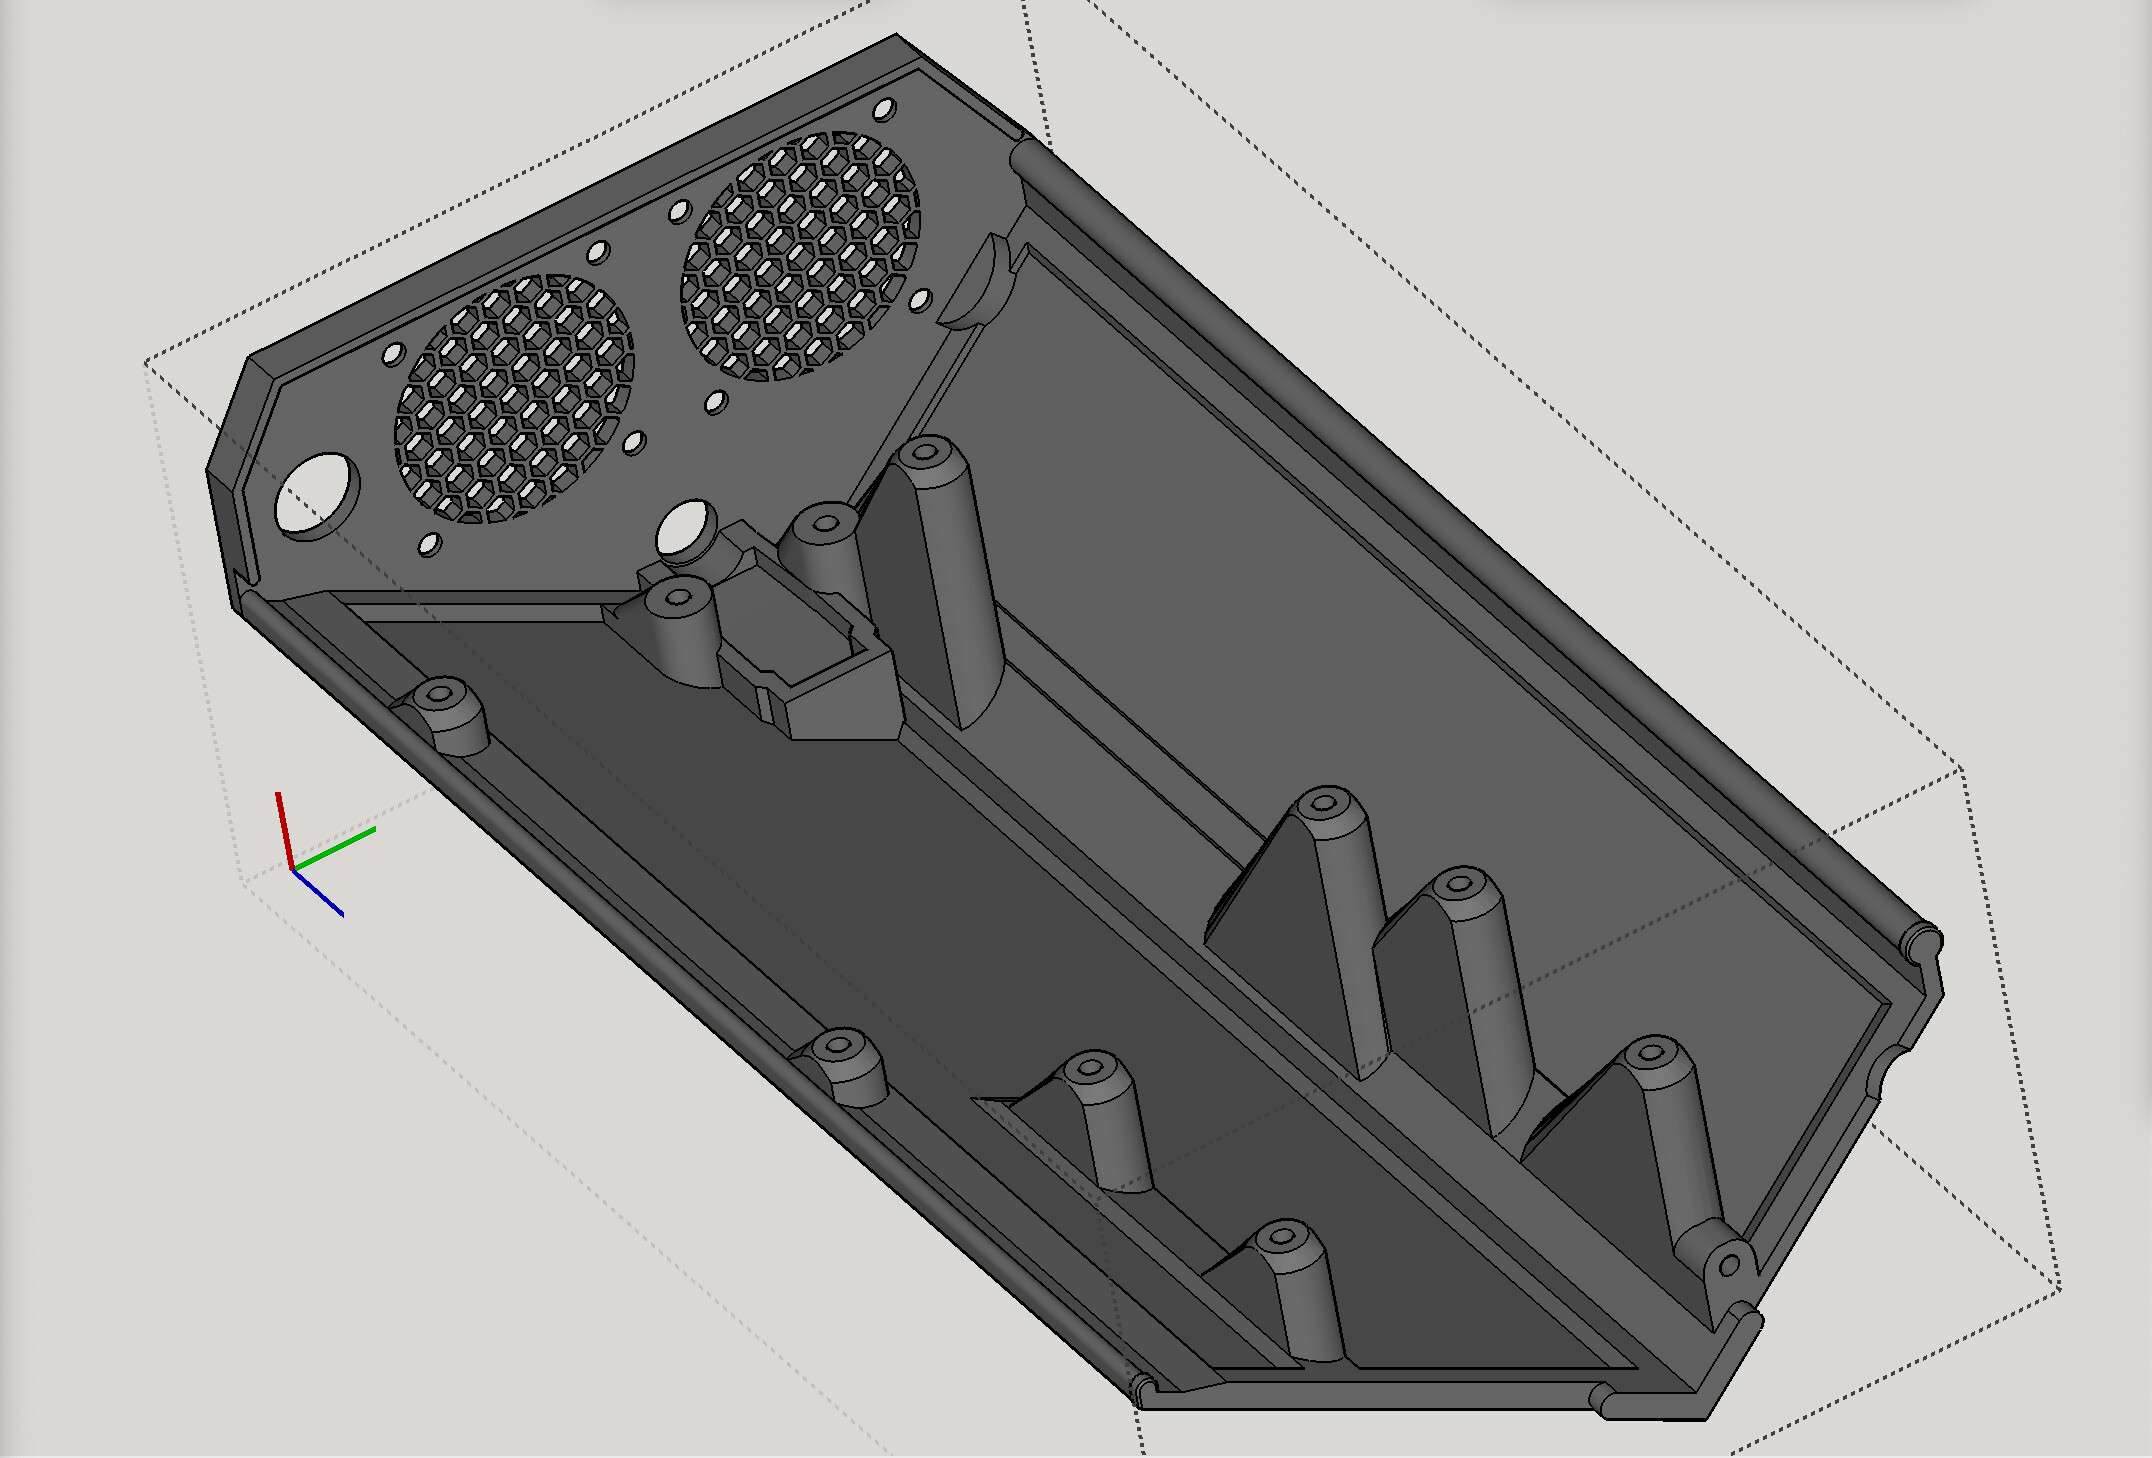
- Has the same streamlined print volume of the previous “low fat” version of the base. It’s a more efficient version of the base with some “fat” trimmed off. It maintains thickness and strength where needed, but saves 33% of the plastic and shaves 25% off the print time.
- It also has the latest new version of hanging bracket, inspired by the work of Dan @SupraGuy on the V1 Engineering forum. This hanging bracket is split in two so it can accommodate your temporary struts while you’re starting out with your LowRider v3, and then graduate to your permanent struts once you get them cut and installed.
Other details remain pretty much the same, so below is a copy and paste from before, with minor tweaks:
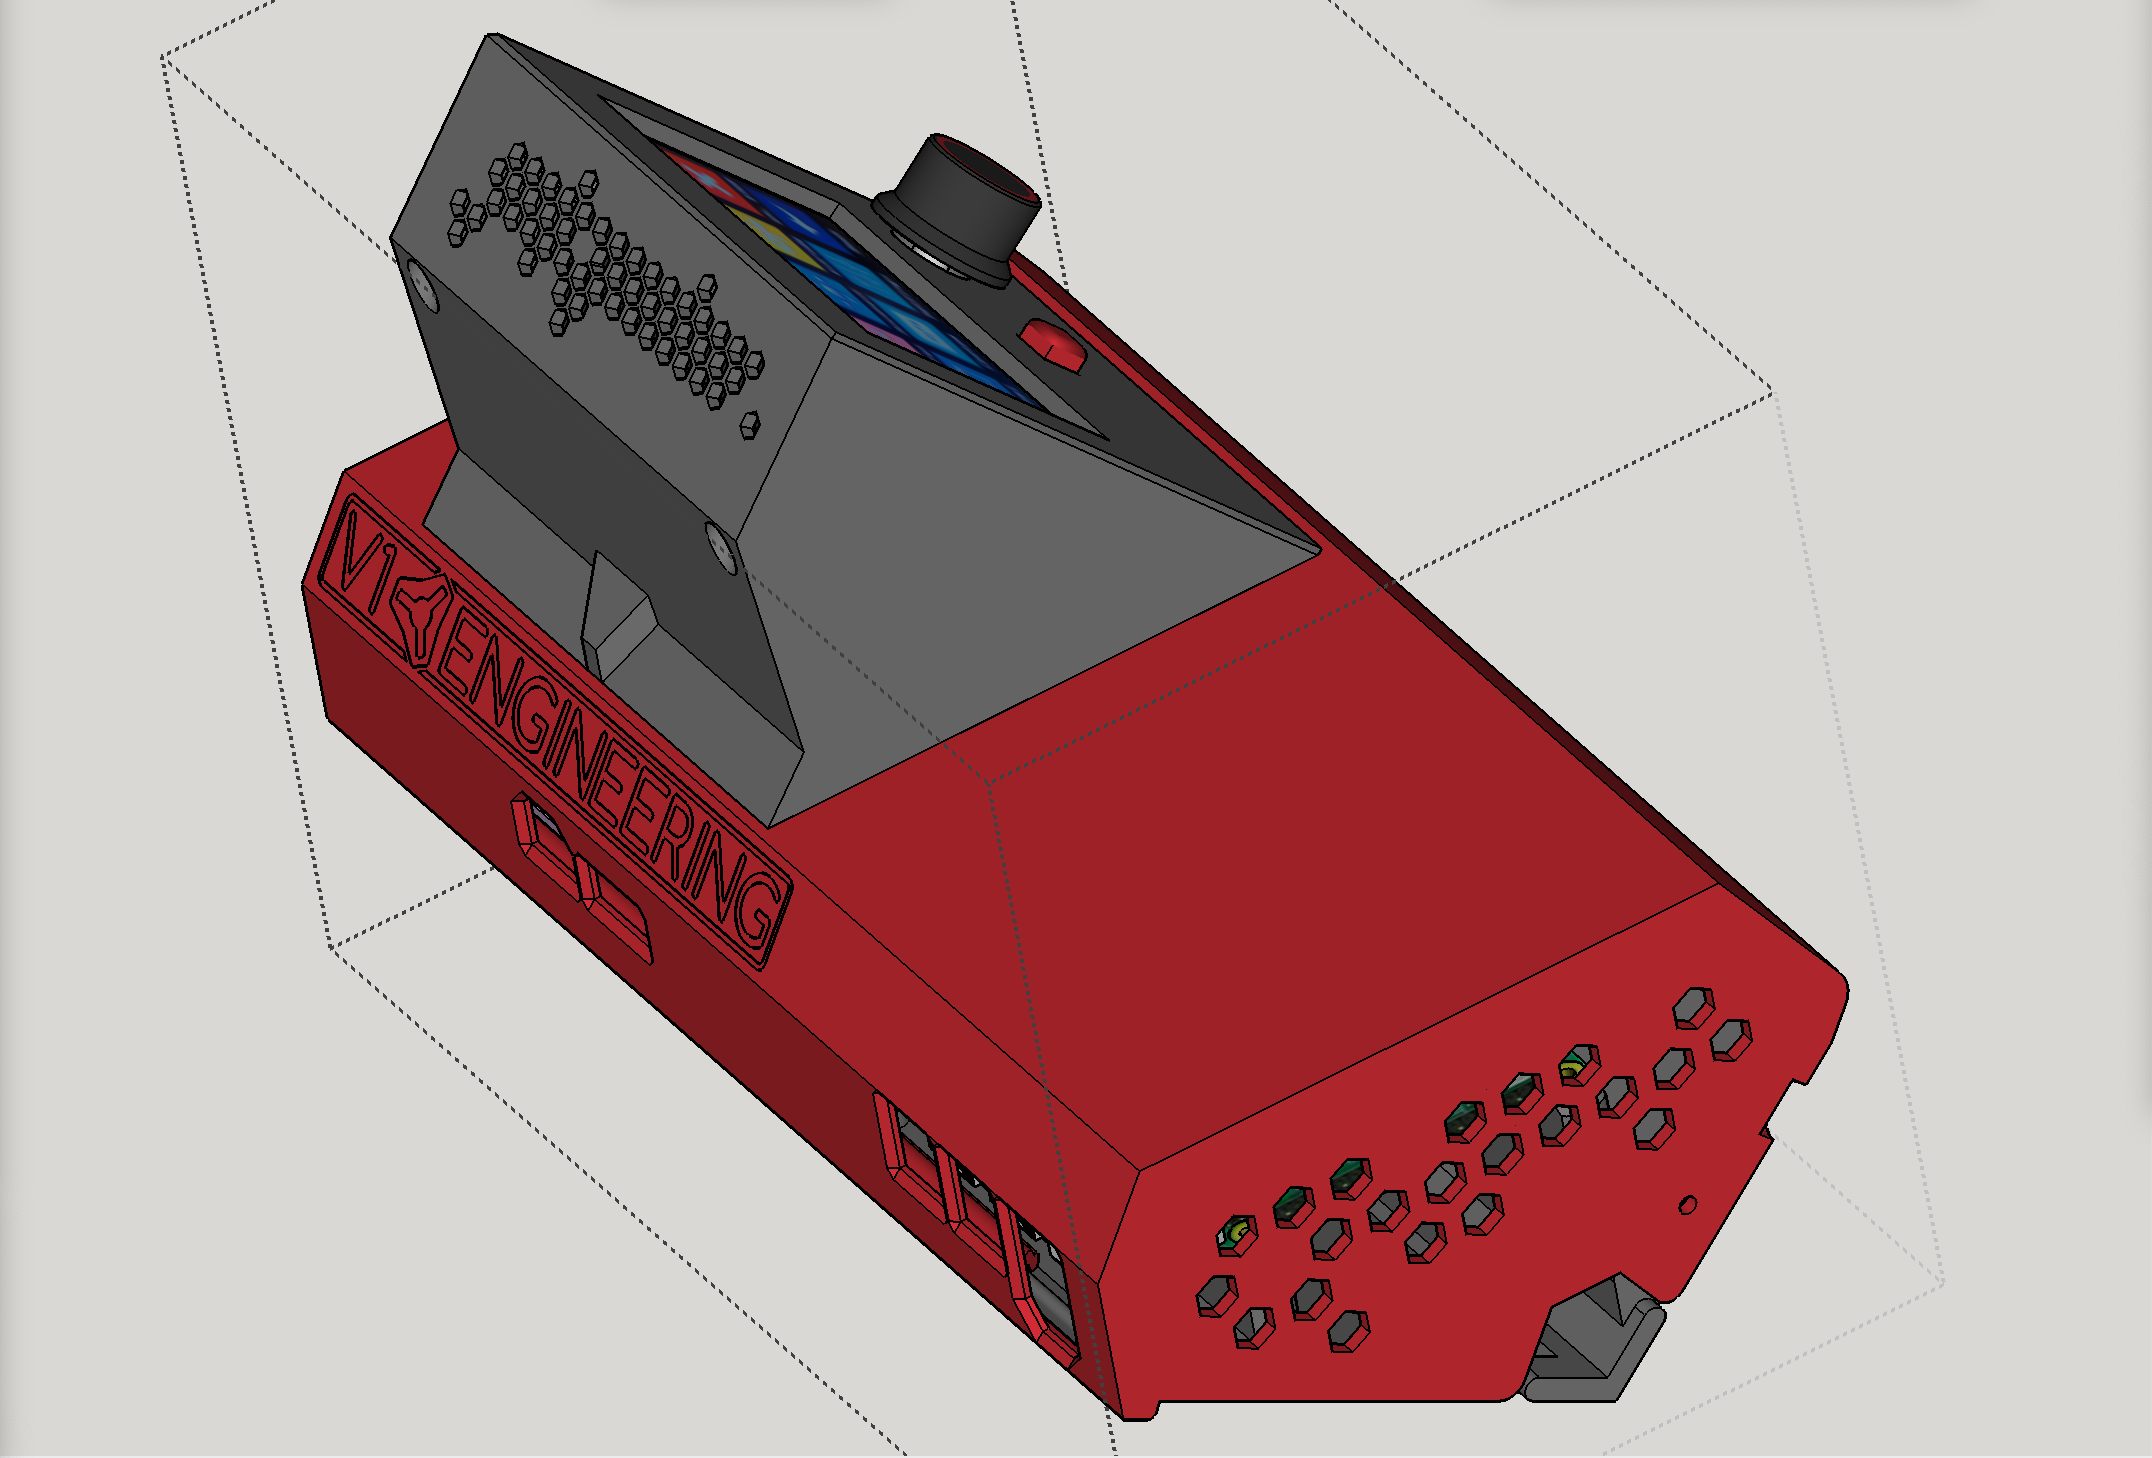
Gorgeous printable case for your LowRider v3 CNC , if you’re using an SKR Pro 1.2 board and a BTT TFT35 E3 touchscreen together with a Raspberry Pi 4b. Offers some new features (see below).

Many thanks to Ryan at V1 Engineering for his design genius and gracious generosity in sharing his work with us all. For those whose LowRider v3 MPCNC has or will have a BTT SKR Pro 1.2 main board and a BTT TFT35-E3 v3 touchscreen, I offer my remix of Ryan’s blank control box case CAD file. This case may fit other SKR boards, depending on dimensions. Check before printing. It may also be remixed to suit other SKR boards.
Features:
- NEW (as of August 16, 2022) New opening in side of TFT holder for access / use of USB port.
- NEW (as of August 10, 2022) extended by 75mm so a Raspberry Pi 4b can be installed beside the SKR mainboard. See above.
- NEW (as of July 7, 2022) “Low Fat” Base option. See above.
- NEW (as of June 21, 2022) support facing the TFT toward X axis or Y axis without having to reprint any additional parts. Under the previous revision, you could choose to print either the “A” or “B” sets of the lid and TFT holder, with “A” facing the TFT toward the X, or “B” facing it towards the “Y.” In this one, you can print once and know that it can go either way.
- Support for cooling fans — designed for two 40x40x10 fans. I use these quiet fans from Noctua: NF-A4x10 FLX, Premium Quiet Fan, 3-Pin (40x10mm, Brown)
- Snap in place feature — this remix keeps the original screw hole from Ryan’s design, which allows the lid to be fastened in place on the base, but my design also includes a new snap in place feature. I love it, and have not bothered with a screw.
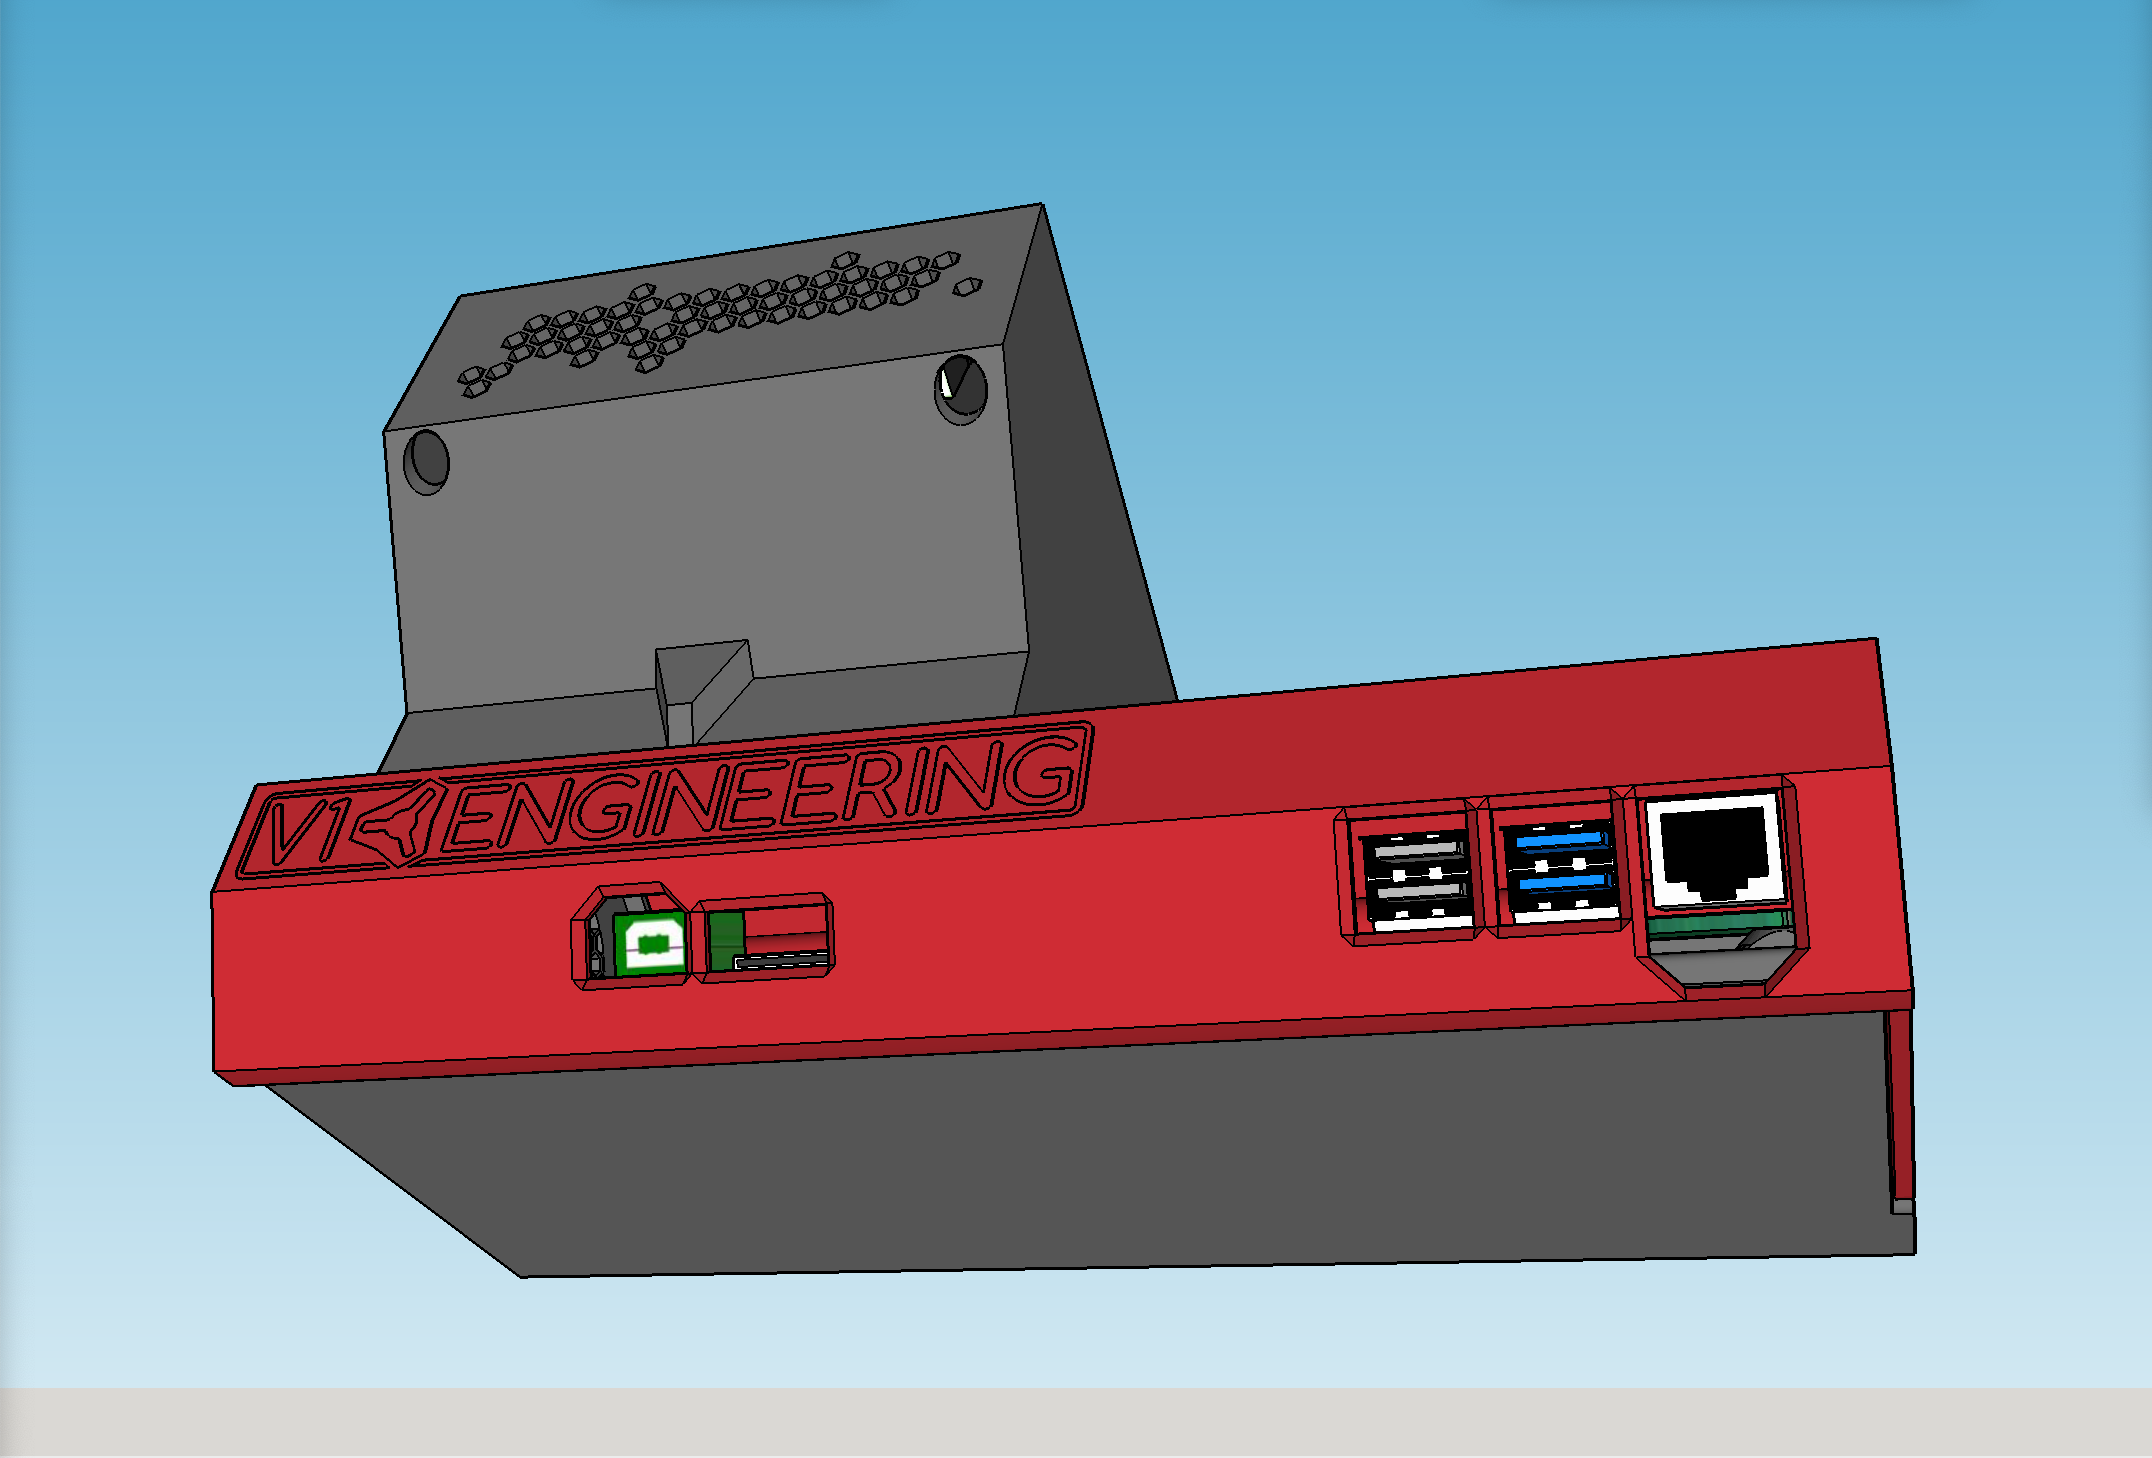
- Access ports — for the SKR’s USB ports and mini-SD card slot, for the TFT touchscreen’s SD card slot, and for the USB ports and Ethernet port of the Raspberry Pi 4b.
- DC power connector port — the base has an internal “sled” to hold the female power connector, and one of the printable parts is a little bar to screw in and clamp the connector in place. My LowRider kit from V1 Engineering came with one of the connectors. If you need more, these are available on Amazon.
- Ample room for wiring and power connections — with options for running wires in from below the board or above it. I recommend below, as it minimizes chances of something getting tugged loose while sliding the lid in or out. See video (above).
Details of my upgrade of a LowRider v2 to v3 are available here on the V1 forum.
Print and Assembly:
- Print the parts as oriented. No supports needed, assuming your printer is capable of a decent amount of bridging.
- Use four (4) M3 x 8mm screws to mount the TFT to the TFT holder.
- Use four (4) M3 x 8mm screws to mount the TFT holder to the lid.
- Use two (2) M3 x 8mm screws to attach the clamp that holds the DC connector in place.
- Use eight (8) M3 screws of an appropriate length to attach your two cooling fans.
Change log:
- September 16, 2022, 8:15 pm (EST): new remix made for SKR 1.4 Turbo.
- August 10, 2022, 7:00 am (EST): mod’d for Raspberry Pi 4b fitment.
- June 24, 2022, 7:00 am (EST): updated both the lid and the TFT holder files to get closer to perfection on fitment and accommodation of the TFT, fitment and function of the reset button, and positioning and function of the SD card slot.
- July 7, 2022, 9:25 pm (EST): add “low fat” versions of the base for both 1/8" thick struts and 1/4" thick struts. The low fat versions save 33% of the plastic and shave 25% off the printing time.
My PayPal tip jar: https://paypal.me/dougjoseph
View all my LowRider 3 CNC remixes:
View all my models and remixes on Printables:
*Product links are Amazon affiliate links.
 Any tips on how to get it right?
 It might only be interesting for other users in Germany. Or I could ask my friend to print it for me. Hmm…