No not exactly, I sourced some parts on Amazon like the cable chain and vac shoe.
Ordered the exact amount of hardware like nuts and bolts from a local dealer, after carefully inspecting what I exactly needed , and selected / downloaded the required upgrades from Thingiverse that will fit my ideas to finally complete my LR. I was lucky a friend of mine helped printing to speed up the process as I want to install some of the updates this weekend.
For sure I hope these parts will help to square my machine as it is painfully at the moment when trying to do a larger cut.
TBH live would have been easier if I could just order a full kit to begin with, but that might have taken the fun out of it I guess?
First I, finally, added the Vac Duct and this makes a huge difference (dust). Should have had in place much earlier.
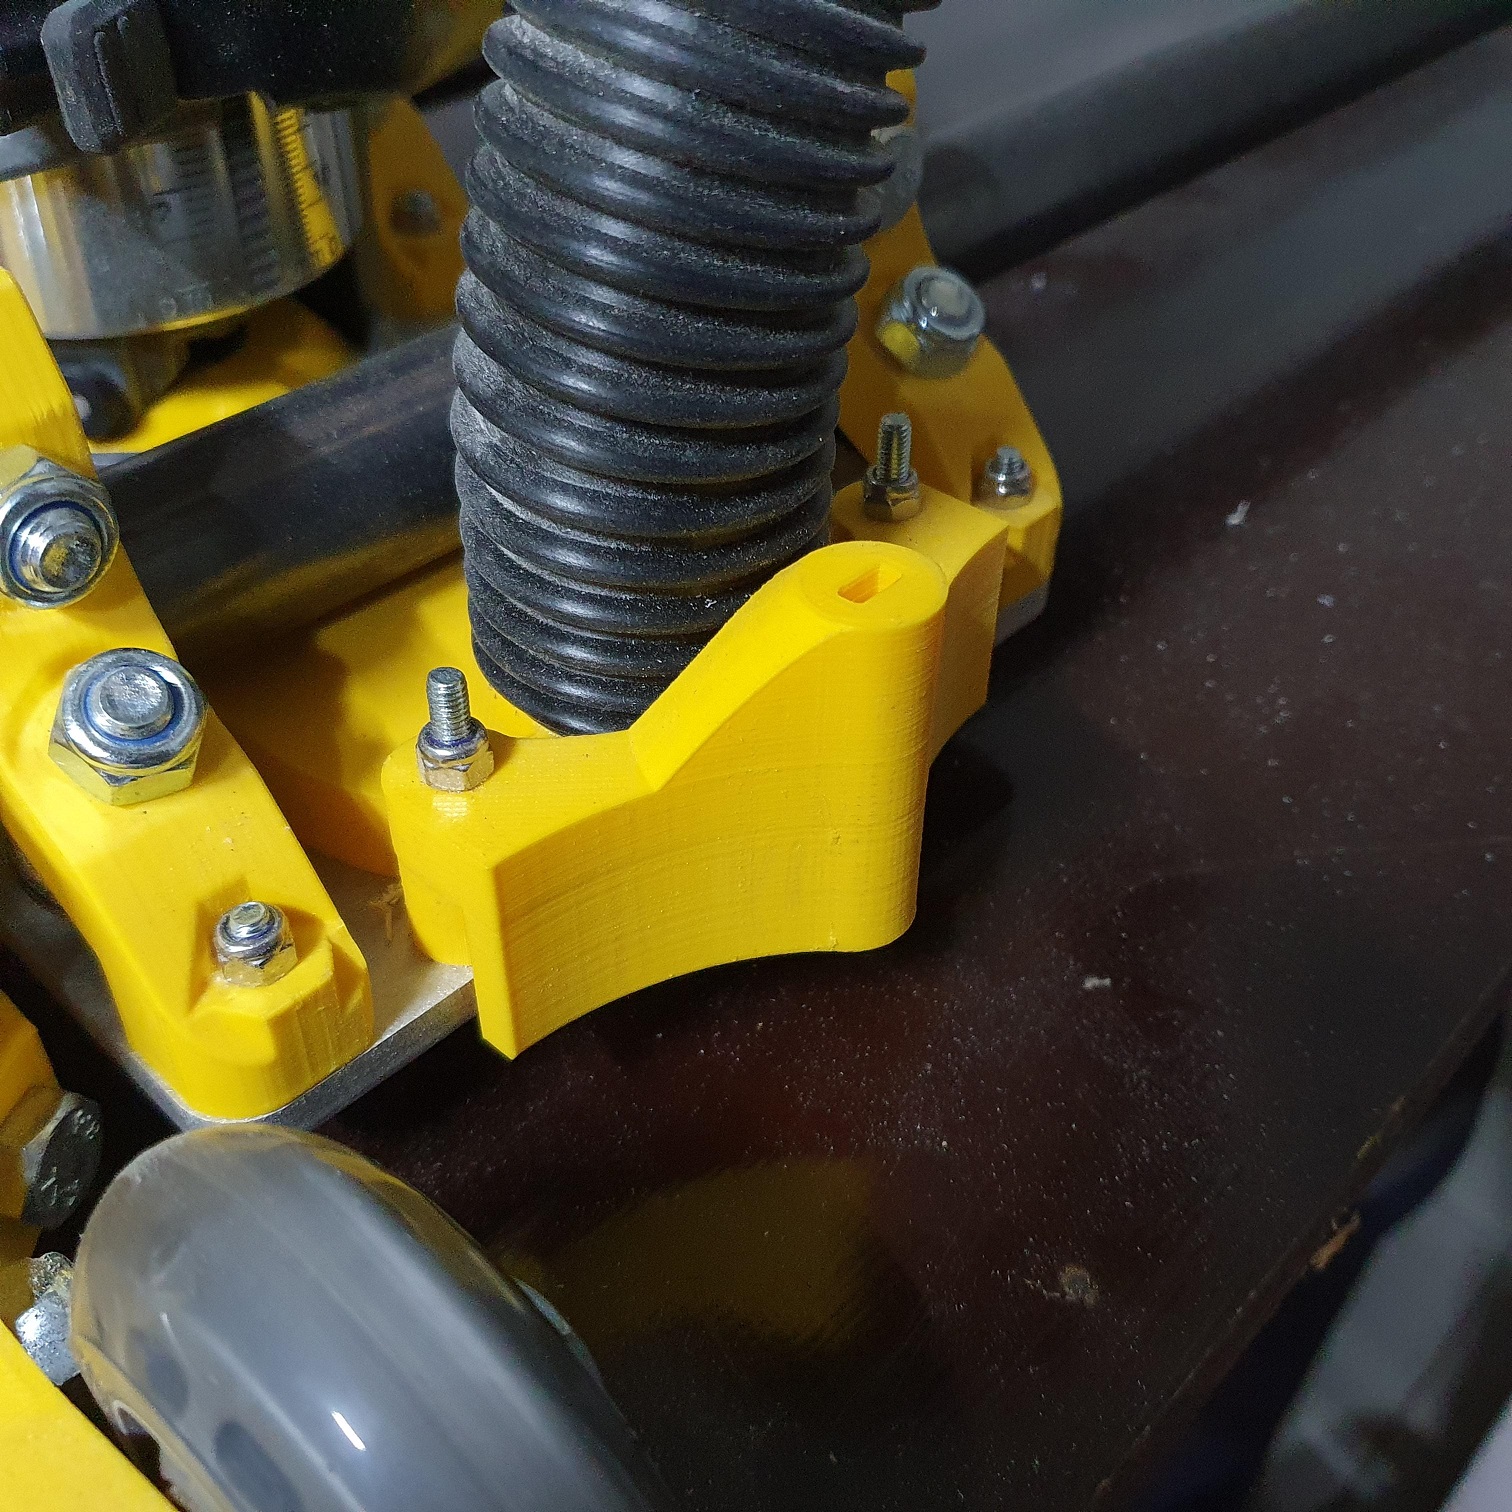
Because I am still using the Dewalt base, I had to apply some duct tape to cover the space between the Katsu router and the Vac Shoe.
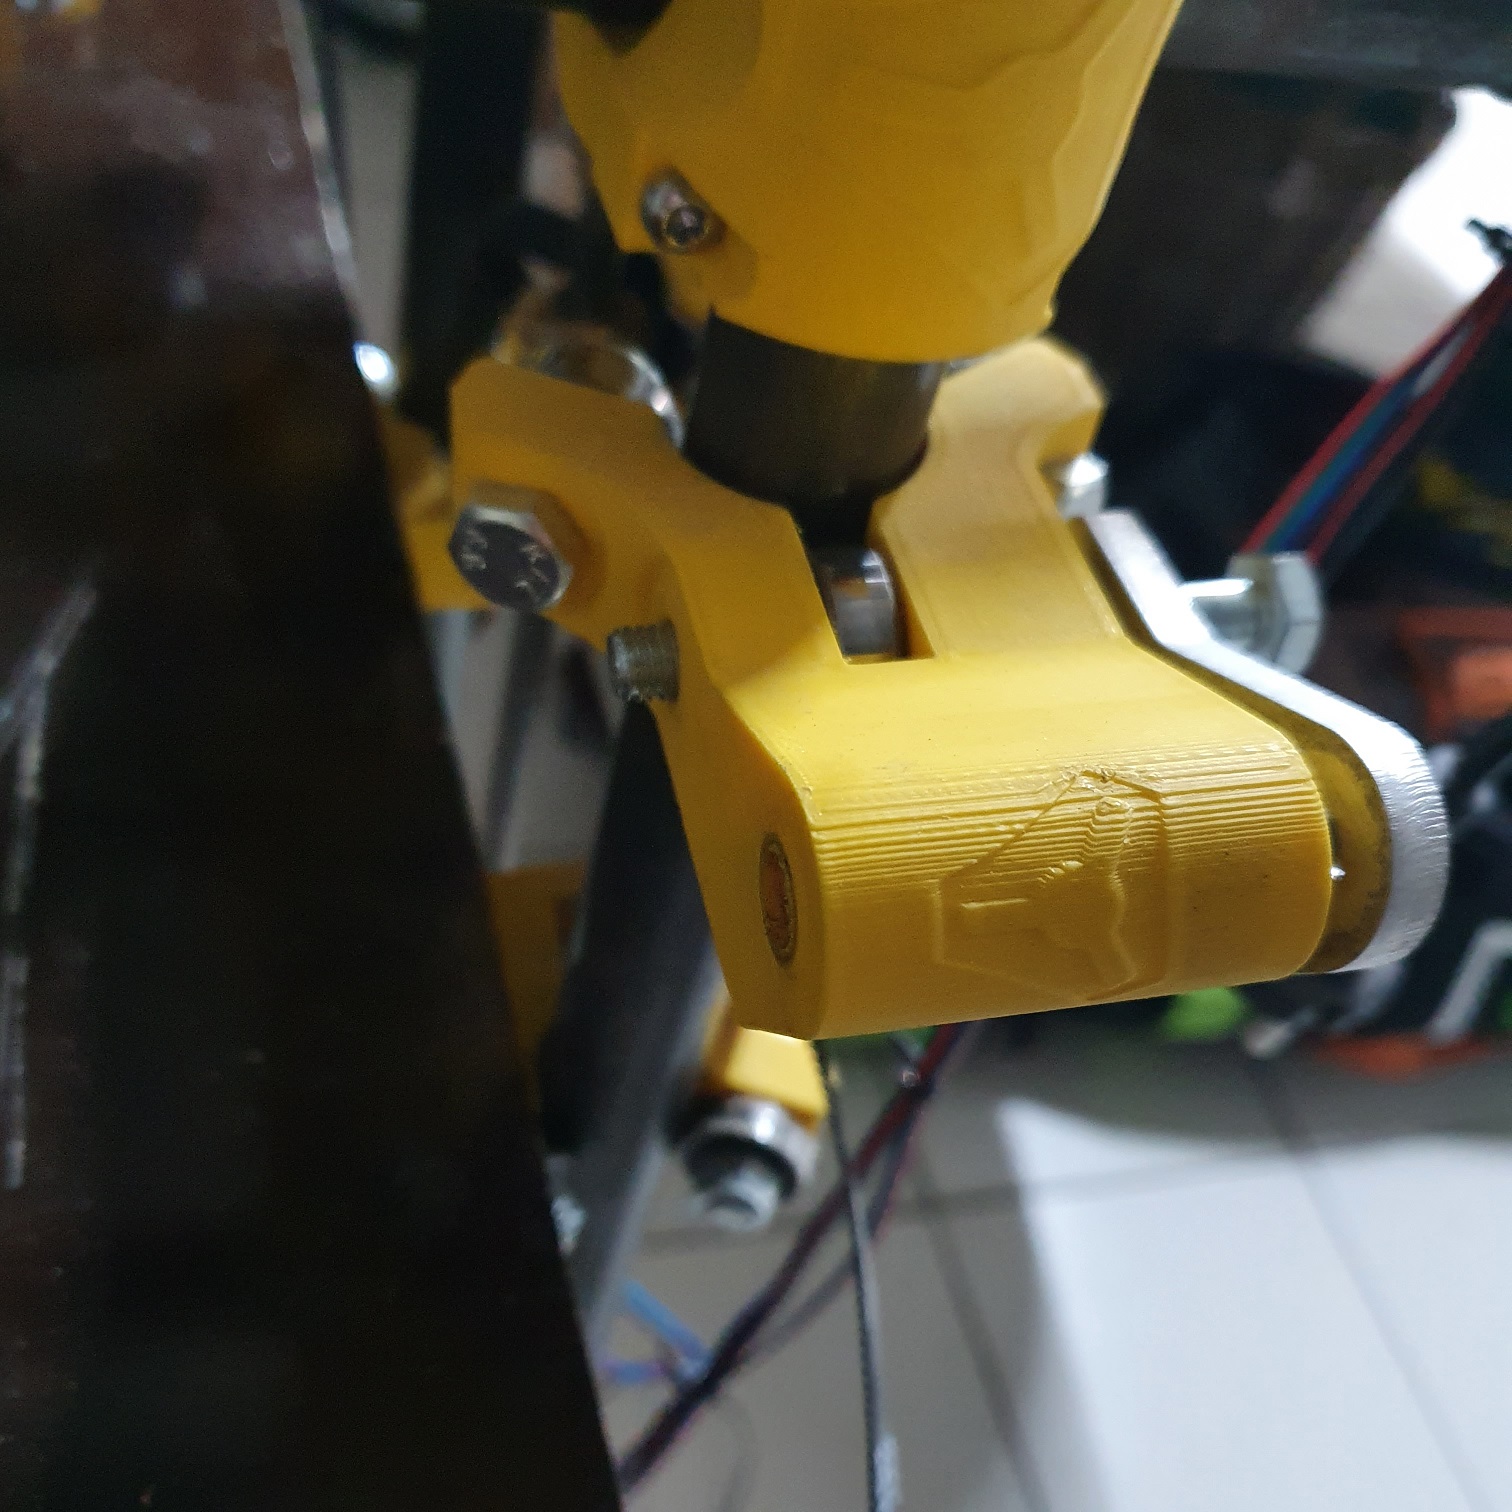
I installed the upgraded Vac Shoe from here, and I am very happy with it. Can´t wait to swap my Dewalt base to a Makita base so I can turn the router in the correct direction.
I also wanted to replace my screws on the base with countersunk screws, to have some more room for doing cuts with short bit. That was a good opportunity to add a permanent penholder. Still have to try it out, but it is now there when I want to try
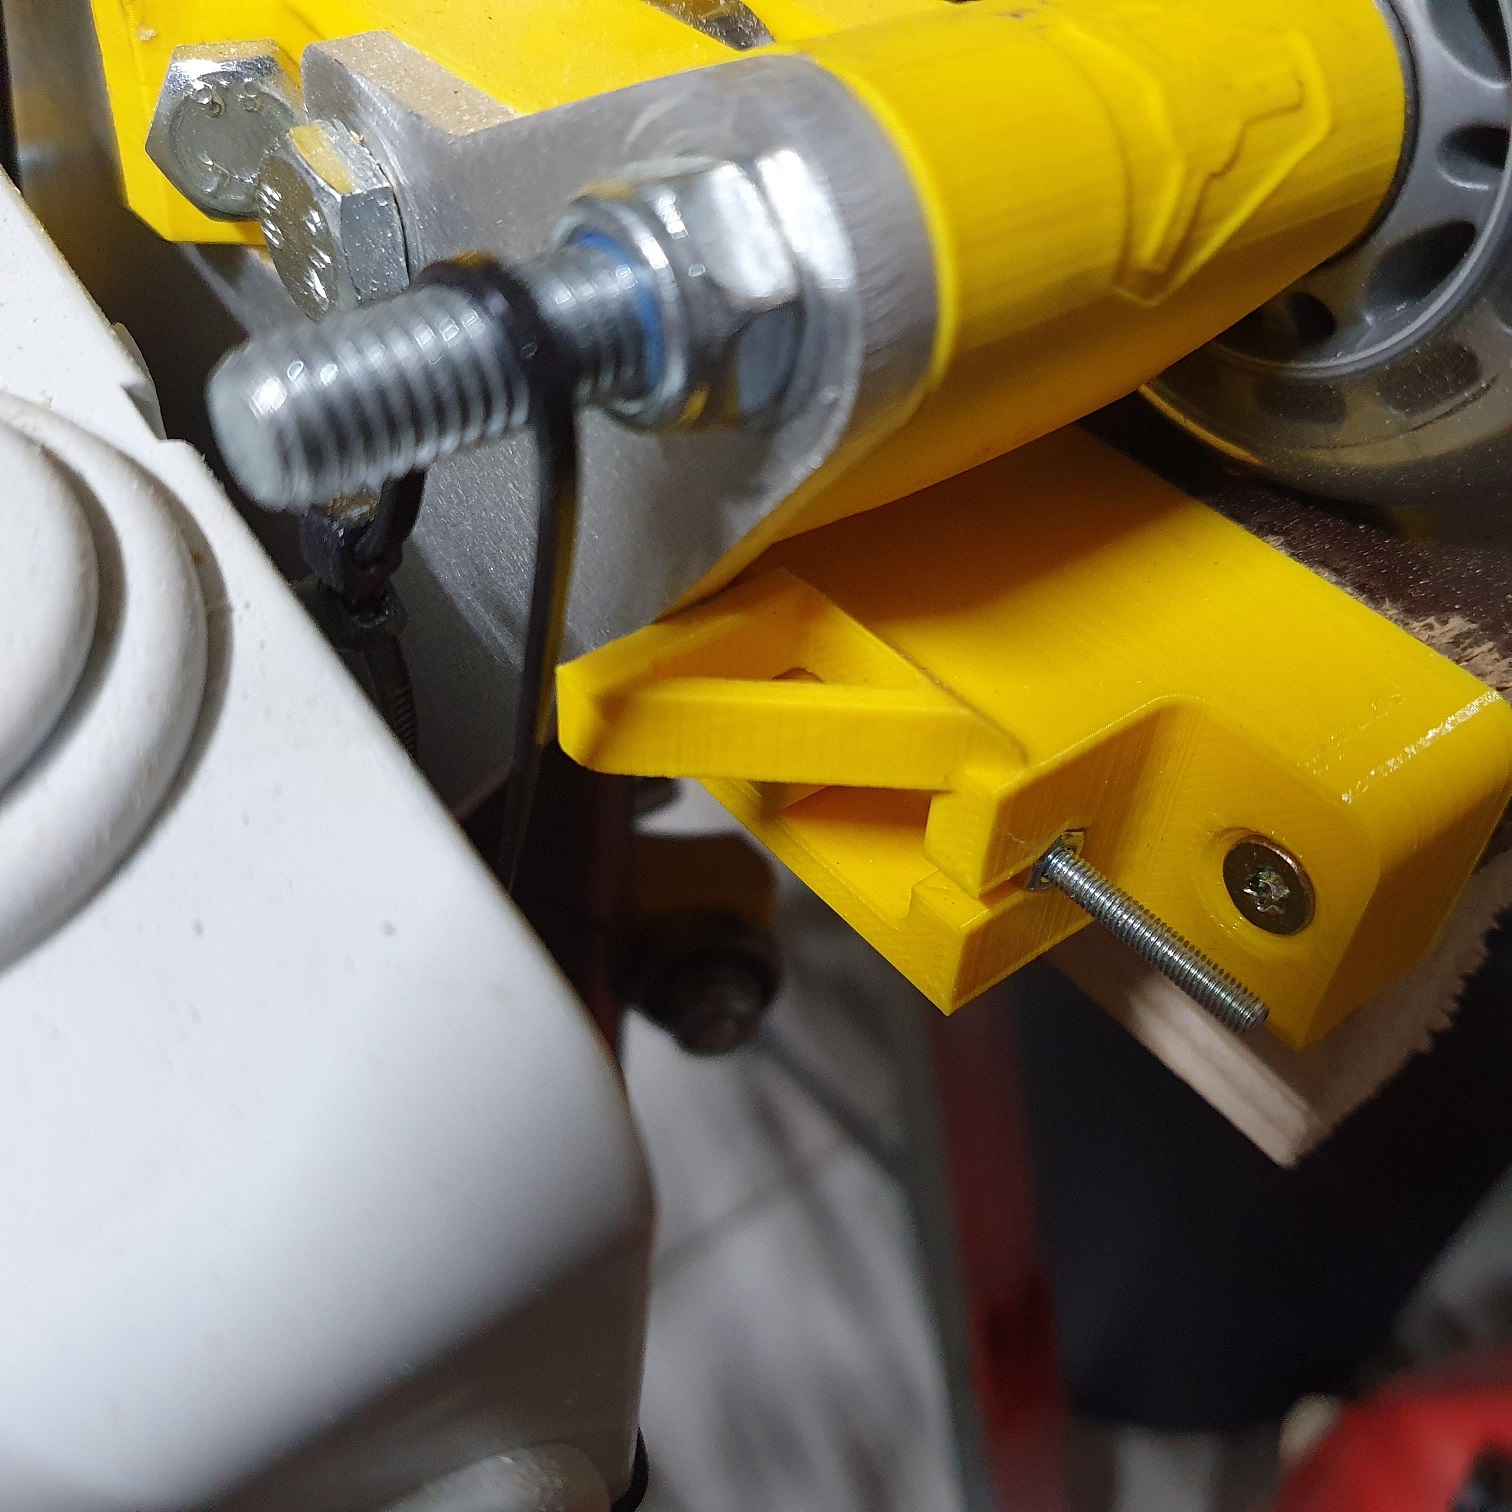
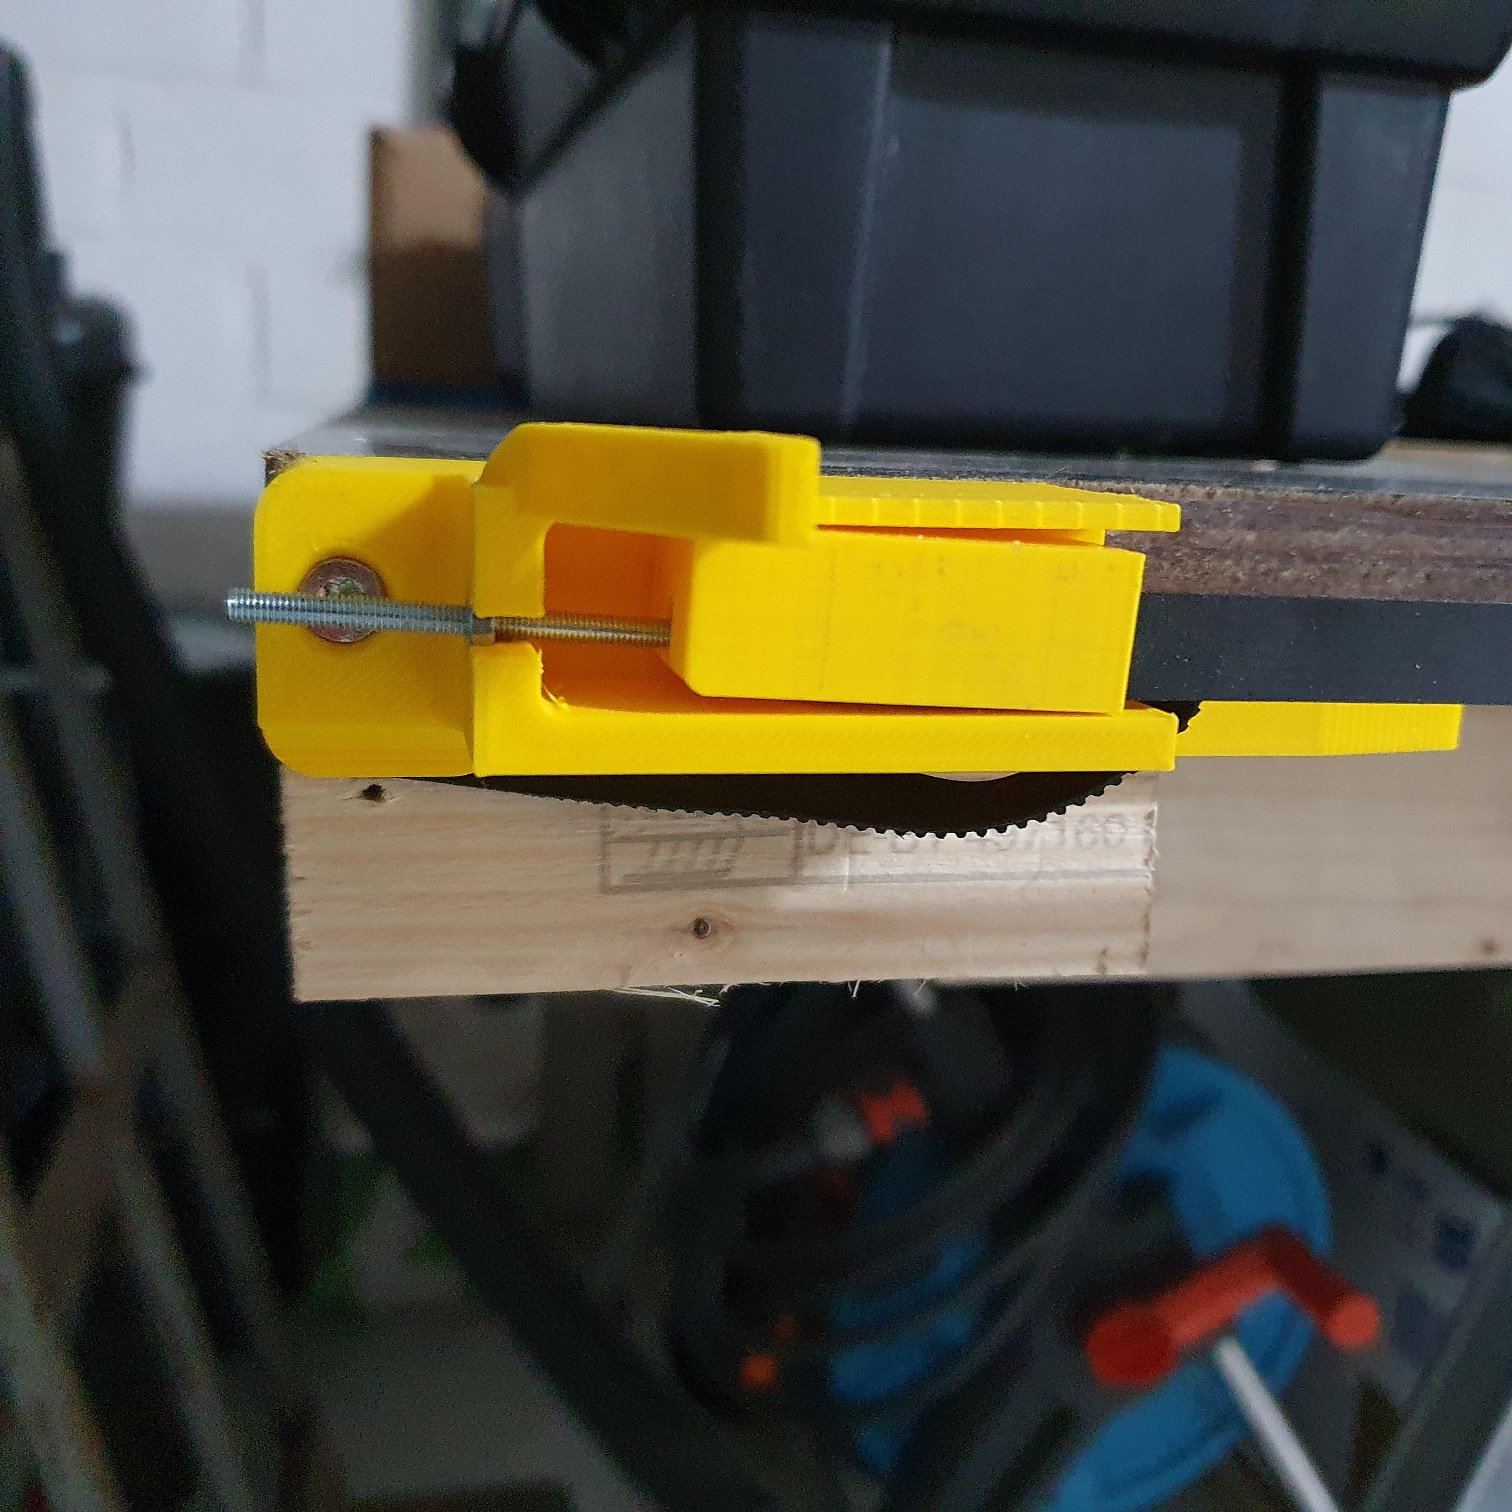
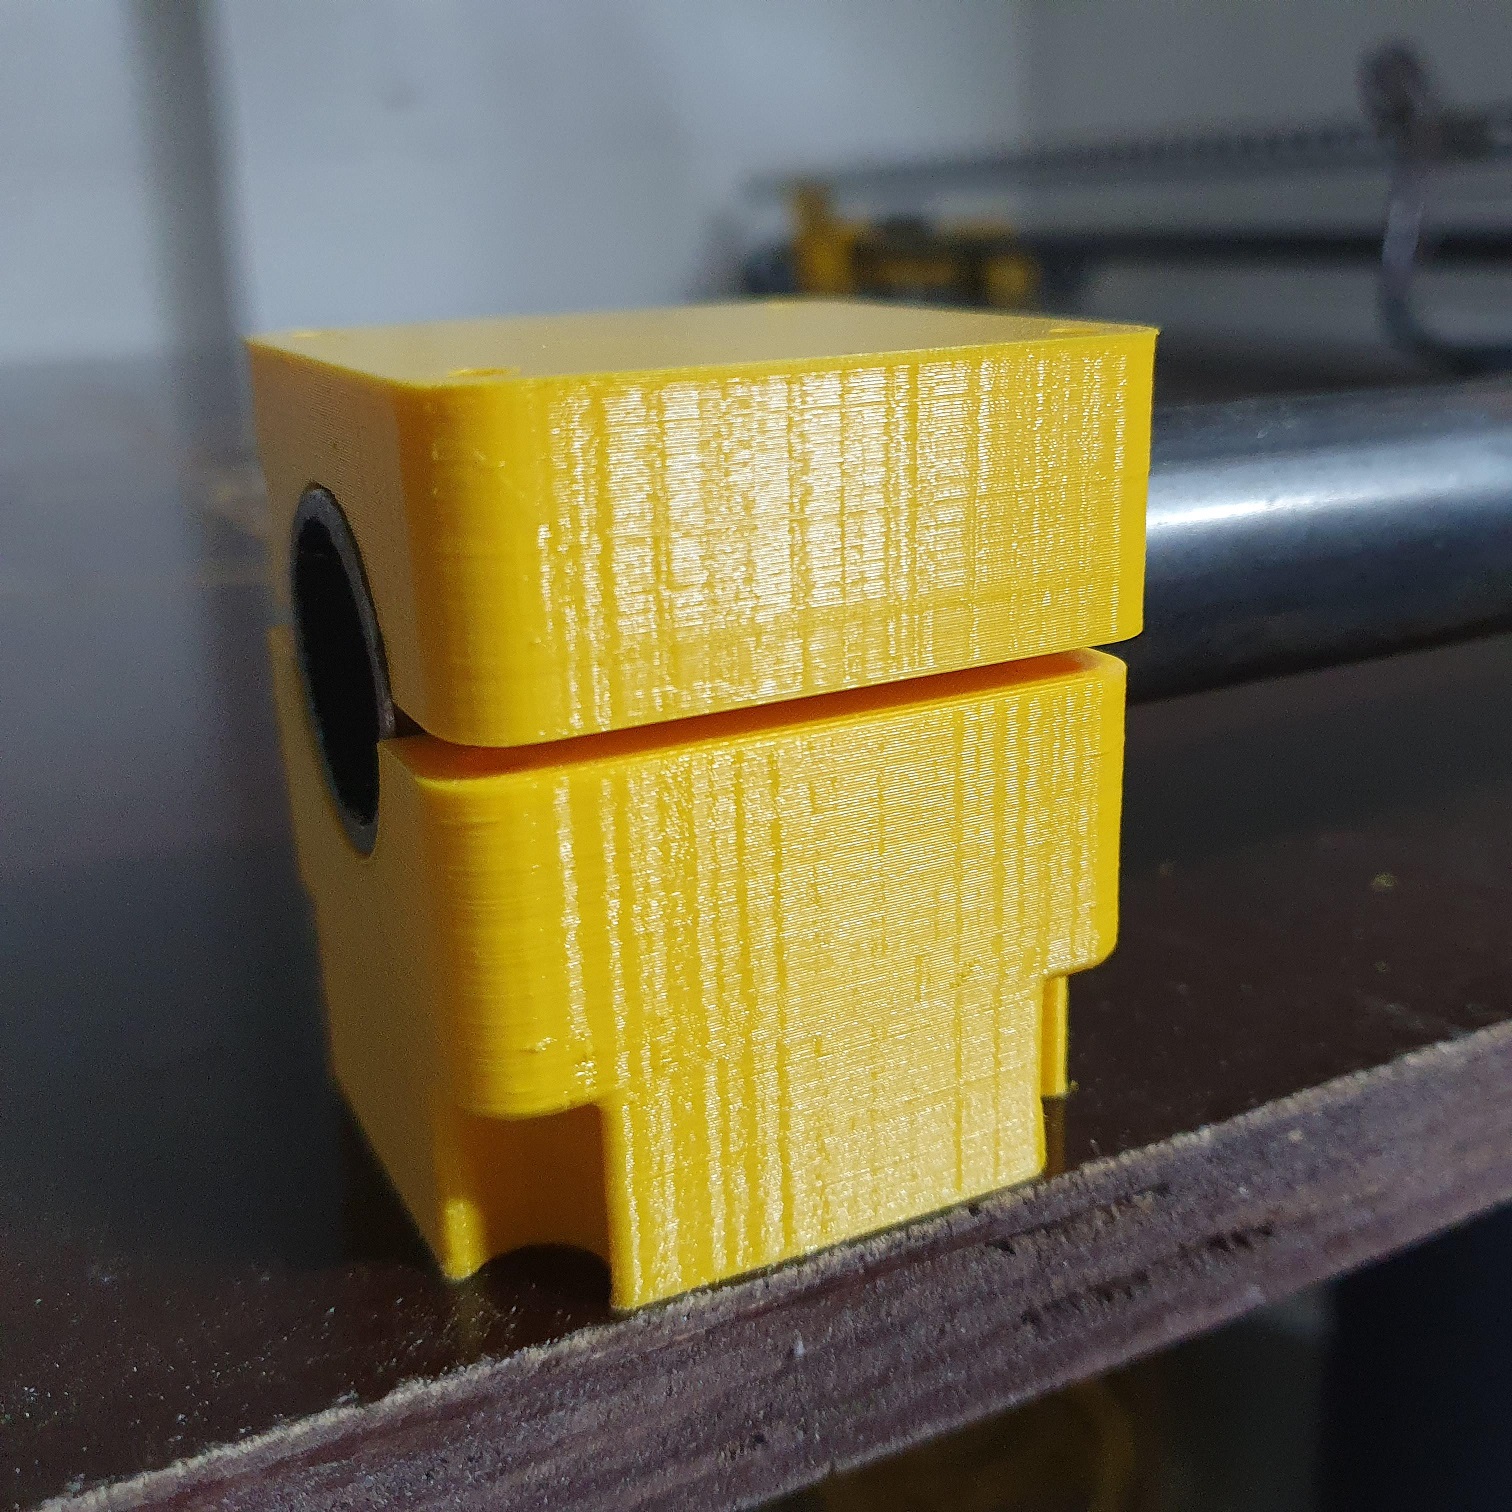
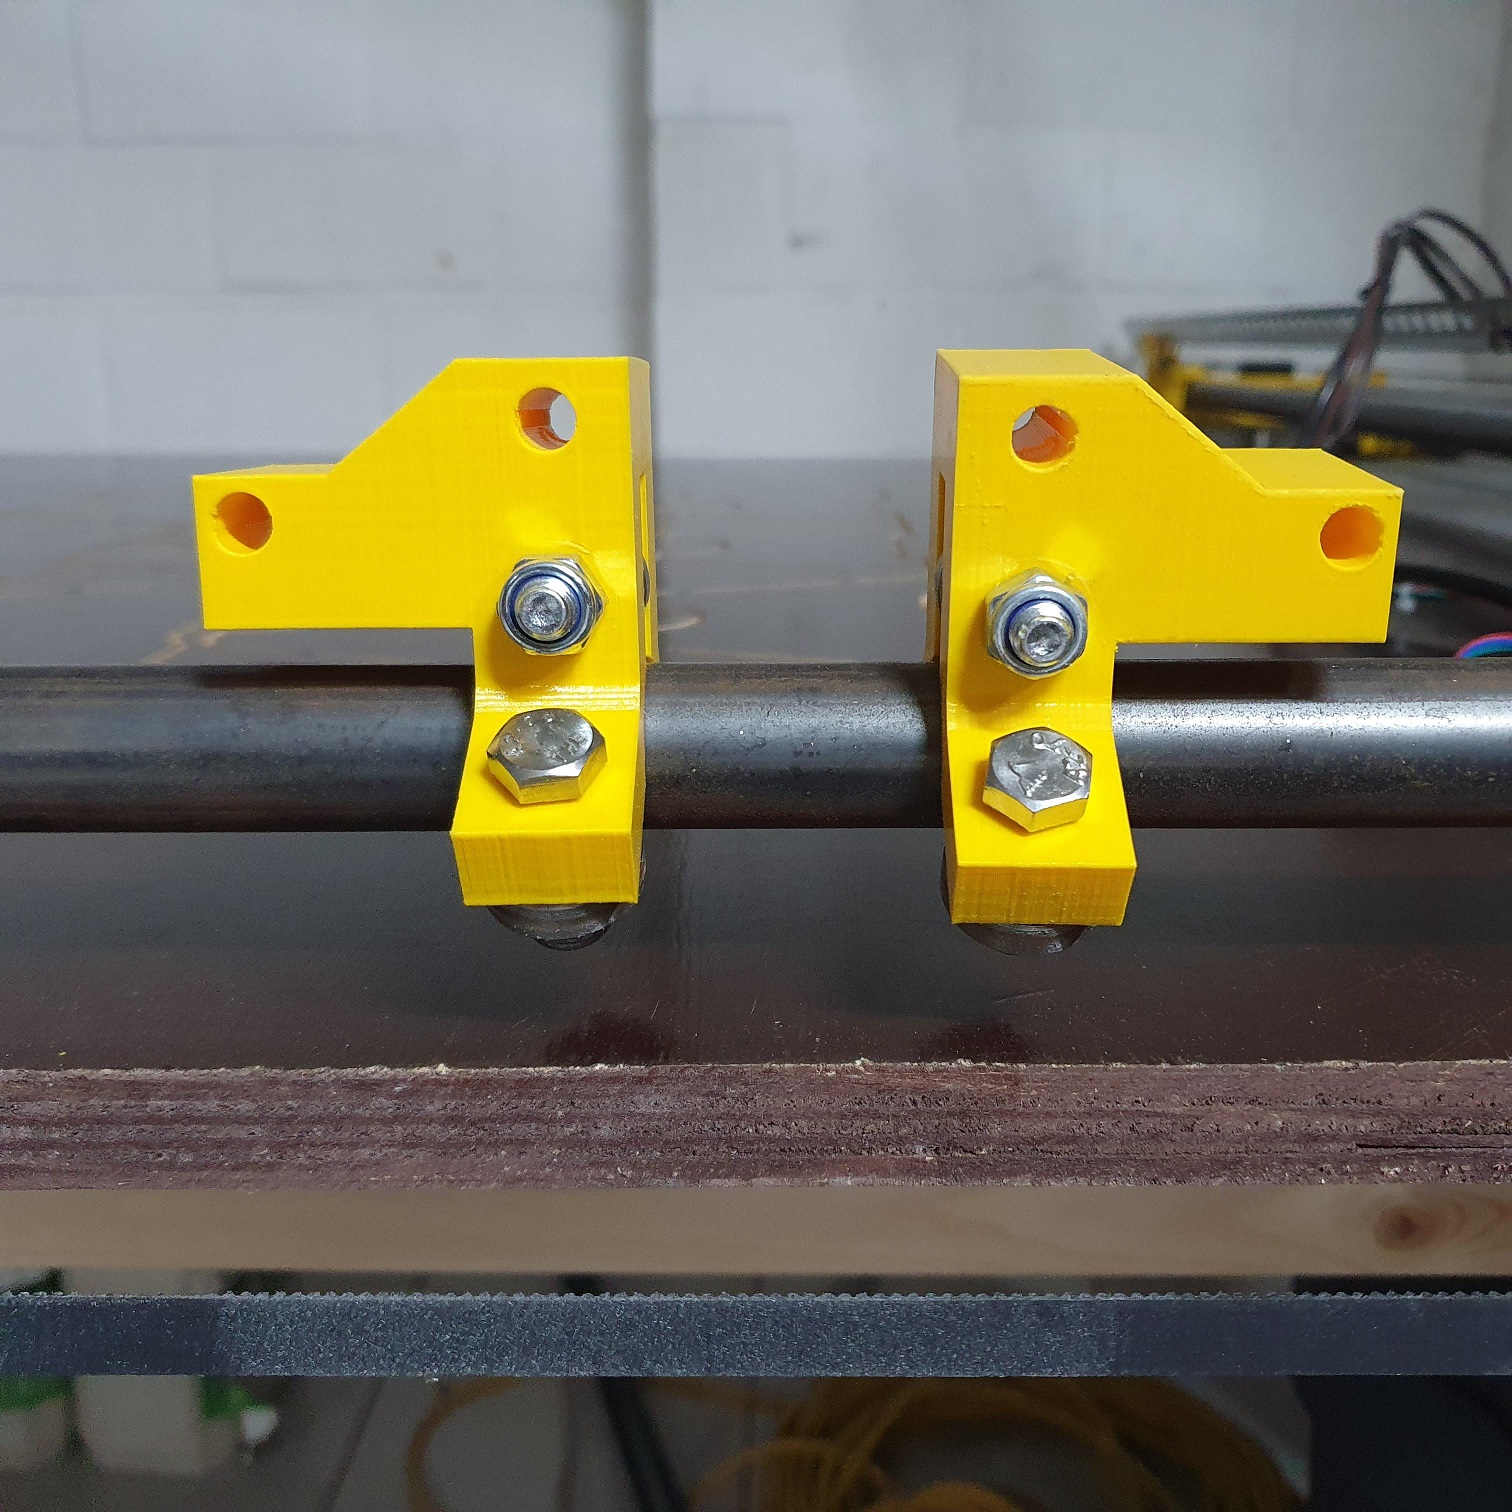
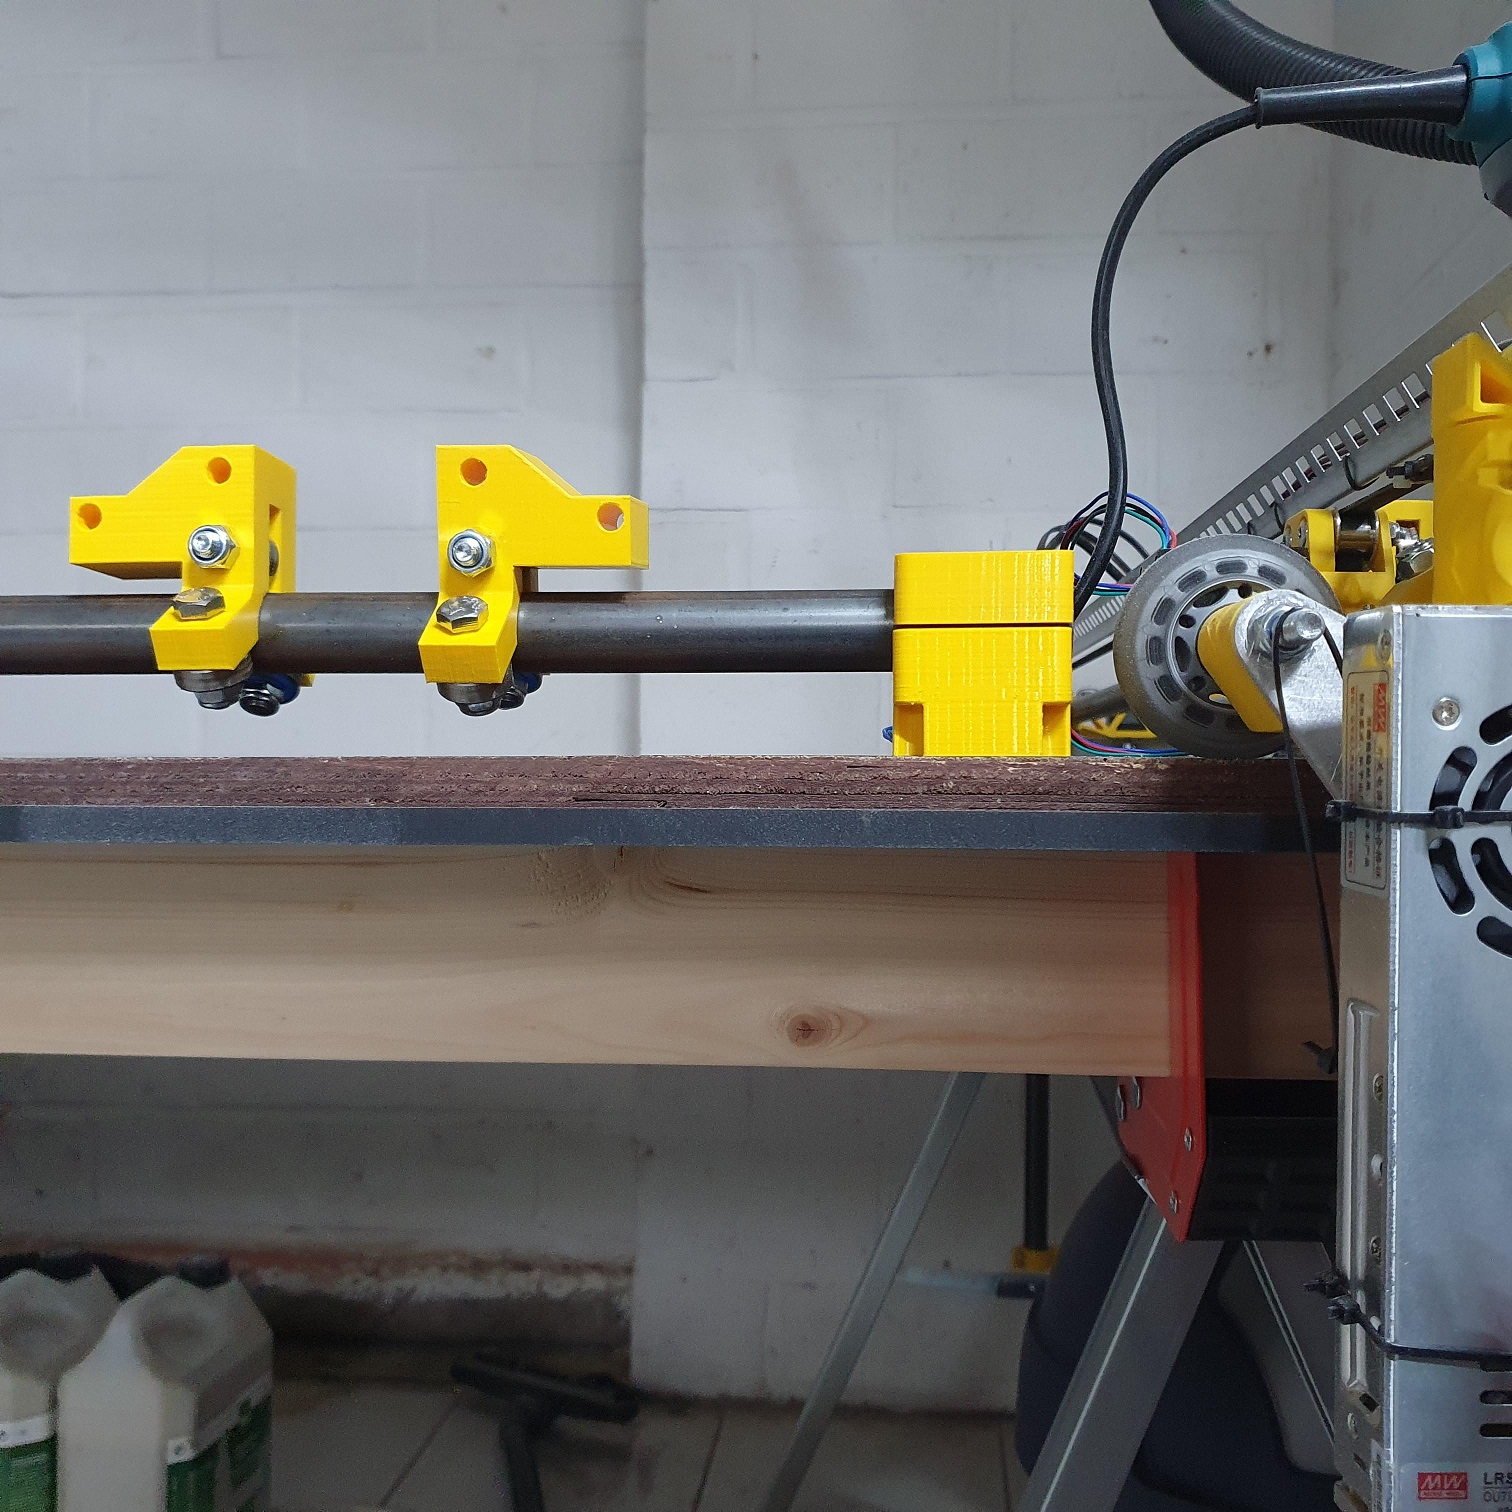
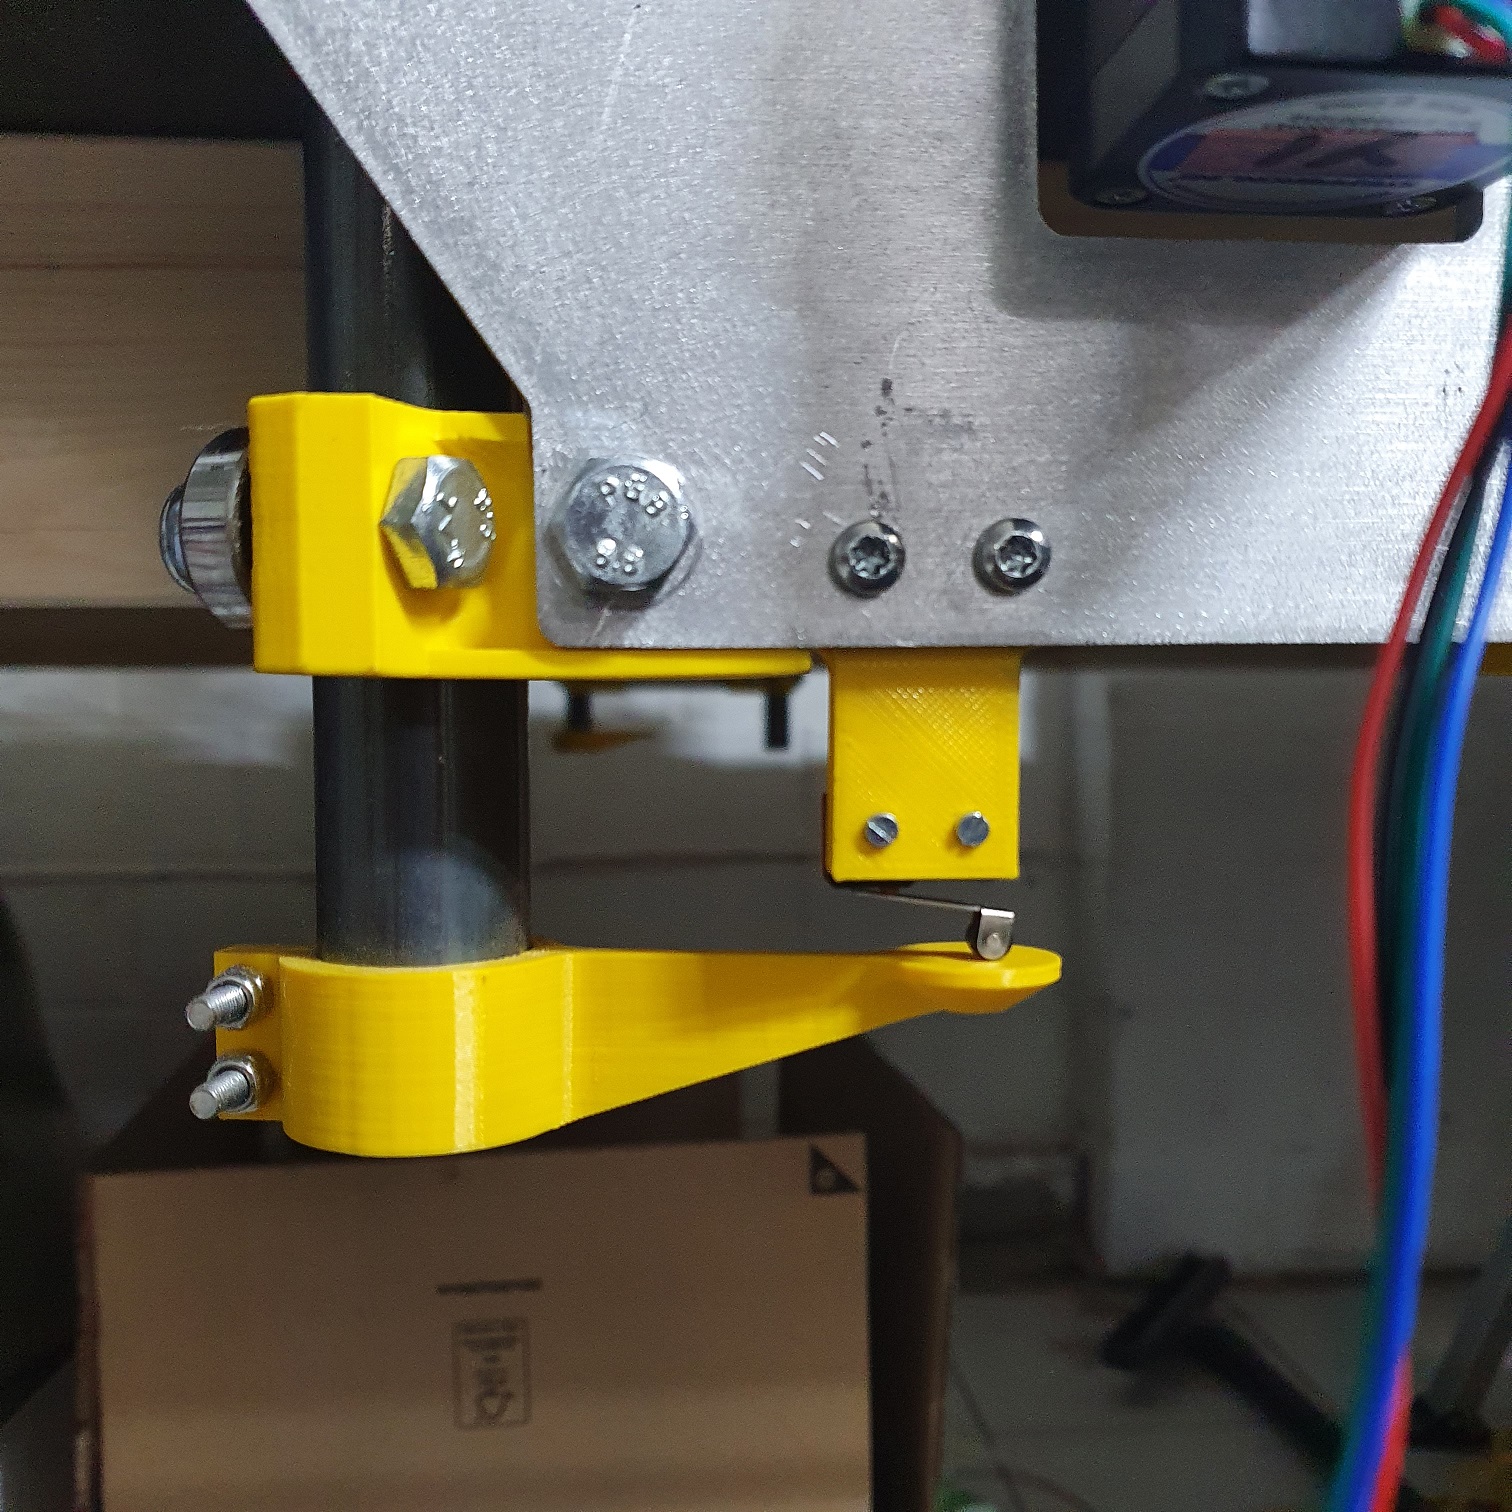
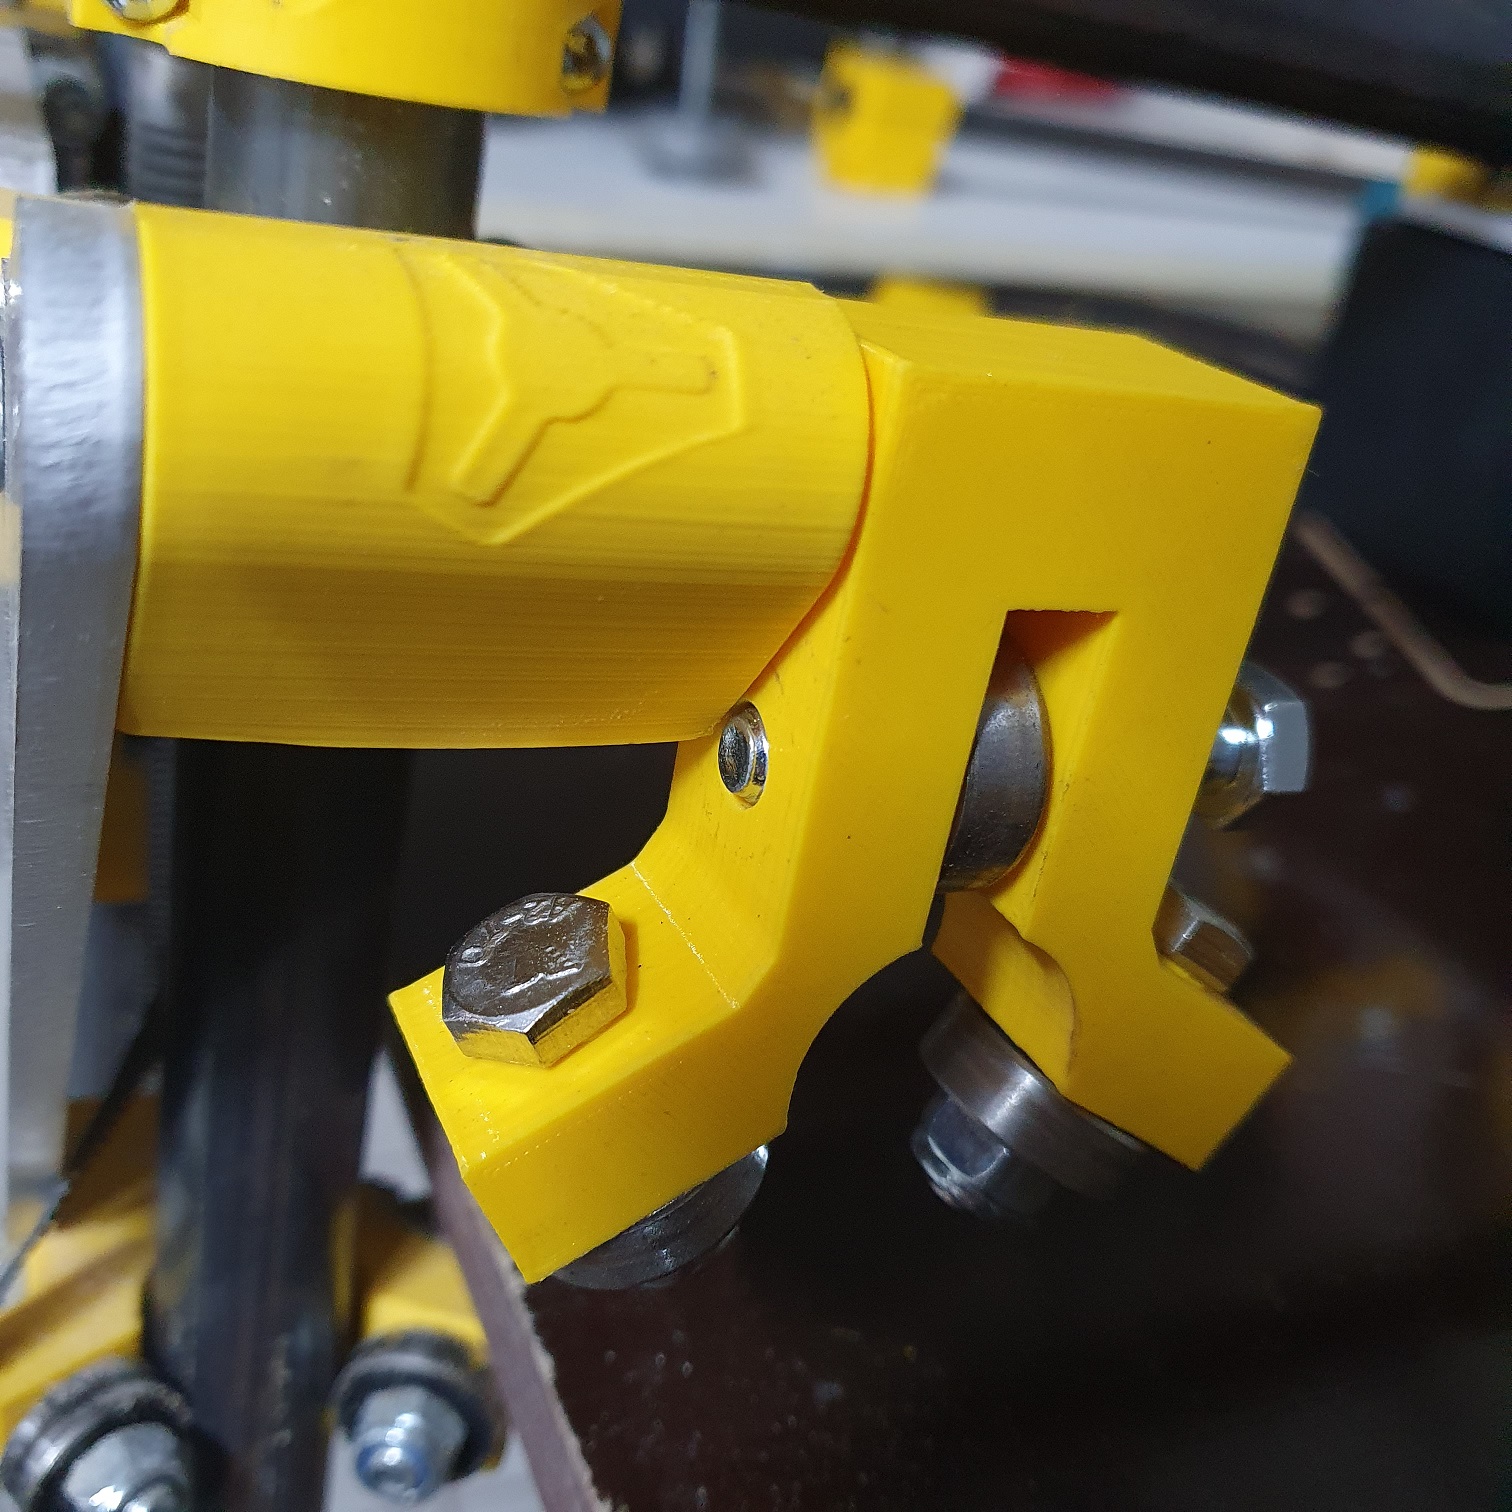
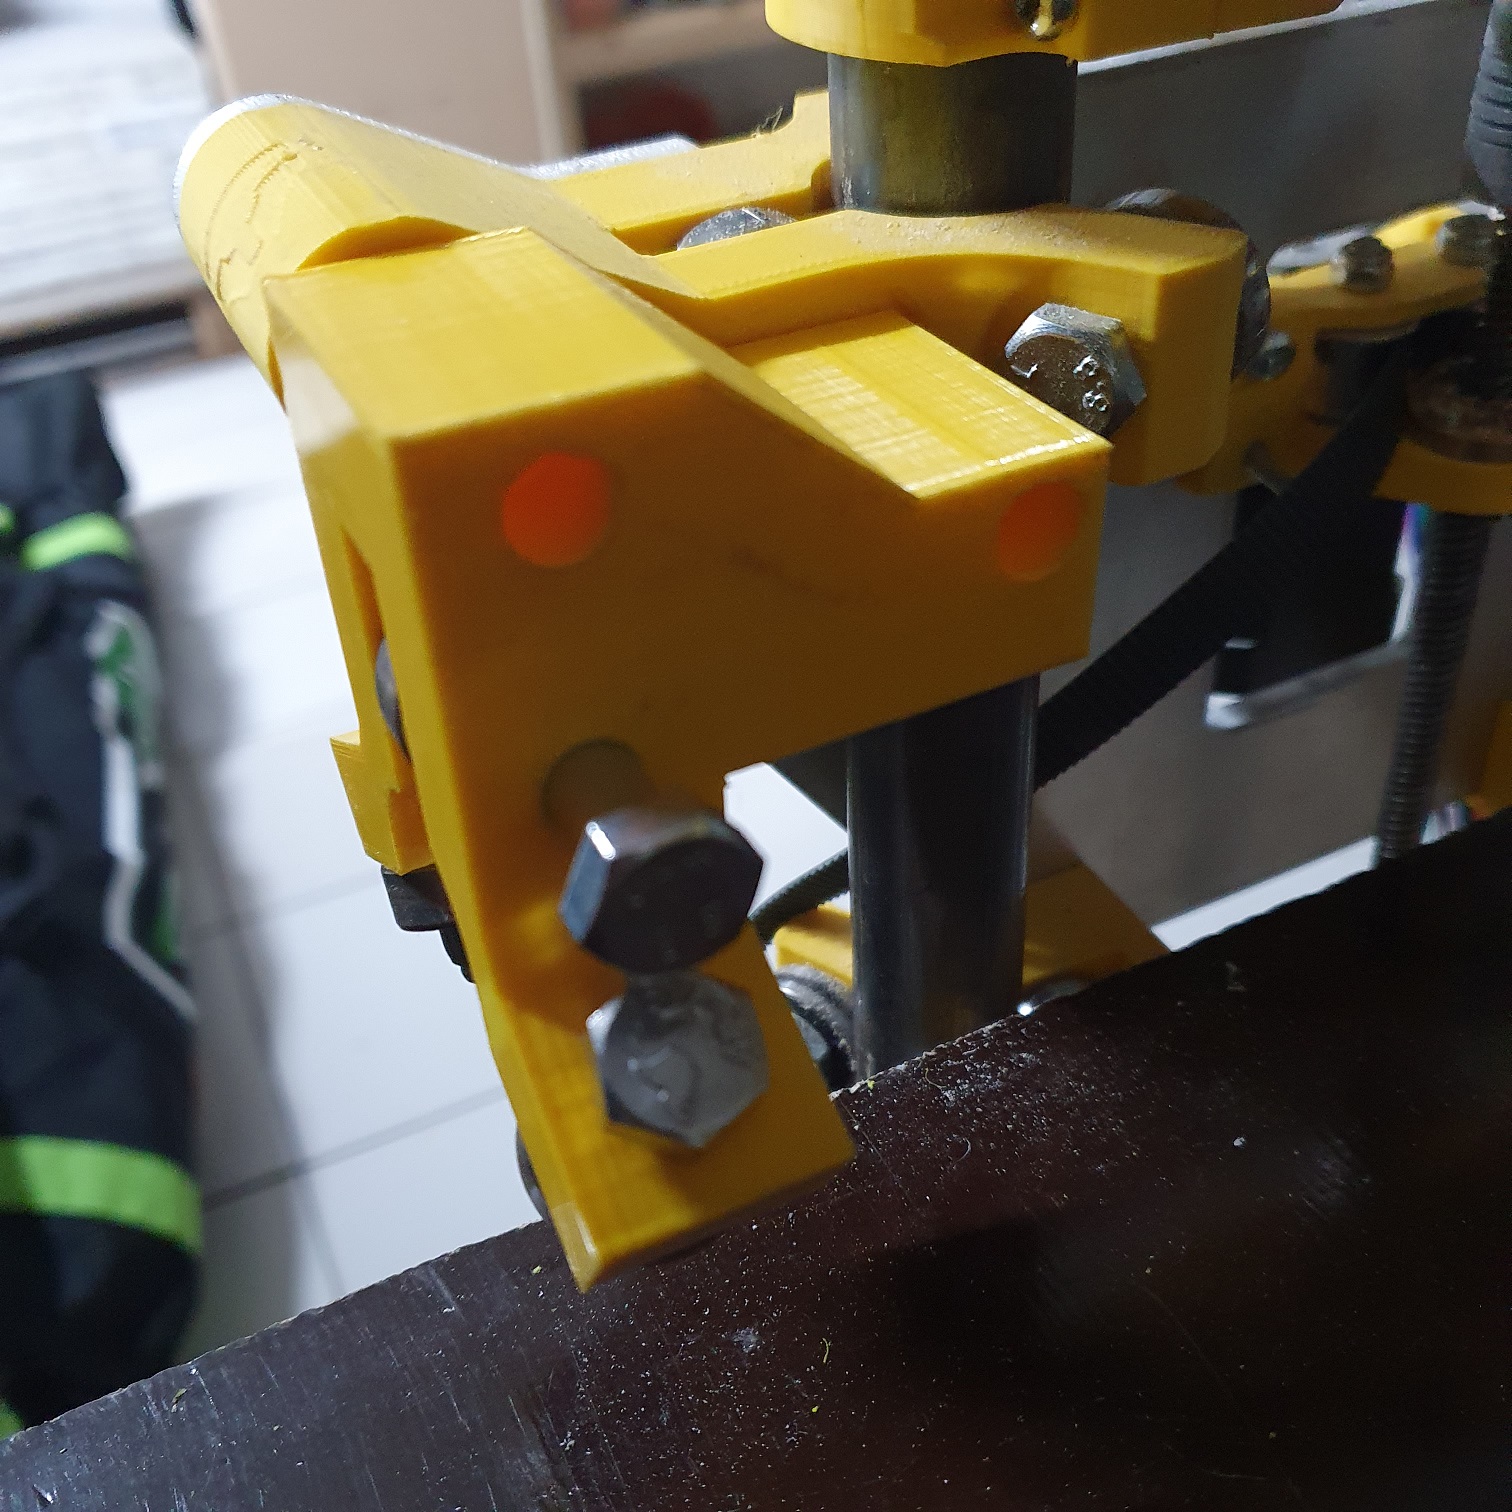
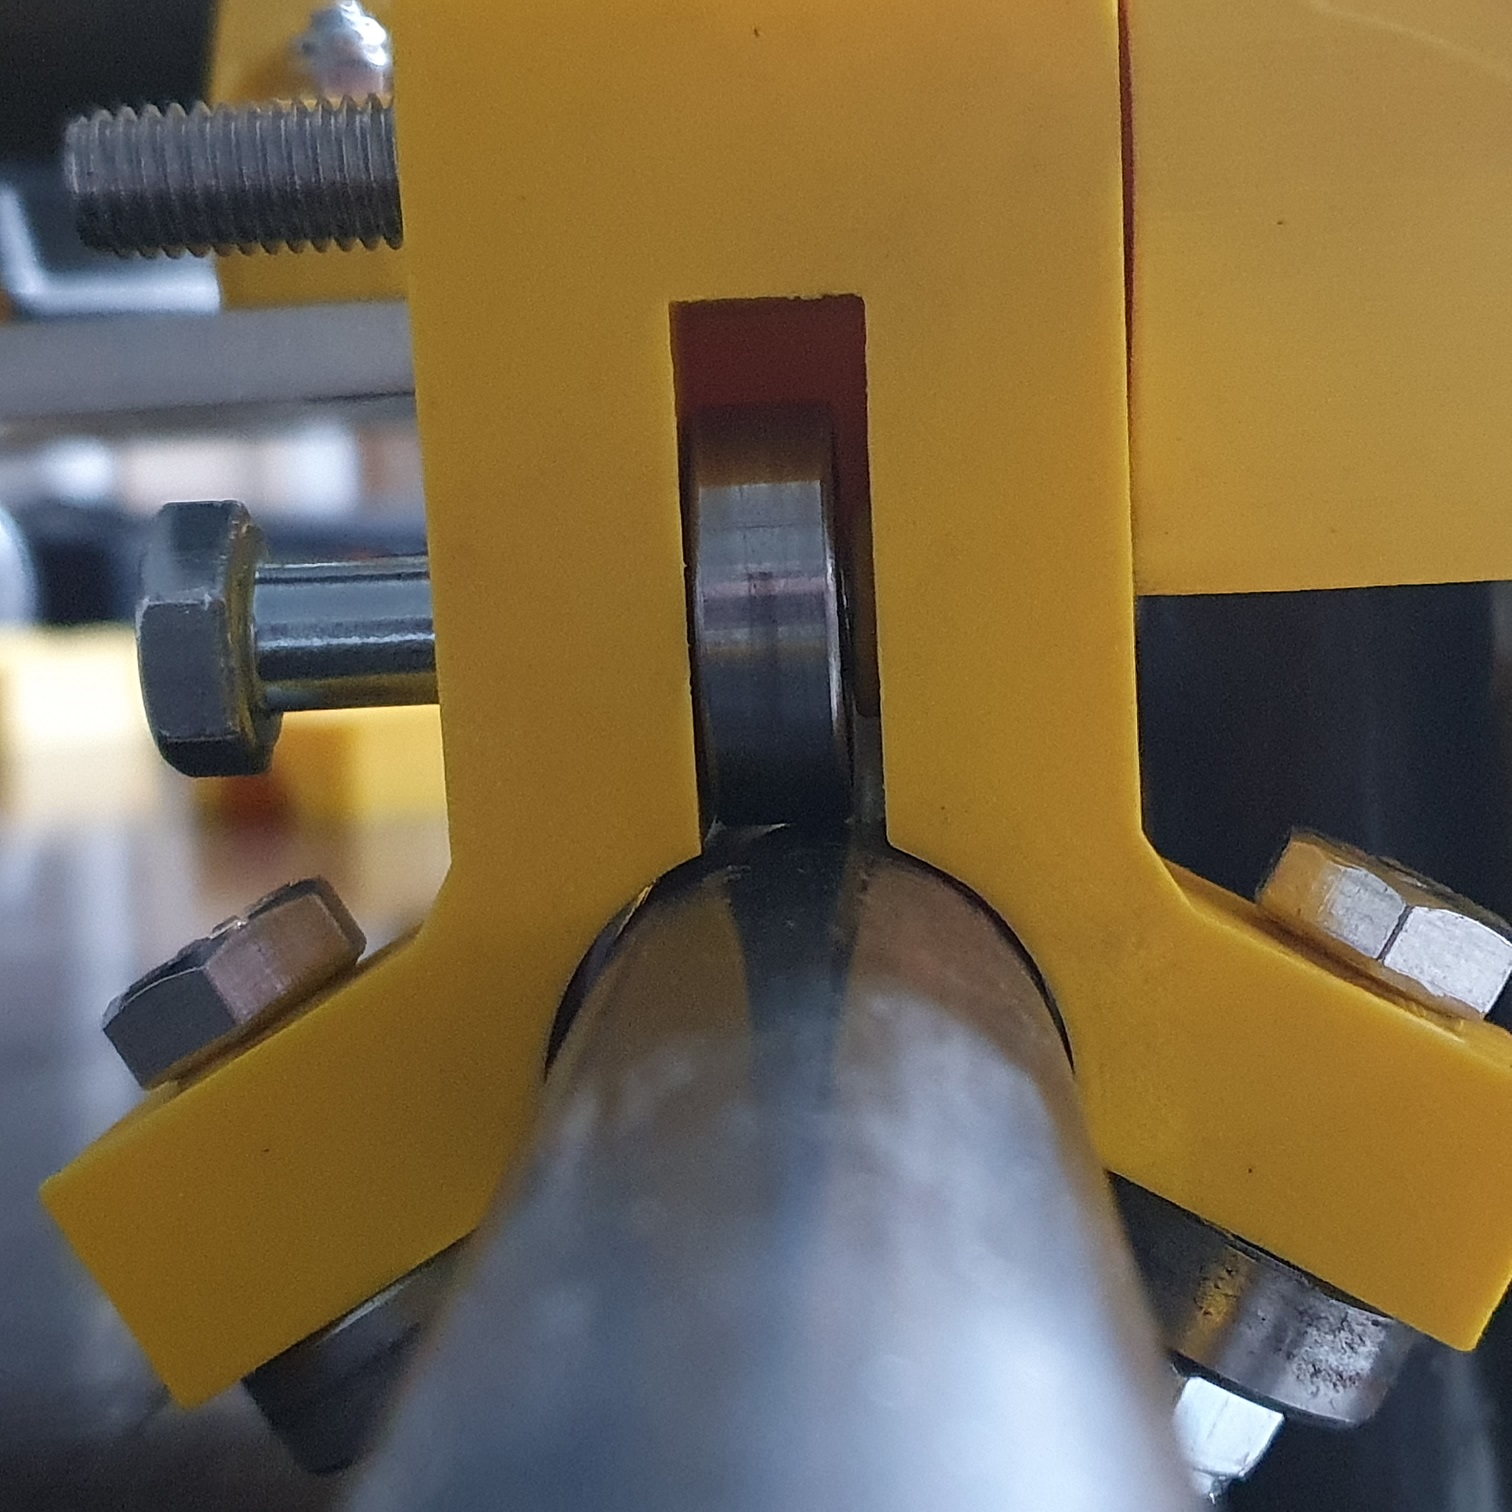
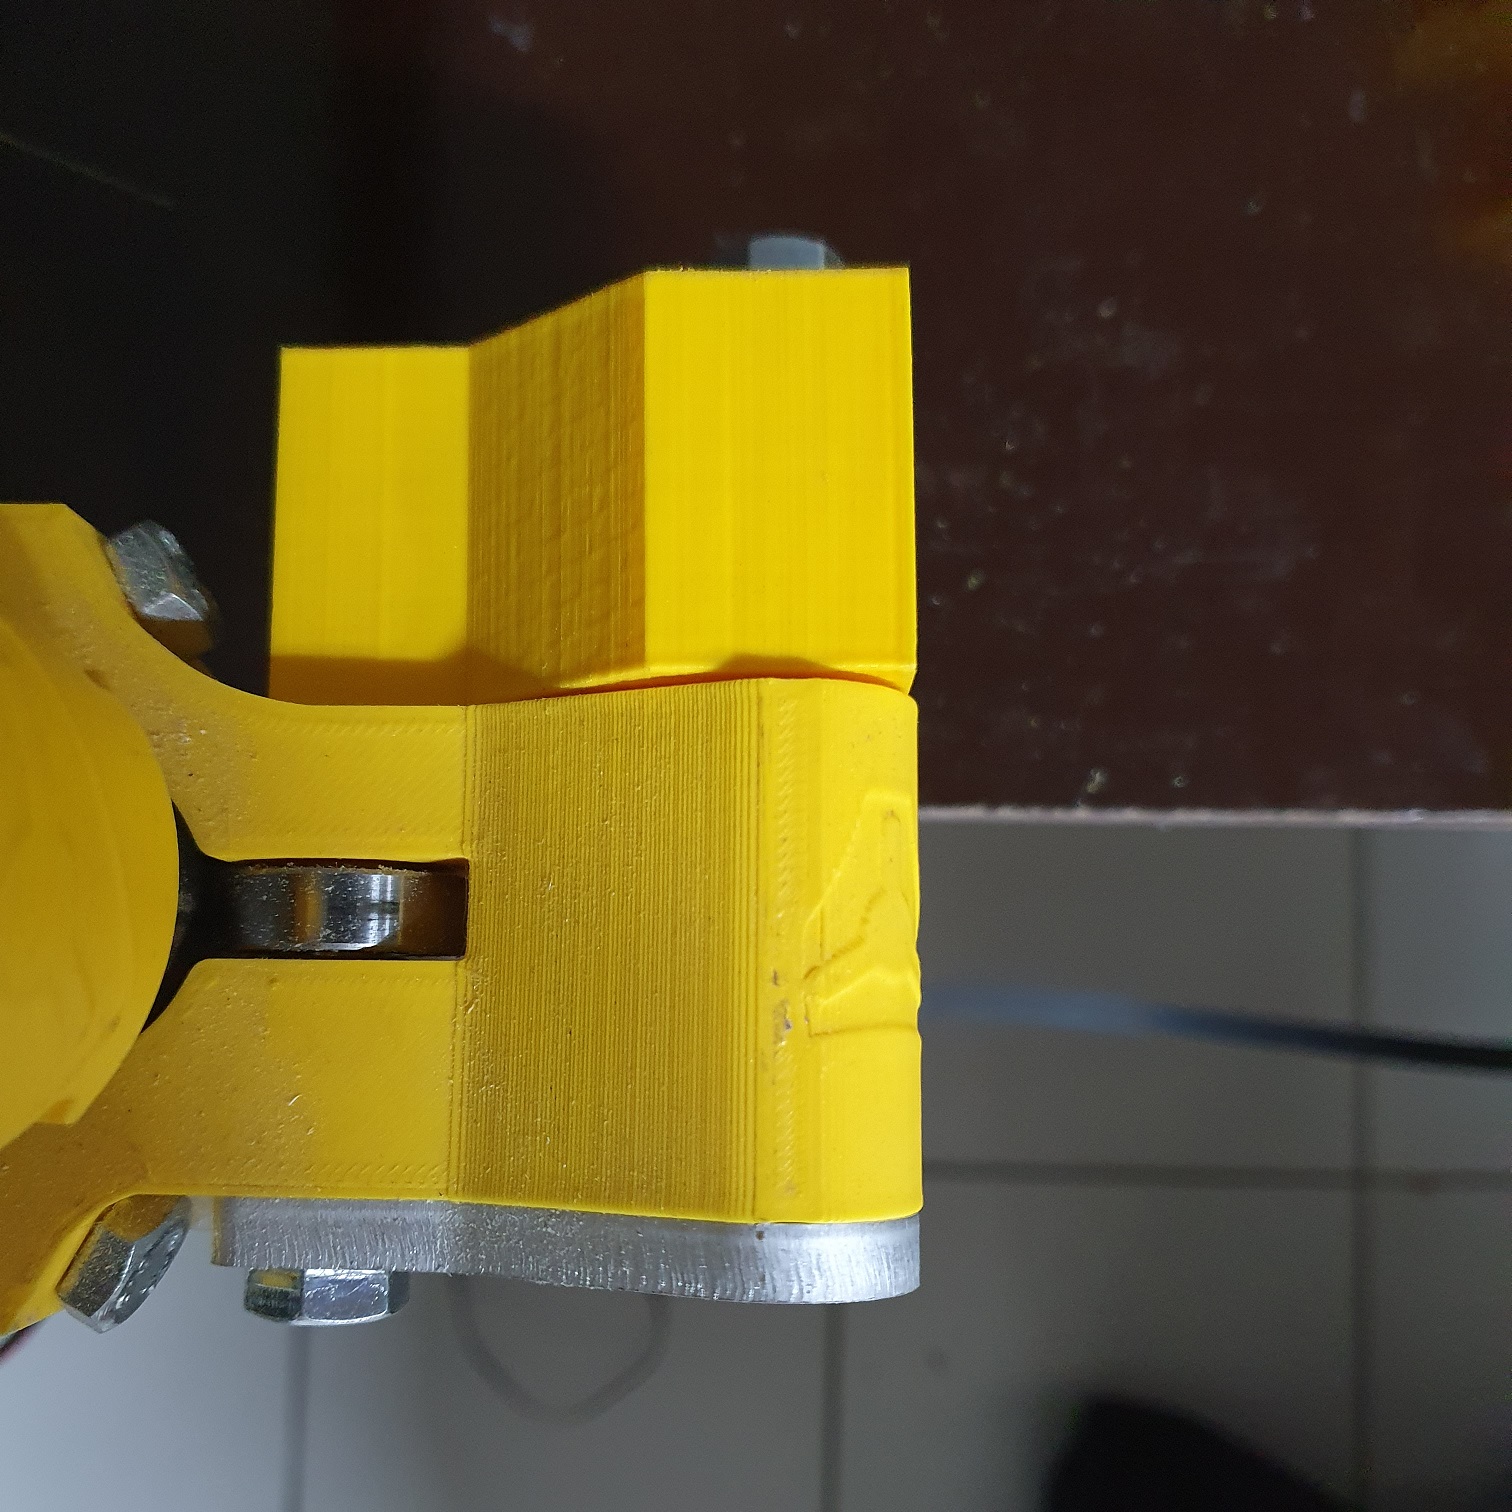
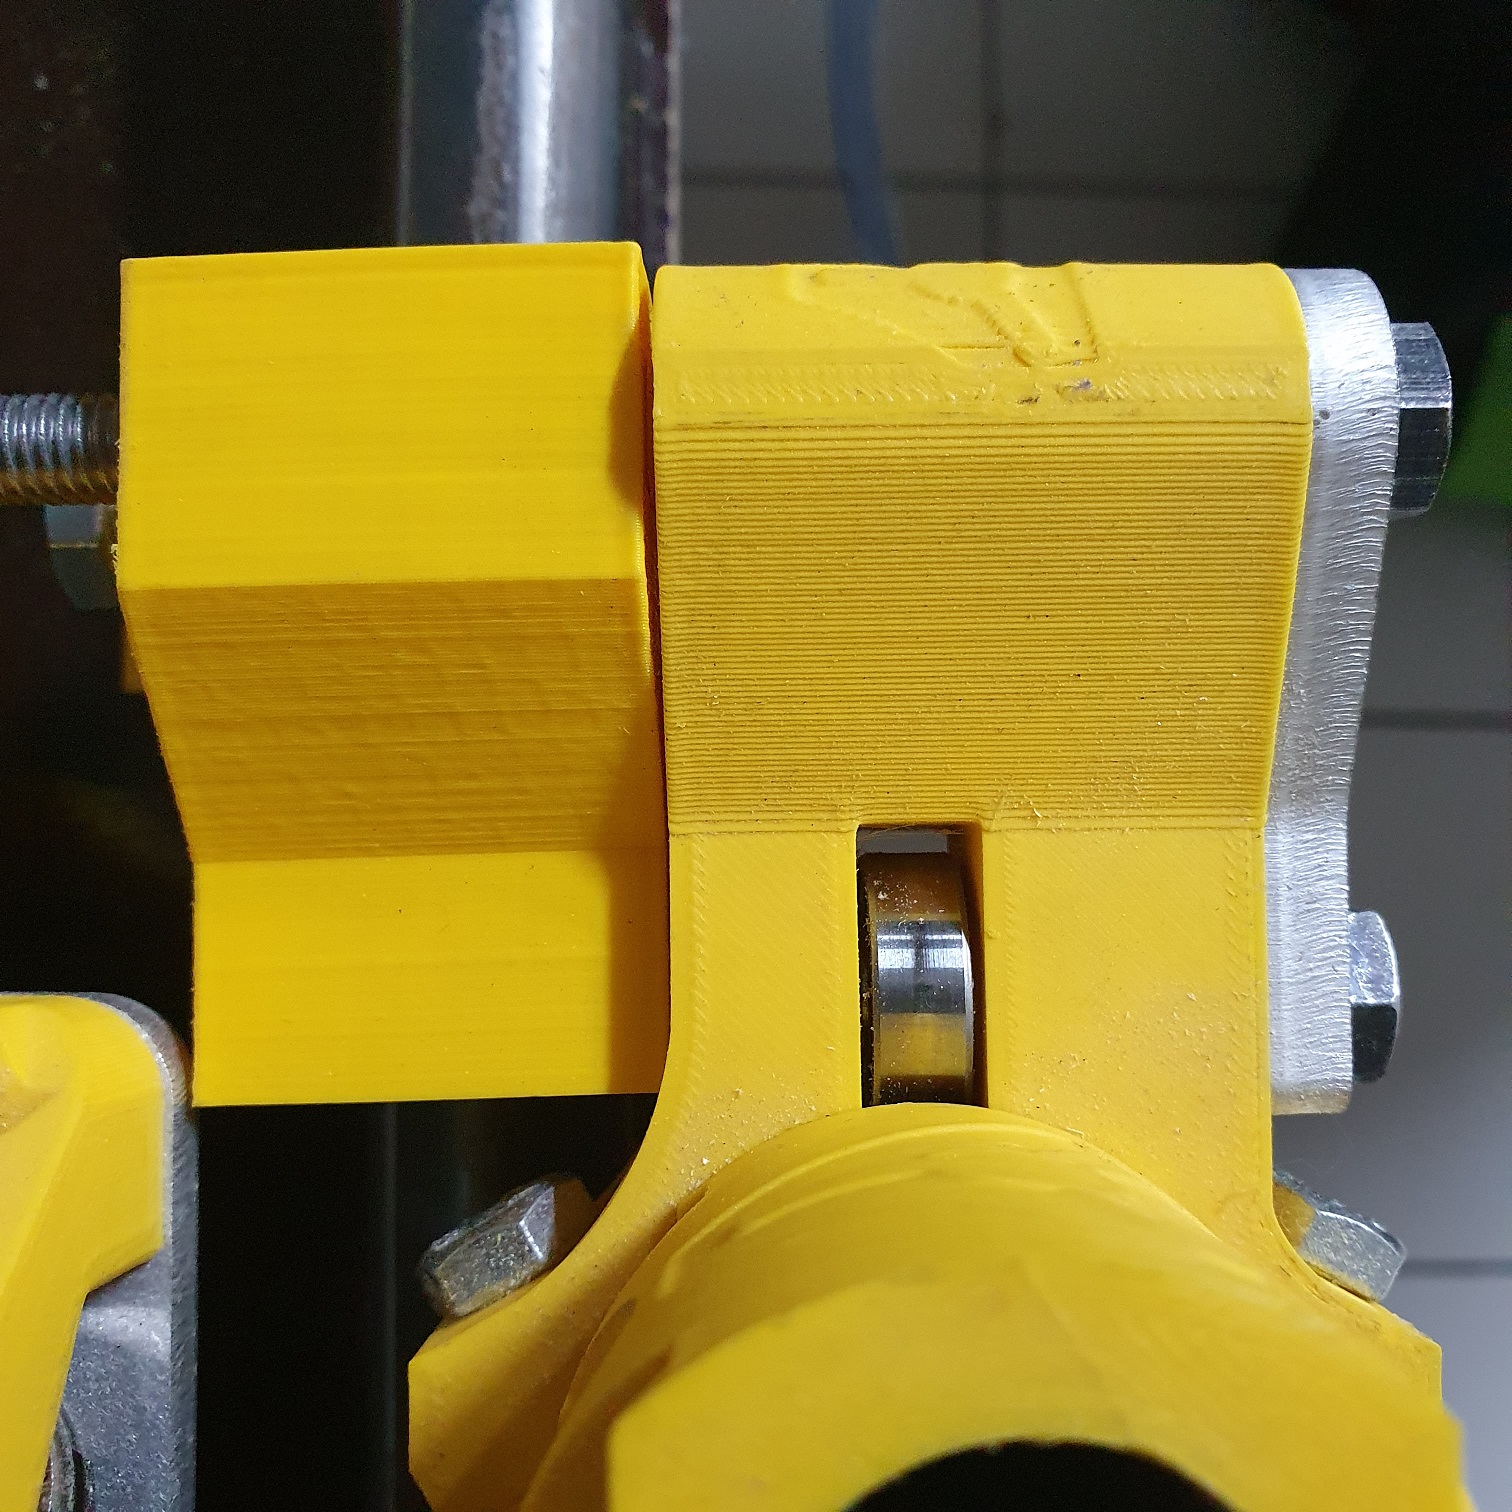
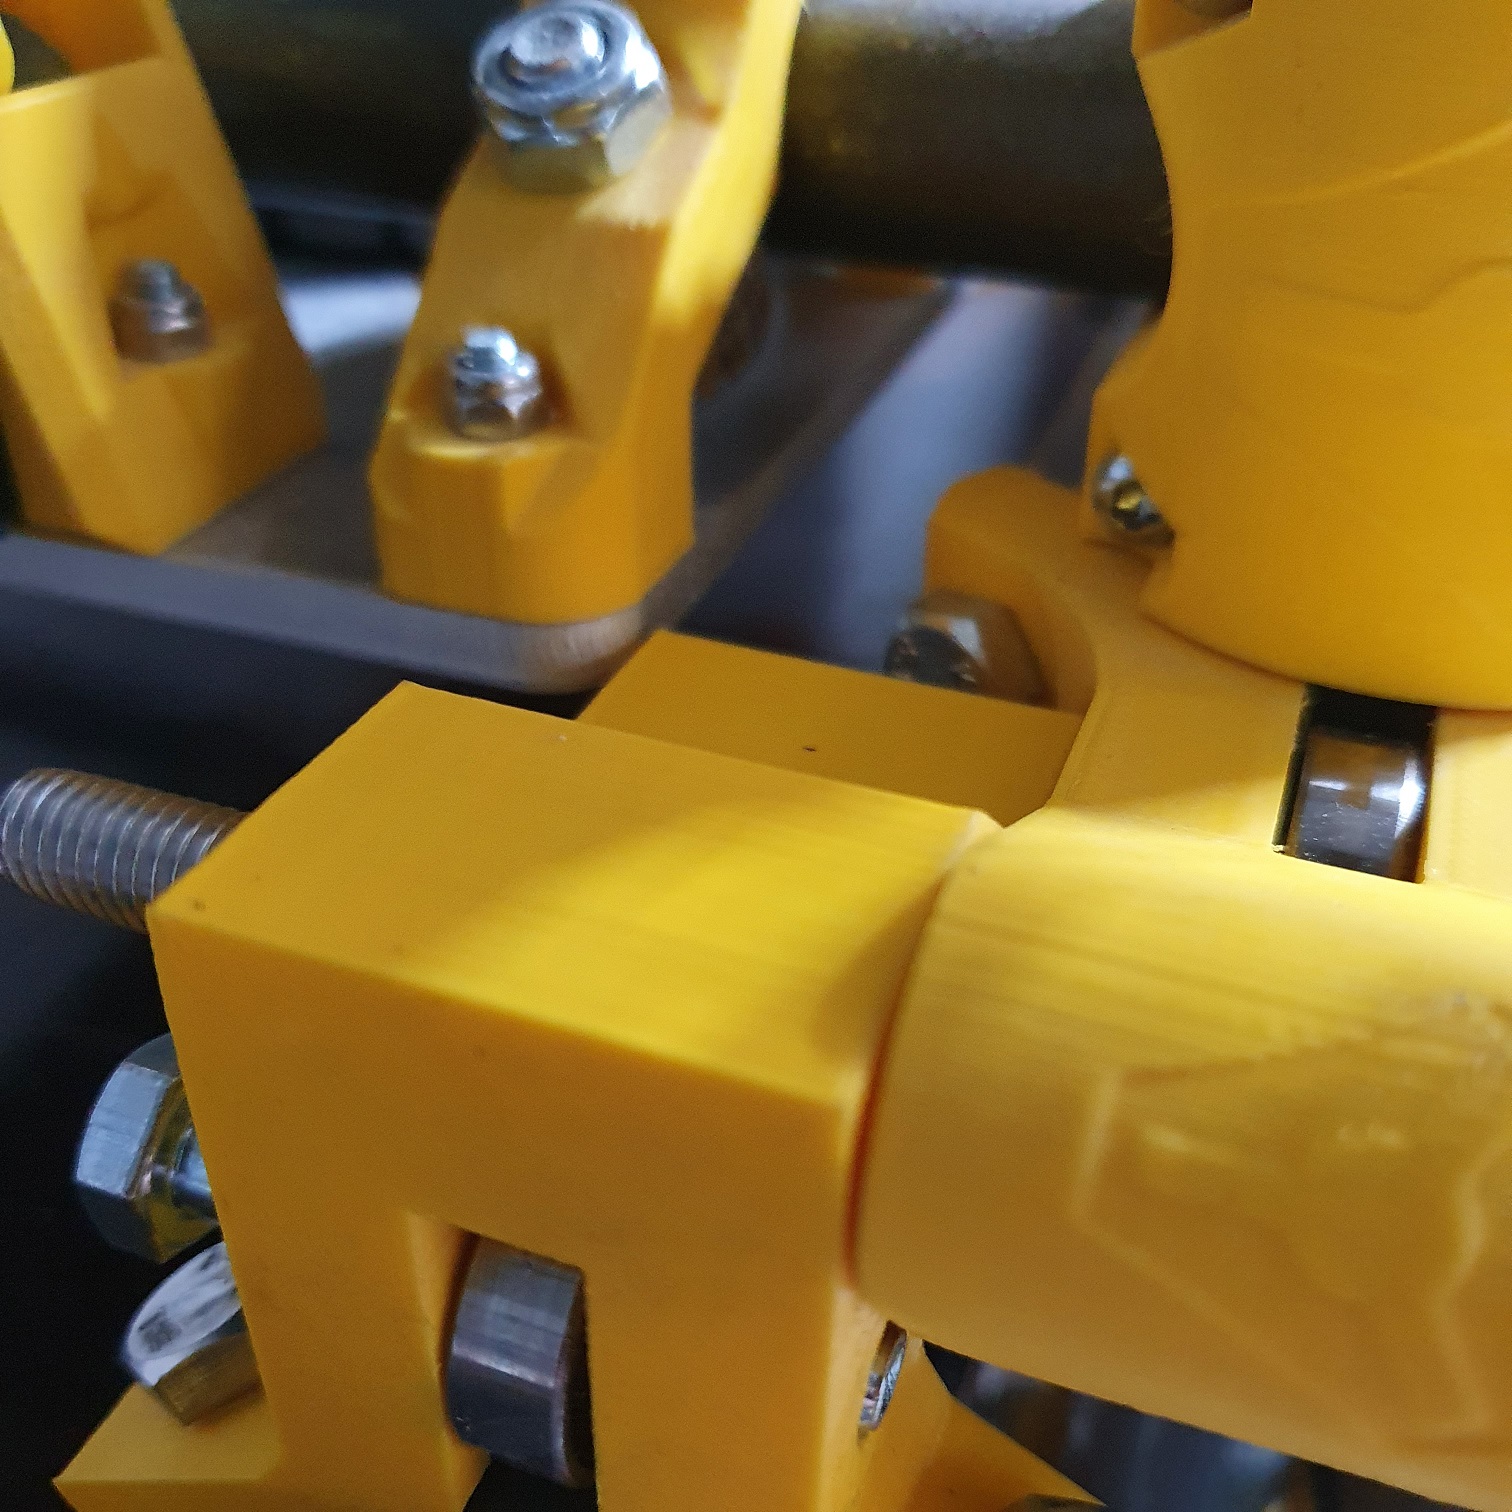
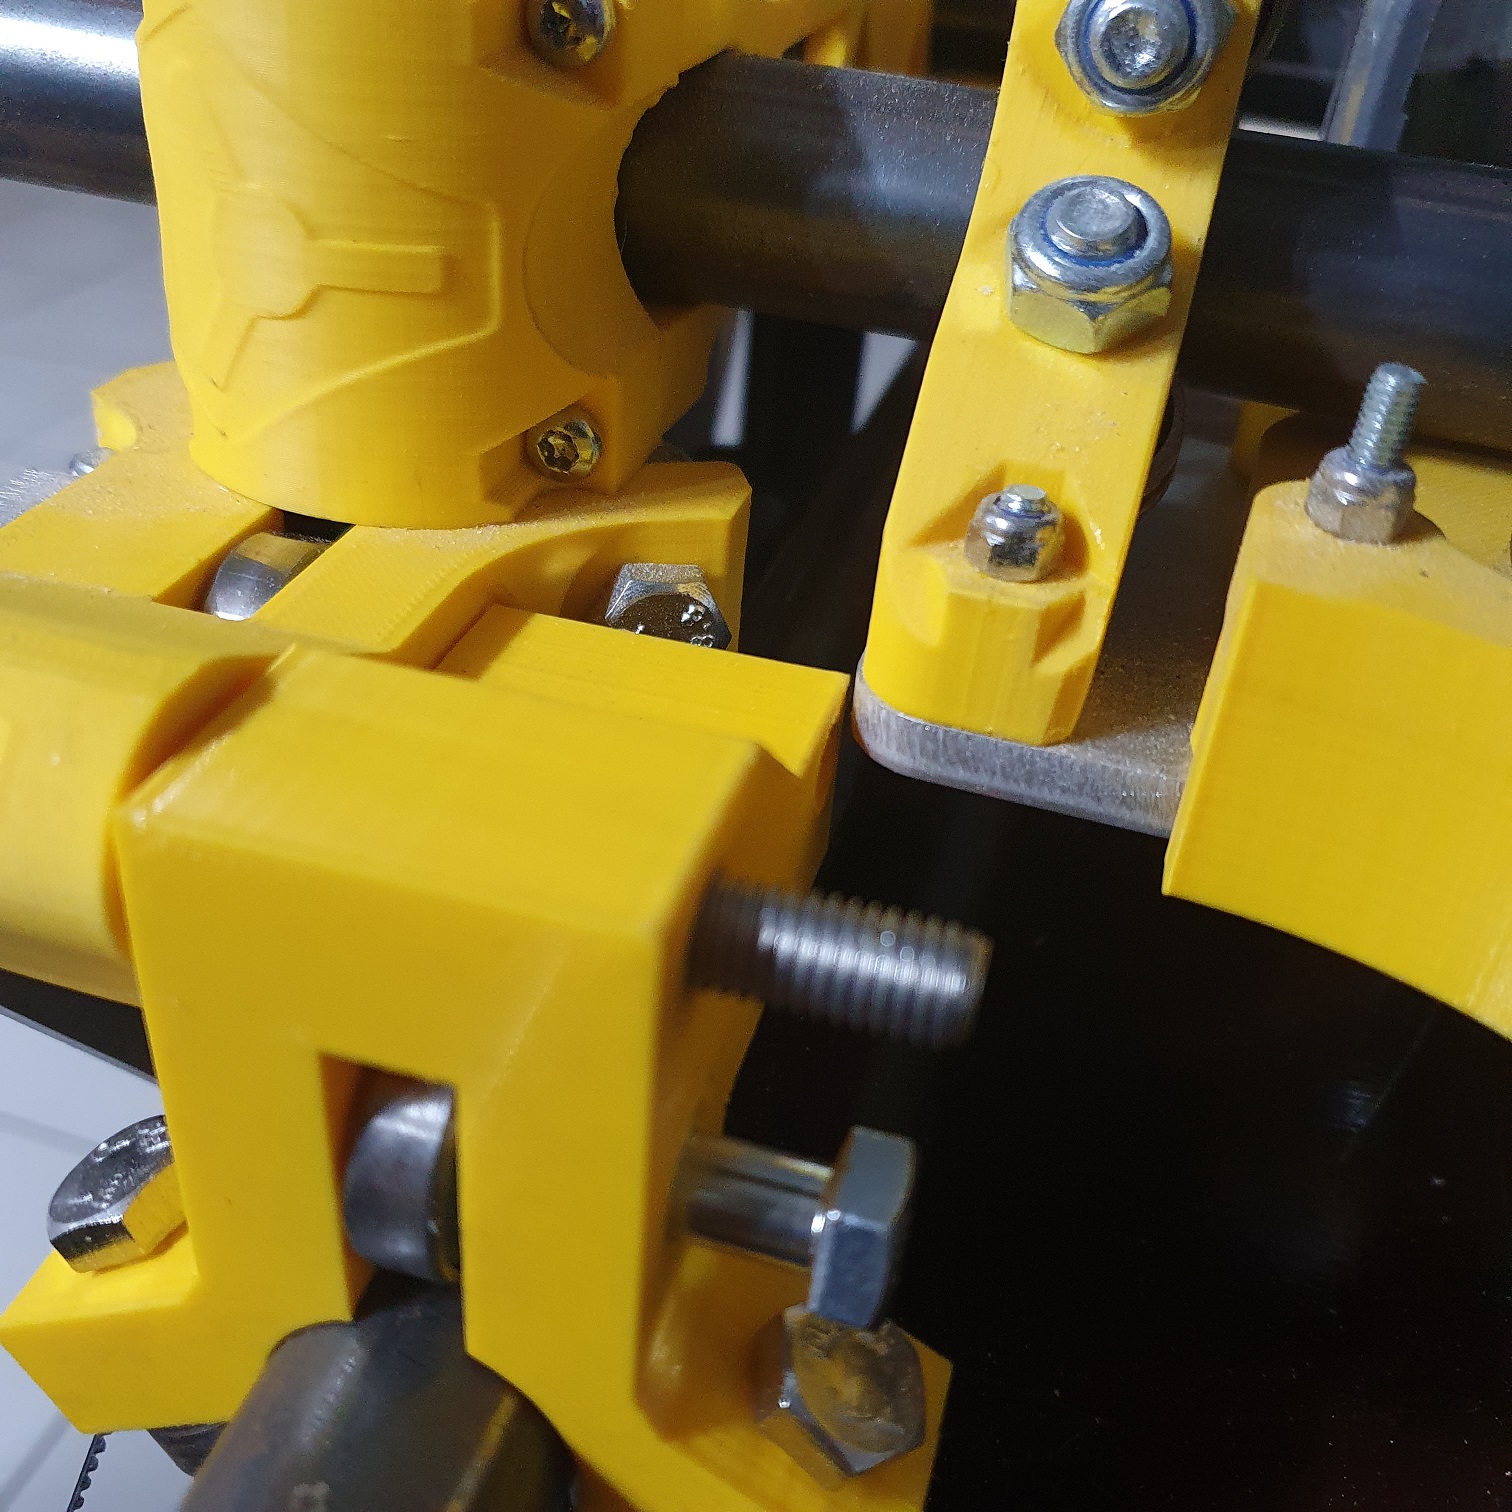
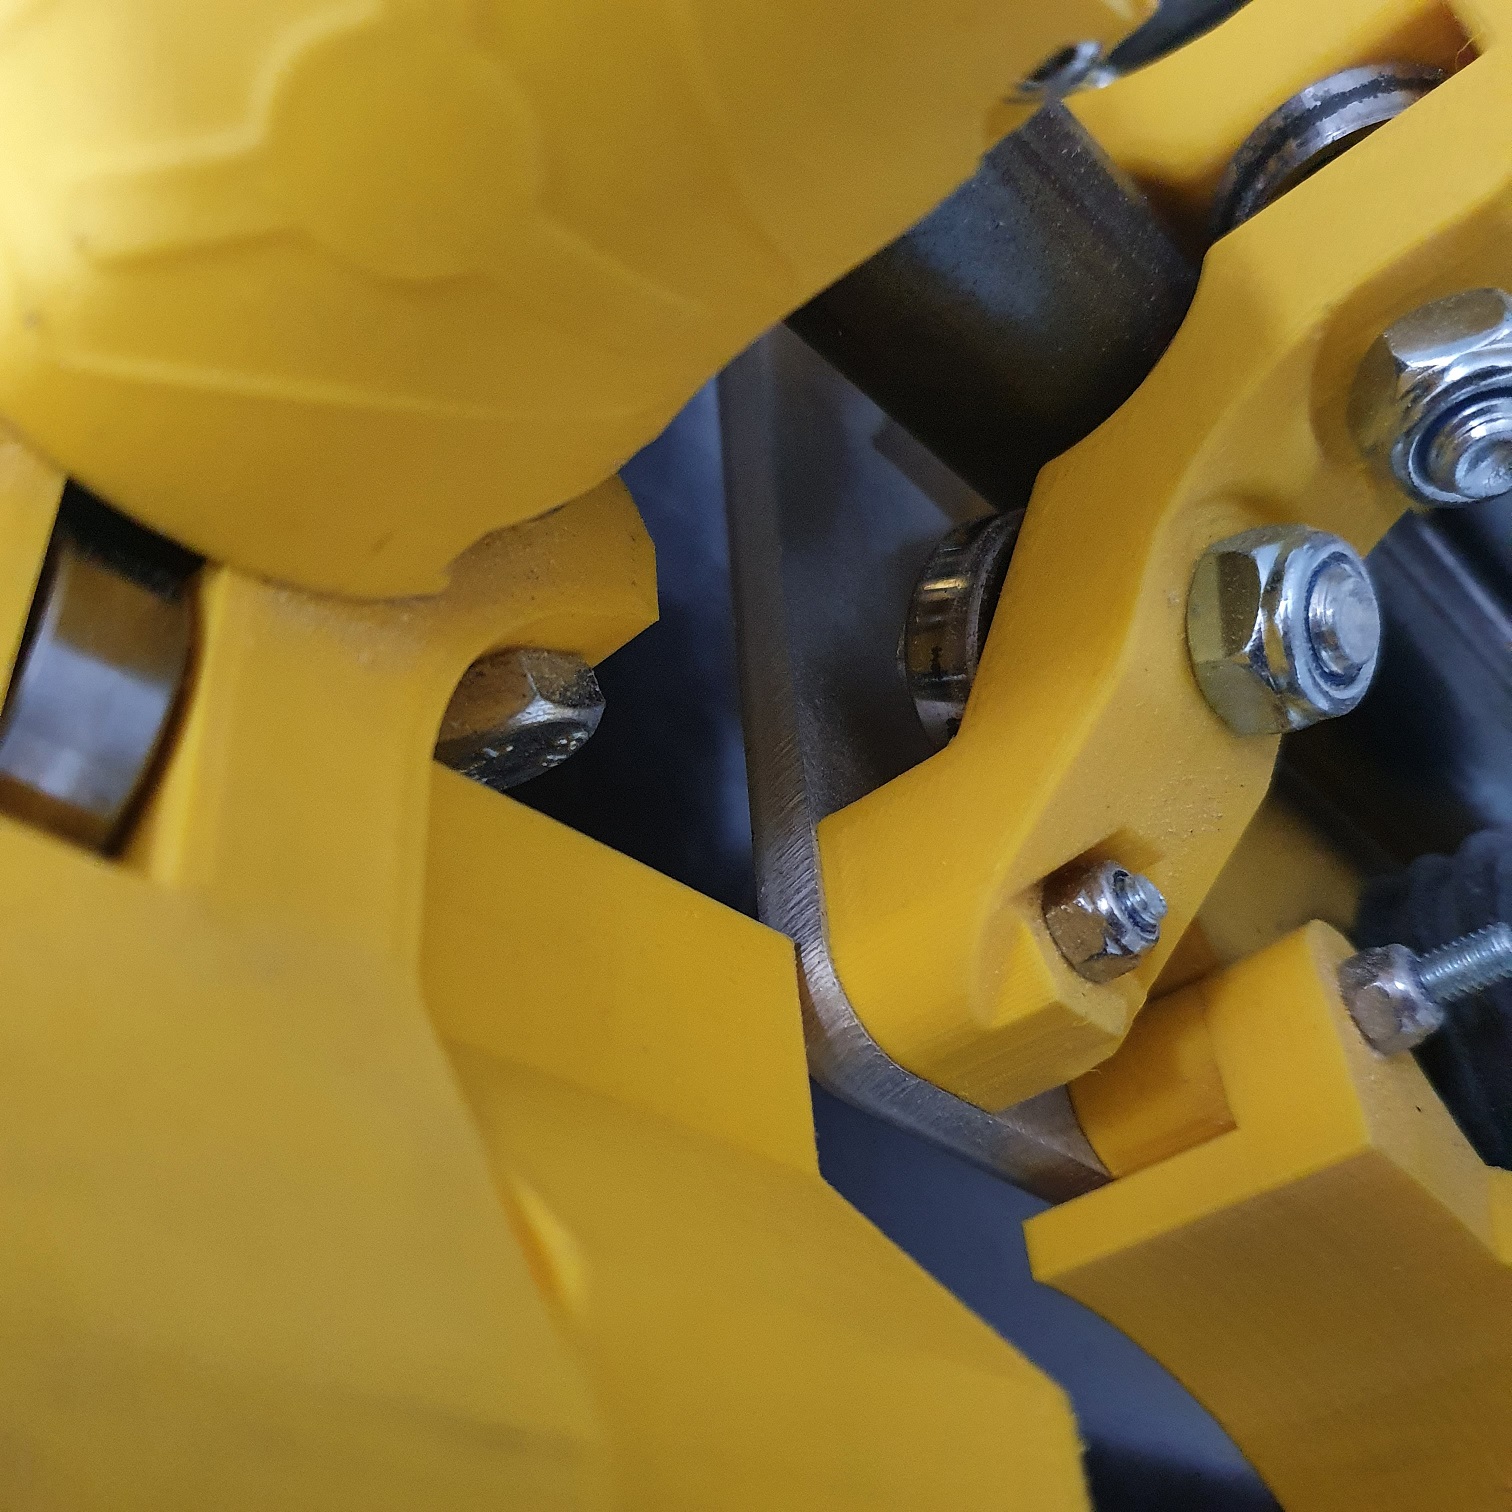
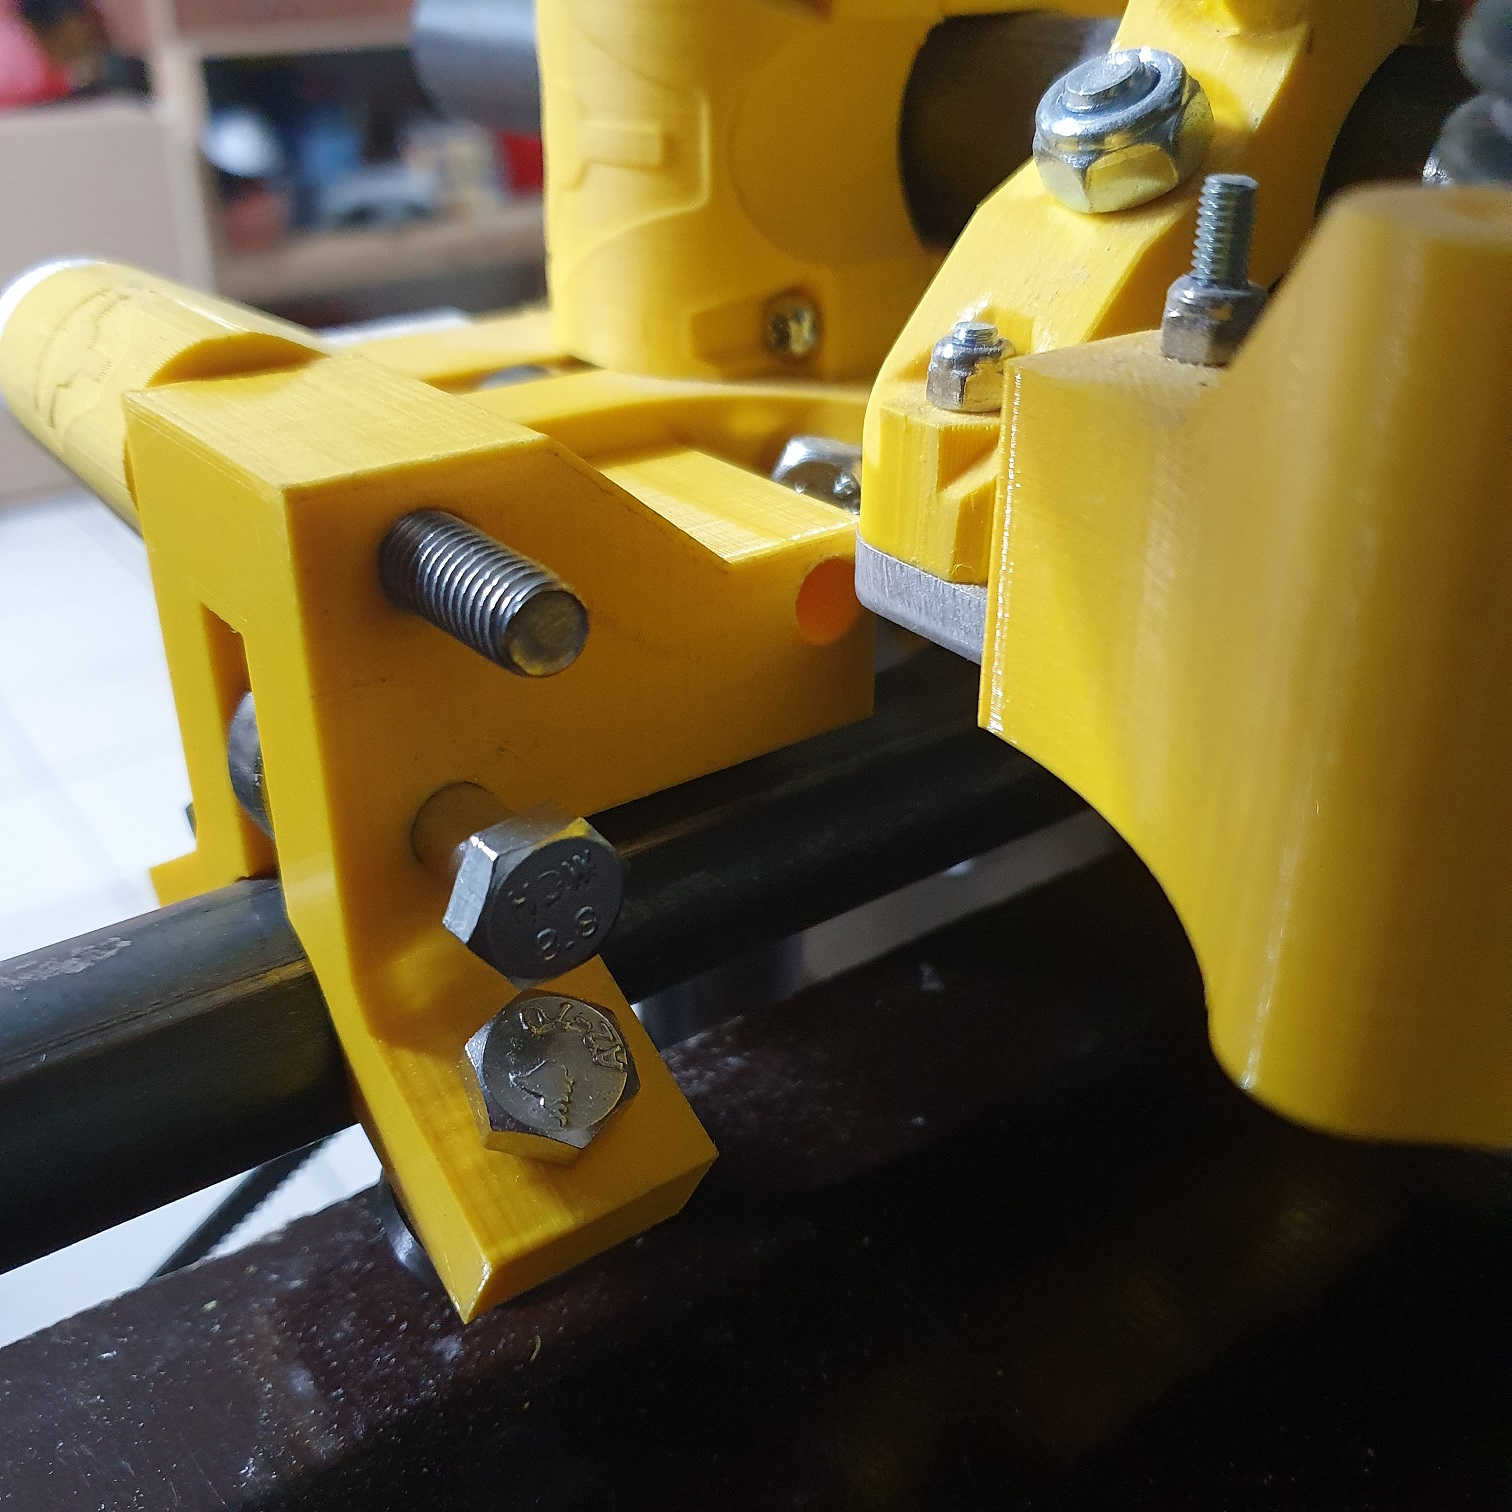
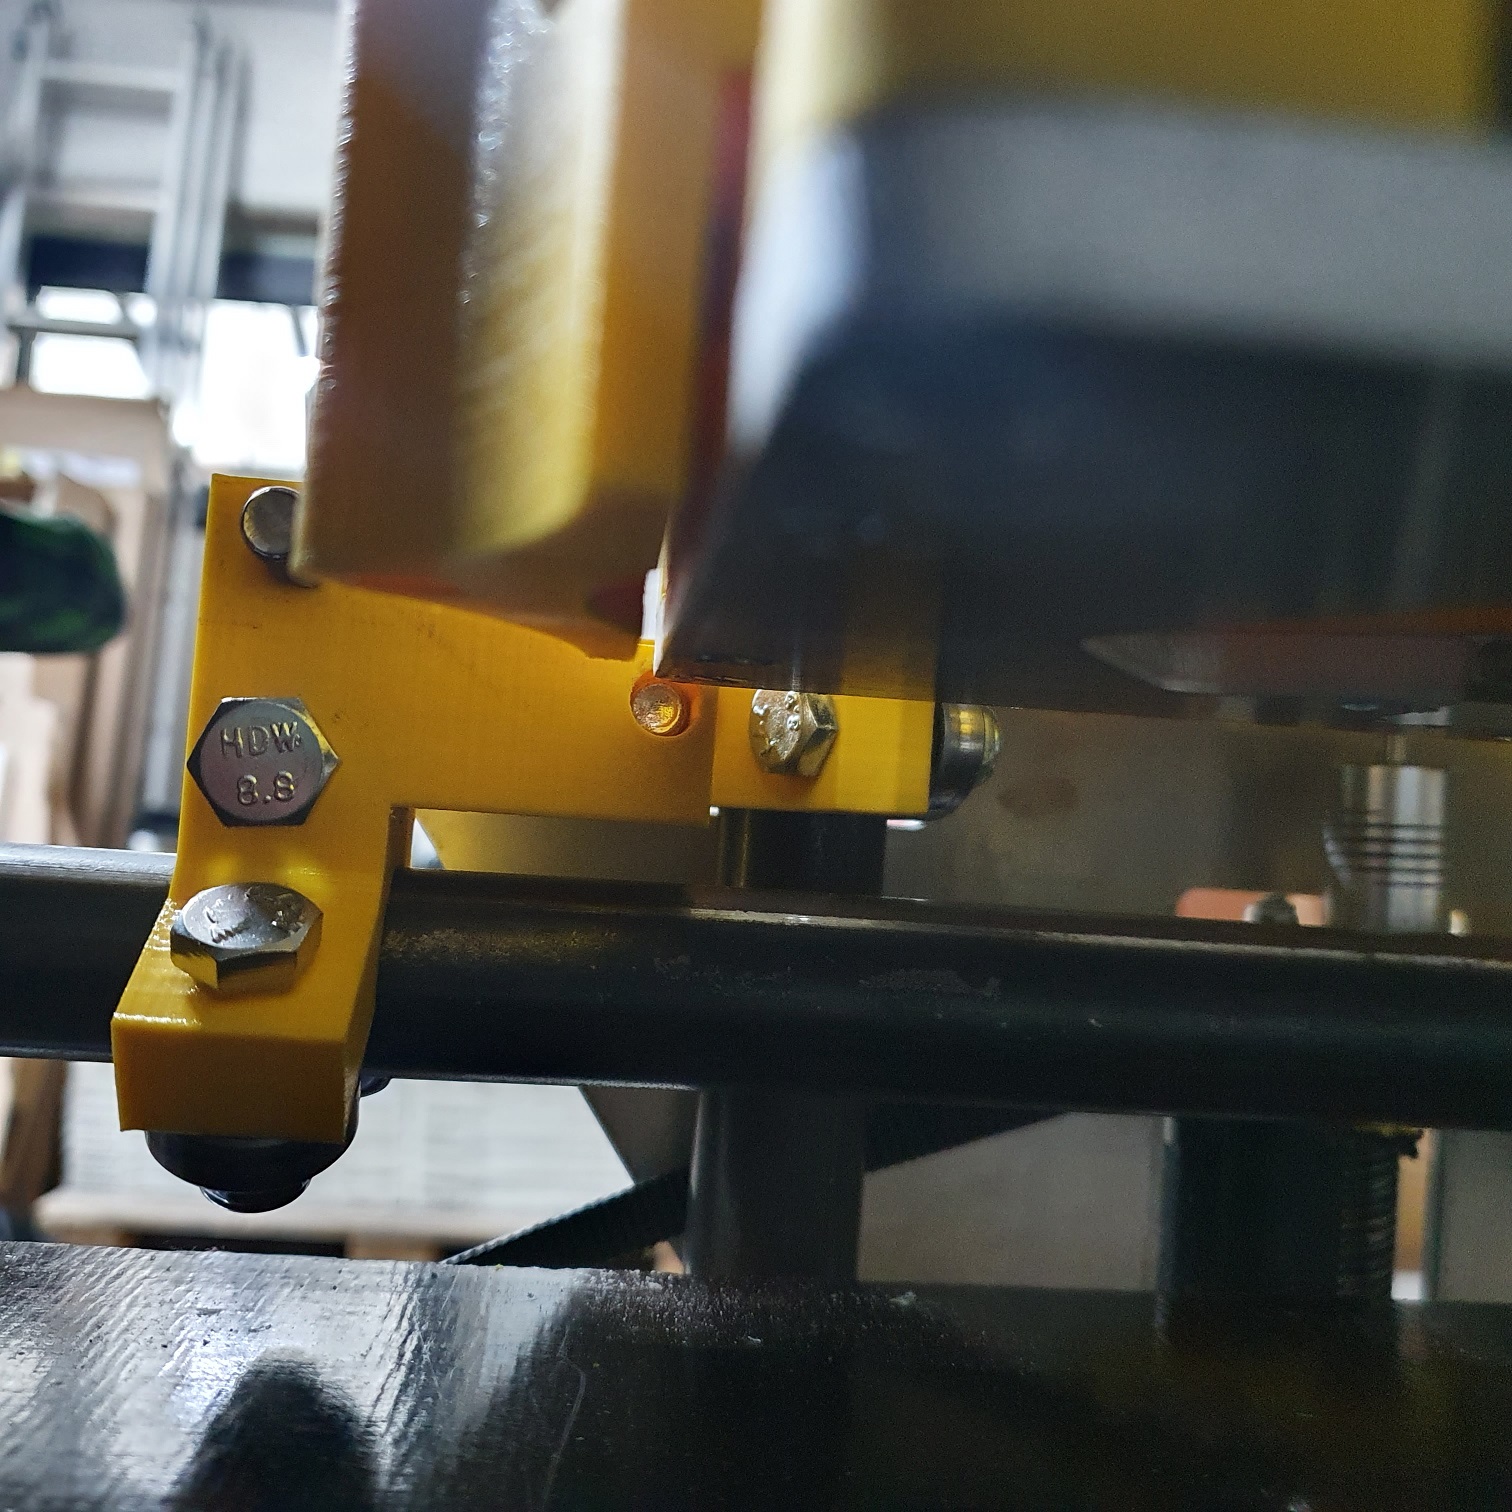
Next I decided to replace the original part from Ryan with these upgraded endstops. It has a feature to align the wheels on both sides of the table. Since my LR2 isn´t completely squared just jet, it helps to start square and to keep running those wheels on the table surface.
One part of the end stop upgrade is the belt tensioner. Although Ryan´s part just works (perfect), it is a nice feature to tension those belts with a single screw.
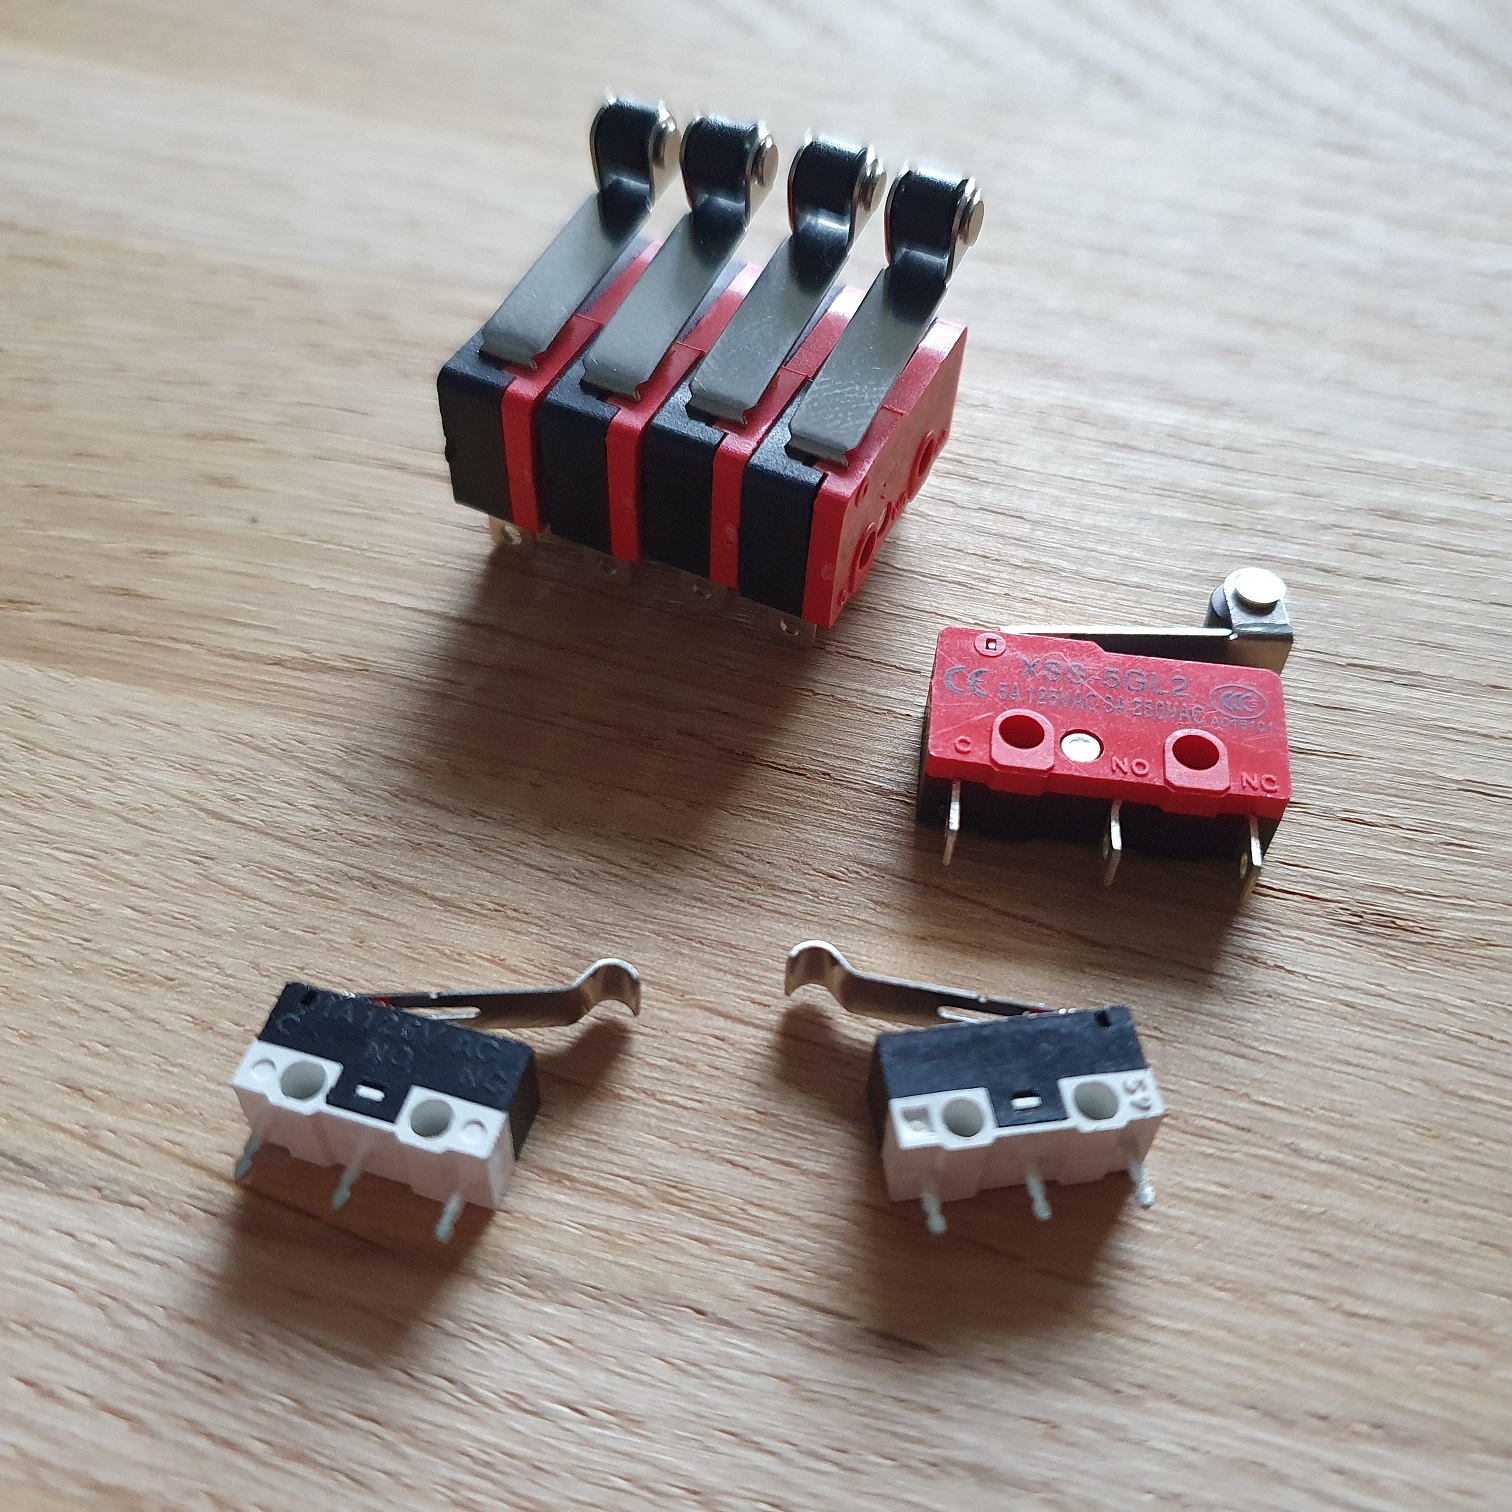
I finally found some larger (end) switches in a local shop. So I can start implementing those end stops for homing. Although these new switches are small, my older ones are even smaller as you can see
Unfortunately the coming days are pretty busy, so not sure when I will be able to install them.
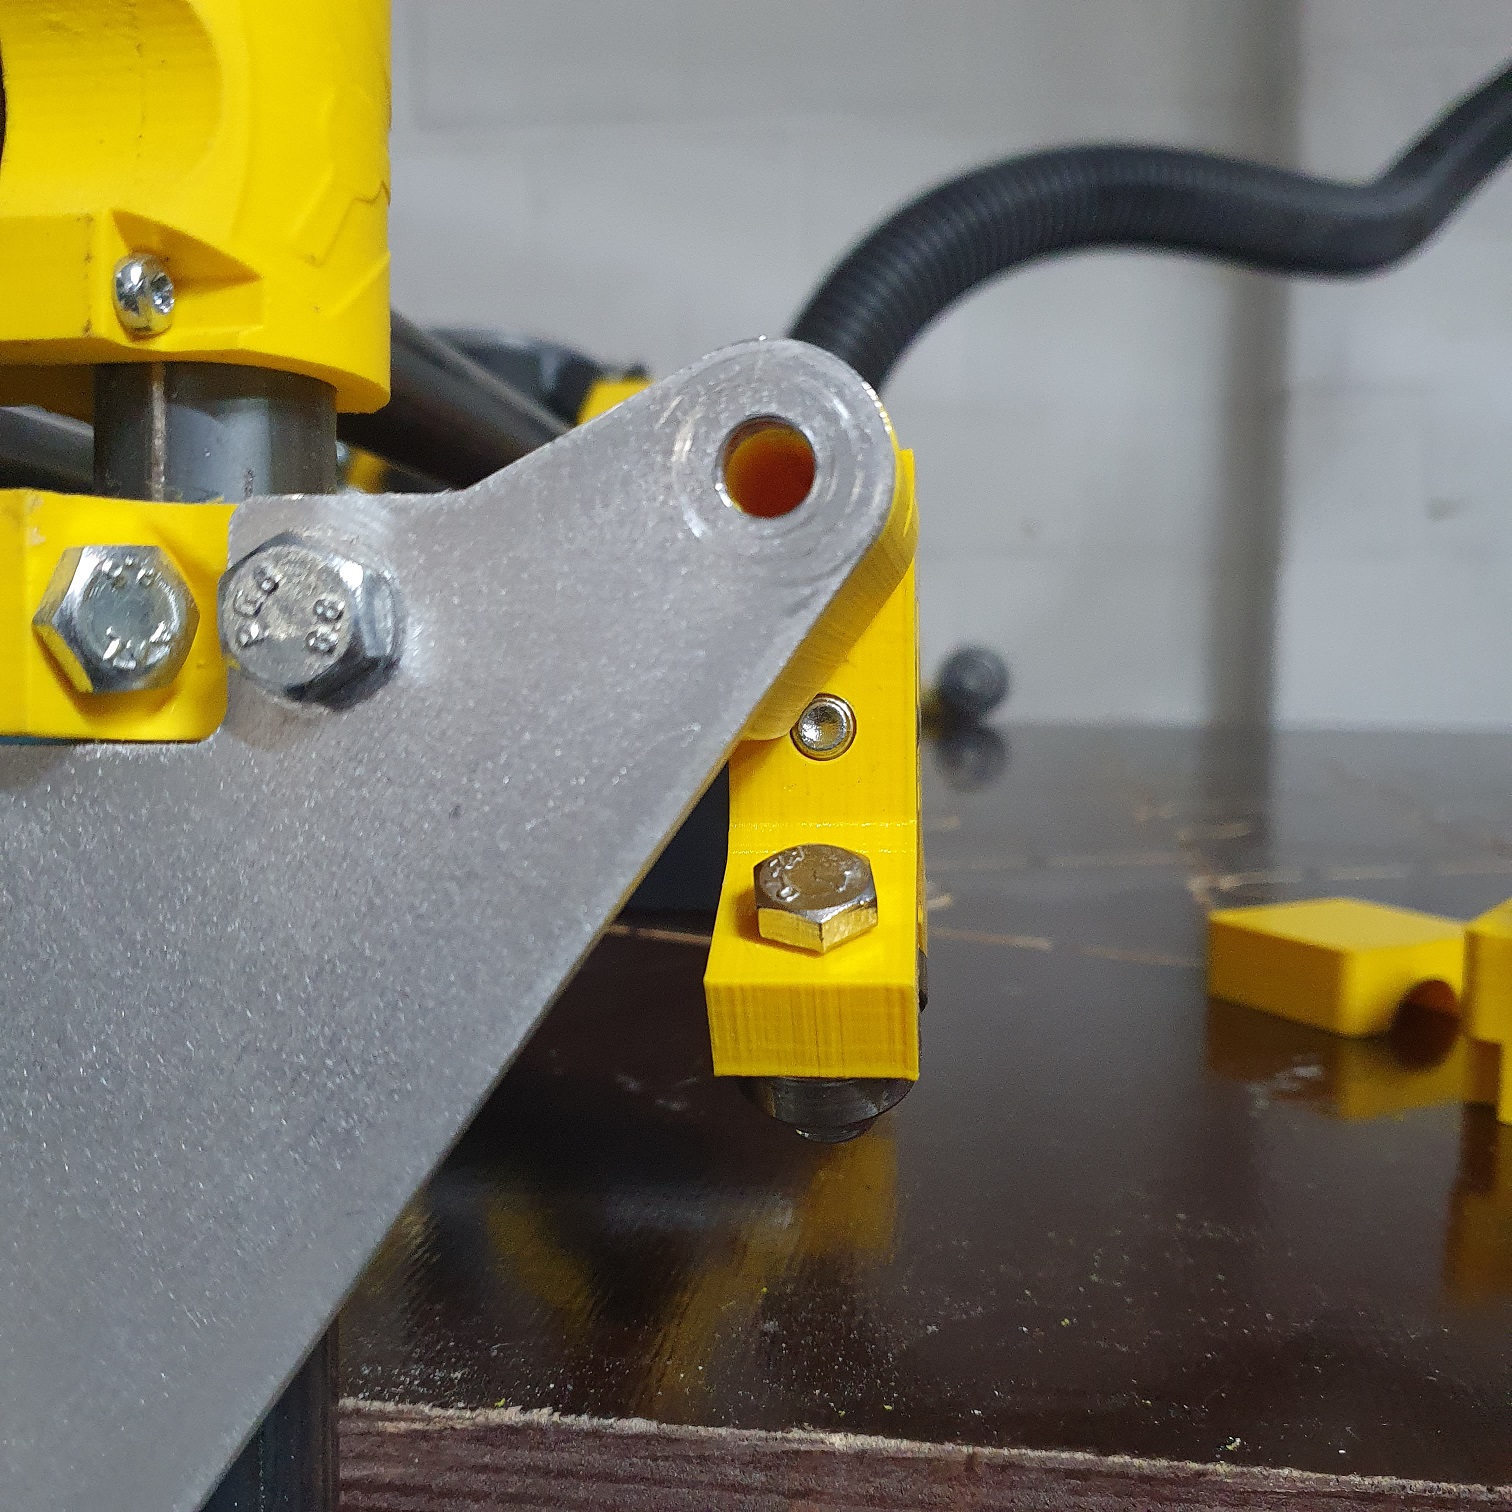
Found some leftover 25mm rail, so I can have a look at what needs to change when converting skate wheels to a rail.
The height will definitely be an issue as you can see on the photo´s.
I plan to solve this with a new table design, as the current one is still not flat enough. My idea is to make a torsion box that will be thicker then the beam where I want to mount the rail. This will fit an idea I have, where I can easily mount a top onto, so I can quickly convert this to a workbench when needed. Will probably be slow progress too
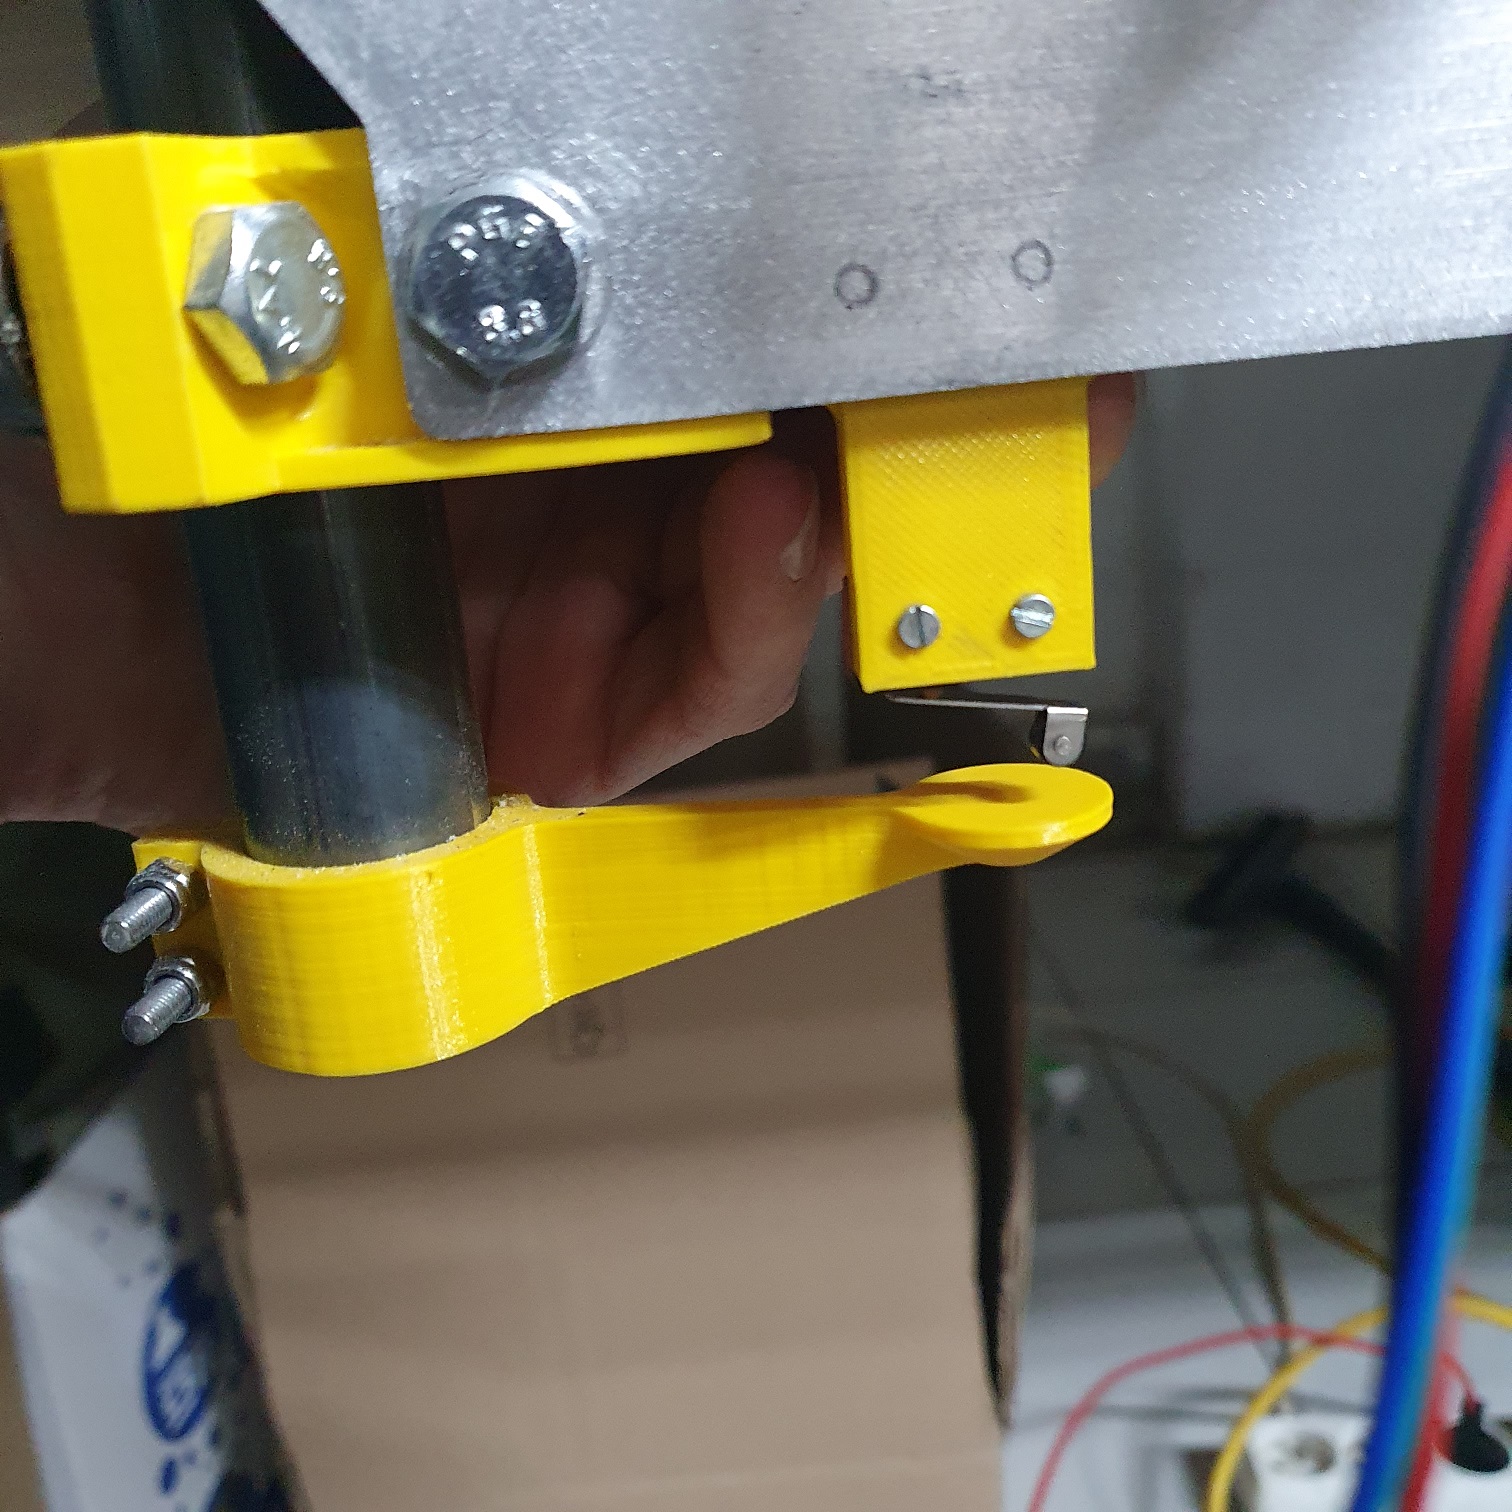
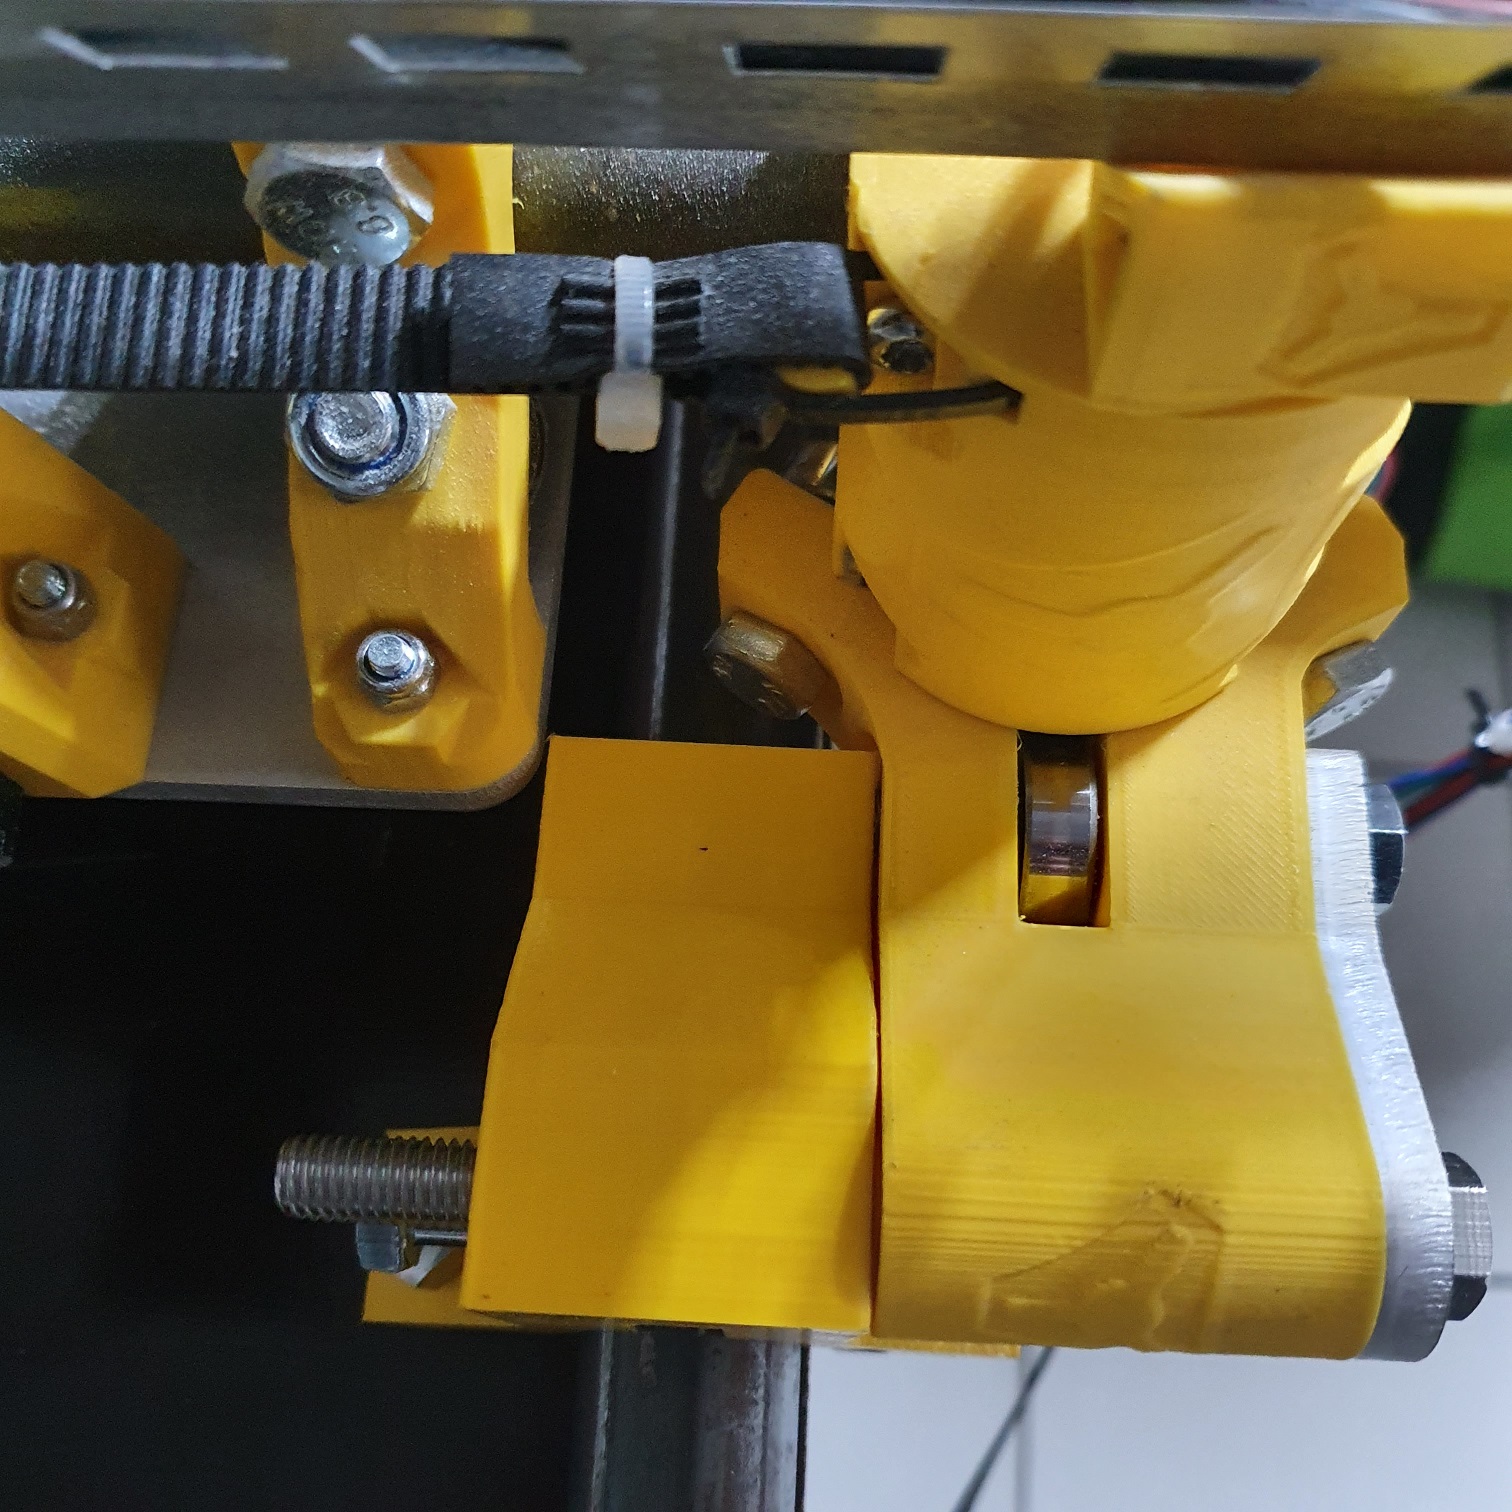
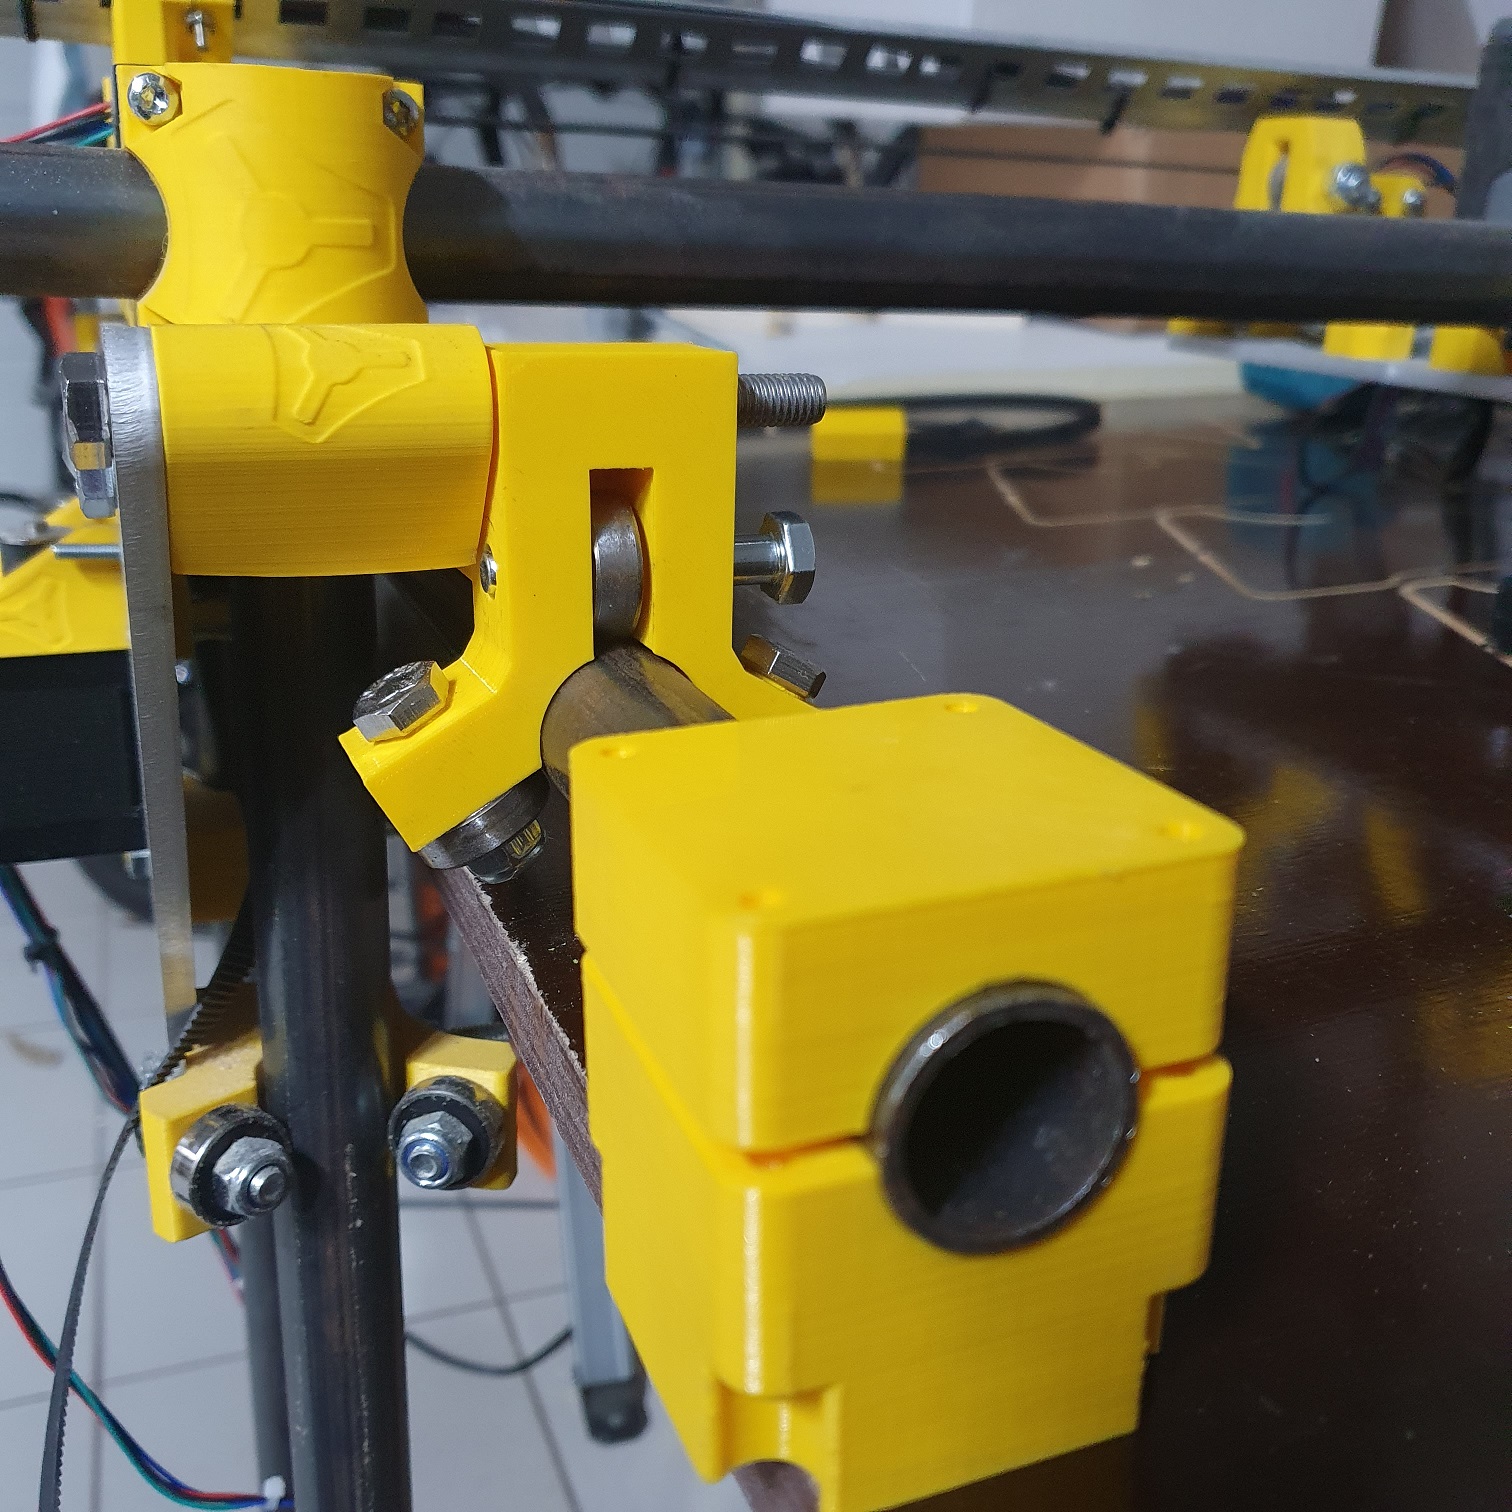
Today, I finally managed to find time to mount my first endstop sensors. So I went on to install these Z-Endstops. Unfortunately I raised my Z much too high and broke one of my switches in the process, so will need to go back to the shop to replace it before I can actually try homing them.
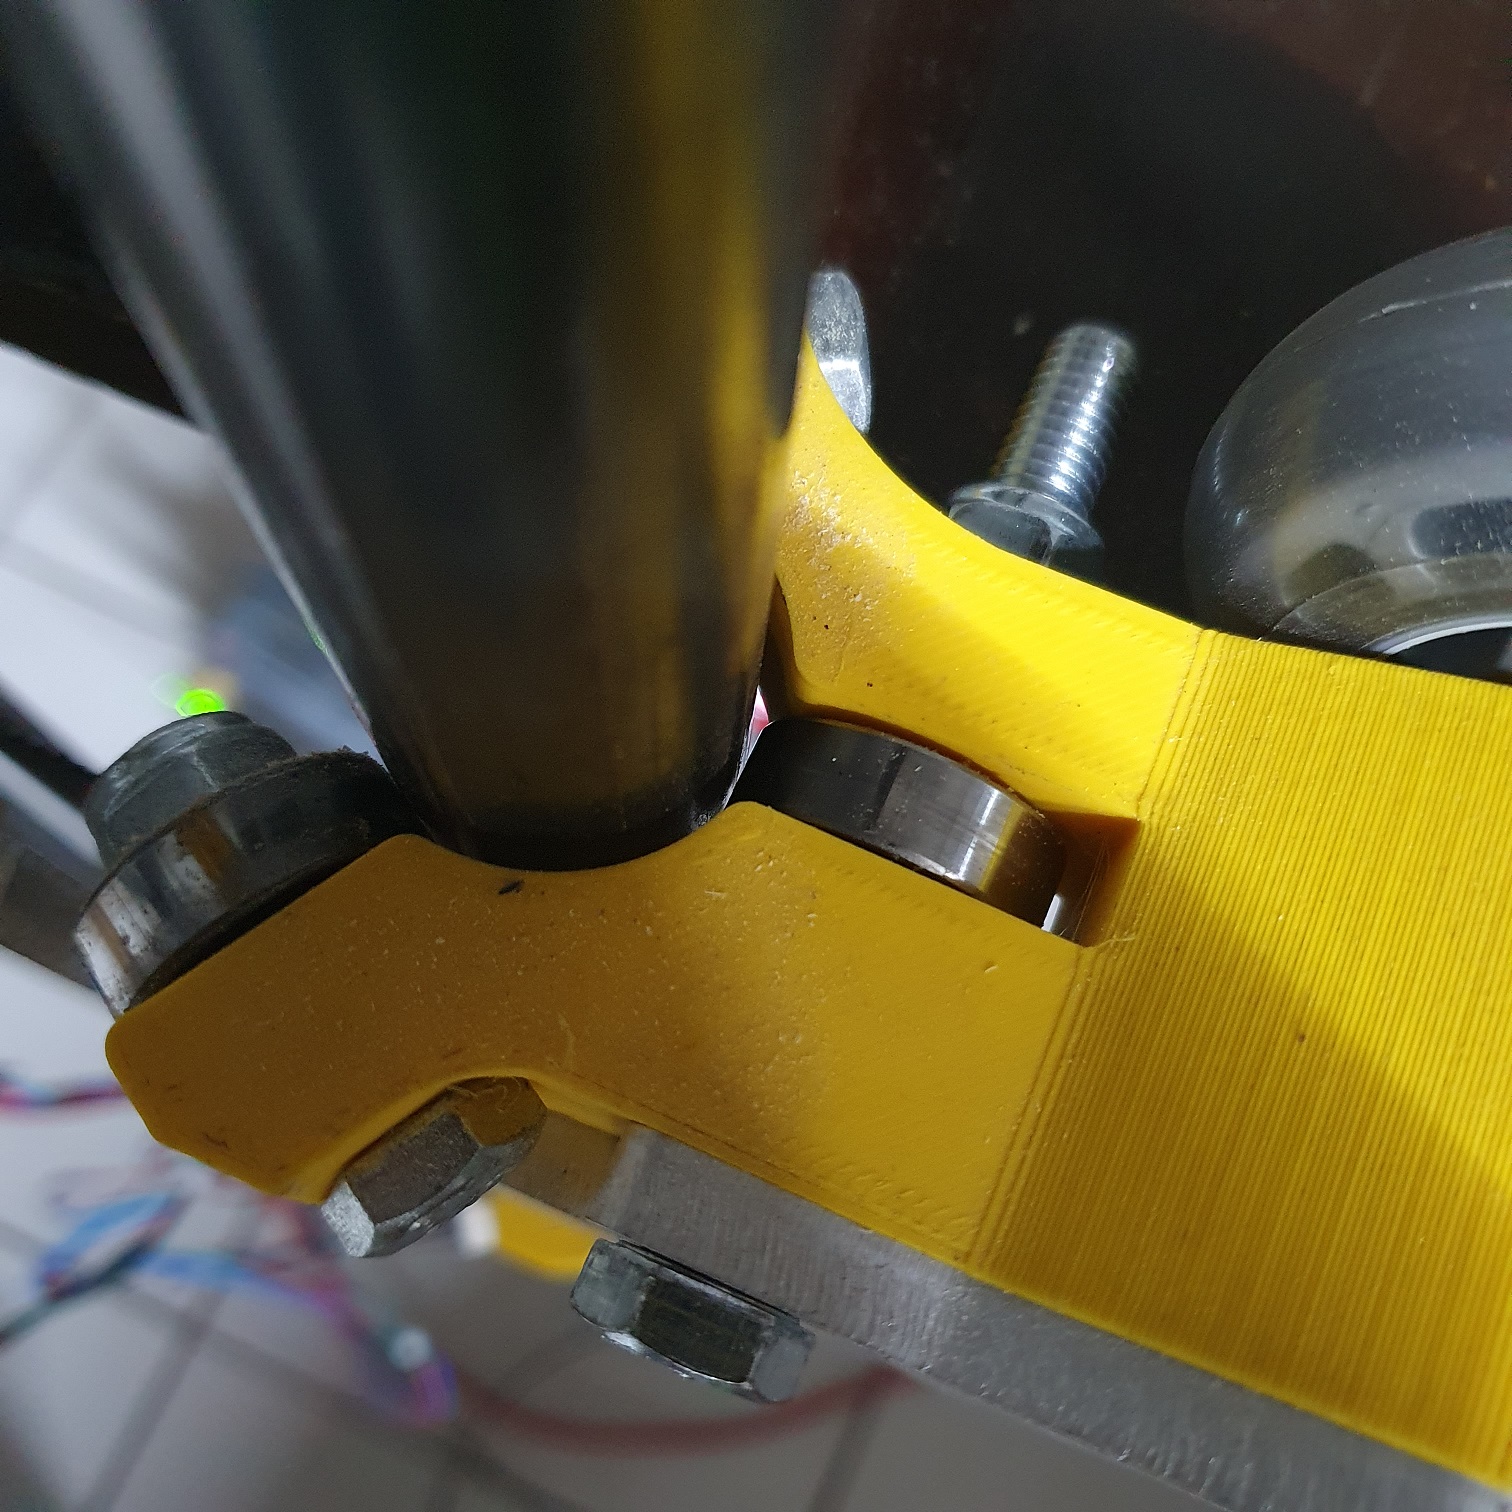
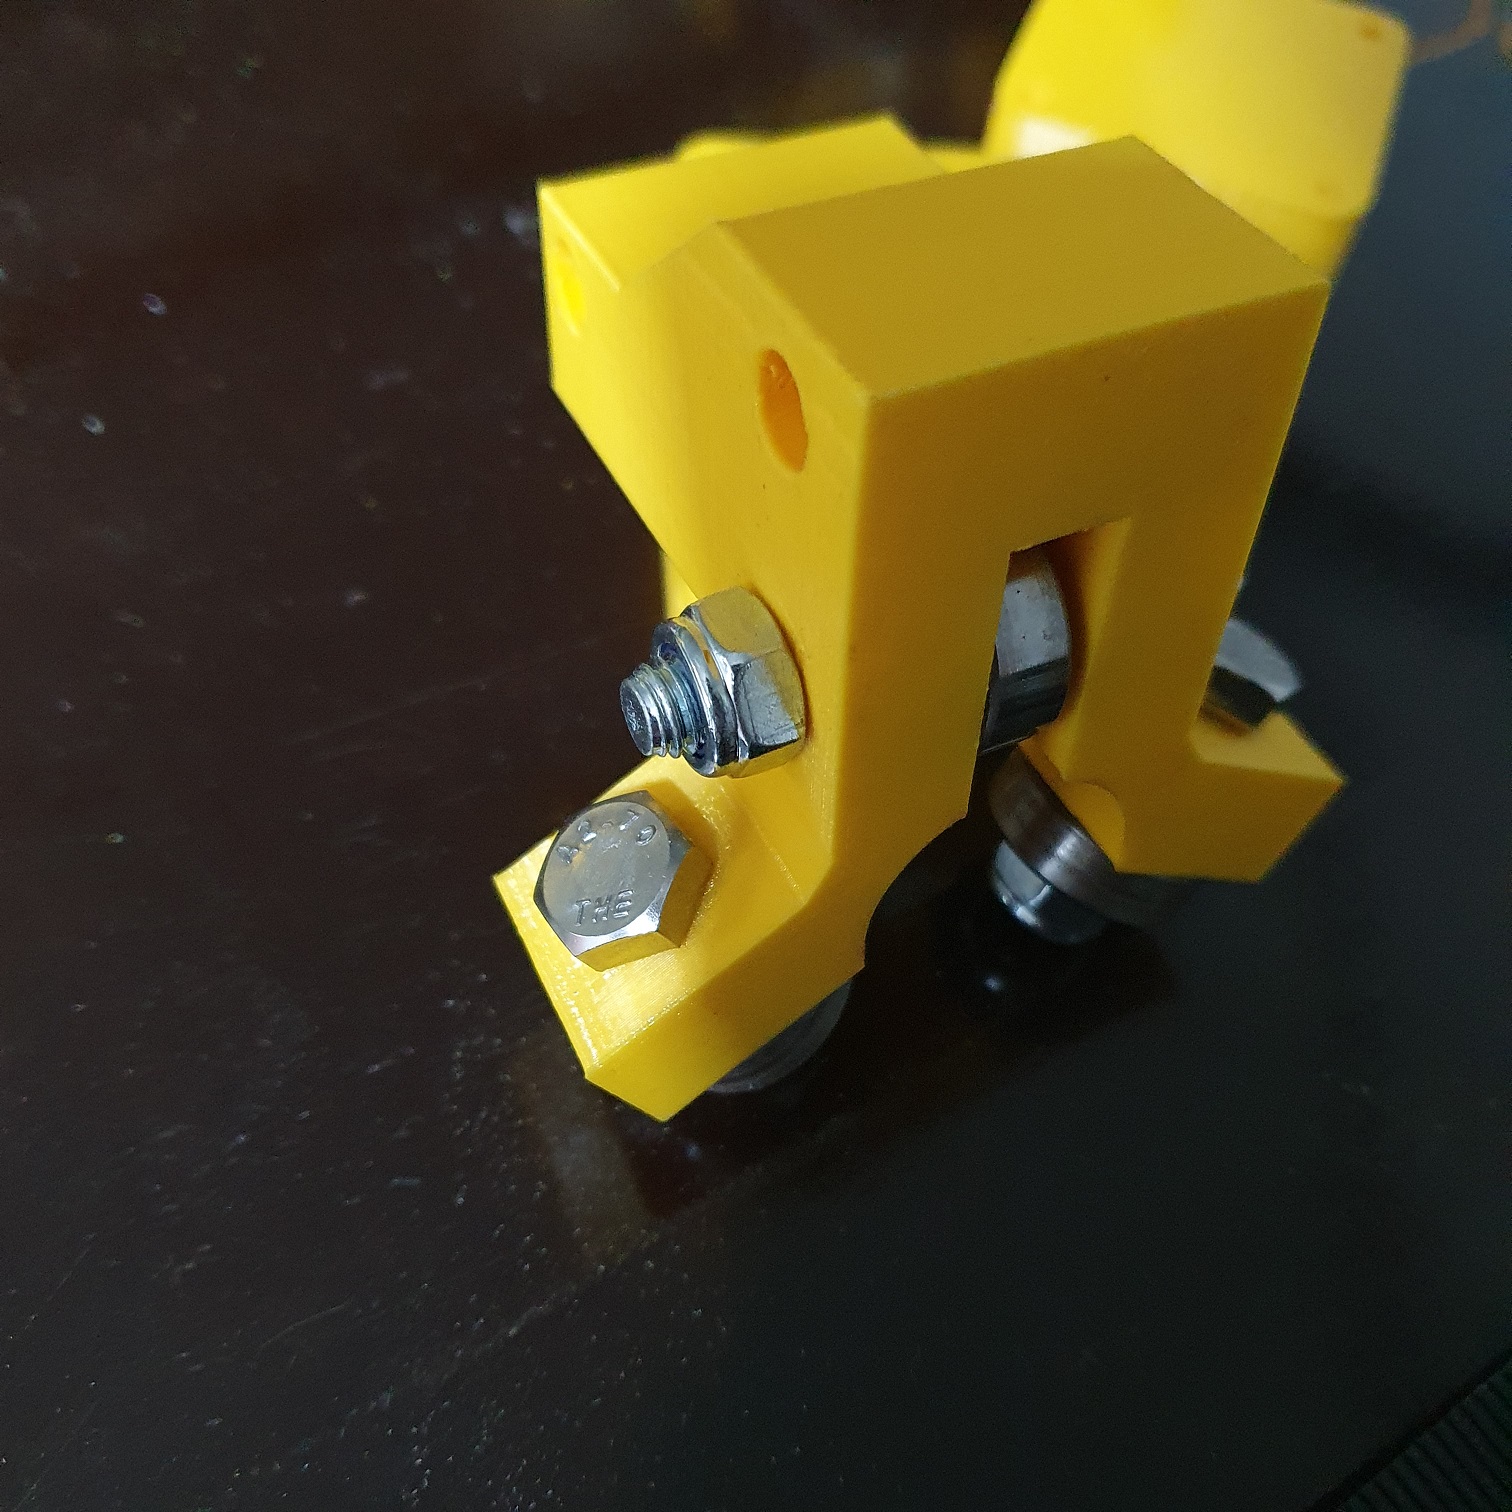
During the installation I noticed there´s a play in the Z-tubes, it seems like 2 bearings don´t touch which is strange. Wonder if someone else has this issue too?
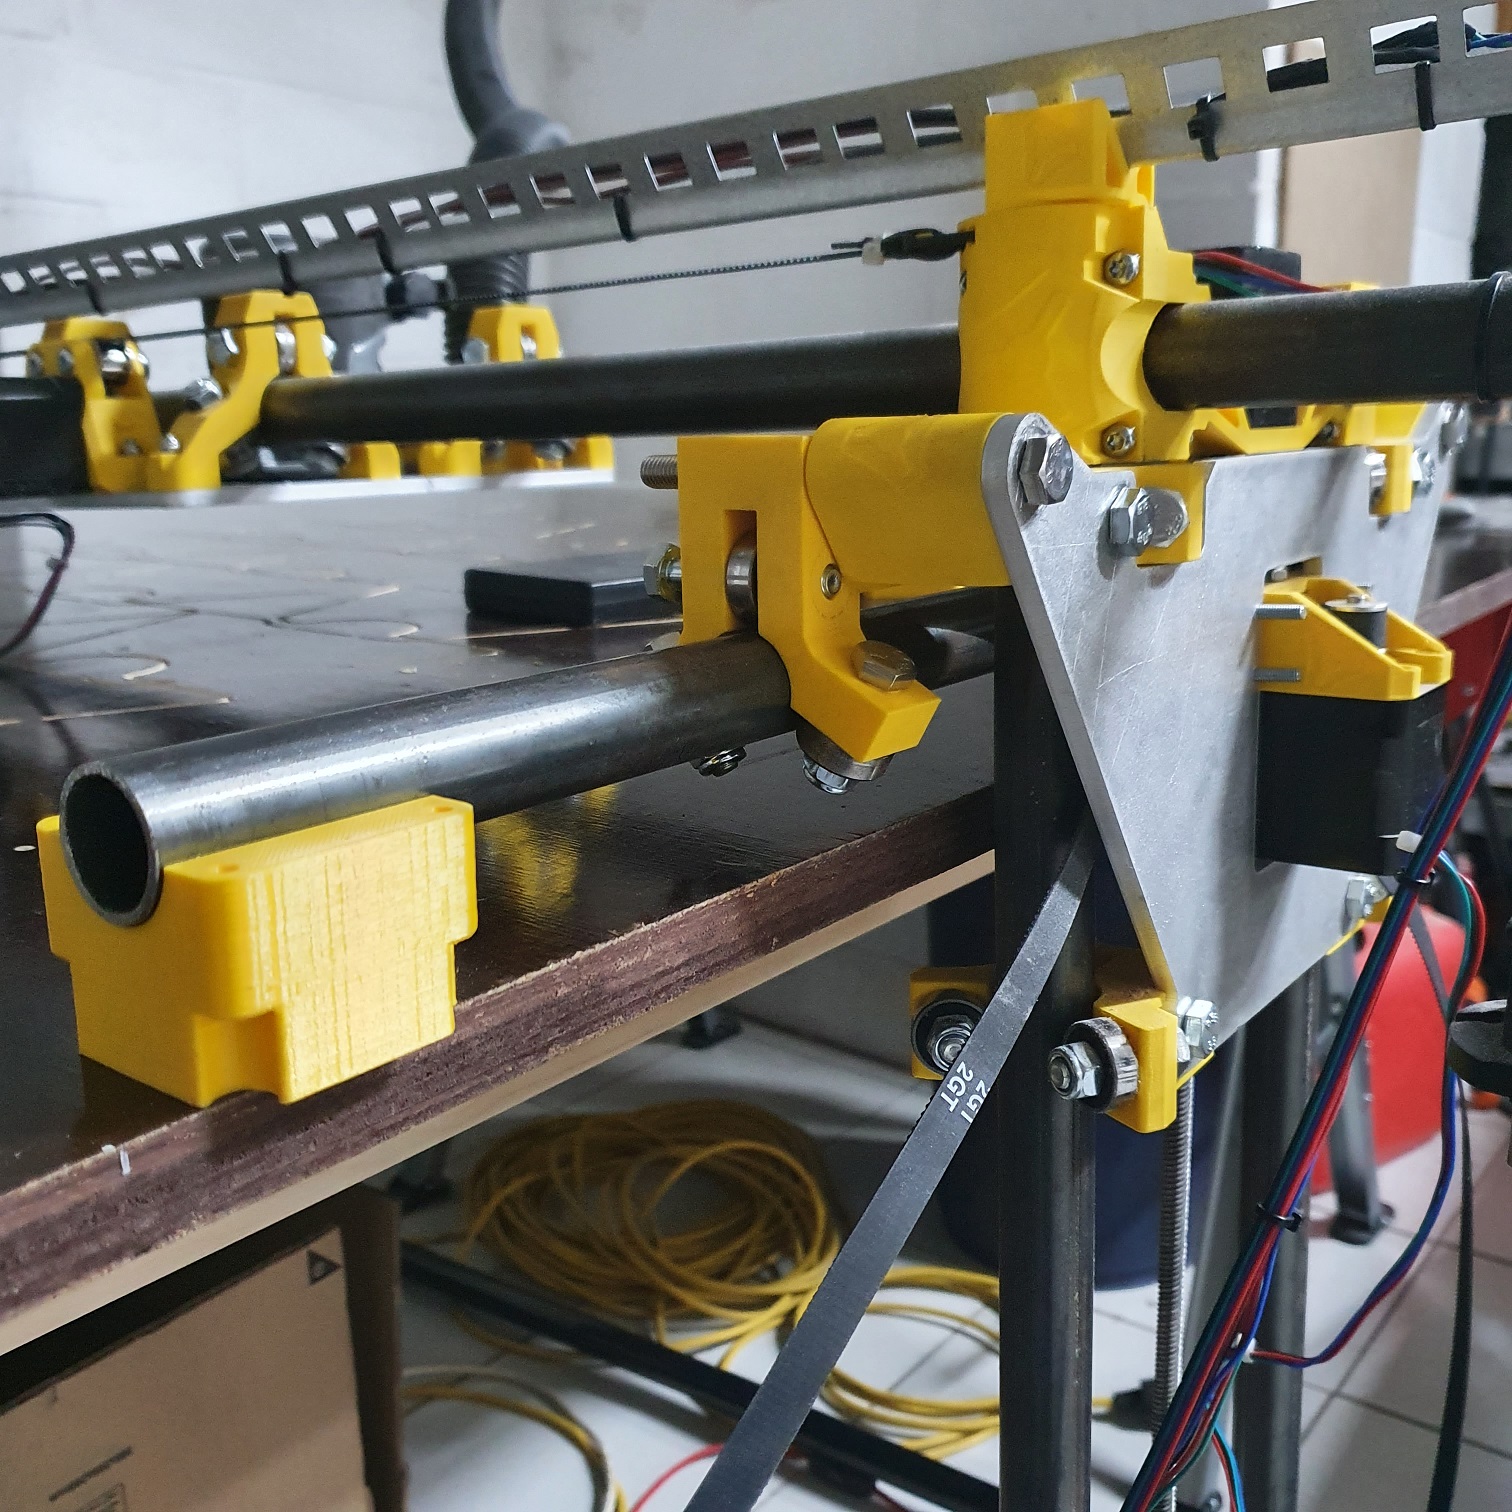
Because I was working on the machine I thought it was a good idea to test out the parts of my soon to install new Y rail that should replace the skatewheels.
But I hit an error and hope someone can help me out here…
another issue is that the parts are only available in 1 direction, and it clearly needs a mirrored version, because otherwise the bearing wont be centered above the tube, and this might cause issues on the long run;
But further then that, it looks really good, and it might be a solutions for my skatewheels that keep on slipping. It rolls super smooth of the test tube.
Now, coming back why I would need help, it seems my skills are too limited at the moment to design a 3D part. I wonder if someone could assist me in merging the original part from Ryan with the other part (and making some minor changes for the issues), so it becomes 1 part I can just bolt on.