I hate to say this, but I don’t believe you can straighten tubes once cooled. You’d have to somehow heat them up, straighten them, and then keep them straight while they cooled again.
tbh, I don´t know if it will be the tubes or the 3d printed part.
I noticed that some bearings don´t touch the tubes, and I can see some warping on the 3d printed parts. That makes me believe it isn´t the tube but the printed parts.
Small update while I am looking on how to get my machine squared.
My wife thinks I am getting nuts by ordering 15 meters of vacuum hose 
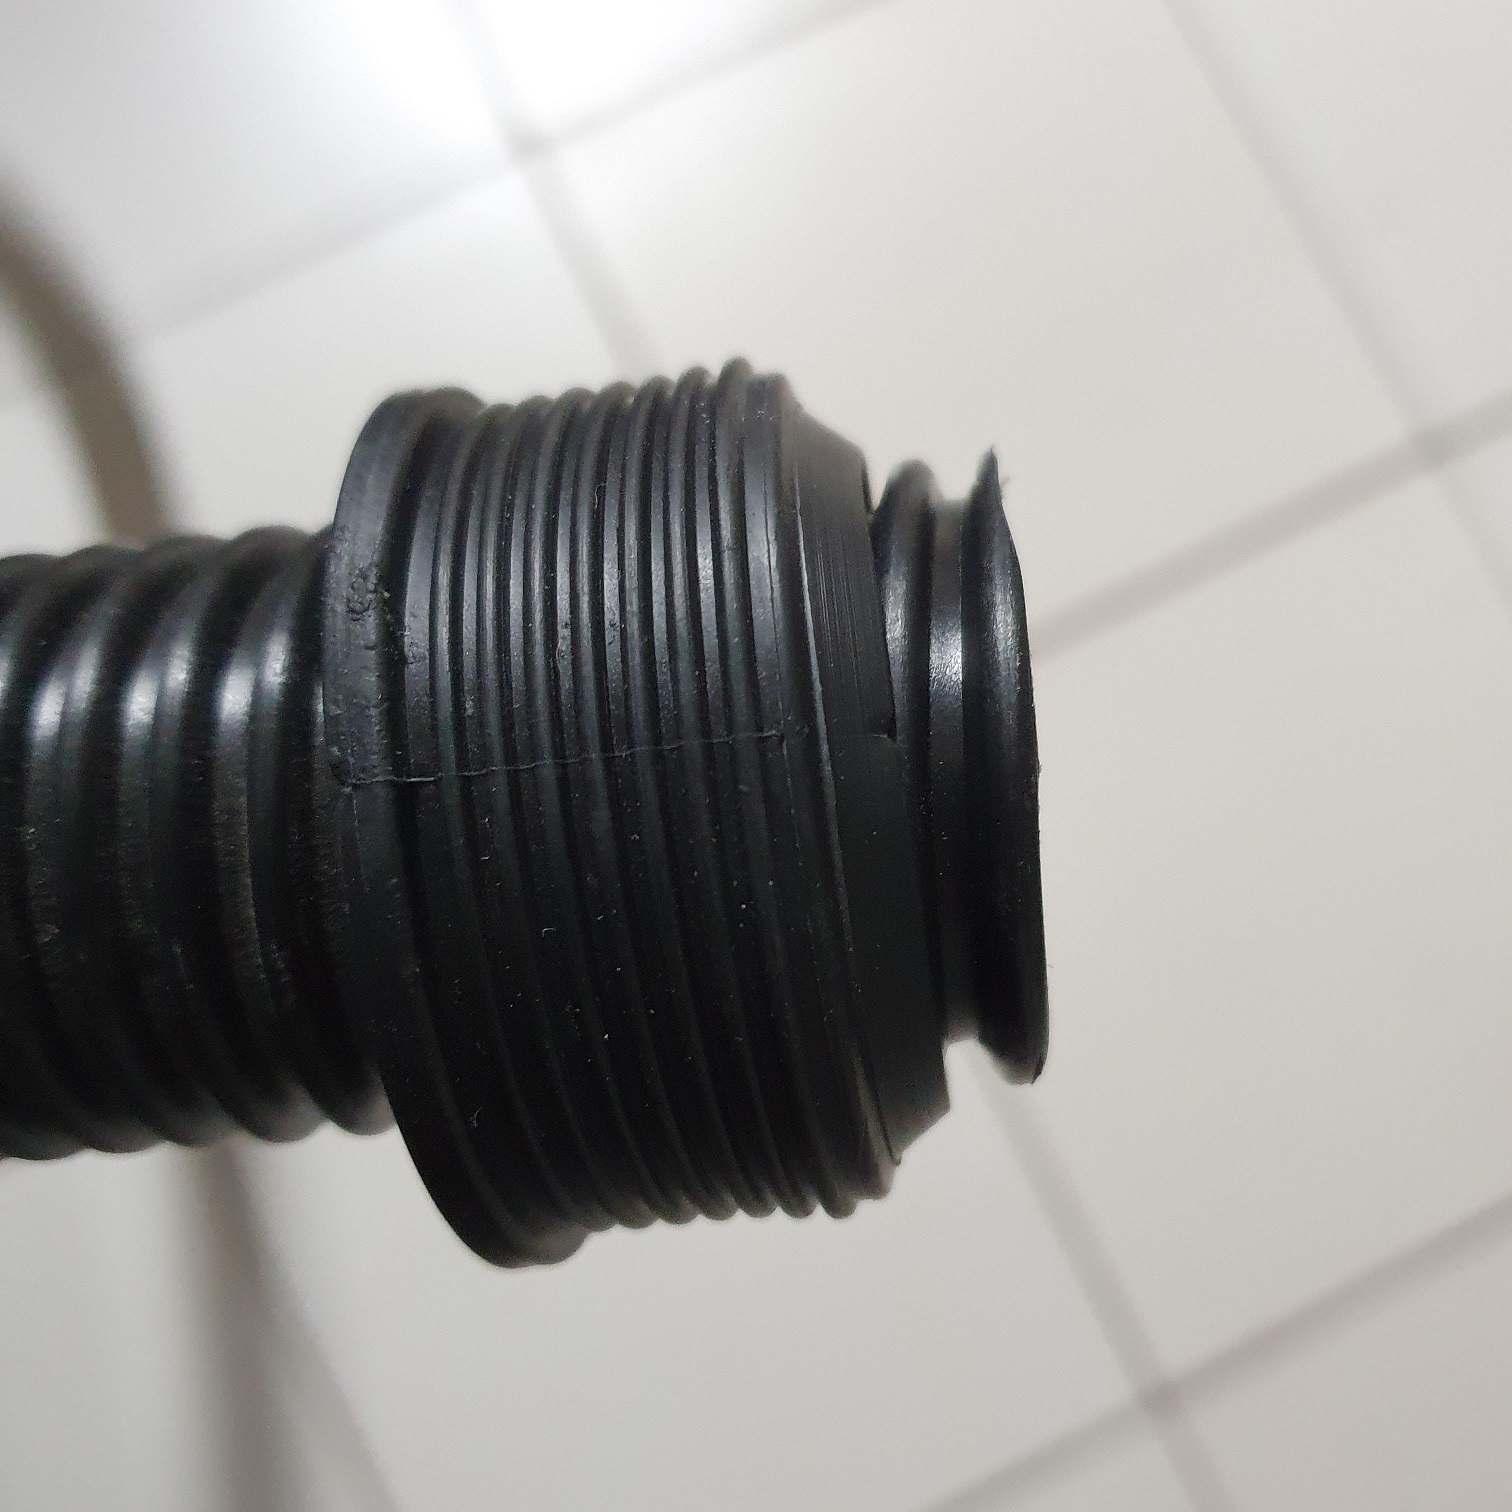
The delivery guy handed her a large box containing this beauty;
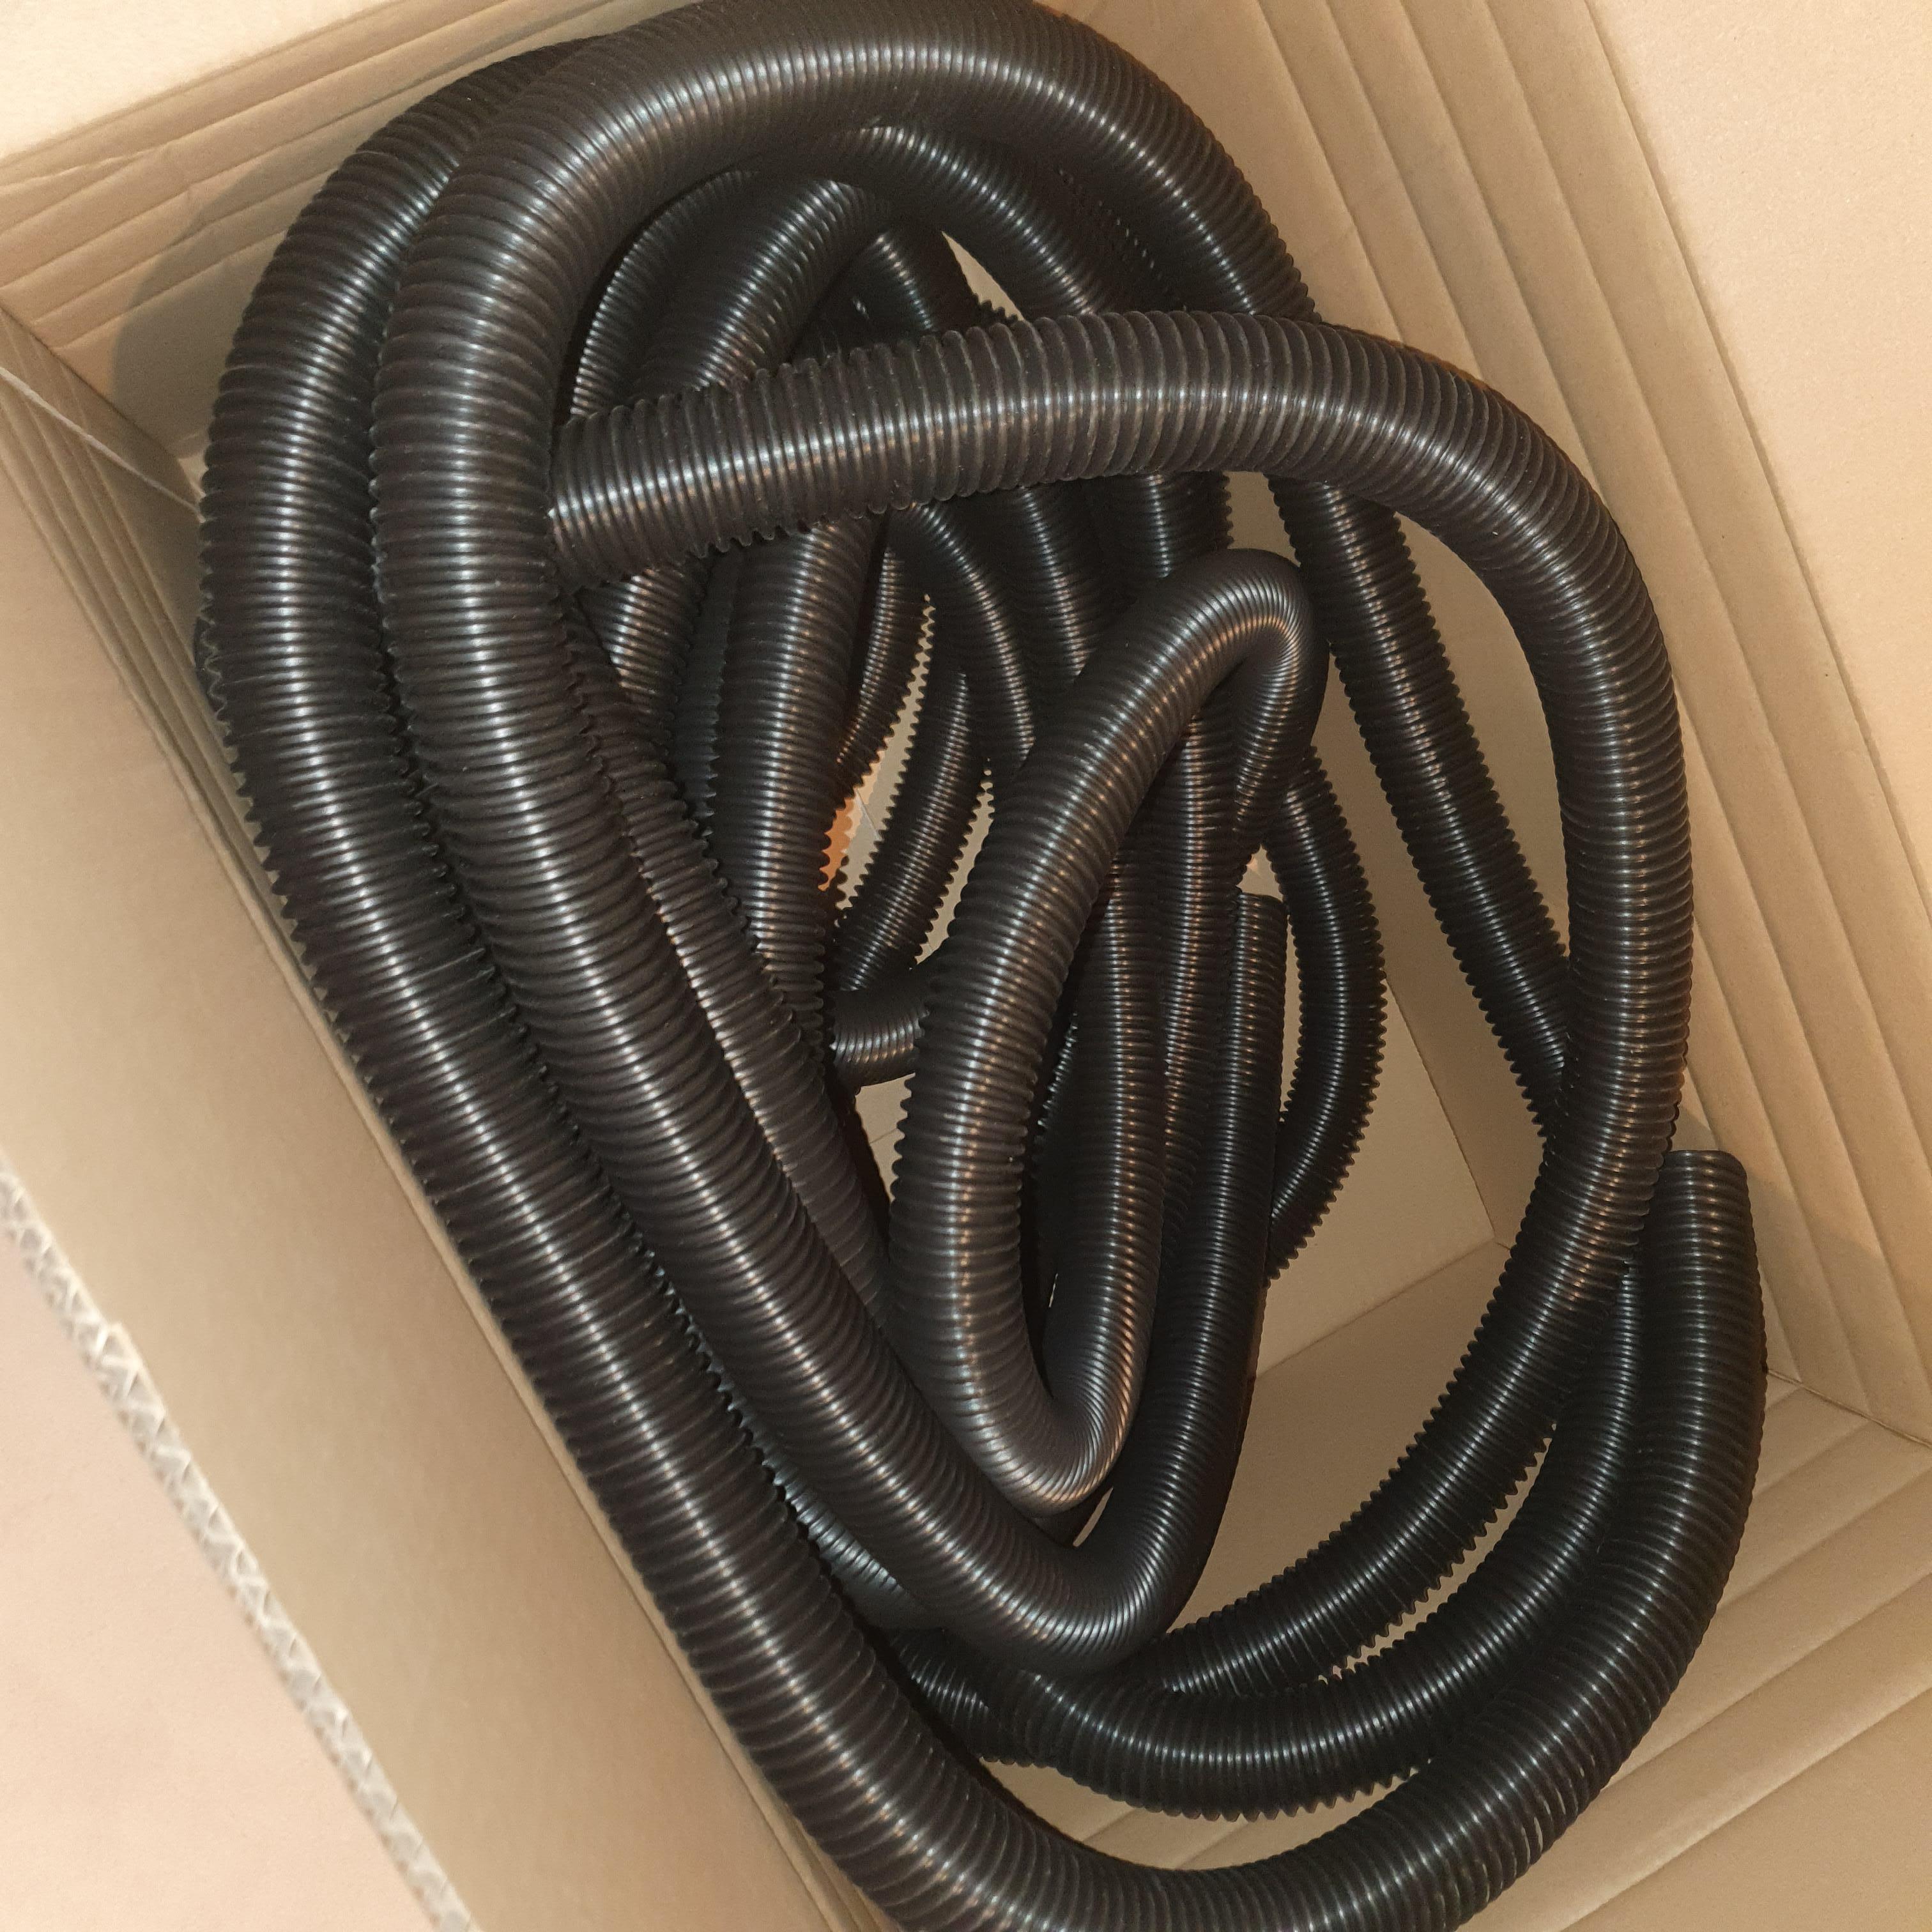
It´s a perfect fit with the original LR2 part; so if anyone needs a hose, the Nedis vacuum hose seems like a good deal for a very cheap price!
Now I am waiting for my cyclone filter to arrive this week so I can give it a test
1 Like
Yesterday the delivery guy handed me an early Chrismas present
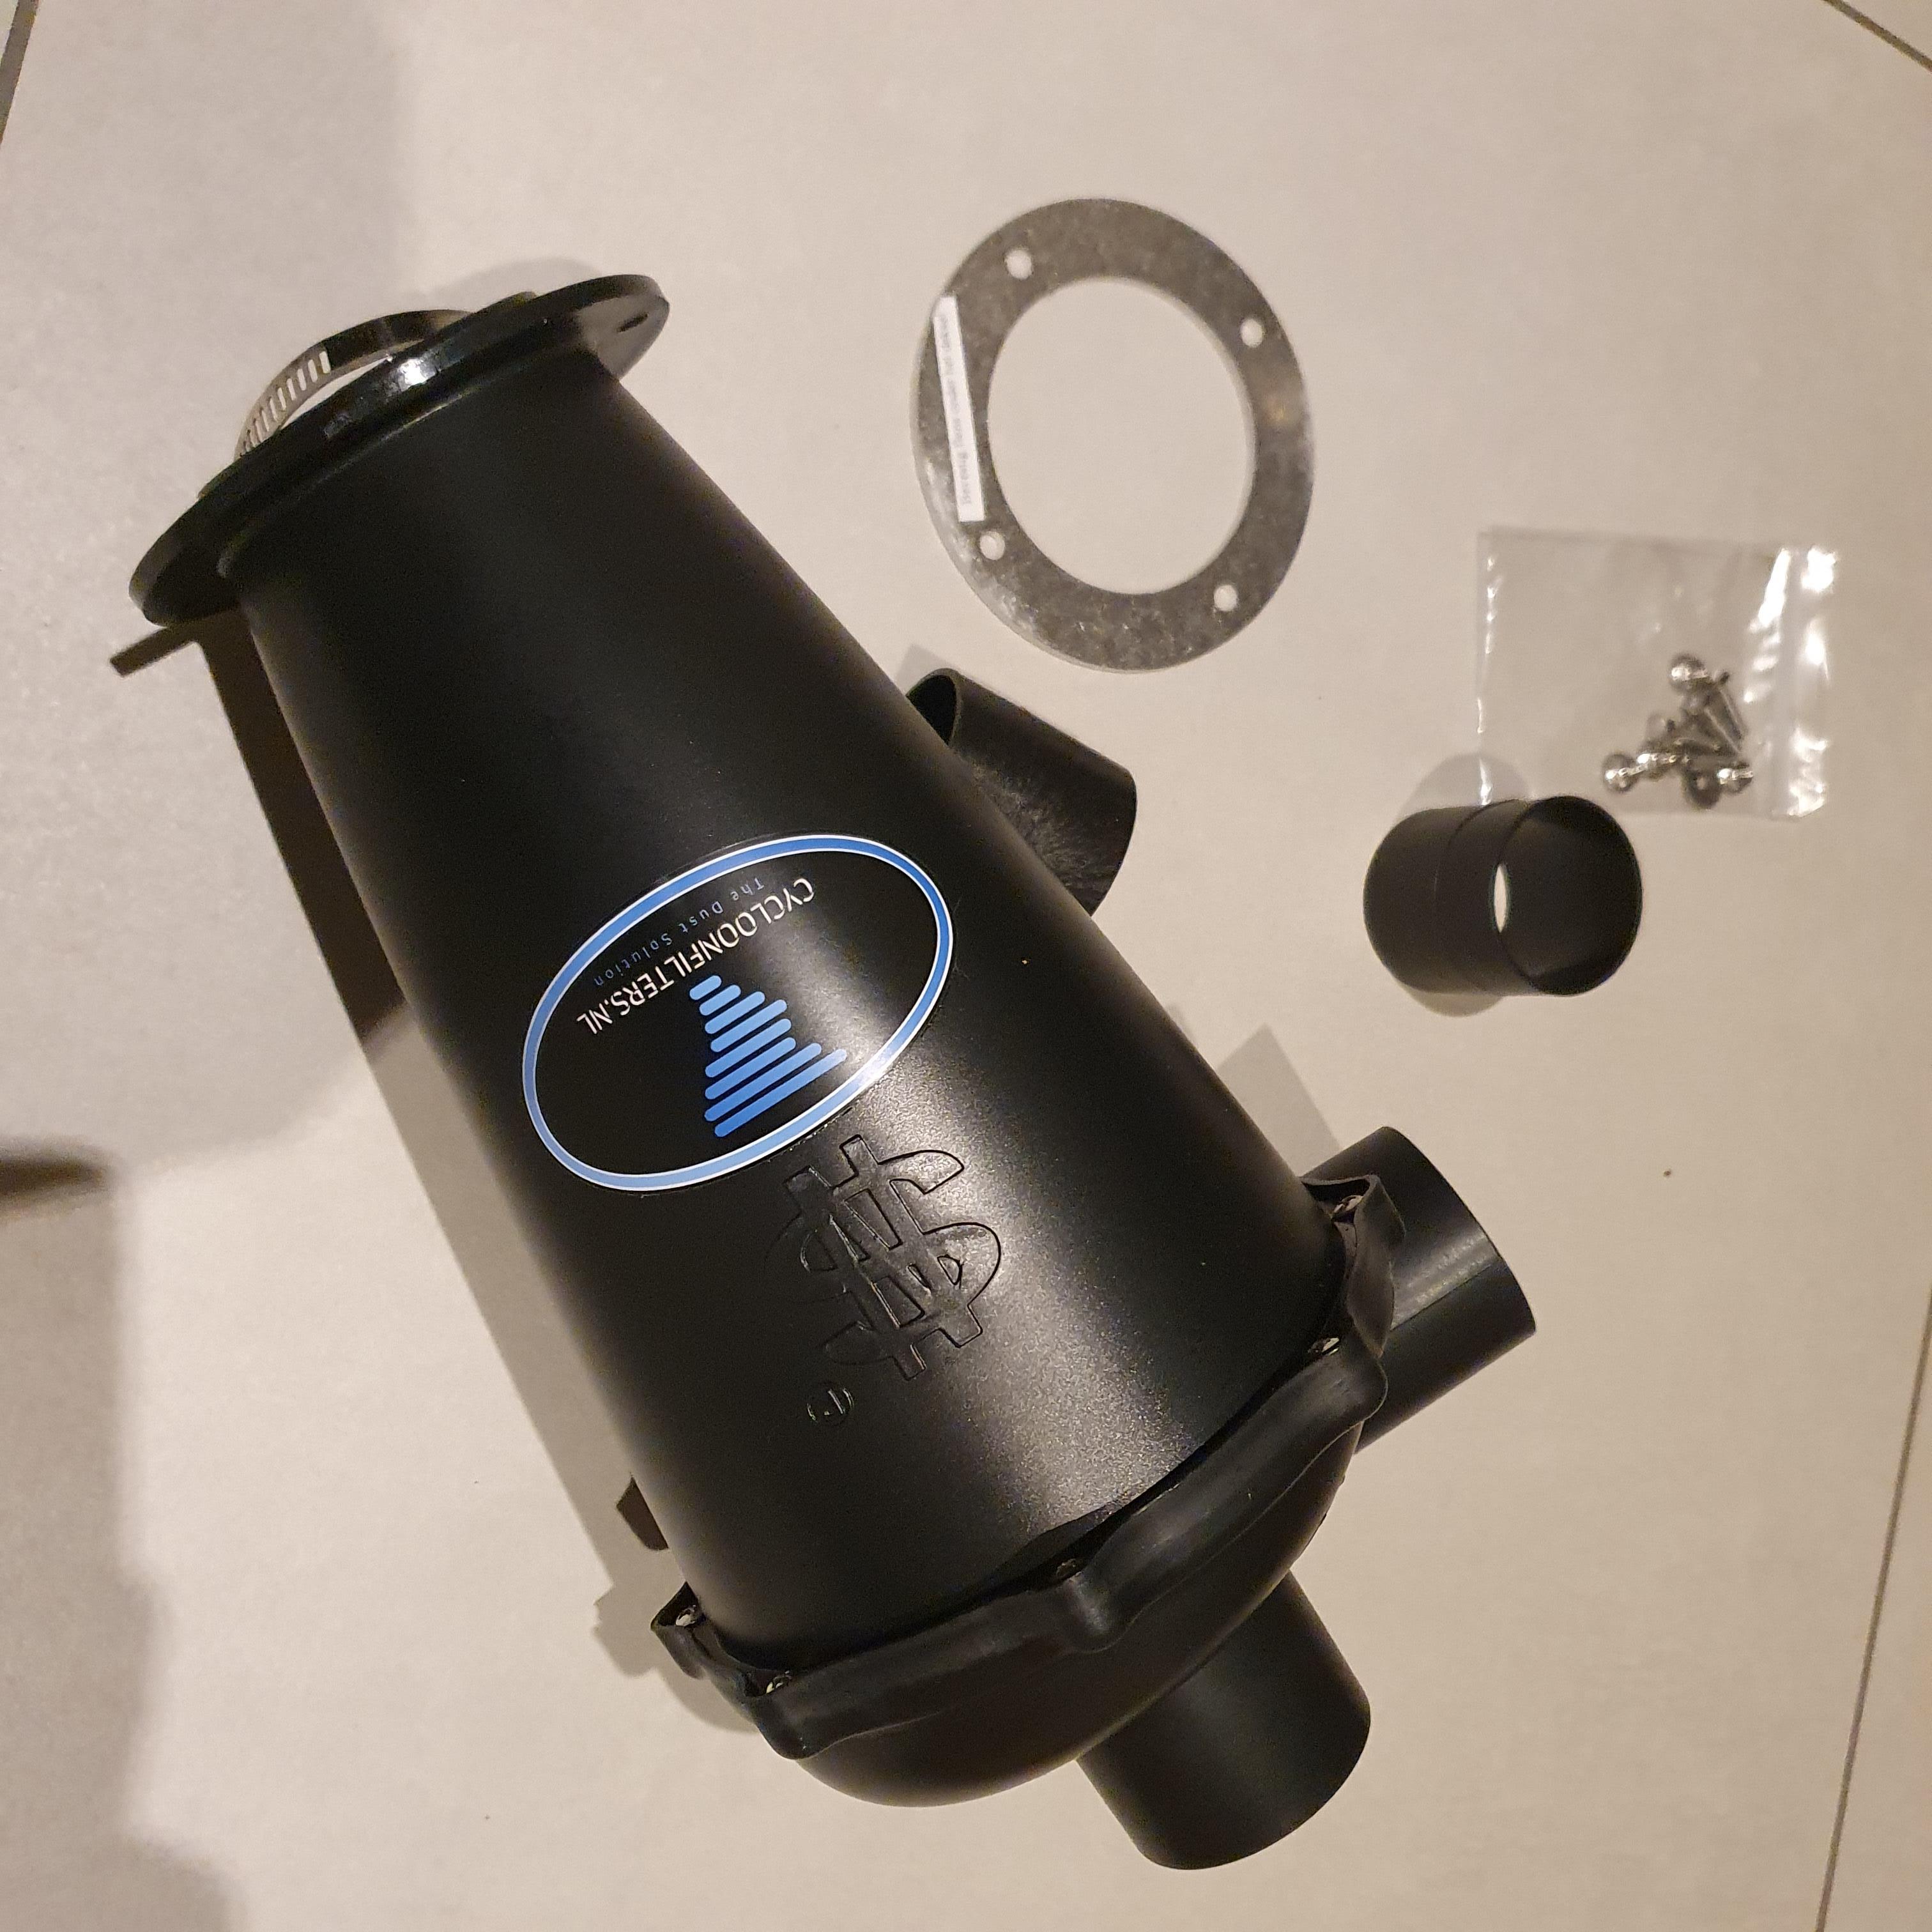
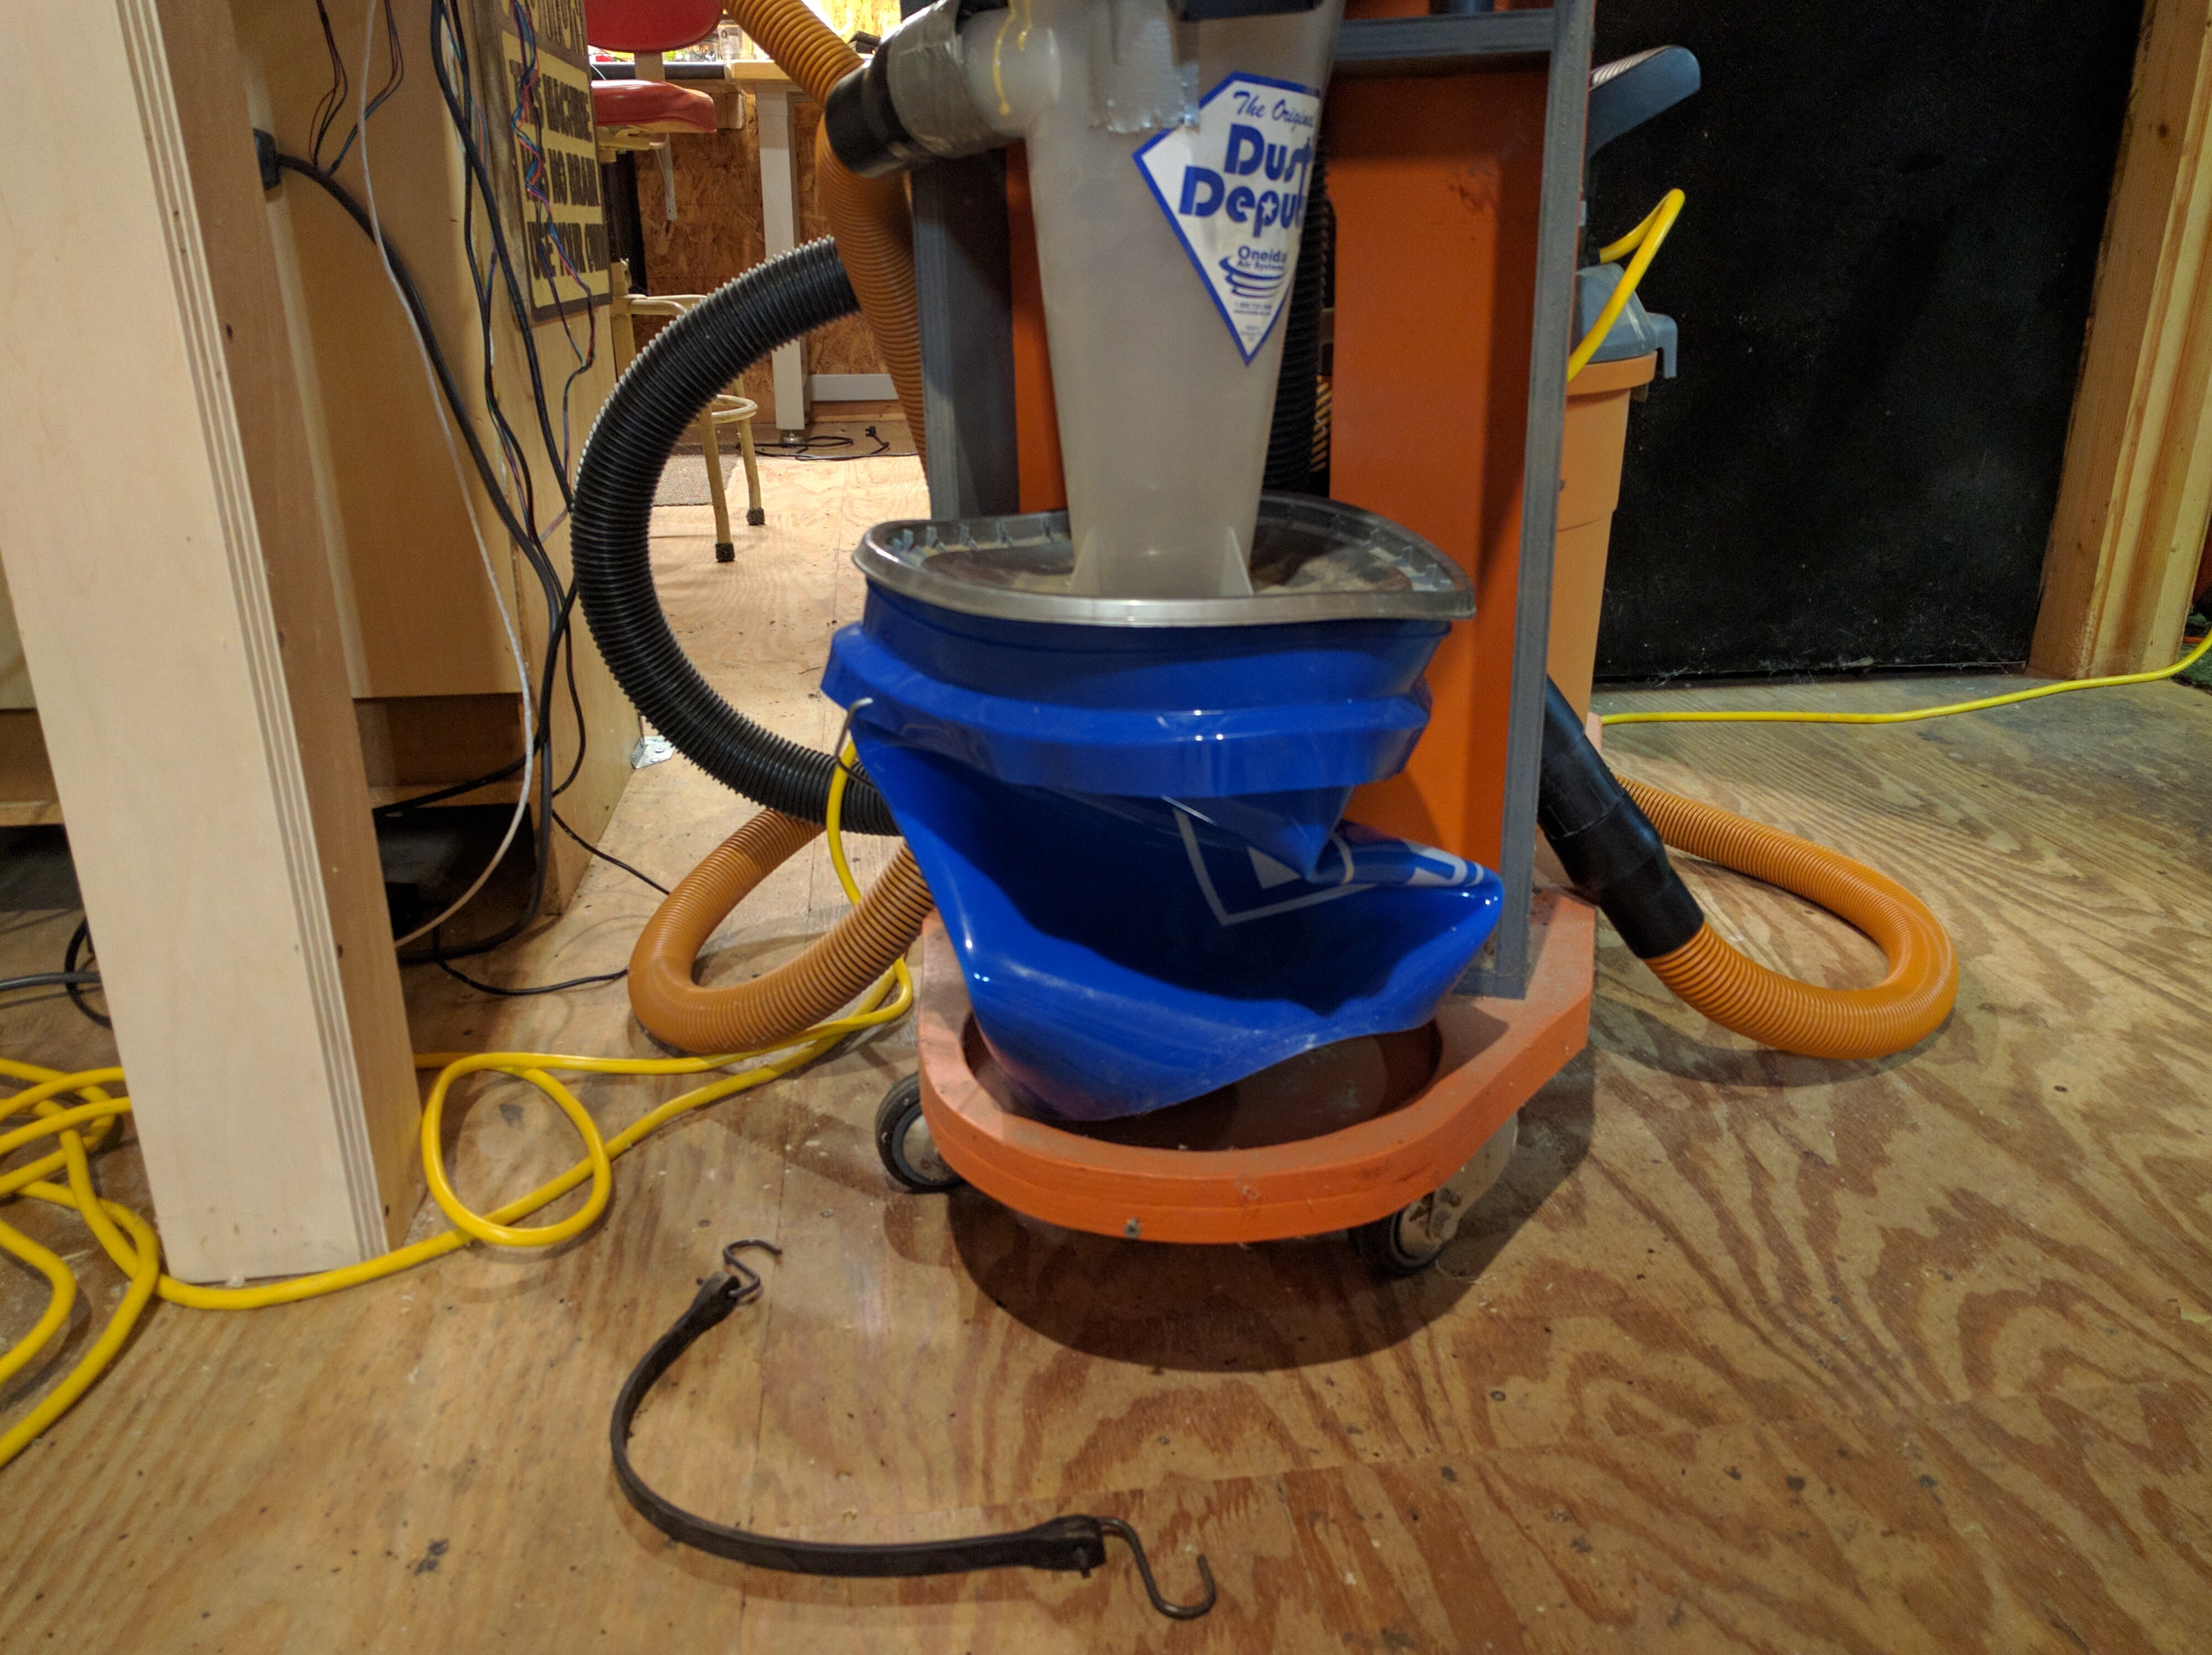
My dust bin and cyclone filter arrived. Yeeey!
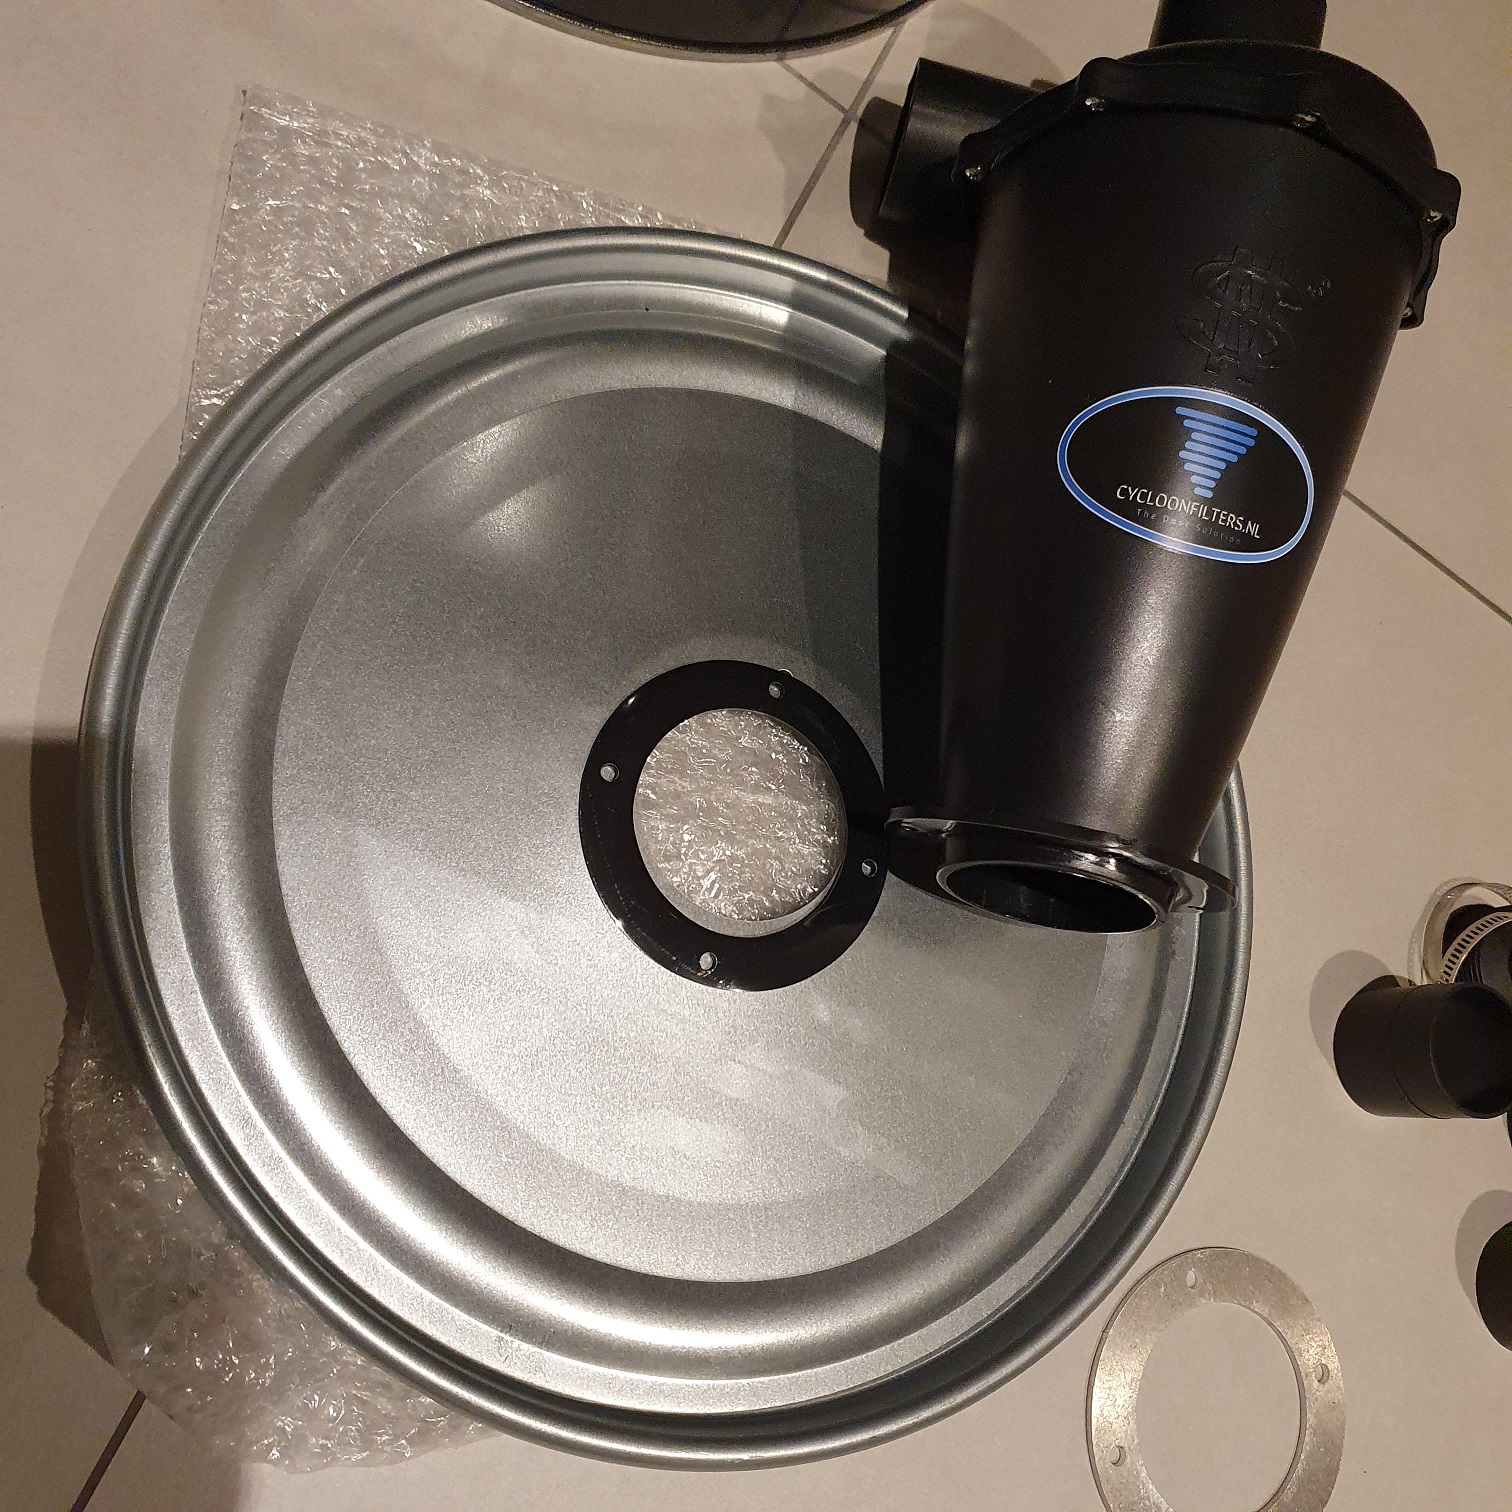
Some pictures, for those that like to see them:
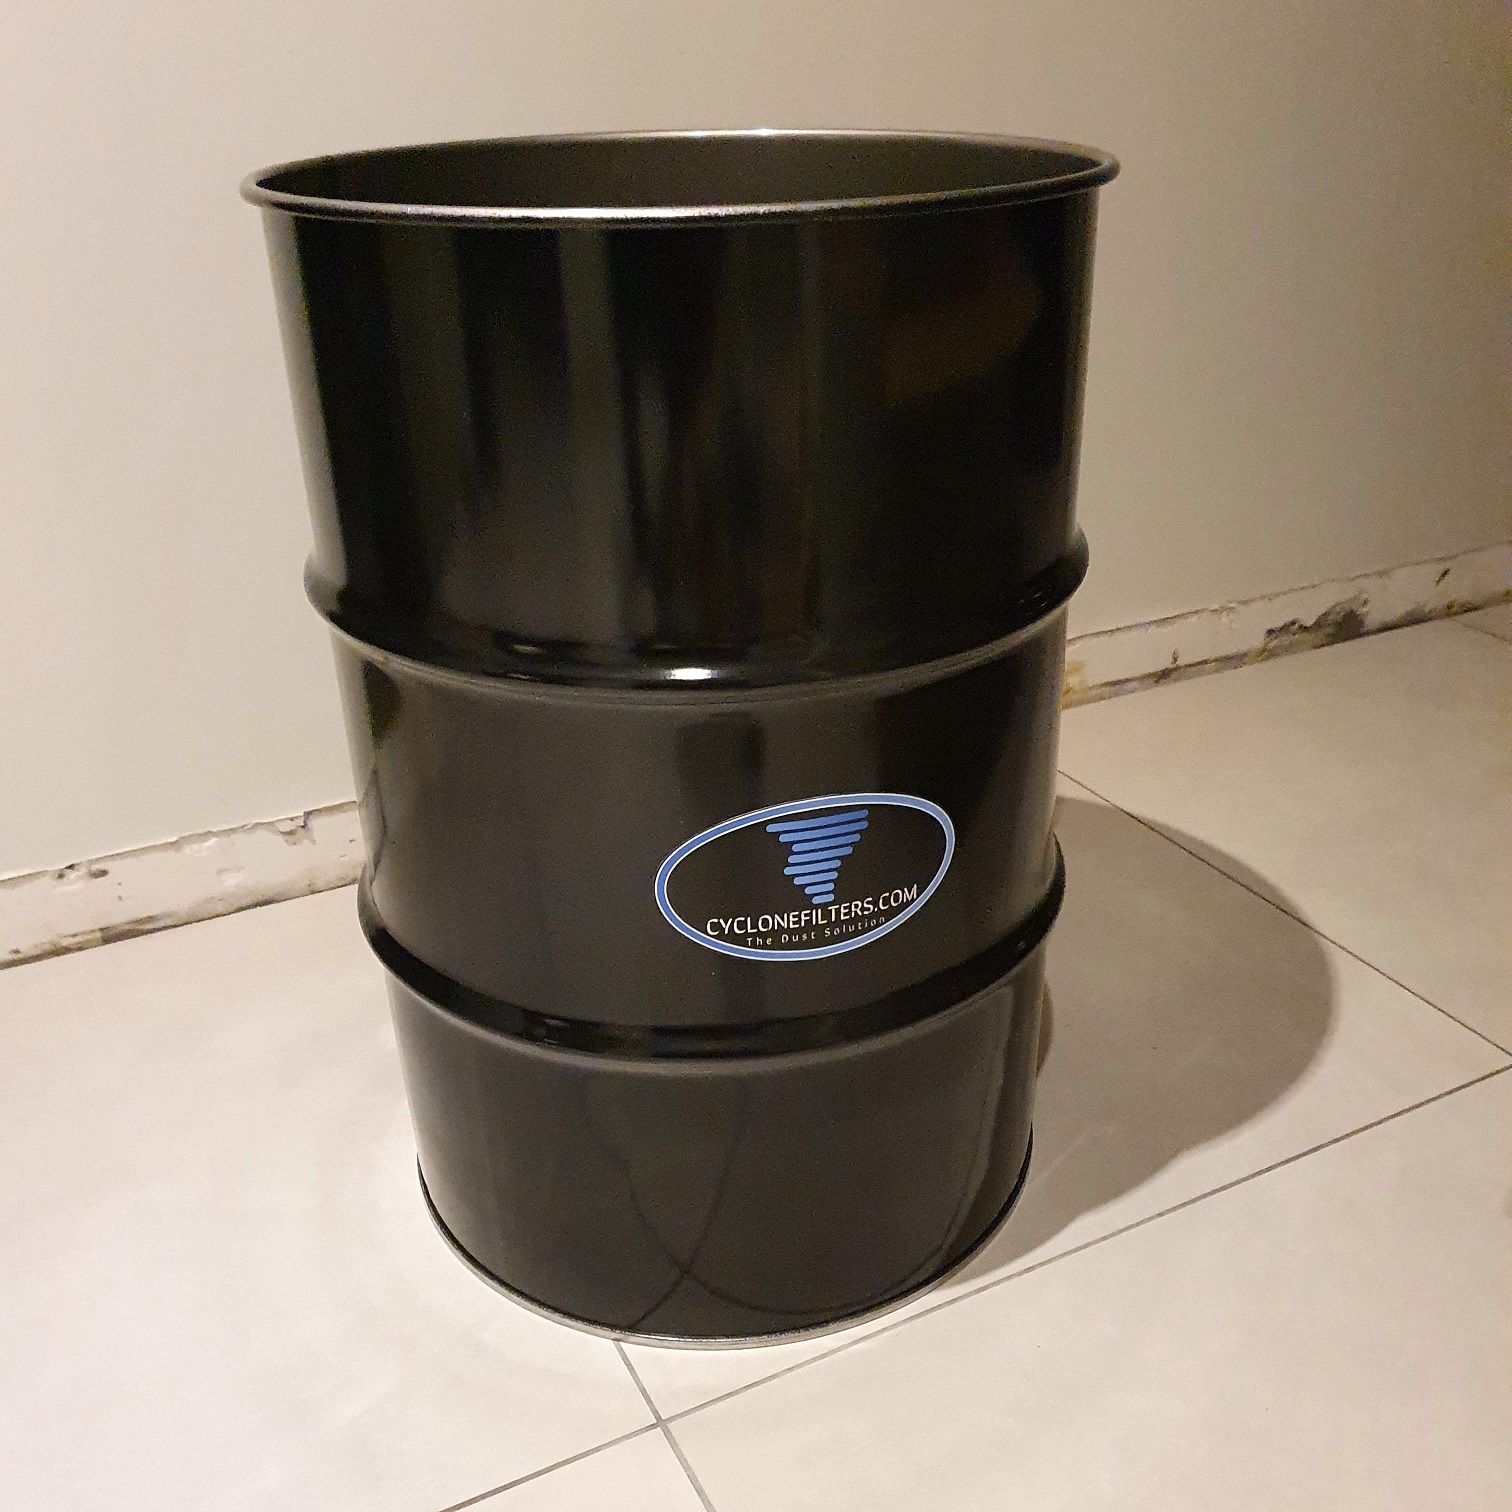

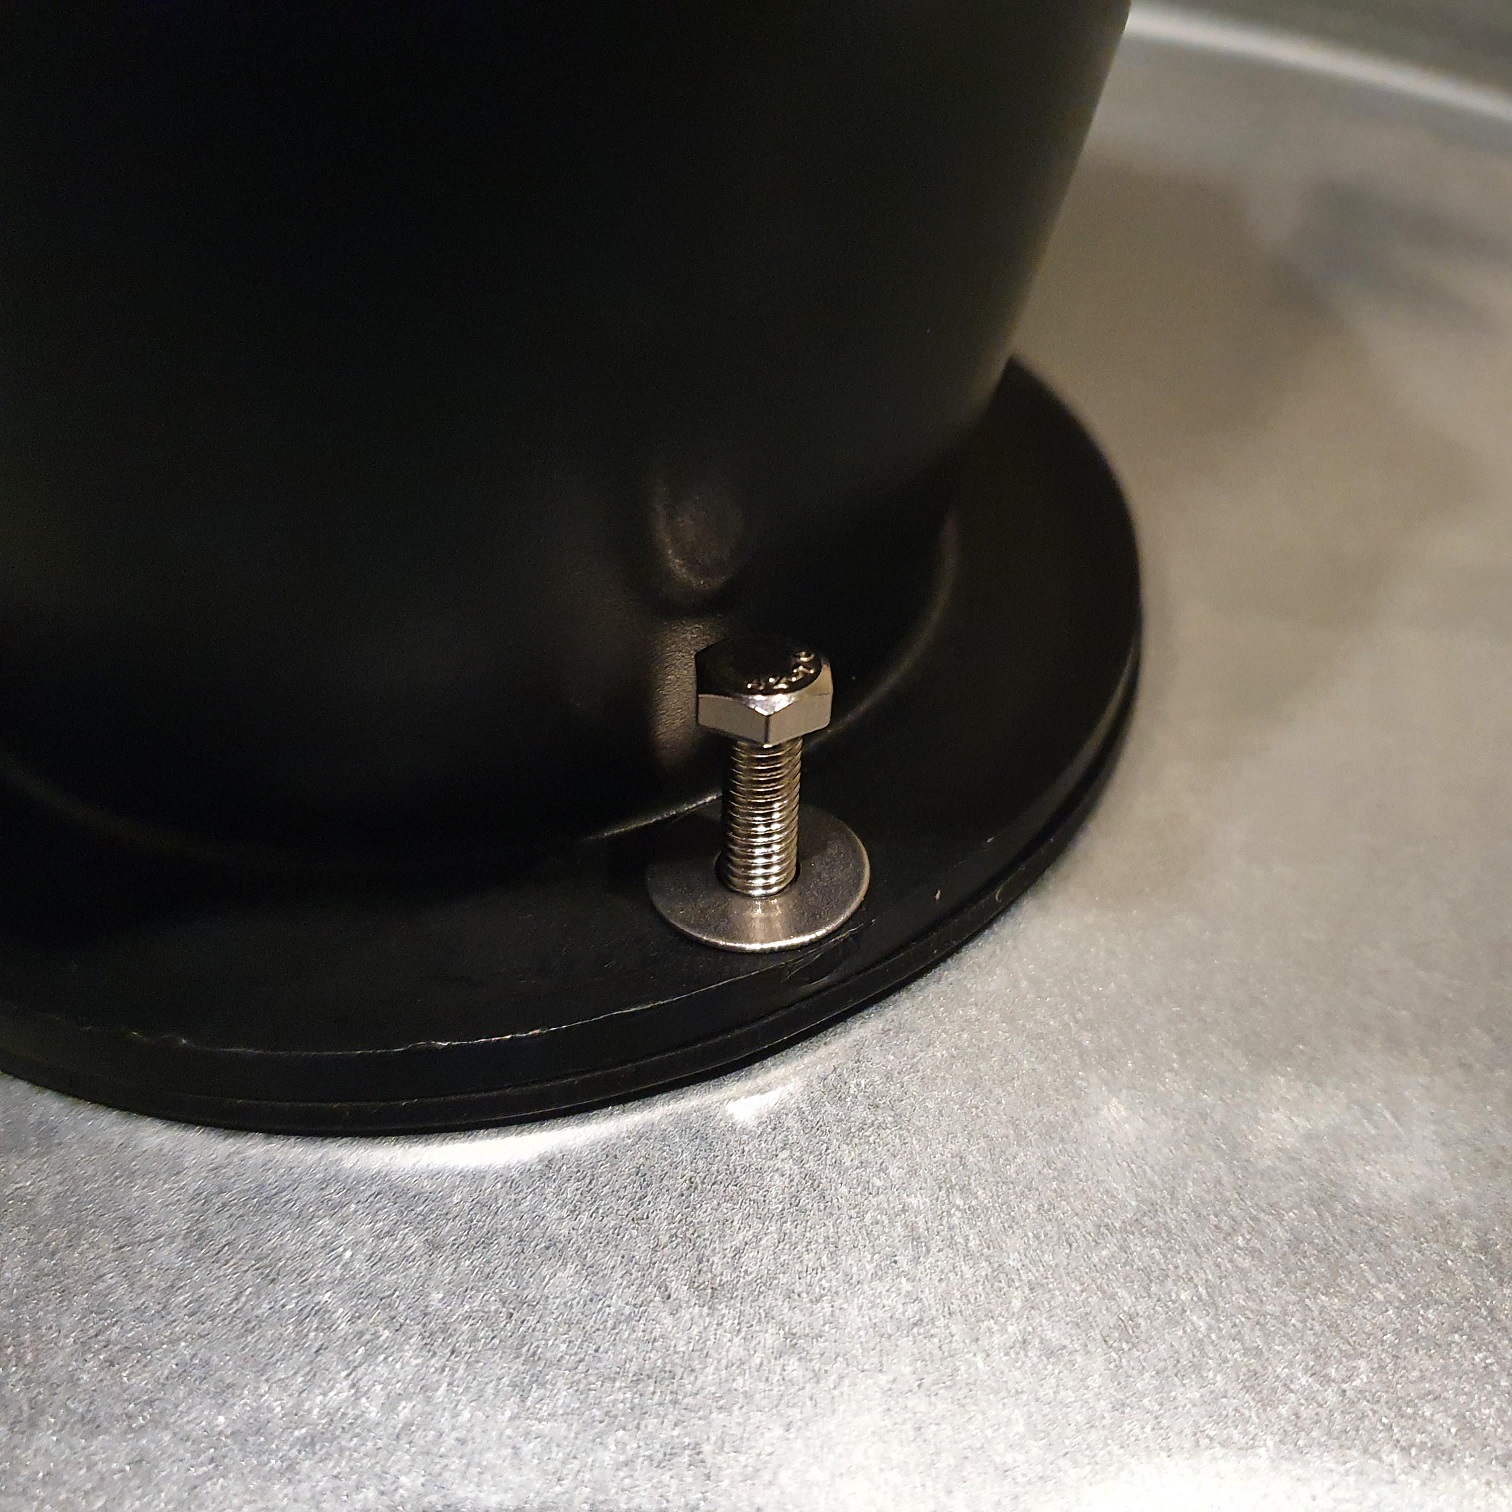


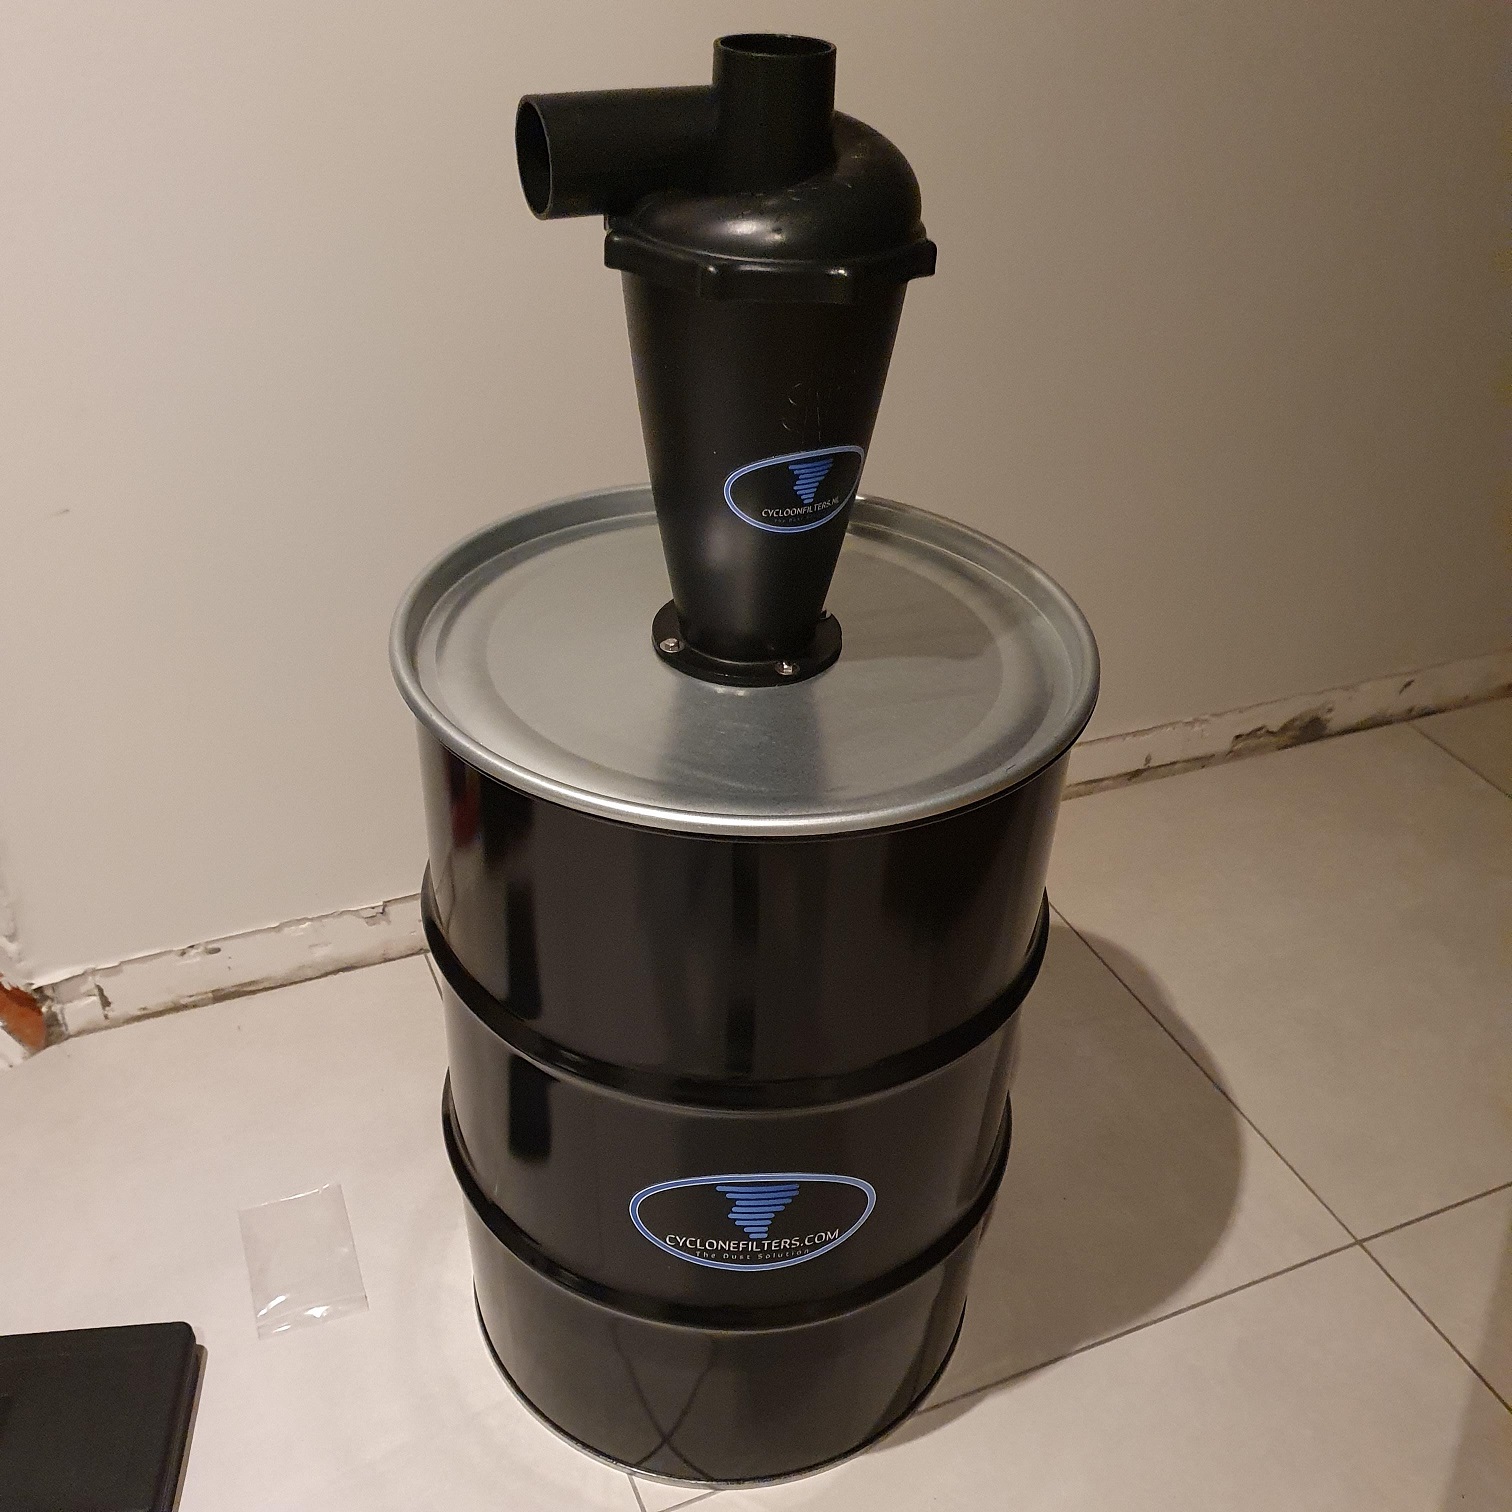


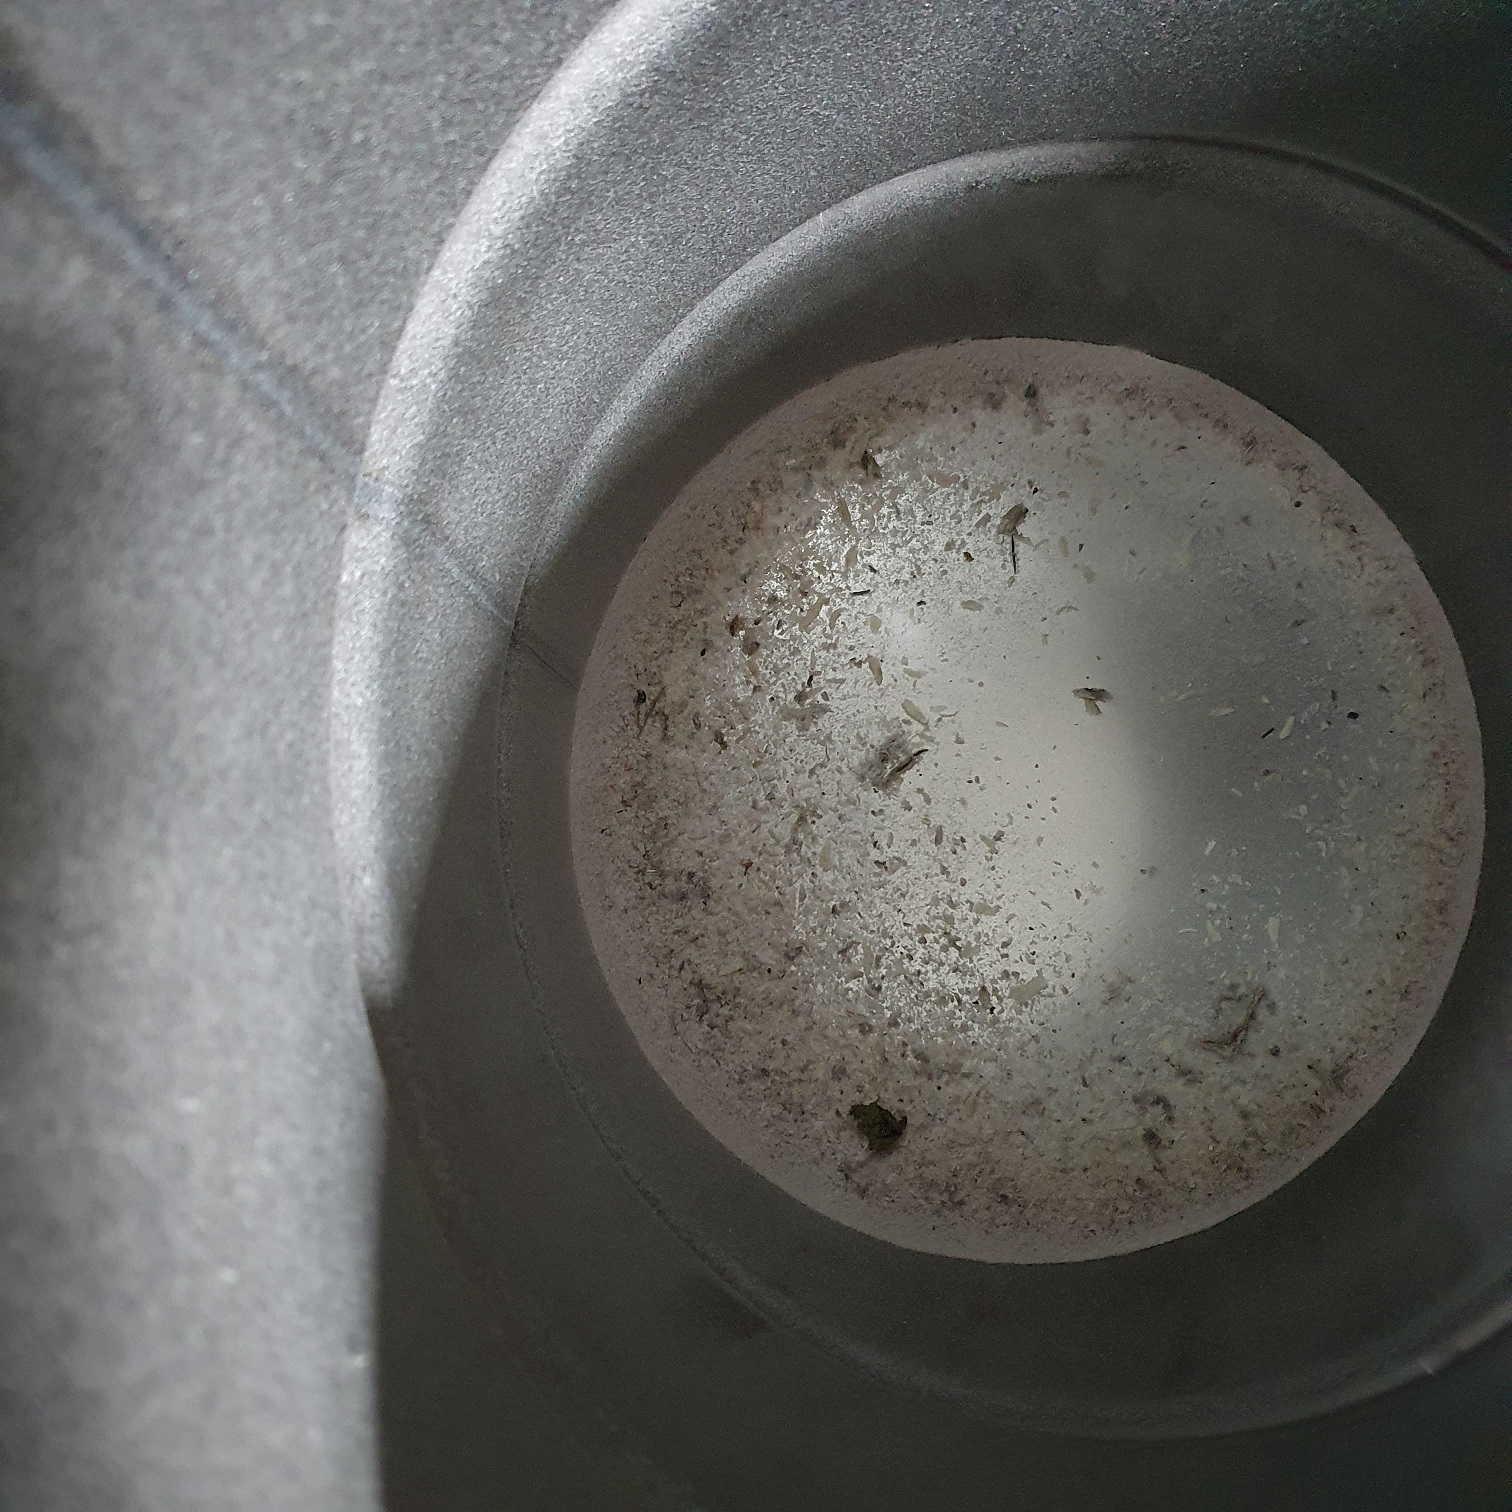
As you can see, I opted for a metal 60 liter bin, after reading @BingBadaBoom 's feedback on the PVC version. I wasn´t keen on securing the bin from the inside
I will have to say though, that after testing the metal bin, I nearly got a heart attack, as the lid of the bin actually did got sucked in because of the vacuum. It made a hell of a noise
Good thing that I can open the valve on my vacuum cleaner to avoid further issues.
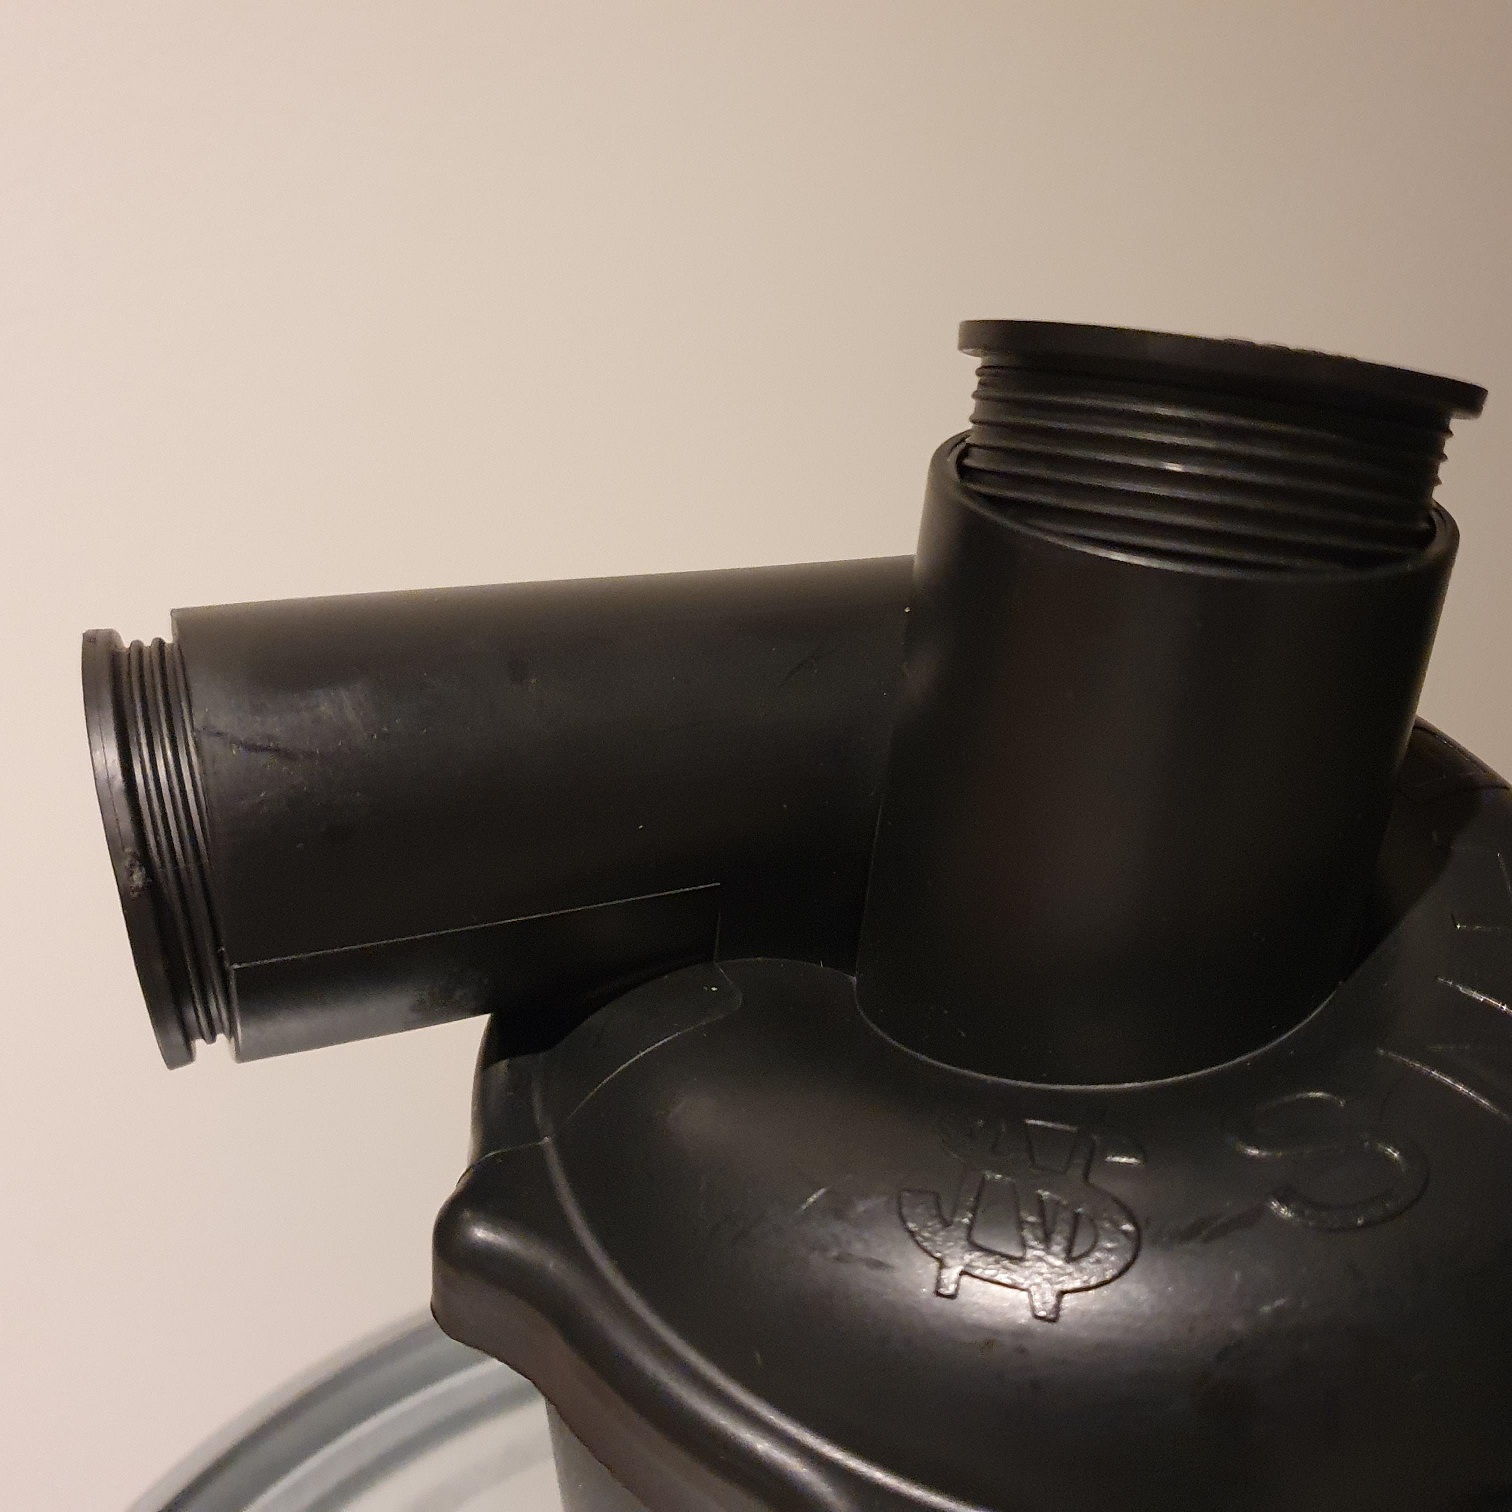
As you can see on the pictures, I added adapter mounts to perfectly fit my 15 meter hose, and the hose of my vac cleaner. What I don´t like is that the mount of the vac cleaner isn´t that solid squeezed in, so I´ll have to keep an eye on that so it doesn´t disconnect. Time will tell.
During testing I did not notice any decrease in performance, so that´s a good thing
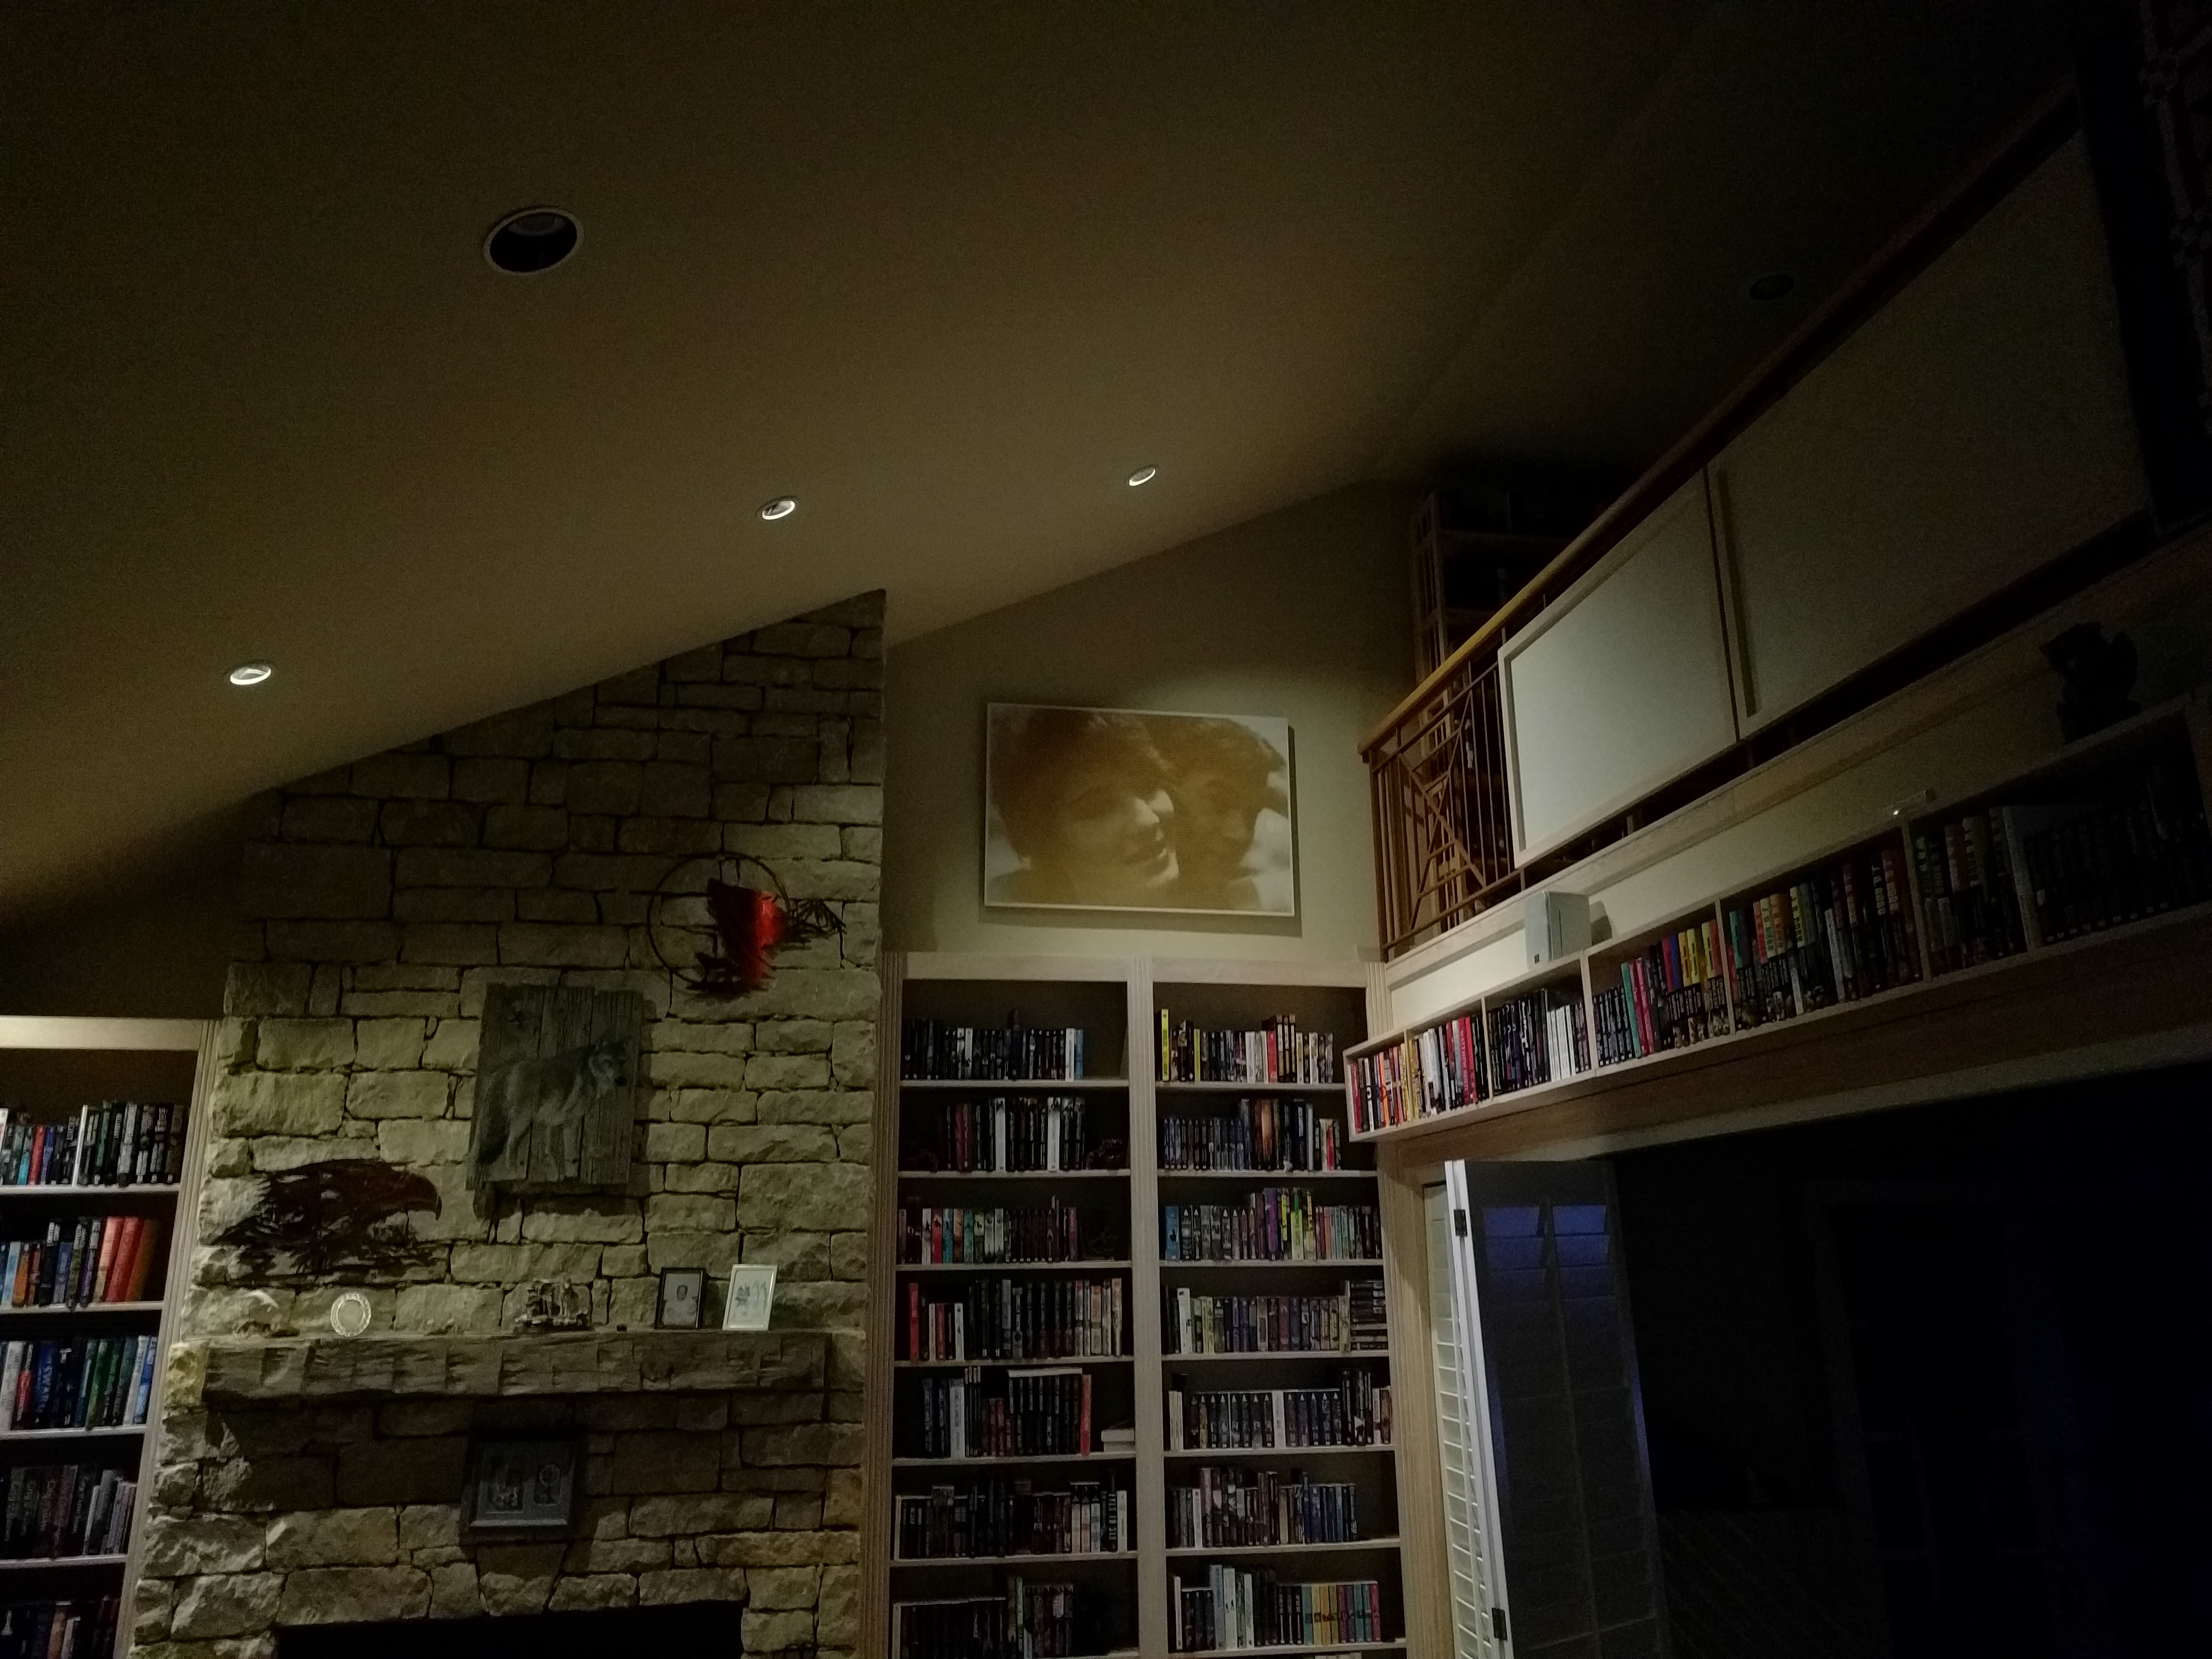
Now I´ll need to start thinking on how to mount it to the ceiling, so the tube isn´t in the way of the moving LR2. If anyone has great idea´s on that part - shoot!
3 Likes
MPCNC Lowrider new home. - YouTube If you can swing it(heh) this worked really well for me.
2 Likes
![]()
![]()
![]()
![]()
What happened there? You know that you could add a spring valve in the lid, so it opens instead of imploding:)
Yes I can ![]()
I was actually watching your video this afternoon! It’s great inspiration for me.
There’s enough room at my ceiling, that’s why I actually needed a long vac hose. However I am not so keen on adding a swingarm (would need to drill into the wall, the bricks are really rock solid and takes a lot of effort to align 2 hinges)
So I’ve seen your solution of using a zero gravity tool holder. How did this work out, and by looking back to it, do you have a preference between the two?
1 Like
It´s time to move on in my journey and have a look on how I am going to try and square my L2. I suspect that part of my experiences are caused to bad printed LR parts, but also due the fact that my wheels are slipping on the slippery surface I´ve got.
I´ve seen that some users add a beam to keep the wheels aligned, some make grooves for the wheels to run on. I was considering linear rails as a solution.
I was never planning on building a full sheet CNC machine. It just happened because I can do it And that´s now causing an issue to find a linair rails long enough to fit.
So, I found this earlier on Thingiverse:
It is basically something bolted on the stock LR parts, and using the same principle for the Z/X axis. For the rails to mount they use this CNC alternative:

Now, I am considering to tackle this by a different approach.
I was hoping to mount M8 bolts /threaded rods to the tube, and mount those to the table. That way I can create some overhang to reach the outer sides of the full sheet without making my table larger.
I would add nuts between the rail/table to stabilize the whole on my required height.
A sketch to make it more clear:
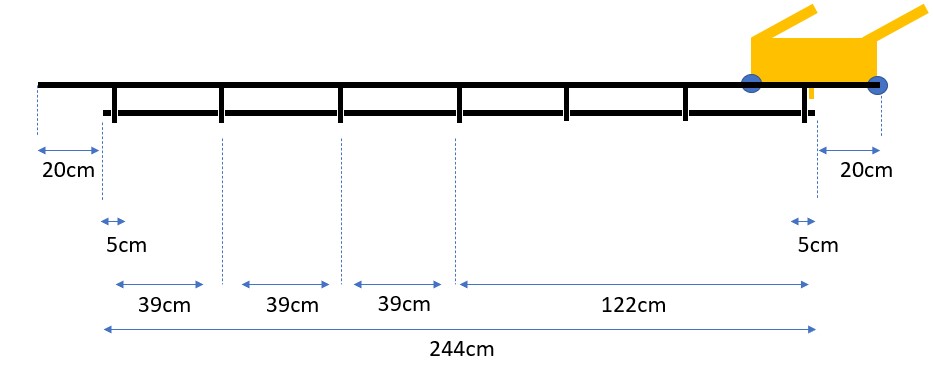
Like you can see, I would overhang the “rail” ± 20 cm on each side, that should be enough for the bit to go from 0 to 244cm (full plate lenght).
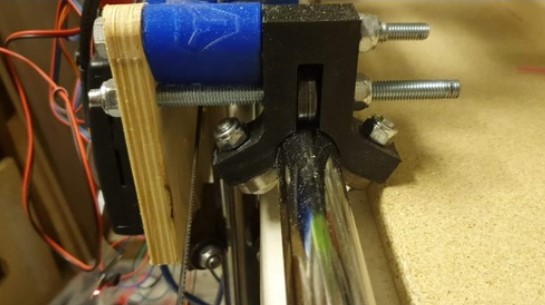
For mounting M8 bolts I contacted my local metal shop, they did an experiment for me, to check if they could mount blind rivet nuts to a 25mm round tube
This is their result:
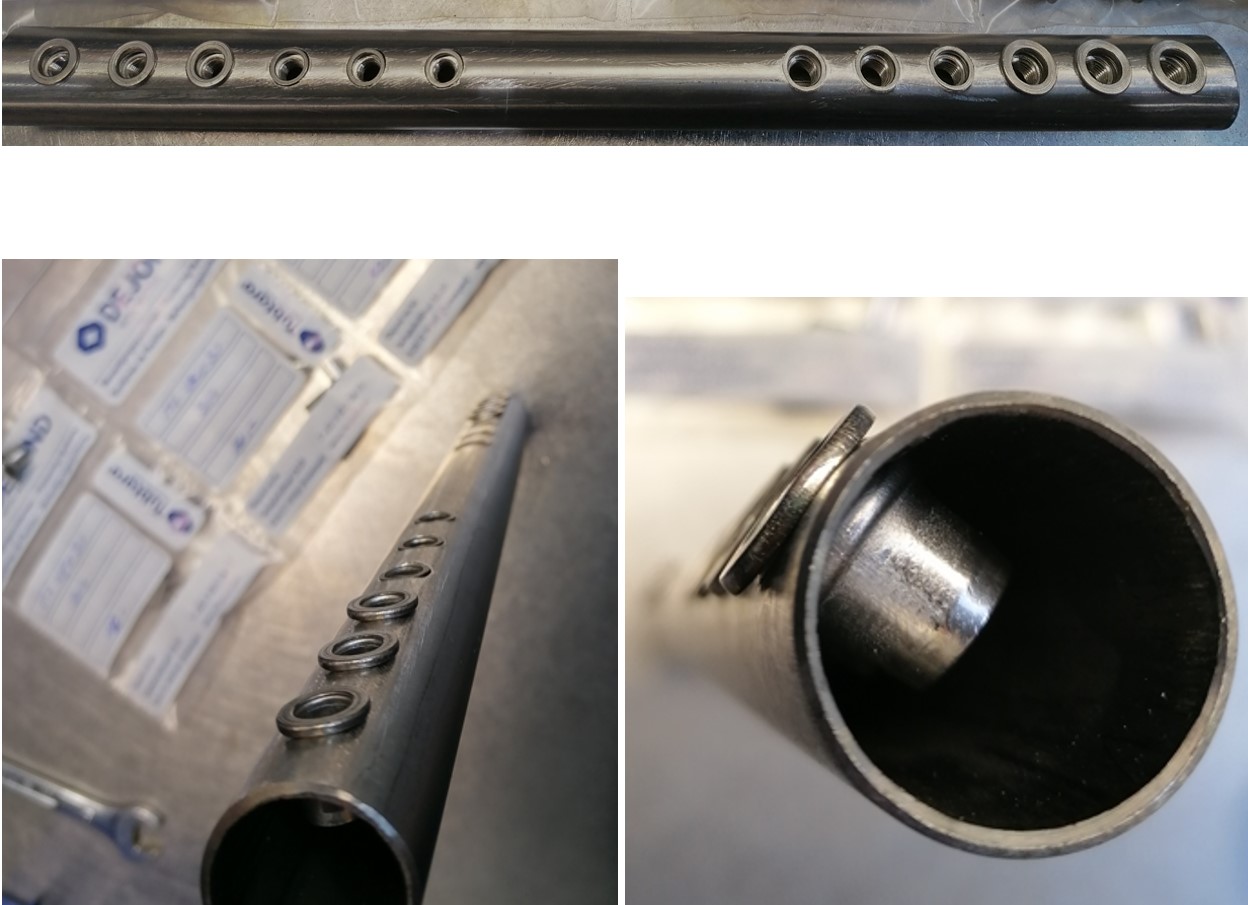
As you can see they tried various options, and all with success.
So I believe my idea of mounting this using bolts is feasible. What do you guys think of it?
I am a bit worried on the distance I would choose between each of the holders (39cm) but since the X axis is longer and uses a similar principle, I believe that I might get away with it.
any suggestions?
Running the vac for 20 hours straight caused the bucket to get warm. After that I double bucketed and it never happened again. I also don’t leave the machine running unattended anymore…
2 Likes
So. What you’re saying is… you’re dust bucket needs cooling fins
1 Like
That seems like a lot more complex, expensive, and fiddly solution to tacking or screwing down a strip of wooden molding or aluminum angle to keep the wheel running straight.
If you do go for the rail solution, you should only need it on one side. If one side runs straight then the other should stay parallel.
2 Likes
![]()
![]()
![]()
20 hours is long though! What were you making?
I still need to receive the quote, but I do imagine it’s “fairly” reasonable in pricing looking at other projects I´ve done with them.
The blind nuts are not really required, but I do feel more comfortable that I can screw it against the surface, but even more important, the additional overhang seems like a good approach.
The only thing that I am concerned with, is how to mount the belt. Didn´t think that through just yet.
I see, but wouldn´t that be difficult to align both sides in height?
I agree with Tom, furthermore, the difficulty to align both sides in height of the LR2 is much less than the difficulty of having two perfectly parallel tubular guides.
if I can give you some advice I would use exactly the altertnative method of printed shims as shown in post 108 instead of rivets and screws.
B.R.
Paolo
@barry99705 beautiful !
Really? I would figure that this would be easier?
If you now the size between both rails, you could use a piece of wood, cut it to lenght, and screw down one side of the tubes with this piece of wood in between. Then redo exactly the same on the other side.
I believe that this is how the printed shims work. They have 1 mounting hole, so it can pivot in the needed direction. see;

Thing that worries me most, is the question if an M8 bolt would be strong enough to resist the moving force while milling (caused by X axis).
But you´re right Paolo, and maybe I should try it first with the shims, I can always upgrade afterwards.
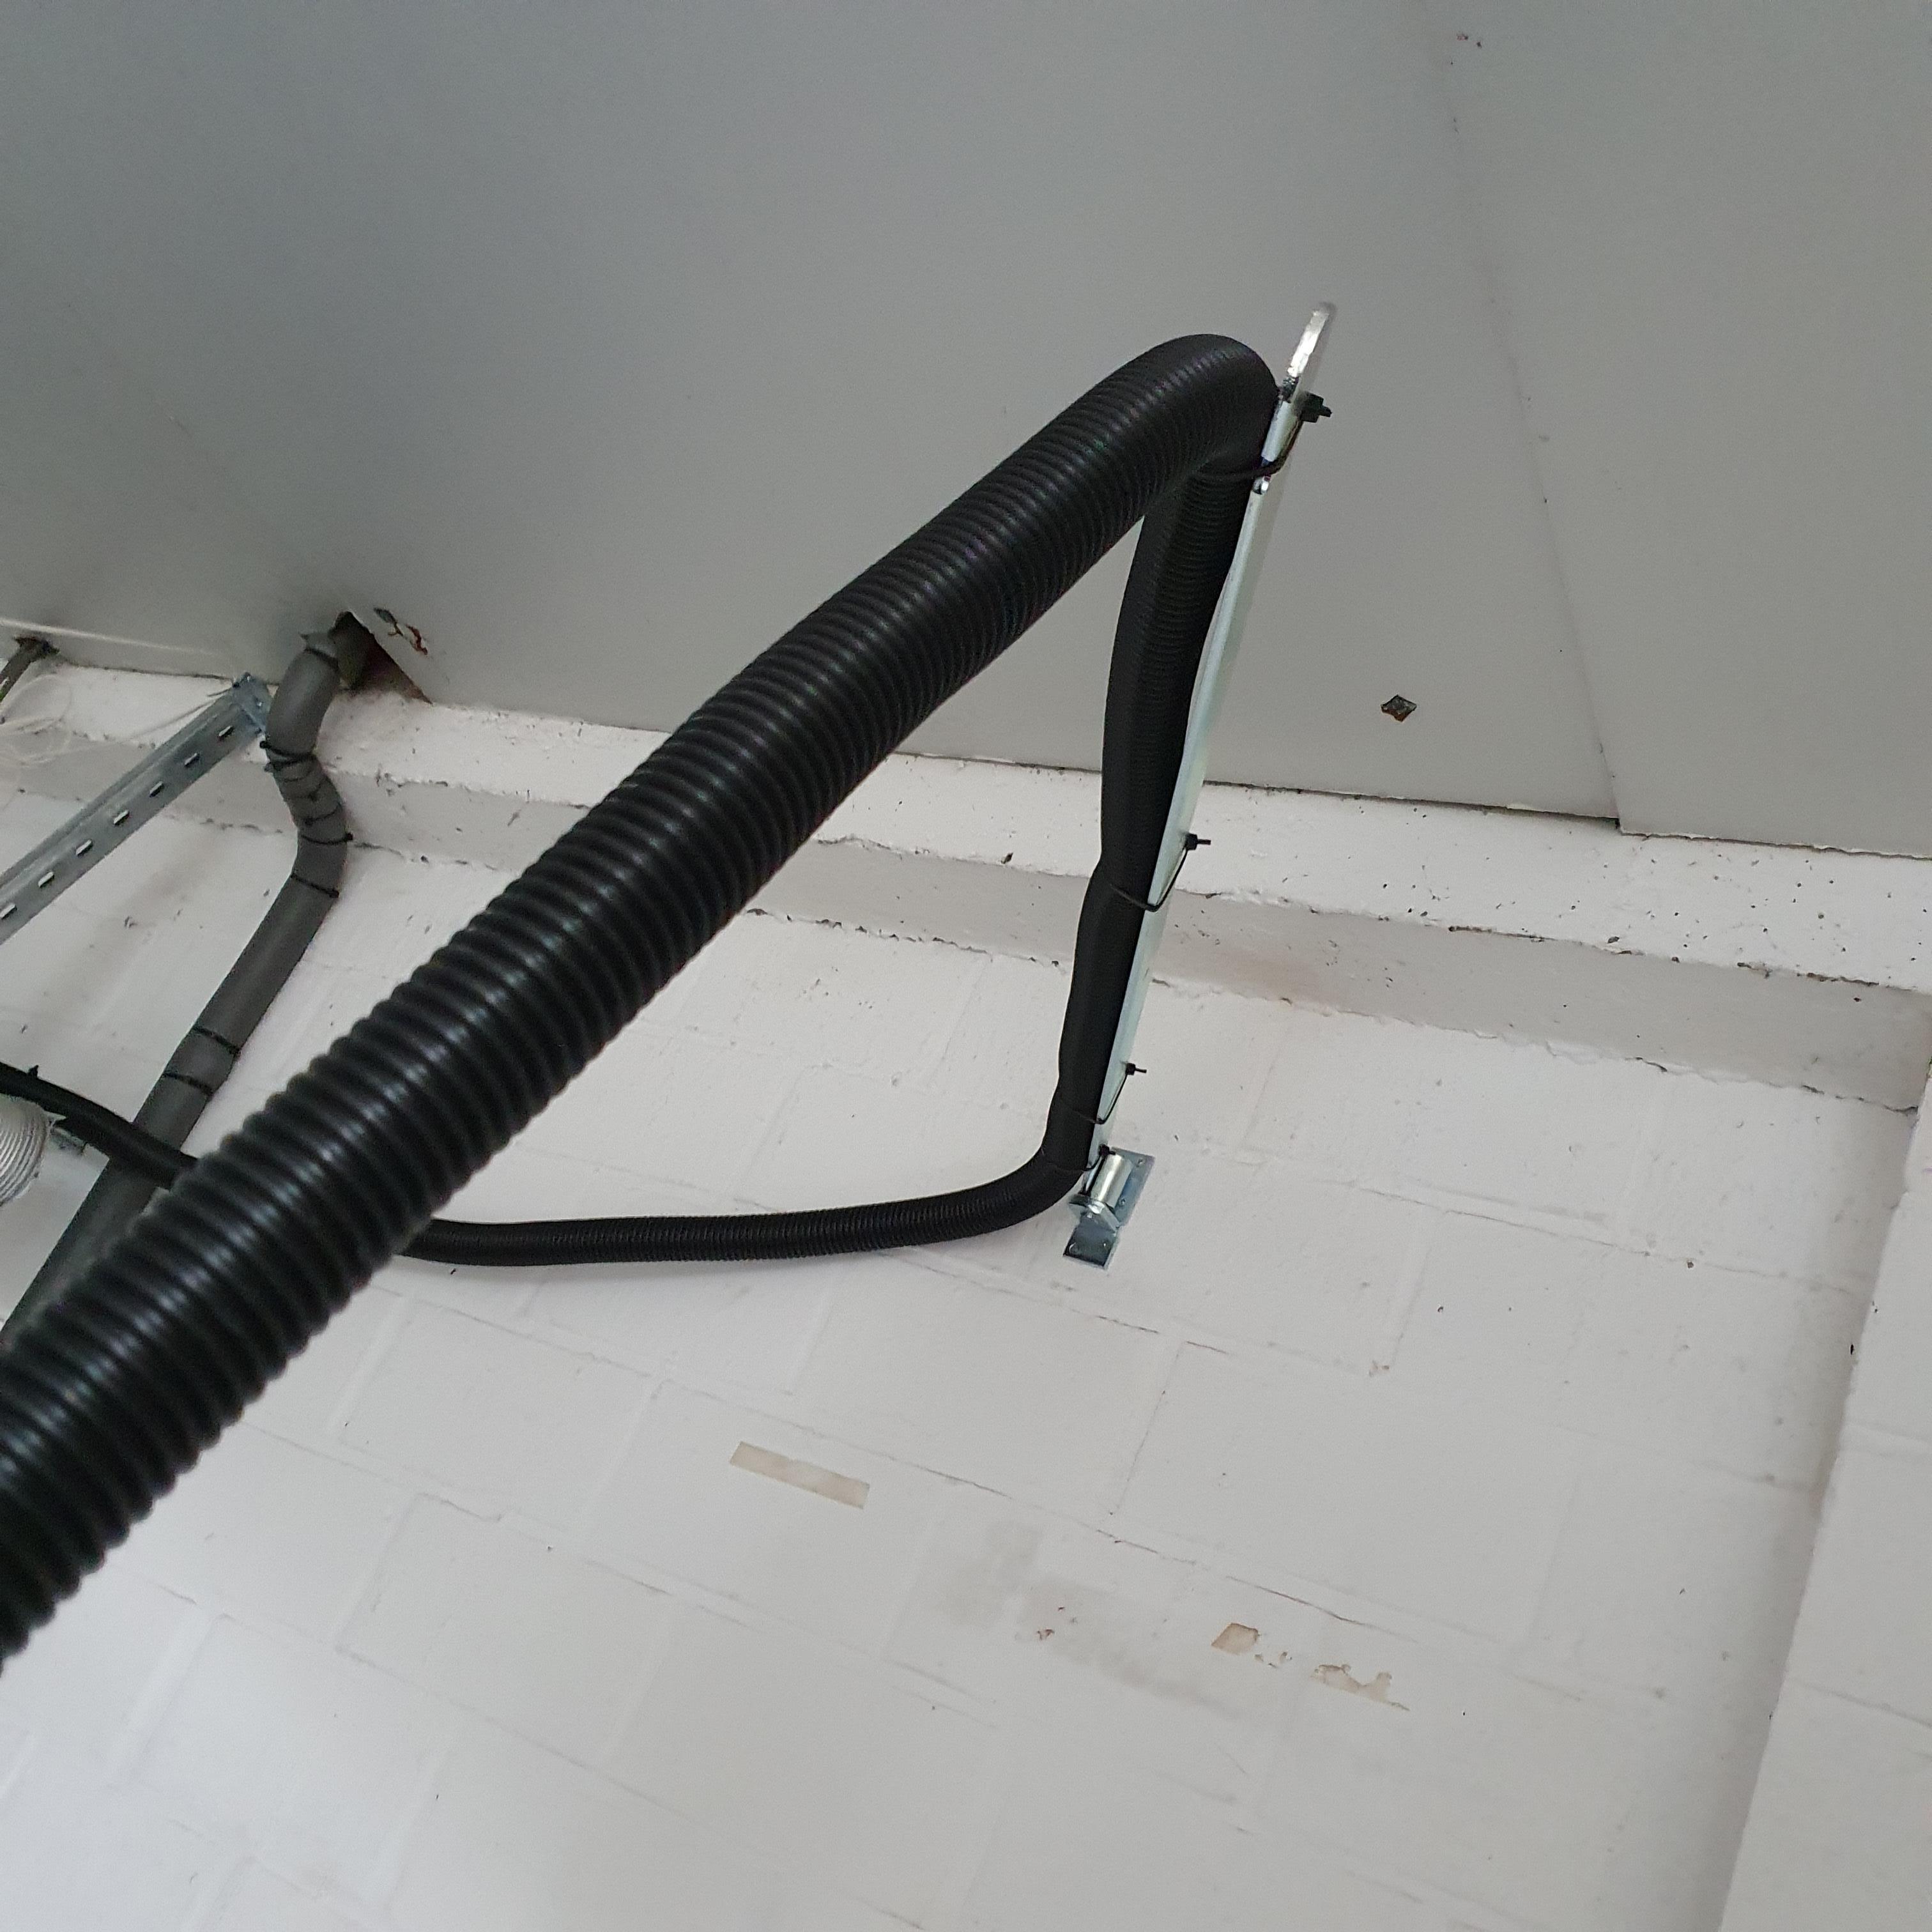
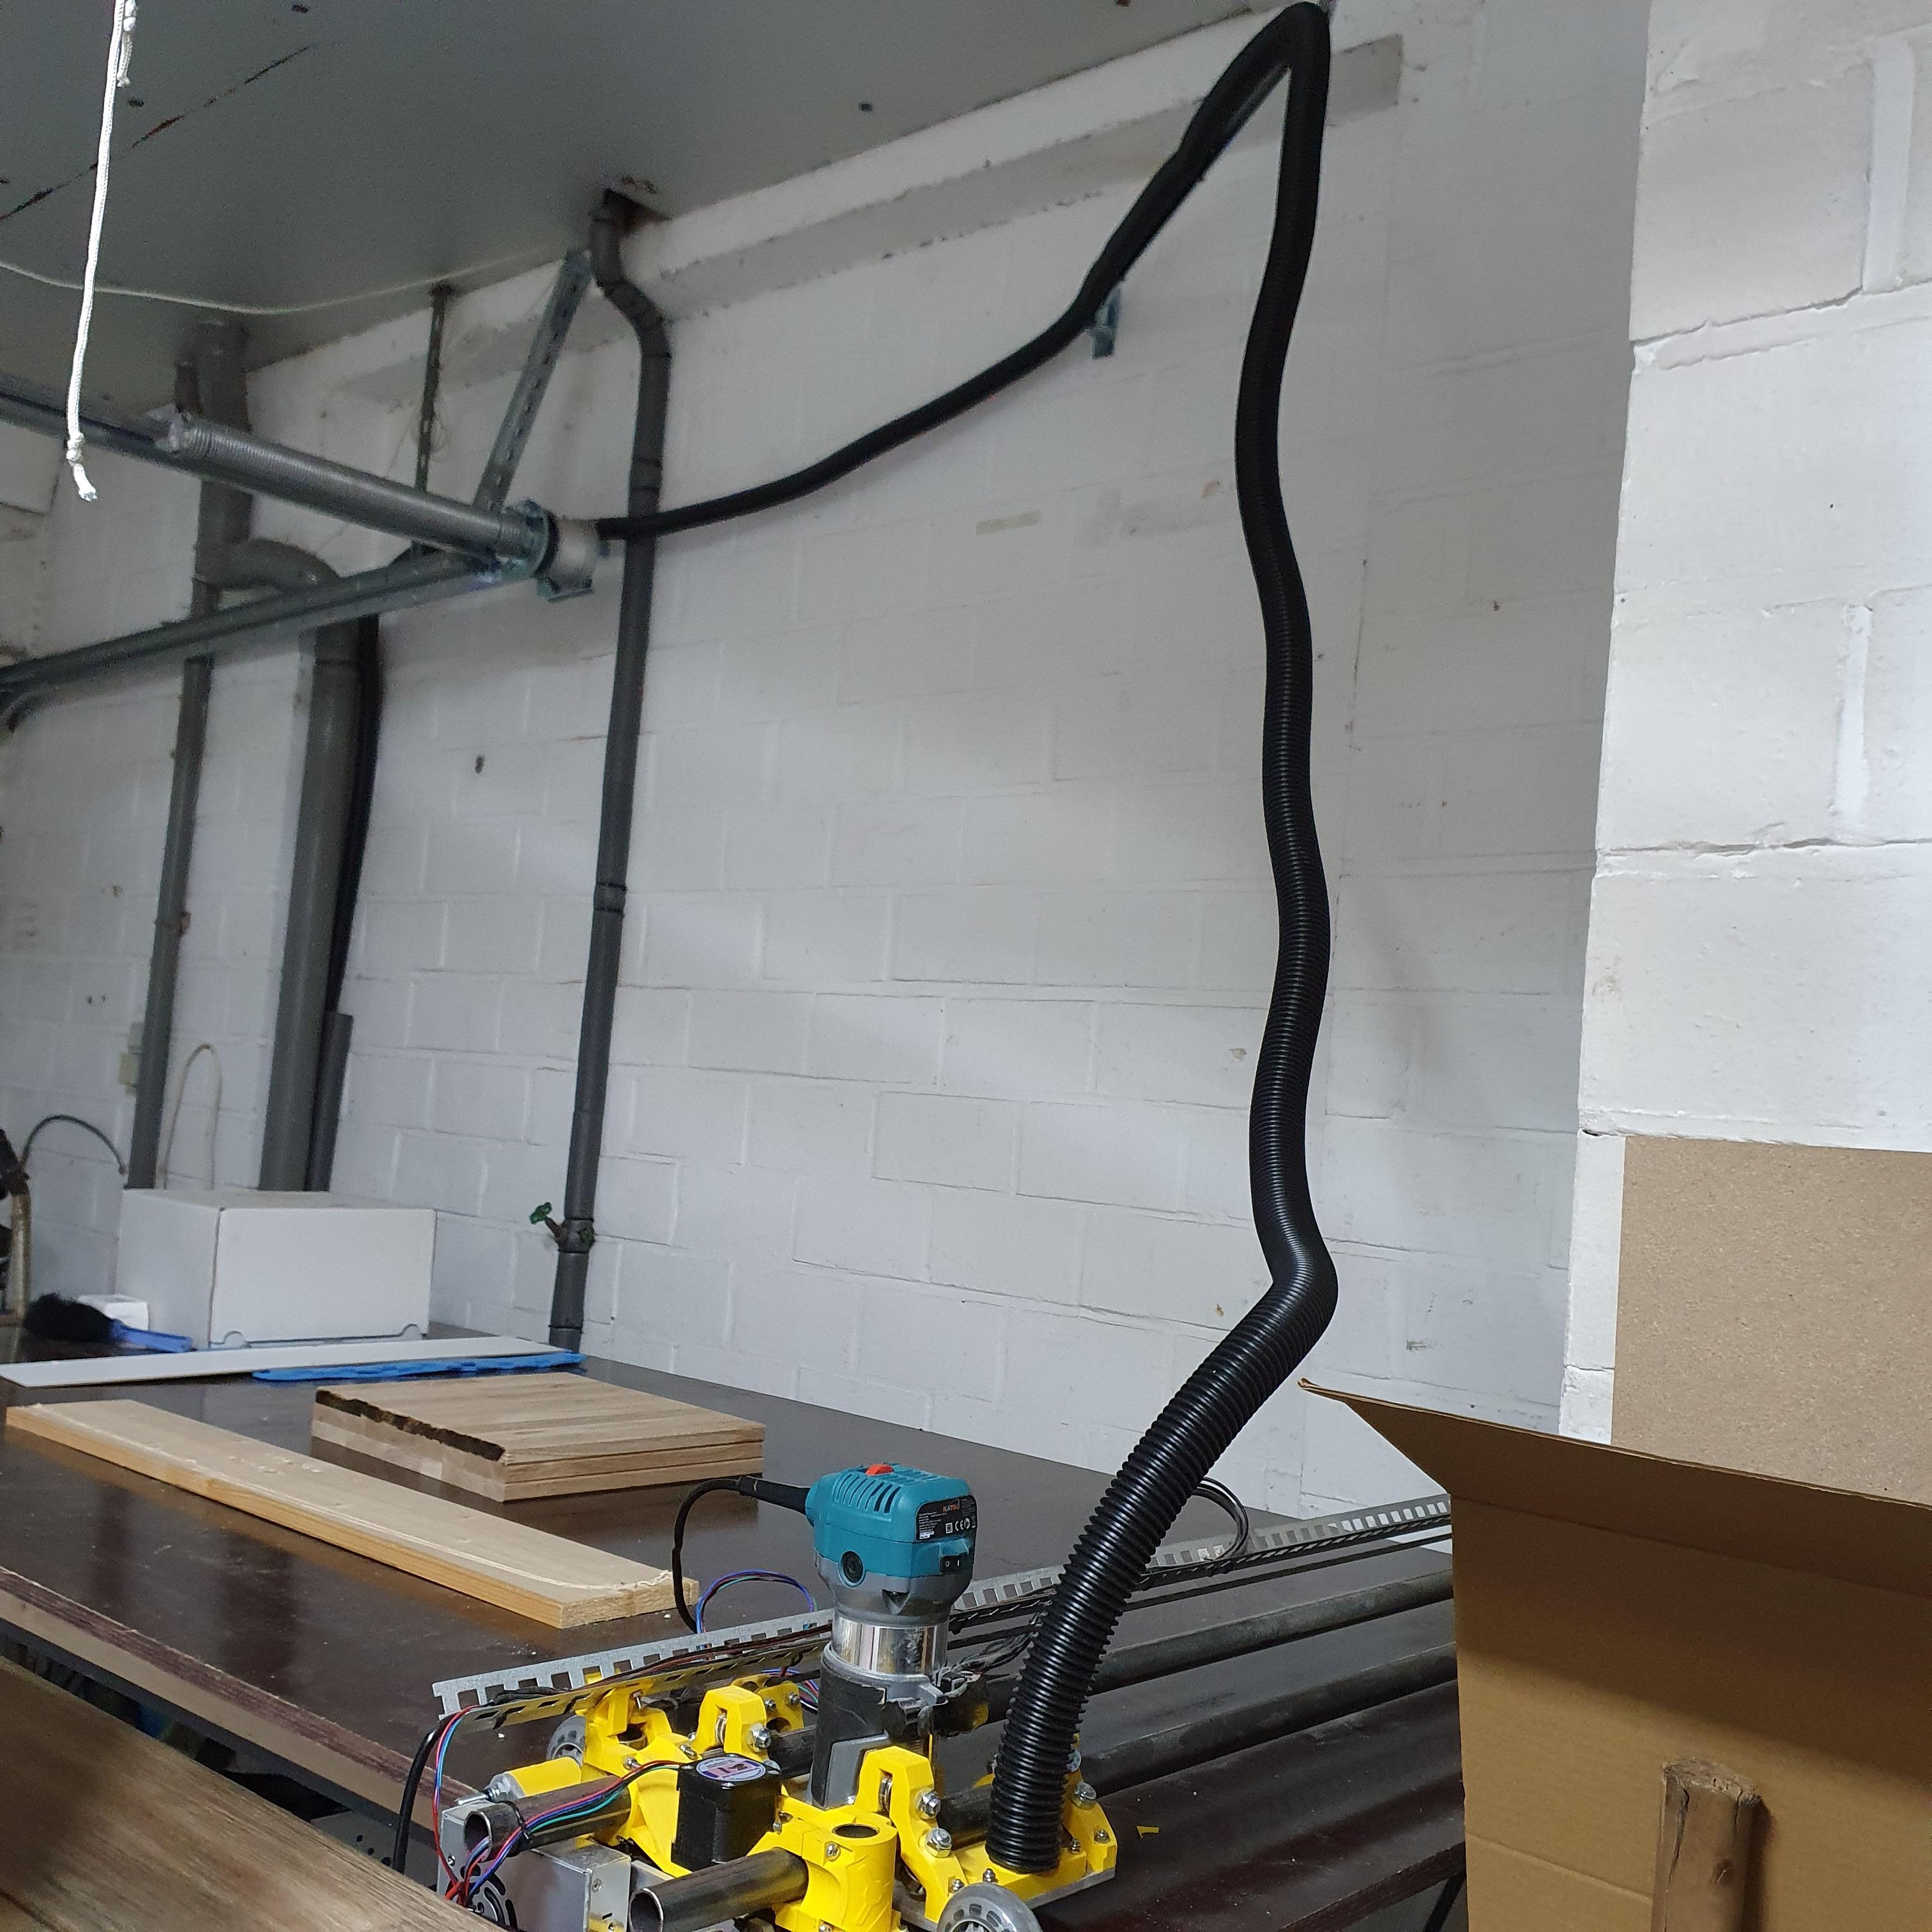
Another upgrade in place 
It must have been a sign, as the local DIY shop had “gate hinges” in their discount folder. So bought one with the length of 1000mm, and it works just fine in my situation.
The vacuum hose pivots easily from left to right, and does not seem to hinder the LR2 during the milling process.
I am considering to reroute my power cables too, so they are mounted on the same hinge. But that’s not a prio atm
4 Likes
Am REALLY keen to see how the long vac goes - I have 6m hose and it works well but am a bit wary of extending it!
Well as far as I can tell, the suction isn’t decreased a lot. I am sure it will be a bit, but feeling it by placing my hand before the tube, or before the vacuum cleaner, gives the same feeling. But I know that’s not exact science:D
I still need to add some kind of dust shoe around the Z plate, to make the biggest difference to keep the dust away, but that’s still a piece that needs to arrive in the mail, and to be figured out on how to install
3 Likes
This week some parts arrived. I think Santa Claus must have had a bad day, and I was honestly concerned he would have lost some parts on his way to my home:-)
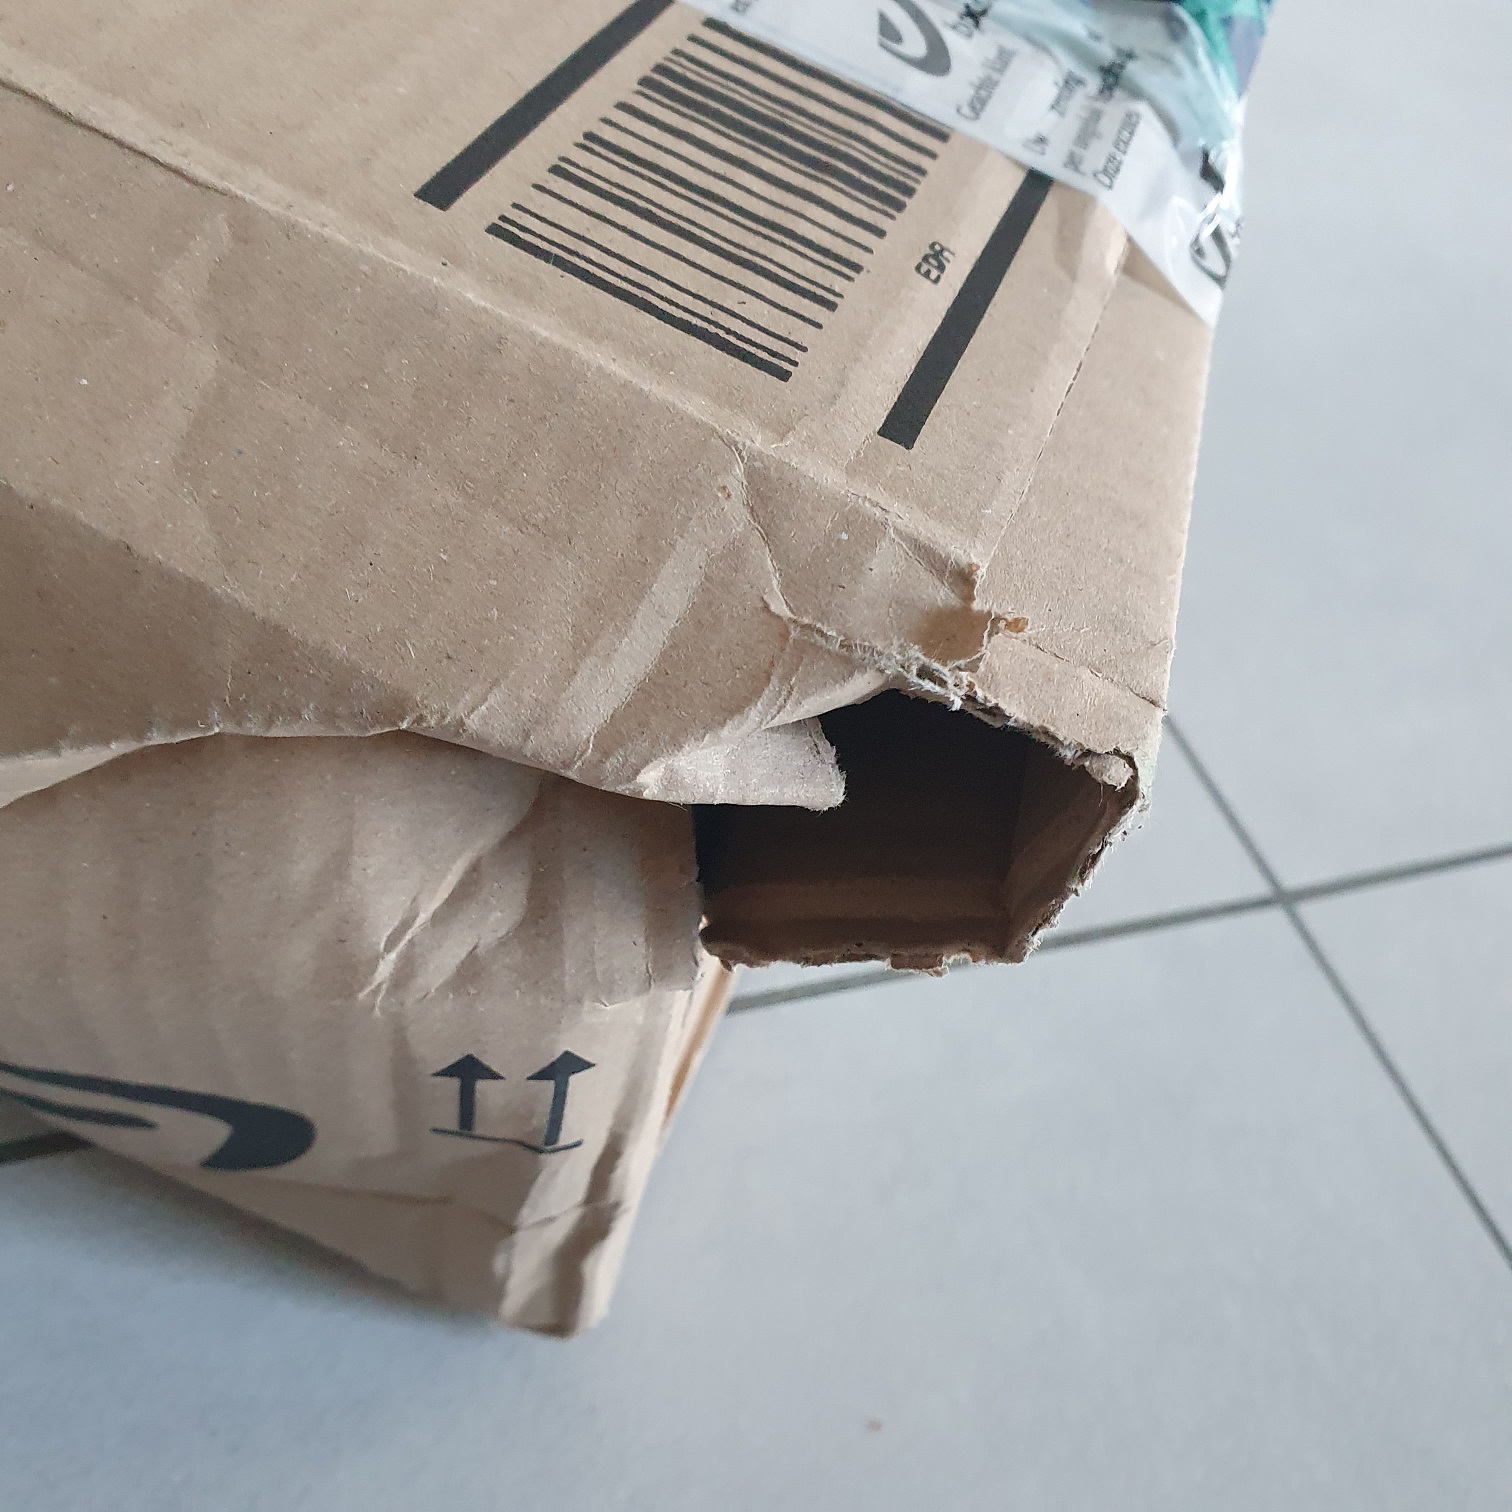
But no worries, somehow everything arrived, even with those large holes in the boxes 
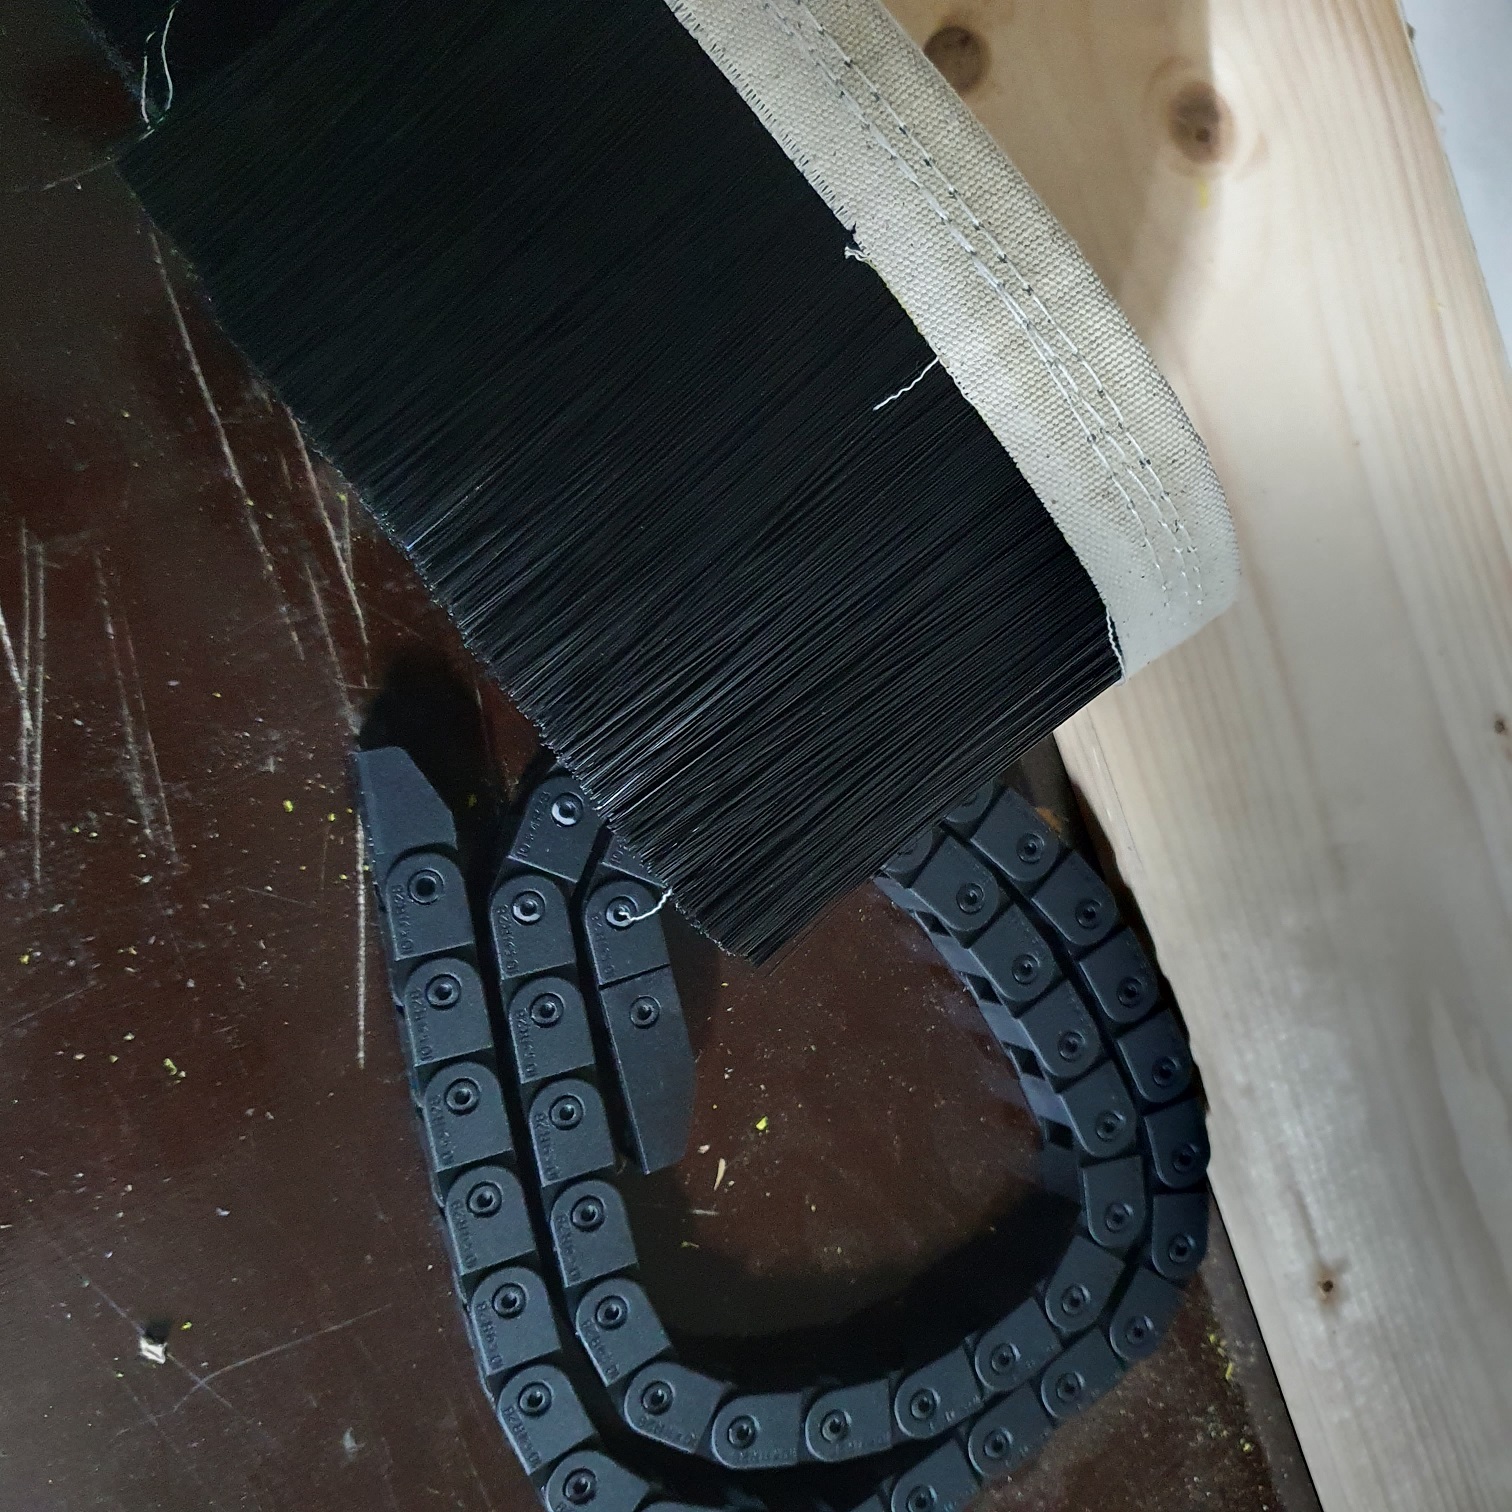
I got some cable chains, so I could secure my cabling and a vacuum shoe brush, or what it is called in English I noticed the brush is rather stiff, so I am not sure if this will work. Might have to cut it.
Another surprise was a little box with everything I´ll be needing to mount my upgrades:)
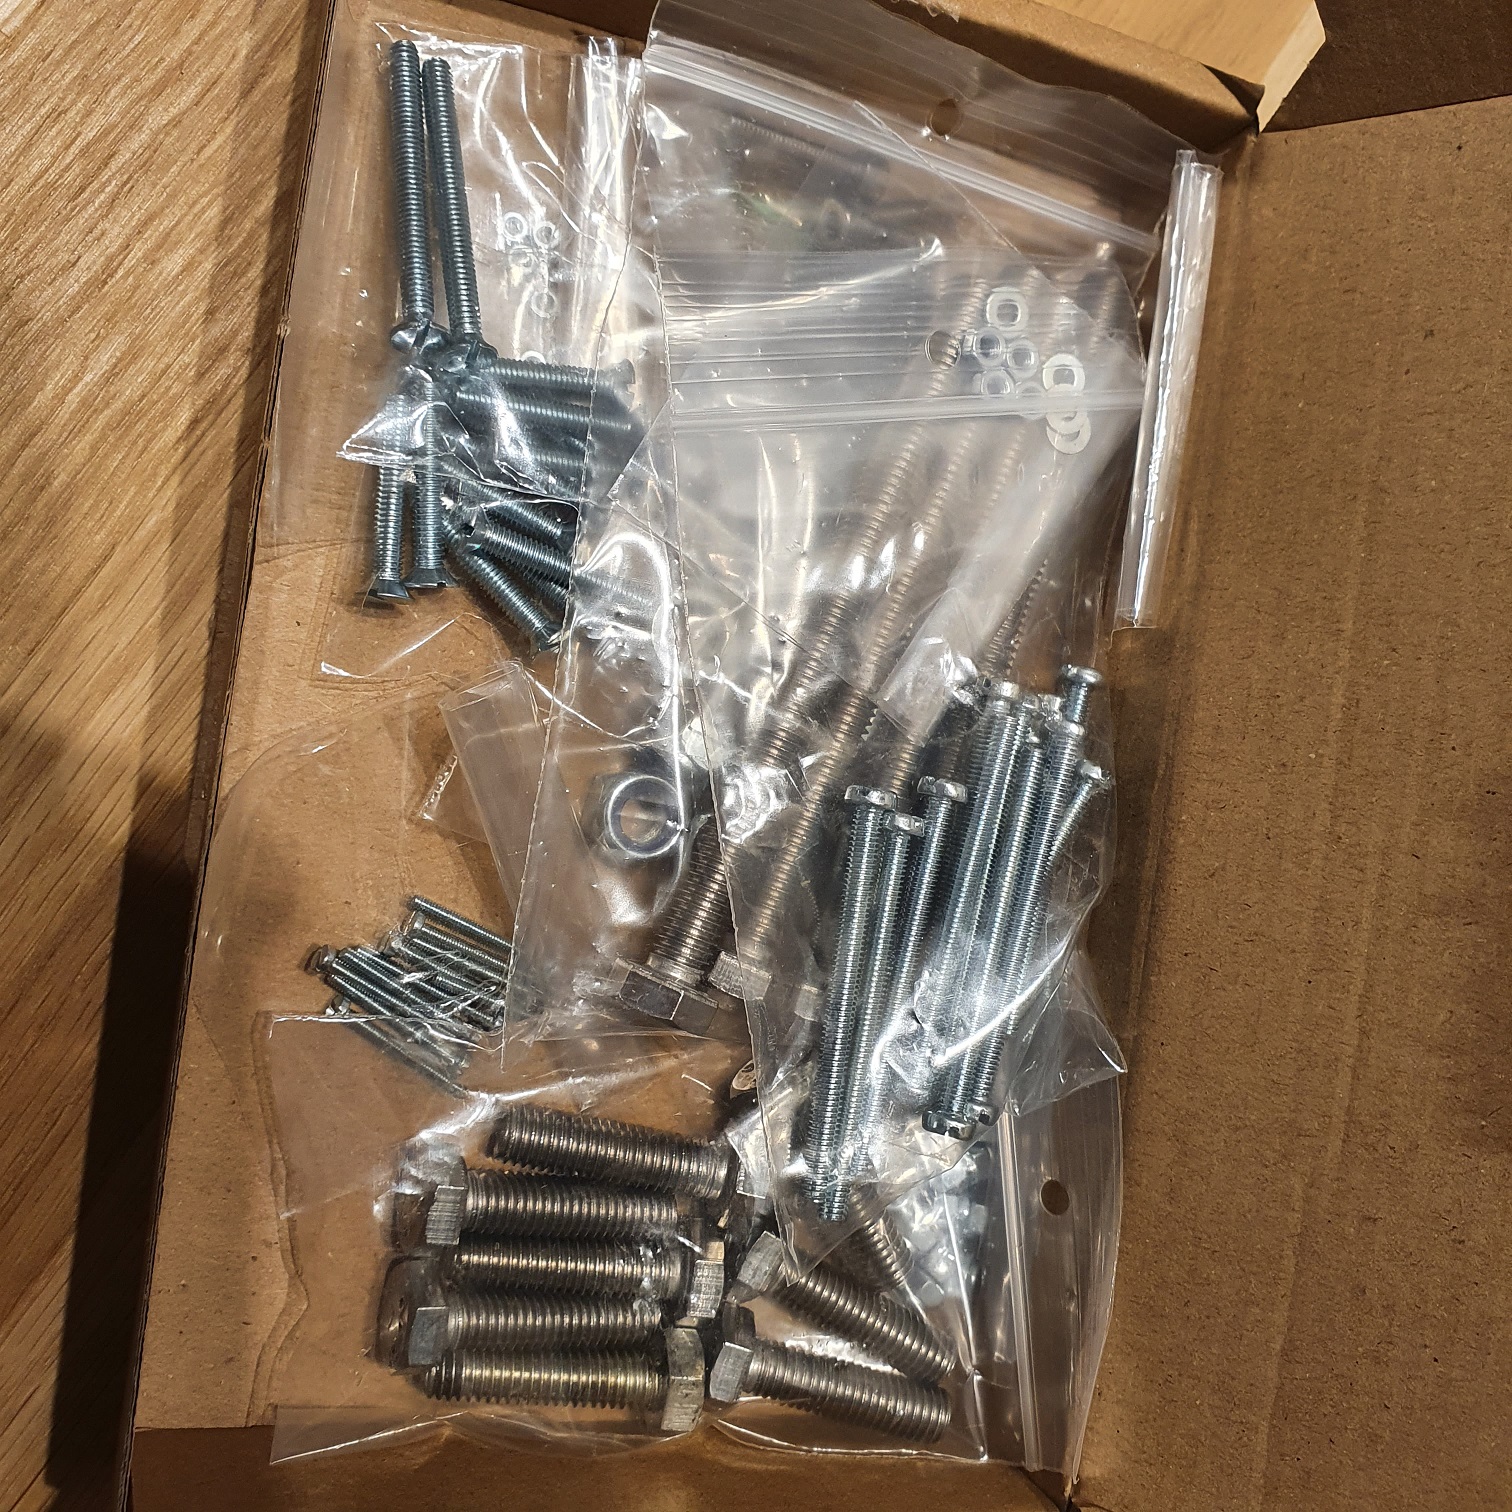
So, a third box arrived to with needed parts;
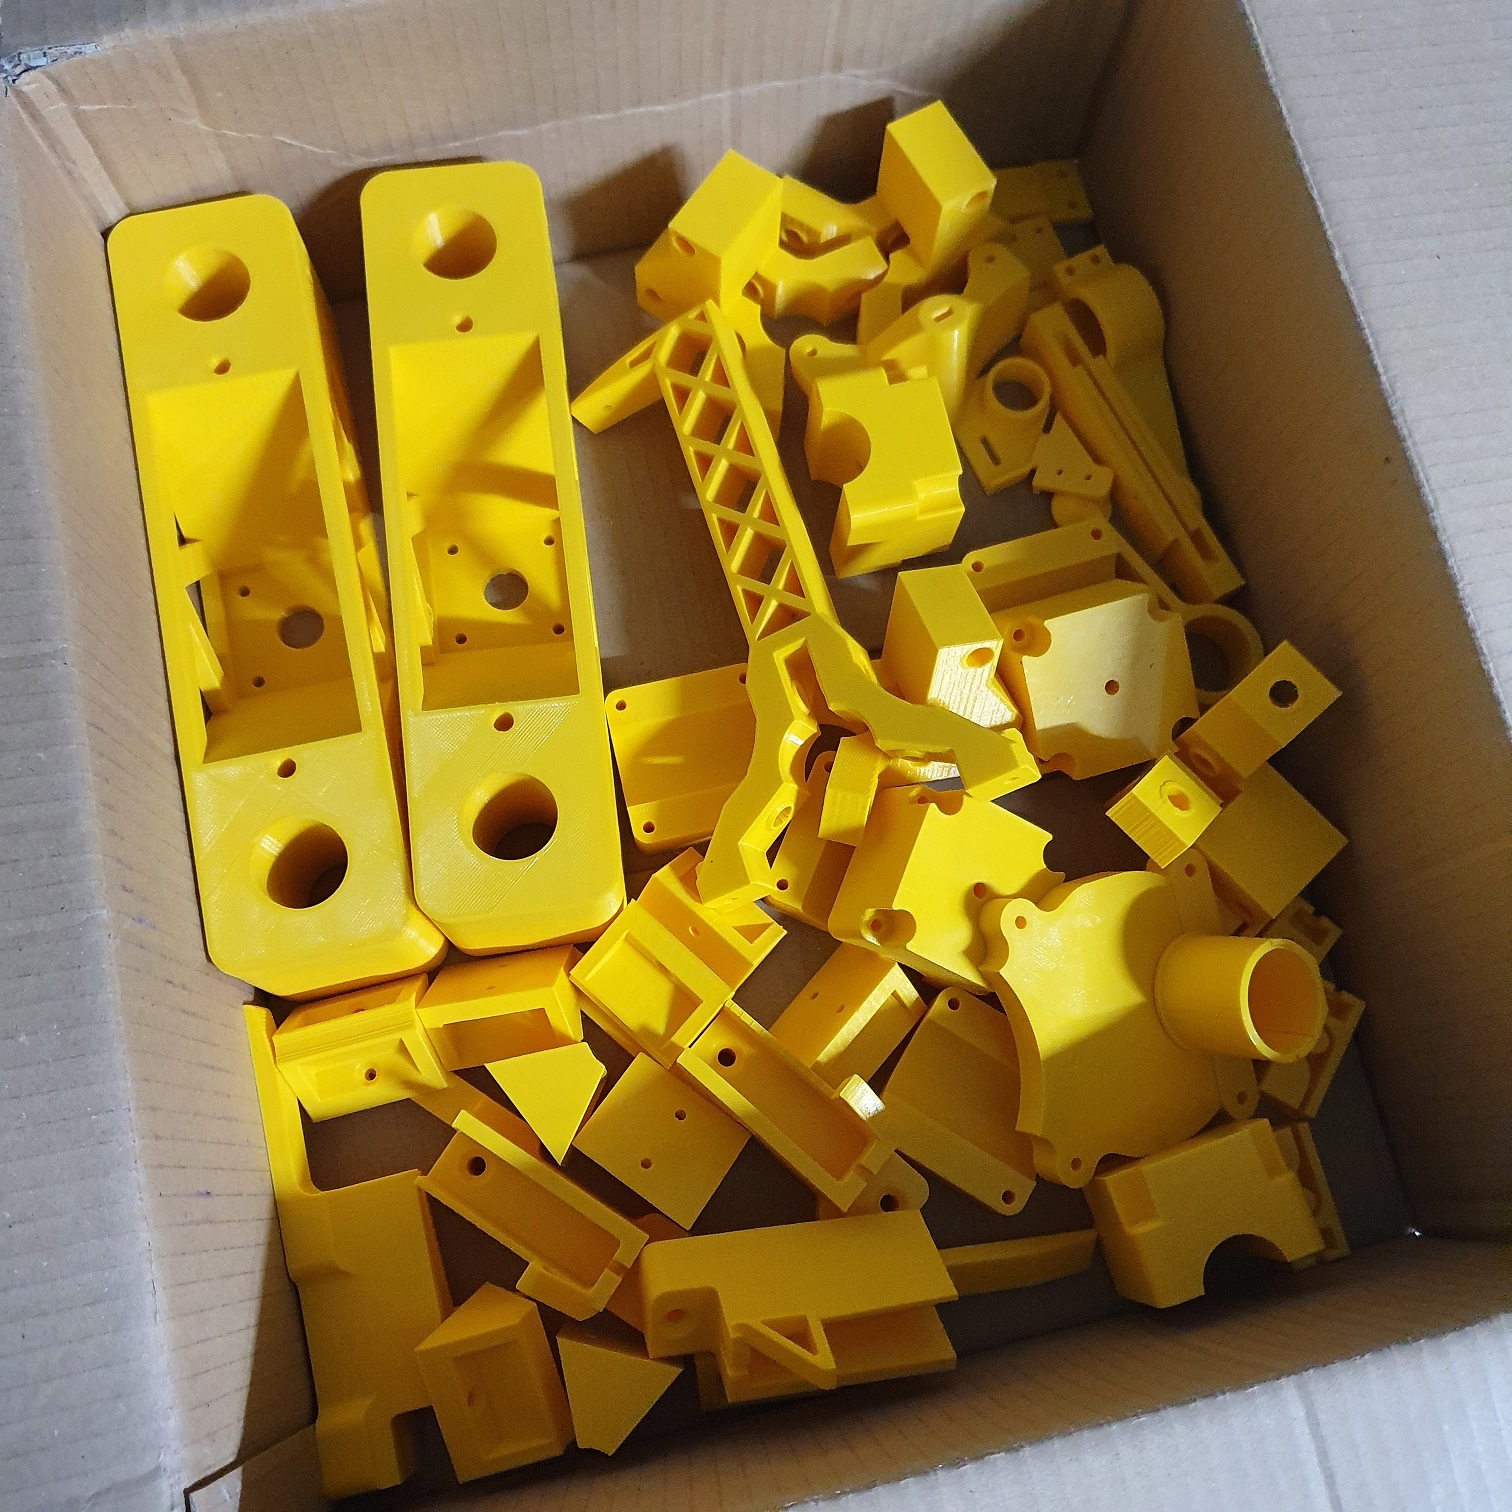
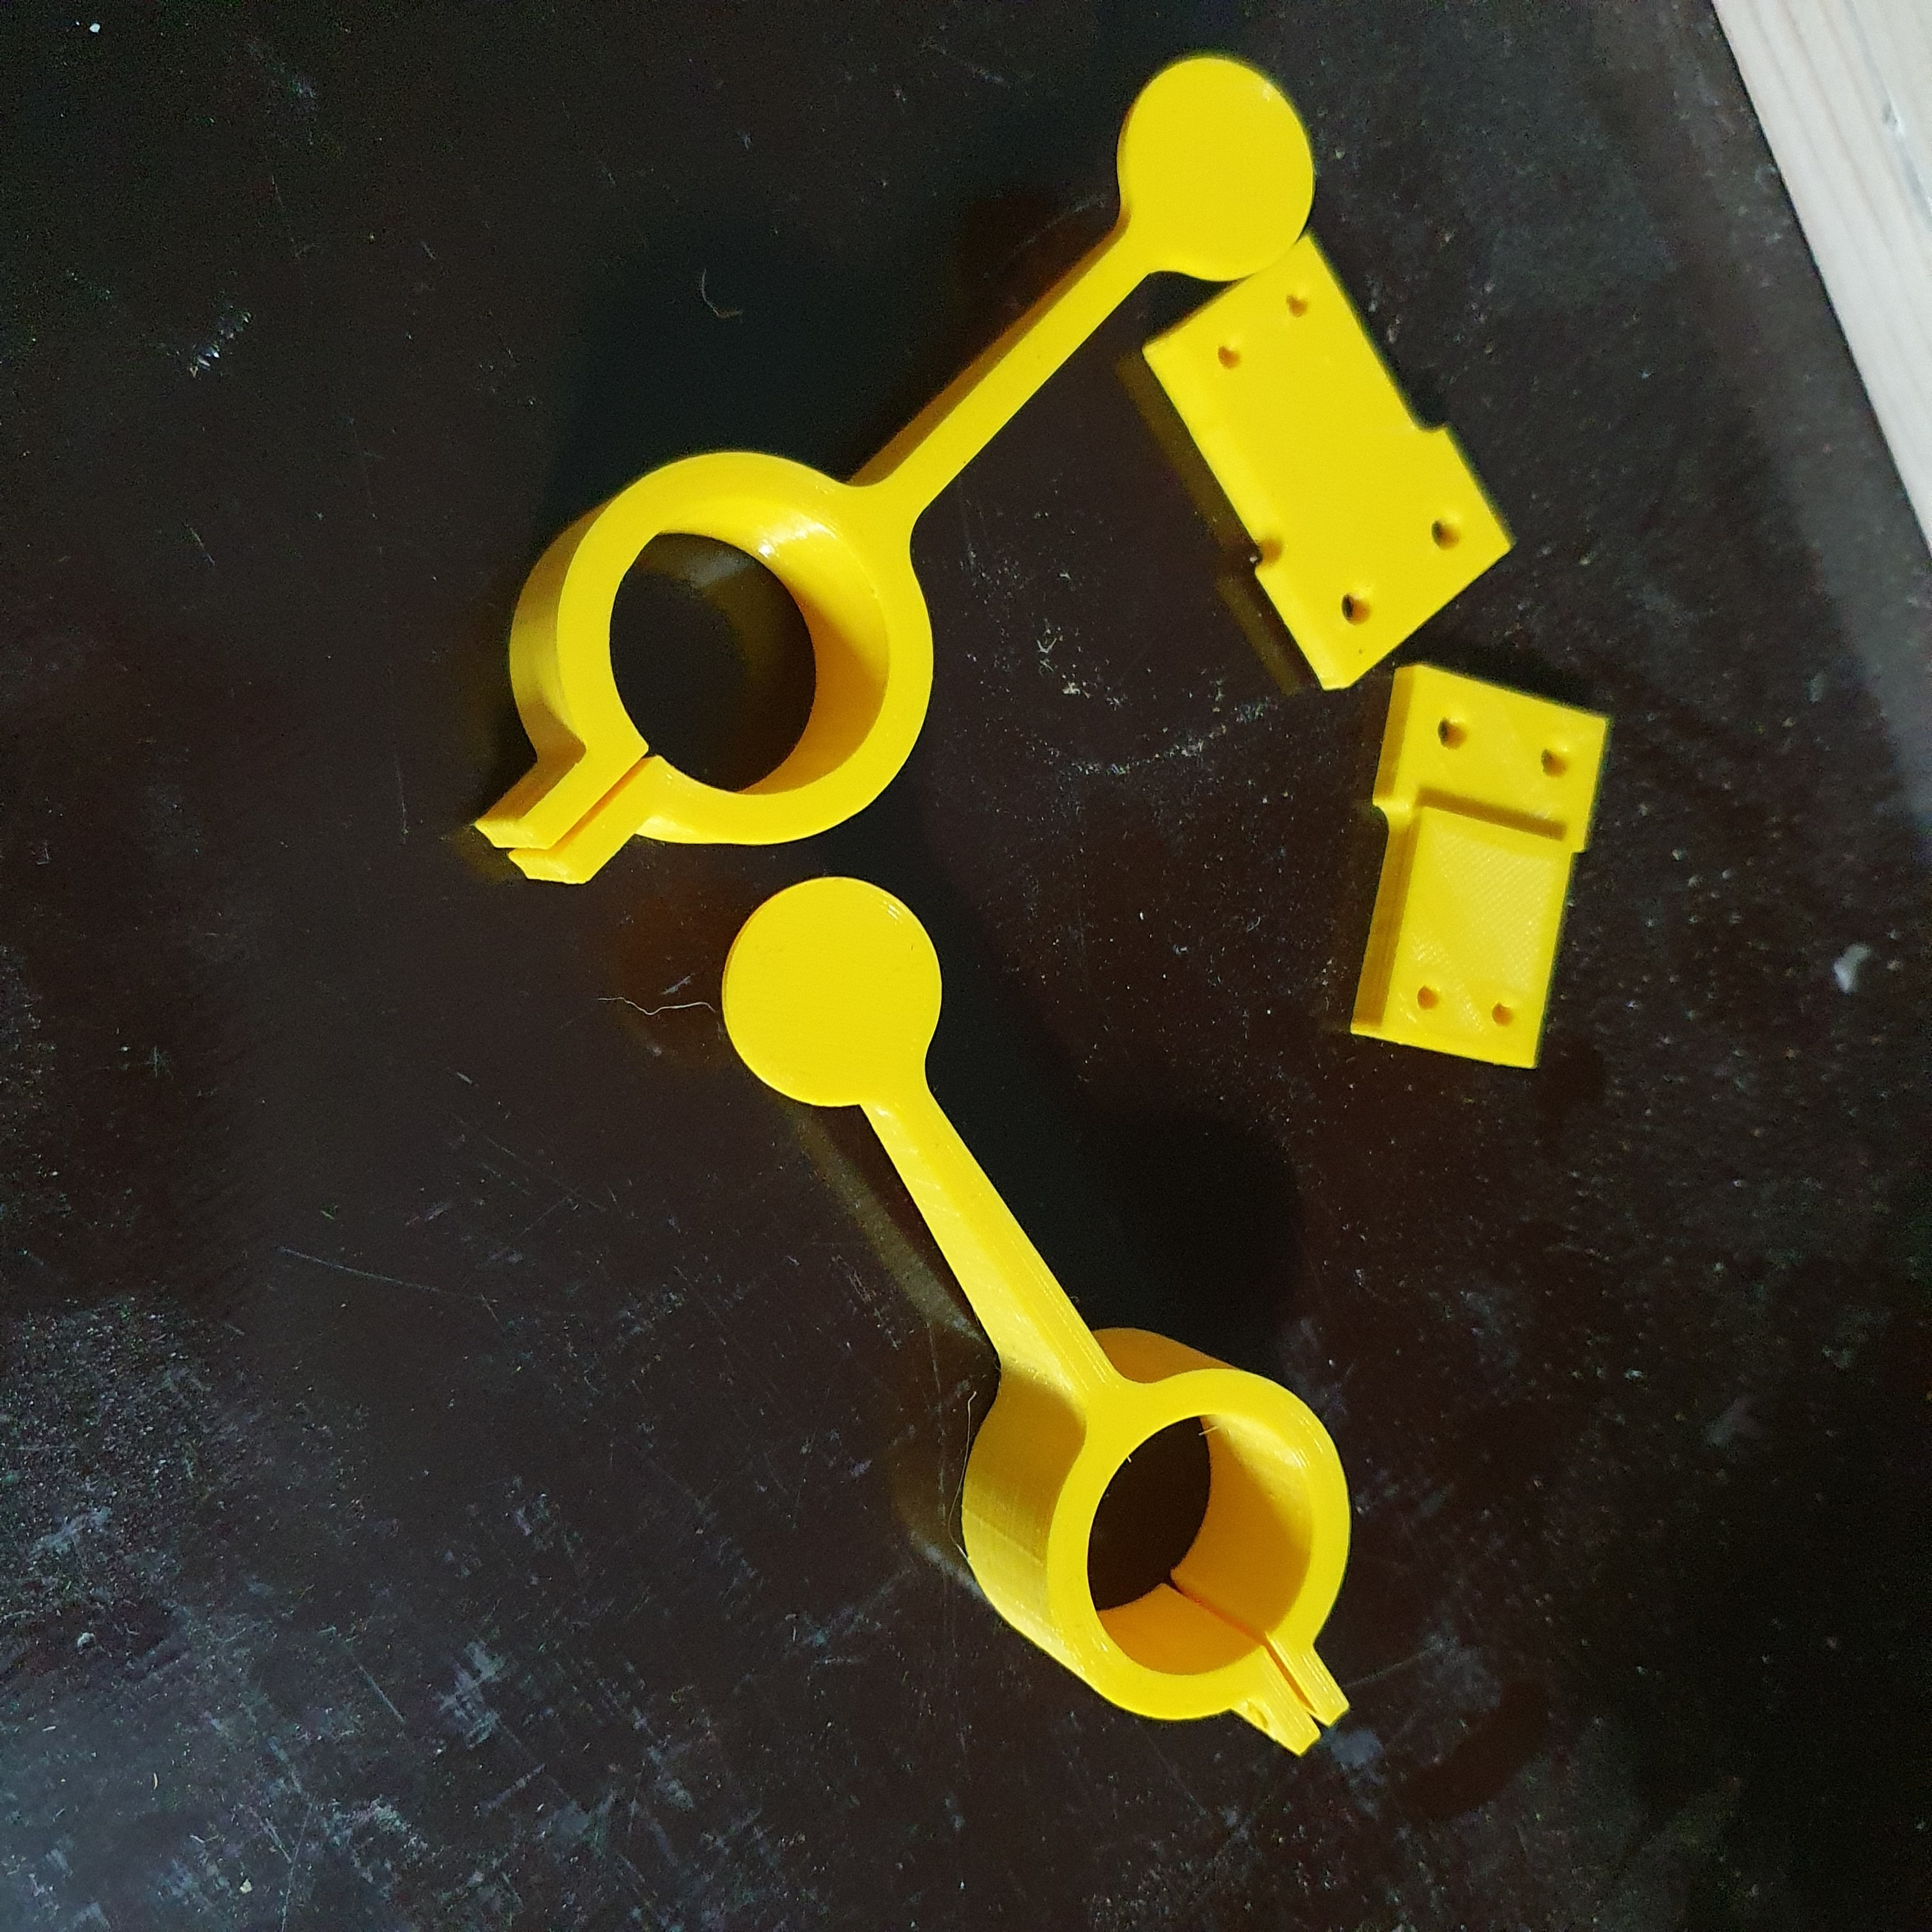
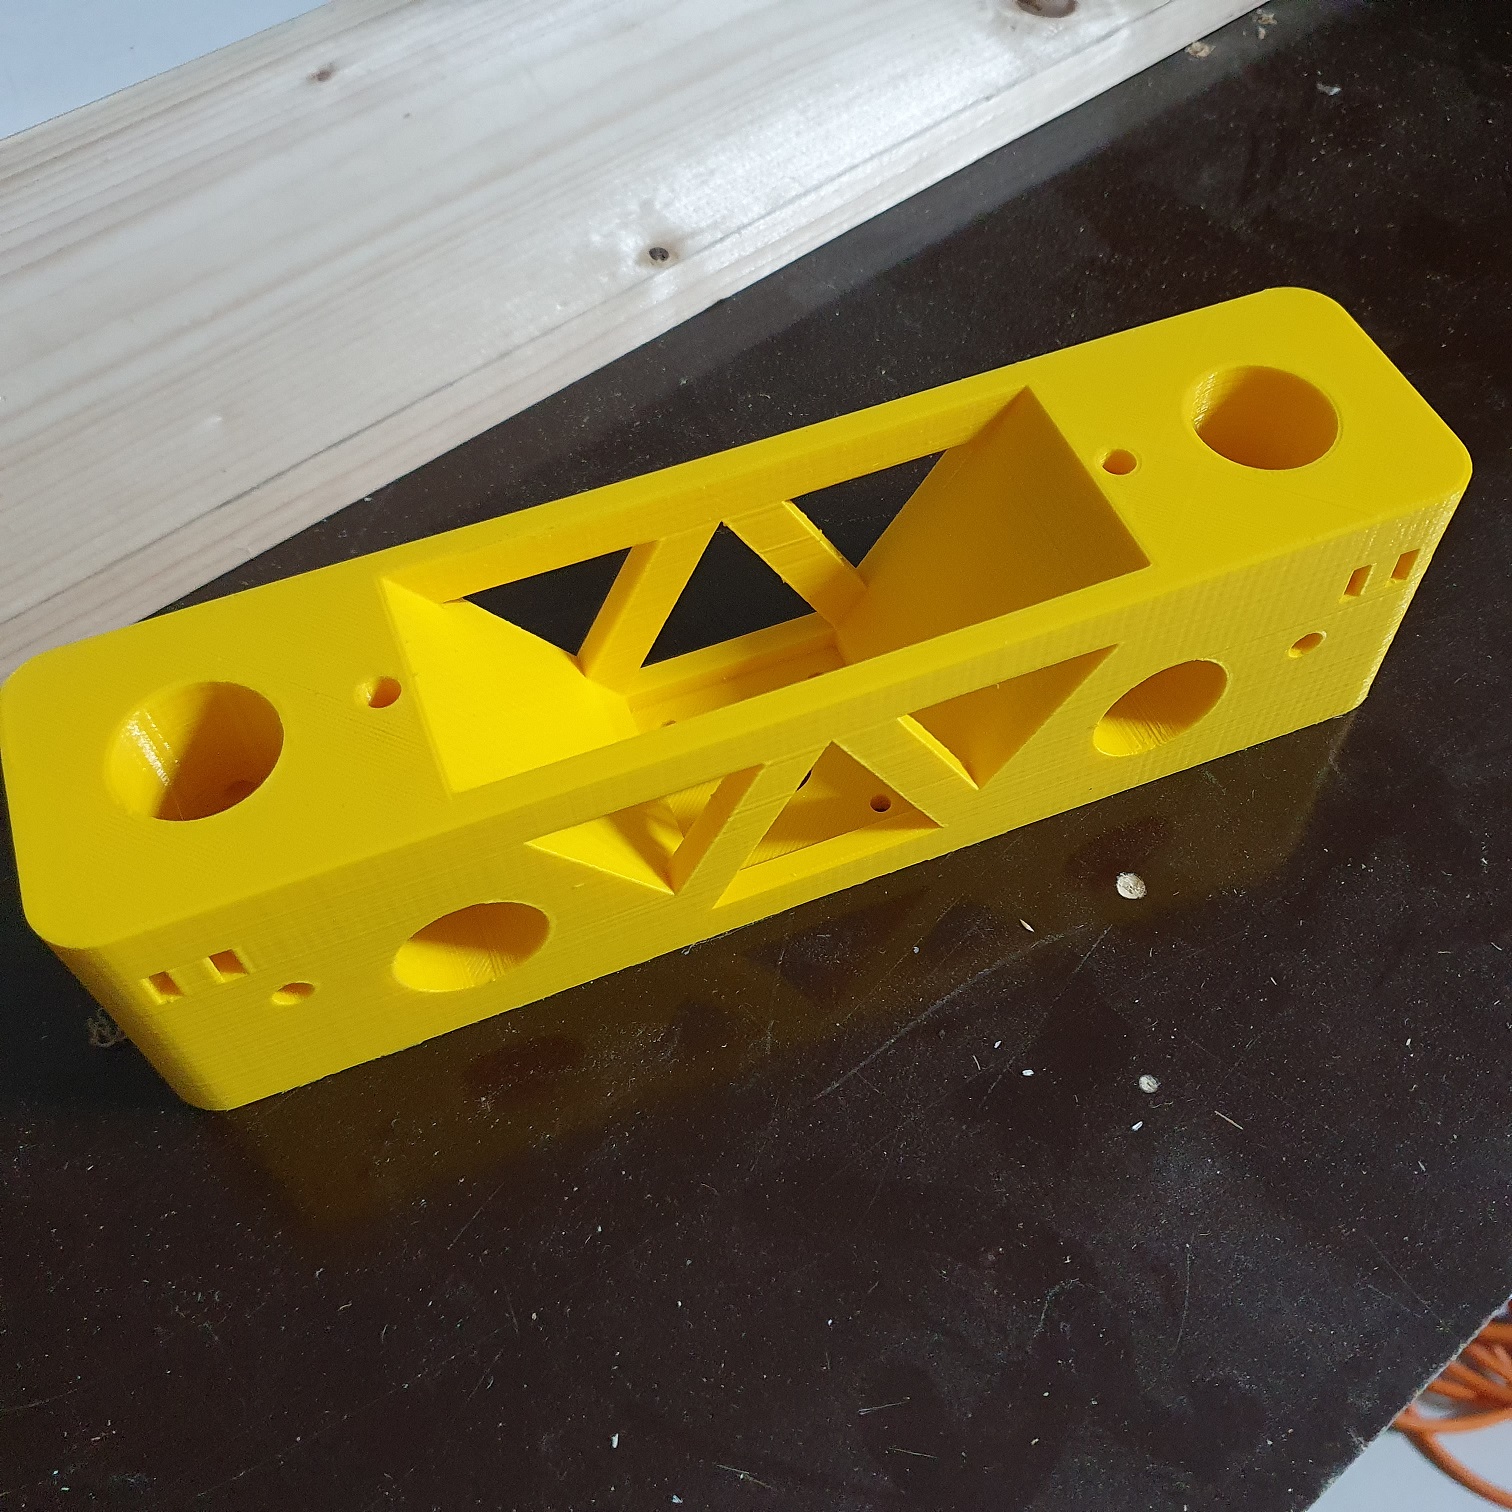
It contains parts for the skatewheel replacement, mounts for the Z endstops, an extension to mount the cable chain, replacement for the GT2 belt holder, etc…

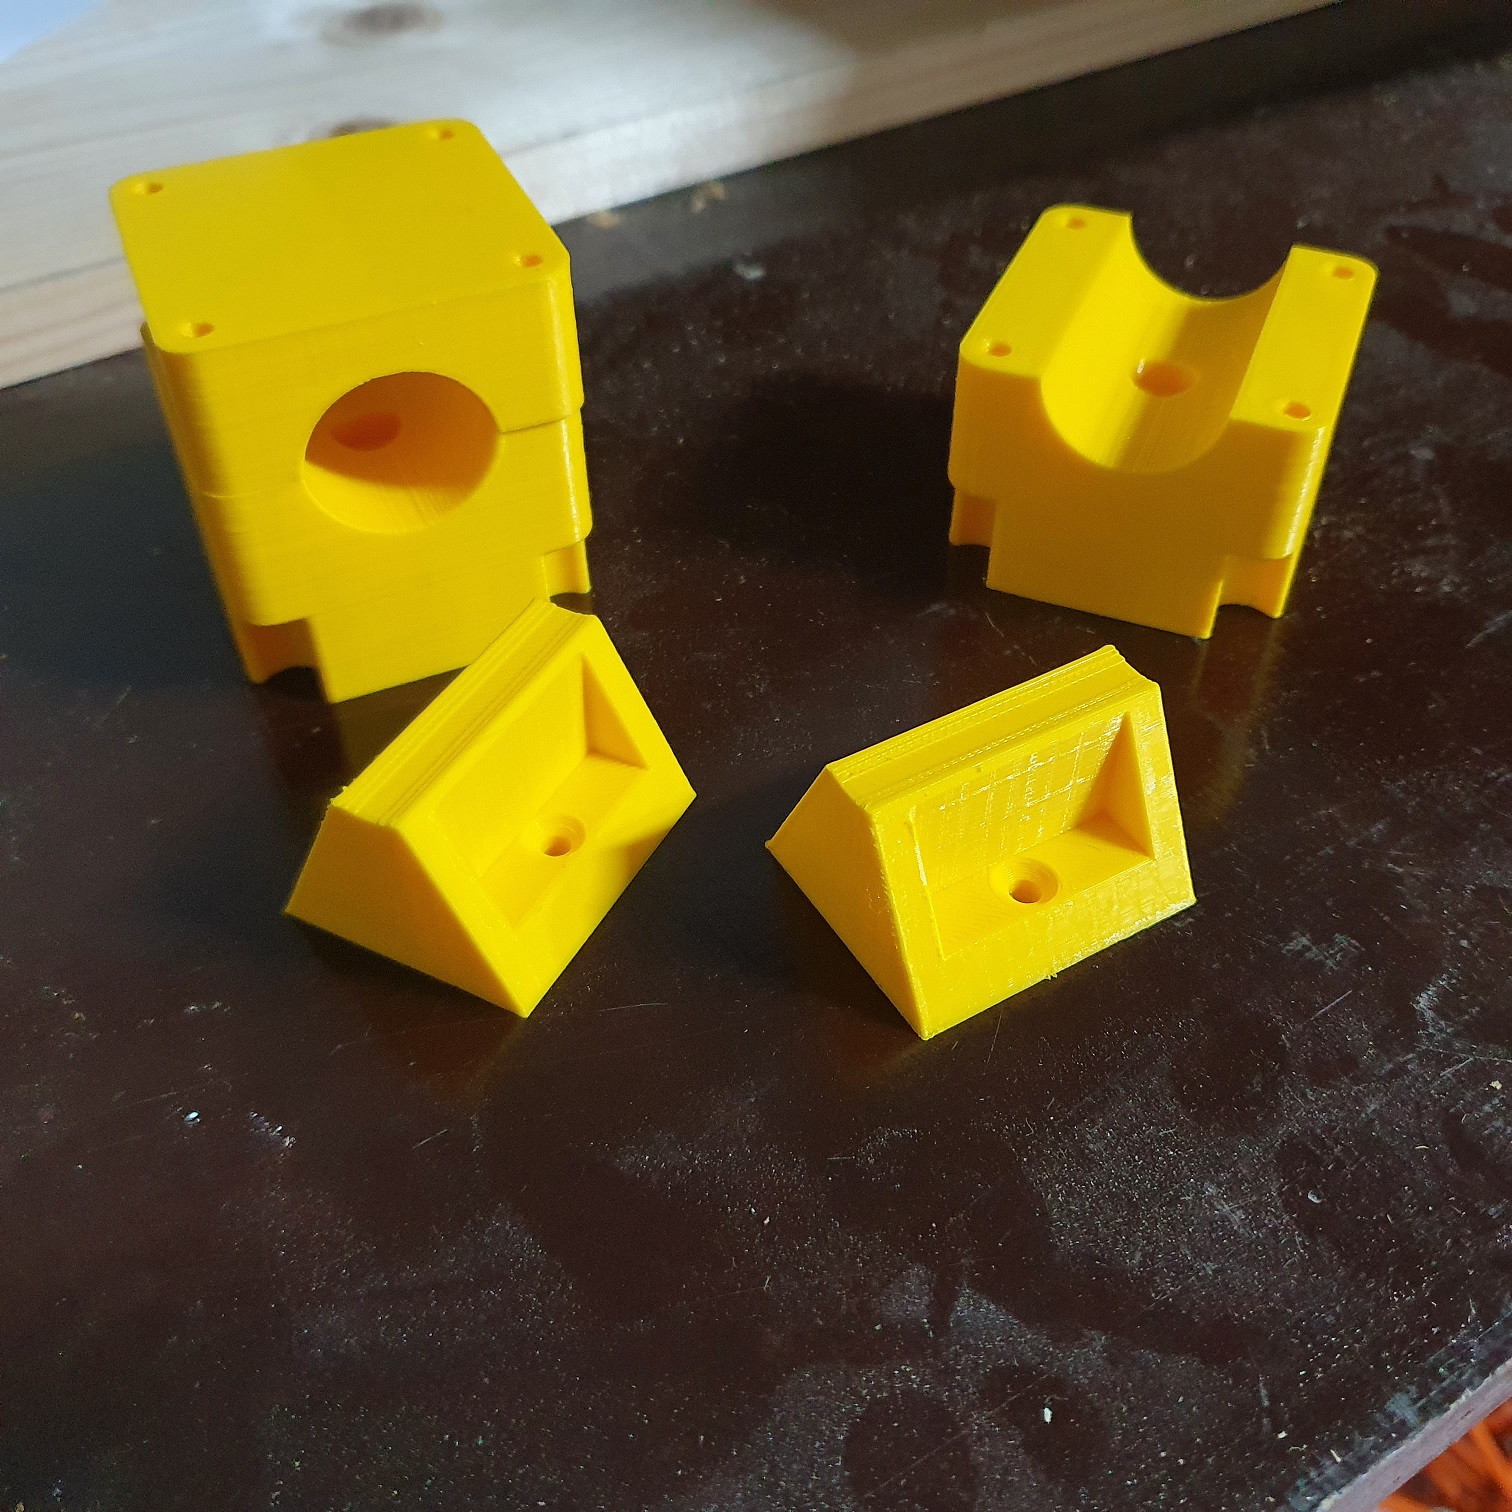
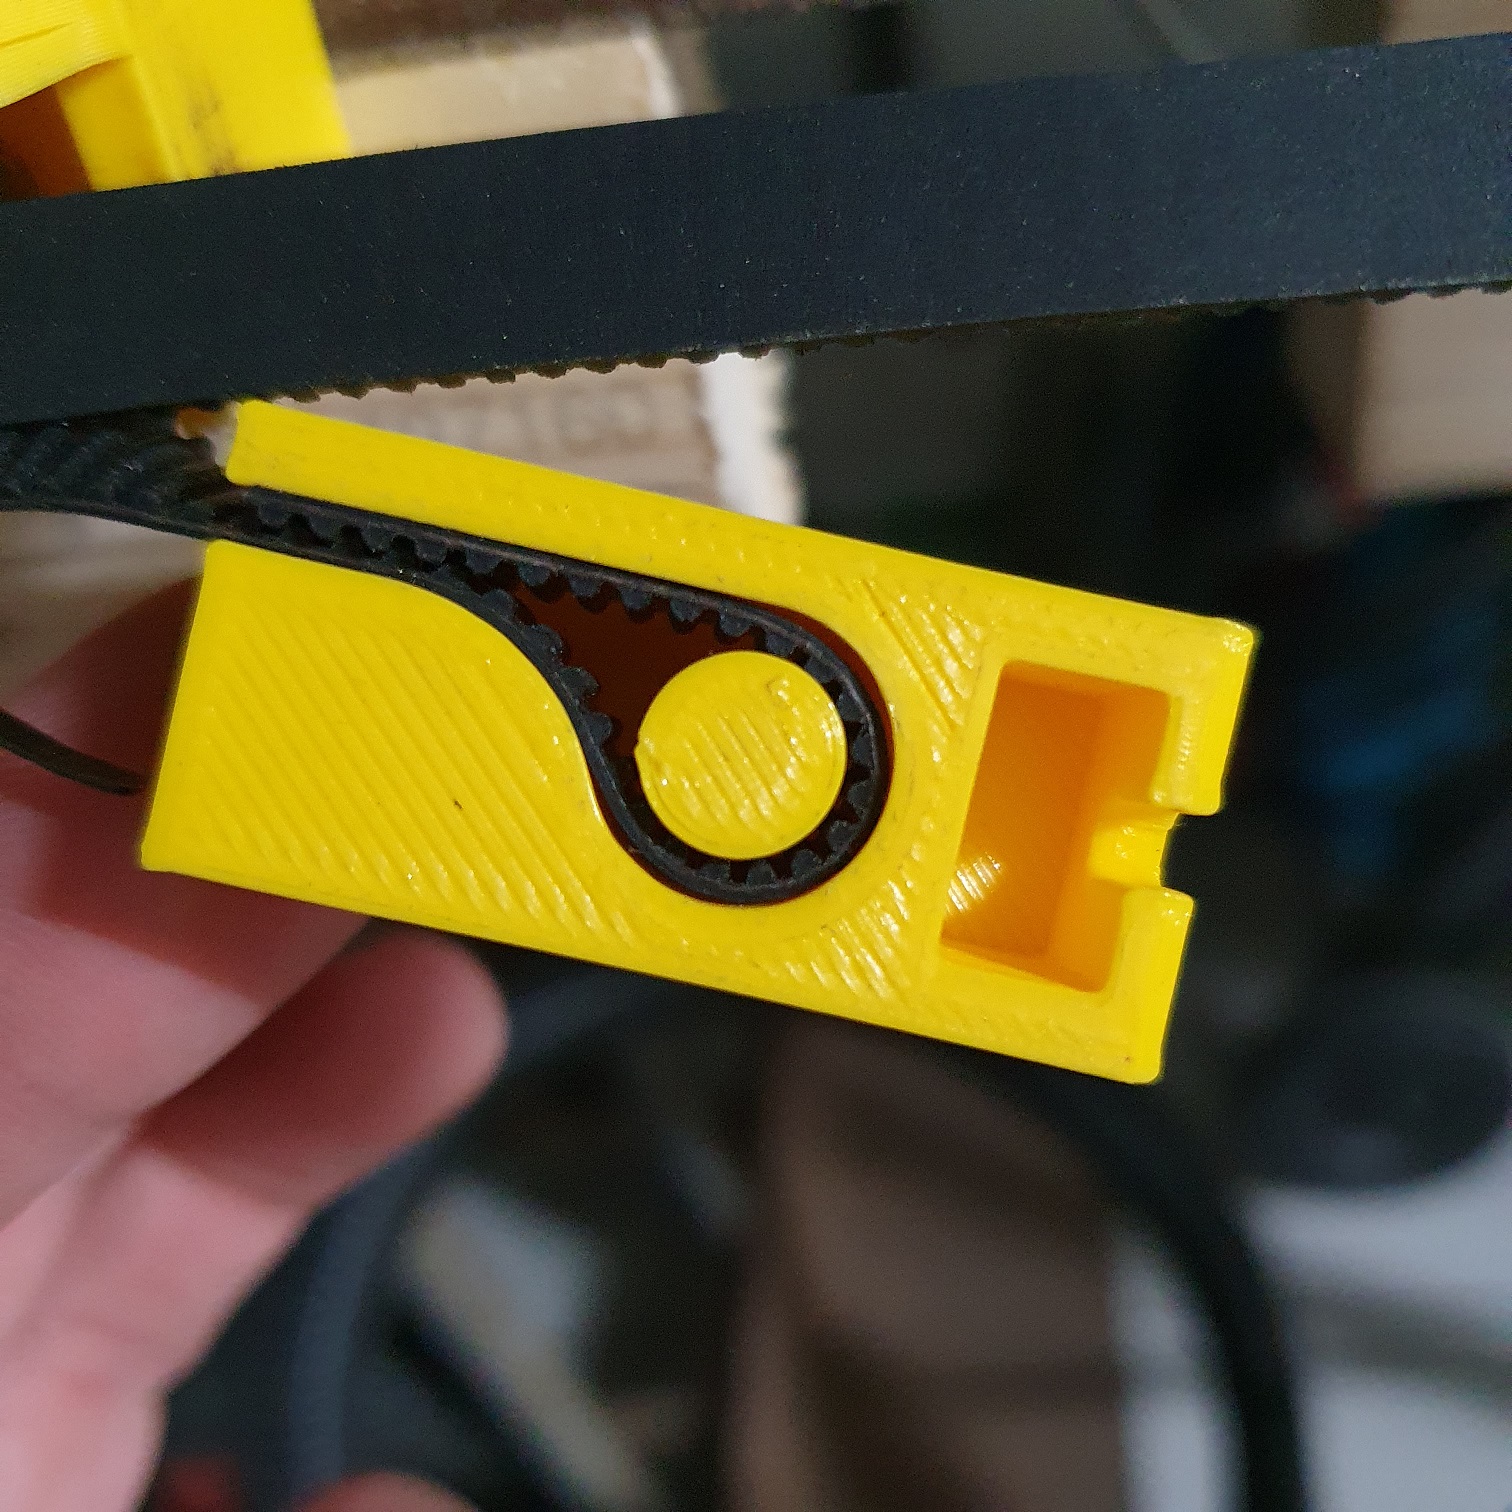

I am looking forward on installing the following piece, it will replace the Y/X bridge with just 1 part. It´s solid as hell, and will make live easier as I don´t need to mount that many screws. However, I can´t just fit my tubes, as the Thingiverse note mentioned to heat the tubes and melt it in place. So that one will take some time before I will be installing it.
Maybe I´ll try to sand it somehow so I can just slide it in and secure it with a bolt, as that would make me feel more comfortable.
Now I only need to find the time to install those parts.
Anyways, I wish you all a Merry Christmas!
You got a full parts kit, printed parts and hardware?