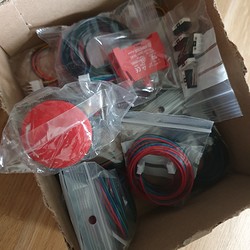
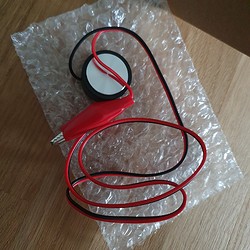
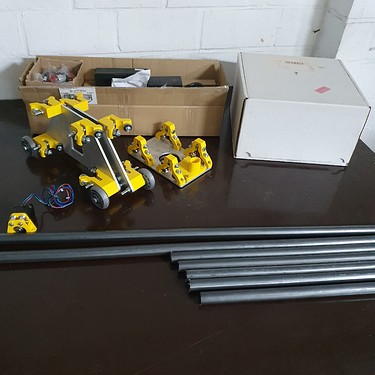
So, last week I received some goodies 
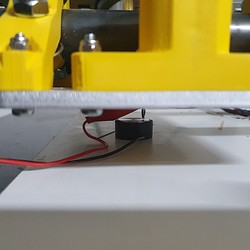
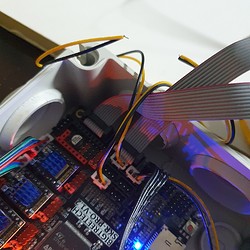
I ordered some wiring, end stop sensors, etc. The basic stuff to make my build complete.
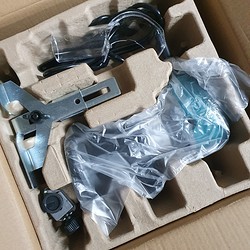
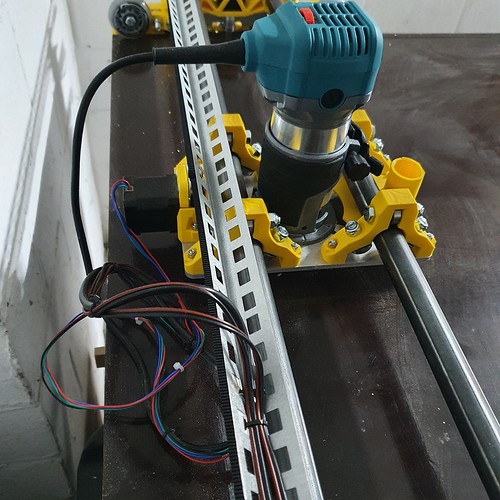
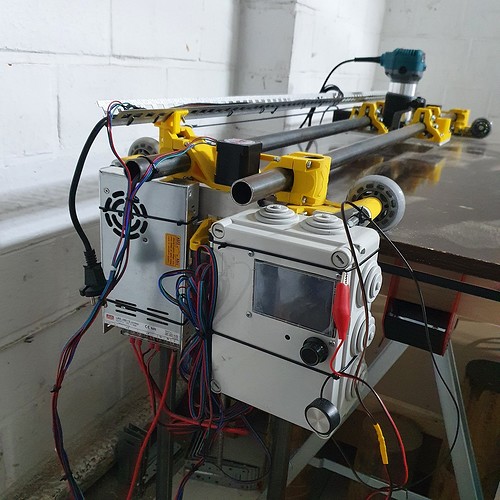
I also received the router, I decided to go with Katsu as it will probably be attached permanently. So it wouldn´t have made sense to order all the additional parts. It was a pleasant unpacking up until the moment I noticed the rust on one of the screws.
Let´s hope that´s the only thing wrong with it:)
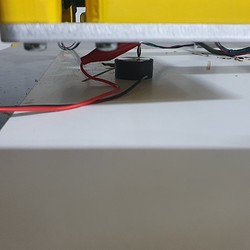
This damn thing makes a lot of noise, so it will be replaced in the future for sure.
Otherwise my wife will kick me out the house 
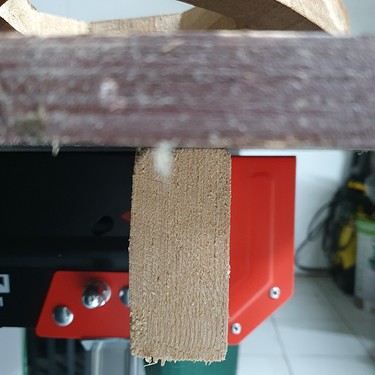
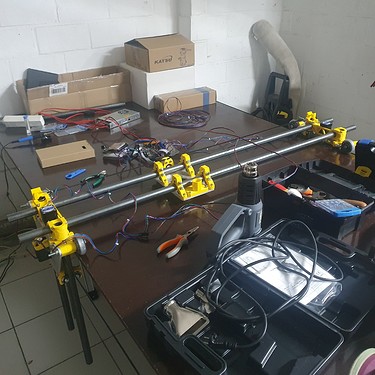
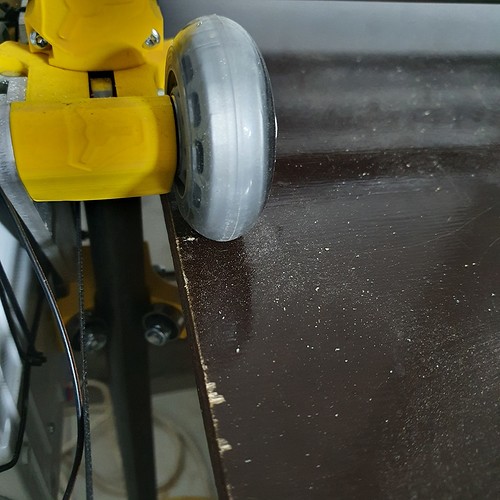
After reclaiming my workspace I set up the sawhorses, but I´ll need to make an adjustment later as there´s a gap between the beams and the spoilboard. That makes the workspace uneven for now. But it´s a start 
I went to the metal shop this week too, but I was unable to get RVS steel in 25mm. They only stock it in Alu but read in the forum somewhere that would be a bad idea. So I took the welded steel tubes instead. The downside is that they already show some minor corrosion after cleaning the lubes from them. Let`s see how this continues.
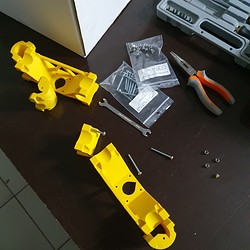
During assembling I noticed that something big is missing in the instructions. It did not tell about the many swearing involved. 
I accidentally dropped one of the heavy steel tubes directly on my weak ankly. Not fun!
That was caused because I needed to use pliers instead of the right tools. It felt like mission impossible.
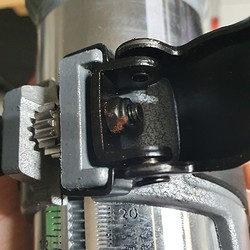
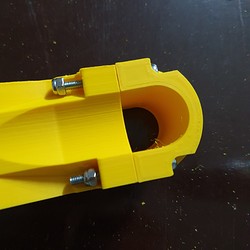
In the end I managed to get them installed but one side of the XZ main doesn´t sit completely flat on the YZ rollers. Because of the little accident I dediced to ignore it for now.
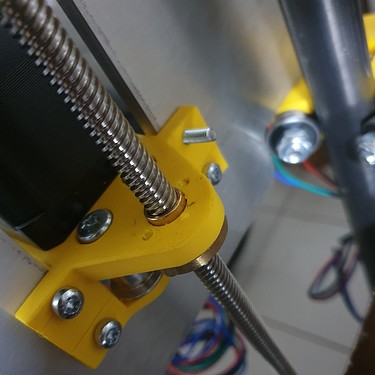
When installing one of the steppers, a screw broke because it didn´t allign perfectly. I was lucky it already fitted in far enough so it´s more like an optical issue. I should have threated it before installing, but was in a hurry.
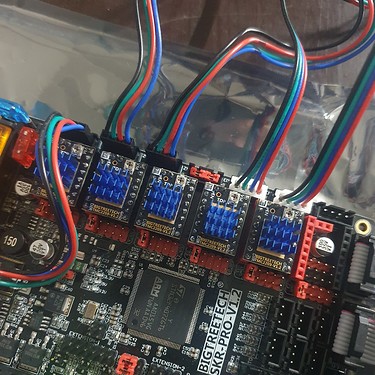
Next stop was extending the stepper wiring, and installing the correct connectors.
It was a bit confusing because 2 wires had to be swapped (red is blue, blue is red).
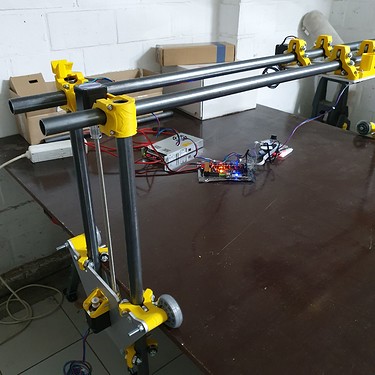
I could´t wait any longer to power the device, so I lifted the Z axis. Yes, I am sure it is way to long (40cm) but that´s something you conclude after assembling, specifically if you have zero CNC and lowrider experience  So next time I would use shorter tubes.
For me it was funny to see that, without lubrication, the Z remained its position once unpowered. The moment I added a lubricant, the Z dropped down immediately after powering down. The momentum creates enough power to repower the CNC based on current the steppers generate. So I might experiment with a solution to avoid power to flow back in the system. It could damage things.
So I kept building,…
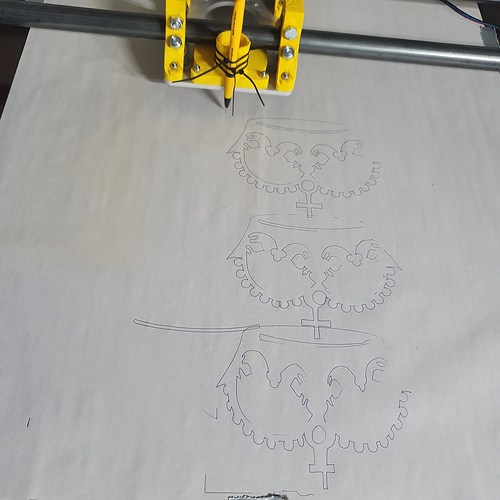
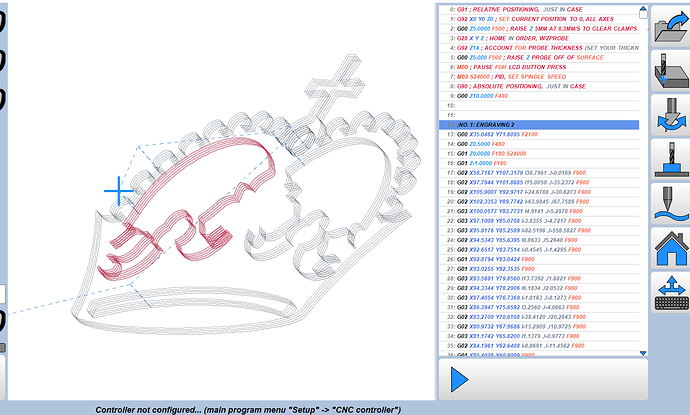
And finally I downloaded the test crown, installed a pen, and watched the magic happen…
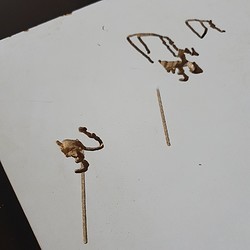
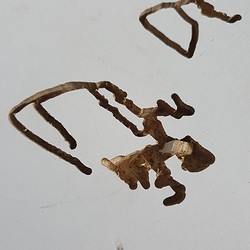
During the first run, the pen pivoted all directions, so I made a sturdier connection, but when the pen did not touch the paper, i pushed it a bit to hard so it misalligned.
Third run was great, as it´s a perfect drawing, except for the place where my spoilboard isnt´level…
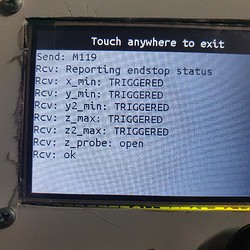
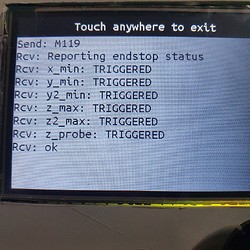
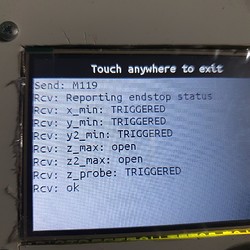
Now I need to figure out what would be the best endstop solution. If anyone has an opinion about this, please share! I found some info on the forum but it´s hard to compare the solutions and figure out the best way. Some people seem to add a stop on the upper part of the Z, other on the bottom side.
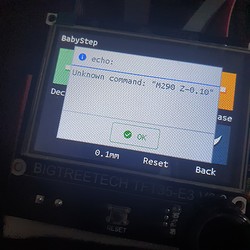
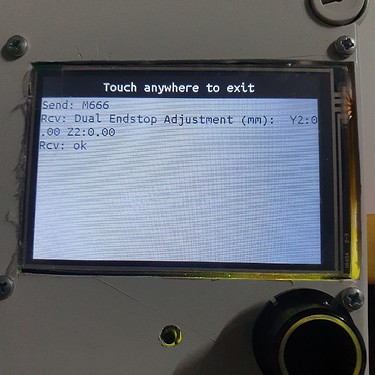
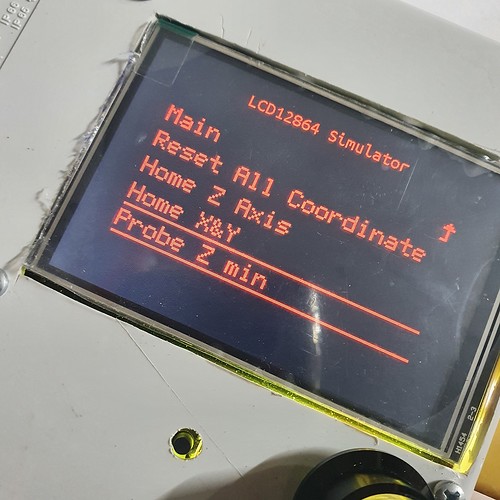
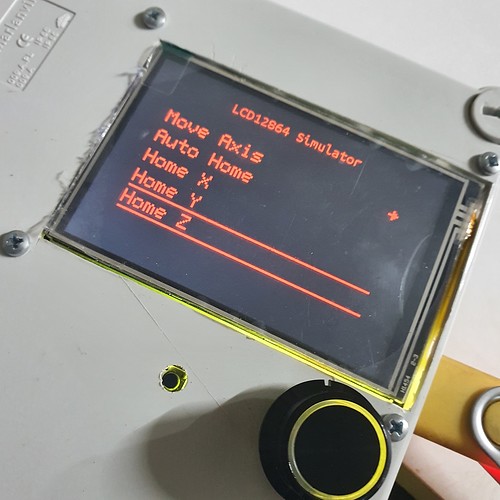
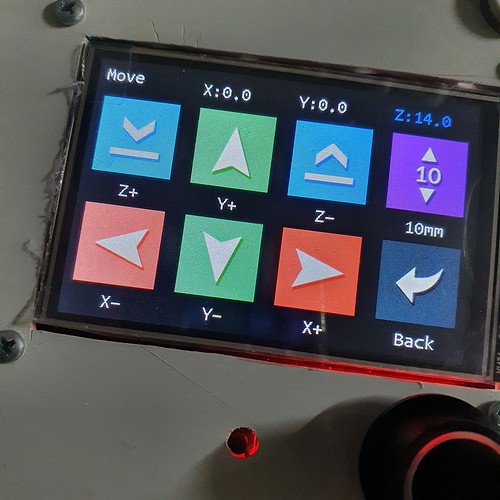
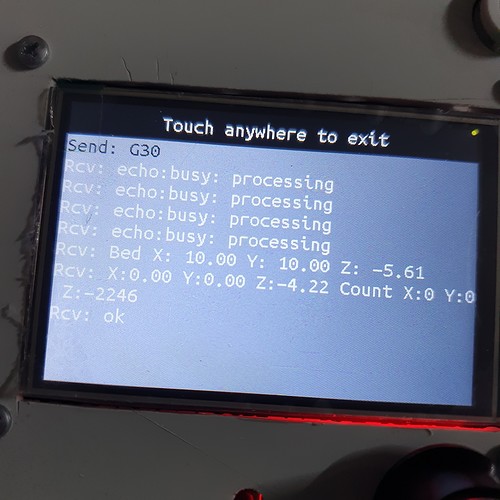
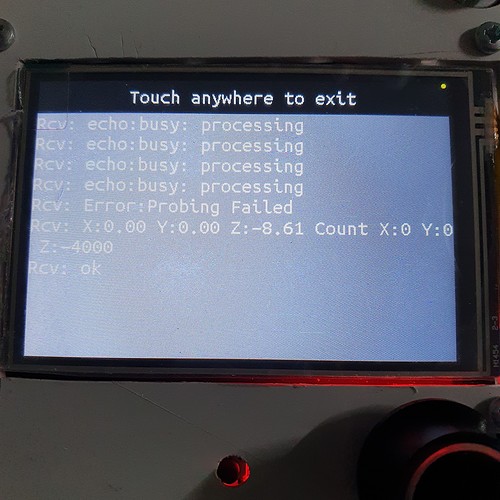
I also wonder if it is normal that I cant use the “baby step” during runtime. When using the menu it throws an error. That´s to bad because it would have been a good solution to fix my pen height.
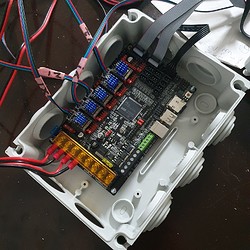
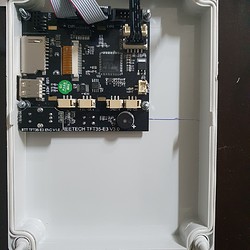
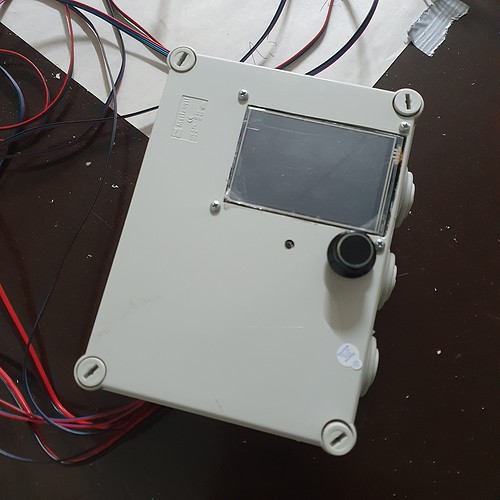
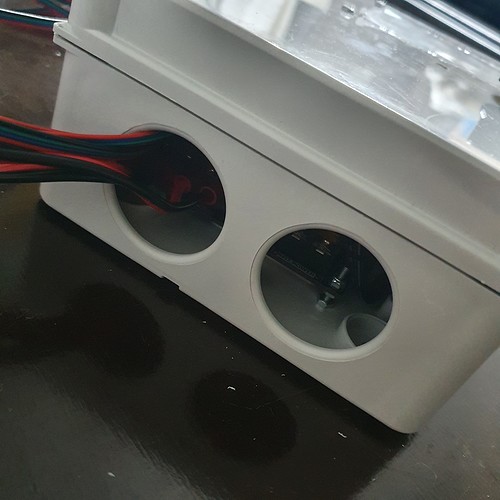
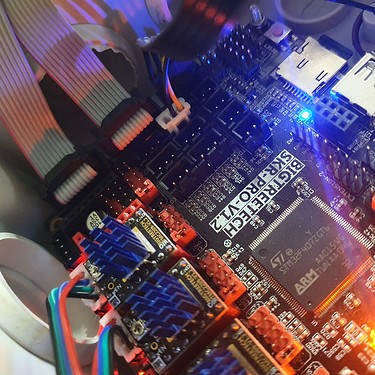
Anyways, next on the list is printing the TFT housing, install the endstops, mounting the SKR and power supply (I´ll be using Dan´s solution probably). And when that´s done it will be time to install the Katsu router too.


 Some advice would be appreciated:blush:
