So, life got in the way and had to put this project on hold for some time ![]()
use bees wax
I didn´t wipe down the tubes just yet, it is still on the “to do” list. However I noticed the corrosion is there, but very limited, so will dee how this evolves.
Few weeks ago I parked the Lowrider 2 in his corner so I could continue when time was right. Last week I tried to boot the LR2 but one of the Z motors refused to work. ![]()
So I returned the faulty stepper motor and installed a brand new one.
When ready to boot, I noticed some other stepper motor wires broke down. So I soldered it again, and this time I used audio wires. Looks like a much more solid connection then those thin stepper motor wires.
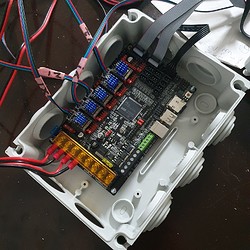
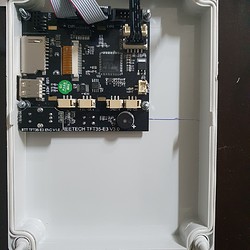
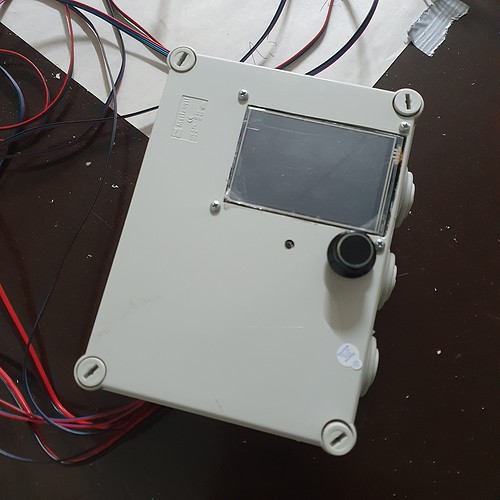
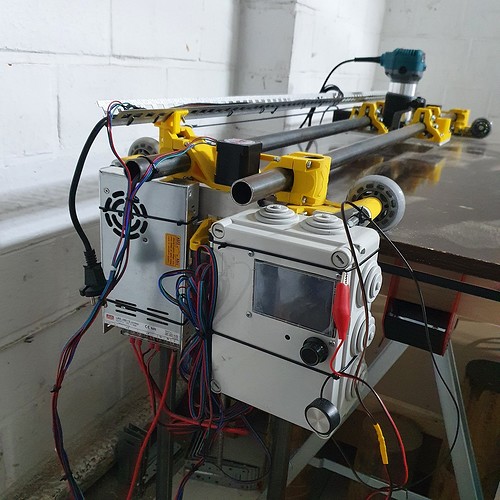
Not wanting to loose more time I decided to cut open an electrical box, to fit the SKR Pro and display. That was a job done in few minutes by just using a knife and a pen to make the markings where to cut.
The end result isn´t too bad, at least not for now. When I´ve used the machine some time I´ll upgrade it to a better solution.
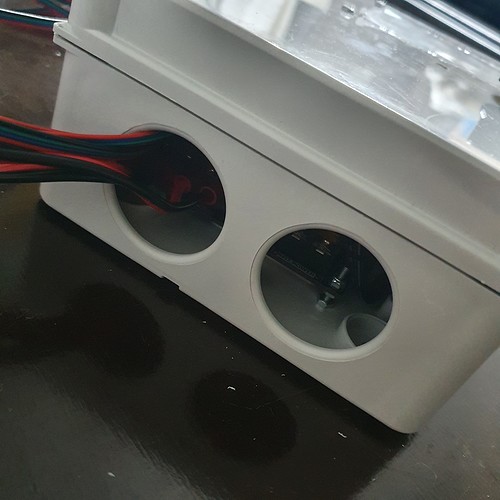
Reading that some users had heat problems, I made sure there´s a way for the air to flow, and to fit cables at the same time.
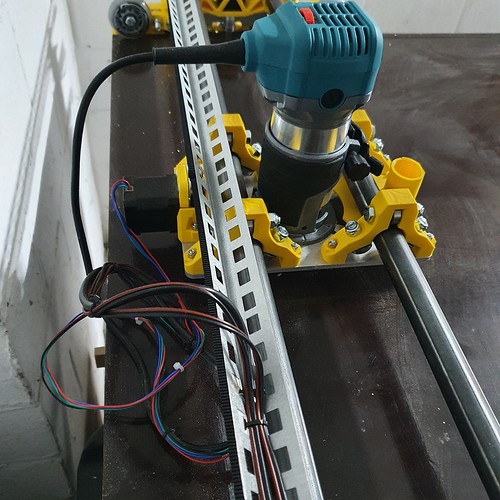
As I couldn´t find a properly sized alu profile for the Z cables, I used a profile for plaster boards. Again a cheap and quick solution to keep going.
The only issue I noticed this far, is that the wires can get stuck behind the stepper motor.
So either I have to properly strap the wires, but can´t seem to find how to do this, or I´ll need to get an other solution.
An issue I´ve came across are those steel tubes for the Z axis. Somehow I am unable to get them square. I’ve loosened the screws, tightened them… none of the adjustments seem to do the trick. So I might need to invest in the Alu XZ main, so that they are always square.
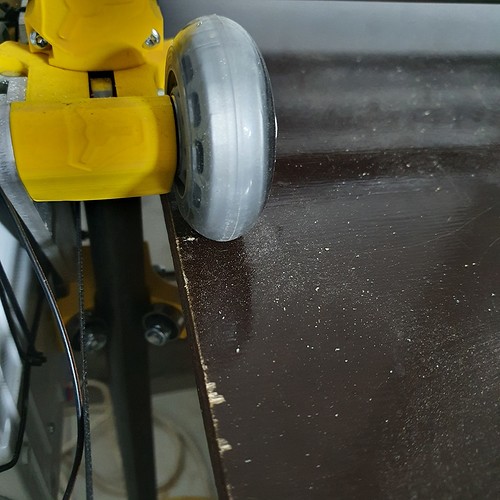
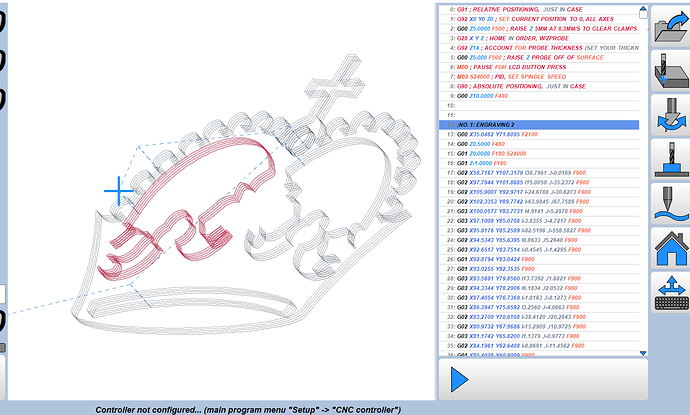
When making the drawing of the test crown, all looks good, however when running a longer distance on the table, I notice the wheels go sideways and get close to the edges. I hope/think that´s caused because the tubes aren´t square.
I still need to come up with a way to fit the End Stops, so decided that -for now- I could attach the power supply and SKR control box to the side quickly using some straps.
This way I could finally try to cut something.
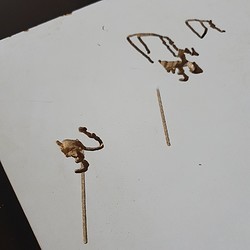
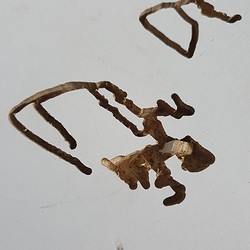
So after multiple simulations, I decided to cut the crown test image 5mm into a piece of scrap. Well that didn´t work out like I hoped…
The LR2 skipped steps and twisted all directions. So I tried once more, to get the same result. When measuring the depth of the cut, its ±13mm deep although I´ve set up estlcam for only 5mm.
I suspect that the piece of code (z-probe) I grabbed from the FAQ contains an error. I modified this to respect the heigth of my Z-probe (14mm).
If someone see the reason why this happes, pleas let me know!
To me it looks like it plunges directly to 14mm to cut, instead of doing layer after layer.
And it also looks like it doesn´t respond to my Z-Probe.
When lifting the Z to the max, and running the code with the probe attached, it looks to ignore this. It just goes down for some end, no matter if I touch the probe to the bit or not ![]()
