Man that sucks. But at least you have replacements on had ready to go. Its a pain to have to take it all apart and change but you’ll be happy you did.
Yeah, I knew it was going to come one day, but didn’t expect it so soon.
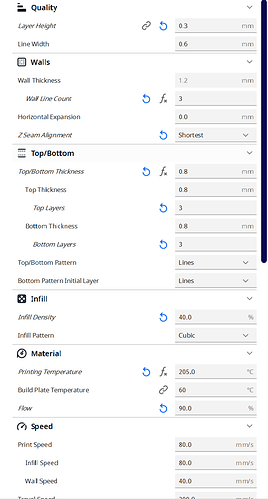
I probably should have printed them with more infill. I think I only went 50%. It might have more to do with the screws not grabbing though than the plate actually warping. It’s hard to tell.
But, at least I was smart enough to make YZ plates a priority job ![]()
Could be the number of walls you used as well. That seems to have more effect on screws than infill does.
Yes that is very good! Now you’ll be even stronger and you can make you some aluminum ones!!! Man If i ever win the lottery I’m buying some half in plate and making my own LOL
I think I used 4-5 top and bottom layers at 0.36
Wall line count is different than top/bottom layers. Might be called something else depending on the slicer, Cura calls it Wall Line Count
yeah, you’re right. I was just thinking the face of where it screwed into it. I may have only had 2-3 Perimeters. I just used whatever my default profile was and didn’t really mess with any strength tuning.
Originally, I had planned for them to be only temporary. Then I decided to wait when I realized how much I had to disassemble to change them lol
AWwwww bummer dude.
yeah…minor setback, but I think in the end I’ll be better off. It was only supposed to be a means to an end anyway.
And I was already worried in the back of my mind if it was going to perform as well with the printed plates, so might as well go ahead and get that sorted now, before it’s fully squared and ready to go.
Ouch, painfully accurate ![]() Copied and saved for future use…
Copied and saved for future use…
Alright….that’s #1 done…
I thought I was going to cheat the system a bit….but you really do have to disassemble everything to swap plates
Looking good!!!
Ok. Both plates replaced and looks better, but I’m still have a little bit of an alignment issue…
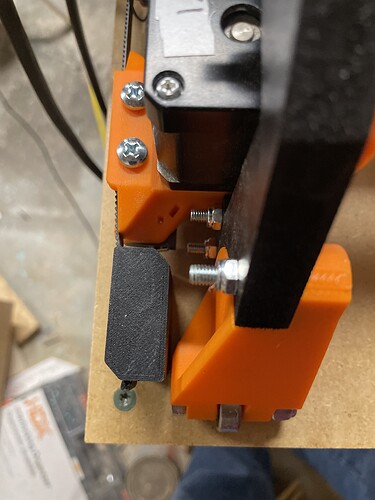
It’s like my YZ plates are not parallel with each other still.
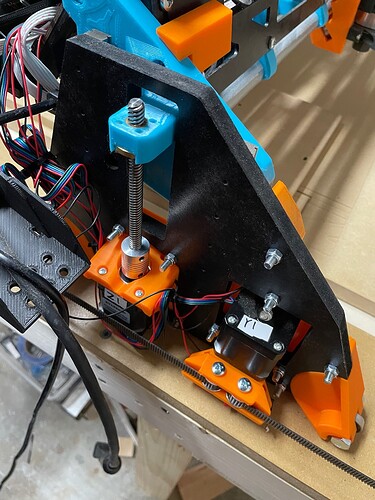
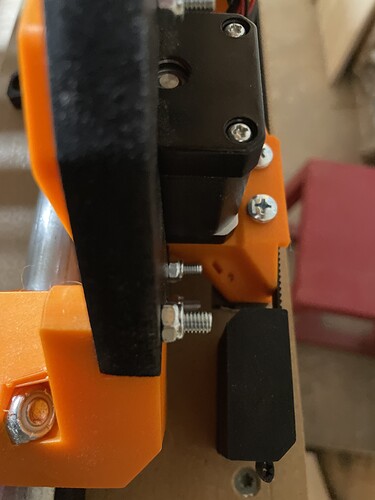
This one has more outward pressure on the belt than I think it should.
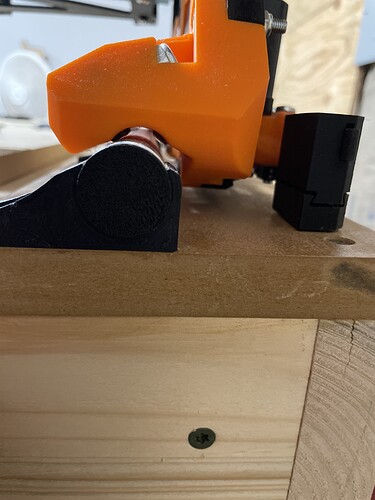
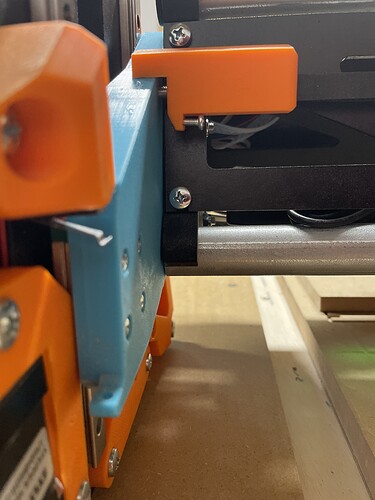
And this one is not riding square on the rails….
And has some outward pressure
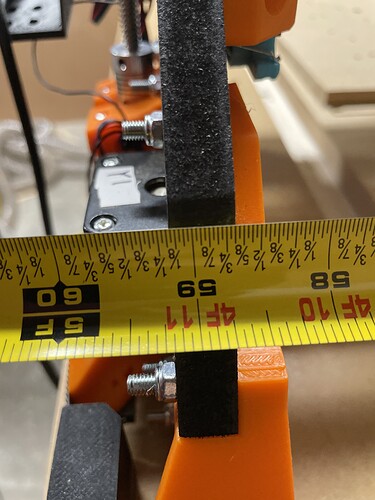
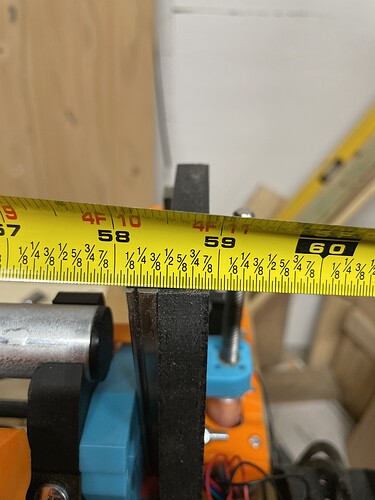
Checking measurements…
I’m not real sure what to check or where to start…
Are the MDF plates wider than your printed plates? Never had the printed ones so I’m not sure. If they are then that will cause your push out on the belt. You’ll need to adjust your X0 side (non rail side) over just a touch to make up for the extra width.
As far as it not being the same measurement that could be your outside 2 braces not sitting square on the tubes. or you have one/both tubes just a touch too long.
Plate thickness is the same.
It’s hard to get a tube measurement right now, but I was pretty careful to make sure they were both exactly 56 1/4”.
Its usually better to cut them a touch short also verify all of your struts are the same length
Struts being wrong is the next thing I was thinking. I can see that the XZ plate is kicked out, but the screws are as tight as I can get them in the brace and I can’t move them because the strut plates are there.
Not sure if that comes through in the picture or not.
Maybe I’ll just unscrew the end braces from the struts and see what happens…
Know anyone that can make me some aluminum ones?!?!
I sure do. Cover shipping and ill mail you a set tomorrow. Assuming thats ok with @vicious1
Edit. doing too many things at the same time. I was looing at your xz plates and thinking those in aluminum. Id hate to see how much it would cost to ship struts LOL
I tried unscrewing the ends of the strut. I can move it now, but it just goes right back to kicking outwards
