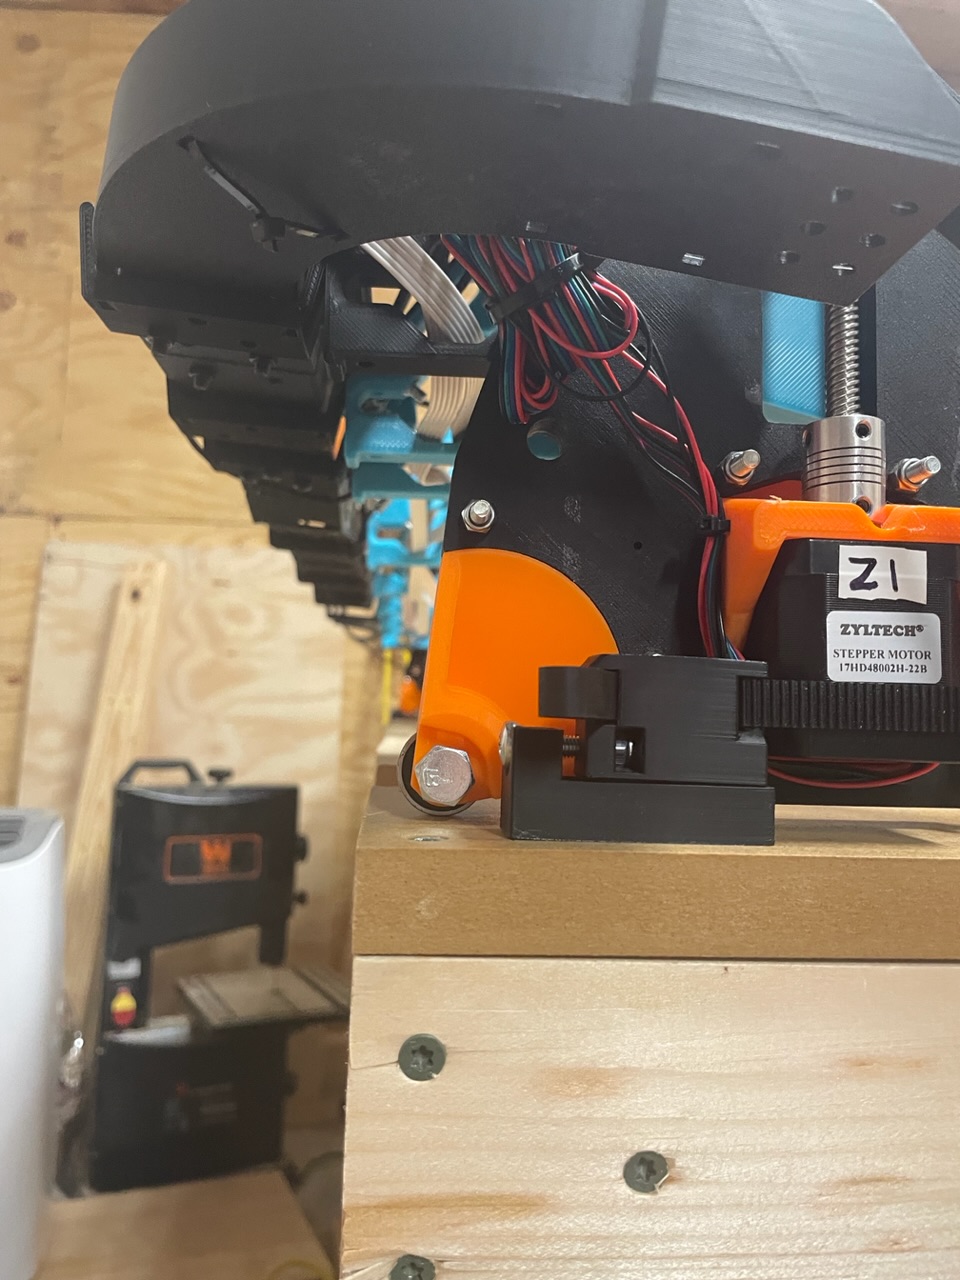
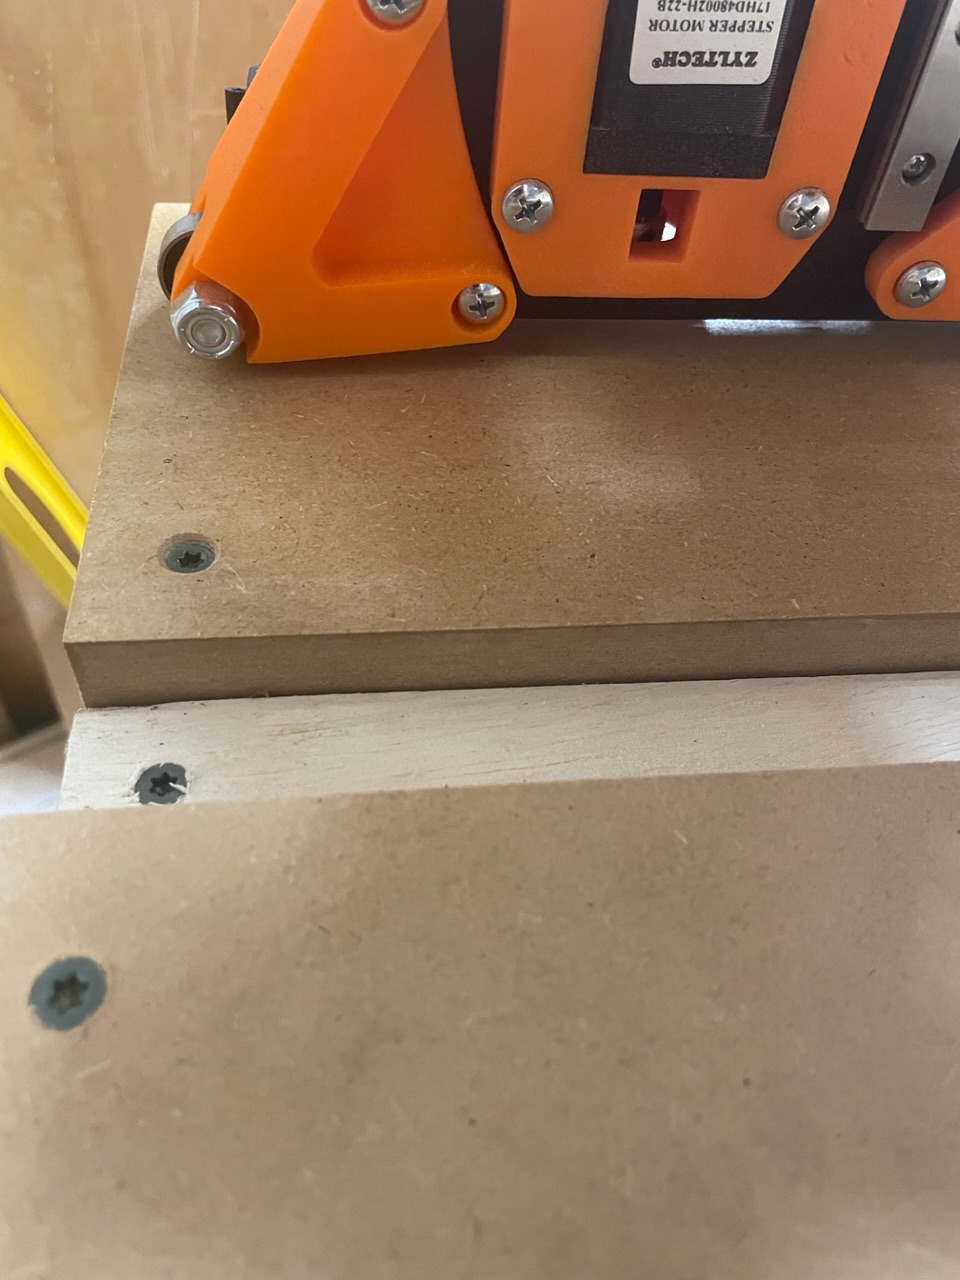
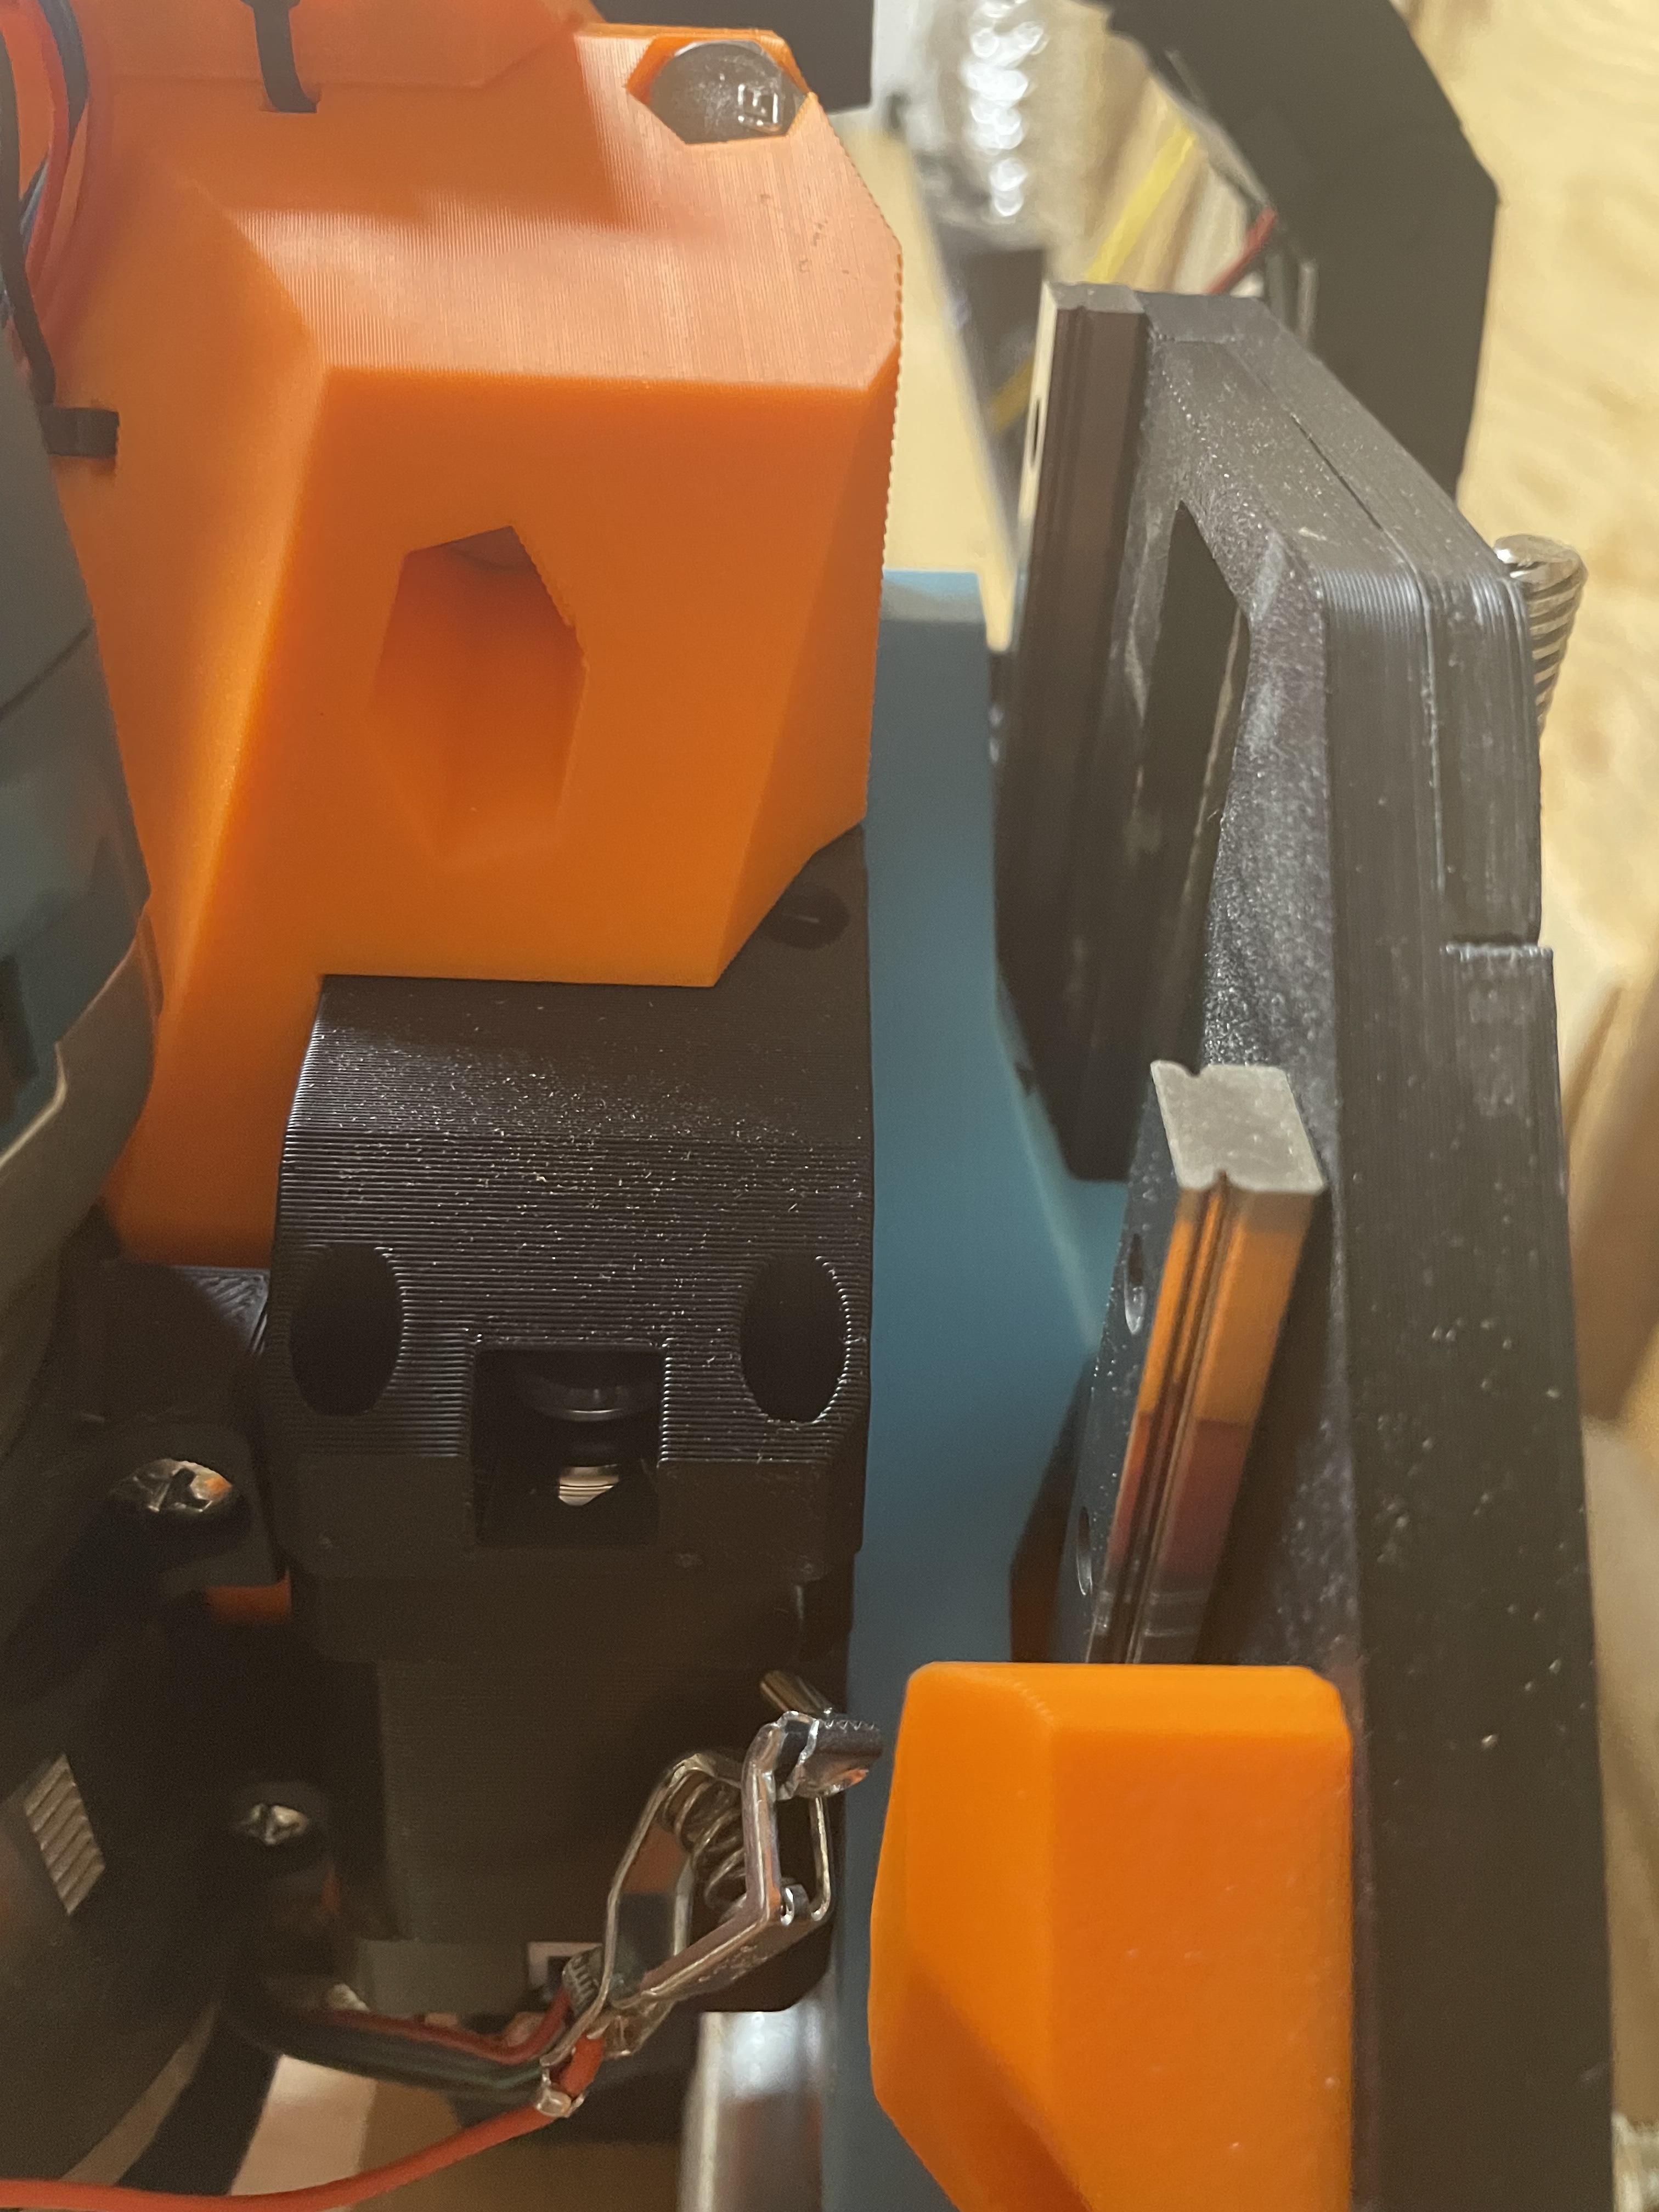
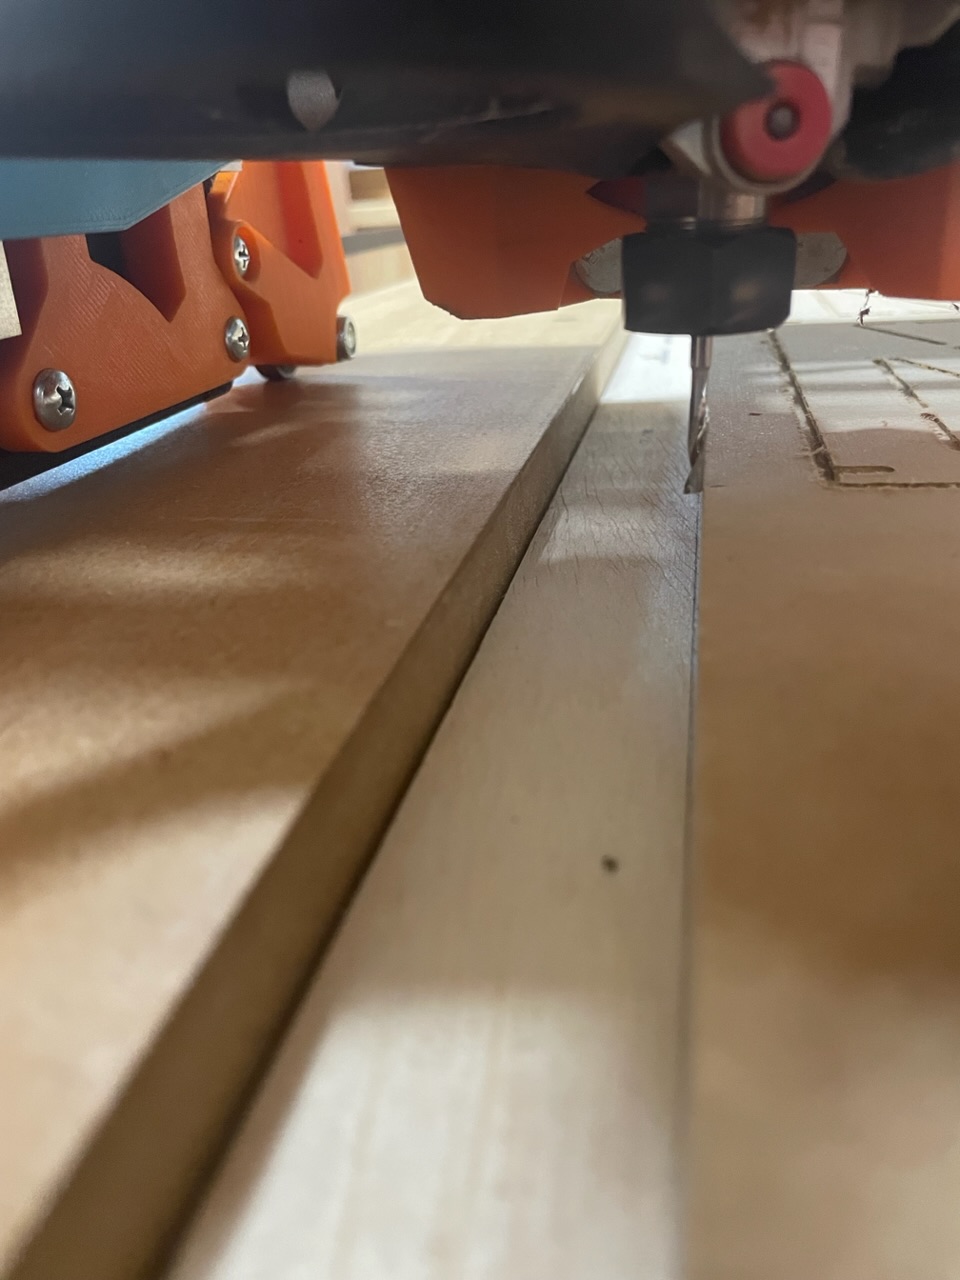
Ah, I think I have it set to have the hose hangers at the edge of the table at Y max, not the wheels. That should explain it.
I didn’t figure you would. I was more concerned the calc was wrong.
Ah, I think I have it set to have the hose hangers at the edge of the table at Y max, not the wheels. That should explain it.
I didn’t figure you would. I was more concerned the calc was wrong.
For X, it is 1248 exactly….impossible to get it any closer lol
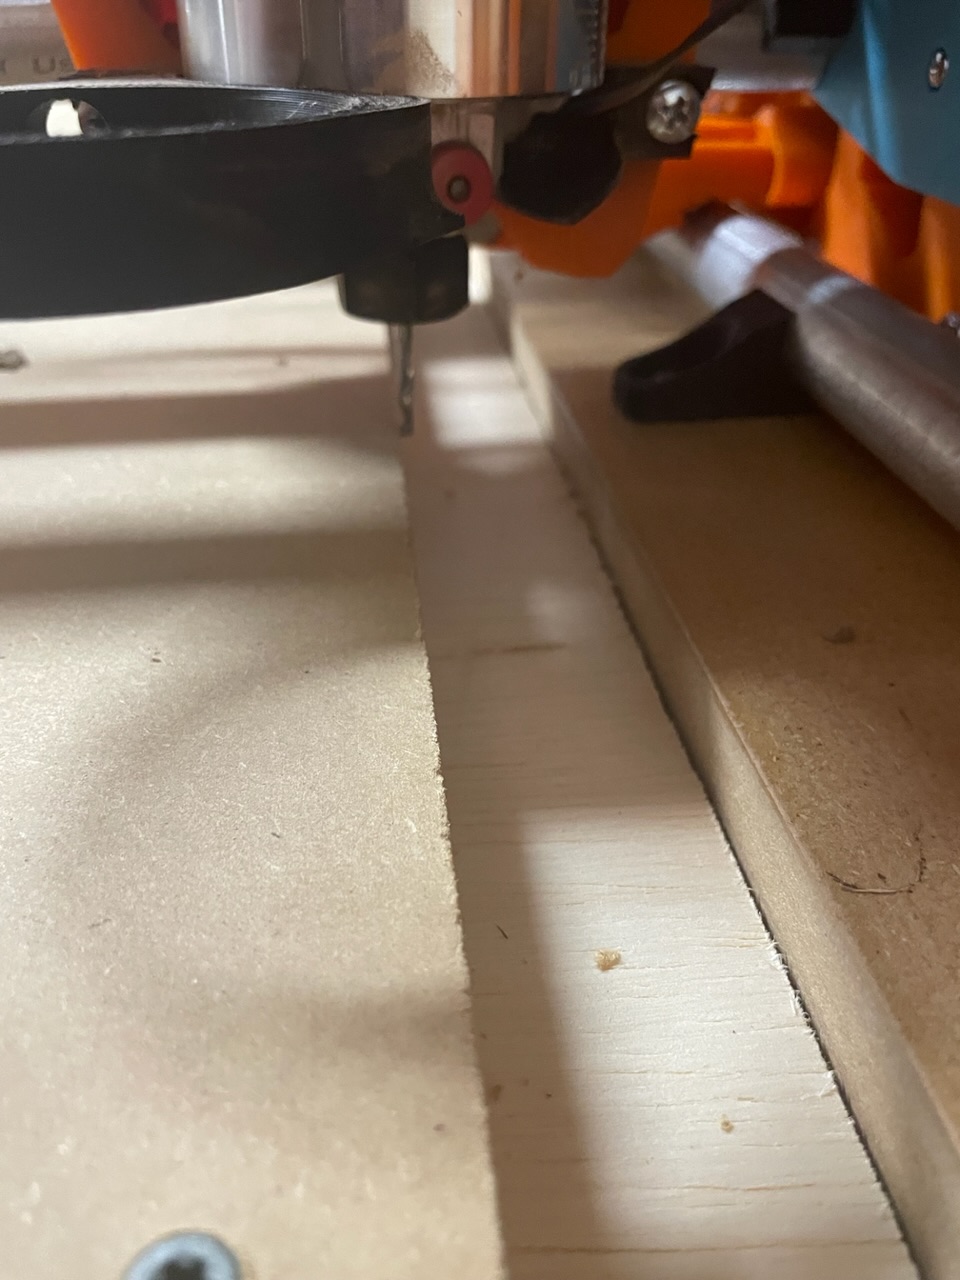
And my 1/8” bit sits just on the outside of 49” MDF
For me, I only wanted to make sure I had at least 48". The extra 1.25" in the calculator was just to make sure I could address full plywood sheets. For anyone wanting full MDF, I might go slightly wider to be safe
Looking good!
Alright…is it dirty enough yet to count?
All 3 struts cut and painted. Will try to get installed tomorrow
Yep, that counts as “Dirty Enough” — But I don’t recommend getting a t-shirt made that says that. LOL

The guy that used to do my concreting and excavation work had a company called “Dirty Deeds”.
NEVER search for his number on the internet. You have been warned.
YES!!!
The more I look at the Jackpot, the more I want one… at least for a laser. -_-
The more I look at everyone popping lasers onto their LR’s the more I’m convinced that I want a stand alone laser! But that doesn’t mean I don’t want a Jackpot too!!
I’d use my old Primo as a laser. I have got 6mm pulleys and belts that I ordered for the Burly, but then the Primo released. With a laser it should not matter whether they are 6mm or 10mm. I’d only need the Jackpot and five motors. And a laser… And space… Damn…
I have a diode laser, but I’m really in need of a CO2 laser.
I’ve been researching some DIY builds for those.
But I would be much more inclined to jump in if there was a properly documented V1 designed DIY CO2 laser …. hint hint….cough cough (@vicious1)
Sounds like plenty of demand for lasers…
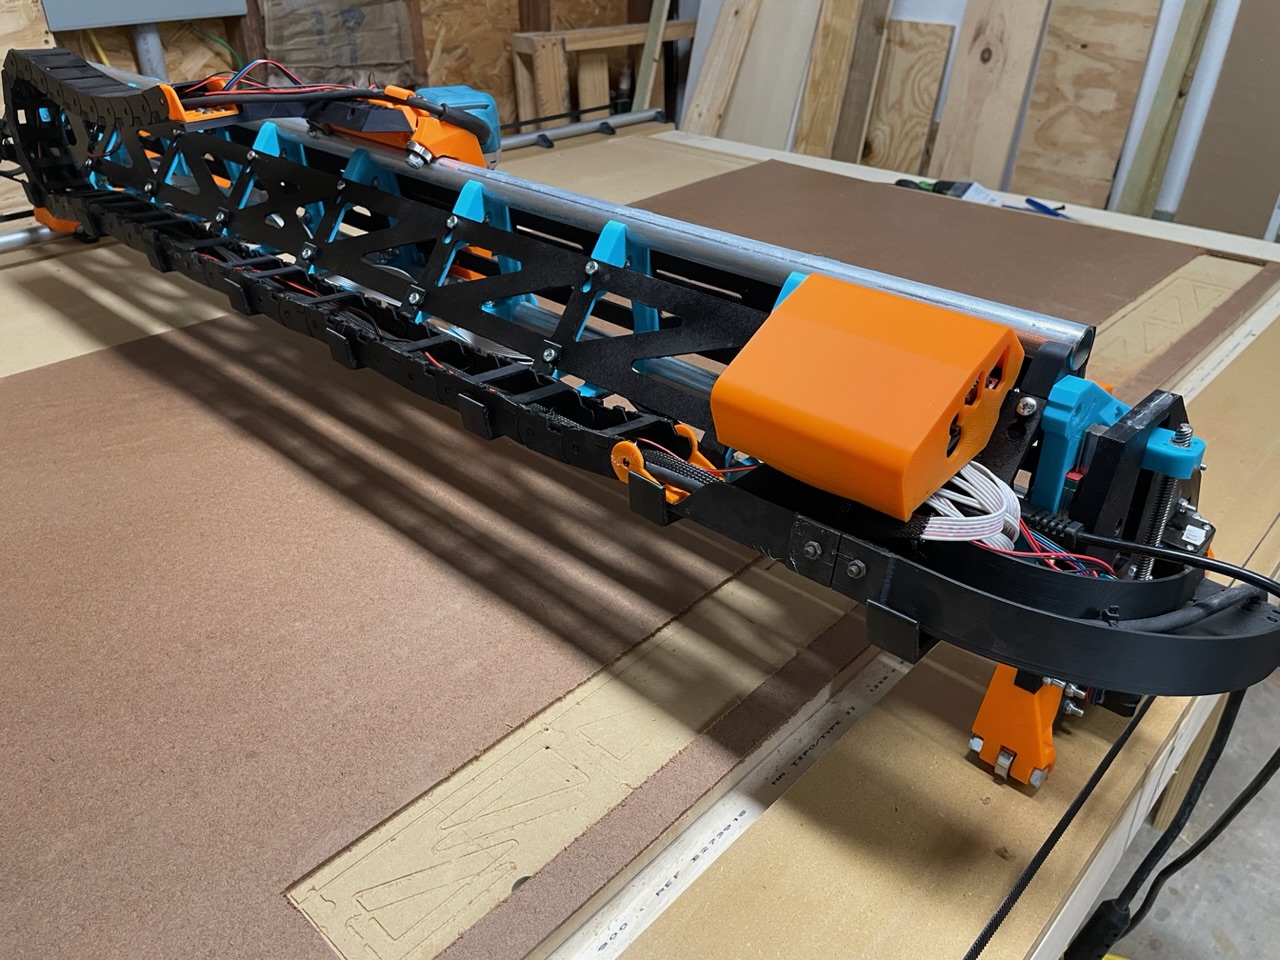
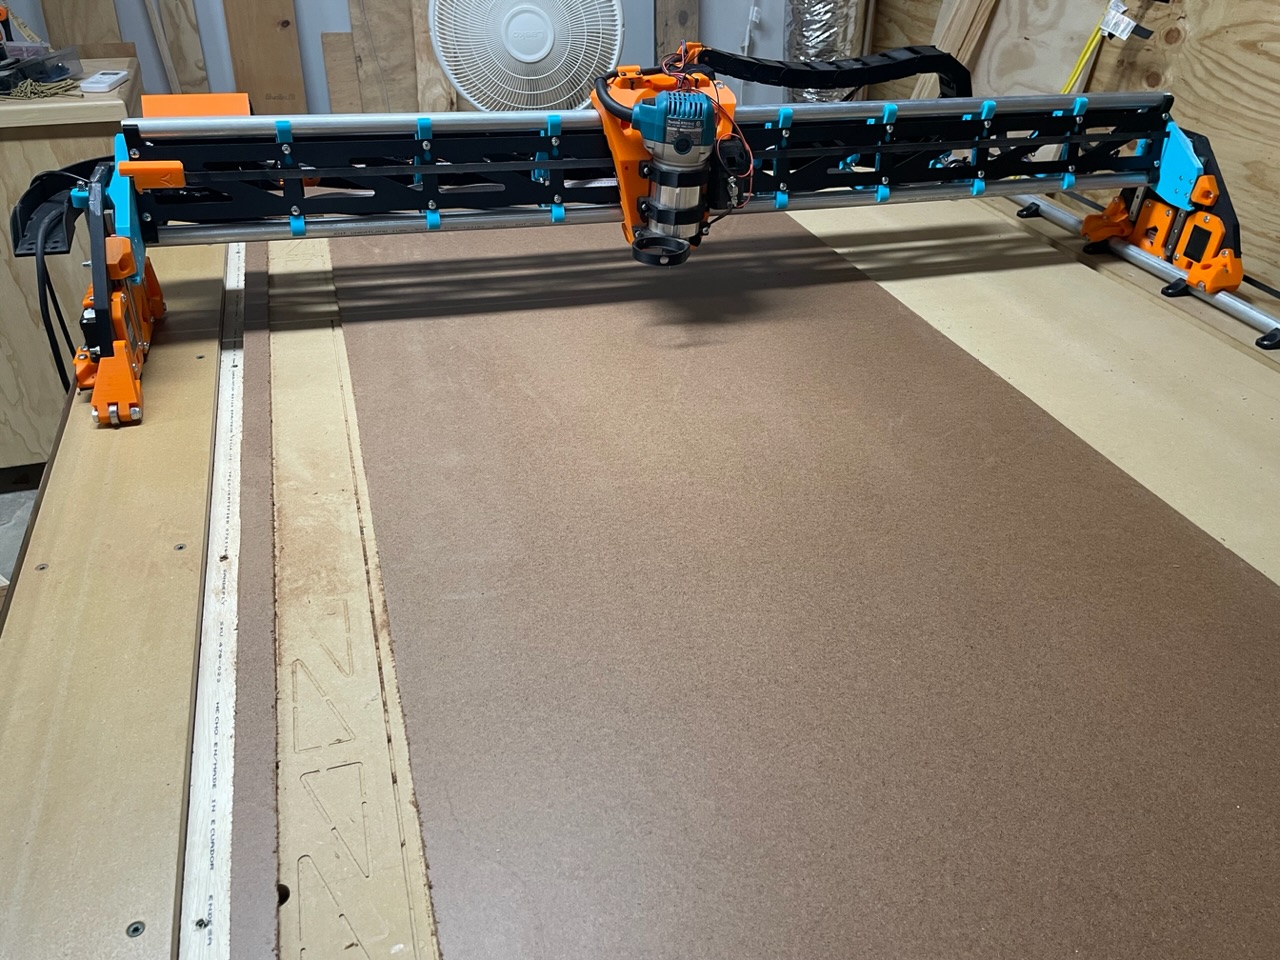
Ok. I think we can call it “done”
“Done” in the sense that all things required are complete.
Next steps:
Upgrade firmware to 3.7.8
Re-adjust belts
Squareness tests and adjustment
Cut YZ plates from 1/2” MDF in case these printed ones ever fail 
Surface spoil board
Although it is “done”, I still have some pending modifications waiting to be done and will update here if there is anything interesting.
Next changes to be made:
Build power into table
Y cable drag chain
Add SSR to control spindle power
Kinematic tool holder for drag knife and likely future laser addition
Integrate with dust collection
Originally considered making a decorative front strut plate, but I’m not so sure I can convince myself to take that off and have to re-install it in the future 
Will also make a post a little later with some learnings/considerations that may help future builders
Nice! Rockin’ and rollin’!
I can’t even work out what colour to print the thing in the time you built that! Well done!
I really like those side covers you are working on…it was hard not to wait for some niceties like that, but once I started I couldn’t take it not being functional 
They’ll be an easy retro fit for timber plates (just a screw fitting) but a bit more of a pain for metal or printed ones where you have to use bolts through the rail mounts. I haven’t checked to see if the top and bottom holes are accessible without dismantling - maybe they are!