I’ll make another attempt and set the speed minimum to 1 and the max to 35. What speed setting is lightburn using for the text when making the words on the test plate?
What speed setting is lightburn using for the text
I assume you are using Lightburn’s Material Test Generator to create the tests. Personally, I’ve always created my tests by hand. My thinking at the time I made the decision is that, if I created the tests myself, I get fully editable Lightburn files that I can personalize for each situation. But taking a closer look at the generator (to answer your question), I see I could have saved myself some time with some of my tests.
As for the laser settings used for the text, click on the button that says “Edit Text Setting,” at the bottom of the dialog to see or modify your text settings. You want to click on both the “Edit Material Setting” and “Edit Text Setting,” and modify the settings as appropriate. It appears they default to the last values used for the 00 and 01 colors, which may include things not appropriate for the test you are trying to generate.
1 Like
Robert- how fast are you a able to push the laser for engraving?
On my skr pro board, e40 module, i engrave at 35mm/s before it starts losing steps. My business logo takes 11 minutes (25x90mm) but a 12x18 engraved holiday platter takes 4 hours… uuggh.
All my tile engravings were done around 35mm/s. I can go faster without losing steps, but the quality of the image drops. I’m not sure what the problem is, but I suspect some sort of resonance issue. I too wish for more speed, but I spend a lot of time in my shop area on other projects, so I just keep the laser running.
Appreciate the info. That ties in with what I see.
At some point, it moves too fast for the laser dot to damage the wood… which makes sense, but then you see the neje 4 max pushing 500mm/s and doing great engravings.
For me- I’d love to get more throughput- the thought of doing many more of these 4 hour jobs isn’t making sense for me if I can spend 1 day instead of 5 batching out 8. More time on making the bigger ticket items.
Doing the tiles, I was only at 35% power, plus wood treated with borax is even more sensitive, so (at least initially) the limiting factor is more about the machine and/or firmware. There is some indication that GRBL is a better firmware for laser work. For a Primo, a lot more mass than is necessary for a laser is being pushed around.
which makes sense, but then you see the neje 4 max pushing 500mm/s and doing great engravings.
I would get independent confirmation of any numbers associated with laser engravers. There is so much BS associated them. I just looked at the specs for the 4 max, and it says a max of 400mm/s, plus the laser module was the same one I’m using, so the material would have to be pretty sensitive in order to support anything close to 400mm/s.
Yeah, I think I’m done playing with the diodes honestly. They just seem to be completely surrounded in overinflated numbers.
Might save up for that 100w co2 I’ve had my eye on, instead.
2 Likes
Could you (or anybody that is able to) do a video of how to:
- setup (&connect) the laser to the LR3 / SKR Pro 1.2
- how to do the first testing cuts
I would even pay you 50 Euro / $ for it.
I have the LR3 & SKR Pro 1.2 as well and I’m searching for a tutorial like this since months. Was hoping @DougJoseph will do something like this, but as far as I can see this project is on ice since at least one year.
So I would really appreciate if you could gather all the information you’ve got along the way in a video @JamochaTrilby and like I said I would even show my appreciation and send you some cash ![]()
1 Like
I was compiling info for a script for a video on this, and then along came the Jackpot, which, being FluidNC (GRBL compatible) is better at raster speeds for laser, and I switched to Jackpot. In the meantime, I’m happy to share the info I compiled for the script. The vast majority of the script was simply quoting @robertbu — he’s a treasure trove of info. Honestly, I feel somewhat guilty of how much of the script was just quoting him.
4 Likes
You are welcome to anything I post in any way you want to use it. Understand that I have one machine and one laser, so a lot of my advice is educated guesses based on how I think things work. Fortunately, those guesses pan out most of the time.
2 Likes
I don’t do videos, but I’m more than happy to help your through the forum. I’m sure we can get you up and running. One problem with a video is that it will be for one specific laser, one specific control board, and one specific wiring solution. These may not match your laser solution. As a starting point, you need to (perhaps with guidance from the forum):
-
Decide on a specific laser module. Not all laser modules are the same.
-
Decide how you are going to power the laser (same power supply as your Lowrder or a separate power supply).
-
Figure out a mounting solution for the laser. I’ve seen a couple of Lowrider laser mounts posted on the forum, but unless you buy the same laser, you’ll likely need something specific for your laser. The forum can help find you a solution.
-
If your laser comes with a companion board, you need to decide if you want to use it (for most lasers, it is not required), and if so, how you are going to mount the companion board.
As for the first cut, I (and I’m sure others on the forum) can also help you there as well. I highly recommend investing in Lightburn as a tool for creating the laser g-code.
1 Like

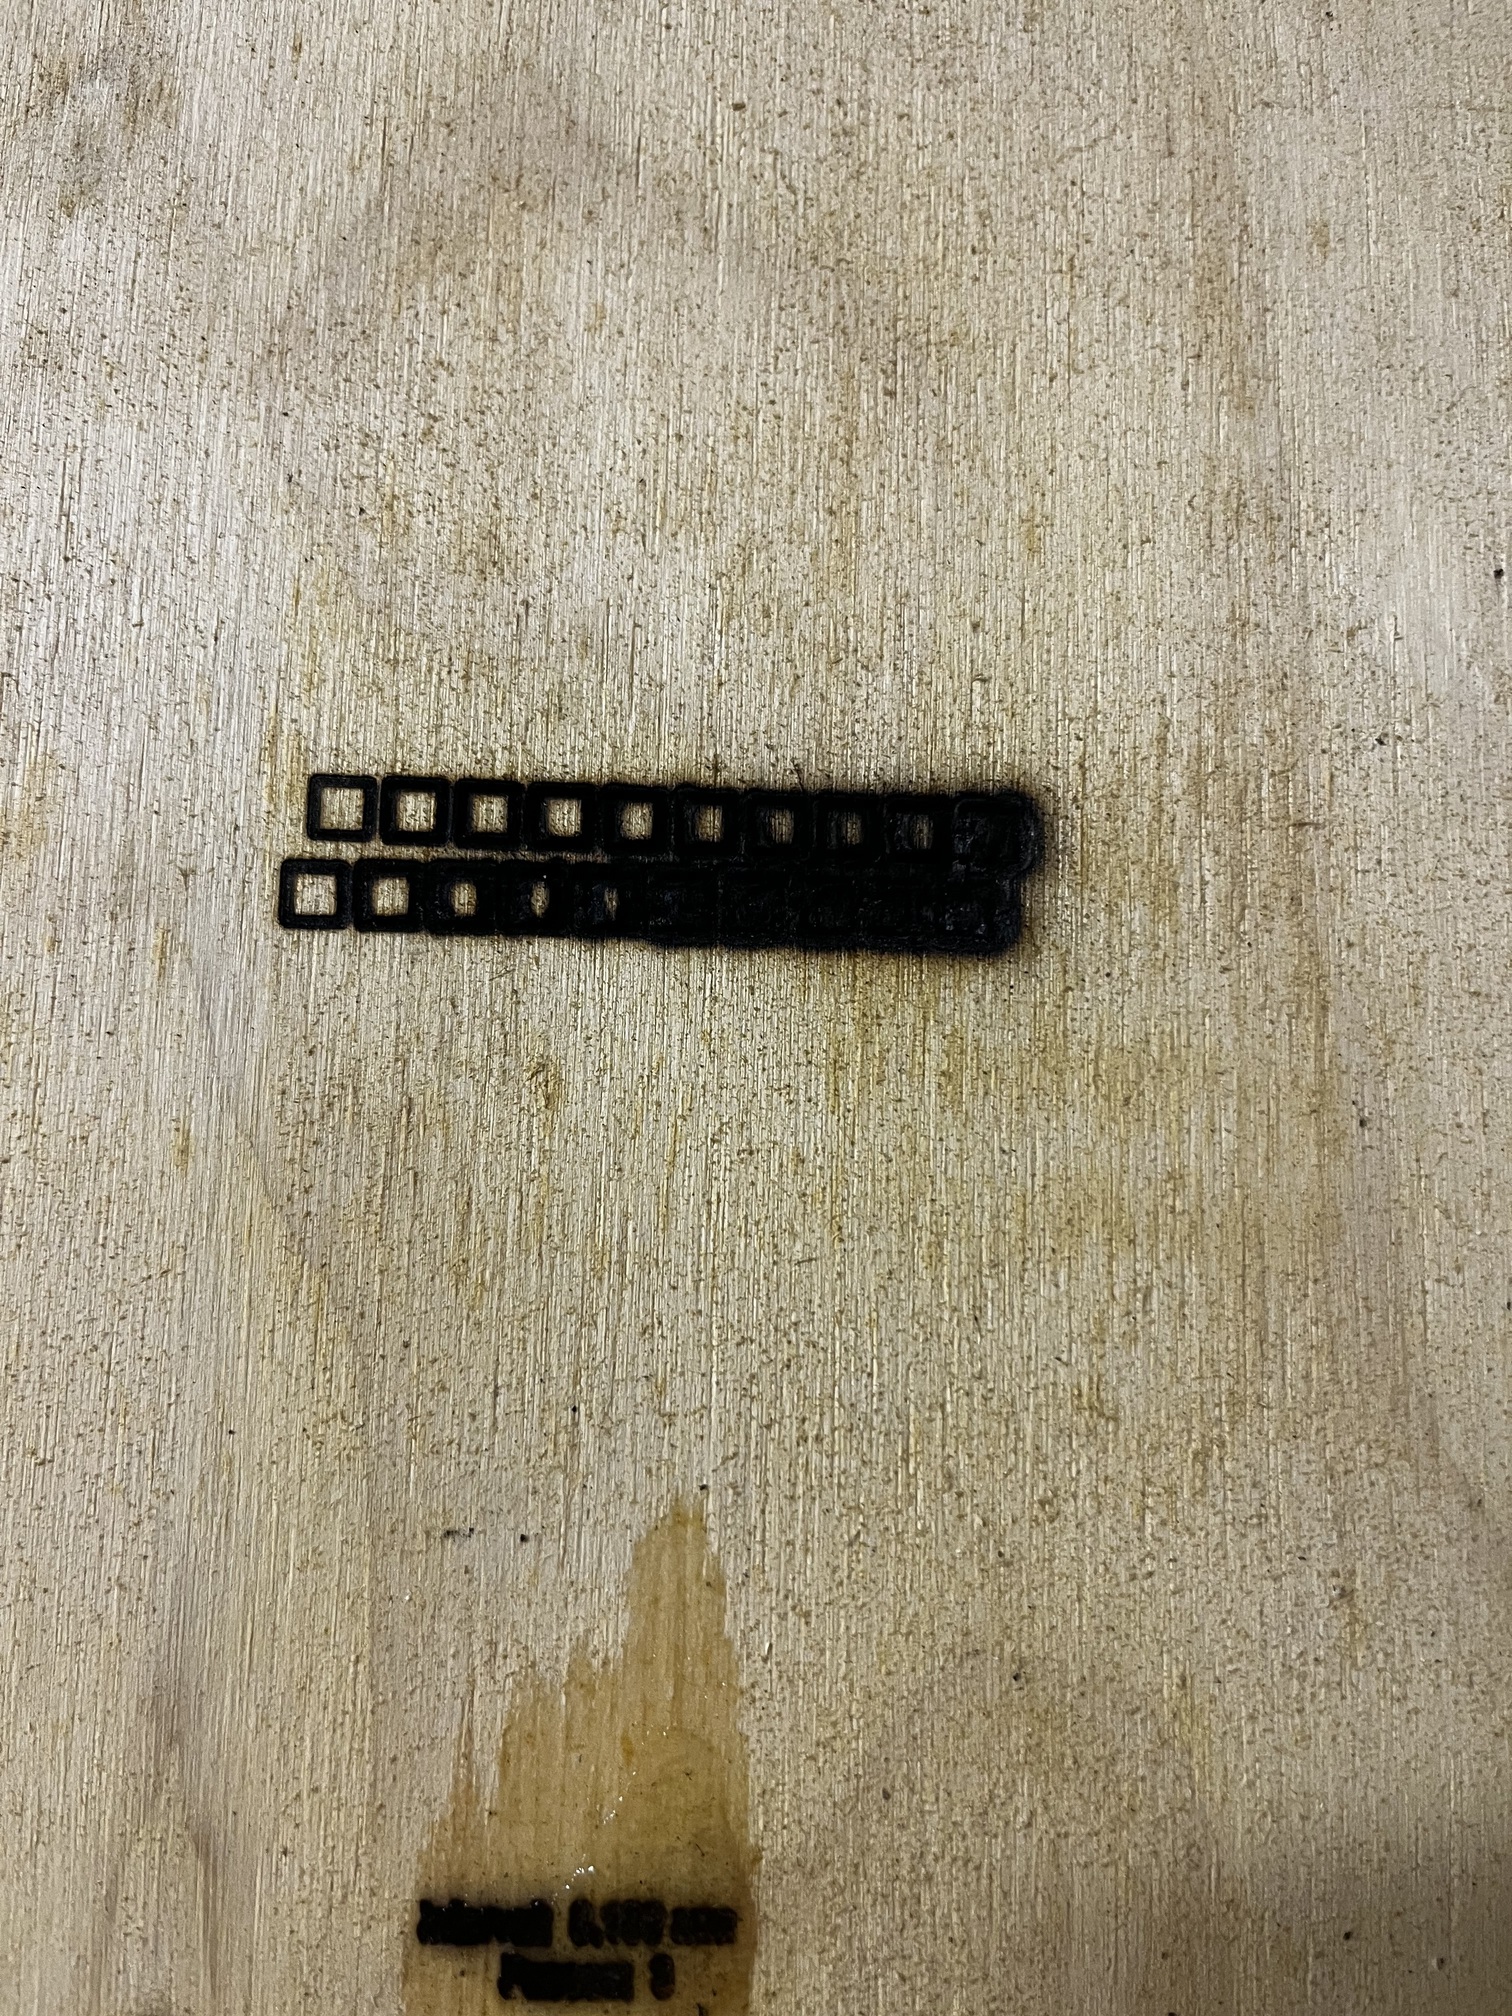
Ran a material test. This is the result, I did stop earlier because I assumed I was not going to achieve a through cut at this point
I had the LR set to its lowest point and had the bottom of the laser housing 30mm from the material. I also have the lasers focus adjustment screwed the whole way in
Should note this is 1/4” material
Air assist might make a big difference there.
In the high power/low speed.corner there is a.lot of charring which probably indicates a lot of smoke. The smoke absorbs laser power too and then deposits carbon residue precipitation, which also absorbs power. The result is as you see with a lot of black deposit around the cut area and less penitration into the material. Air assist blows away the smoke, so more laser power goes into the material and cuts it away.
I had the air assist on, it’s an aquarium pump someone listed in a different thread but it had a pinched line.

Here is the same test ran with proper air assist. Still tons of burn, not much soot. I moved the ply after 1mm/s due to the burn so the two by themselves are 4mm/s and 2mm/s from top to bottom. The bottom of the laser housing is approximately 31mm from the cnc bed
This really looks like the beam is not in focus. @dkj4linux explained his process for getting the correct focus. You really need to get that right first. I use lightburn and haven’t see any material test that looks like that.
Notice that your text is also no longer sharp. Which Controller are you using? a Jackpot?
If the intensity seems too high it may be that your config.yaml has a range that is too narrow.
One thing that helped me was to enable the “Fire” button on the movement panel. I kept tweaking the power until I could still see the point, but not do much damage to the surface it was on.
I’m really just a novice with LightBurn, and I keep finding little tweaks that the more experienced cutters all know. My first cuts were way off and I just kept going to the YouTube pros’ videos (Louisiana Hobby Guy is one that I follow).
Sorry I’m not more help. Be safe and keep trying (learning).
Mike
I’m on the SKR PRO 1.2 board. I guess I’m really struggling to understand what to look for when trying to get this thing focused. I’m assuming it’s currently too close to the bed, but I don’t know what’s the ideal dot is when adjusting the laser.
I really appreciate everyone commenting and trying to help
You might at this point find the Laser ramp test easier to find your focal distance.
It should at least get you in a better ballpark to start from.
1 Like
I was going to recommend the same thing. Check out this video:

Fiddled around with it again, tried Home Depot 1/8” ply this time just because and got these results.

Definitely a step in the right direction, but I’d like to hear from you folks
I don’t have much to add, you are in great hands here. I just want to share a funny one: when I got my laser I ordered it without doing much research in front. When it arrived and I started to read up on it, I was so stressed out that I put it in a weapons locker for a few years. After reading up and gearing up (air assist, proper glasses, better ventilation) - I took the plunge, and it was surprisingly fun and straight forward!
2 Likes