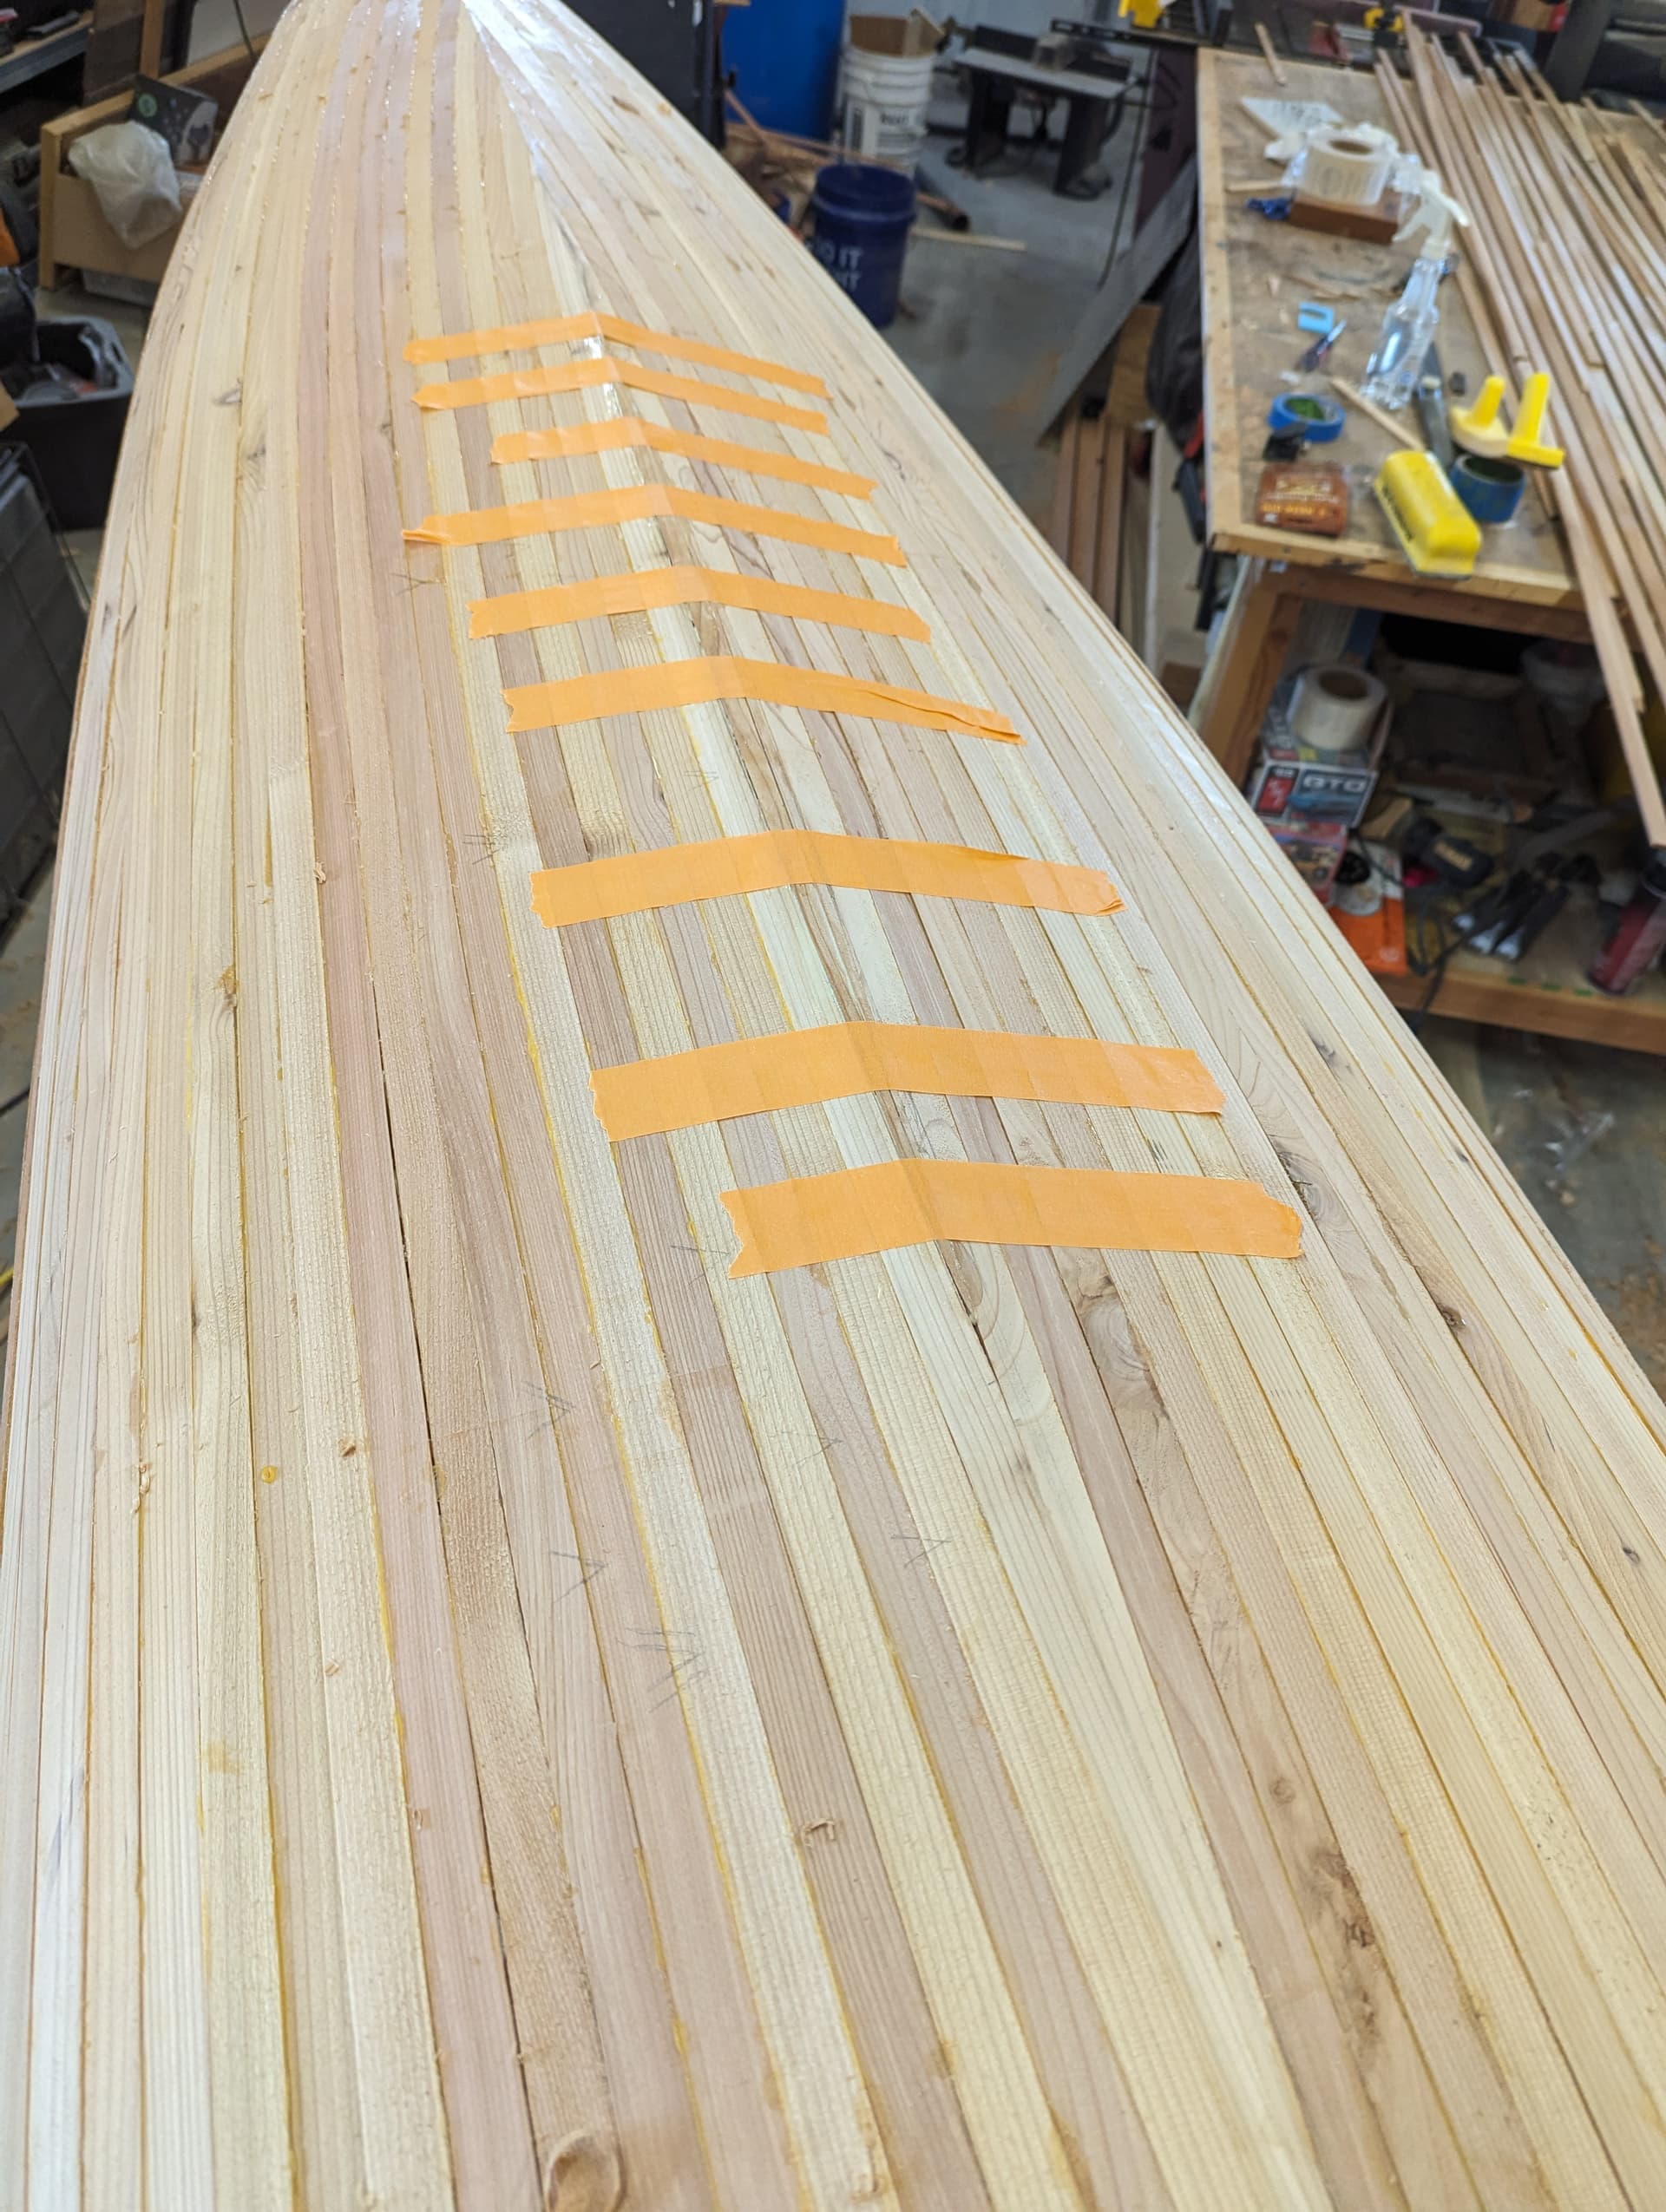
sorry - i meant applying packing tape on the the space frames/forms on the strong back. like this guy. little bits of sticking here and there add up and it can make hull really hard to remove. the cedar is delicate and likely to rip.
i would strongly advise against doing a rough fairing with orbital. you need something with more longitudinal surface to get that gentle arc and symmetry. a cheap plane would be better.
honestly the 60 grit on a 12-18" board will tear through that no problem.
no matter what it will be a slow process. since you have the exposed wood you can’t use fairing compound to build up dimples. the varnish is going to magnify the slightest imperfections.
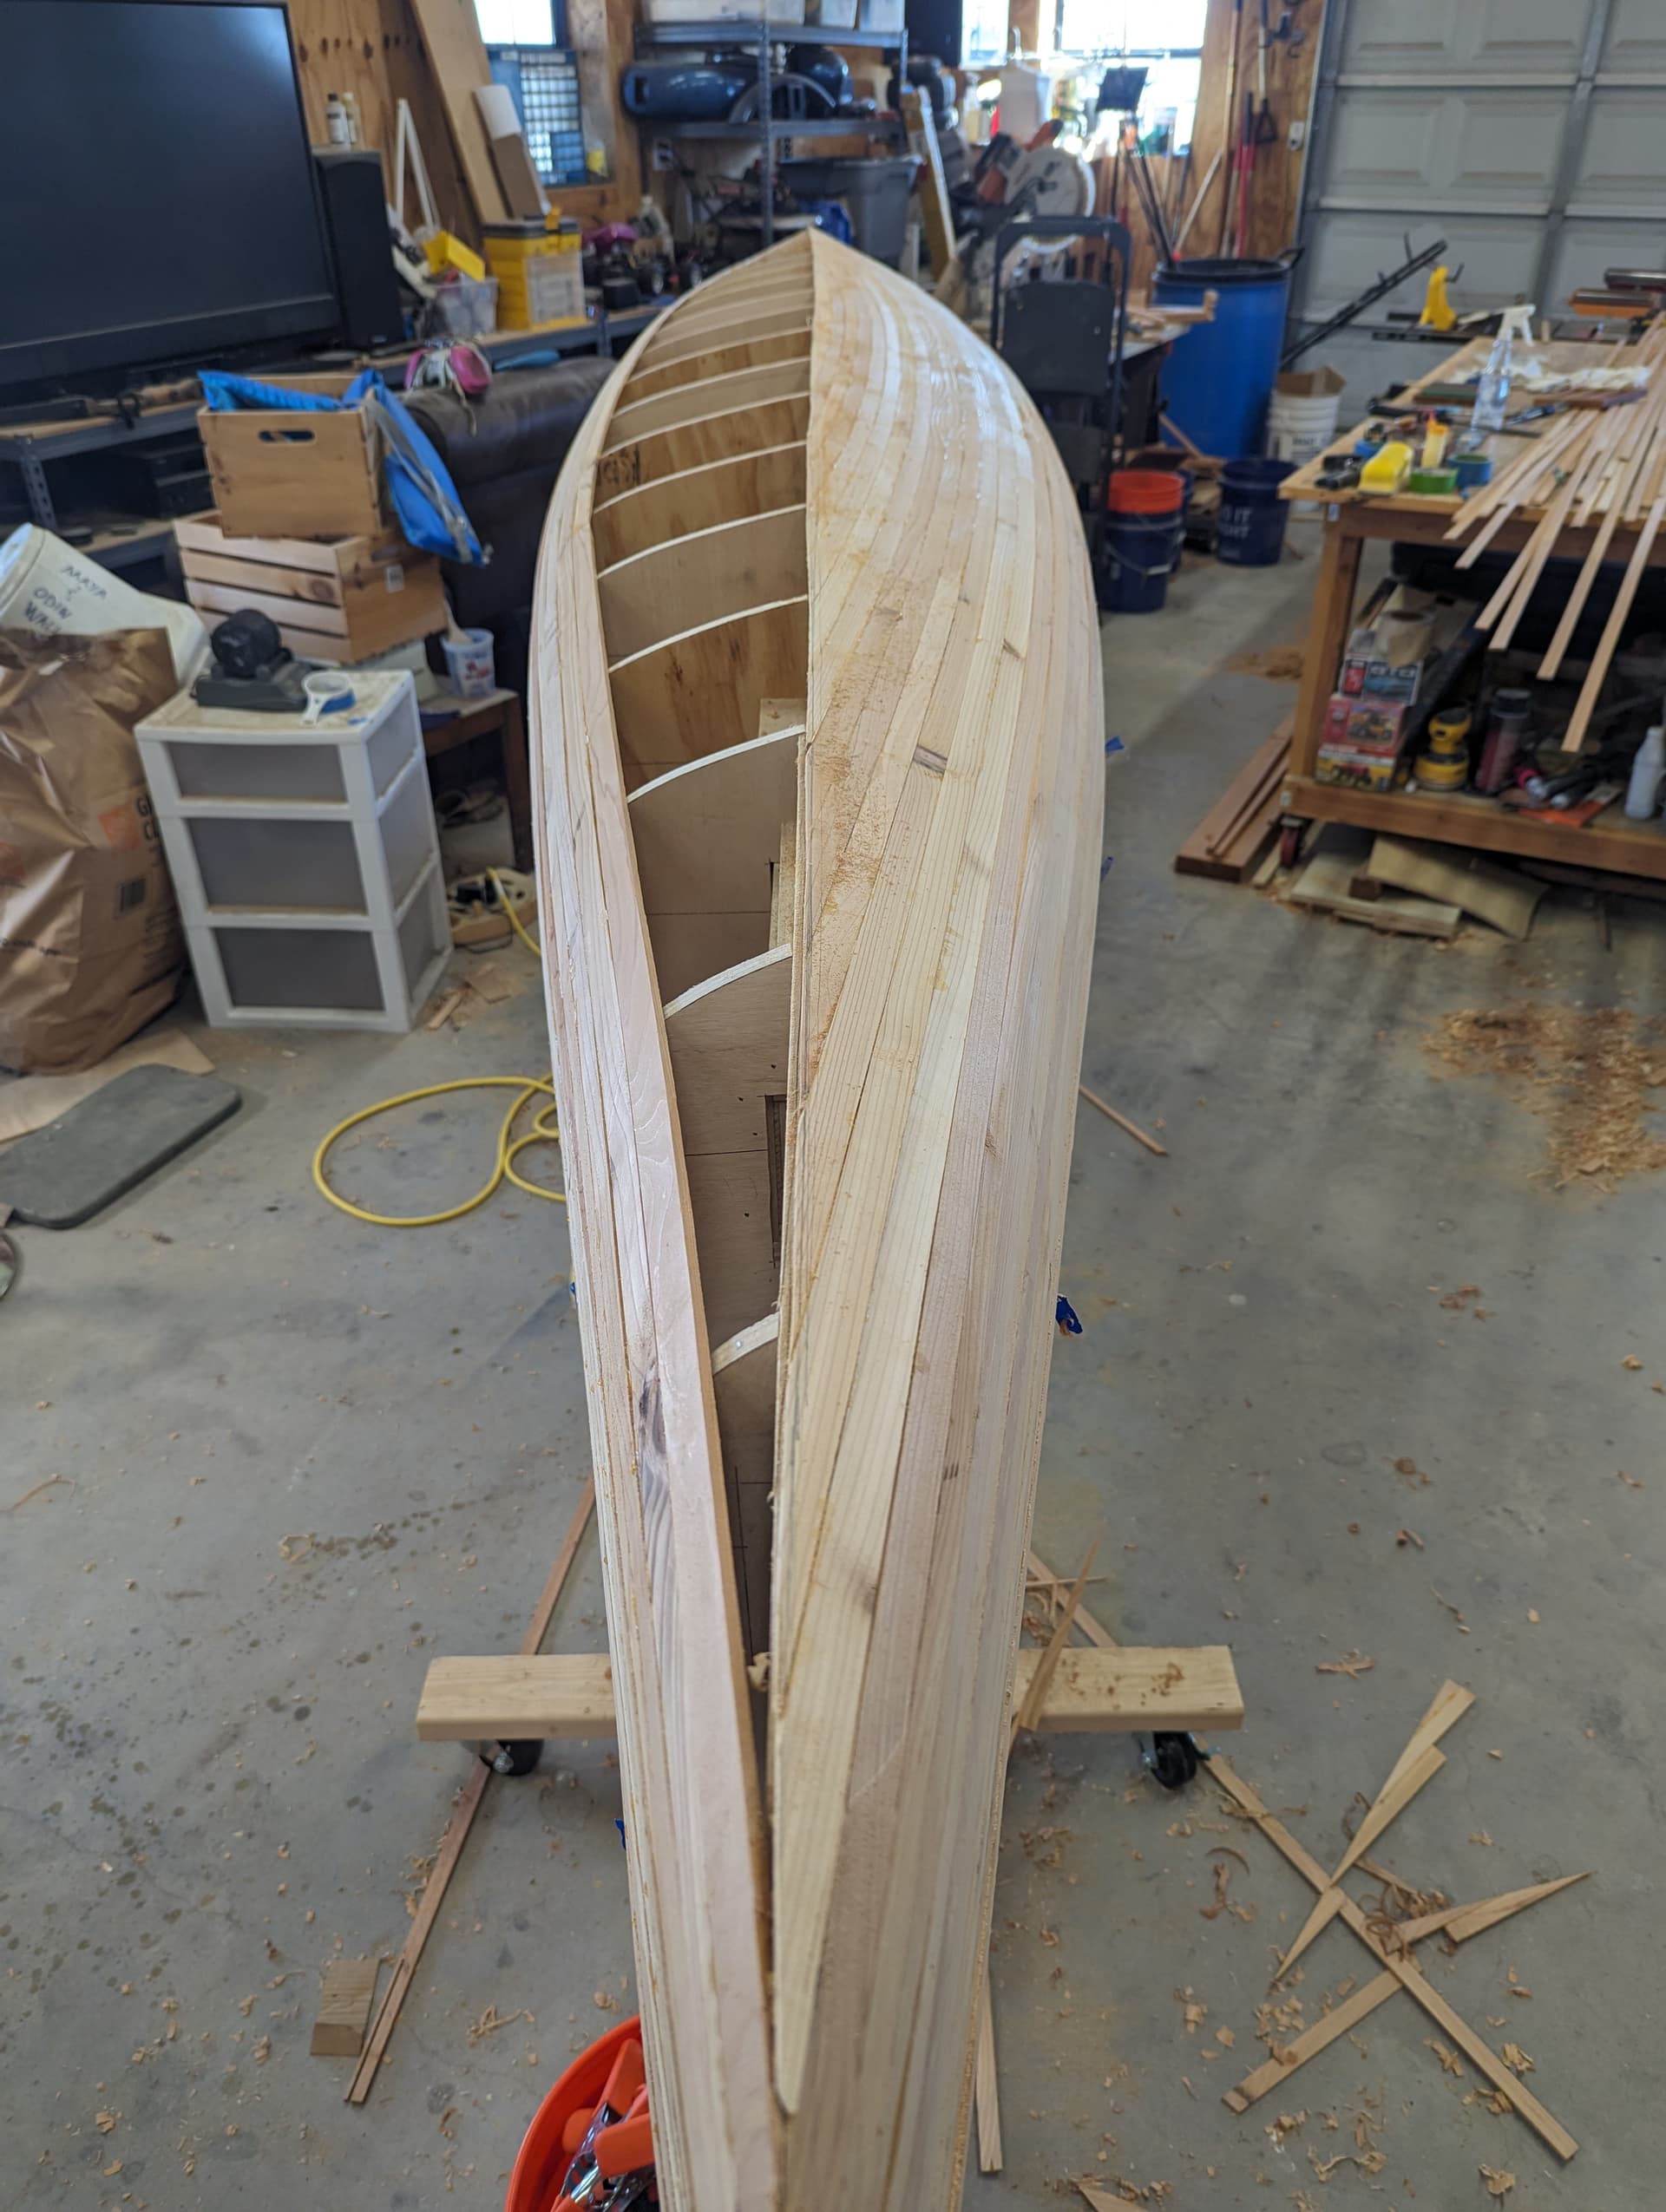
I started off with tape on the forms but couldn’t get the hot glue to stick. I’m trying to build this without staples and my hot glue wasn’t sticking to the forms.
I’m not having an issue with wood glue sticking to the forms. Once the strip dries, I go down the strip and pull it away from the form to pop any wood glue that stuck. Then I put a little hot glue in it and glue it back down. If I wasn’t going through and popping the strip loose each time, then I could see where little bits of wood glue would cause an issue on the forms.
I’m using a combination of a wood plane and the fairing board to clean up the surface. I also have some scrapers that I’ll try out.
I do have a soft pad for the RO that I may try when I get to the higher grits. I can test on the very bottom where it will matter a bit less.
I’m still debating what I want to stain the topside. Part of me wants to stain it a teal color, but the purist in me thinks I should stick with ‘wood’ tones.
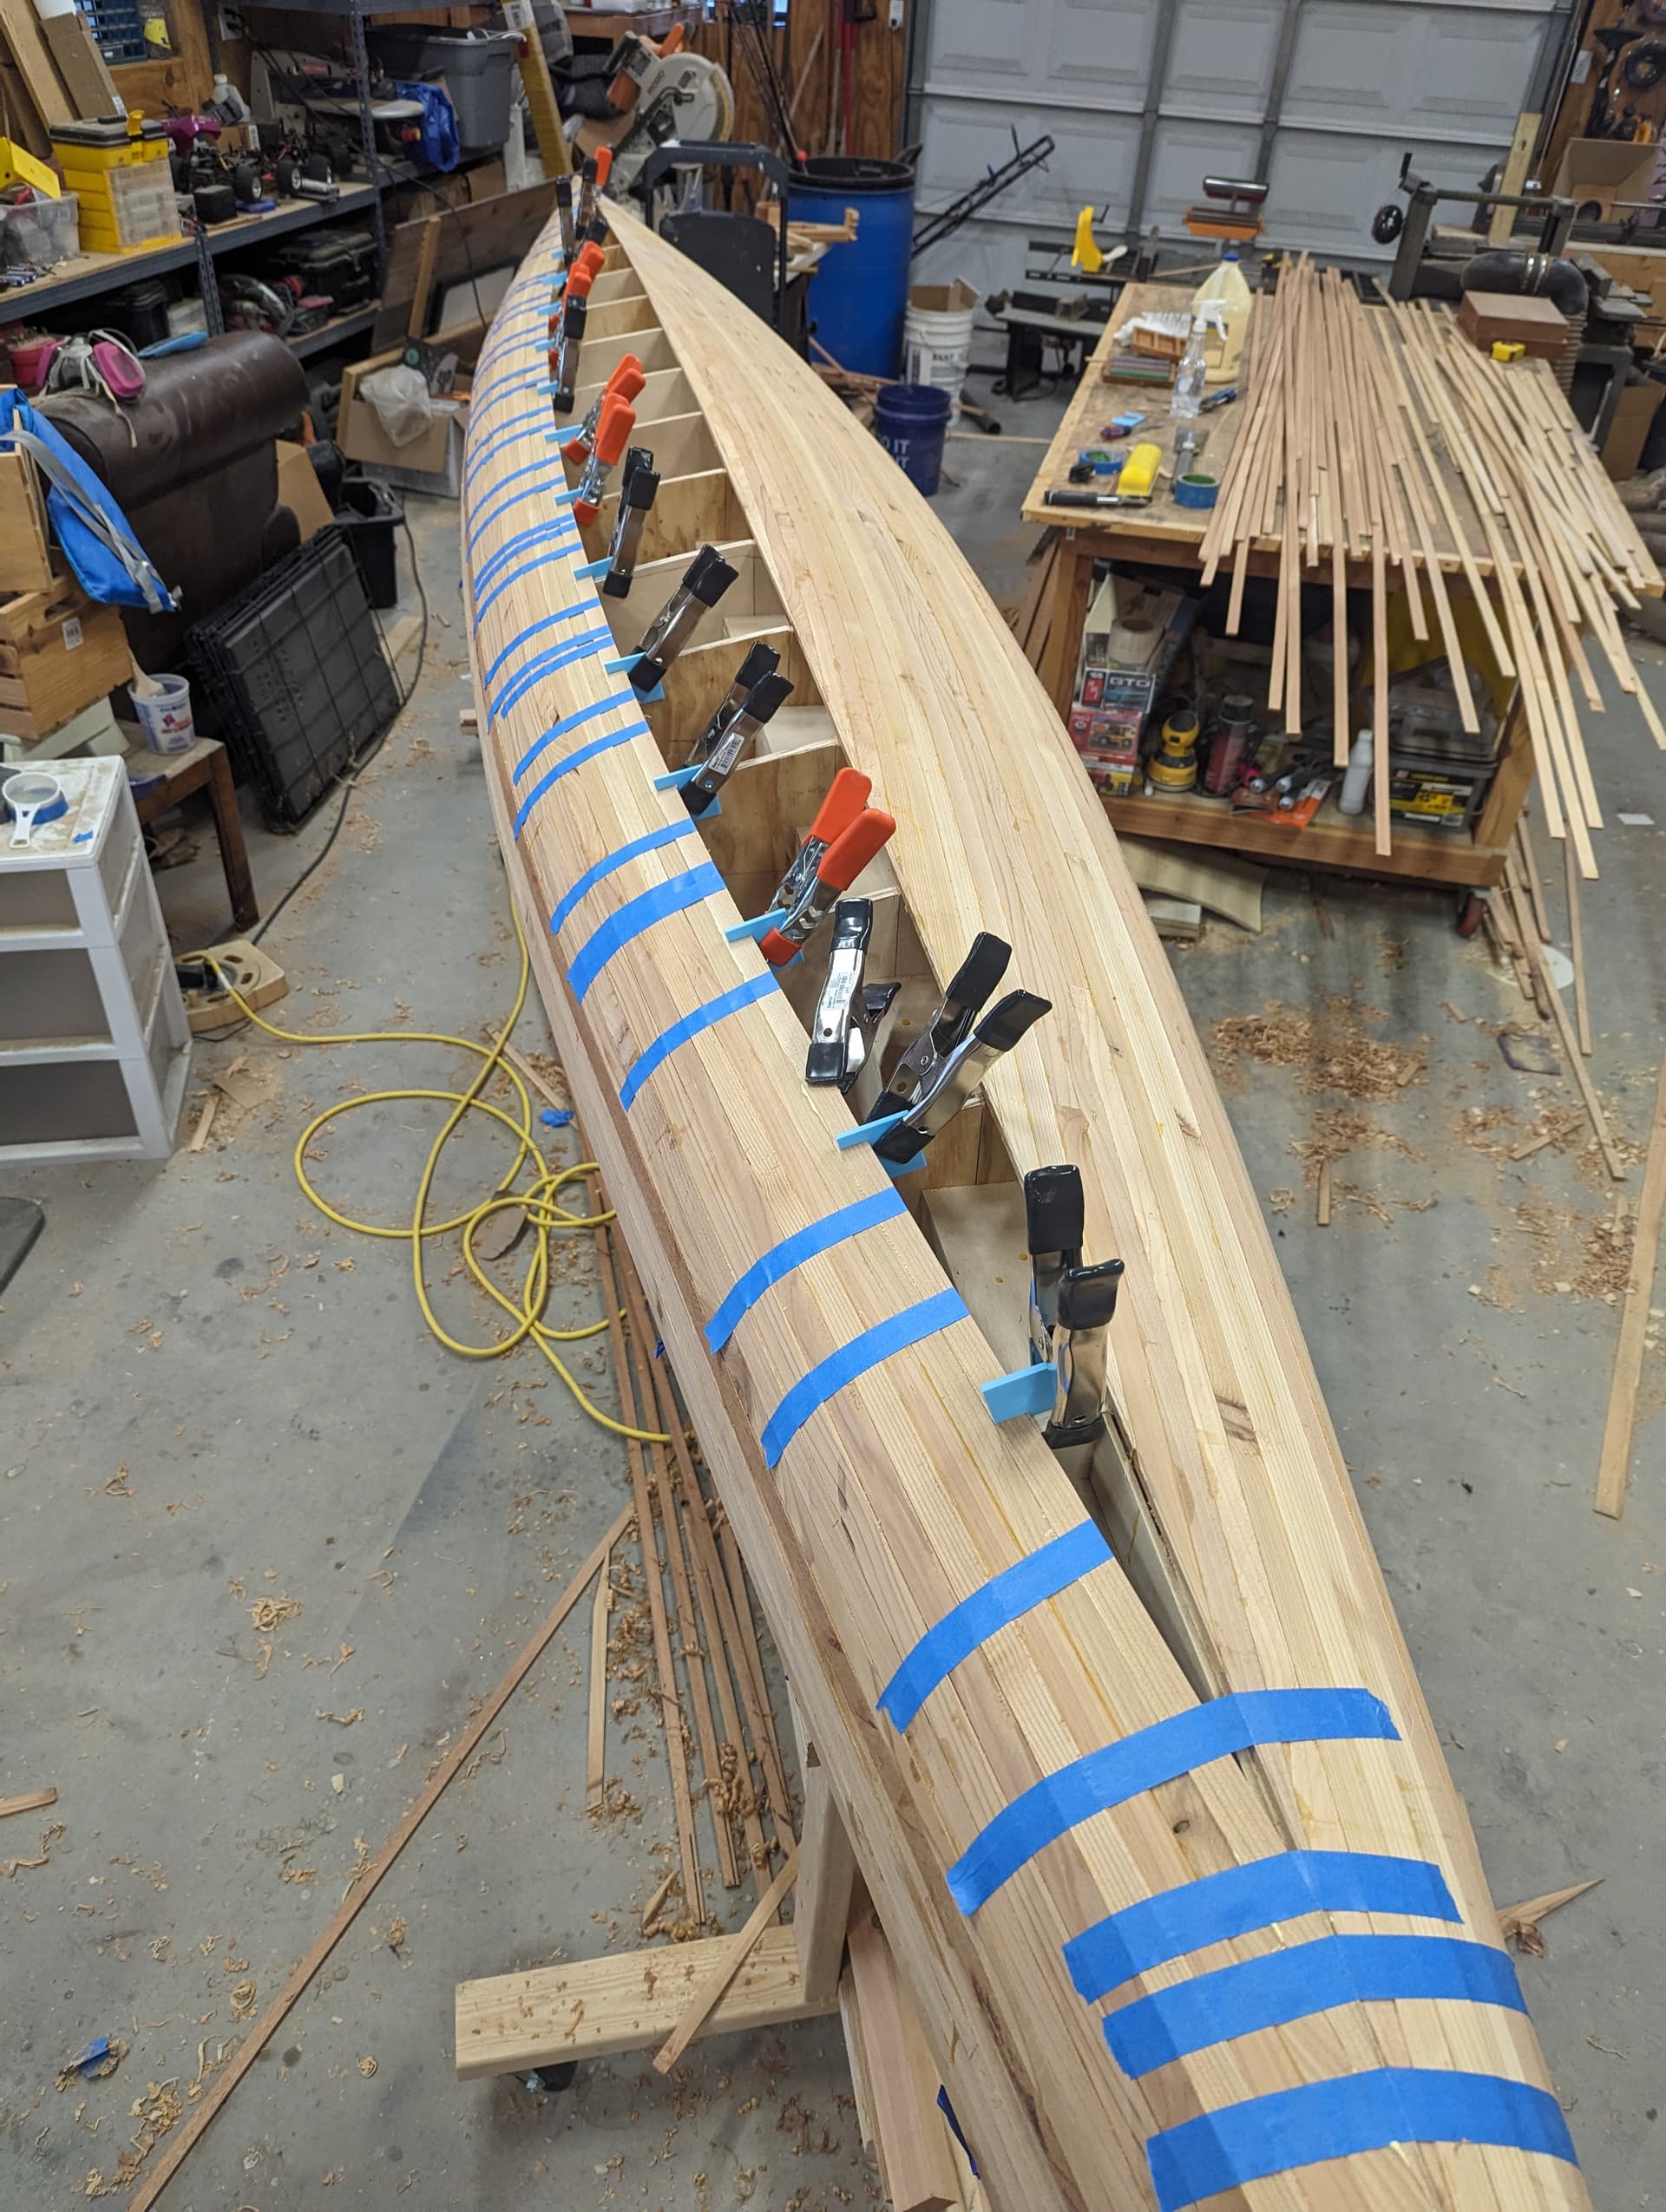
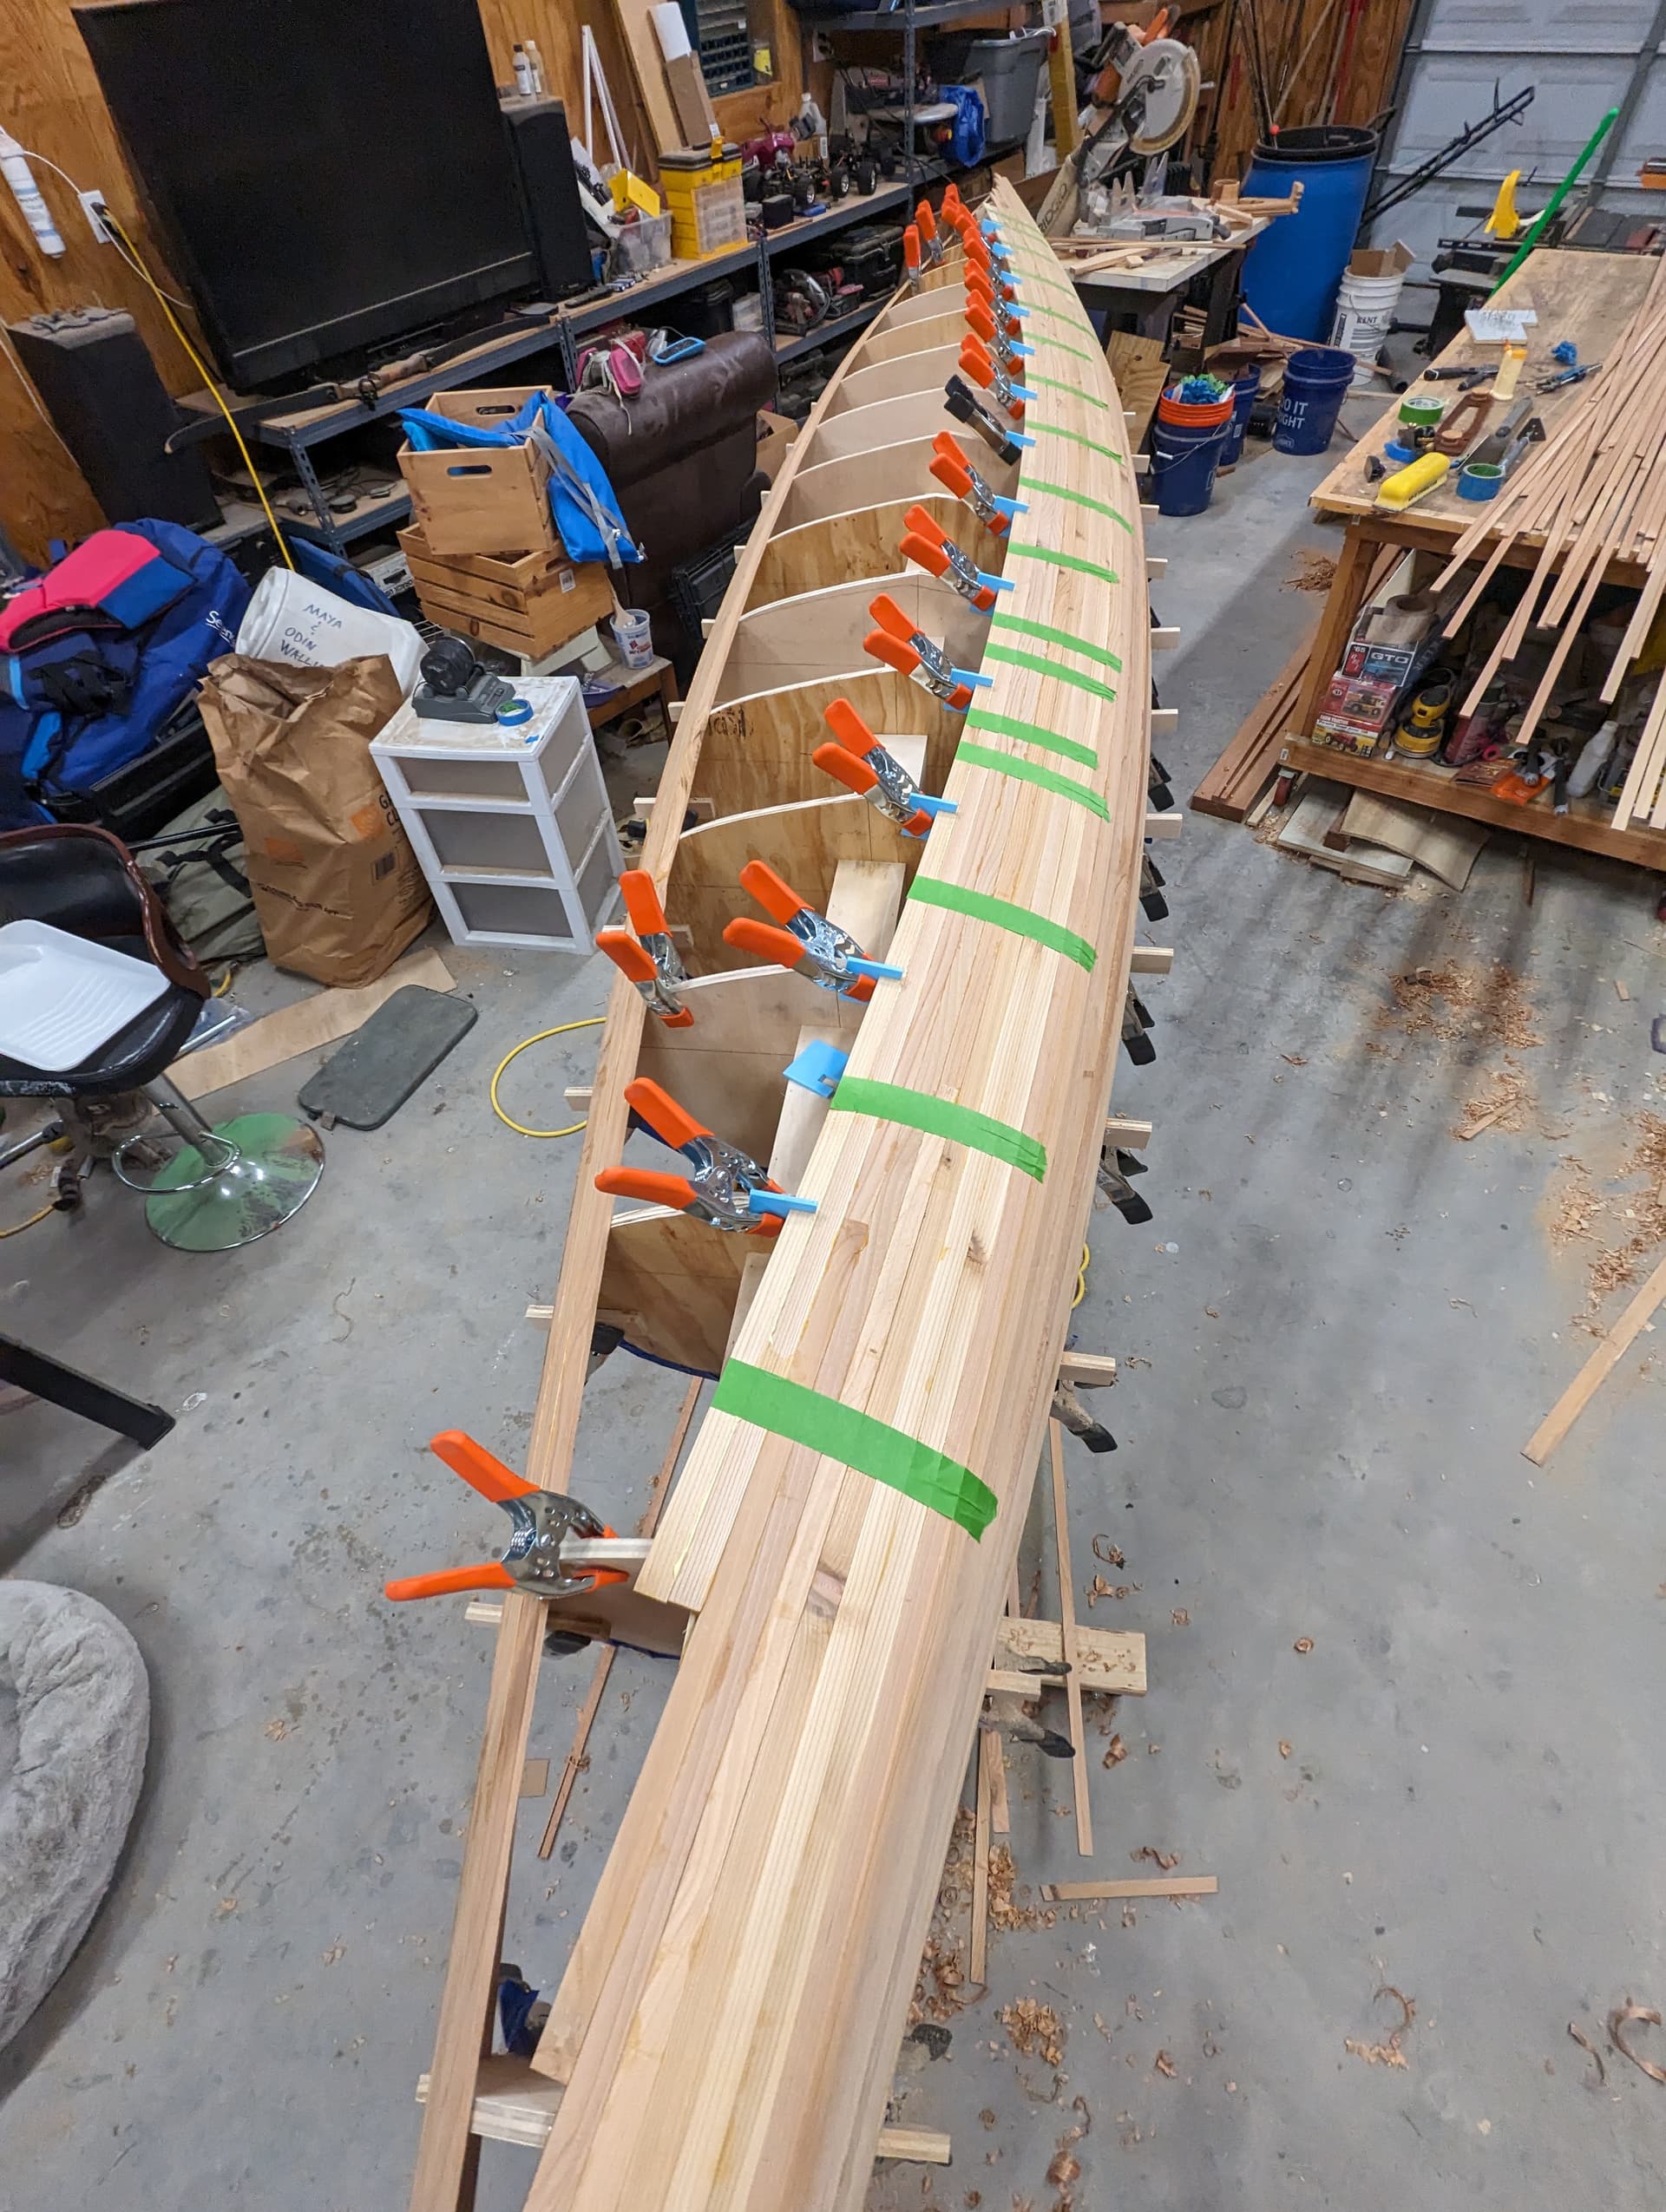
It looks like a lot of work, but it’s surprising not. It’s just the same few steps over and over and over. I’m spending way way more time waiting for glue to dry than I am actually doing anything. Each strip is probably only taking 10-15 minutes to fit and install.
If I was willing to use staples, I’d probably be done with the strips by now on both the top and bottom.
The longest two tasks so far was probably cutting out all the forms and then processing the 2x8’s down into the strips.
Ordered a paddle for the kayak yesterday. Nowhere near needing it yet, but the one I had on my Amazon list was 40% off. Told the wife she can wrap it and put it under the tree.
 half the bottom done")