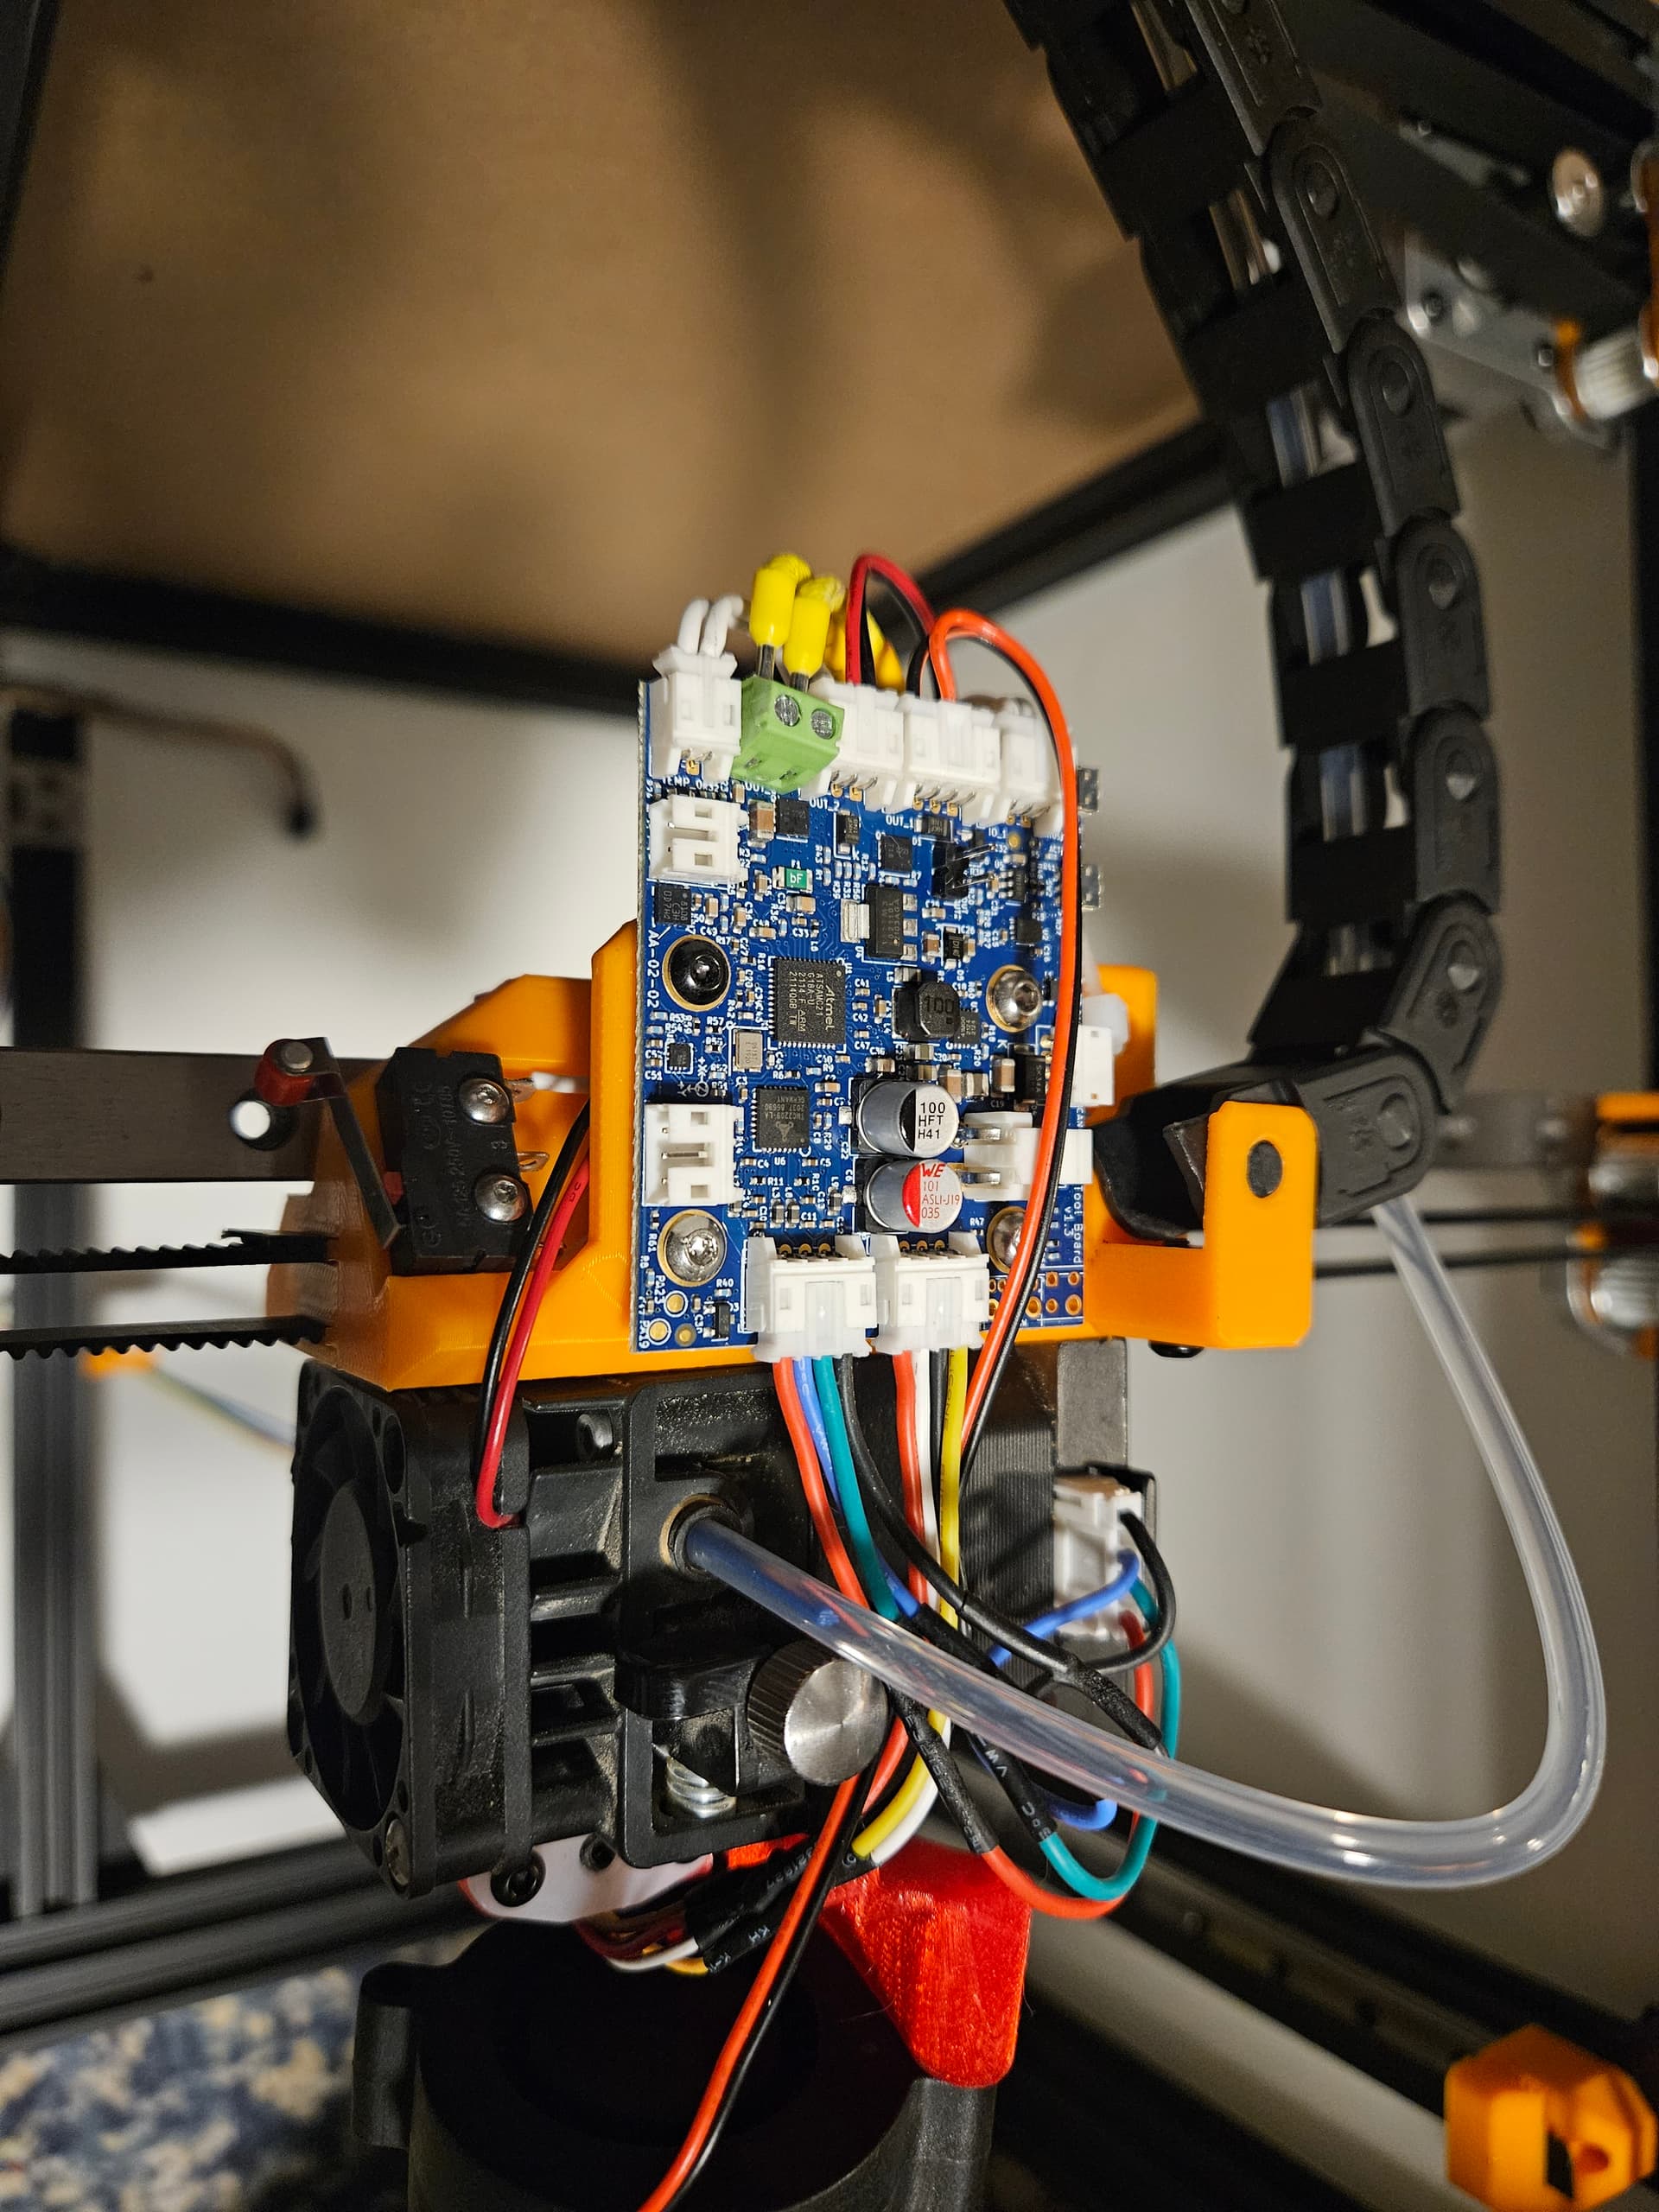
So, I still have to connect the power and the CANbus communication wires to it, but the tool board is pretty much connected and wired. I got a bit of extra length for the heater wires, and have the rest of the wires trimmed for length. There isn’t a lot of extra, but it still doesn’t look great. Well, my wiring never does, but it works…
Pretty much have to solder for the CANbus wires, as they gave me a short pigtail. Would have been nicer if they’d have included the 1m of wire that just about everything else normally put at the hotend usually gets, but… its not terrible.
I still need to get the Z axis and hot bed wires routed to my satisfaction, and I need to do the PanelDue communication wire. There is a 10 pin ribbon cable, too for the SD card slot on the panel, but I’m going to leave that out. I always transfer gcode files over the network, and the SD card on the mainboard is plenty of extra capacity.
Most of the firmware config is done… but can’t test until I get everything connected and moving. Normally by this time, I’d have rushed the last steps to have things moving, so maybe the last bit of wiring will at least not look worse than what Ive already got…
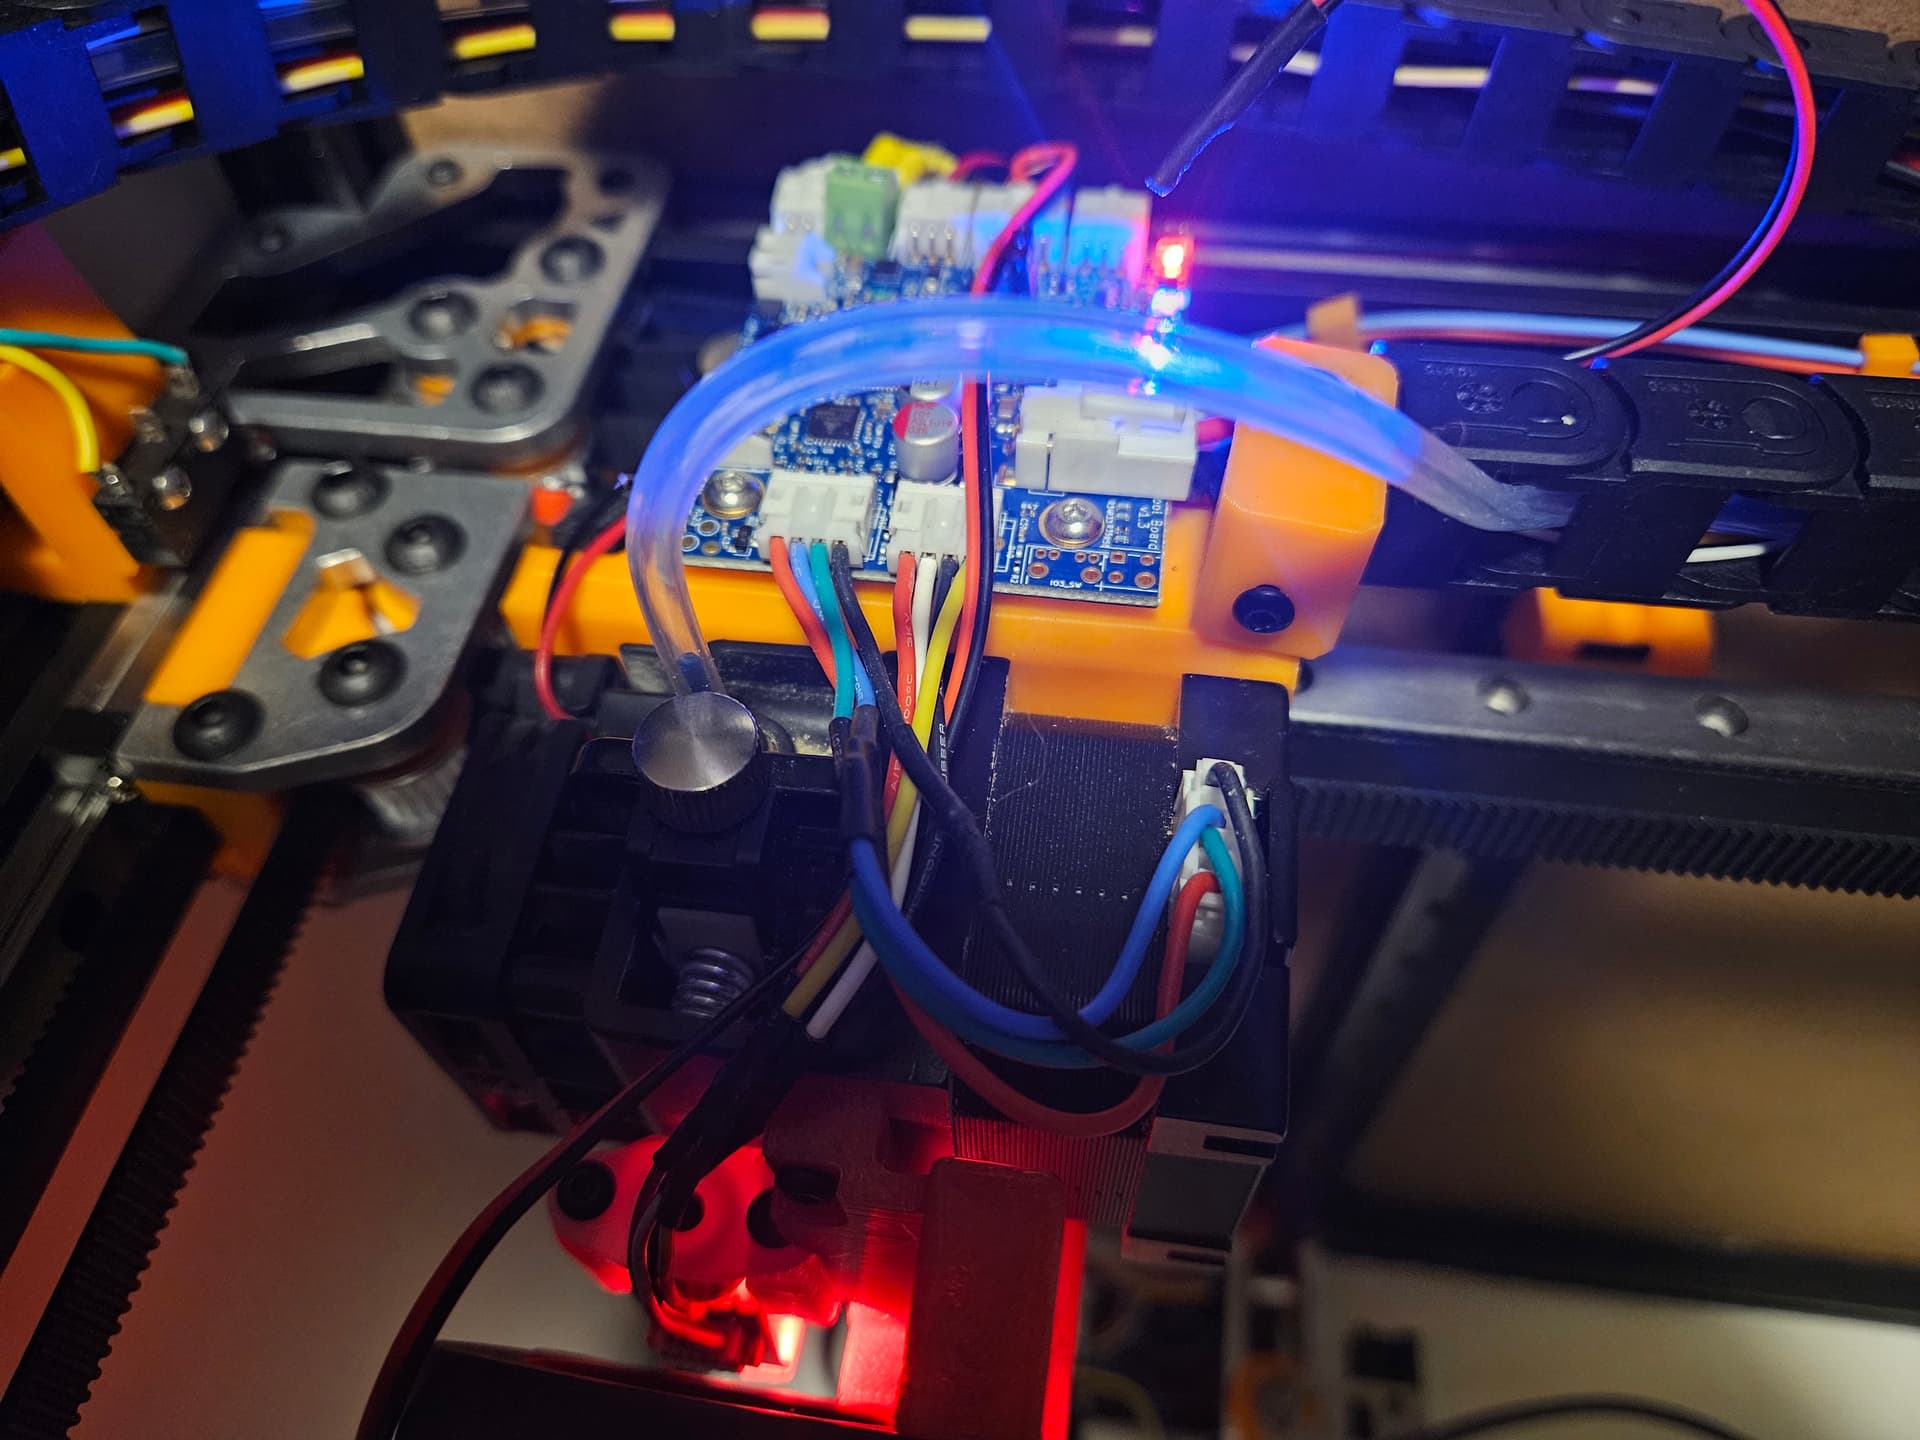
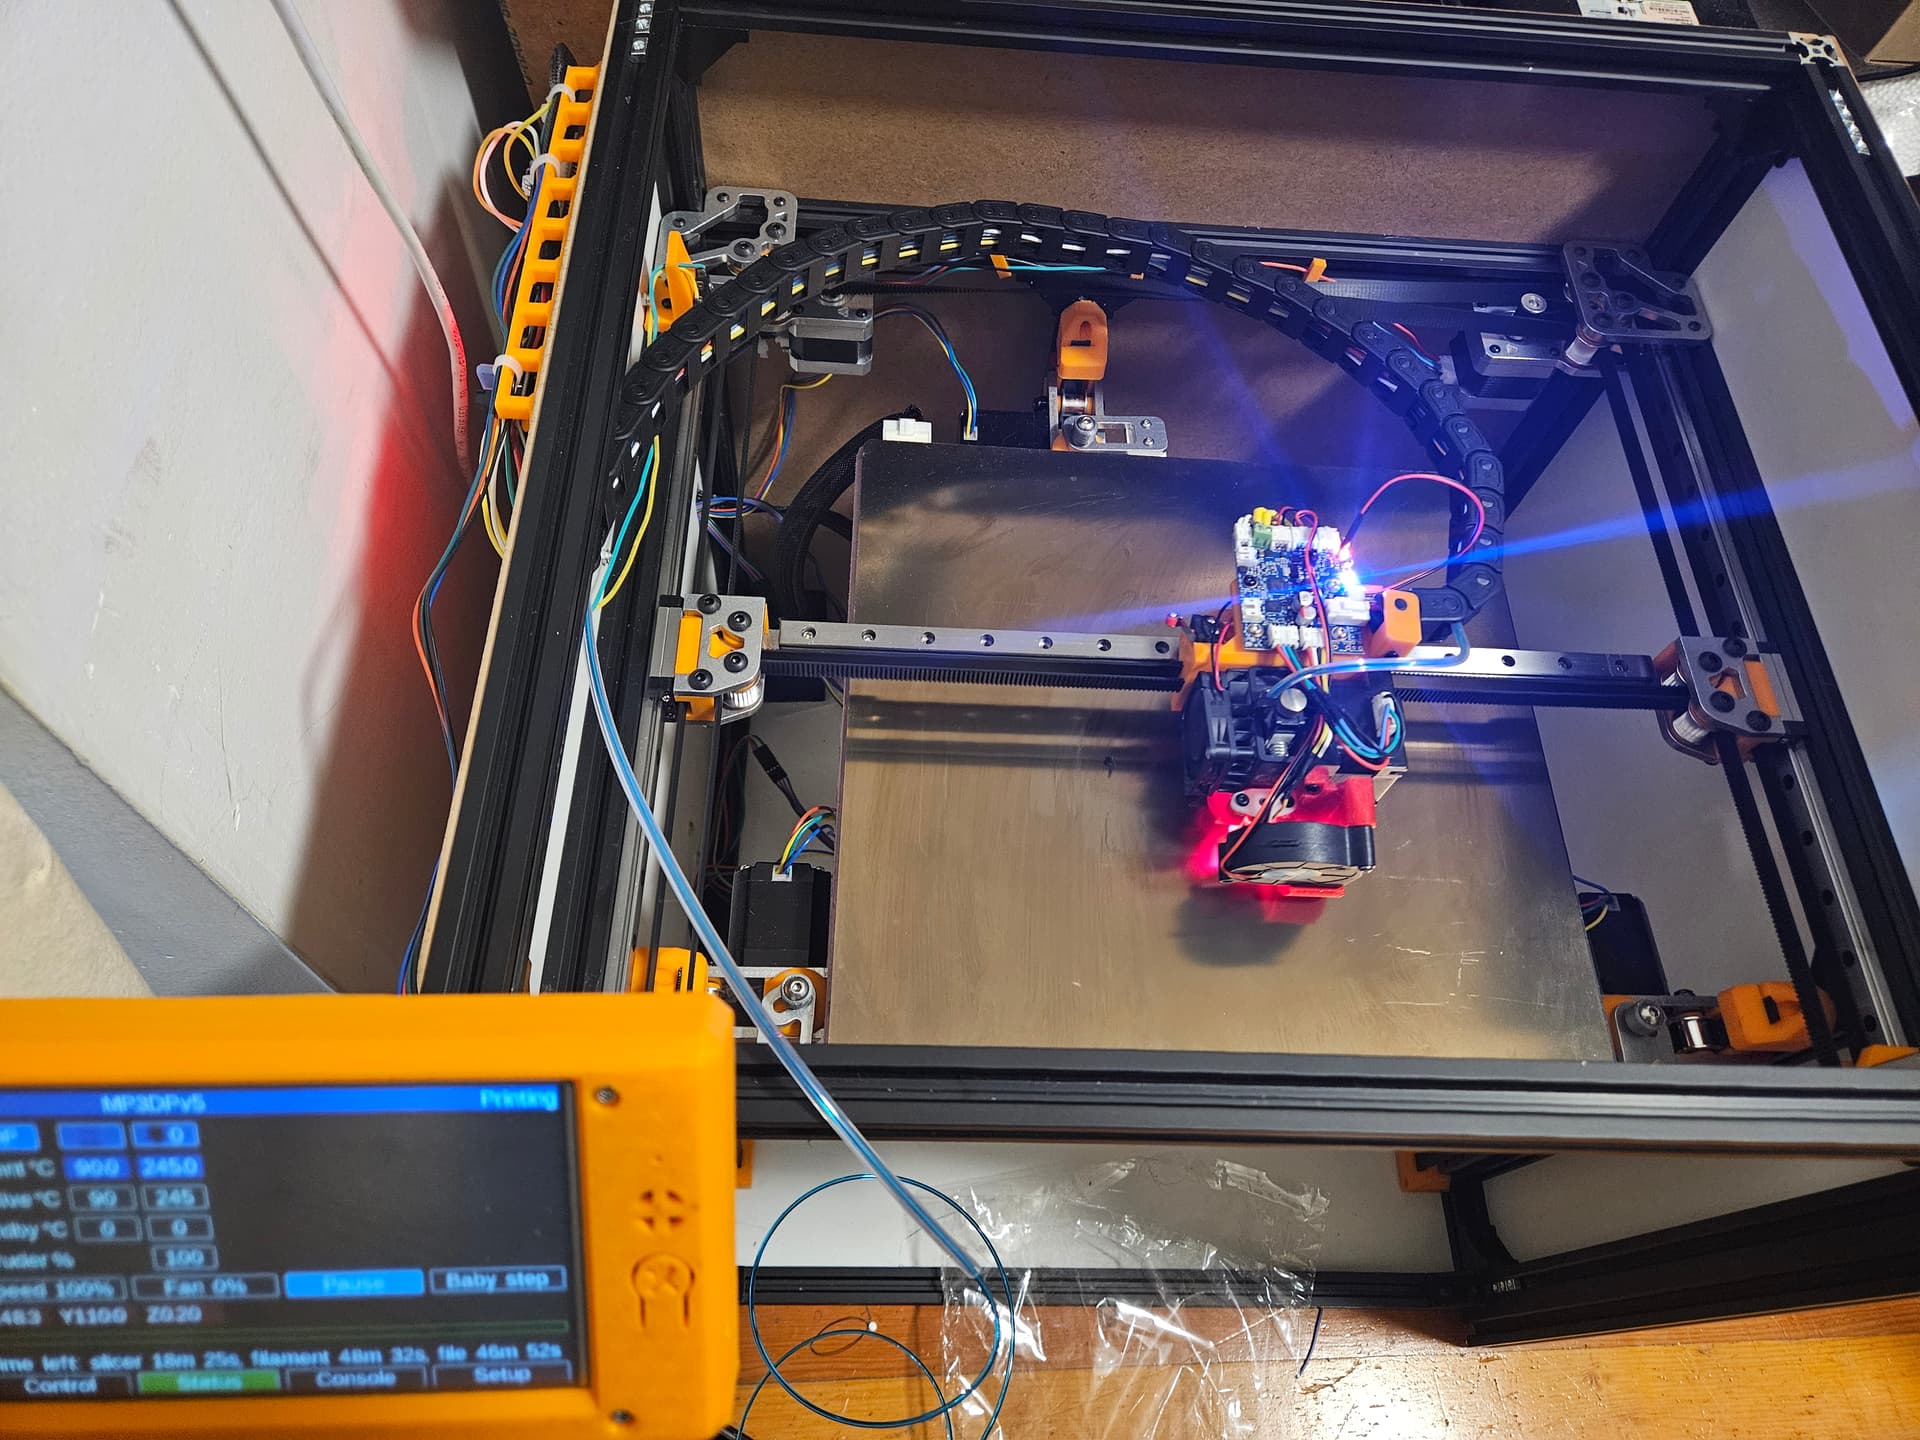
Okay, no heated bed or Z axis just yet, but I have been just itching to test out the 1LC toolboard.
First off, it didn’t want to connect because I mixed up the Can_H and Can_L wires on the mainboard. Then it refused to acknowledge the sensors on the board with the as-shipped firmware. Turns out the installed firmware on the mainboard didn’t like the toolboard firmware, so they’ve both been updated to.the latest 3.6.1. Now they ralk, though something complains at startup.
The heater works, with the PT1000 sensor. The BLTouch seems to work, but with no Z axis connection, hard to be certain. It deploys and retracts anyway. The X endstop works (Y as well.)
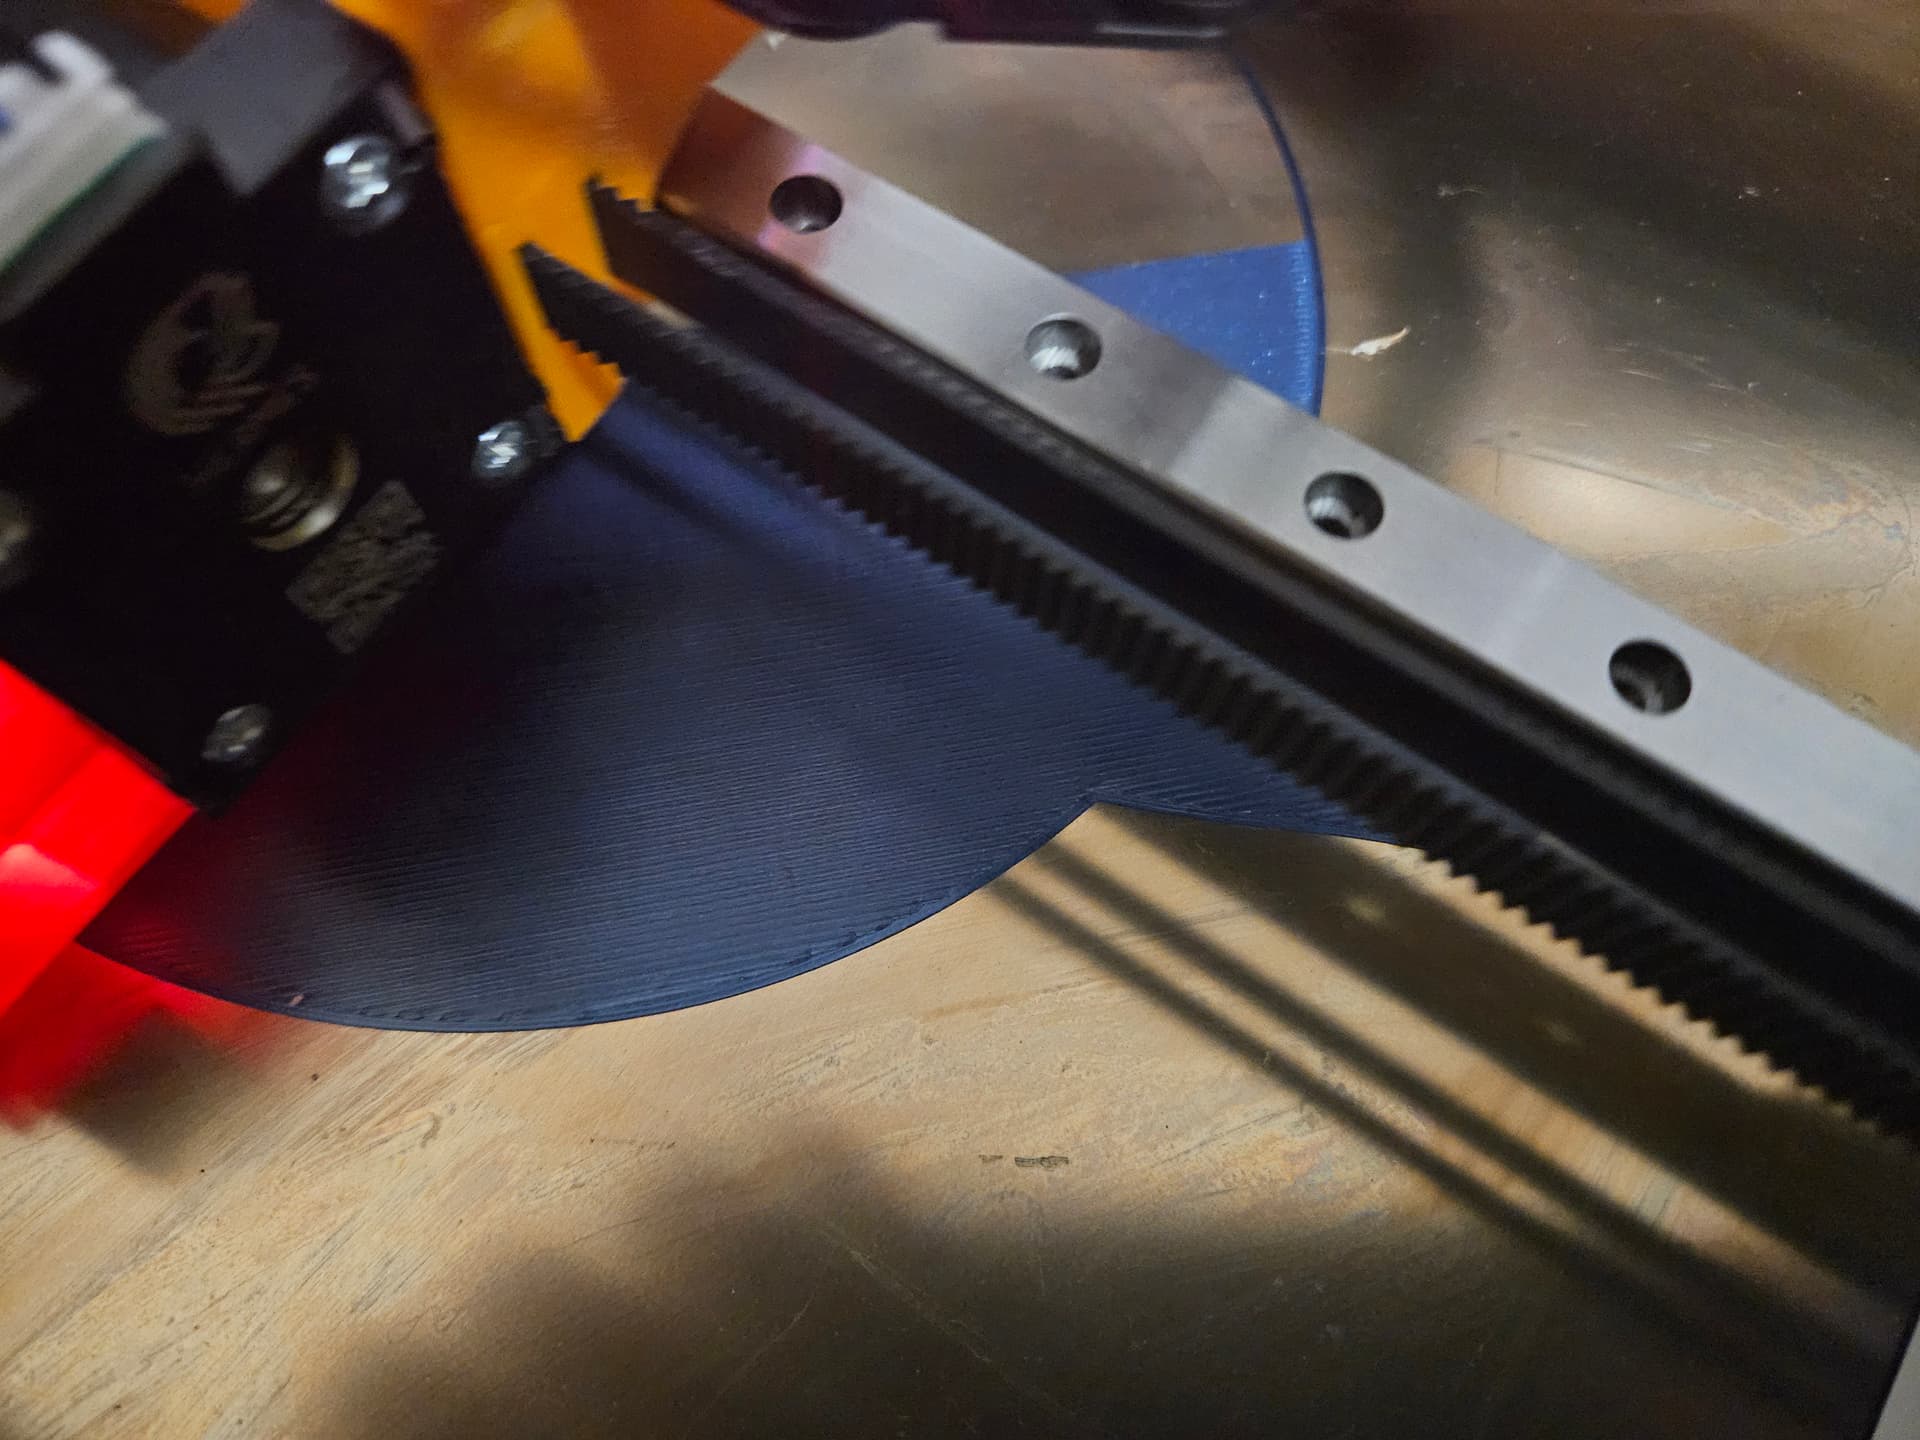
X and Y motion goes as expected. (Keyed motor connectors, so I’d have had to reverse things in firmware if they were wrong!) I only seem to get about 295mm of Y motion. I could maybe squeeze out the last 5mm with a better stop switch. Probably good enough. Only a smidge more than 300mm of X. Sure hope I have the heated bed placed right… well I think I have it not too bad to adjust.
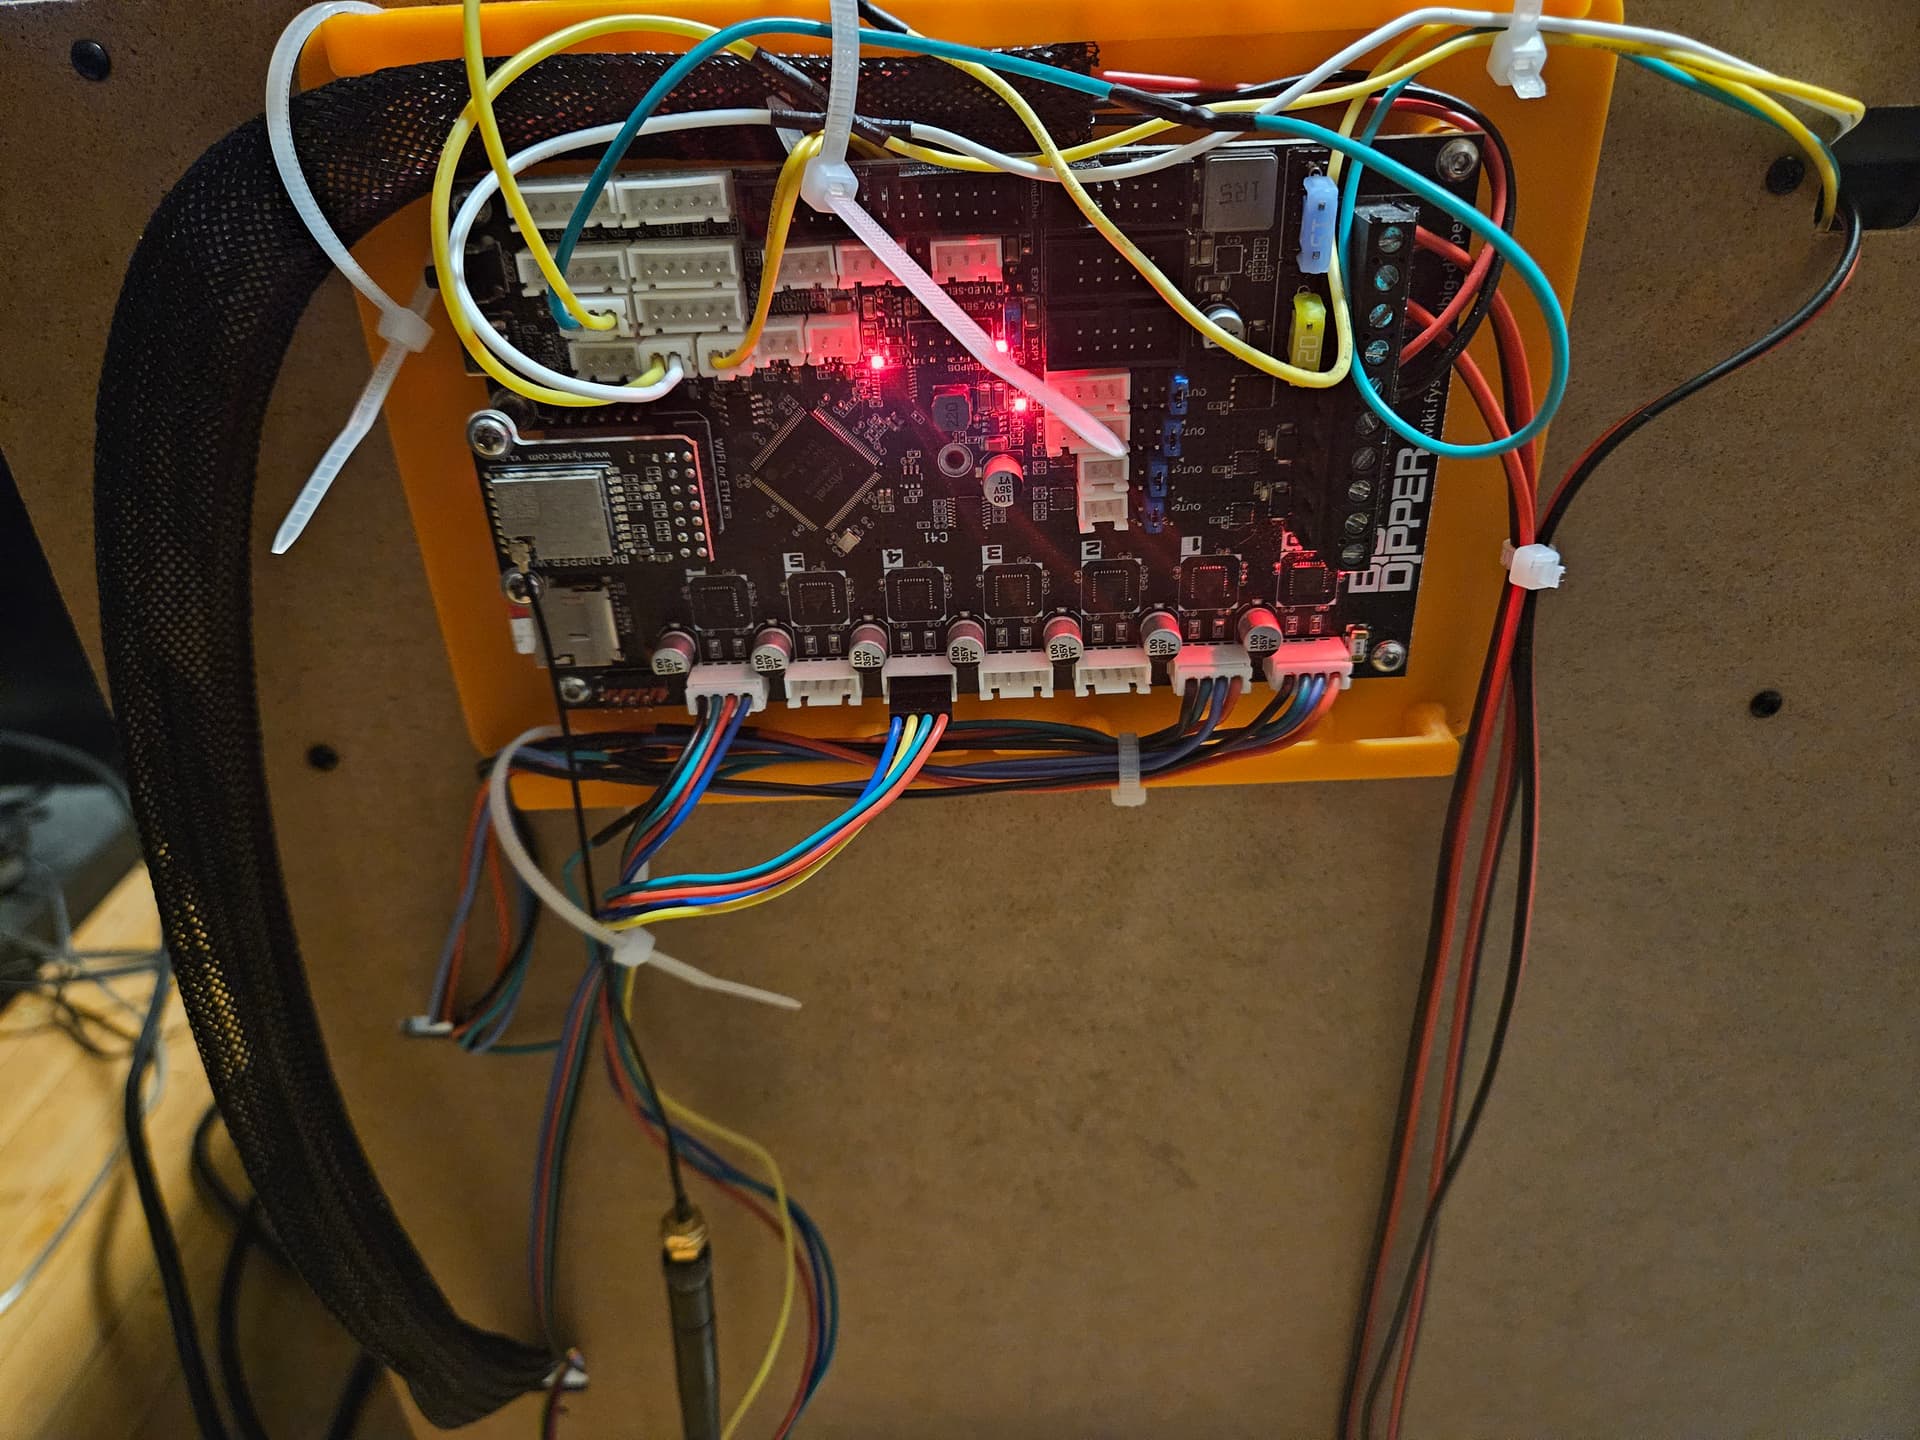
The mess of yellow, green and white up top haven’t been tied down yet, because I keep thinking more stuff needs to go up there, but with all the temperature sensors, heaters, switches and fans moved to the toolboard, all that’s left on the maInboard are the Y axis switch, CANbus, and the heated bed thermistor, so maybe I can tighten those loose zipties and clip them.
The motors on the bottom of the board are mostly not yet connected. I have a couple of the Z motors sort of there, but not really. Only the CoreXY motors are finalized, you can see them tied down bottom right.
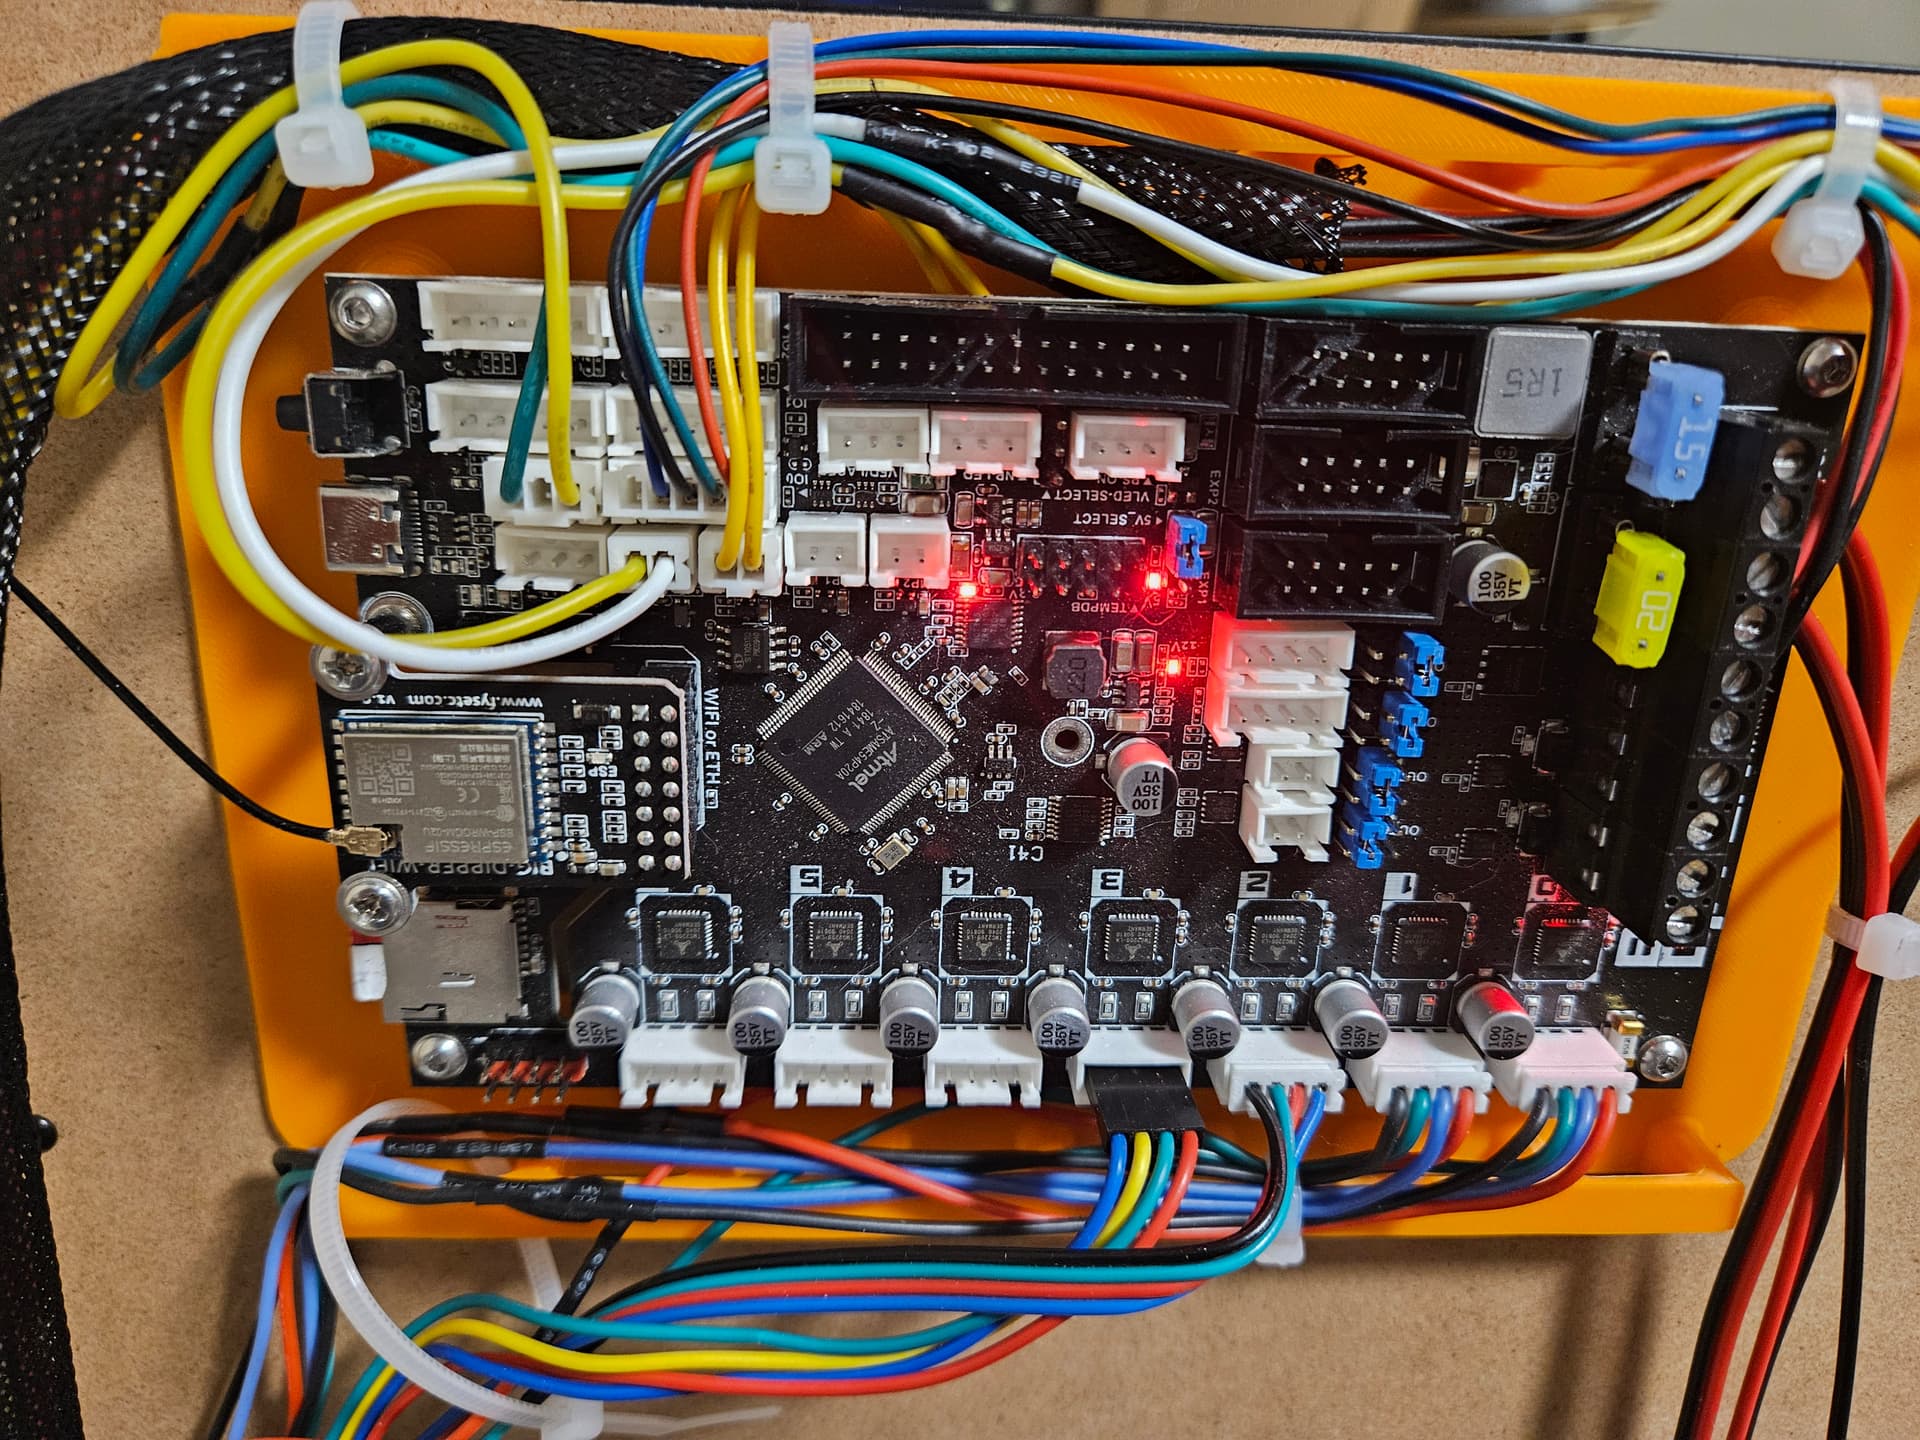
There. that looks a bit better. I may end ul using another of the IO ports for lighting, but I think that’s the top done. Just have to get the Z motors wired and the actual headed bed installed now.
Everything moves in the correct directions, though the extruder motor is still a question mark.
I did something wrong with the firmware. On the v4 printer, home Z takes it to the bottom of travel using the sensorless homing mechanism. I have the motors defined the same, but now it tells me that driver 2 (the first Z motor) is not in stealthchop mode, though I thought it was… I’ll need to go over the configuration again… Also, my brain really wants to number the motors clockwise starting left front, and everything seems to indicate that it should be opposite direction. I think I can just tell the firmware where the motors are anyway and the Z motor levelling will figure it out, but I guess I’ll swap the plugs for motors 2 and 3.
The motor wiring under the bed is still a mess, but some zip ties will straighten that out.
PID tuning in process, then I need to try to.figure out input shaping.
At thebend of the job, I have it try to hkme Z to.its max position. When I do, thebboard reports drivers overemp for all 3 Z motors.
This js probably a RepRap Firmware thjng, ive probably done something wrong when I reduce current for the Z axis for arall detection. Ill have to troubleshoot that elsewhere.
first layer quality doesn’t seem to be one of them.
I’m still going kind of slow, pretty much the same settings as the v4 (I basically copied the configuration in PrusaSlicer, changed the bed size and ran with it )
This printer is supposed to deal with larger prints though, it can be a little slower, if it gets the results. I’ll try pushing it later though.