I guess this will do as an official start to the project. I’ll be using a Hemera, but I may need to get creative, as I plan to use a CANbus Duet 1LC toolboard, which will require a mount. It will be nice to only need a 4 wire connection for it though!
8 Likes
So cool to see some more getting built! I have loved mine so far! Just got the extrusion to redo the V4 I have into a V5 as well!
1 Like
Roughly how much % faster are you pushing your V5 than V4 but still getting great prints? I appreciate it’ll depend on the material, curious about PLA for example, how different your V4 and V5 profiles look? Cheers!
I am running the same profile as far as speed, but I am running 4k acceleration on the V4 and 8k on the V5. V5 is capable of more as well. According to my last input shaper run I am good up to 12k on the V5. V4 doesn’t even show good to 5k lol
1 Like
Well, I have high hopes for input shaping making for nicer looking parts, and maybe faster print speeds.
I don’t have the tool board yet, so I might build it without first, then upgrade after, depending on shipping times.
Nice. I need to keep trudging along with the v4 for the foresea future, but I’m enjoying watching all the v5 builds.
3 Likes
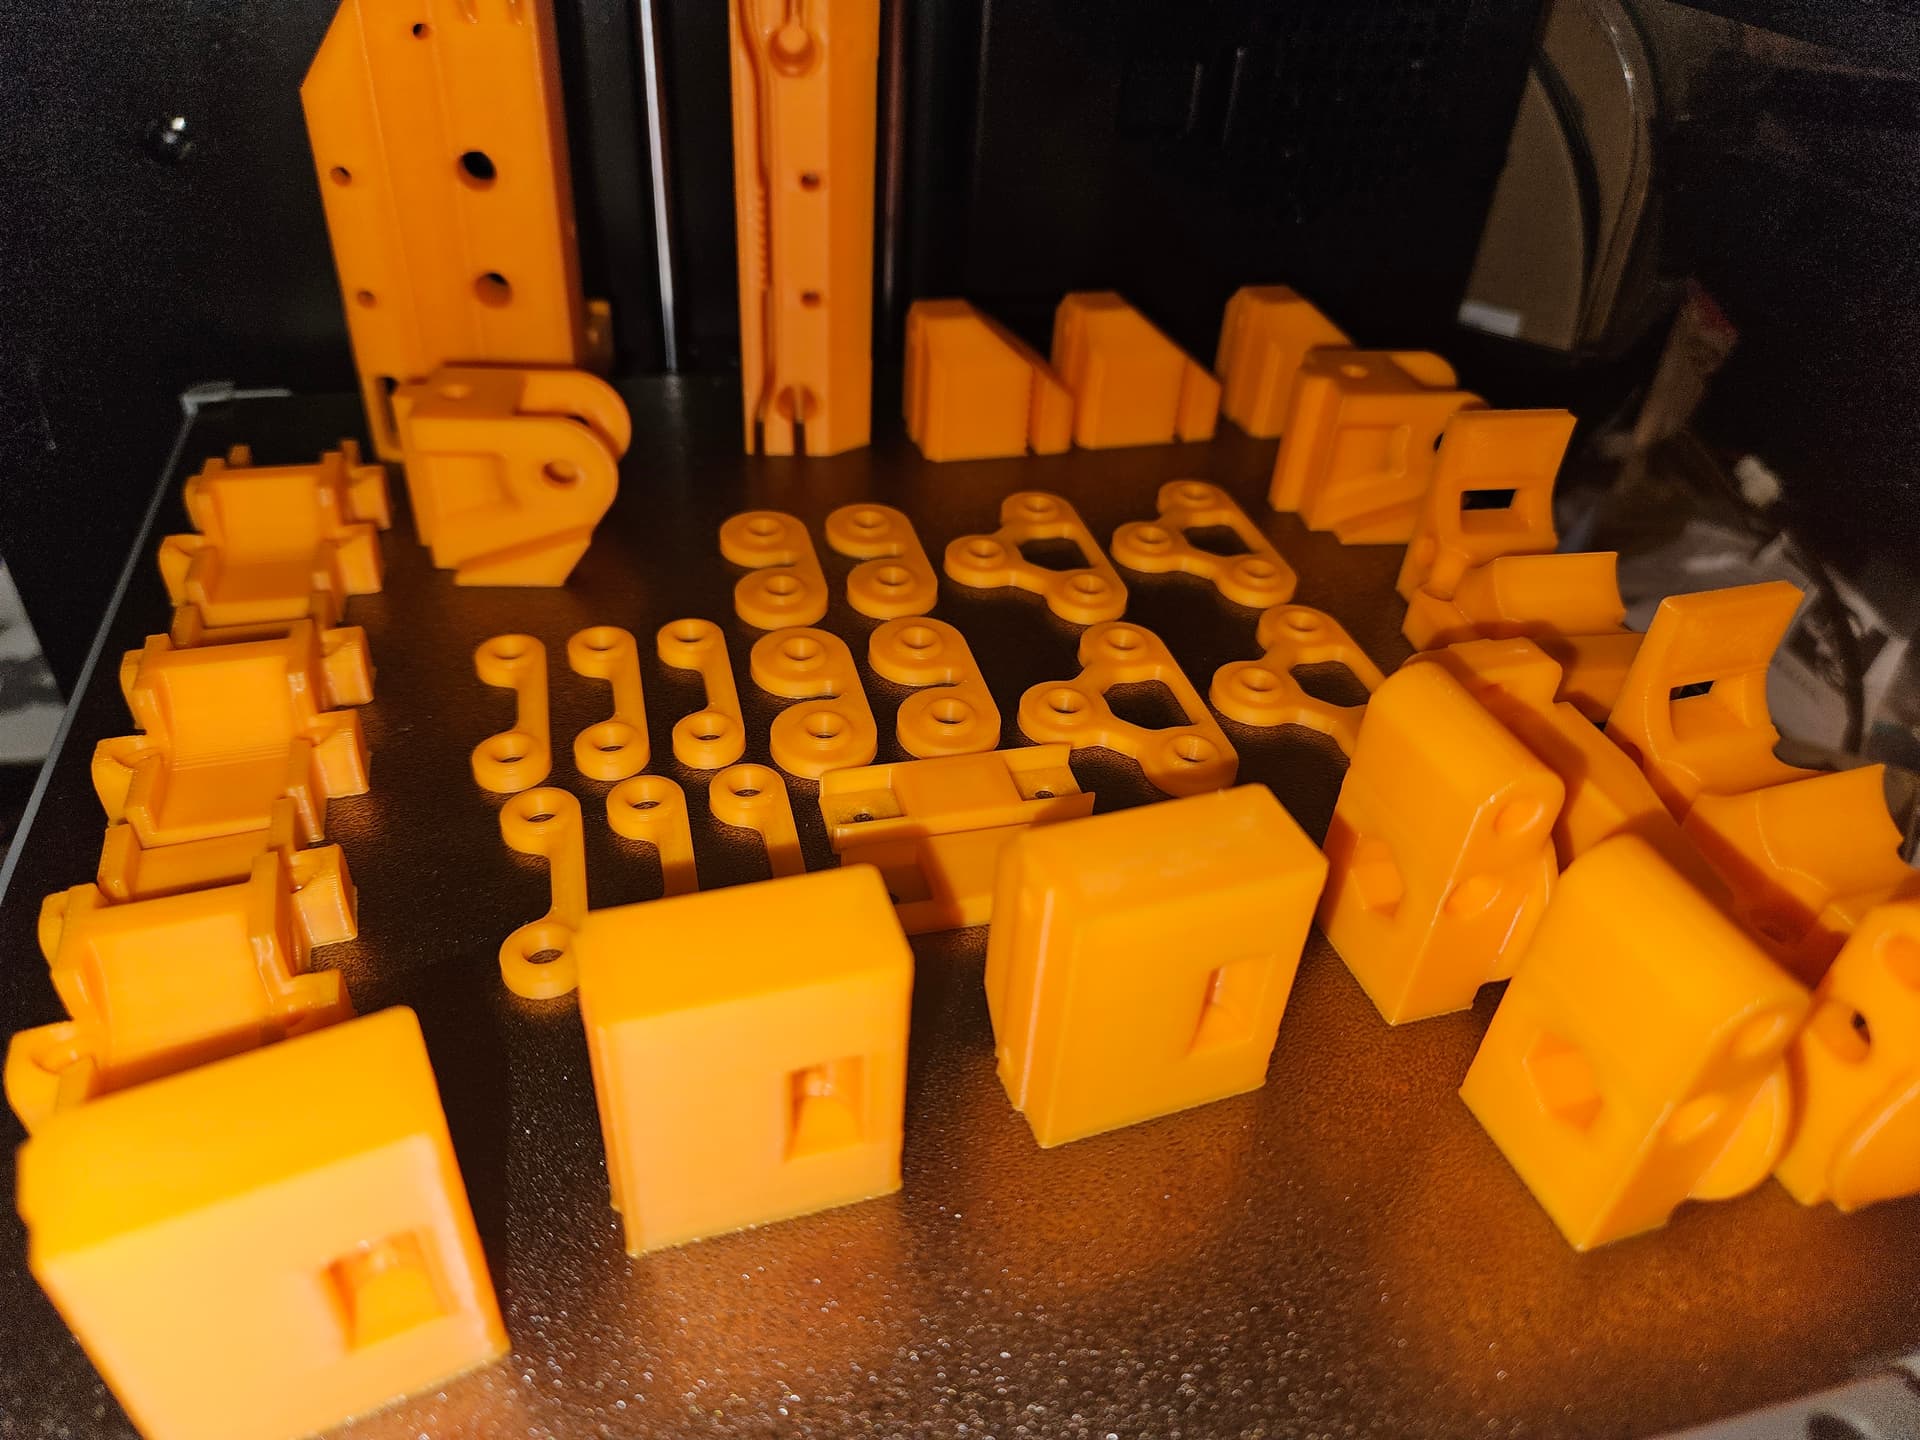
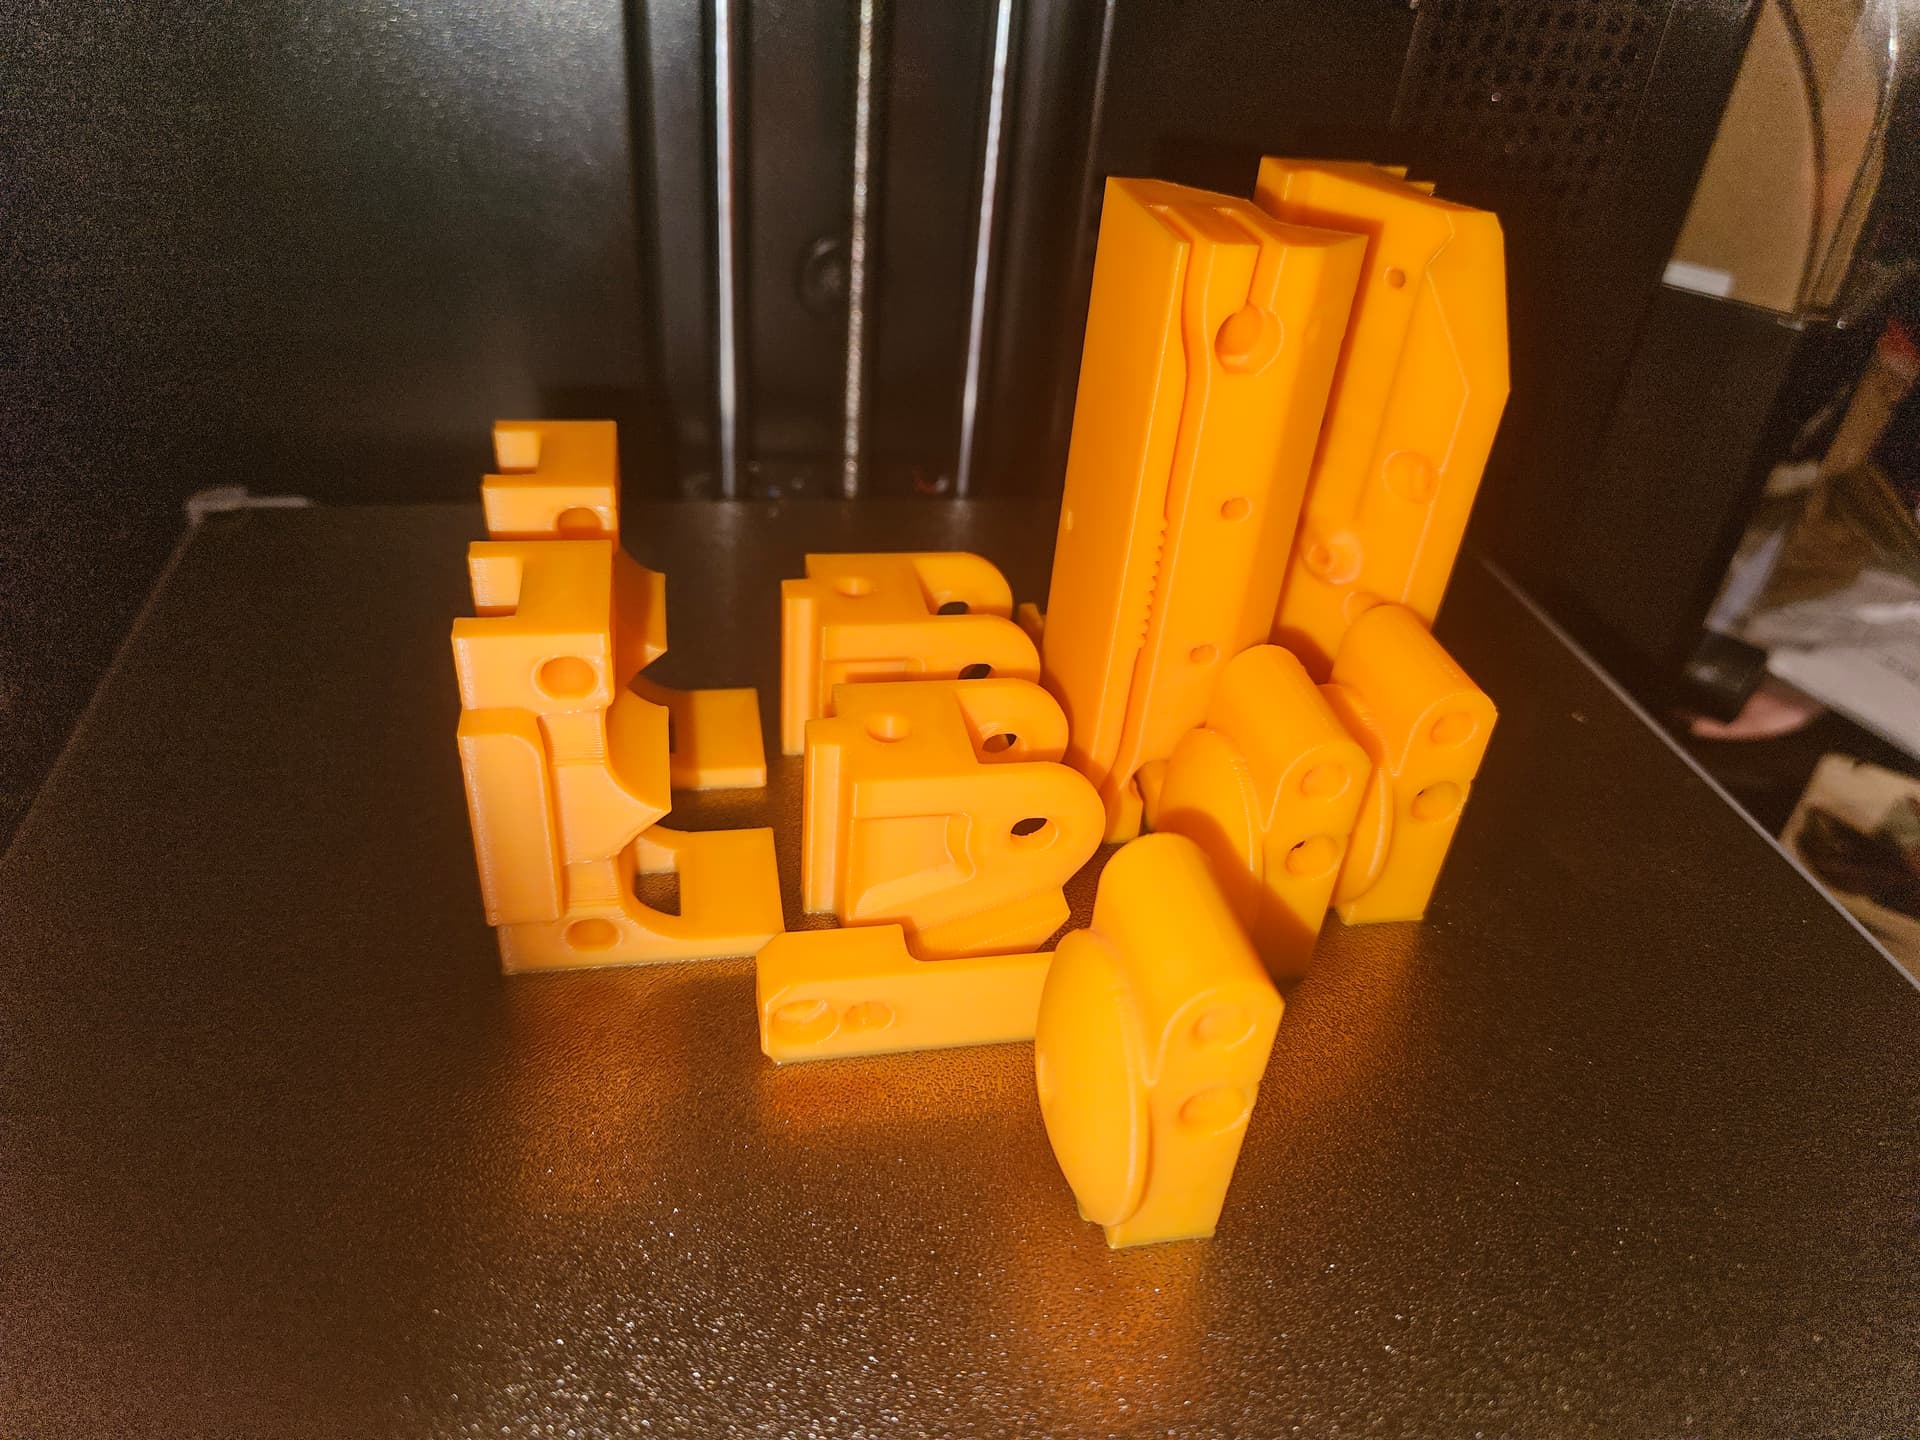
I think that’s the whole set. Now I just need to look up the rail sizes and make a cut list for the parts.
Well, and gird the loins to go cut the aluminium sheet.
6 MGN12H rails are going to cost a bit. I also need the CANbus toolboard, but that has to come from a specialty supplier, so will take longer.
6 Likes
Wow, I found my box of parts for this and looked up the thread… This has stalled hard.
Looking at the box, I have all of the printed parts, a Duet control board, the 1LC CANBUS tool board, the extrusion and connectors, the Hemera, the aluminum parts, and even the linear rails, just none of it is assembled.
I may have to shave a bit off of the extrusions, they were supposed to be cut exactly to size, but I think a few were a fraction of a mm too long. I had some ideas about panels that turned out to be less good than they might have been, too. I will need to cut a couple of those MGN12H rails for an “as designed” build, which is the plan. Well, maybe a bit taller, as that doesn’t hurt anything, make for a 300mm cube build envelope with 350mm Z rails.
Finally getting back to all of the projects I put into mothballs last year. Not sure where to prioritize the printer, but with the investment in parts, it’s got the highest sunk costs, so I should probably at least have something for the money…
4 Likes
Glad to see I’m not the only one dusting off old projects! Looking forward to seeing your build come together!
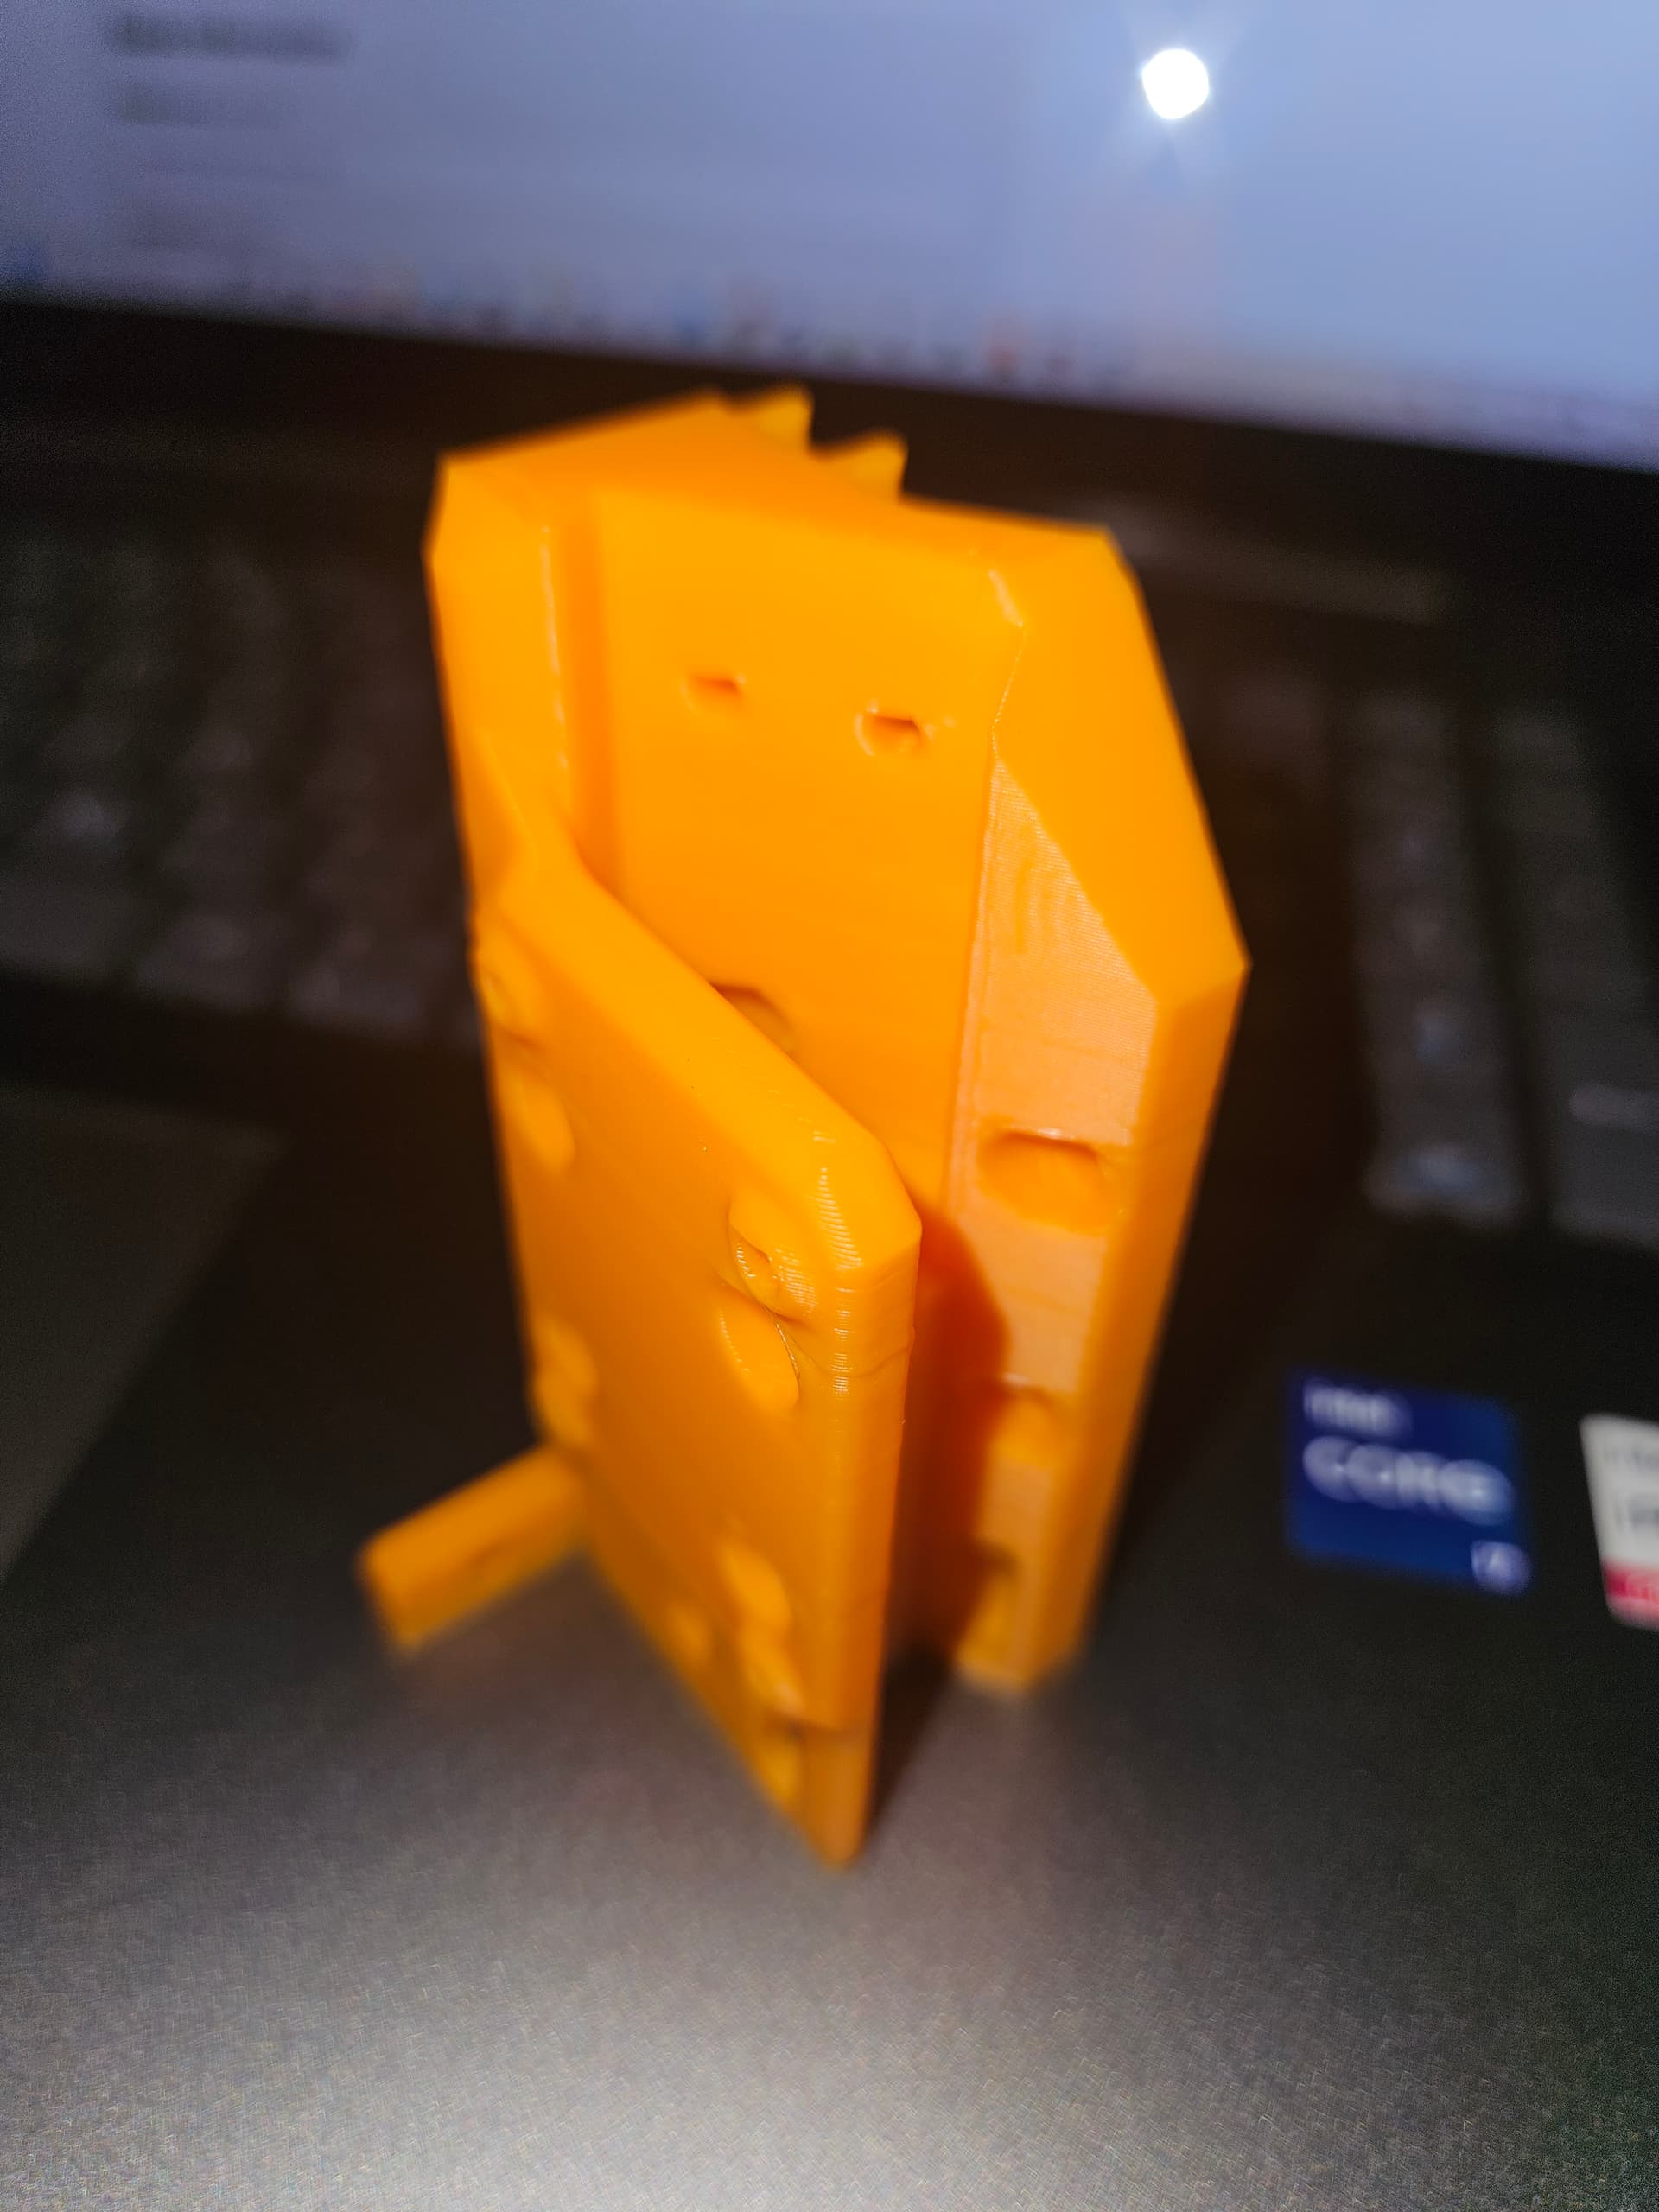
So I was looking at all my printed plastic bits, and realizing that I have a different tool board.
I will be using a Duet 1LC tool board, which operates over CANBUS and has an accelerometer and can handle thermistor/PT1000 sensors, a heater circuit, a couple of fans, and a BLTouch, basically 4 wires to the print head for everything necessary. Cool.
But it doesn’t fit on the core.
The plain Hemera head might sort of work, but it’s not a great solution. The accelerometer one doesn’t match the hole pattern.
Well, the 1LC is supposed to mount pretty much directly onto the Hemera, but
- The fan/BLTouch use the front mounts, and
- The board I have is the new revision, which has a smaller mount. I guess the Hemera has a new smaller version, with mounts at 23mm × 35mm spacing instead of the 35mm square.
So…
A remix it is.
The CAD that I downloaded only has the H2 hot end parts, not the Hemera parts at all, and those aren’t with the accelerometer, so I downloaded the Hemera parts, but that means importing them into Fusion as meshes, which is a bit ugly… but workable.
I thought the accelerometer version would be easier to start with, but it really isn’t. I gave up on that one and started over.
I did use pretty much the same idea as the accelerometer board, just made it fit the 23mm × 35mm mounting footprint for the board that I have. Posted up the remix on Printables as a remix of the V5.
Still making progress on this stalled project, even slowly and not steadily.
I might even still make it for a single digit serial number though, which just means thst people aren’t claiming serial numbers, ![]()
2 Likes
well, for a first, I actually cut the 375mm MGN12H rail today, too. I’ve never actually cut one before, I always just rounded upwards in order to use the next easily available size, but since the aluminum plate parts are specific to the size, this time, I cut.
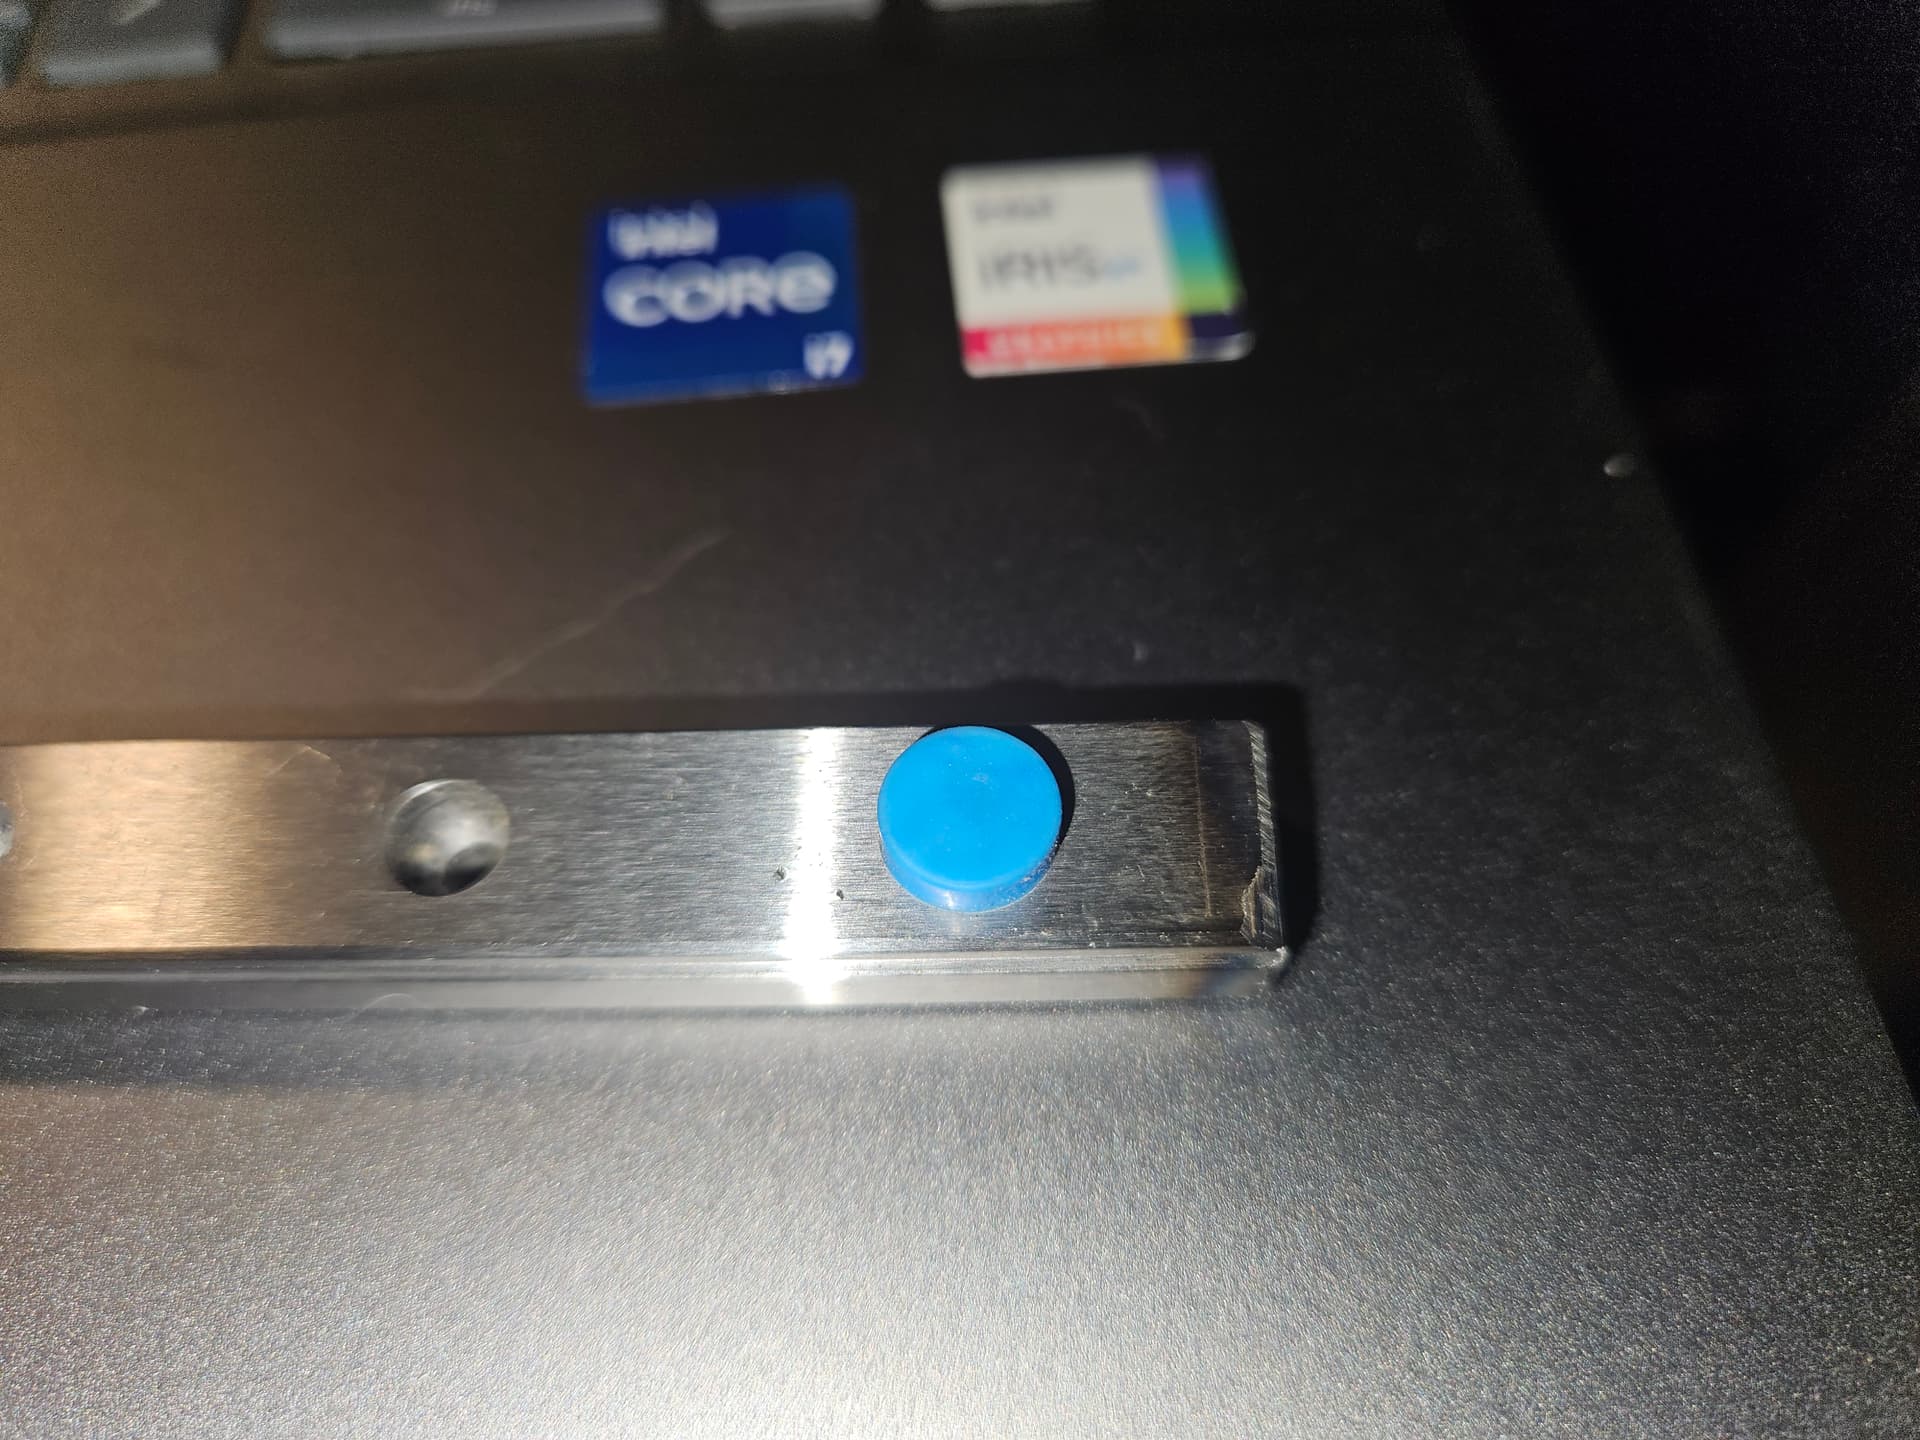
The abrasive saw duscoloured the rail for a few mm, but it seems smooth. I ground off the sharp edges, too.
Not quite building “as designed” since Ill be using longer Z rails, looking for 300mm cubed build volume.
3 Likes
Cheers for sharing how your build is evolving. My MP3DPv5 is still non existent. Am projecting here, but consider ensuring size is large enough for you/friends/family shoe size…
")
2 Likes
If your feet don’t fit diagonally on a 300mm build plate, you have some big feet!
1 Like
If you can’t print a shoe across a 300mm build cube… wait. I know that guy…
Well, the next step will be to cut the panels. I had some trouble with the LR4 levelling, so I spent some time going across the LR4 getting the Z levelled out. The difference between left and right Z height is now within the range of measurement error with the touch plate, in the size that the panels need to be, so I don’t anticipate problems with the through cuts in 1/4" panels.
4 Likes
Well, I cut back and side panels, forgot that I cut 2040nextrusion for the front uprights, so yherd will be some exposed onvtye front outer corners. Oh well.
Gif the back and left side together. Forgot one captive nut (that I figured outcalready) for the bottom nut tensioner. Oops. Well I bave some nuts I can put in after.
Progress at long last!
3 Likes
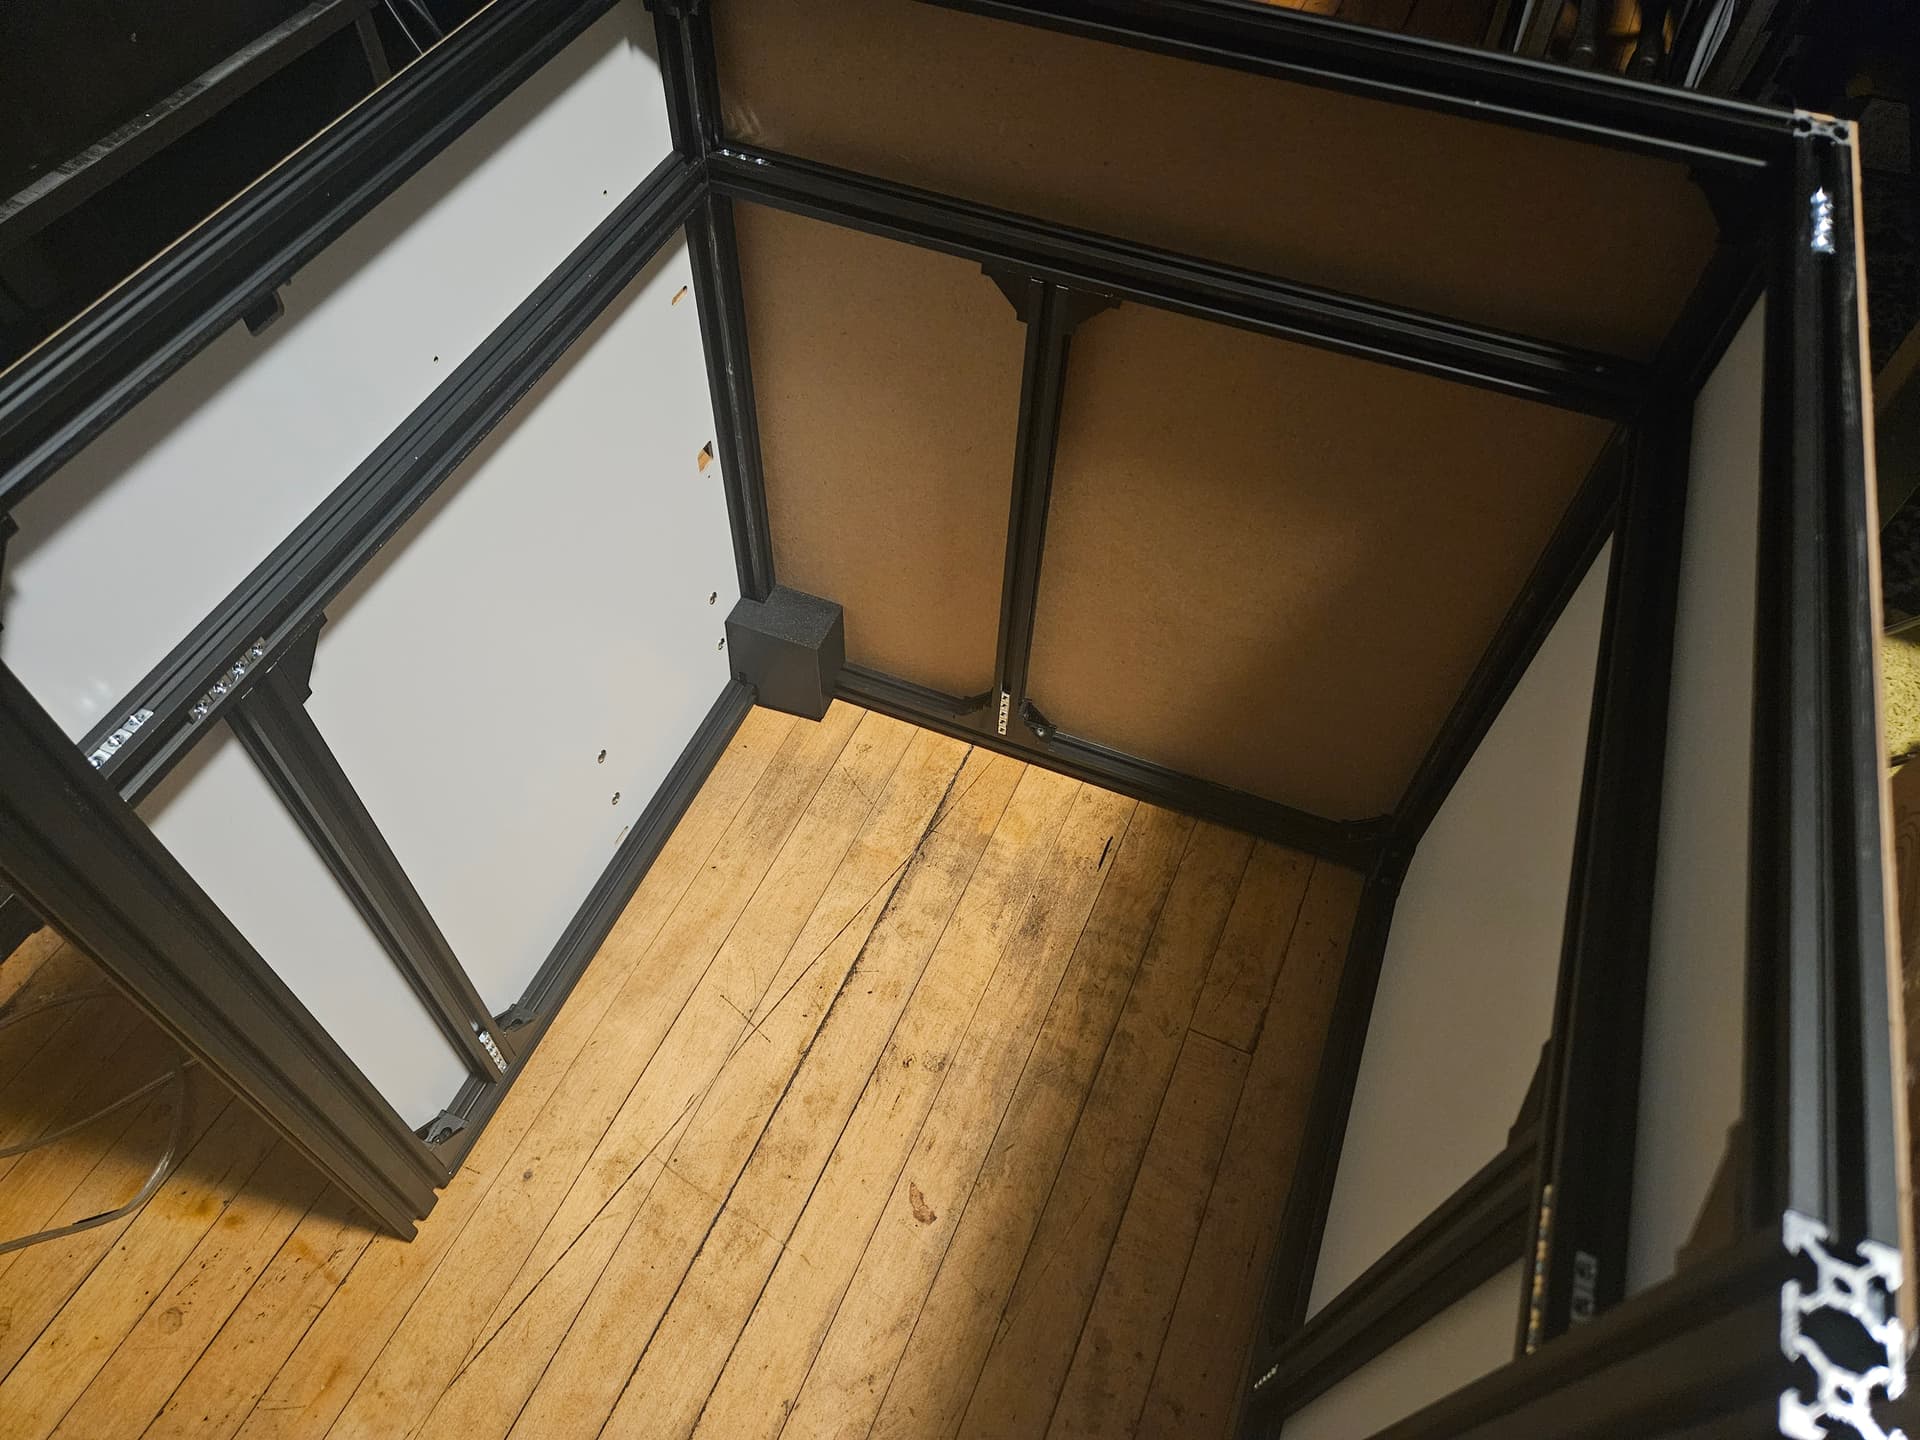
… is big.
I figure it’s a good thing that I have some M3 size nuts that I can fit in after the fact. I keep finding places I should have put in nuts, but did not.
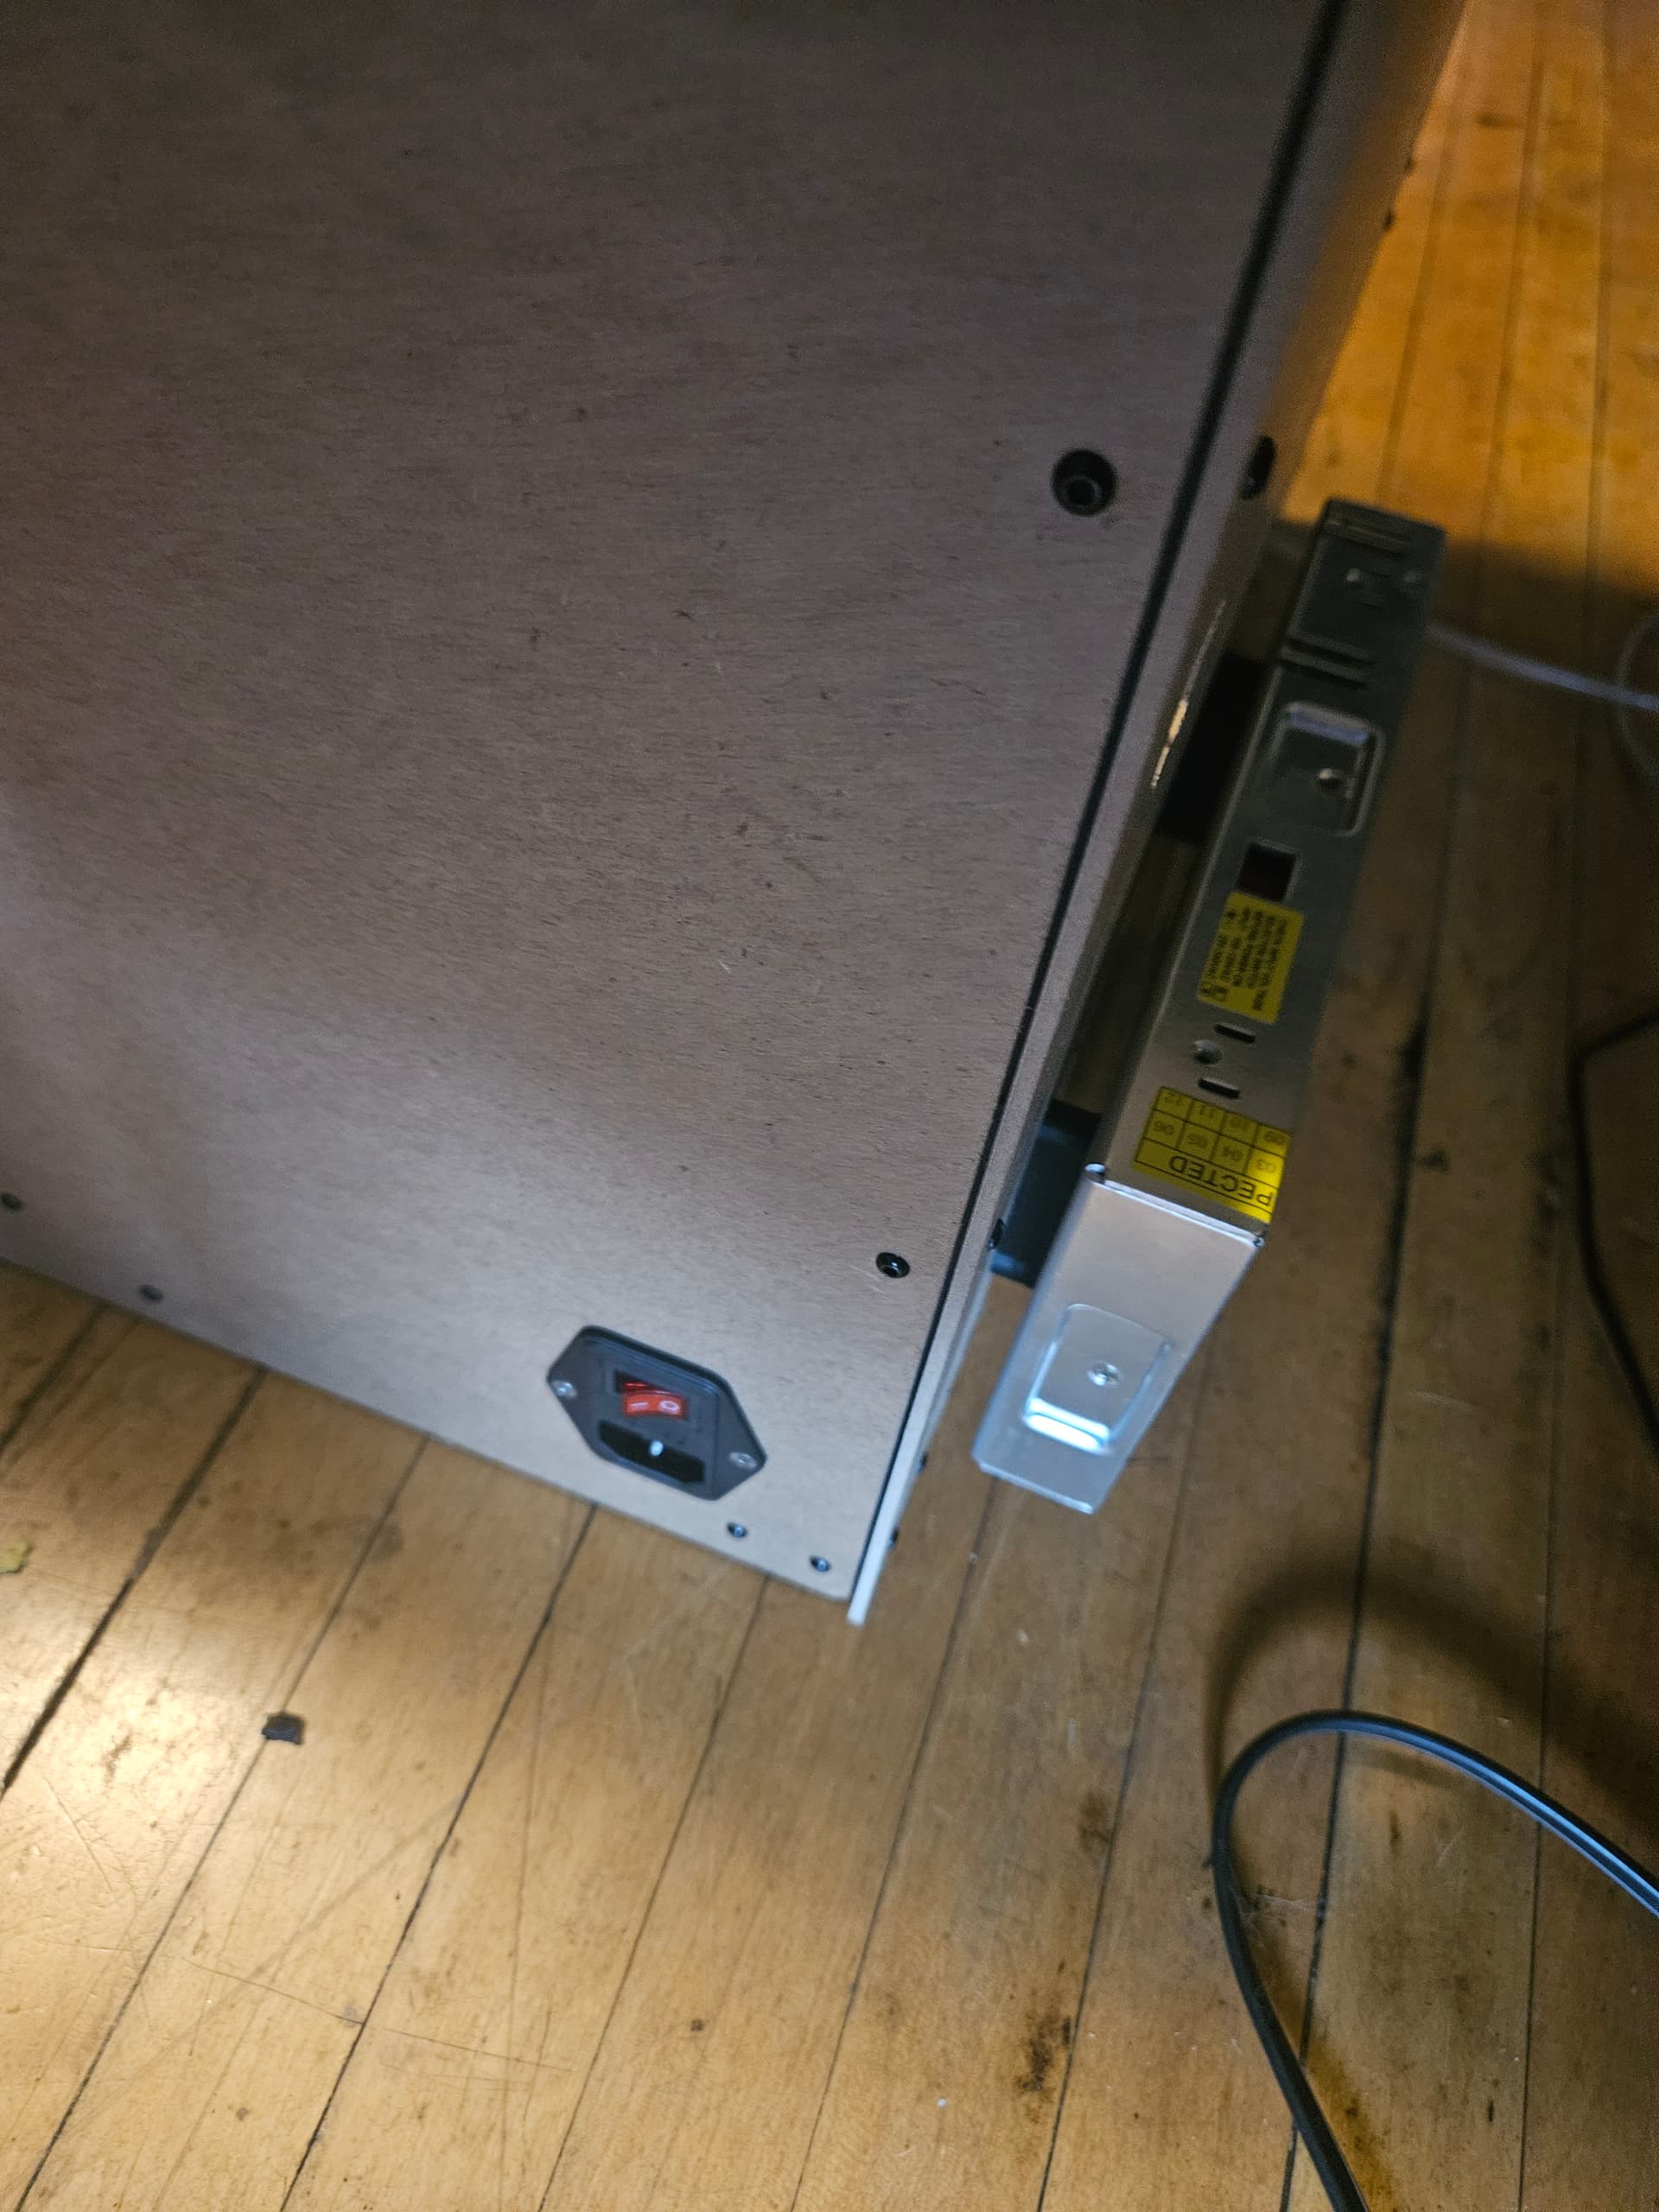
The little black box in the corner hides a power entry/switch thingy. Looks like it will do the job well.
3 Likes
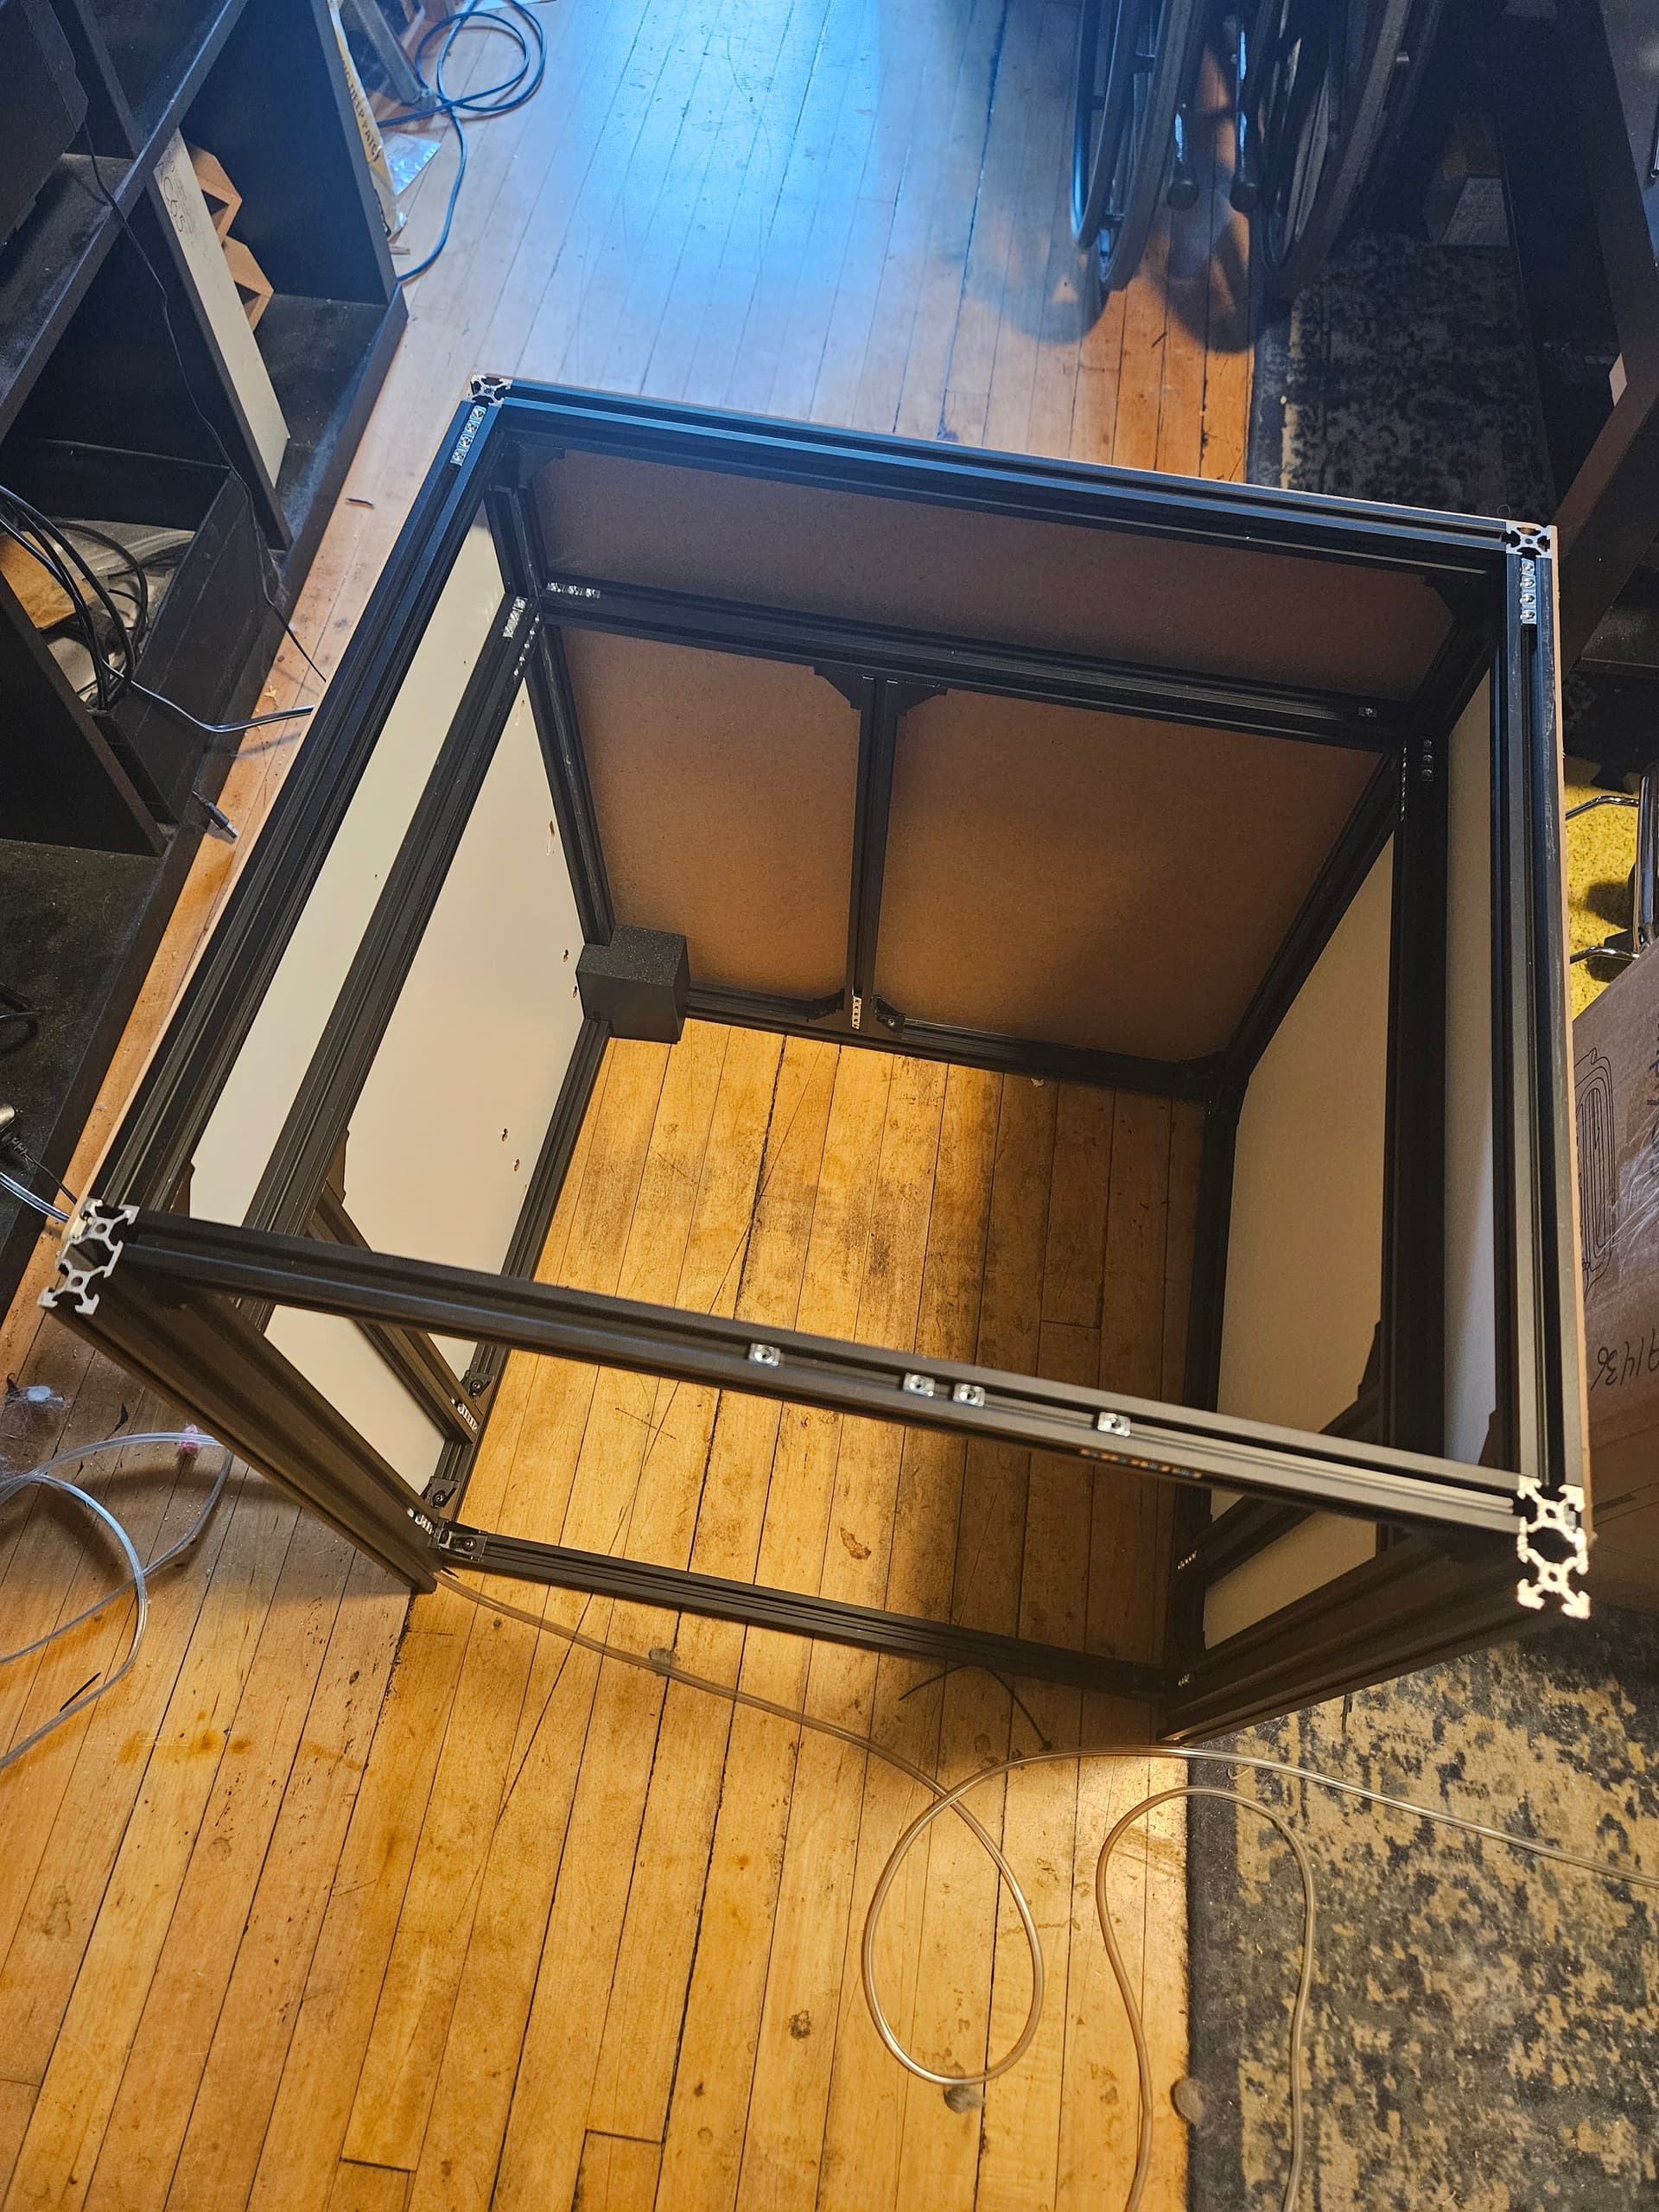
So I still need to put bottom and top panels on, but the frame is complete.
I will need to modify the front because of the 2040 extrusion, but I think I have a good idea there.
The 24V PSU will sit external, so it can stay cool, even if inside the printer it is hot.
I’m dithering on cutting all.of the wires to the Hemera short to use the Duet 1LC toolboard. I tealizr thst this is one if the key problems with my messy wiring jobs. I never like to cut any wires shorter, even if it really is the best solution., so there is always extra wire getting bundled up in tangled knots. I’m afraid of cutting the wire just a little too short, I guess? Or not leaving enough wire if I want to change something.
Well, that will be one of the last steps. Next will be installing the kinematics and linear rails.
3 Likes
The only time I hesitate to cut a wise is if it has a plug. Otherwise, it is much easier just to snip it.

Well, that’s the Z axis belts, linears and motors. Lots of interruptions today, so work went slow, but progress was made.
3 Likes
You are making me want to build another one. Looking real good so far.
3 Likes