I started my build this January 1 and am just so very impressed with the design as well as this Forum.
When I was working in product development, once in a while, a design would emerge that was not only functional but actually “Elegant” we would say. Meaning simple, but right to the design requirement’s. That is the Primo to me,.
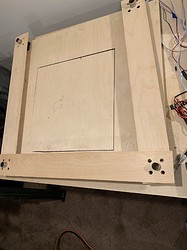
Once I printed my Crown (who would think it would be so exciting) I decided to make a proper top. Three 30" square sheets of 19mm Baltic Birch.
2.25 inches thick glued together of Birch Ply.
I actually stressed going to sleep thinking about the remounting or the four corners. The one and only part of the build I found tedious…the controls stressed me but that was my ignorance so was fun.
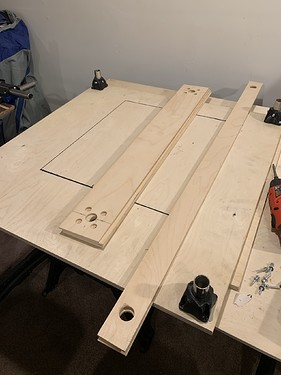
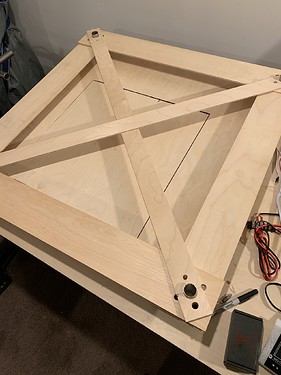
So I thought this idea that I nick named “Bix Sticks” , basically super simple battens or sticks that will align to tube post and hold them square. Four for the sides and two diagonals.
I took some 3 ply Birch (about 4mm any thin stock would do) and ripped them to 3 or 4 inches. I have a square design that each leg is 27" apart. Then I laid these four battens out to exactly c/l to c/l 27" and centers punched.
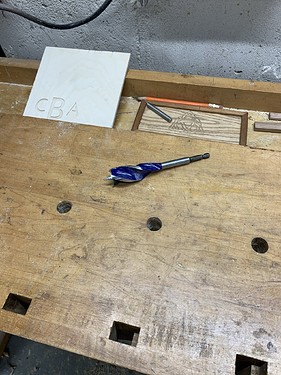
My tubing is 1" SS and I used a great Irwin SpeedBore ($7) bit after clamping all 4 together with a backup scrap to minimize tear out. What is so cool is since you drill all four at the exact same time they may be off 1mm but they are all off same. Sweet…
1"Irwin SpeedBore just used a hand drill.
Then I calculated and laid out the two diagonals. Either calculator or use your favorite CAD. And clamp those also mark and bore. One works but two is ever so sweet when you slid it on. You know your corners are SQUARE and it’s nice when you have to keep them level to slid down the leg tubes.
Note: I used the V1 leg base in the freshly bored hole to shoot four clearance holes for the three screws. I did 4 so I did not have to think about which stick went where.
Also Kreg pocket screws are fantastic. Self drilling and I love the square drive.
Tight as a drum and all aligned. Just position where you want to position then shoot the screws in.
Success! and I can save reuse them if I ever change my table. I measured with my tape the diagonals and they were spot on. They really only took a s short time to make but the remounting on my base was so fast I loved it.
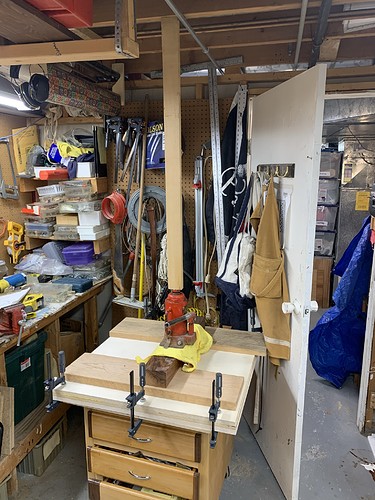
BTW to clamp the three 30" square panels I used yellow glue and to clamp used a bottle jack and some blocking and gently jacked it against the ceiling joist.
Thanks for letting me share…tried to make it short… 
-Craig
