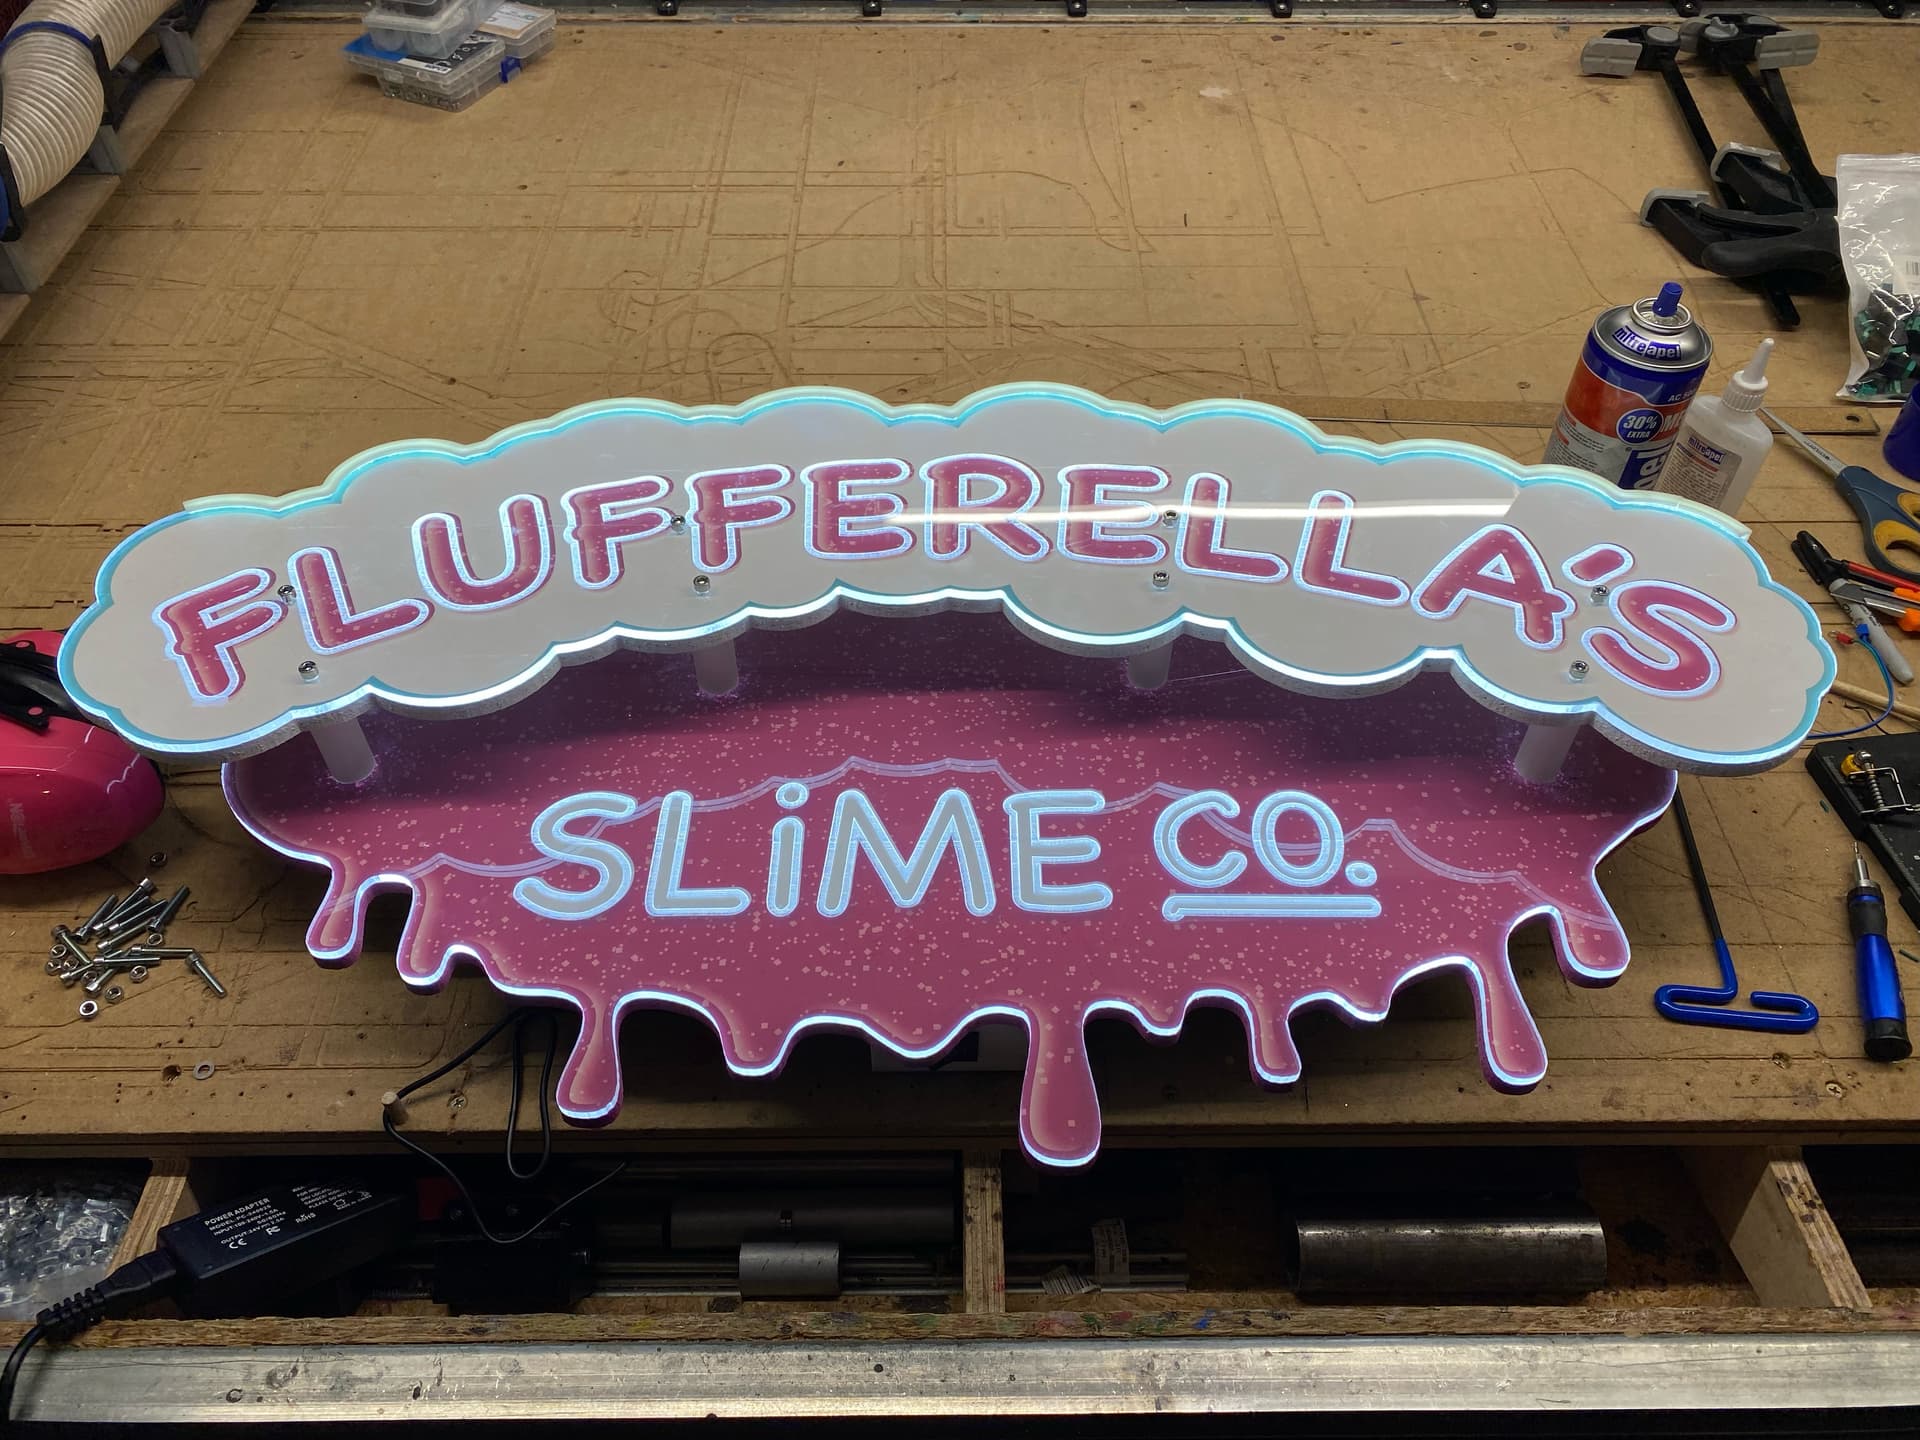
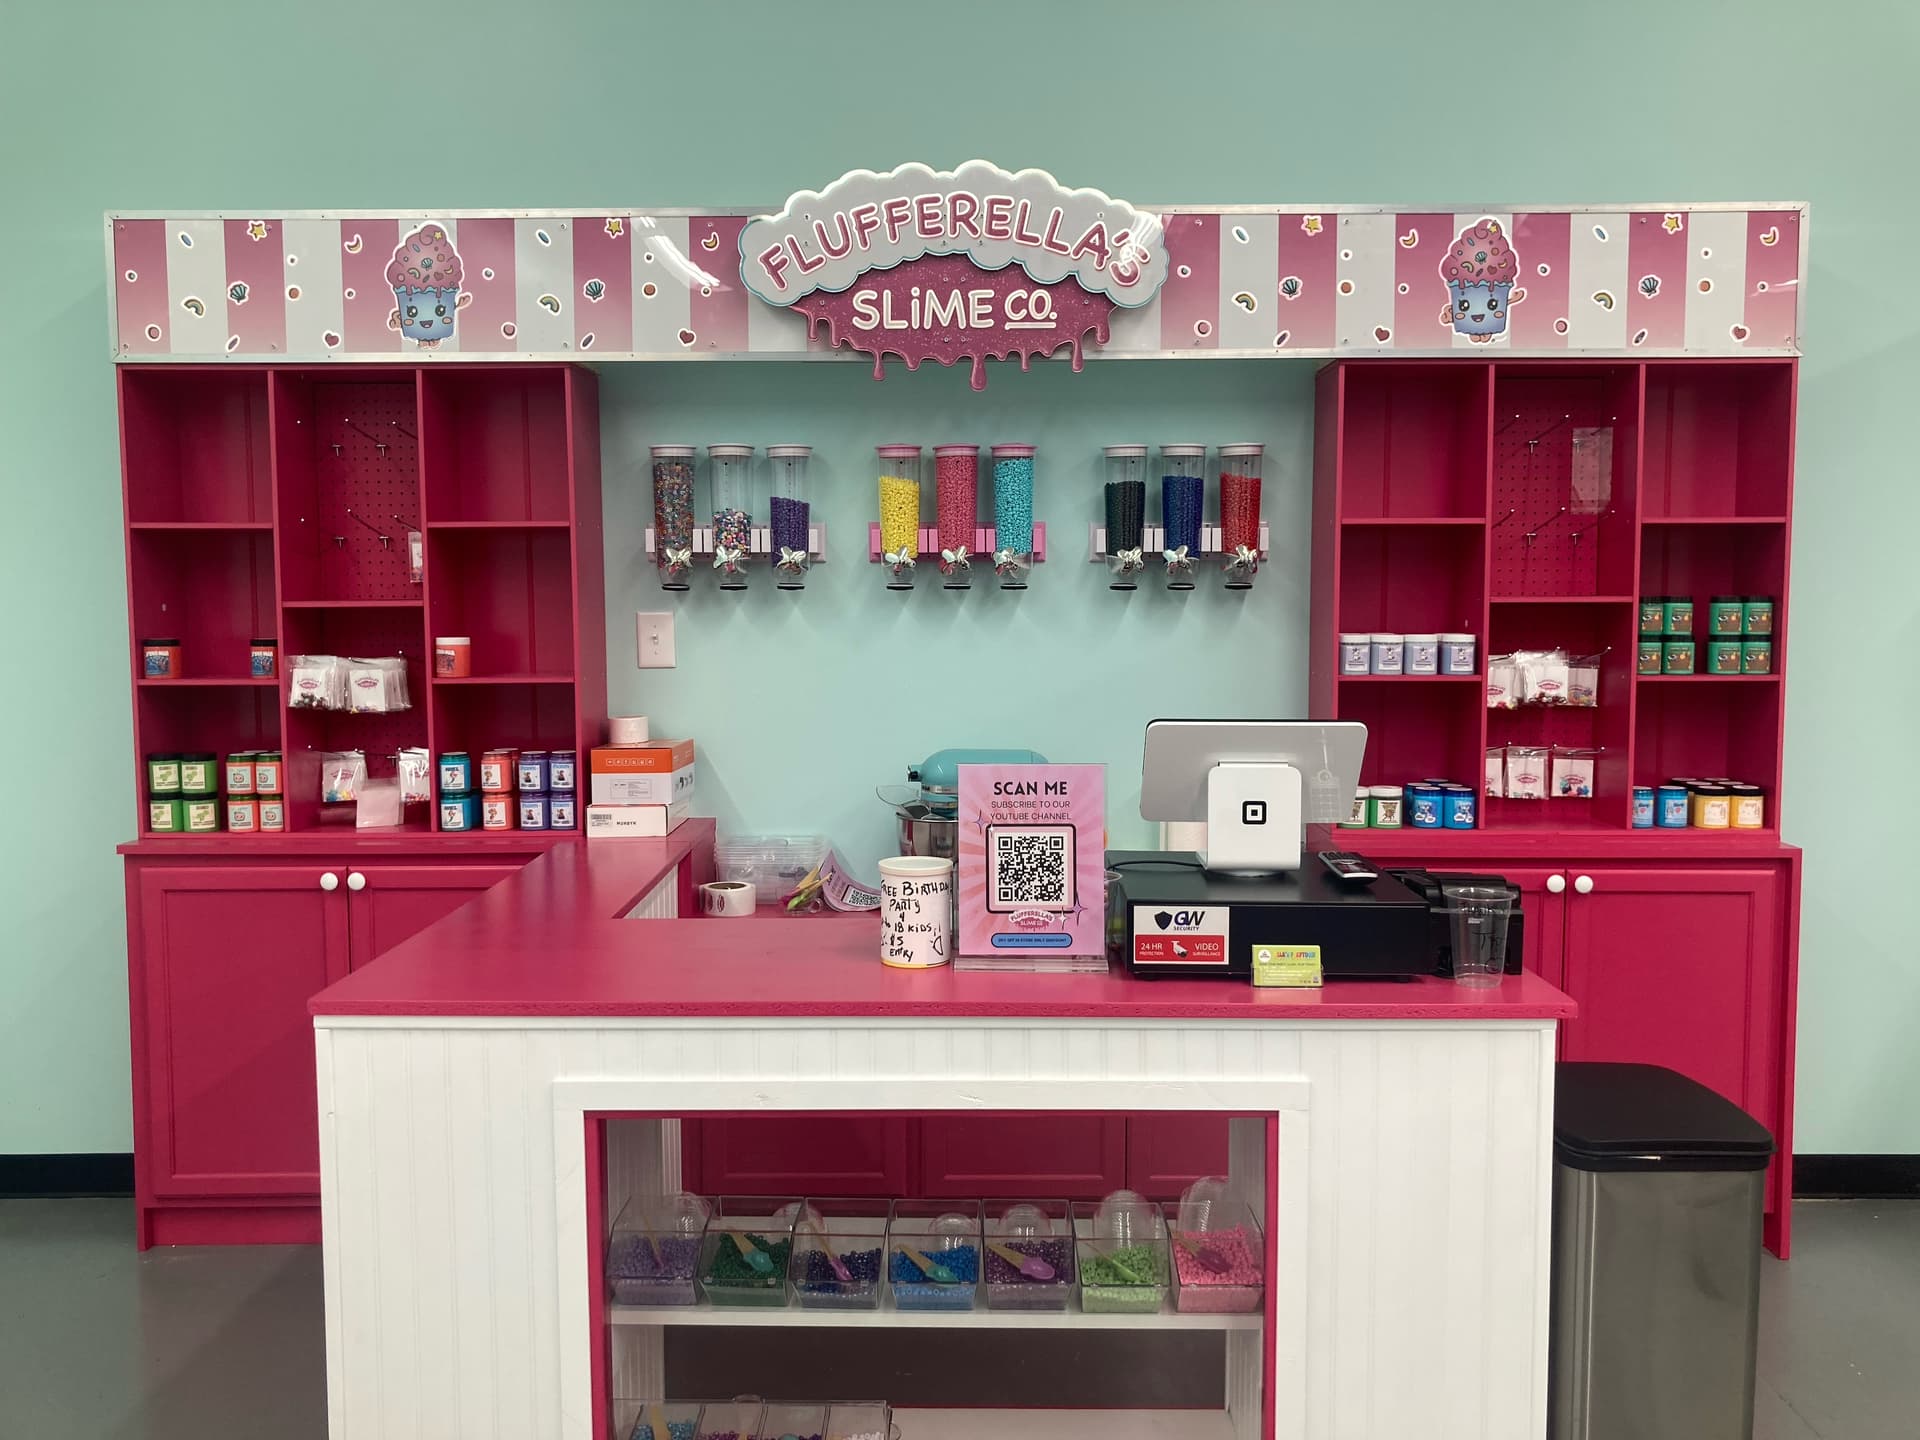
I recently made a short video about one of the signs, but there was more signage plus four sets of “slime dispenser” machines + stands for the dispenser machines.
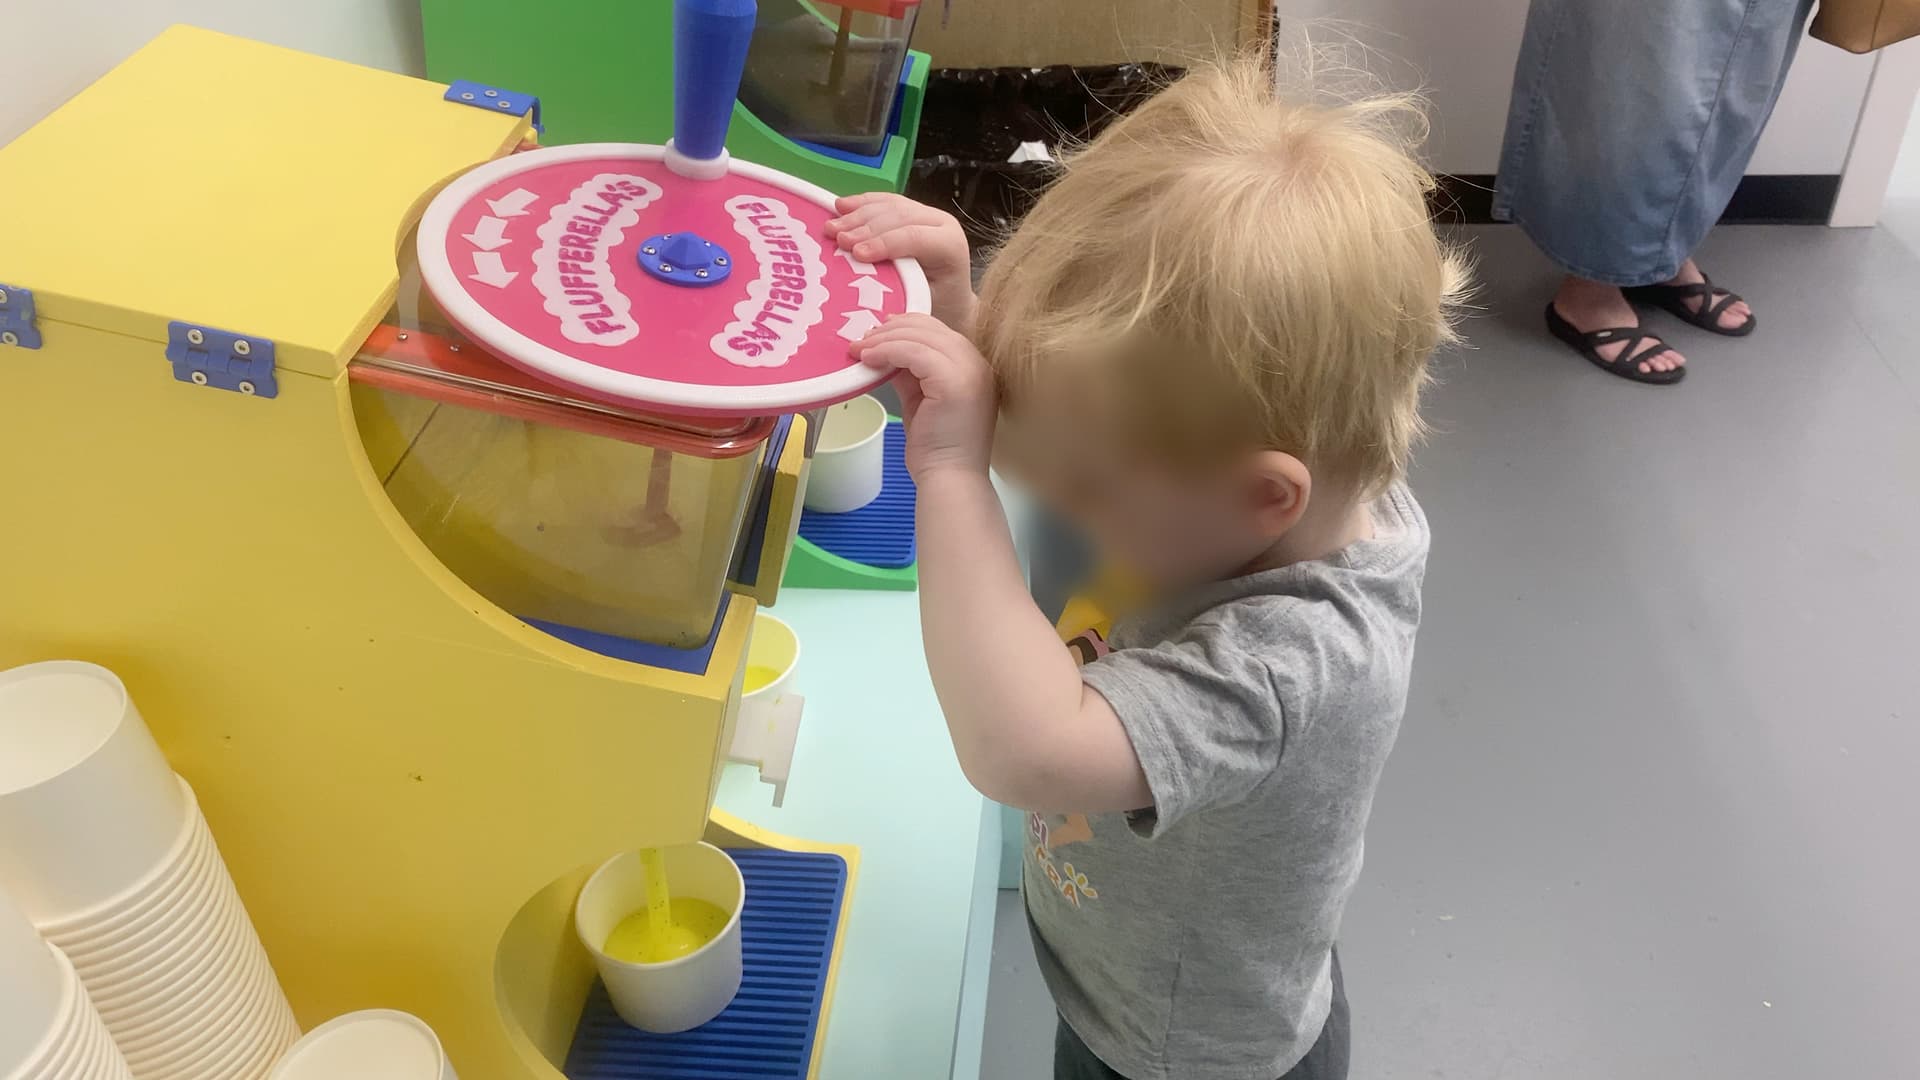
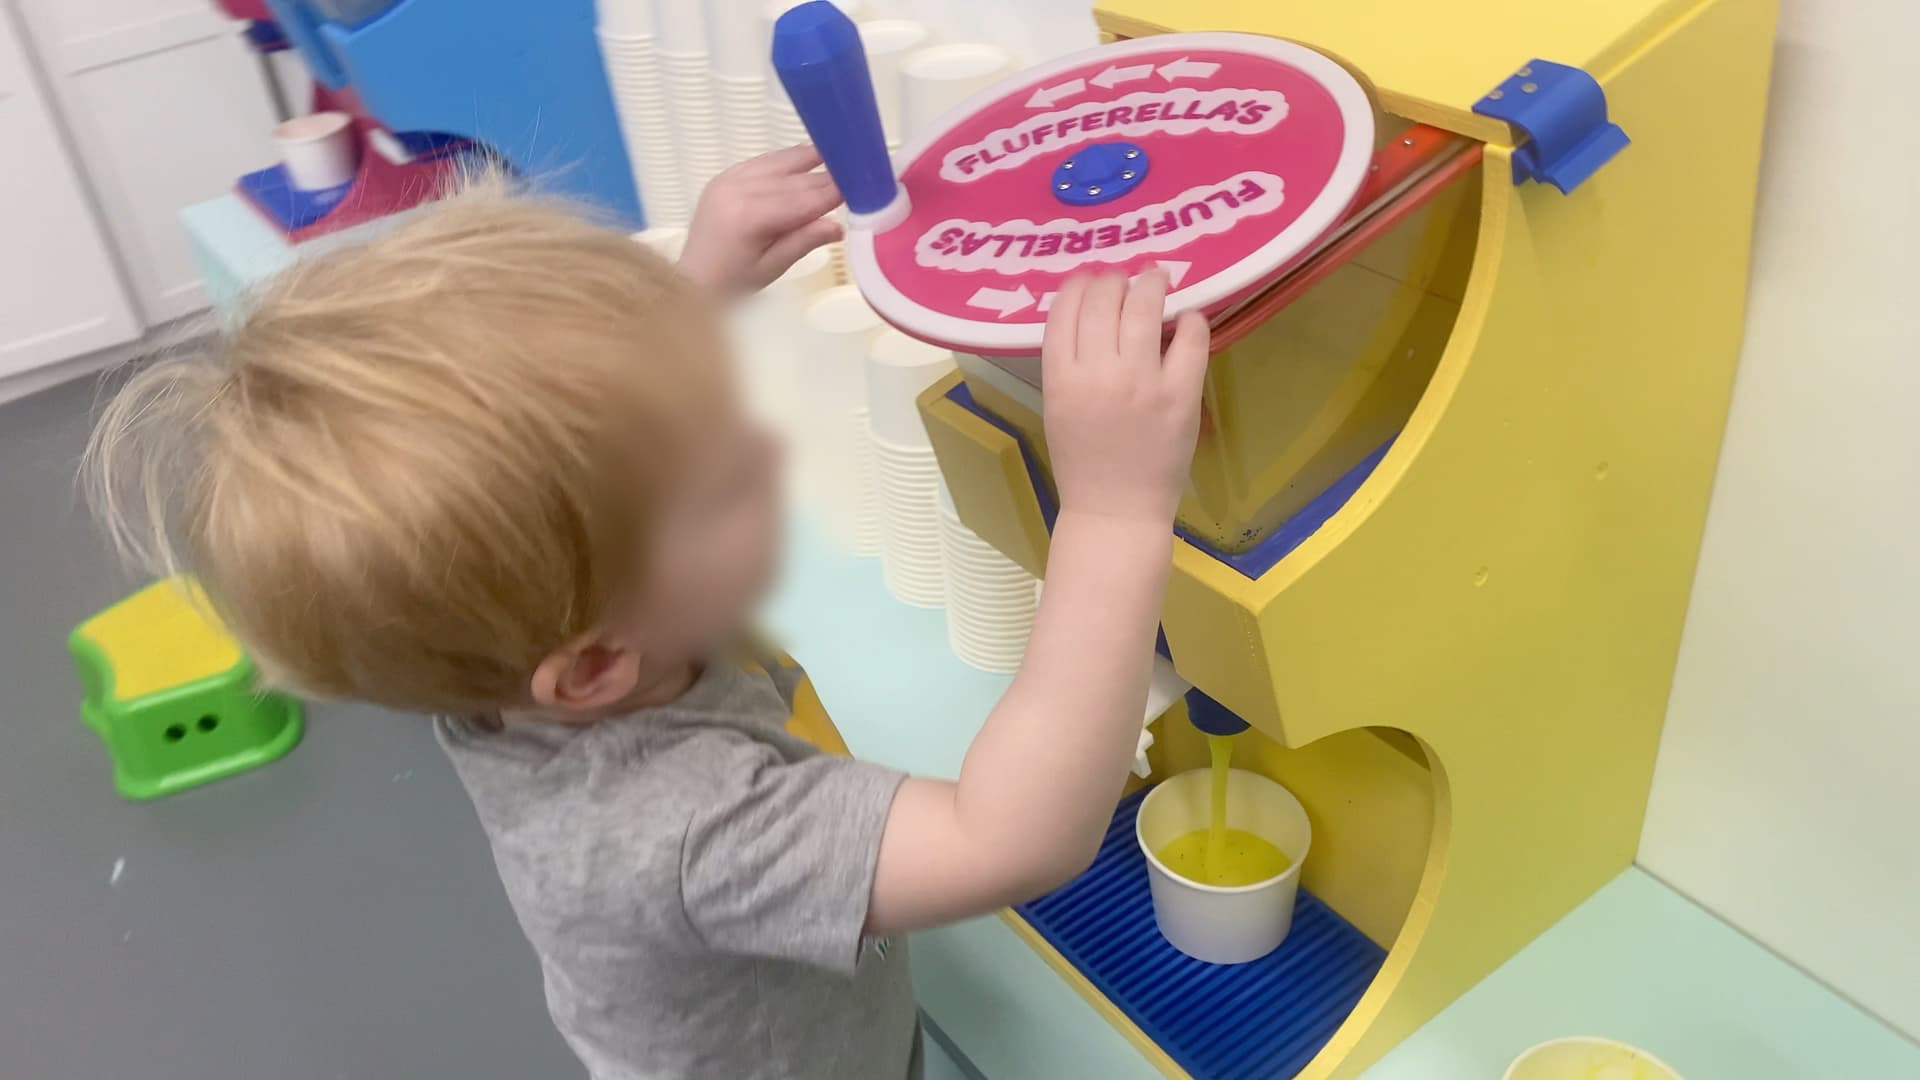
Those are actually 3D printed columns that I designed. They are made to interface with M5 screws, and one of the columns is unique in that it has a second tunnel in it that is not for a screw, but rather is for running electrical wiring.
Yes, I designed and made the dispensers, as well as the stands that hold them. The stand was made of half inch sanded plywood that comes pre-primed. Little bit of extra money on the outlay saves a lot of work on the job. They are assembled with mostly glue /clamps and some screws. It is a mixture of plywood and 3-D printed parts.
The dispenser bins themselves were off-the-shelf acrylic bins, modified with laser cut holes in the base and the lid, and the auger is an off-the-shelf steel auger made for using with a drill for digging holes in a garden.
The auger goes into a 3D printed axial housing that guides the auger through two stacked 608 bearings, and I ground grooves in the auger so that I could attach circlips to it, and the whole crank system is mostly 3D printed with some steel hardware, such as all-thread inside a steel capillary tube in the crank handle.