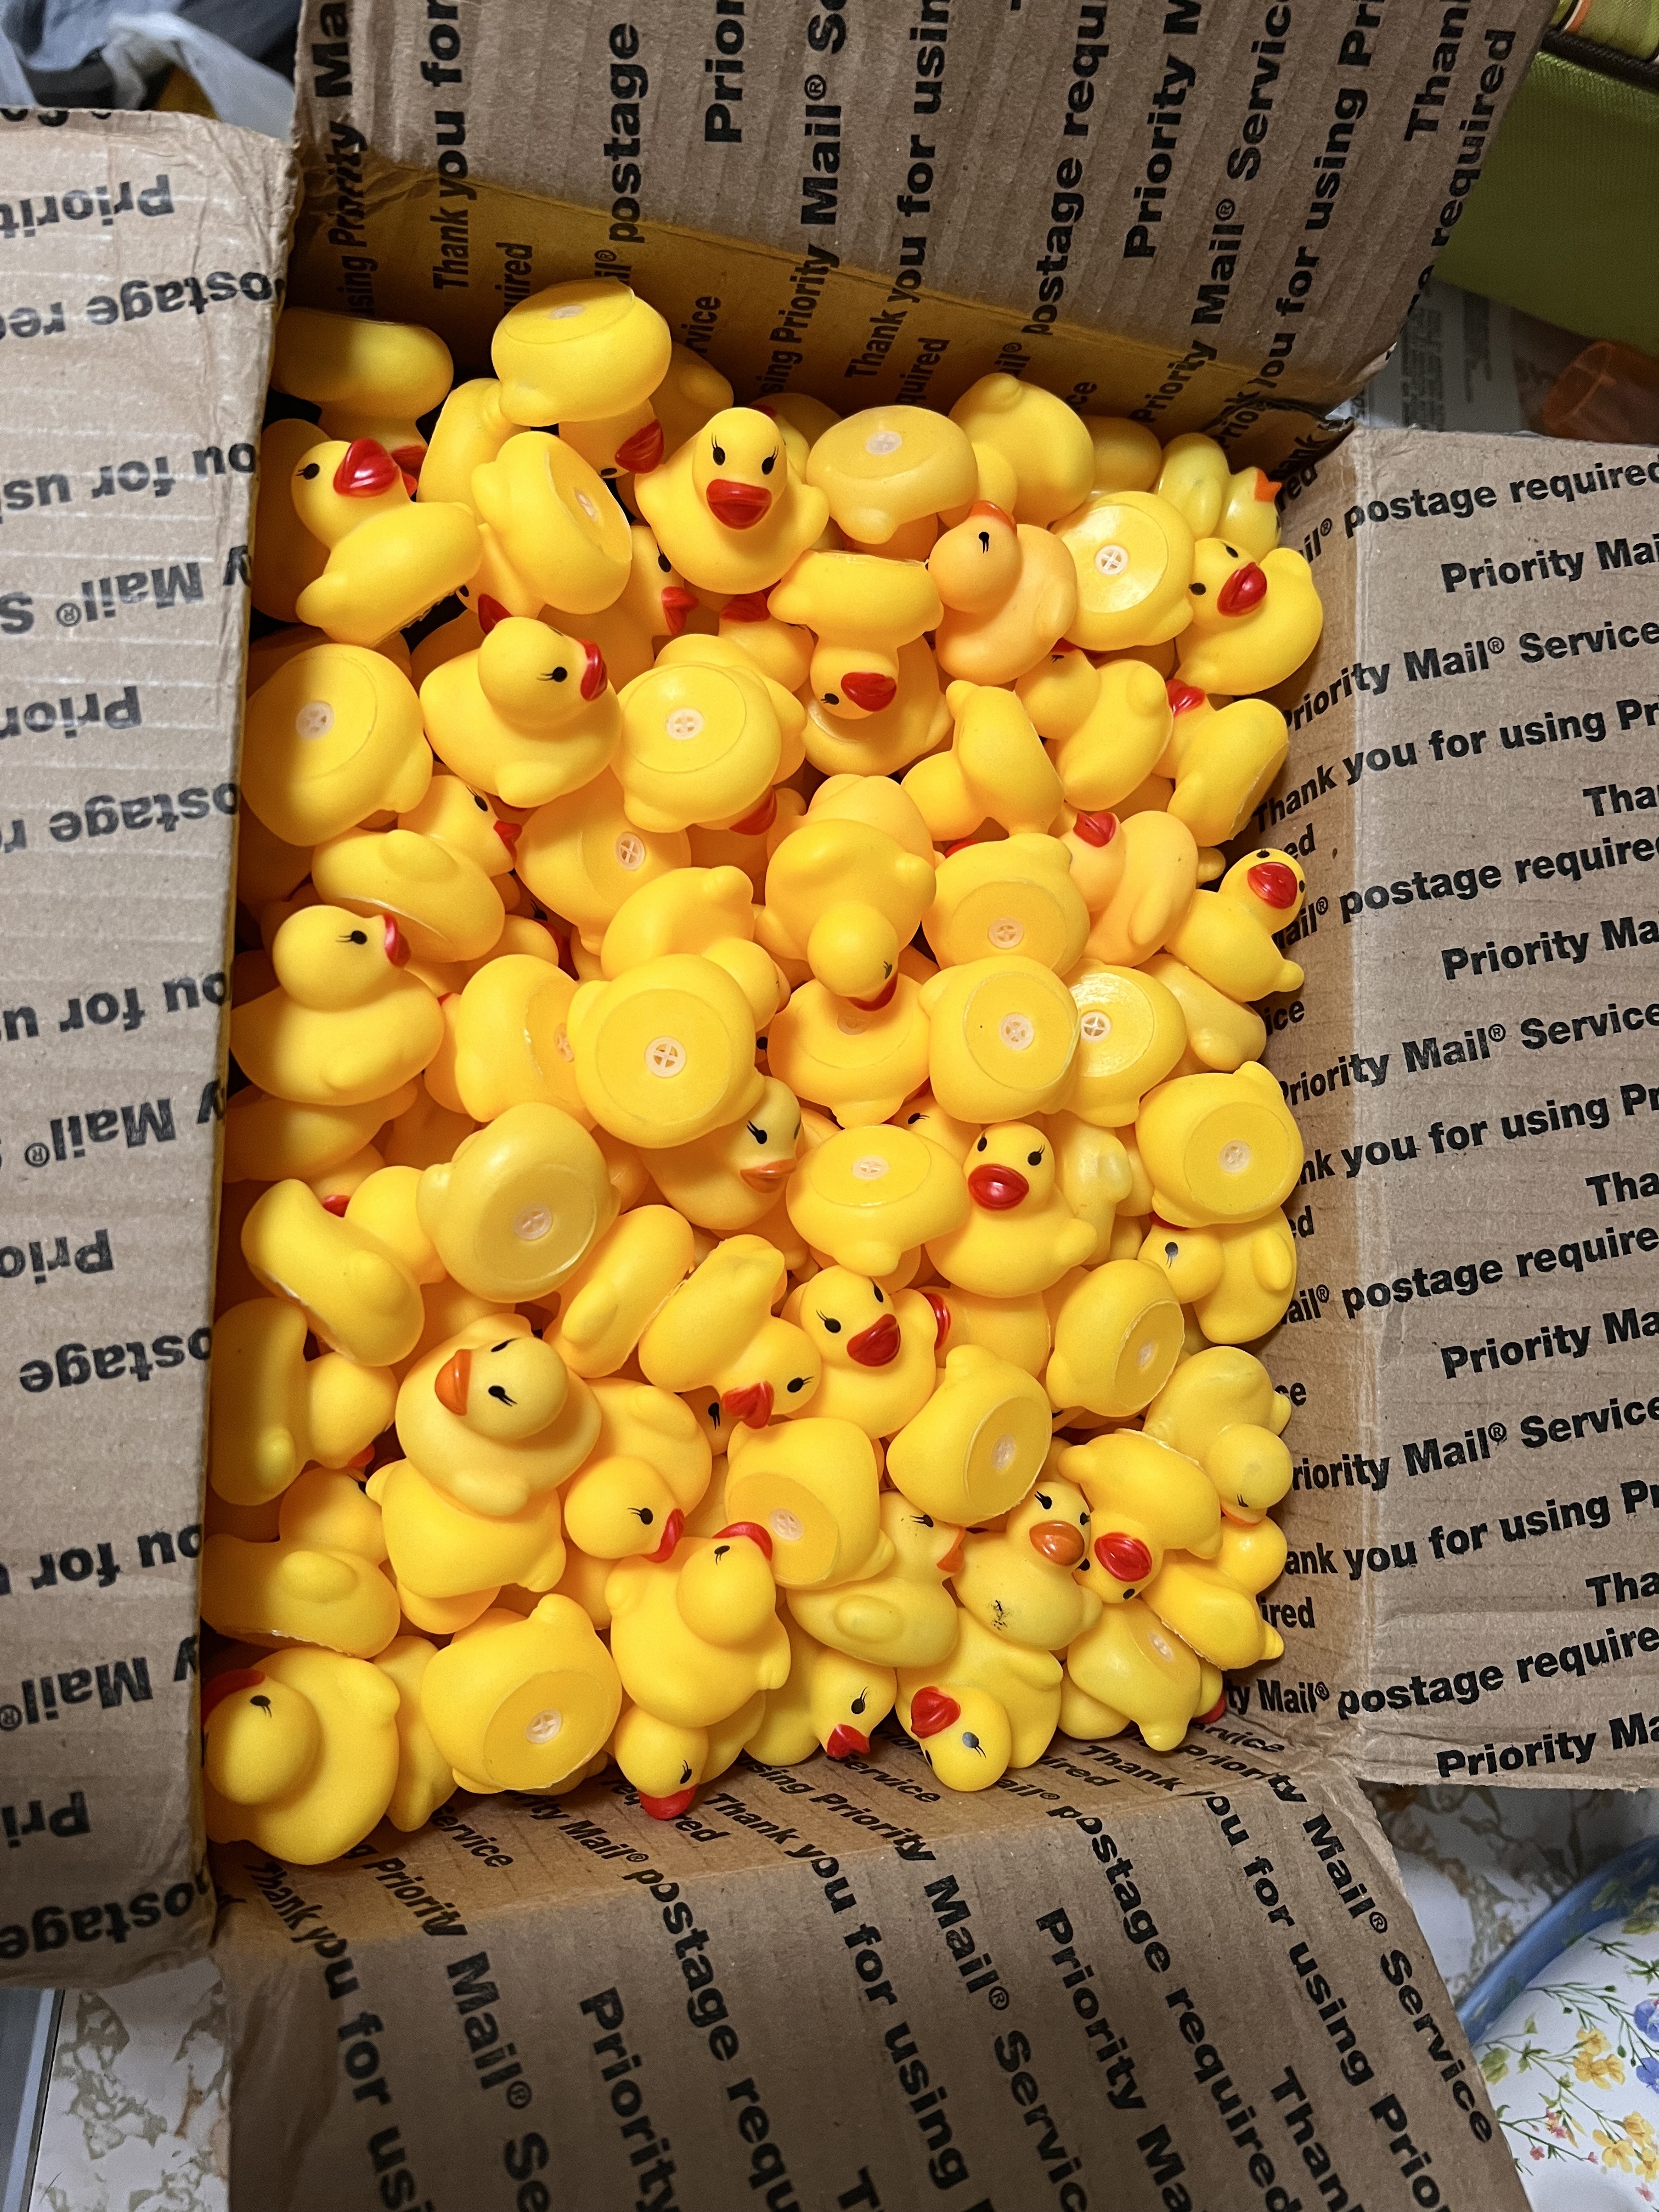
Got 99.8% of the parts printed and ready. I believe the only thing I am missing is the fan/bl touch mount.
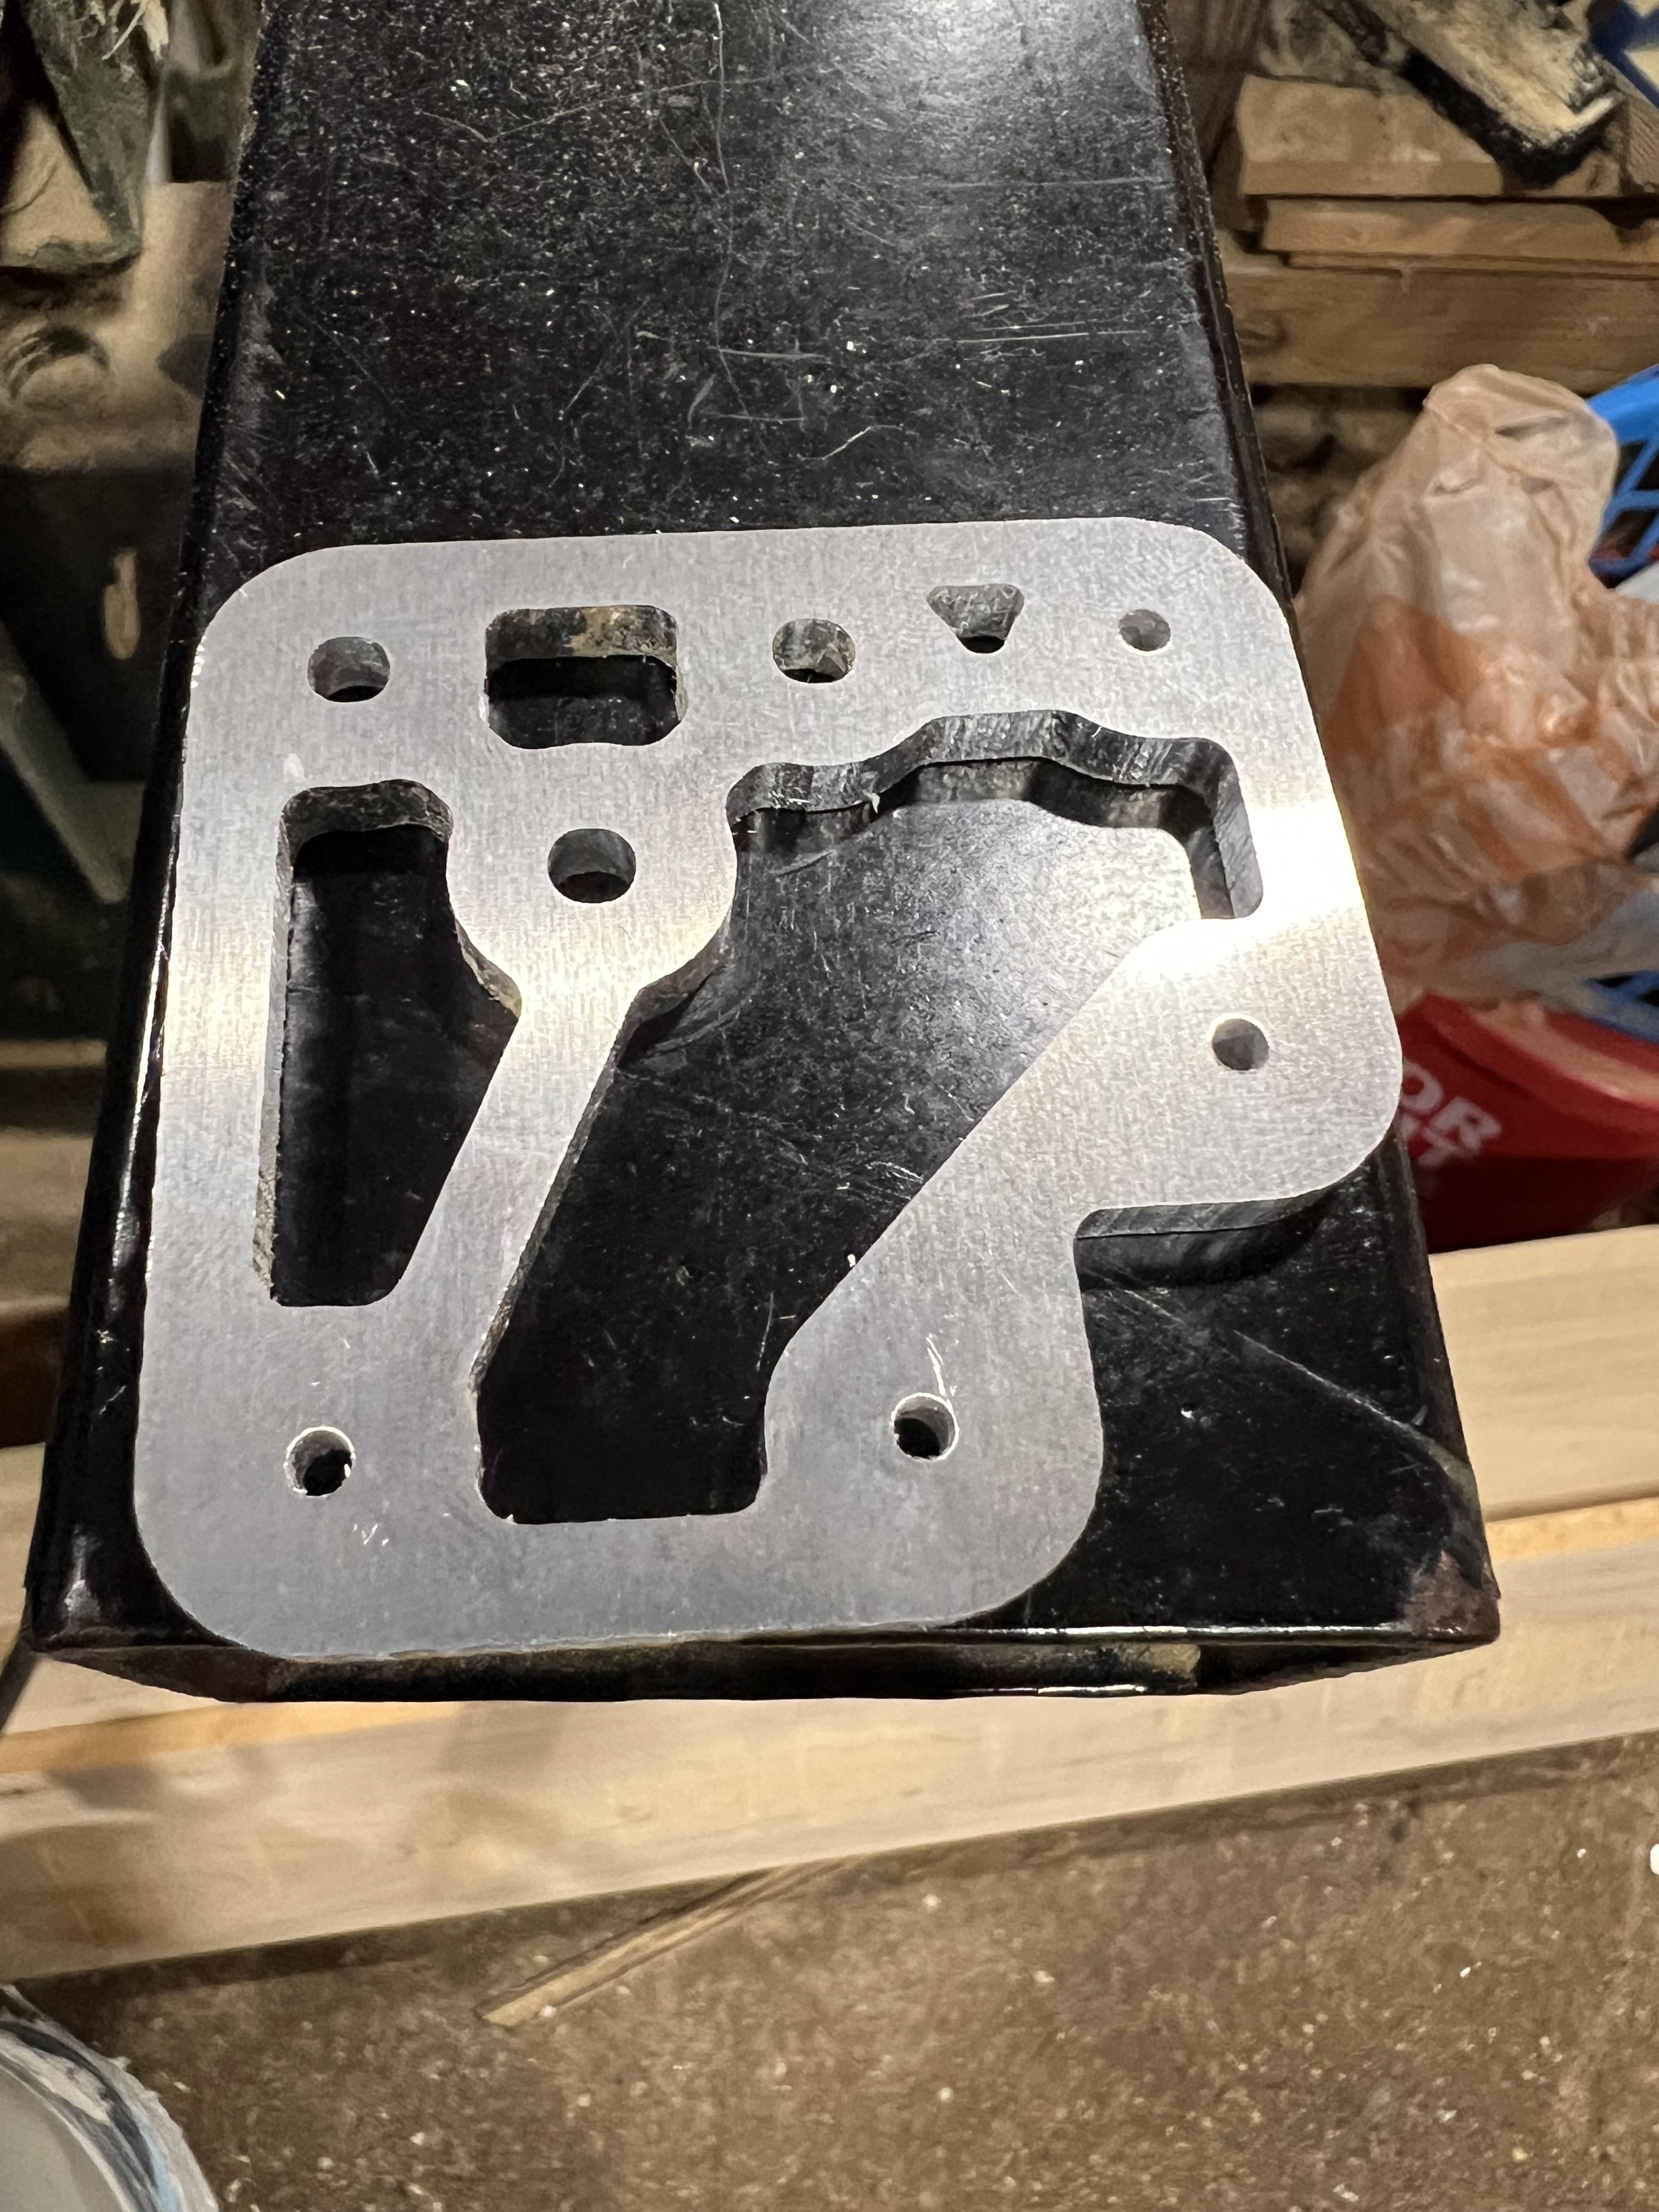
I have some of the aluminum parts cut and ready. About to start on the next few after I make this post.
Getting the CB1/MP8/EBB all flashed up and ready to go. So far I’m really liking the Manta board with the Pi built in. We will see if that continues once its up and running LOL.
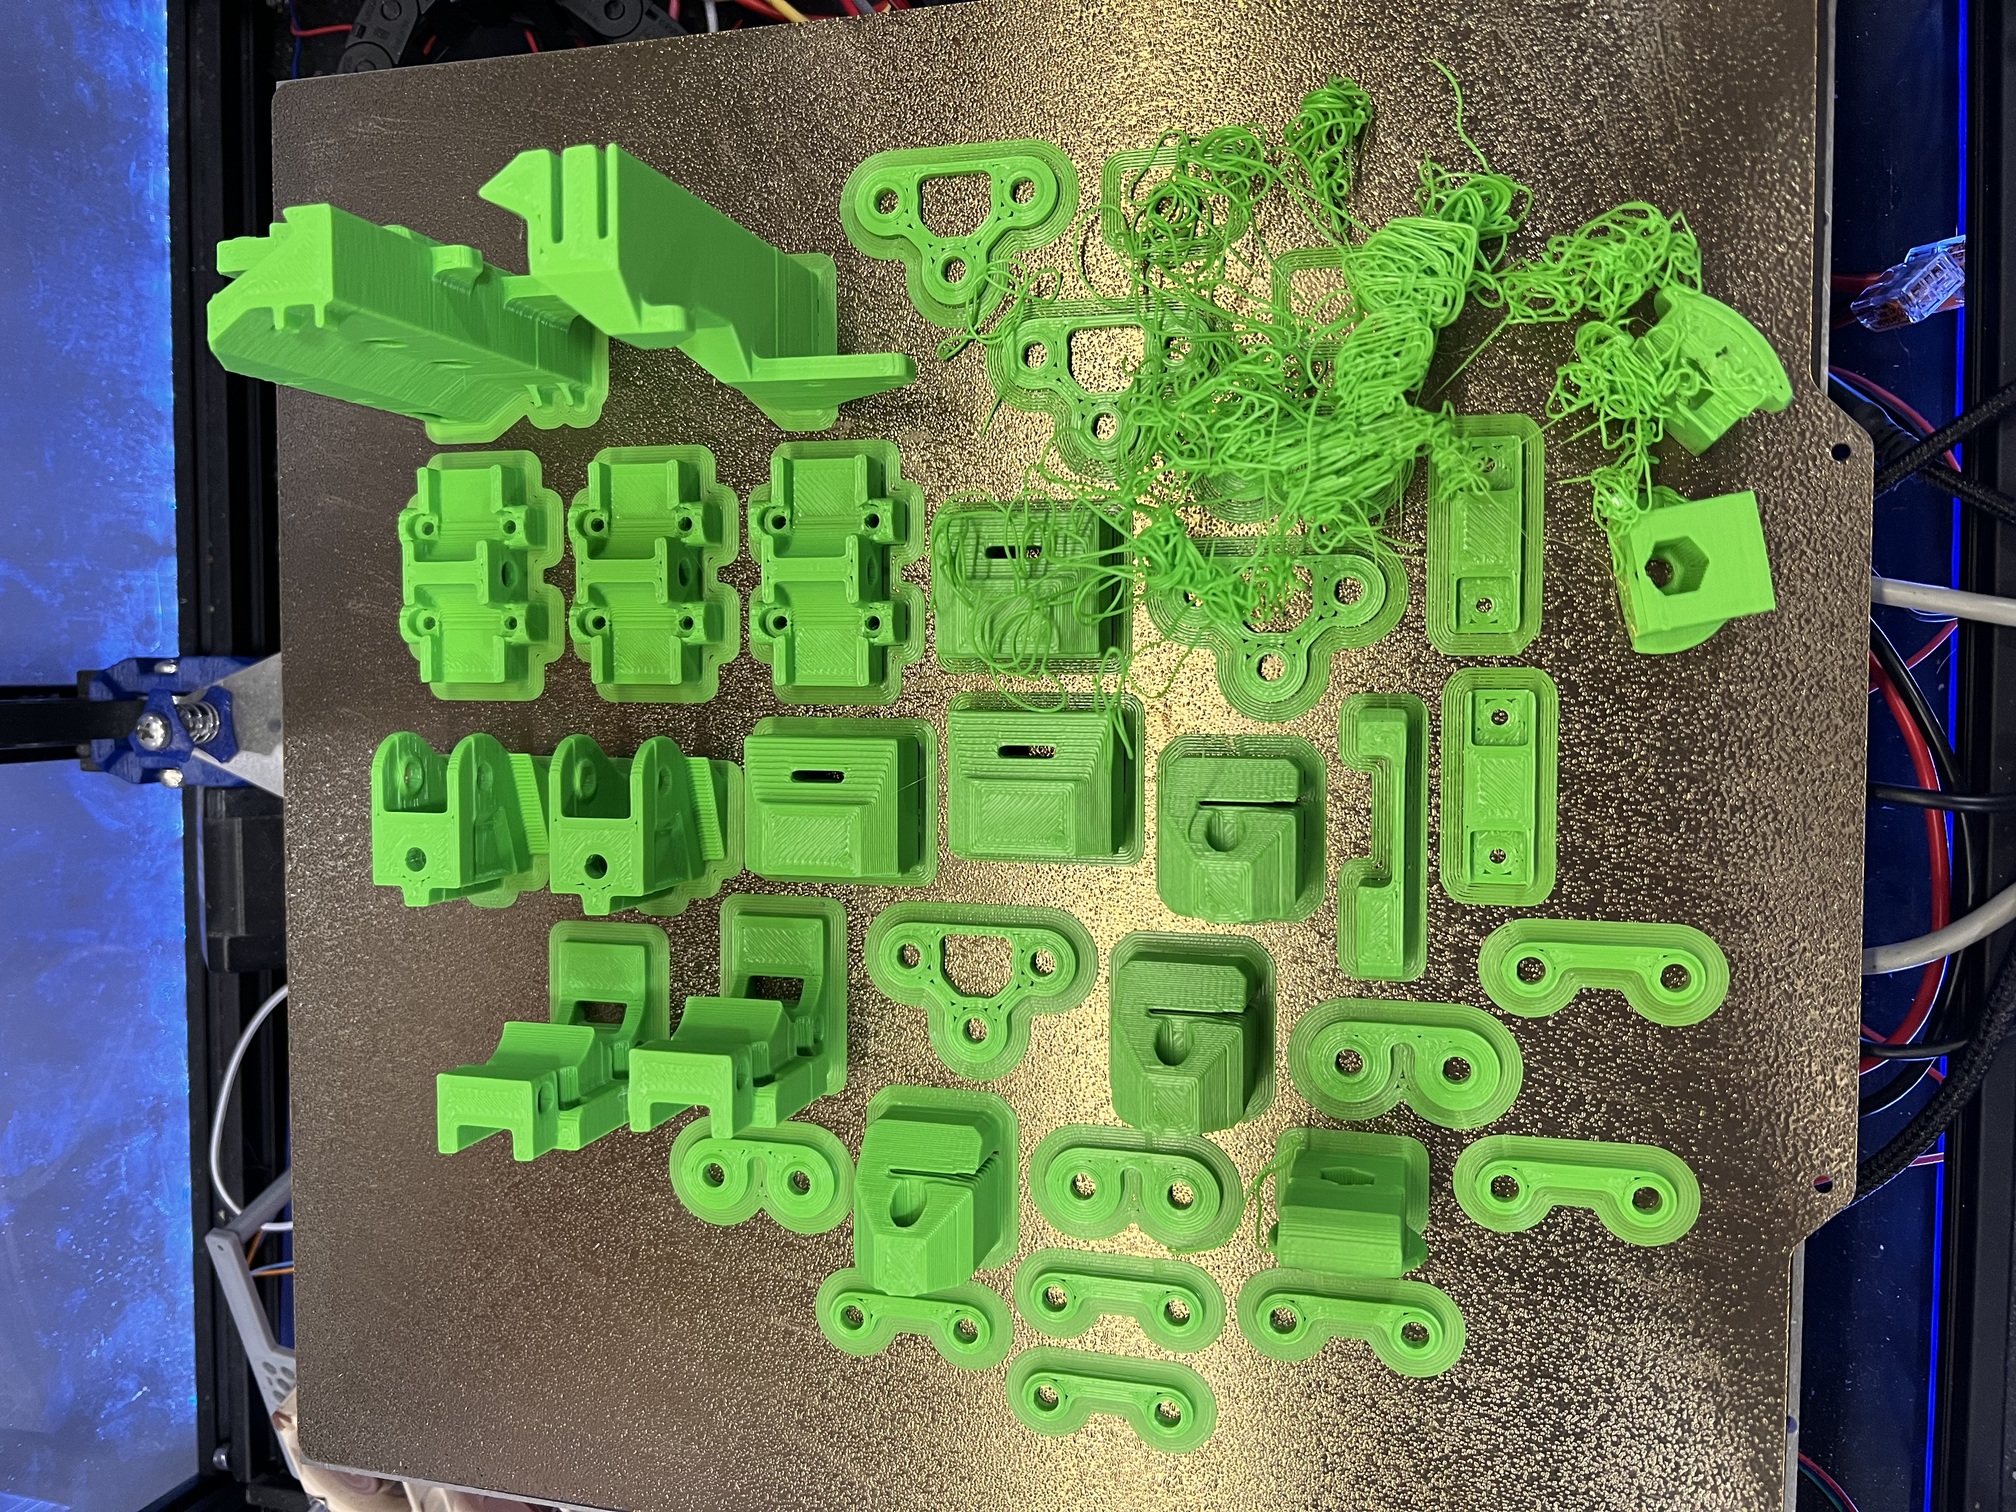
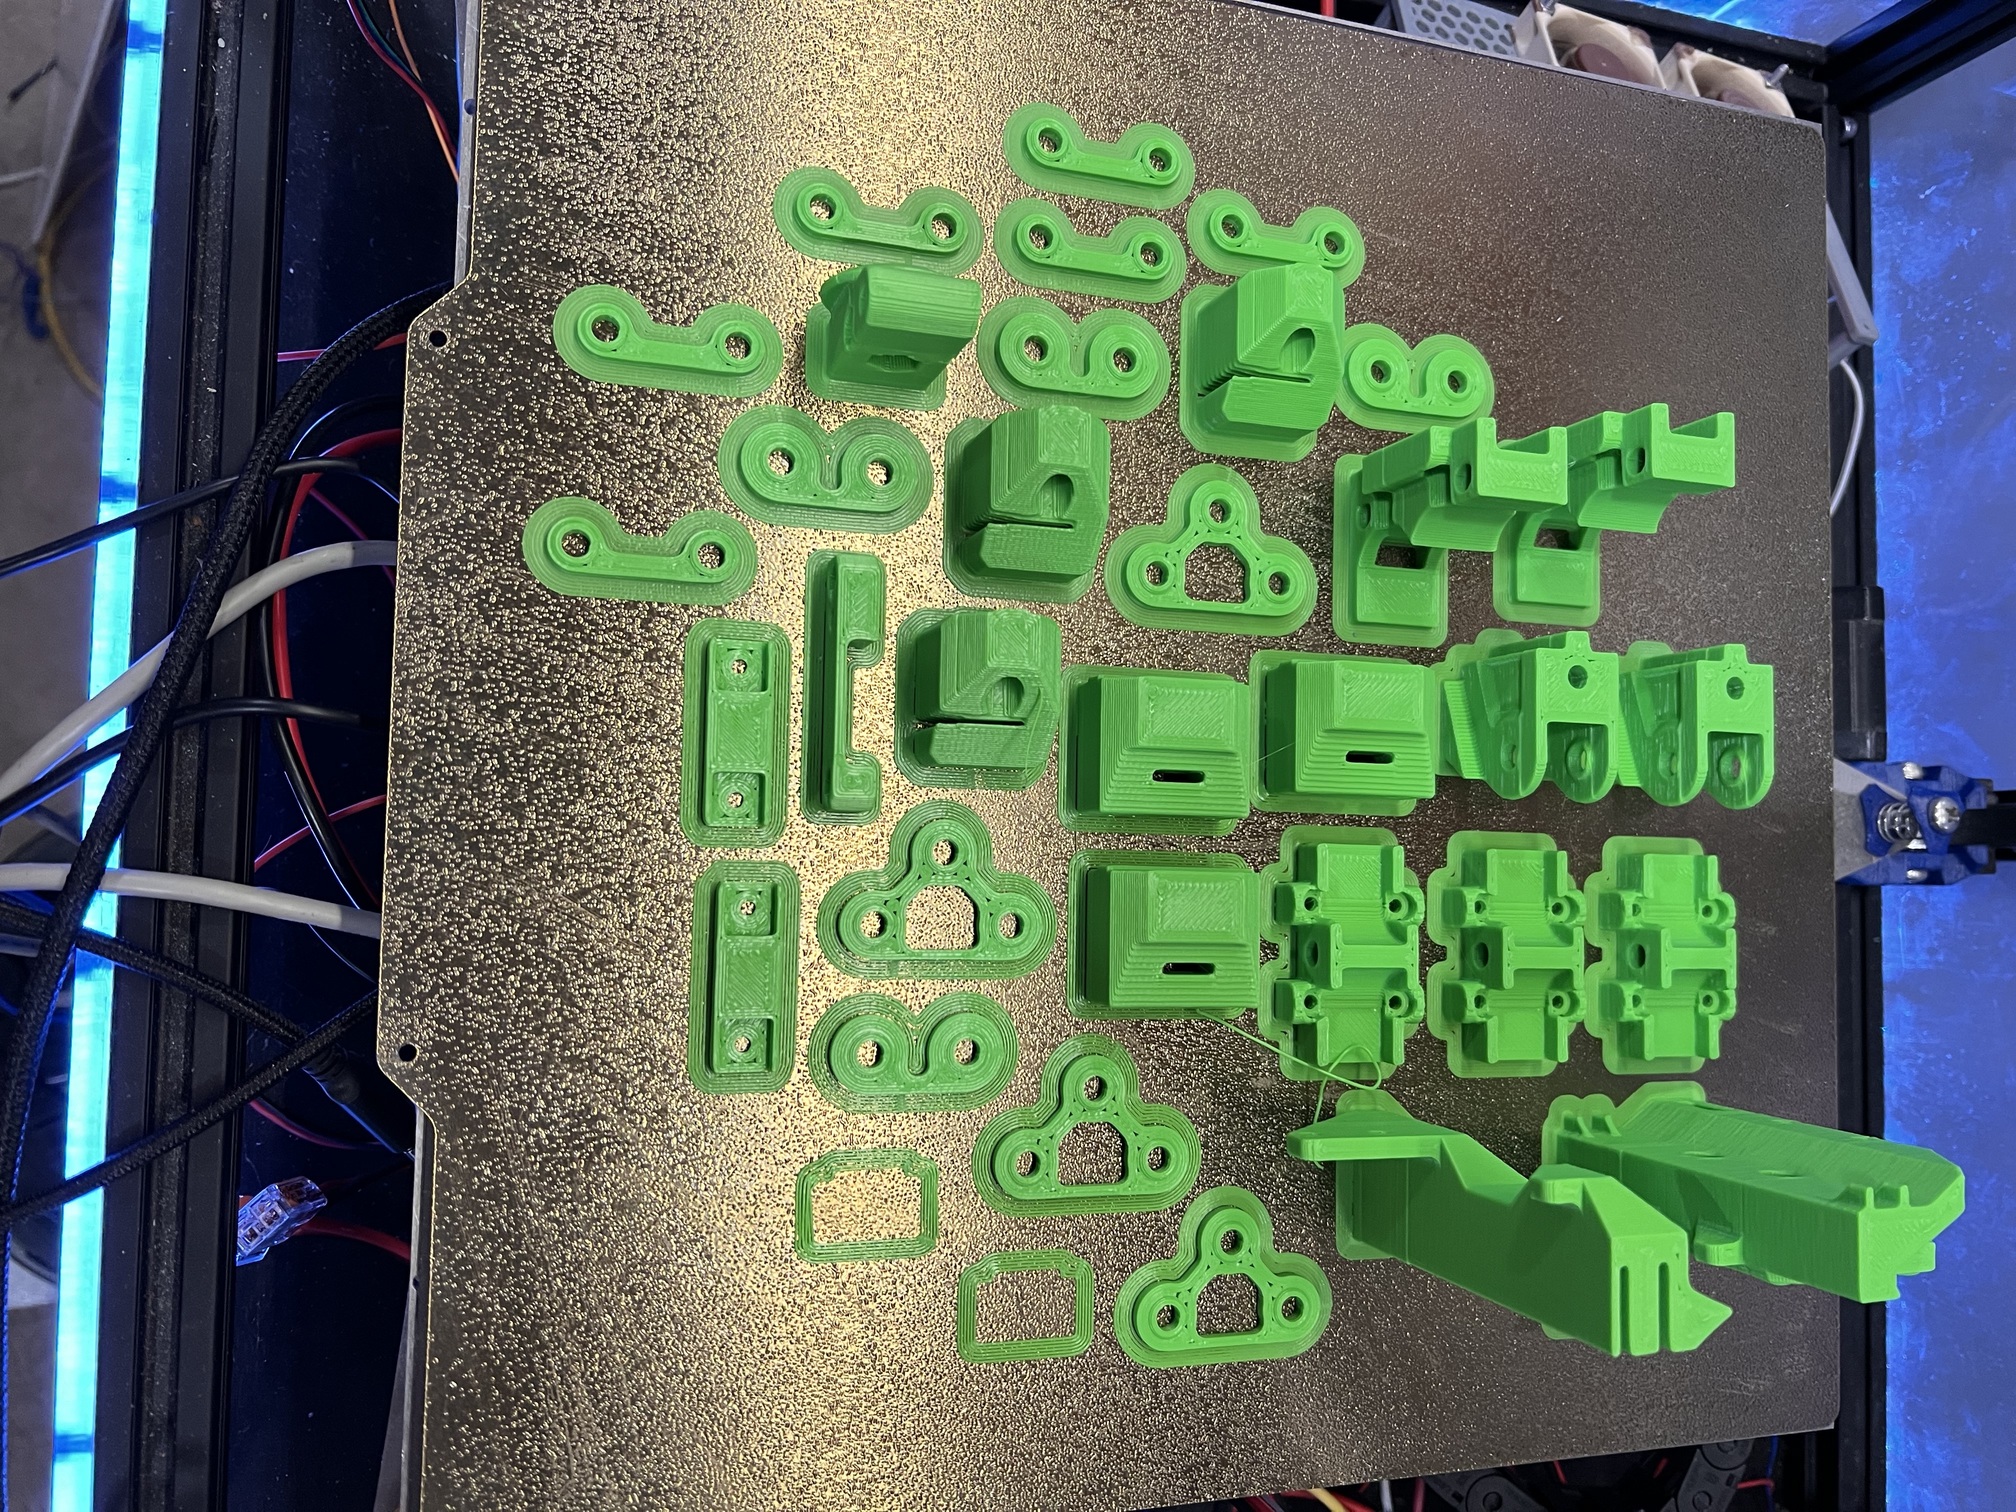
As of right now I don’t have many pics but I will add more as I get more done. Here is what I have so far…
Yes I did have a slight failure and yes I did reprint those parts. But everything else came out awesome! That is polymaker ASA Pop Green. Wanted to do something different lol
FYI if you spend the extra money to get the CB1 with EMMC, don’t wait until you have completely setup and updated an SD card to remember that and have to start all over LOL
Not much to report. Was a busy weekend and too many irons in the fire. I did get some electronics work done today. And wanted to throw these 2 links out for anyone running the M8P board. JamesH from the Klipper Discord helped me get mine all set up and used it to finish his github documentations.
These are only used if your going CANBUS. And these make it where you don’t have to ever use an SD card to flash. So when klipper updates require a MCU flash you can do it all over CANBUS and not have to change anything or mess with SD cards. Works real nice!
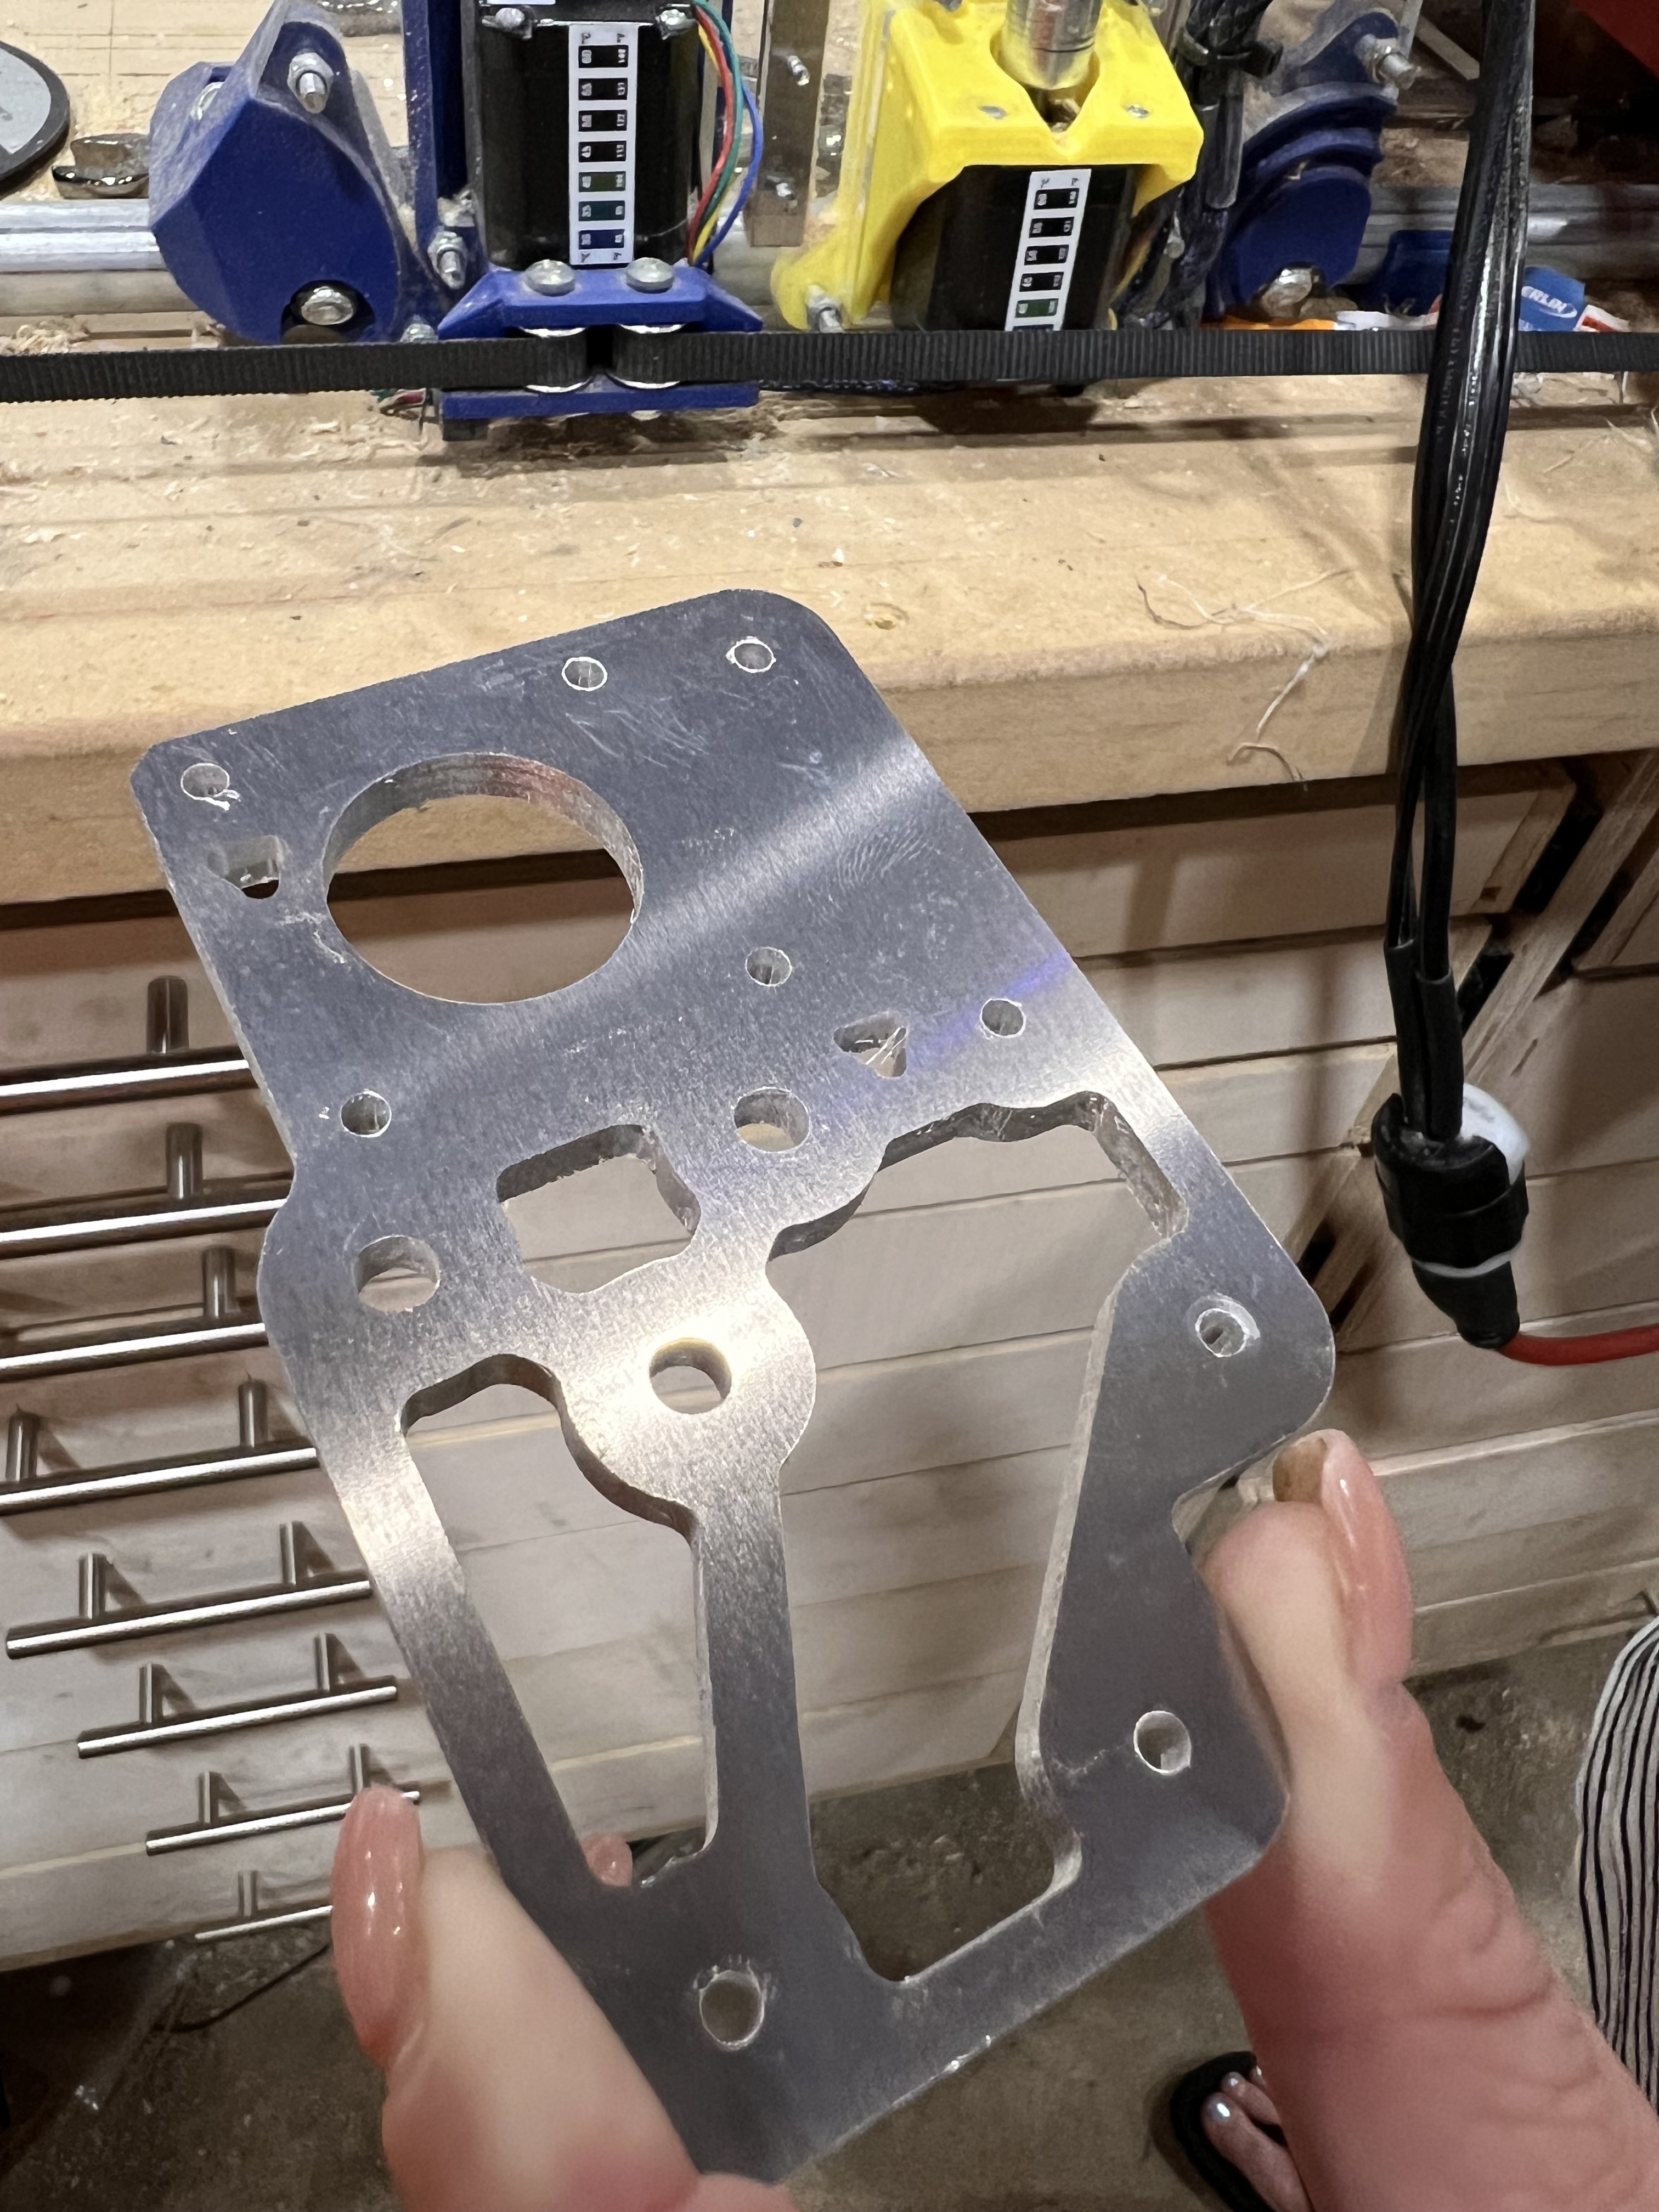
Well I guess its time for an update. Been piddling with it here and there. Not happy at all with how my aluminum parts turned out. I really thought running them through that tumbler was going to be a great idea but turns out it was NOT. only about 4 parts came out looking good. the rest looked like hammered dog Ended up spray painting them to make them look okish and I have another sheet of aluminum on order. Will get them cut when I have more time to be patient and then swap them out at a later date.
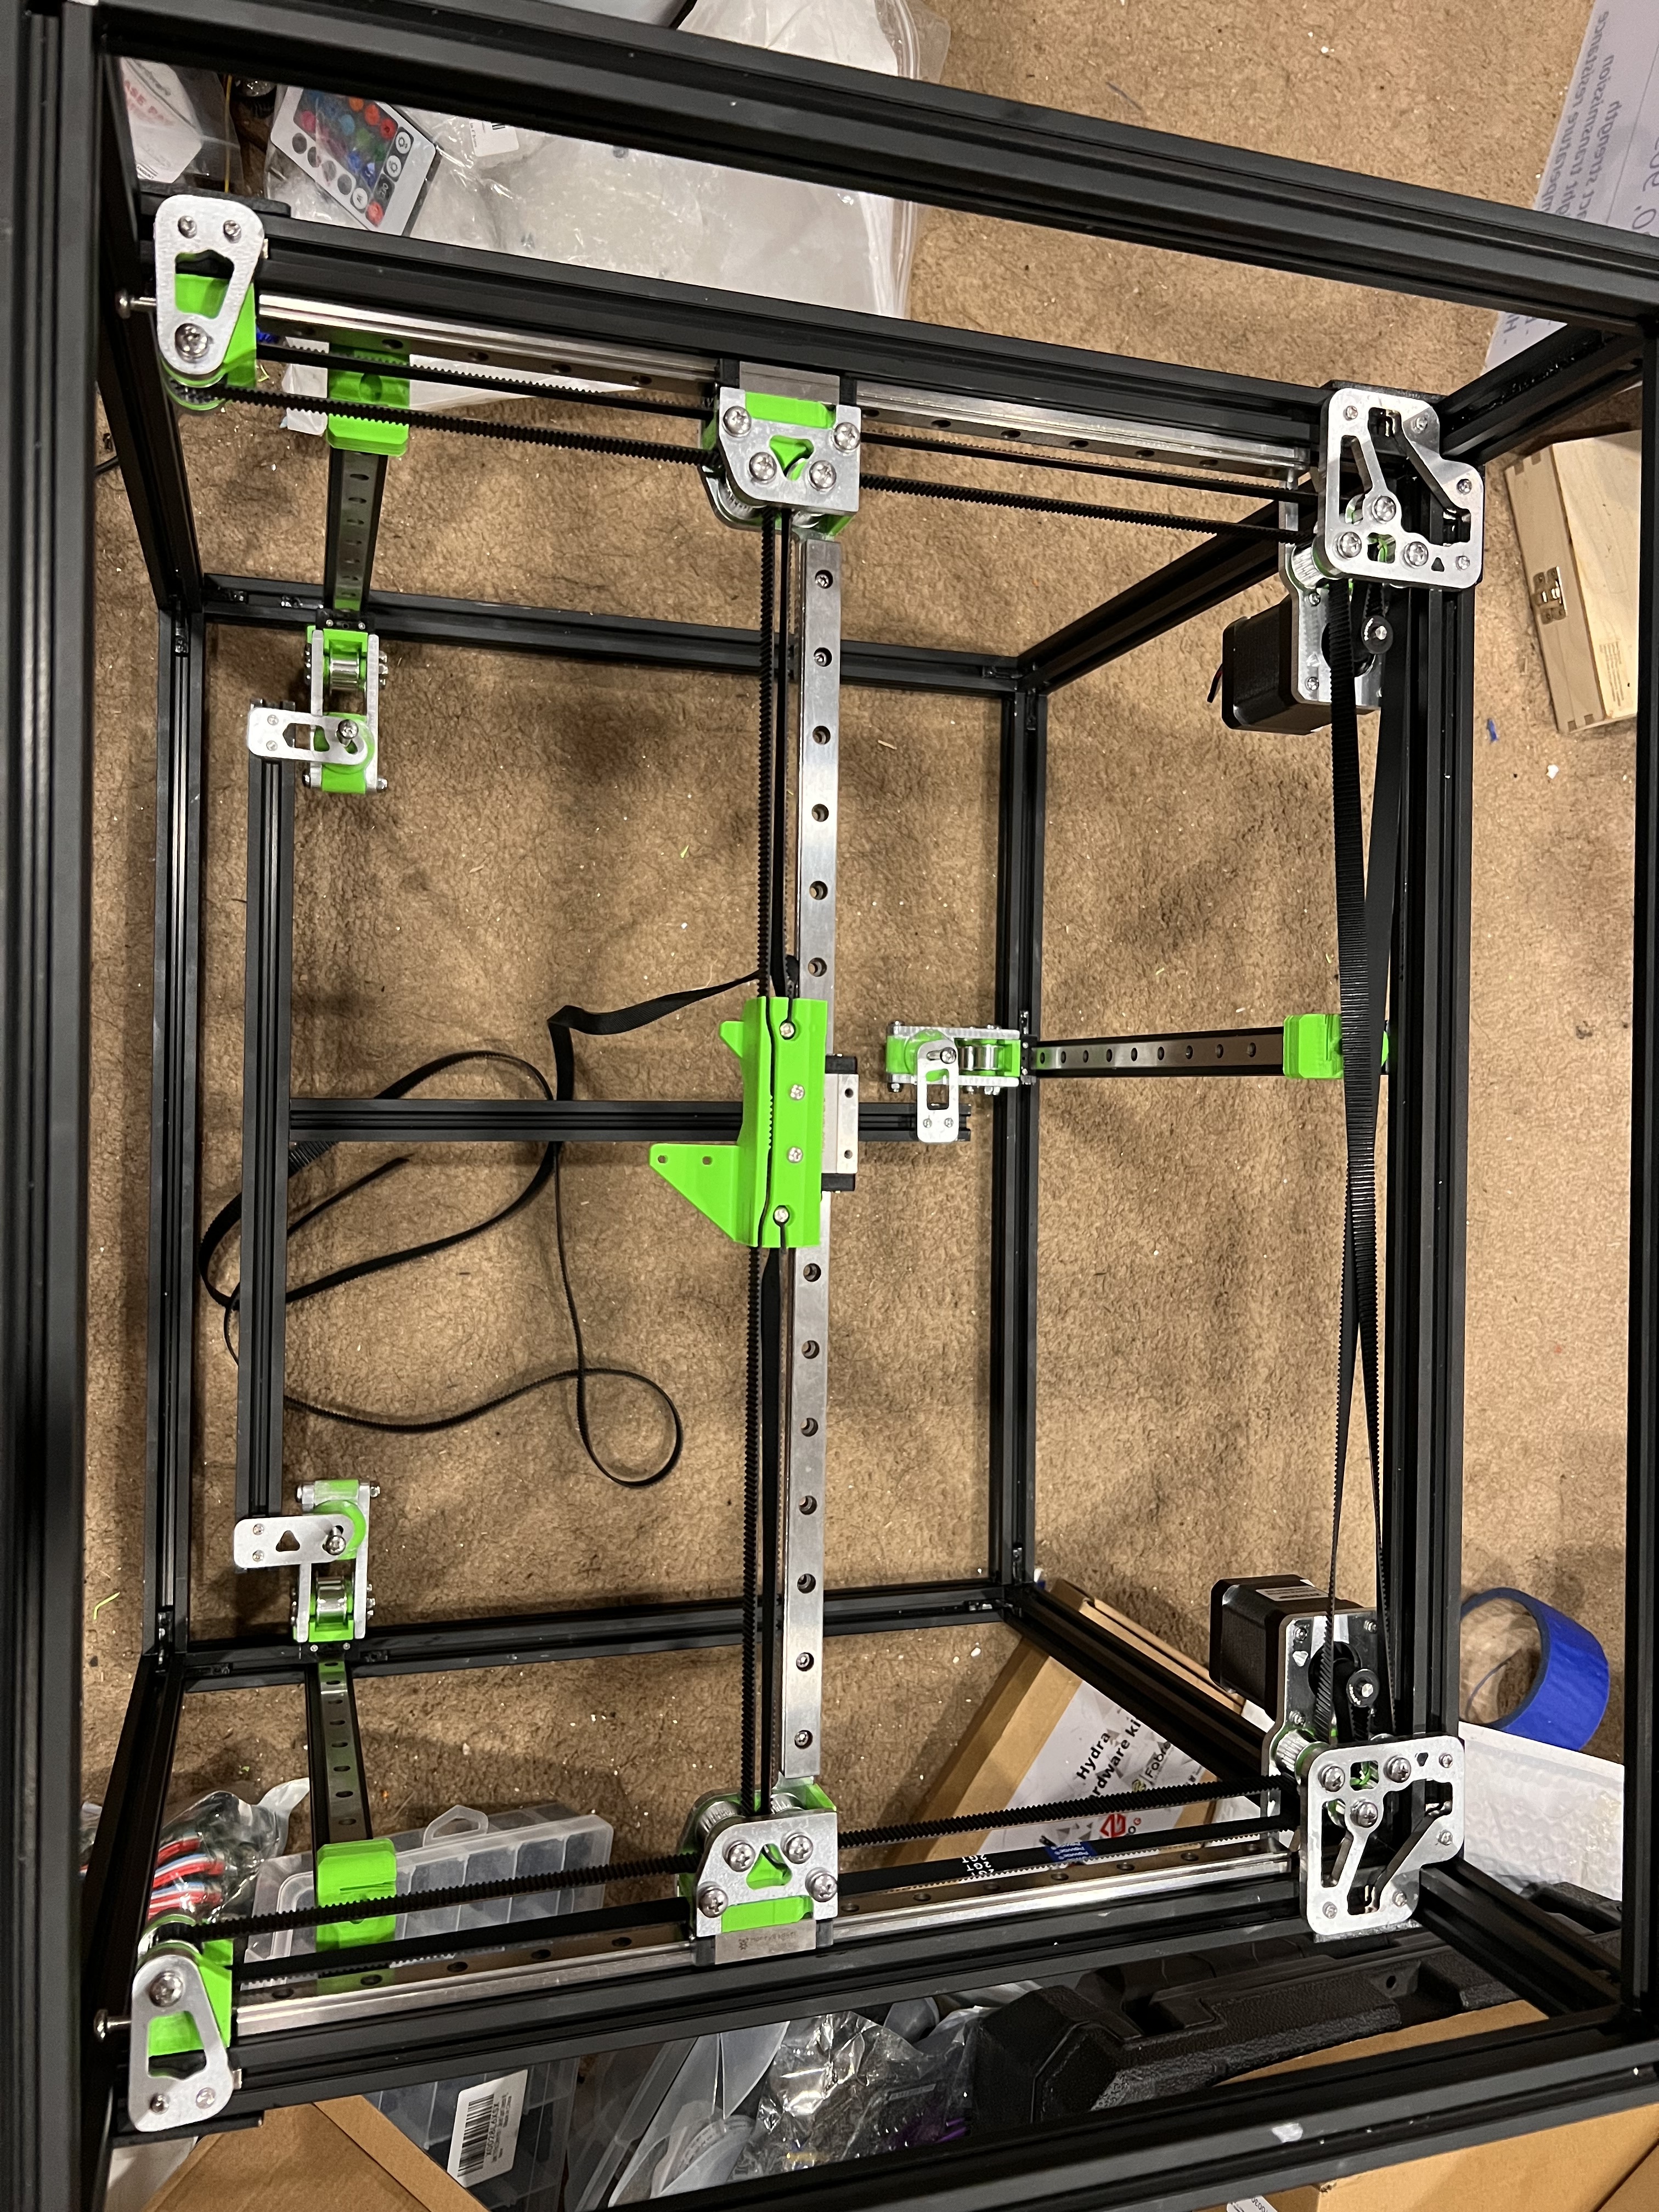
It’s most of the way put together and X and Y are belted. Hopefully tomorrow evening I’ll have time to get the Z belted and then start getting the bed ready to mount.
All my electronics are flashed and ready to go. CANBUS is already set up and everything. Started drawing up a rear panel tonight so as soon as I get the bed on and I know exactly where all the wires will end up I can get it cut and mounted. Going to be putting all the electronics on the outside of the back mounted on din rail and also have some wire duct I’m going to try and use. Hoping to end up with a real clean setup.
Sorry I don’t have more pictures. Everything in here is too damn messy lol.
Why does red loctite come in a blue container, and blue loctite come in a red container??? Makes absolutely no sense to me. In other news I don’t think these grub screws will ever be a problem on these 5 stepper motors LOL. Was tightening the LAST one up when it hit me. Oh well!
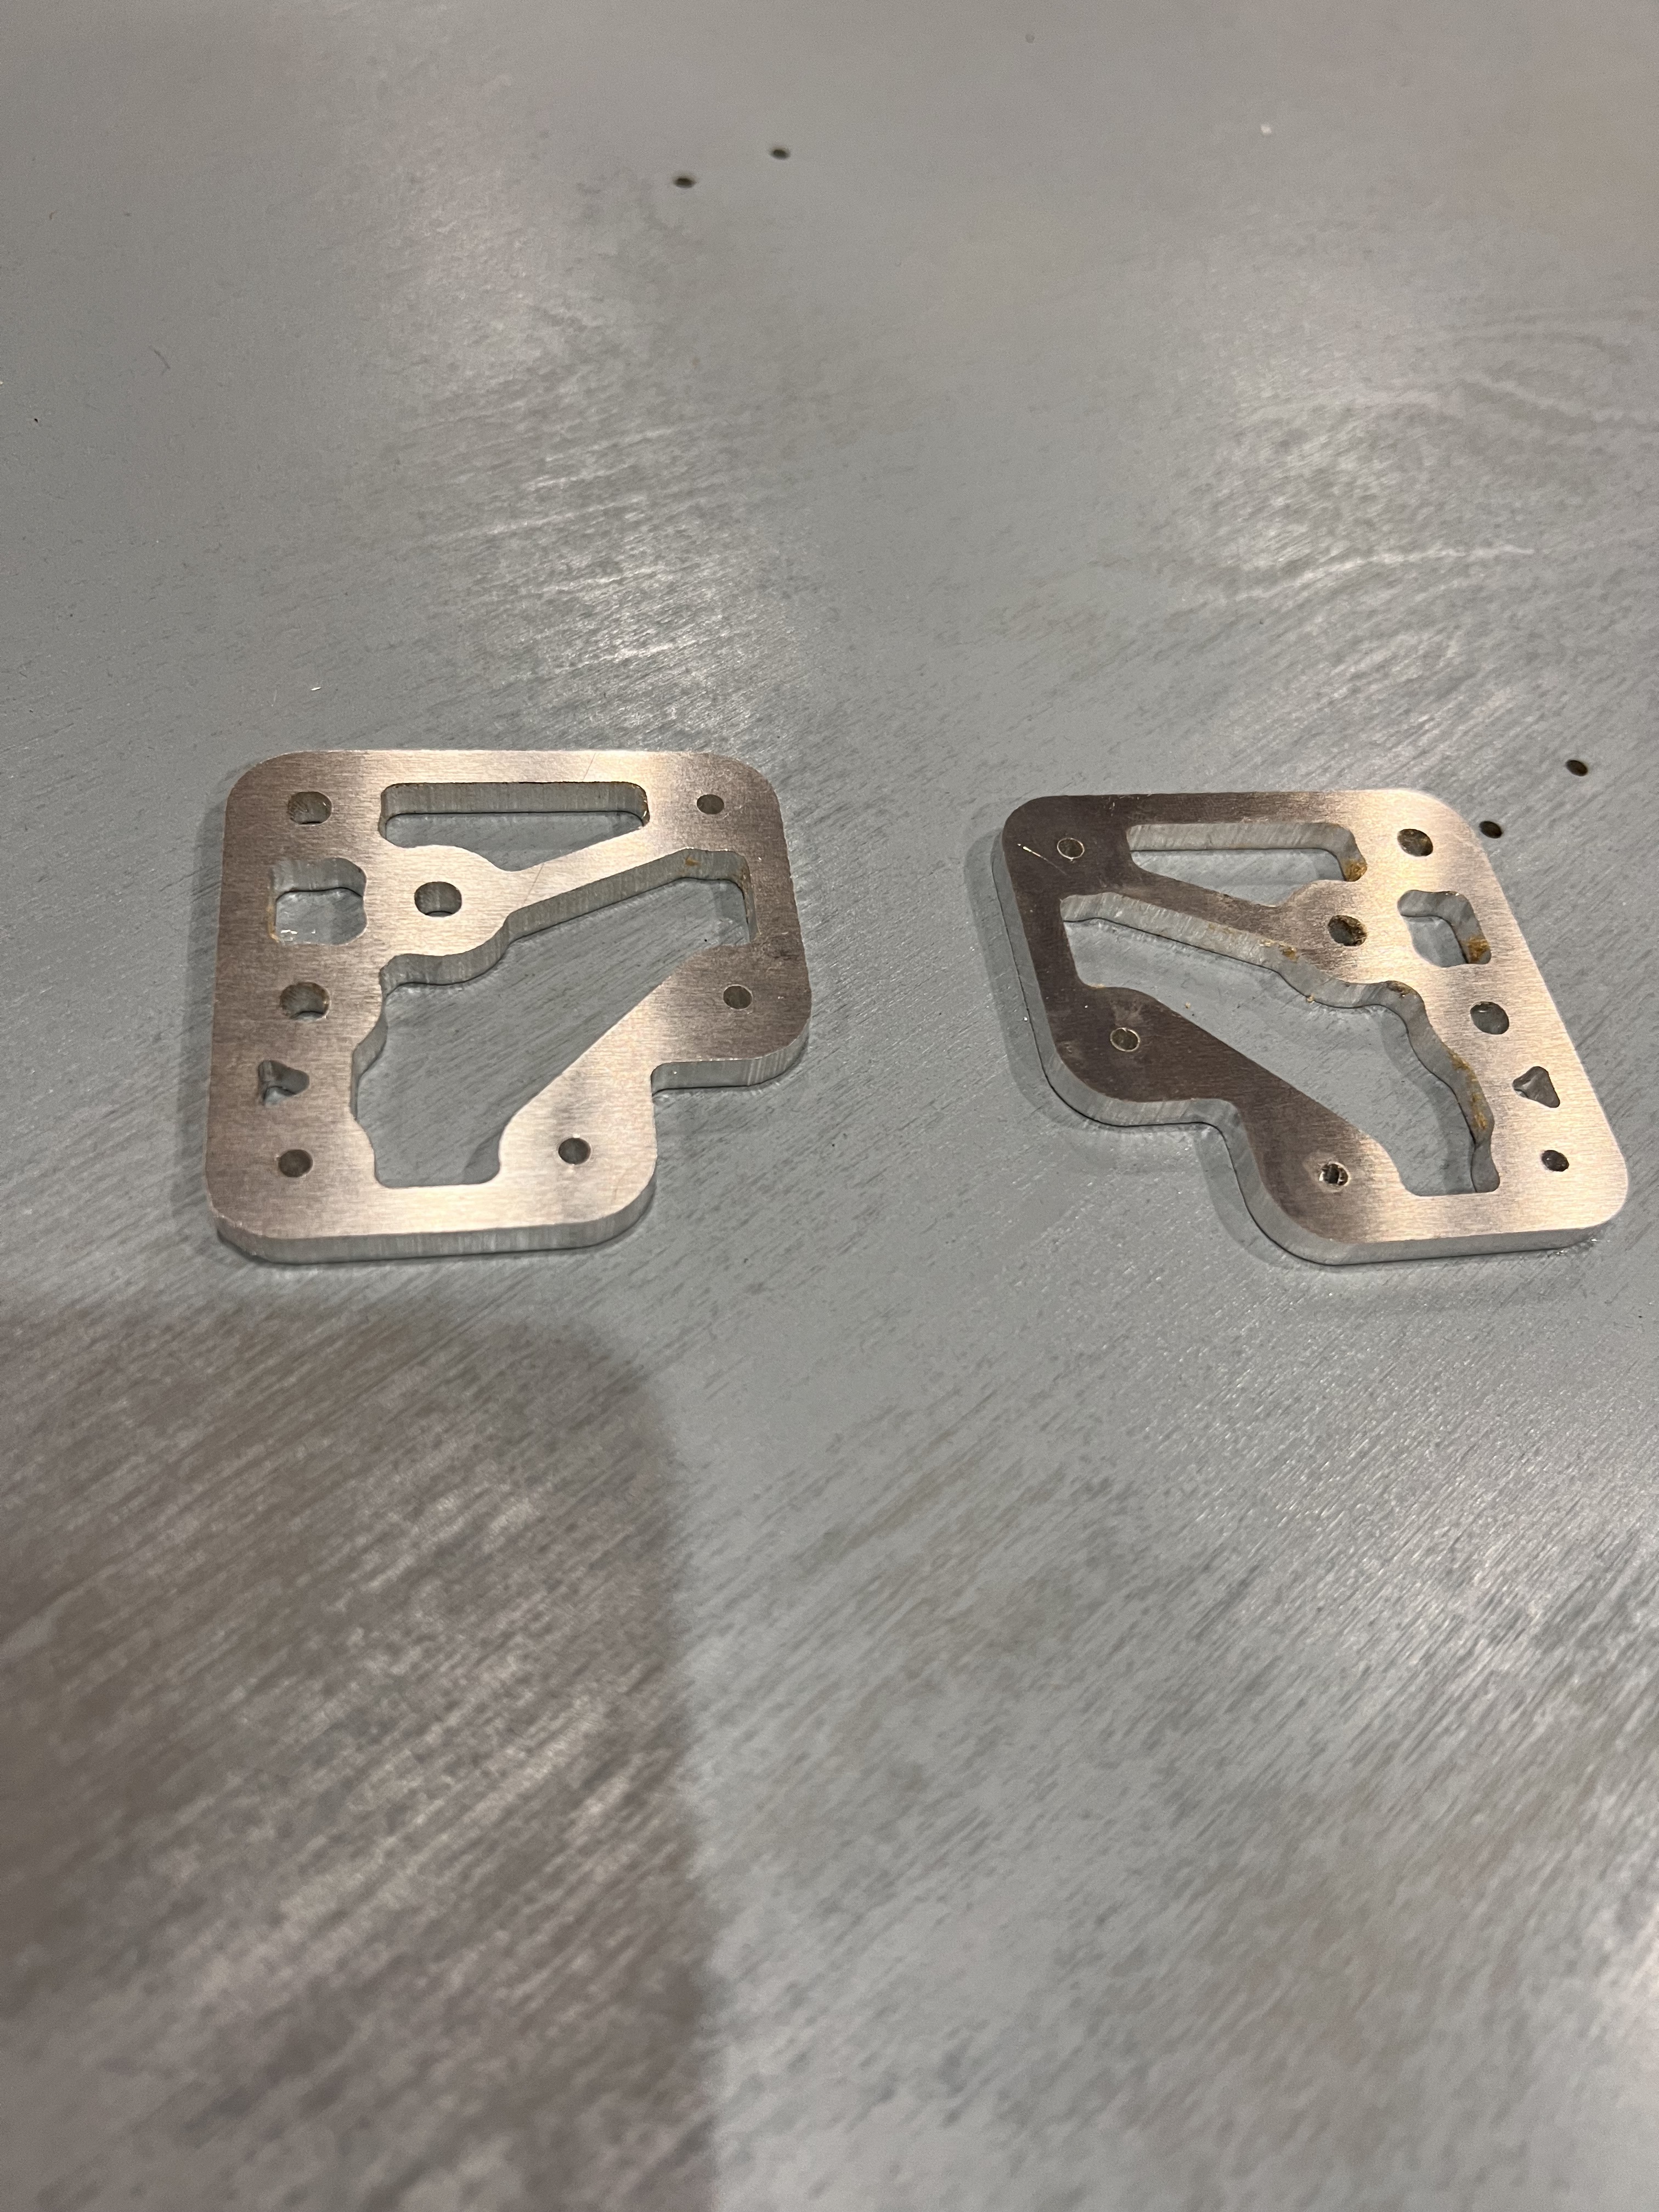
These look a ton better. And a huge thanks to @Michael_Melancon for the idea on the 3D printed washers!!! Now the screws don’t dent up the aluminum!!
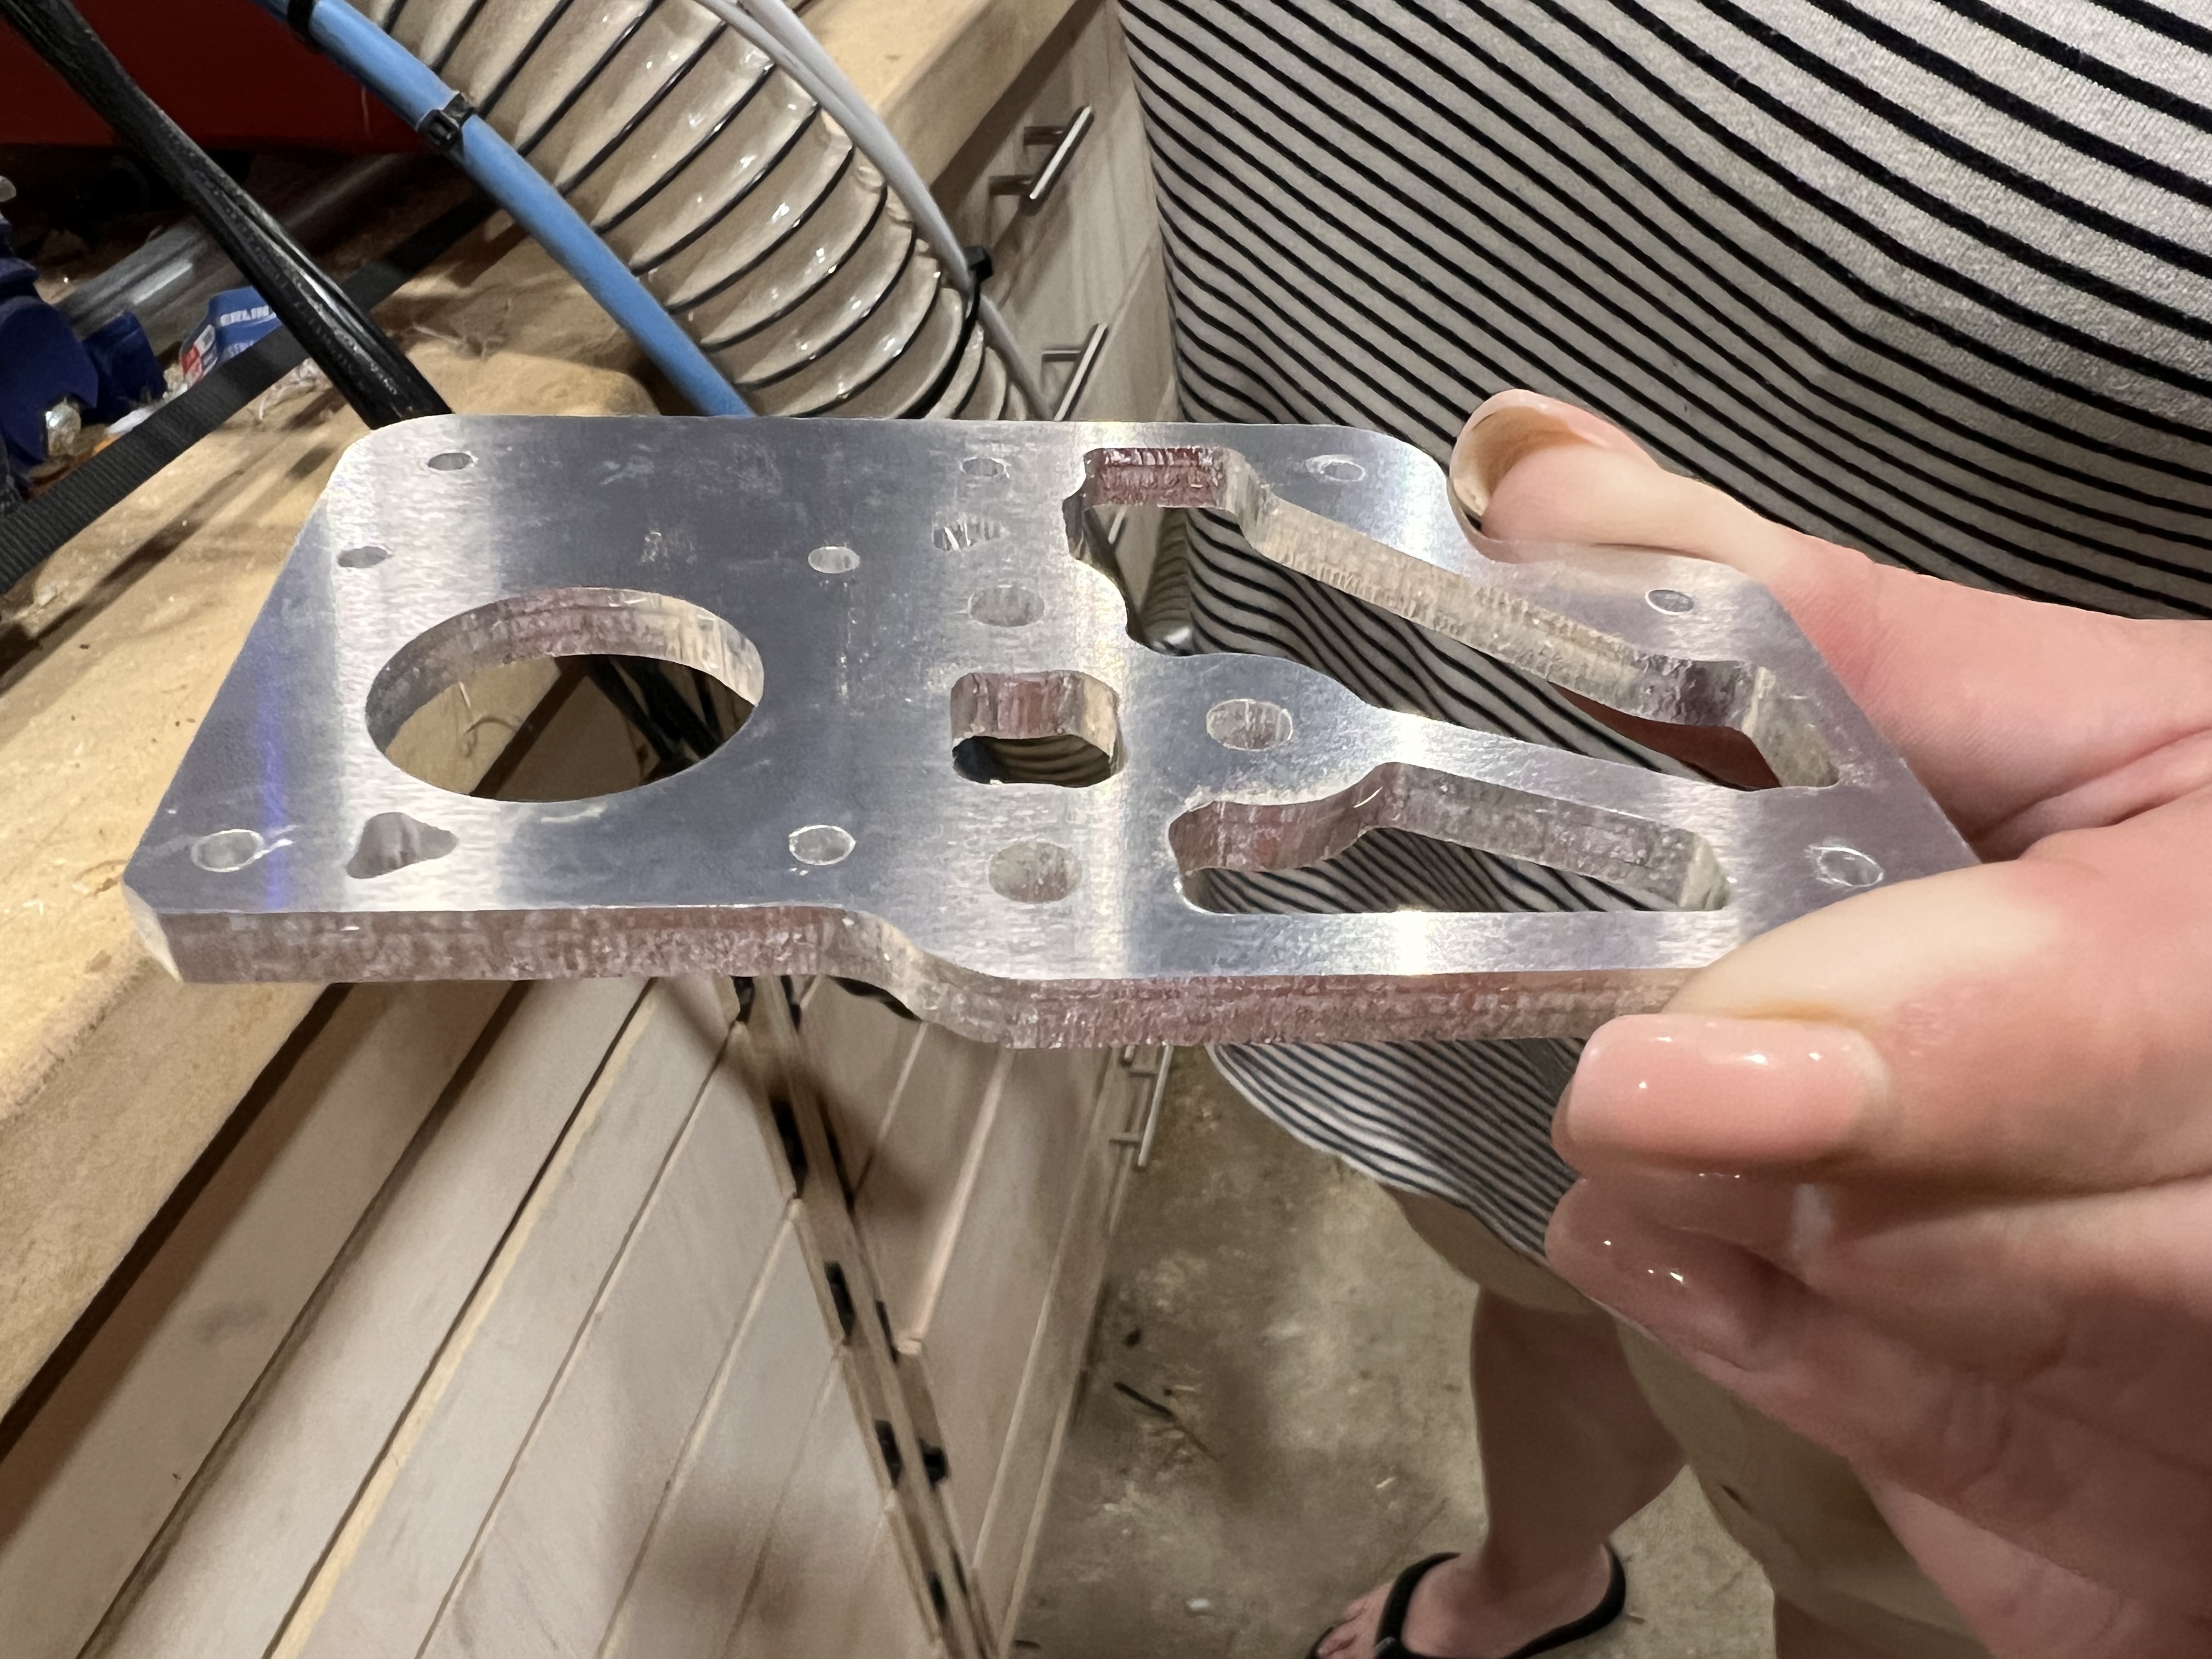
Also did these a little different with suggestion from @vicious1. No trochoidal this time. And it went so much better than I expected it to!! Had a little chatter on the final cleanup pass. But going to make some adjustments for the next one!!
That chatter is tough. I am finding I either need a slightly thicker finishing pass or just move faster. Too light a load and it chatters…at least for me so far. Maybe it just needs to be way less, who knows.
You can hear the spindle slow down. I didn’t realize it was at a different speed in estlcam. I’m wondering if I need to speed the bit up some. That finishing pass was .3mm. I’ll try speeding the bit to the same speed as the cut and I’ll bump the feed rate up a few mm/s and see how that does on the next one.
Really want to get a second of those cut and the 2 tops so I can change those out before I get the back panel cut and installed tomorrow
Well that was 12,000 16,000rpm and that’s as slow as I’m supposed to go according to the manual. The water cooled ones I think can go down to 8,000 but I didn’t want to deal with the added weight and complexity of water cooling. Plus leaks on an all MDF top would SUCK. So upping the feed rate it is lol
Found out I was wrong. had the bit size entered wrong in estlcam and the spindle speed higher than I realized. Fixed the bit size and lowered the spindle speed on the finish pass to 15,000 and we will see how the next one goes
I didn’t even look at it. I have no idea why I would ever buy red. I cant remember ever using it on anything. This was a brand new tube. I have 2-3 around here that are the blue type but in red containers and I just went for the first thing I saw last night. When I built the V4 I did it knowing I would go back and add the loctite. Then I forgot and the loose grub screws got me. Didn’t want to do that again lol
Which “Blue” ? I blame this forum for turning me into a threadlocker snob. Took me a while to realize the existence and benefits of Blue 243, instead of using more common Blue 242. Even orange medium can be a PITA to remove grub screws using my cheapo allen keys. Nevermind bonded for eternity red threadlocker.
Fluffed up pulley orientation on right XY MP3DP v4 stepper. Grub screw head stripped out before orange medium threadlocker, despite trying to literally, and verbally, flame the grub screw loose. Ended up using another stepper and pulley.
It wasn’t at all my intent to use red LOL. I never even paid attention to it. I was literally putting in the last screw when it hit me, “Hey dumbass, you just put red loctite on all of these screws”