Dang that sighting is pretty good. That belt should be very straight.
You know what thought just occurred to me…all we need to do is use the top (print orientation) of the braces to get rid of a lot of the bed warp issues. I am printing them two at a time so I need to see if I can fit two like that.
Would pledge work?
Sorry need to get better at quoting. The chalkboard. If you put pledge on it wouldnt it do the job?
1 Like
Yeah, probably. That is a good idea.
2 Likes
Awesome build.
I just started-
Planning on royal blue, black and space gray.
Question about the strut- would it be possible
To print one of the temporary strut plates, and use that as a router template with a flush cut bit to make the strut? I’d just need to mark locations for holes etc but that’s easy in terms of woodworking prowess needed.
Thanks?
If you take a look at the DXF or CAD I think it would be easier to just do it by hand no need for a template. 80mm tall, as long as you need, holes evenly spaced starting and ending 7.1mm from the end. Be careful with the holes, the alignment will dictate the shape of your beam, I highly suggest whipping up a quick drilling jig to get them right. Or just using the machine to do it all for you.
1 Like
The direct answer is yes, you can. You can also use it as a drill guide as Ryan suggested. But just using them to assemble the machine is enough to let it cut a piece of 5mm material. It will be most accurate using the machine (IMO).
1 Like
Thanks guys- appreciate the quick responses.
Oh, I just realized-
I don’t need to keep the triangle cut outs in the strut…
Now I’m thinking a Voronoi type design might look pretty cool
3 Likes
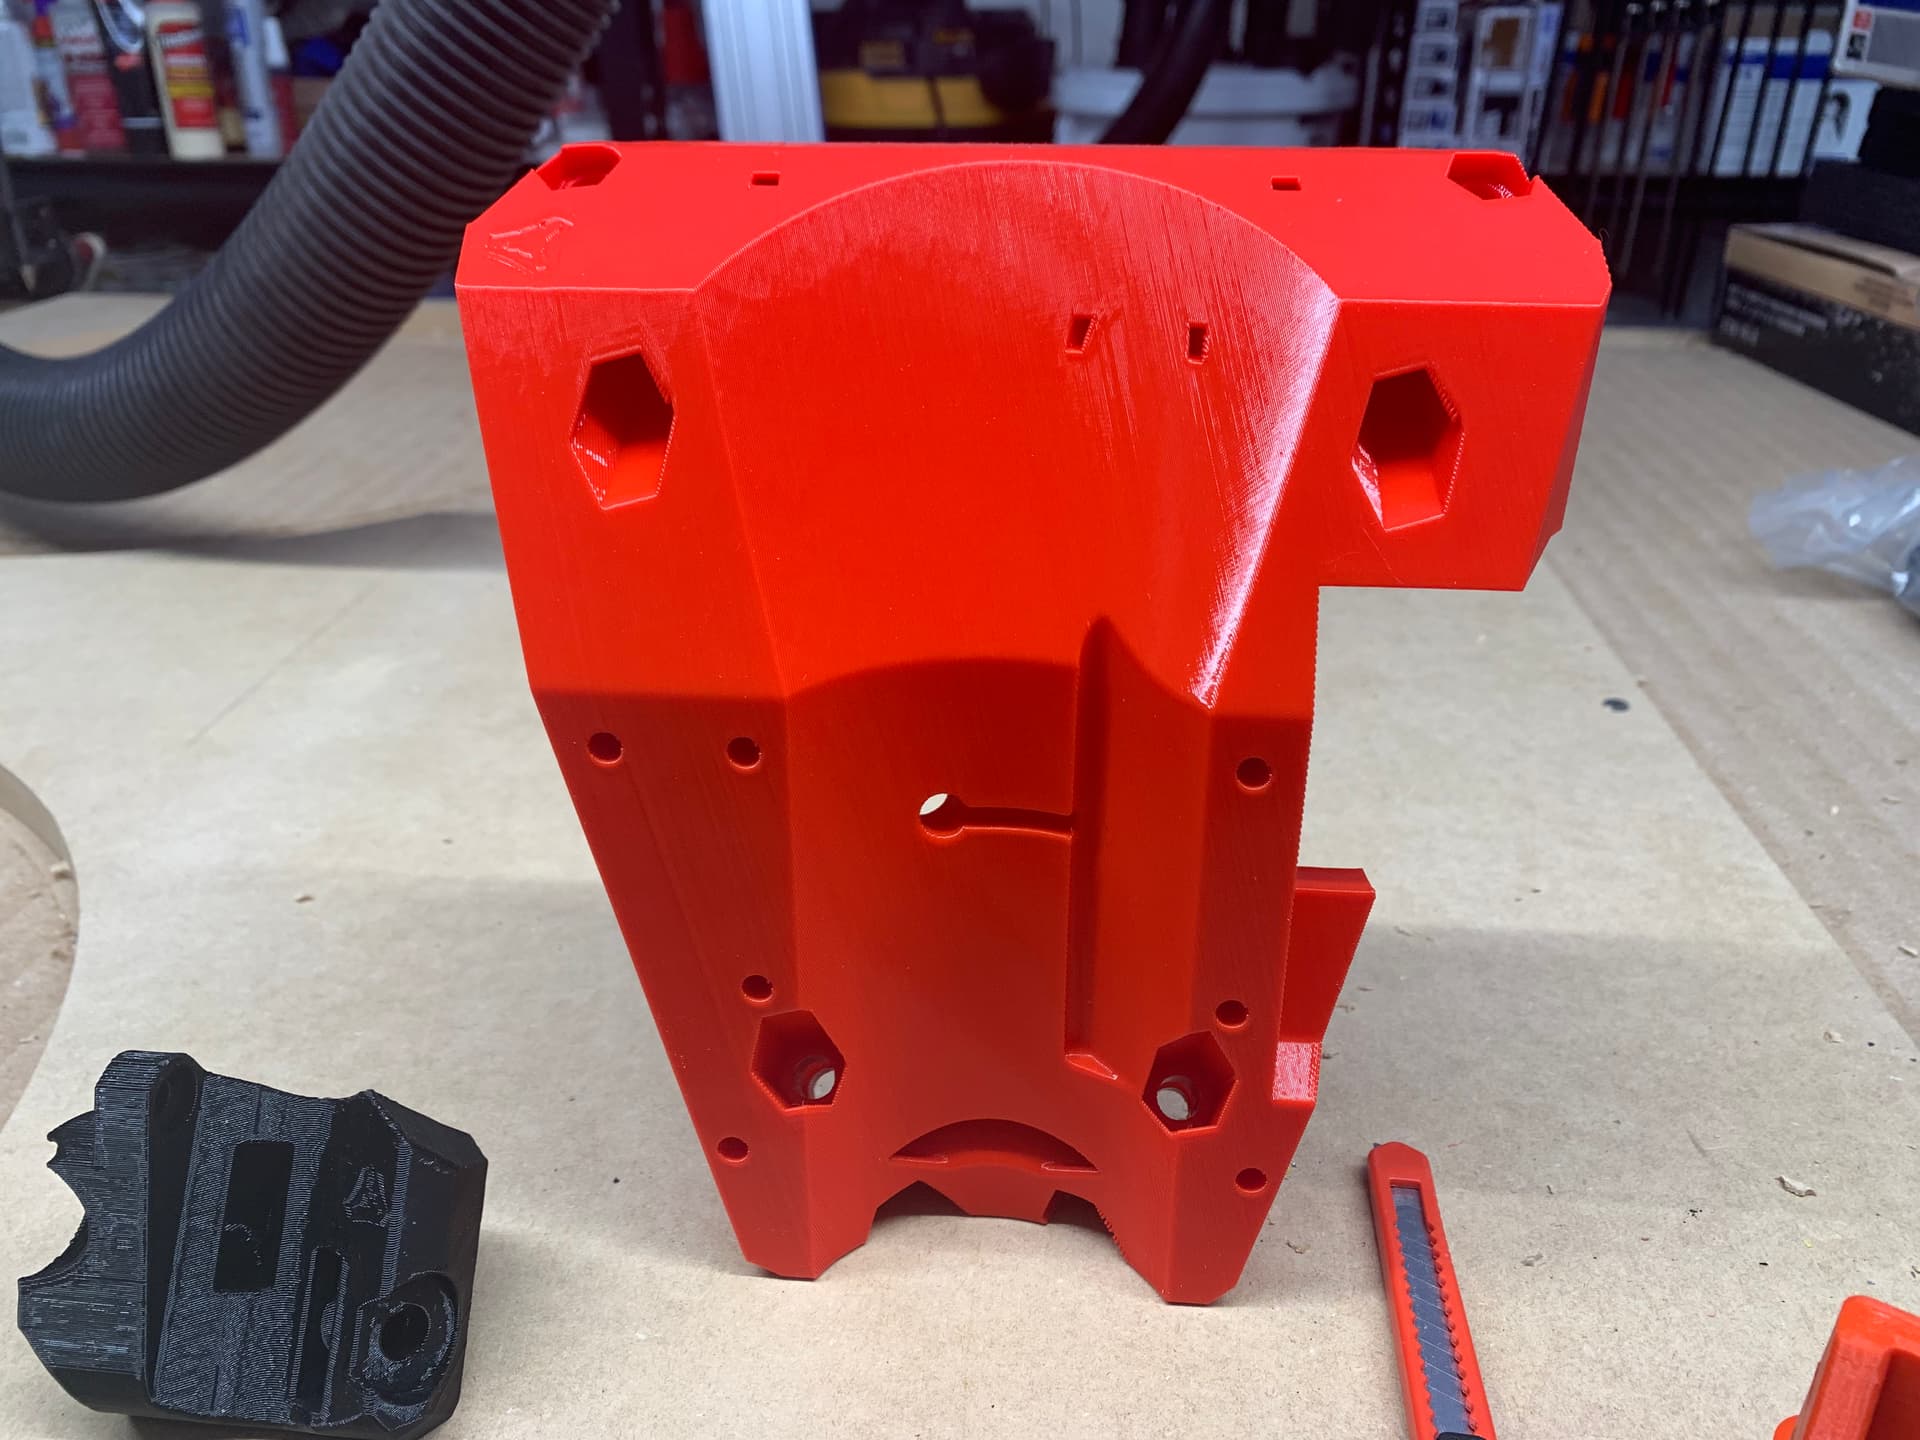
I printed my core on a BIQU B1 that I had swapped 0.4 mm nozzle for a 0.6 mm nozzle. I used a modified slicer setting in Cura that has .3 layer height and .6 wall width. The speeds are only slightly nudged up. I think the slicer said that it was going to take 15 1/2 hours or so to print the core, but then it printed in about 14 hours. Plus I’m super pleased with the quality of the print. Here’s the pic (originally posted on my LR3 thread).
2 Likes
When I read this, it was accompanied with the requisite amount of nostalgia. I immediately thought of that bit from the famous movie, “A Christmas Story“ where he says “I thought I heard the sound of Taps being played, faintly.”
2 Likes
Machines making machines, they said the day would come!! :)![]()
3 Likes
 <!quote>
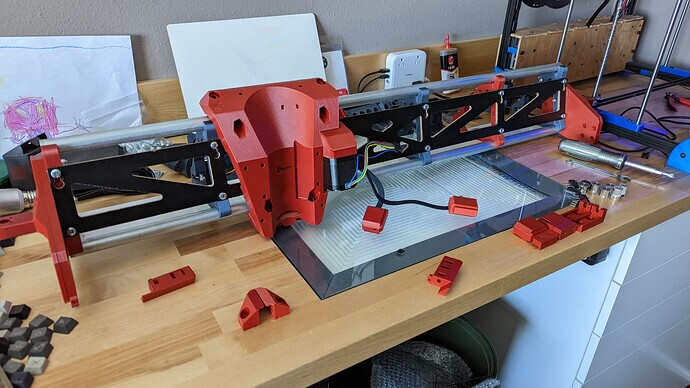
Damn @jeffeb3 , your printed parts came out really nice… you’ve really dialled the printer in nicely… what (if any) mod’s have you done to it?
2 Likes
Not mods so much as not being able to find the same parts.
My gridbot uses a hemera direct drive extruder and a different cheapo bed. I had to redesign the extruder mount, but the rest is stock.
Stewart drives his much faster than mine. I was happy to use the prusa mk3 profiles in prusa slicer, but with a larger build and (I think) less money. More sweat and tears though.
2 Likes
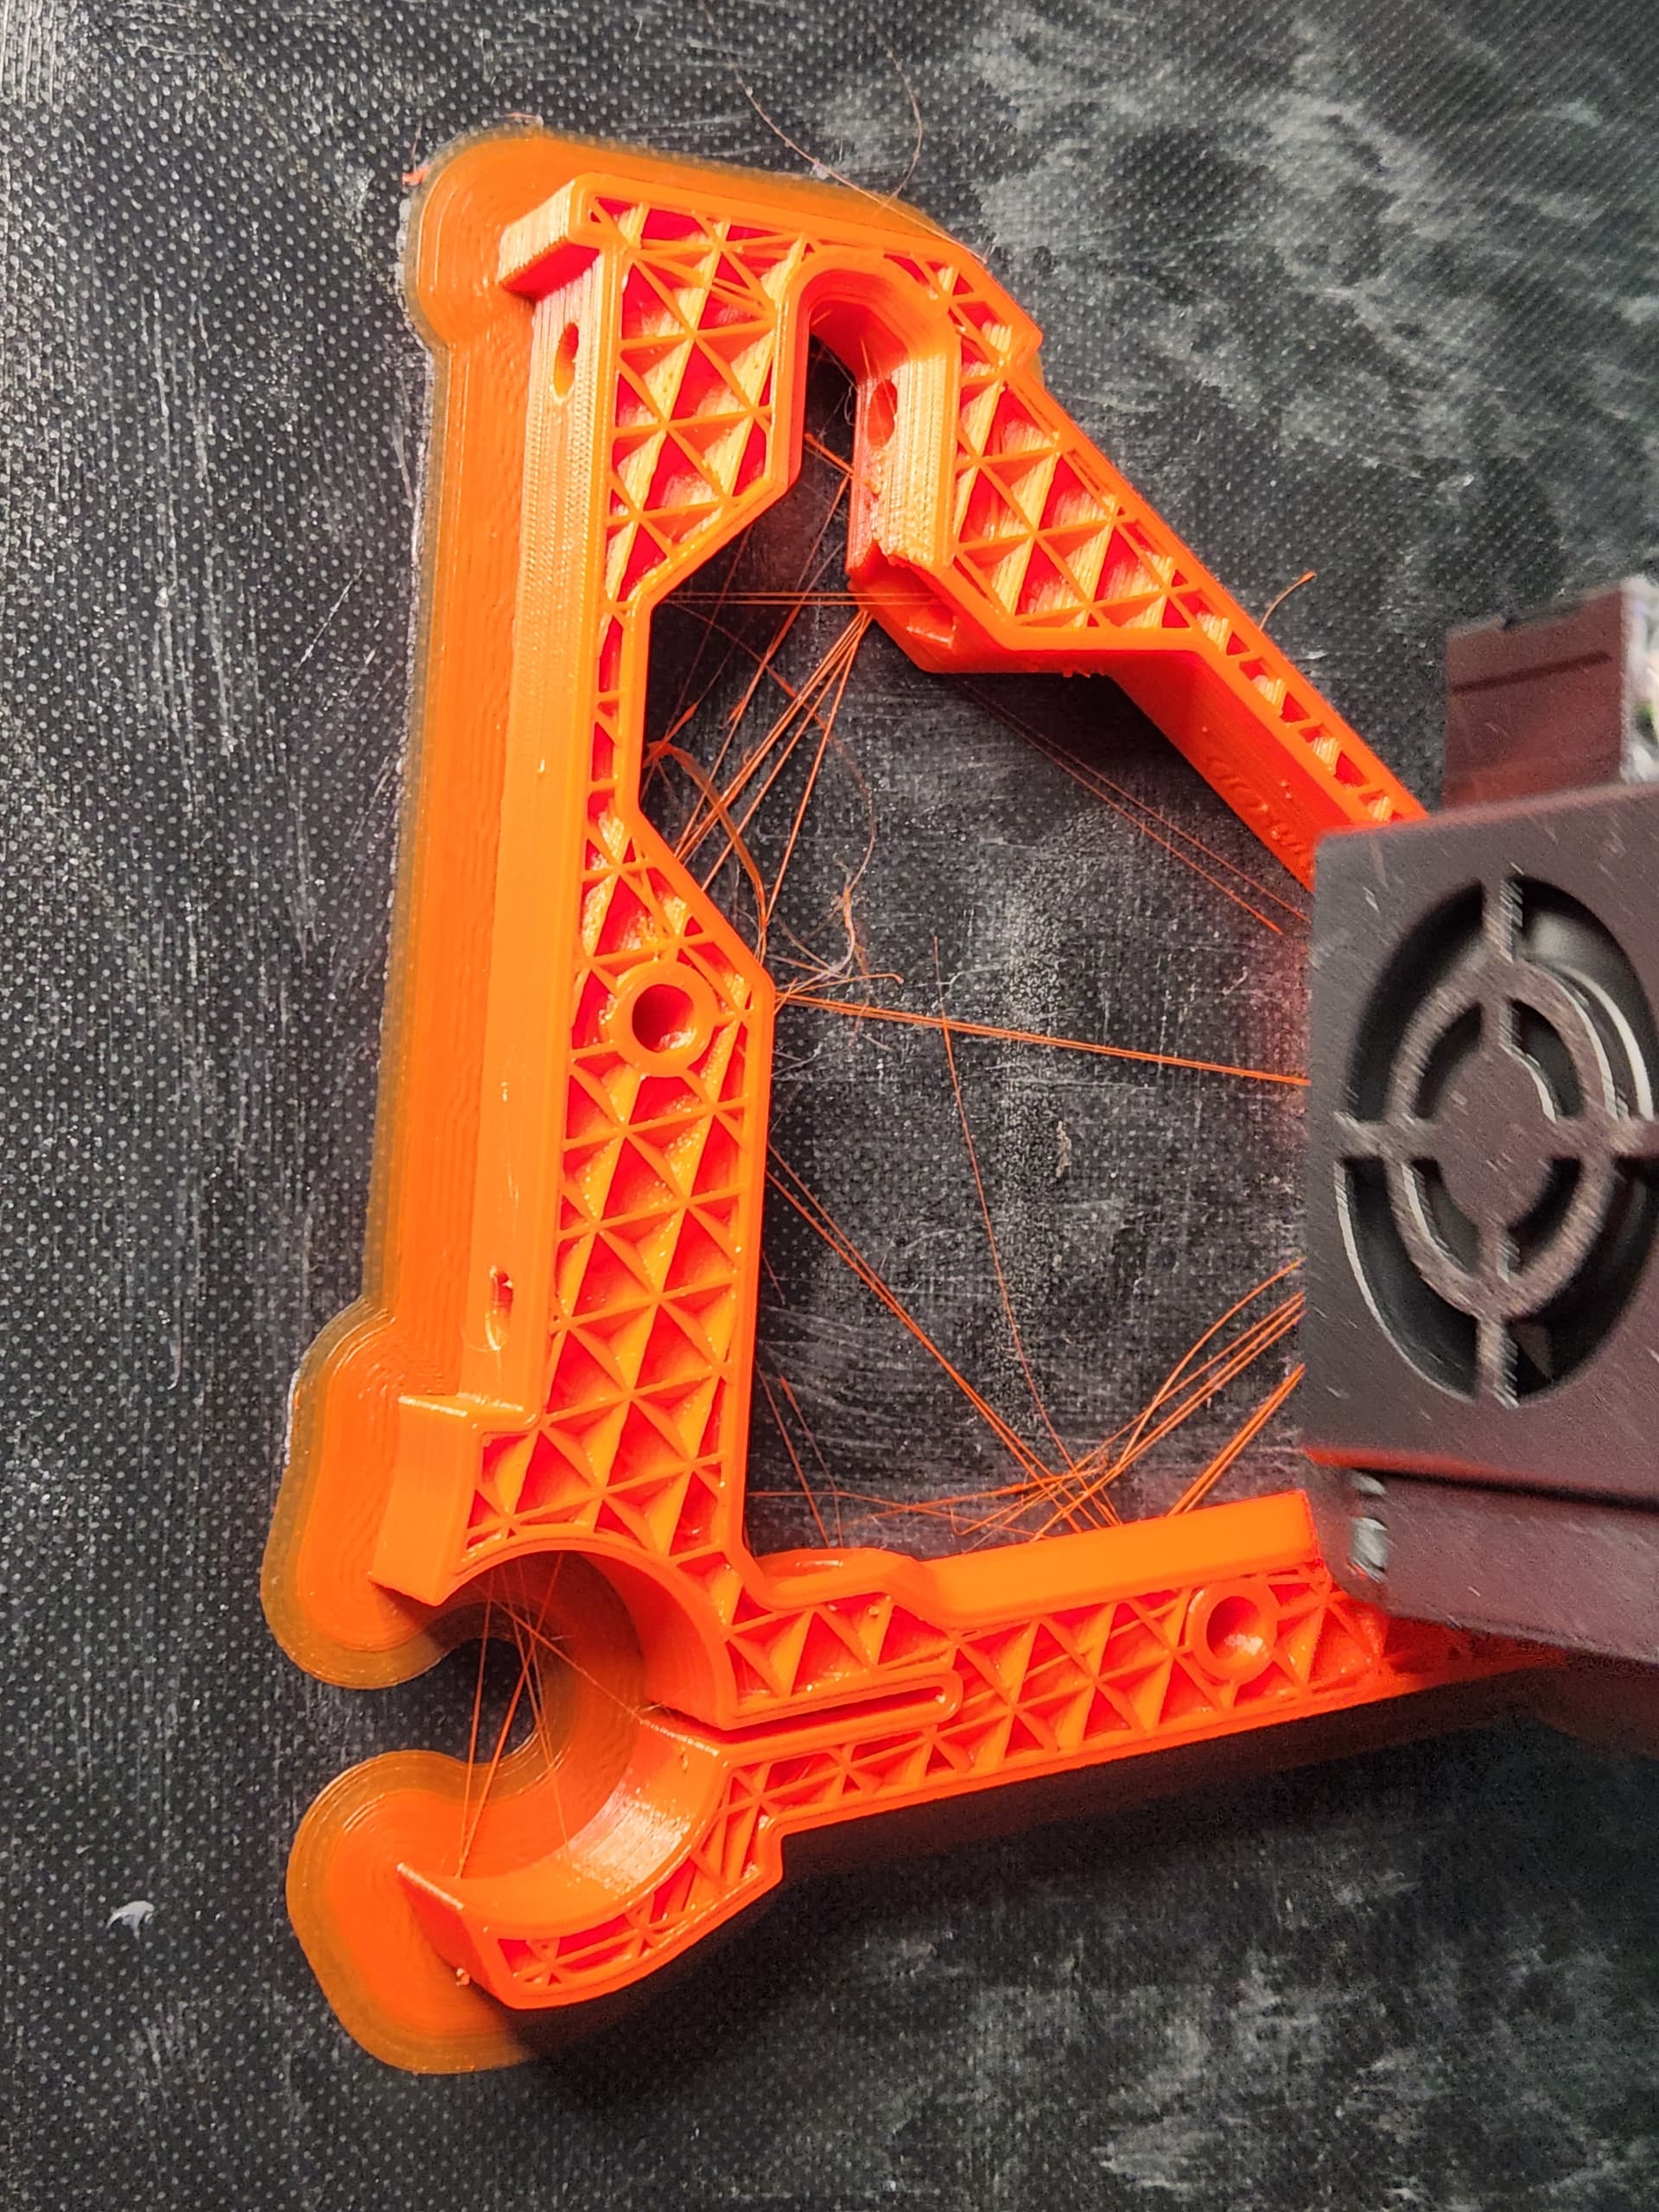
My prusa has long since stopped being reliable and needs parts damaged in storage replacing, so instead, i’ve got a tronxy pro on order, similar design i think to your gridbot. I’ll be well chuffed if my prints come out anywhere close to yours. they really are good mate. i’ll update my build thread, but… i need a 3d printer now, the sun sabotaged some of my printed parts :(:(
3 Likes
So, after 2-3 yrs of having a prusa i3 pro b as a shelf ornament… never having been able to get it to print properly… (most likely user error!) and then having my LR3 parts warp in the UK heatwave, i was on the lookout for a replacement. I thought about the V1 printer, but… there was an offer for the tronxy X5SA Pro 400 for under £190 GBP. so… after seeing how yours and some of the others prints come out, my wallet took the hit and wow… such a difference. i had some teething problems, again likely my own doing but… this is the 2nd long print i’ve done now (=>10hrs) and other than some stringing / movement of the z_offset between prints, it’s leaps and bounds better than i had… (unable to print anything!)…
3 Likes
Hey Jeff
Got an stl for that power box? Looks great!
Thanks
1 Like
https://www.printables.com/model/327324-low-rider-v3-power-box
I should have done that originally. I probably didn’t because we were still in the closed beta.
1 Like
Thanks Jeff!
How big is your overhang?
1 Like
The box fills it up completely, so check the part to be sure. The drawing says 51x77mm. But I may not be measuring the same thing you are.
The model should be relatively easy to edit in onshape, if you are way off. If you are close, you could probably get by with scaling a little. Too much scaling and the parts/screws won’t fit anymore though.
2 Likes