It has started.
5 Likes
I am thinking of painting my wooden parts black. Should I use red or blue filament?
1 Like
Red, nice and bold!
3 Likes
3 Likes
I have 1kg of the recycled “sill colorful red” from protopasta. I will probably do that. It might have some of the blood of my enemies in it.
2 Likes
I’m soooo boring I’m going with Black and Silk Gray…
1 Like

First part printing. (It is actually done now, but I don’t have a pic and I am babying the LR1).
And cutting:

2 Likes
She’s a beauty…
Took over 17 hours, but I print pretty conservatively.
I’ve never seen the use of internal solid support structures. Genius!
5 Likes
Hopefully they do something!
1 Like
Welp, the CNC job failed twice. Not a huge deal. I ran out of time to do another. Hopefully this weekend.
The prints are going fine though. I haven’t tried the big one.
2 Likes
Rough CNC day. More fails. The problem seems to be rooted in the X axis wiring. When I come back at it, I am going to replace that whole wire and maybe even ground the vac hose (it might be static related).

I have a lot of the little parts printed. I just started the left plate.
These all printed great. There is some trouble on overhangs where the layers are small, but totally functional.
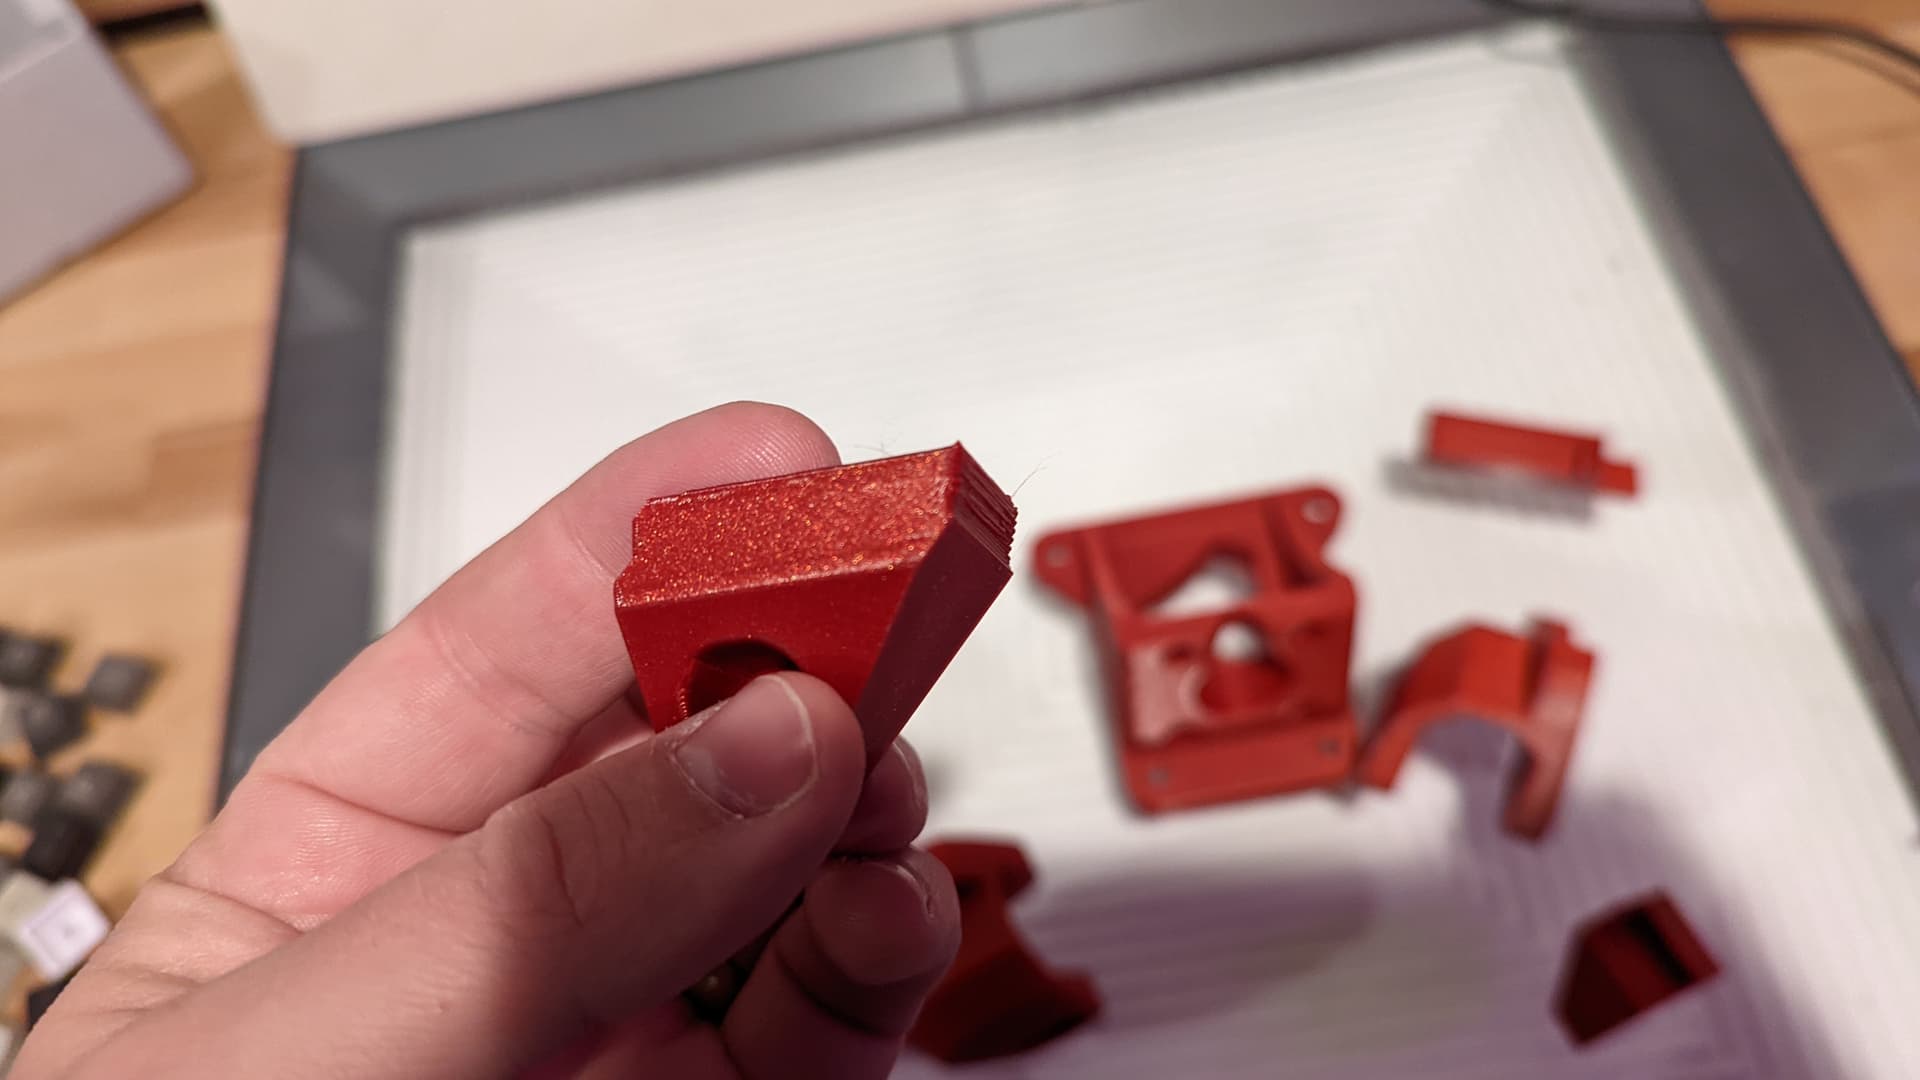
3 Likes
I can change the angle of that endstop holder for sure.
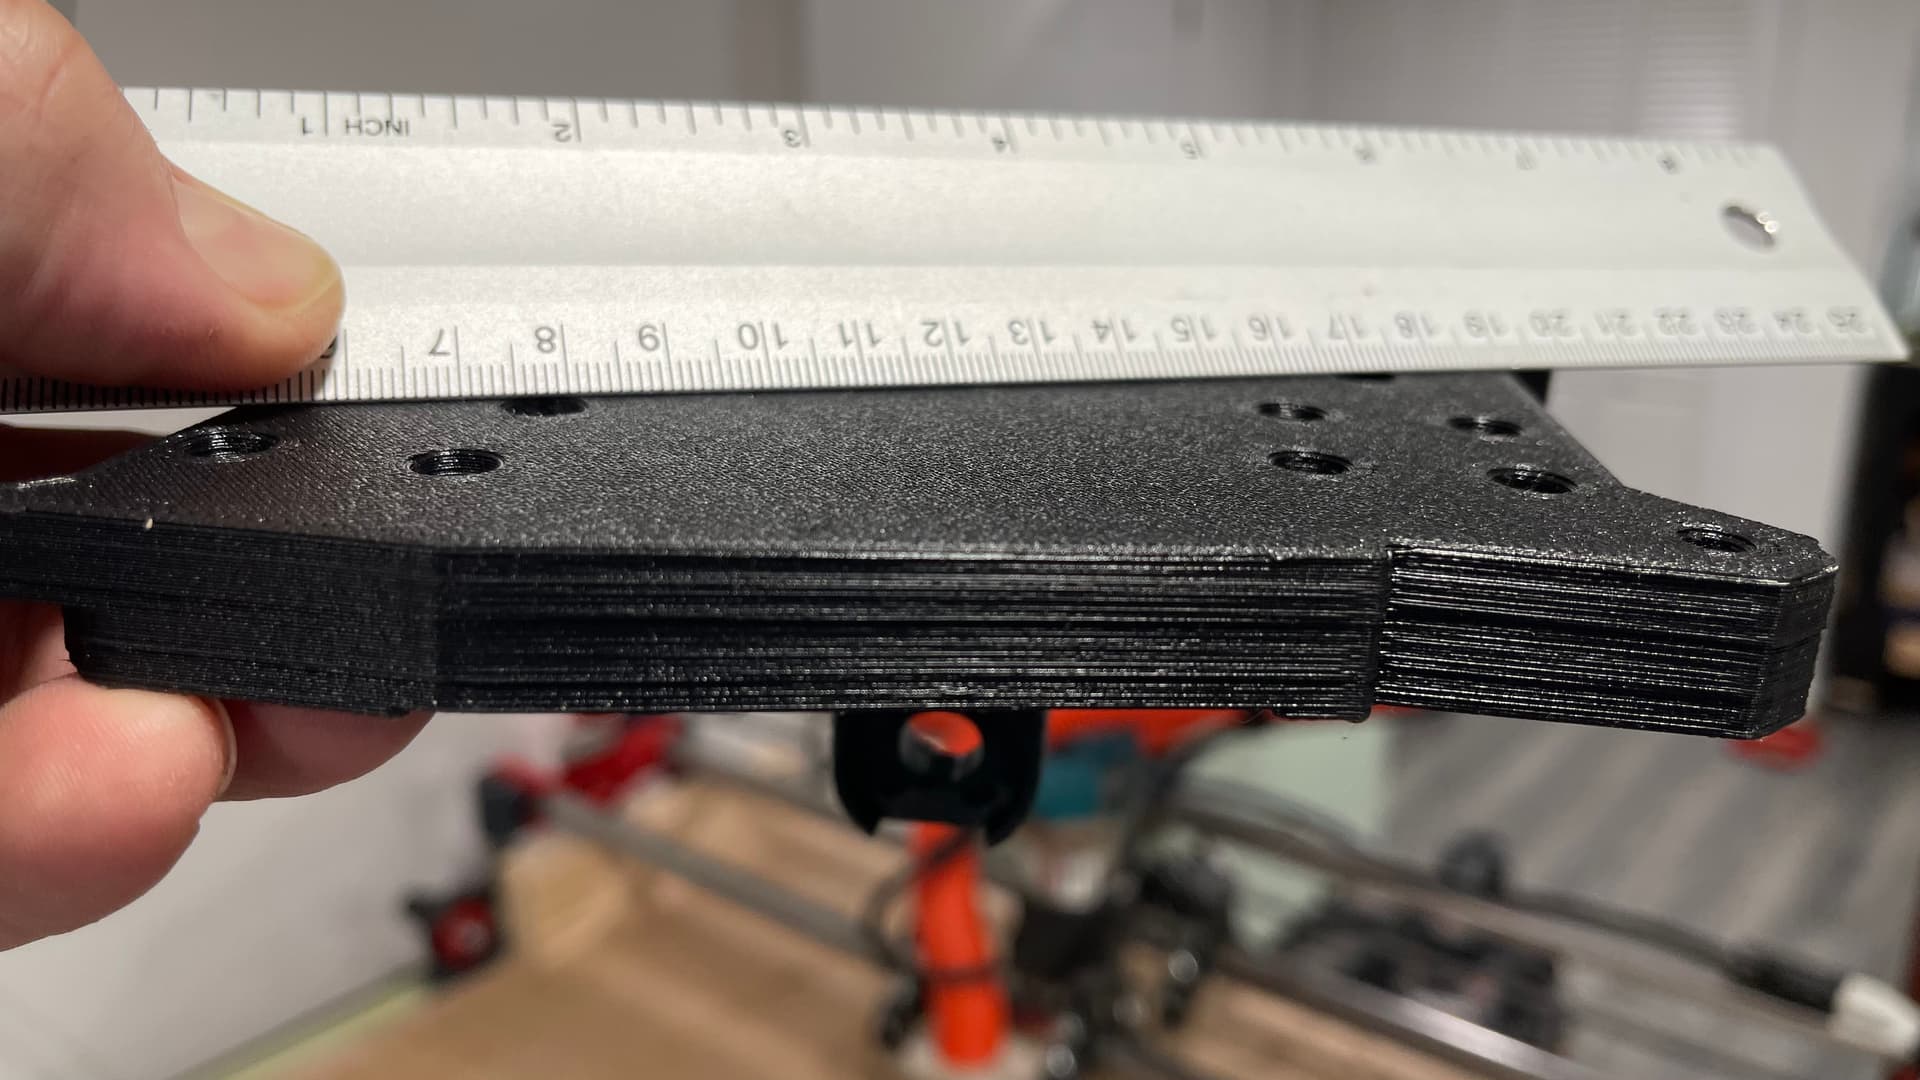
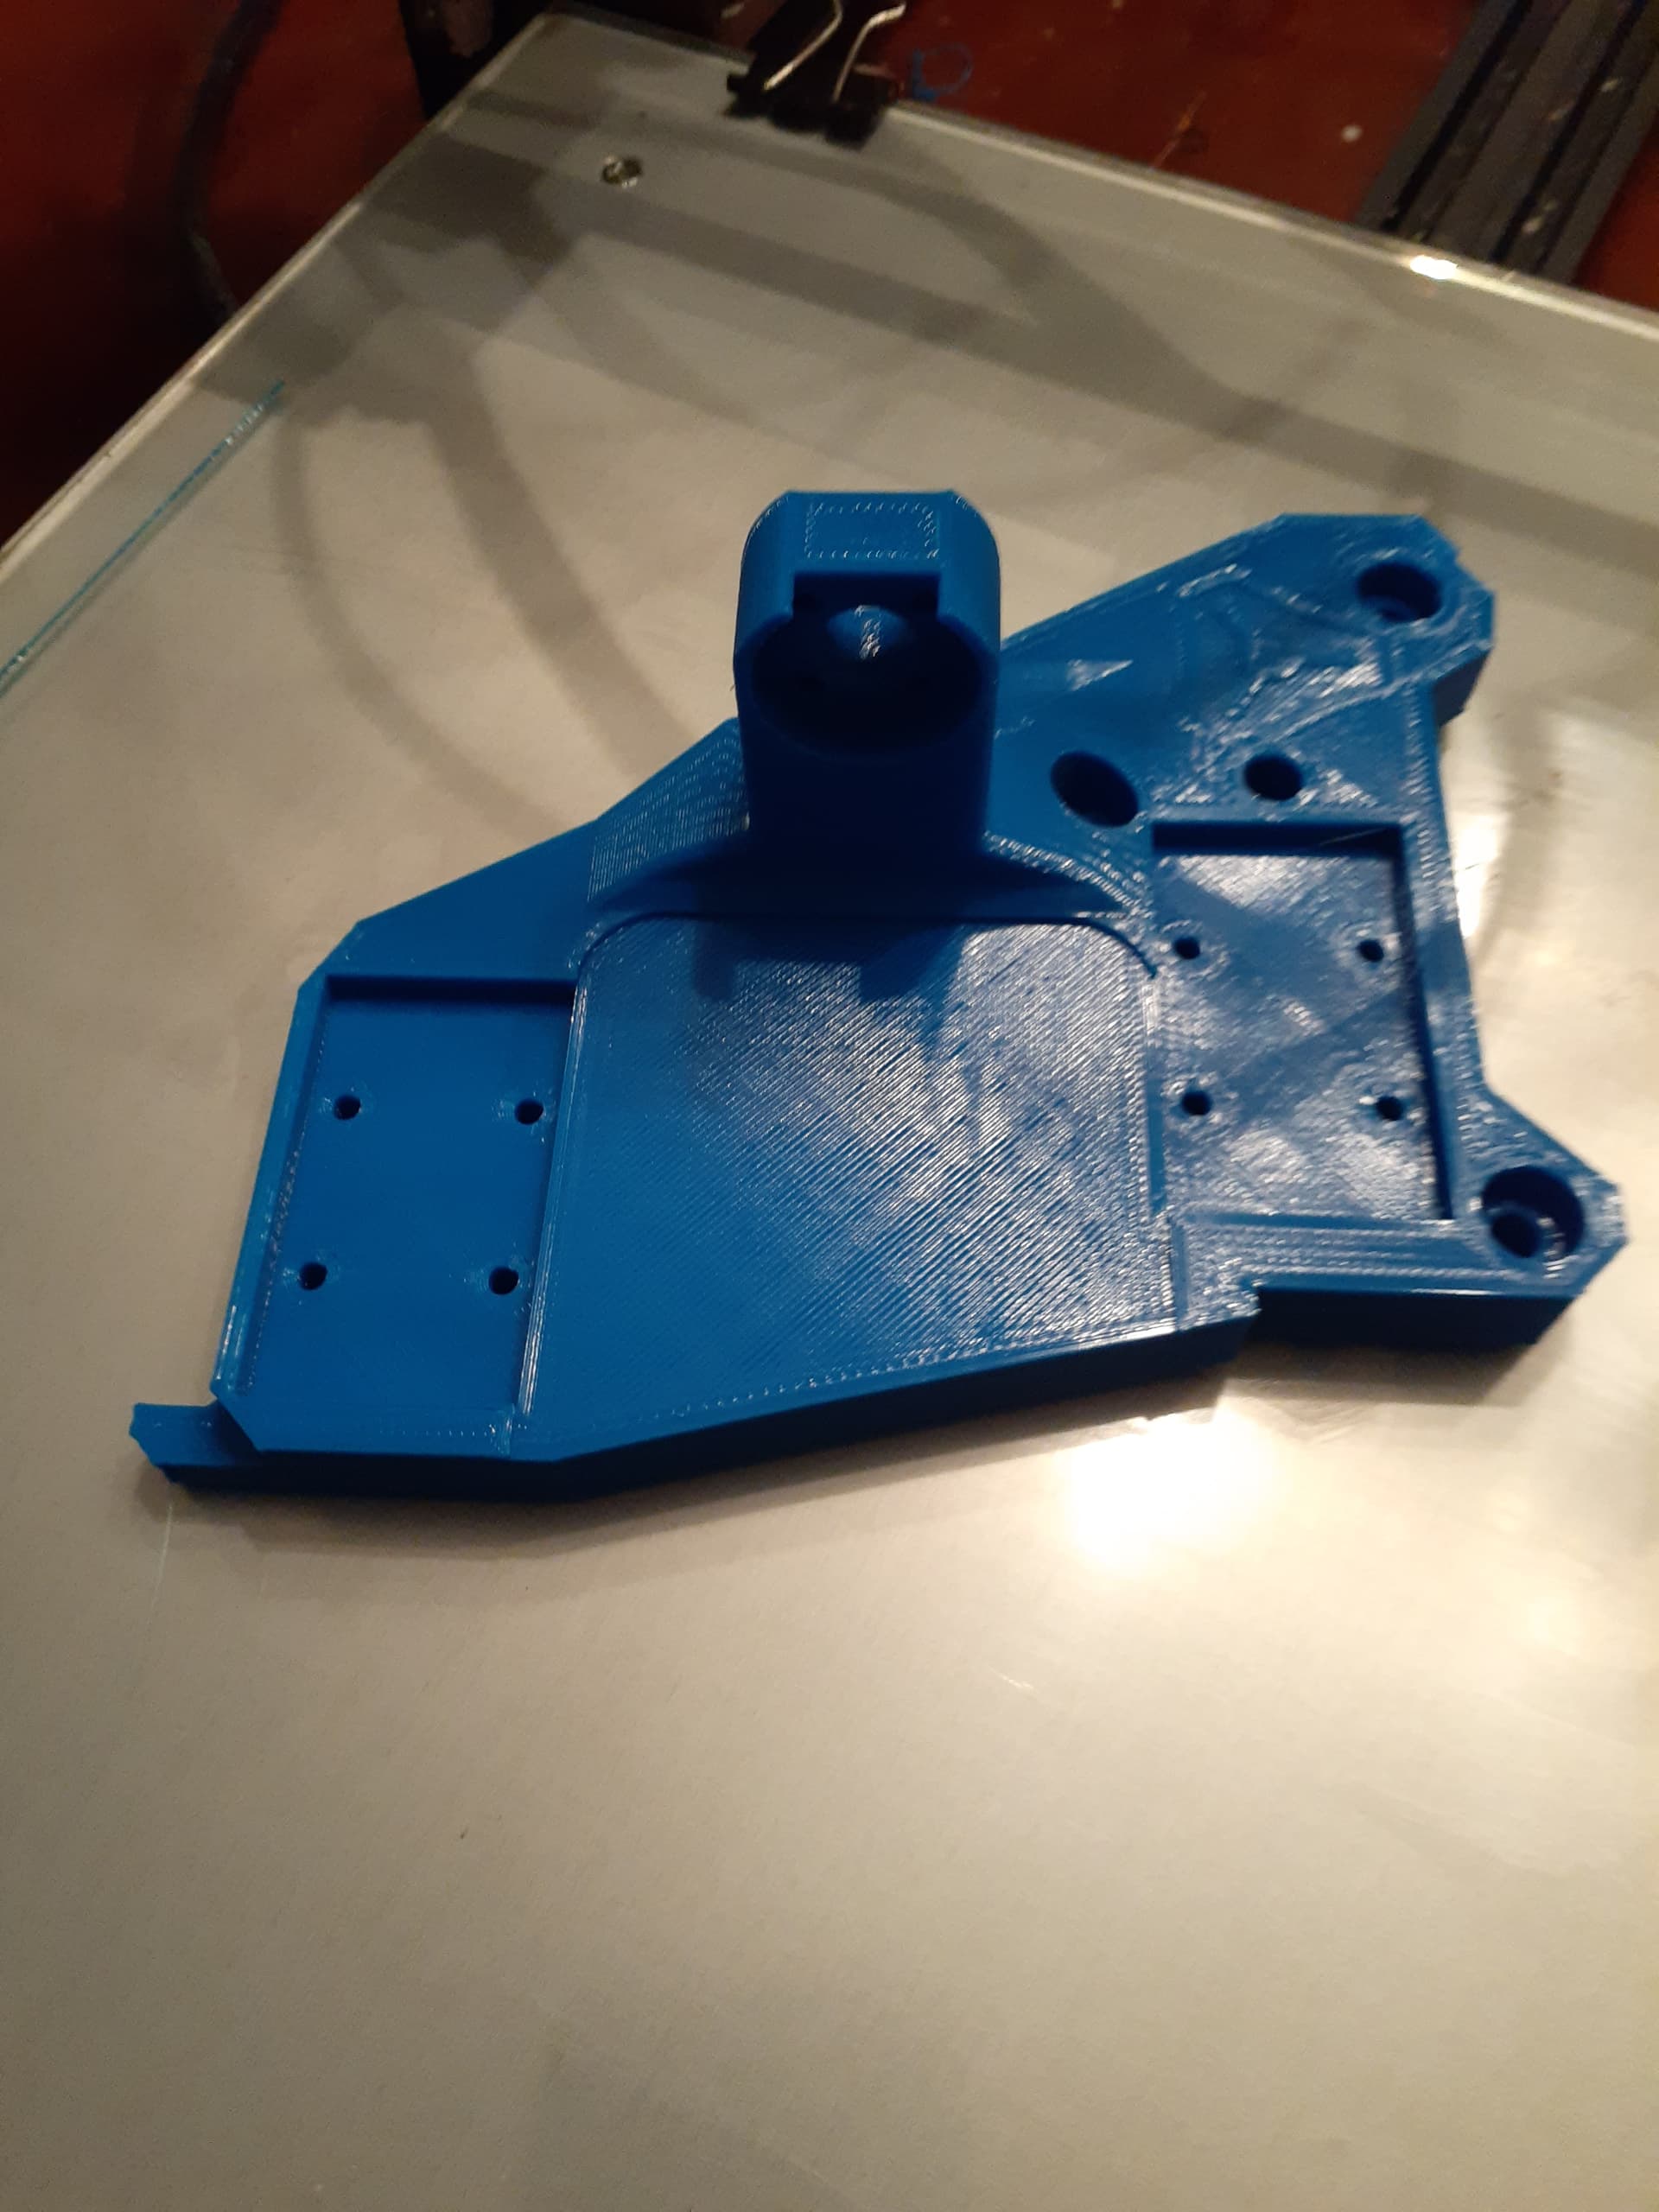
First plate. Left. I had a little warping. Interestingly, the print stuck to the plate, but the removable plate pulled up.

You can kind of see the squished layers about 75% up. That must be when it pulled up.
Very solid piece. Surprisingly heavy.
I think my prints will be the slowest. This took 10:30 on my gridbot, using speeds for a prusa mk3. I have been keeping track in a spreadsheet, which I will share when I’m finished.
Oh no. I hope that won’t be an issue. You can use the old bed clips we used to use to keep that sheet down. I had to do that when I printed the plate sides, they were nearly the entire surface.
There are some binder clips on the sides. Maybe I need more…
The “top” side (when printed) is still totally flat. I think most of the fixtures are fine.
The “bottom” is the side that meets the rails. Hopefully that won’t be as critical, and it is only a little out of flat (the picture exaggerates it). But I won’t know until I attach a rail.
Yeah I kinda think it will be okay. The three holes in the center that attach to the strut braces are all you need and the flat faces of the bearing mounts.
Well, the second one warped as well. This time, it peeled off the plate a little. Combined, they may be a bit of an issue. But I don’t think I will probably know until I get the whole thing running. The track should keep it traveling straight, but I wonder if it will stay square like this. Maybe I could print a small shim or something.
Anyway. On To The Core! 
2 Likes
I didn’t explicitly check mine for warp, they’re attached to the rails now. I do remember I put them down on my desk and they sat flat though. They are surprisingly heavy. I think “Massive” is a good word for them. ![]()
Good luck with the core!
2 Likes