First off
I understand that if the PC is powered prior to the jackpot the jackpot will receive power from the USB connection and can cause issues with USB control.
My question is at the end of this post
With that said
From what I have read and experienced it is imperative that when using the USB connection to control the jackpot for use in Lightburn (maybe other software also) the following sequence must be used:
power on Jackpot
power on PC
home X/Y using macro via the console tab
home using the “Home” option in the laser tab (I do this to ensure that Lightburn will “home” correctly
This is the process I have found works ok consistently
If I try to power on the PC prior to the jackpot I know there will be a problem somewhere and operation and control starts going down the tubes
Has anyone found another way to use the USB control in Lightburn without having to power on the jackpot first or unplugging and re-plugging in the USB after the jackpot has restarted ?
I haven’t used Lightburn with the Jackpot, but I use it for another small laser I have.
I have always found Lightburn to be a little flaky on connection. I often have to unplug and re-plug in the USB until I get it to respond to a move command.
But I’ve also never really taken the time to figure out the Lightburn interface. There may be a way to force it to retry the connection from inside the program…
If you have the PC powered on before the jackpot, the USB connection from the PC to the jackpot will power up the jackpot ESP32 over the USB cable, while the rest of the jackpot board is not powered up.
This is bad, because the ESP32 is unable to communicate with the other electronics on the jackpot board.
When in that state, FluidNC fails to initialize properly and you have issues like you describe.
I would modify your operational list to be:
power on Jackpot using the external power supply.
power on PC.
plug in USB connection to the PC.
start Lghtburn on the PC and connect to the jackpot.
If you are controlling the jackpot over USB, I would make sure you don’t have anything connected to the FluidNC web UI while using Lightburn to control the laser.
On my own JL1/Jackpot laser, I had FluidNC home X and Y at power up (It has no Z).
I never have to do anything funky with Lightburn other than make sure it isn’t trying to use DTR to control the Jackpot. I don’t need to home it multiple times.
I have noticed at times Lightburn will get confused by a controller. I haven’t really seen that on my Jackpot/JL1 laser.
There was a CO2 laser at the local makerspace where this Lightburn/controller confusion would somewhat regularly happen as users connected/disconnected USB. That system had a Ruida controller and most folks preferred to just transfer files and run jobs from the controller.
I never bothered to troubleshoot that and have not been active at the makerspace in a long time. I don’t know if they ever ‘fixed’ the USB connection weirdness.
Thanks everyone
So it looks like
If the USB connection is to be utilized with the jackpot to work via Lightburn, the jackpot will always have to be powered on ahead of the PC being powered and the USB connection made
Thanks for verifying this for me, greatly appreciated
I don’t the power-on of the PC is part of the sequence. I have a PC that is always on, but I don’t connect the Pen/Laser FluidNC board until after it has been externally powered and had about 10 seconds to be sure it’s through all the bits. After that I connect the USB cable and start LightBurn. I’ve not had any problems doing it in this order. I’m using the Dring TMC2209 Pen/Laser board, but I also have the Jackpot on my FrankenLaser and I use the same sequence.
Since it was in the original list, I left it in there (some folks like to turn off all the equipment when not in use,)
Its not necessary to turn the PC off when not running the laser, just to keep the USB disconnected until the Jackpot has been powered through its external power supply.
Thanks Jim, I obviously didn’t do a good job of proof reading my post
I’m finally getting all the other projects put to bed so I’m planning on returning to the FrankenLaser this coming week. The JL-1 is steaming along just fine.
There are USB cables that don’t have power connected. You can make them yourself by disconnecting the 5V. You still need D-,D+ and gnd. I always tie a knot in those weird cables though, so I don’t grab them from the spares box in the future and lose my mind.
I went and cut the 5v wire and that’s the ticket.
No more making sure the unit is powered up first, etc.
That should be recommended as a note in the jackpot documentation as it is simple and would save a ton of headaches
Thanks again so much for the help
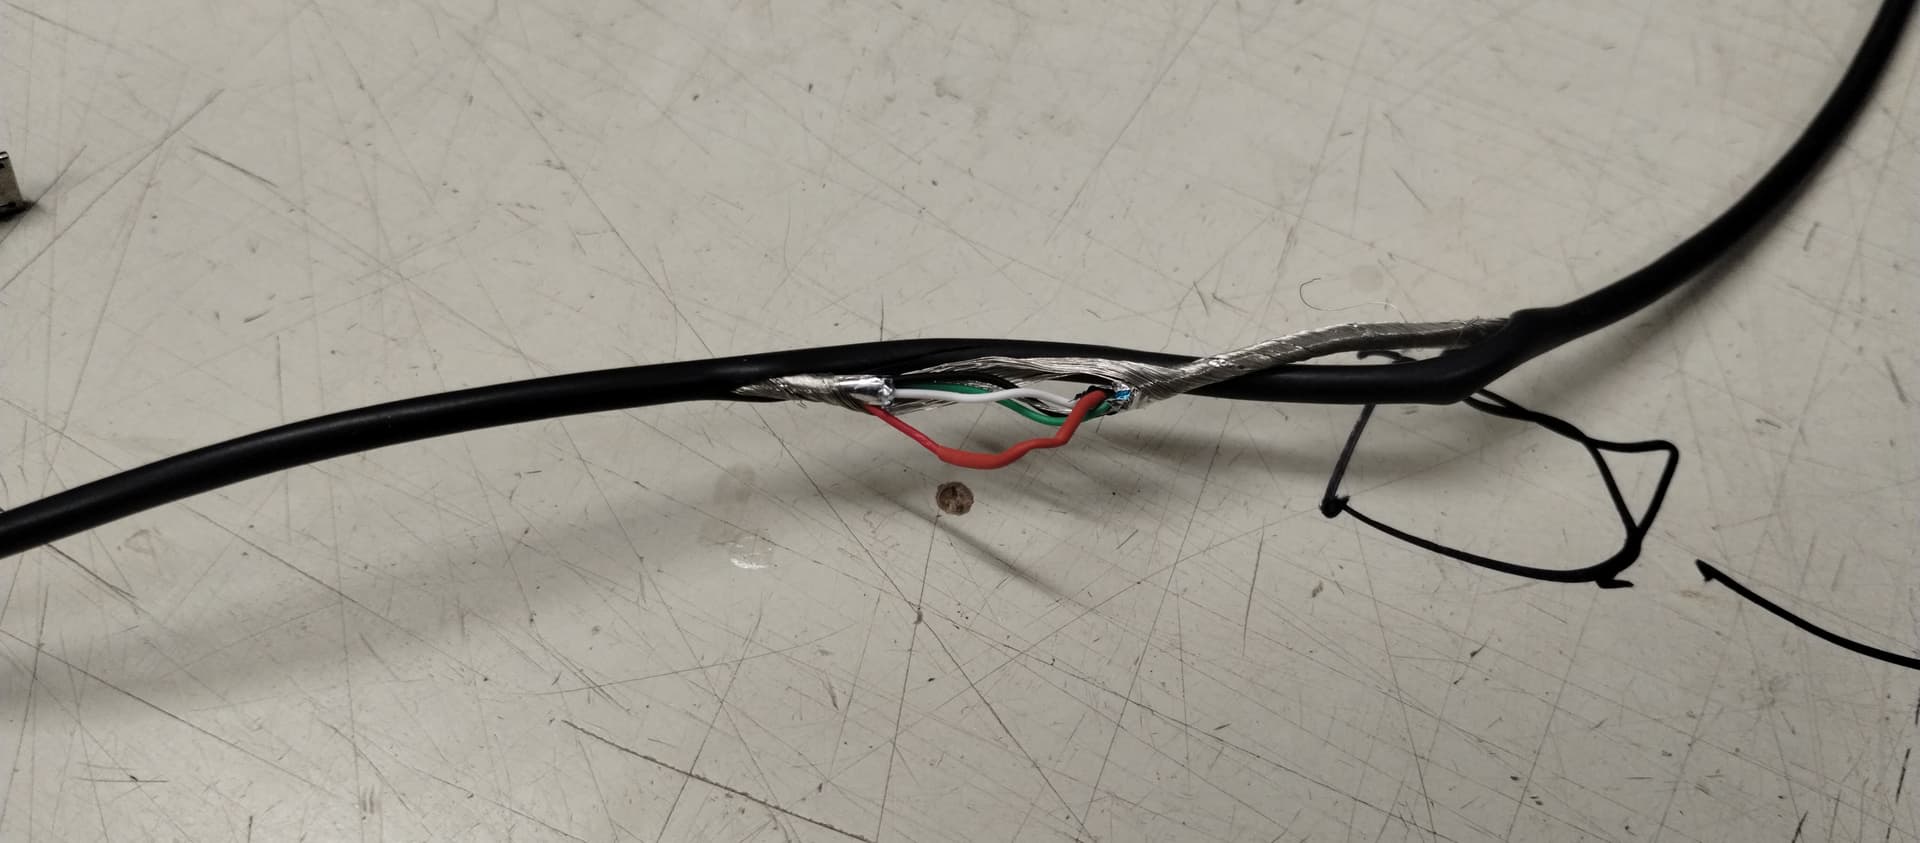
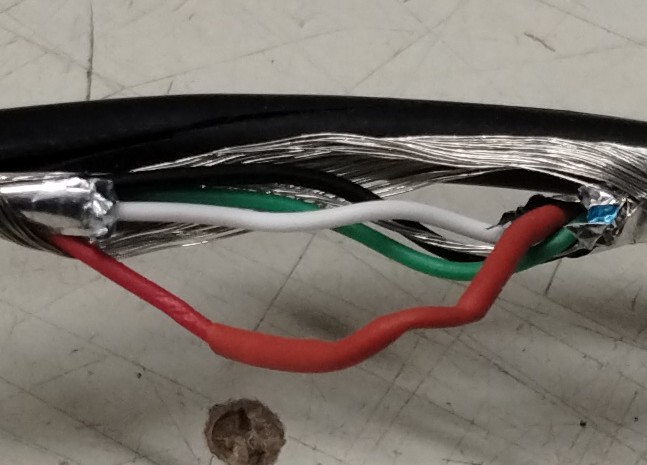
I slice the sheath about 2" (careful not to cut shielding or cut into conductors)
Unwind the cable to allow shielding to be separated
Expose and cut out a section or the red wire about 1/8" long (eliminates the conductor from re-connecting while under heat shrink)
Put heatshrink on the red wire to isolate the conductor ends from touching shield
Re-twist the conductors into shield
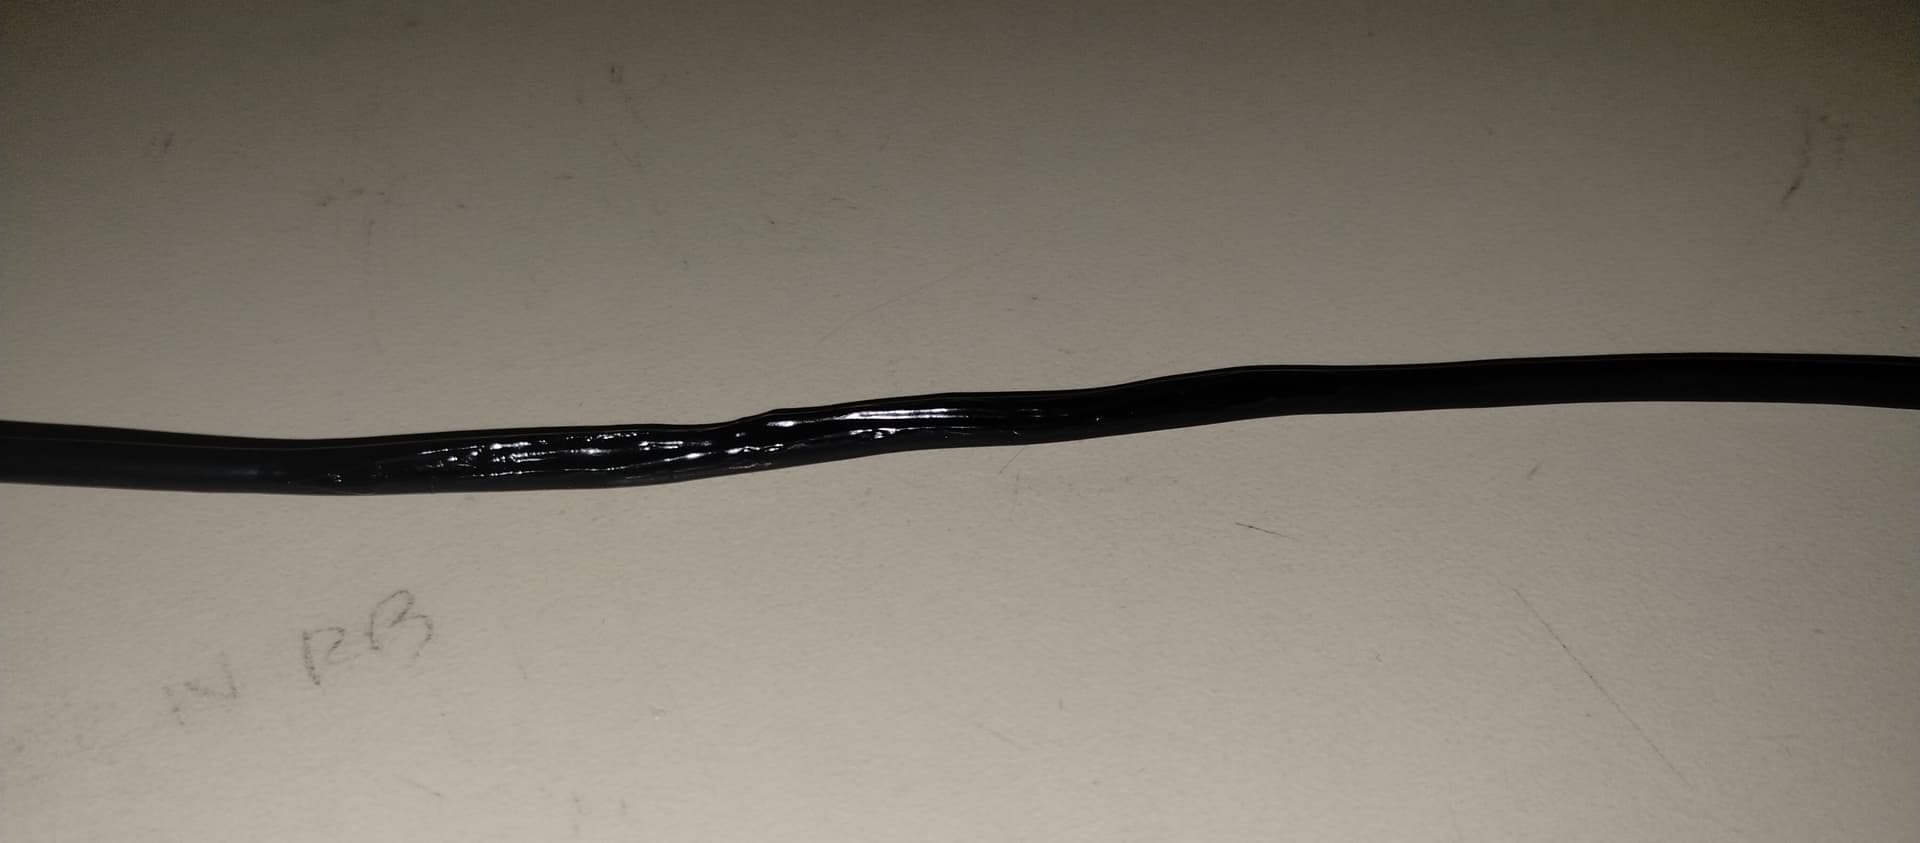
Place sheath back over the conductors
Seal cable back up with liquid tape