I’m totally Nerding out right now! It Actually WORKS!!!
Ok so let me try and explain why…
So a while back @bitingmidge posted about wifi turning his dust collection on and off. And that got me thinking. I already have home assistant turn all kinds of stuff on and off. So why not the dust collection too??
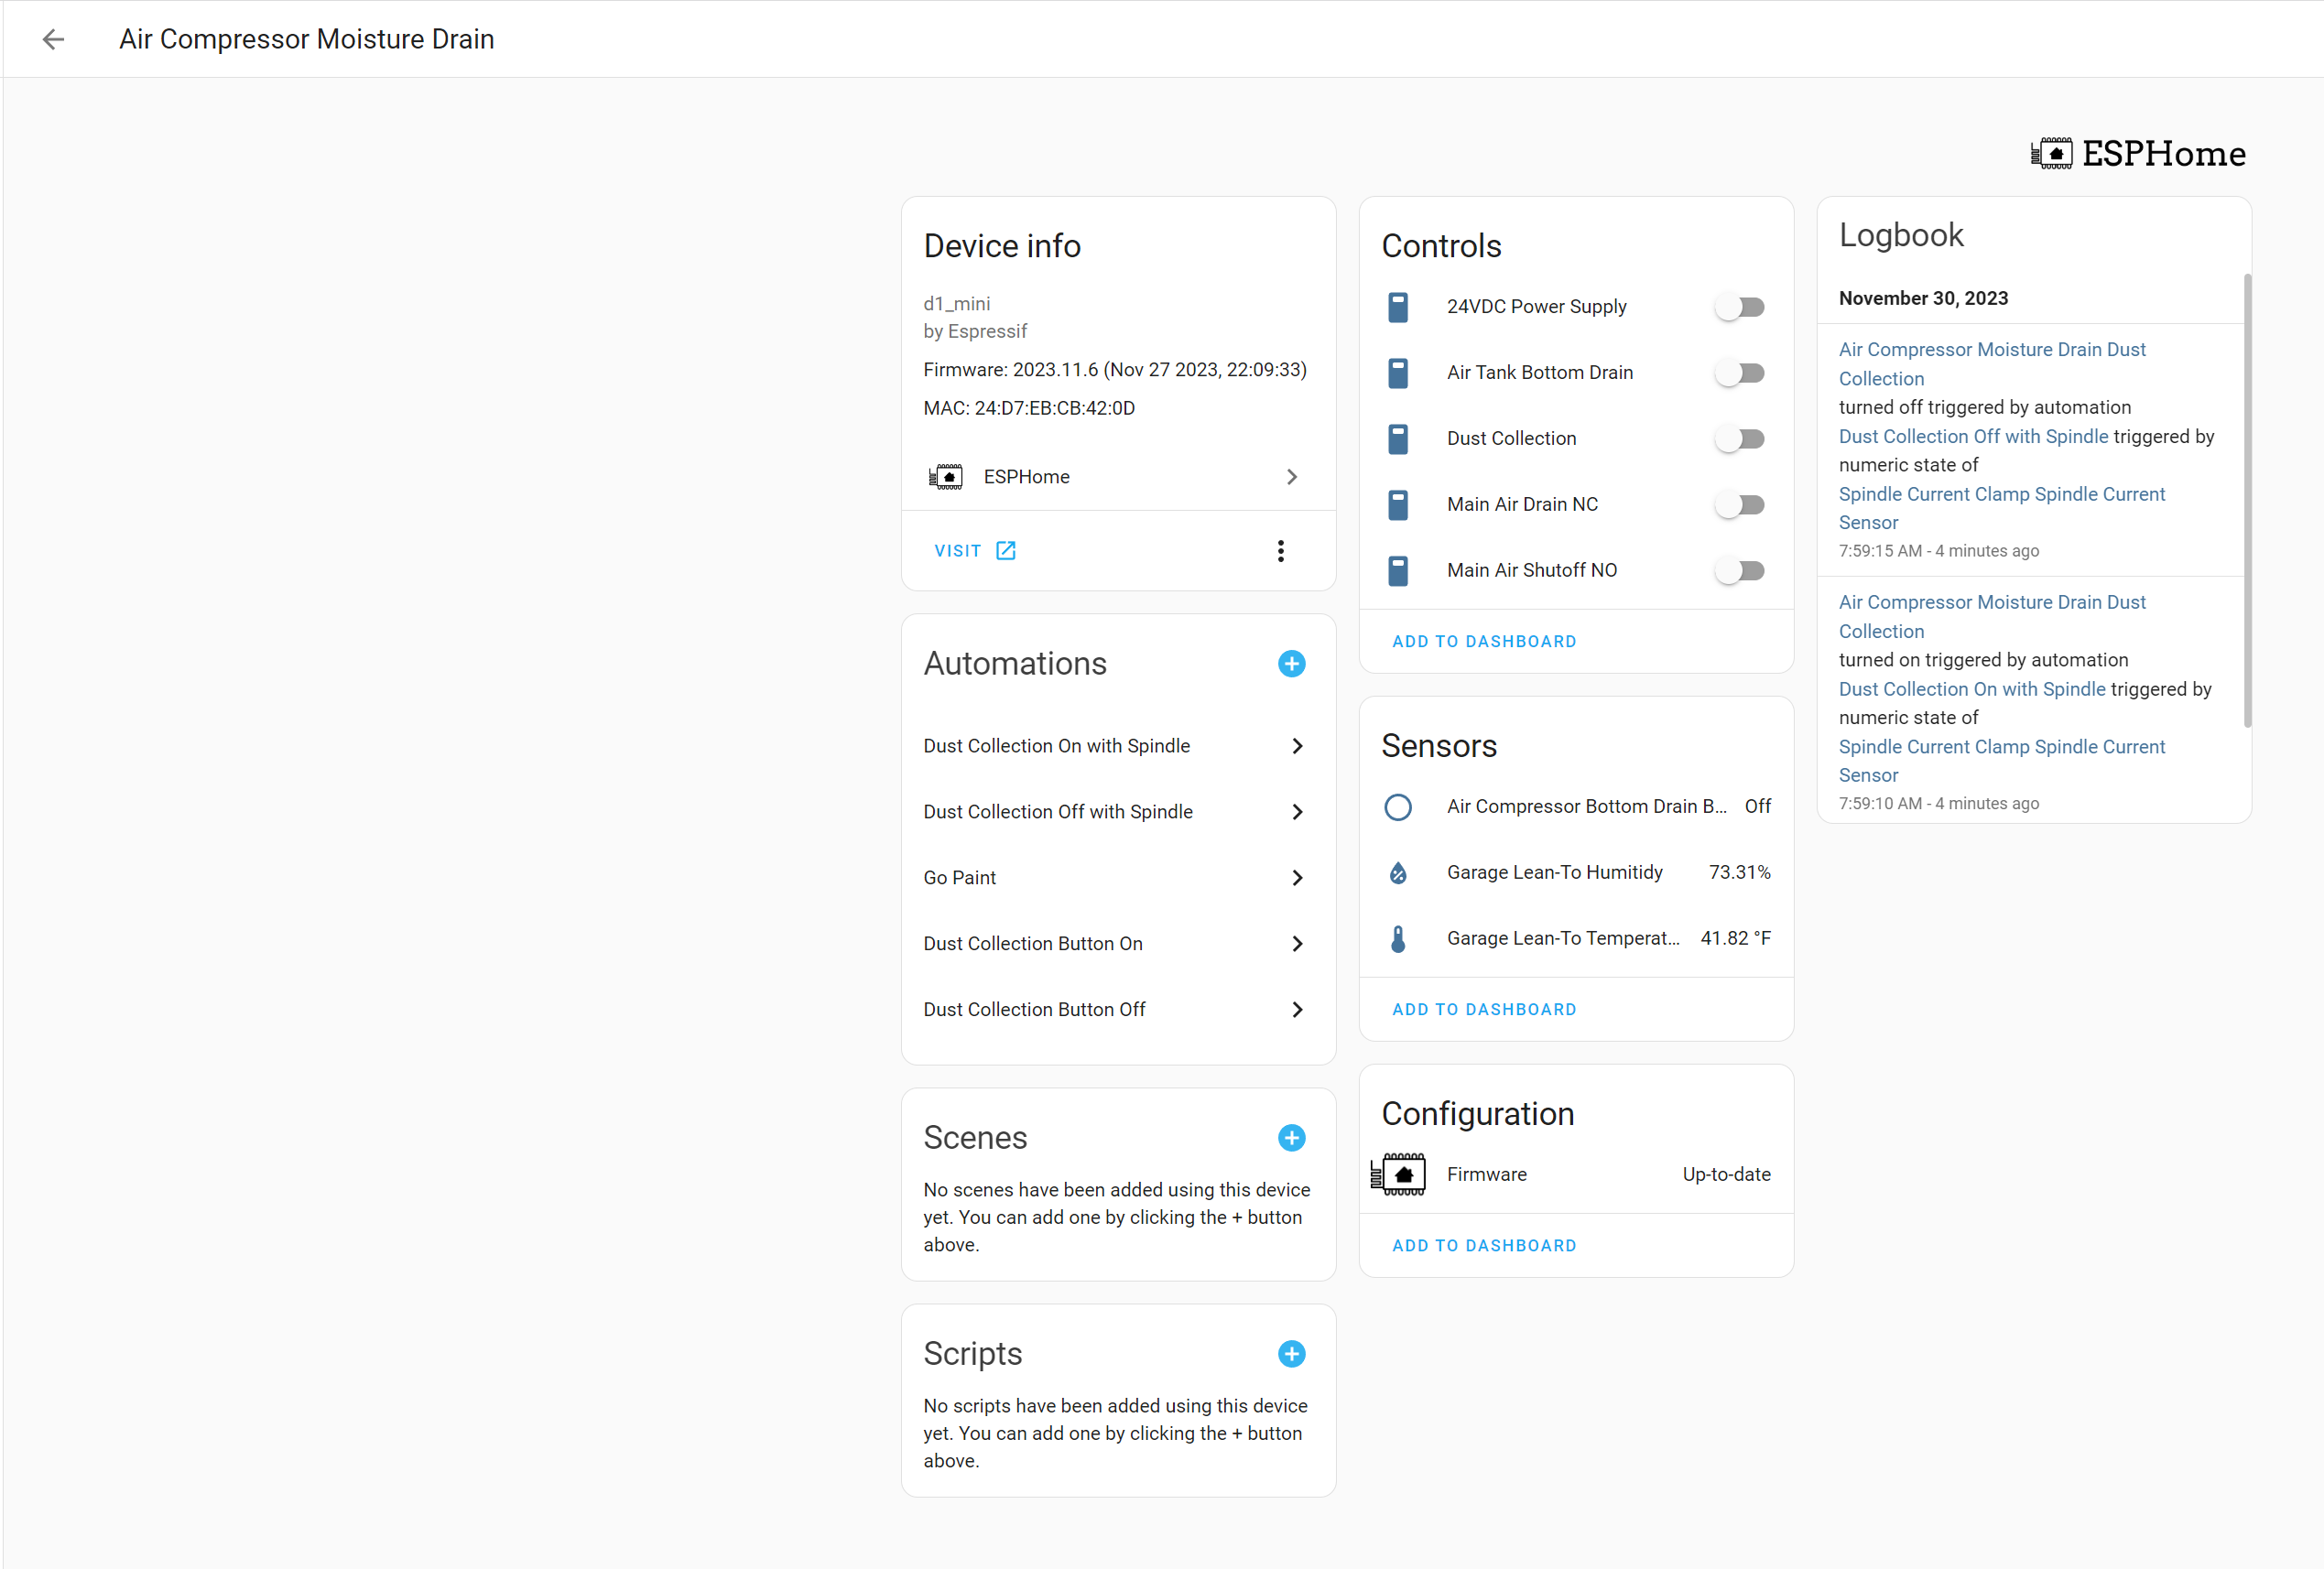
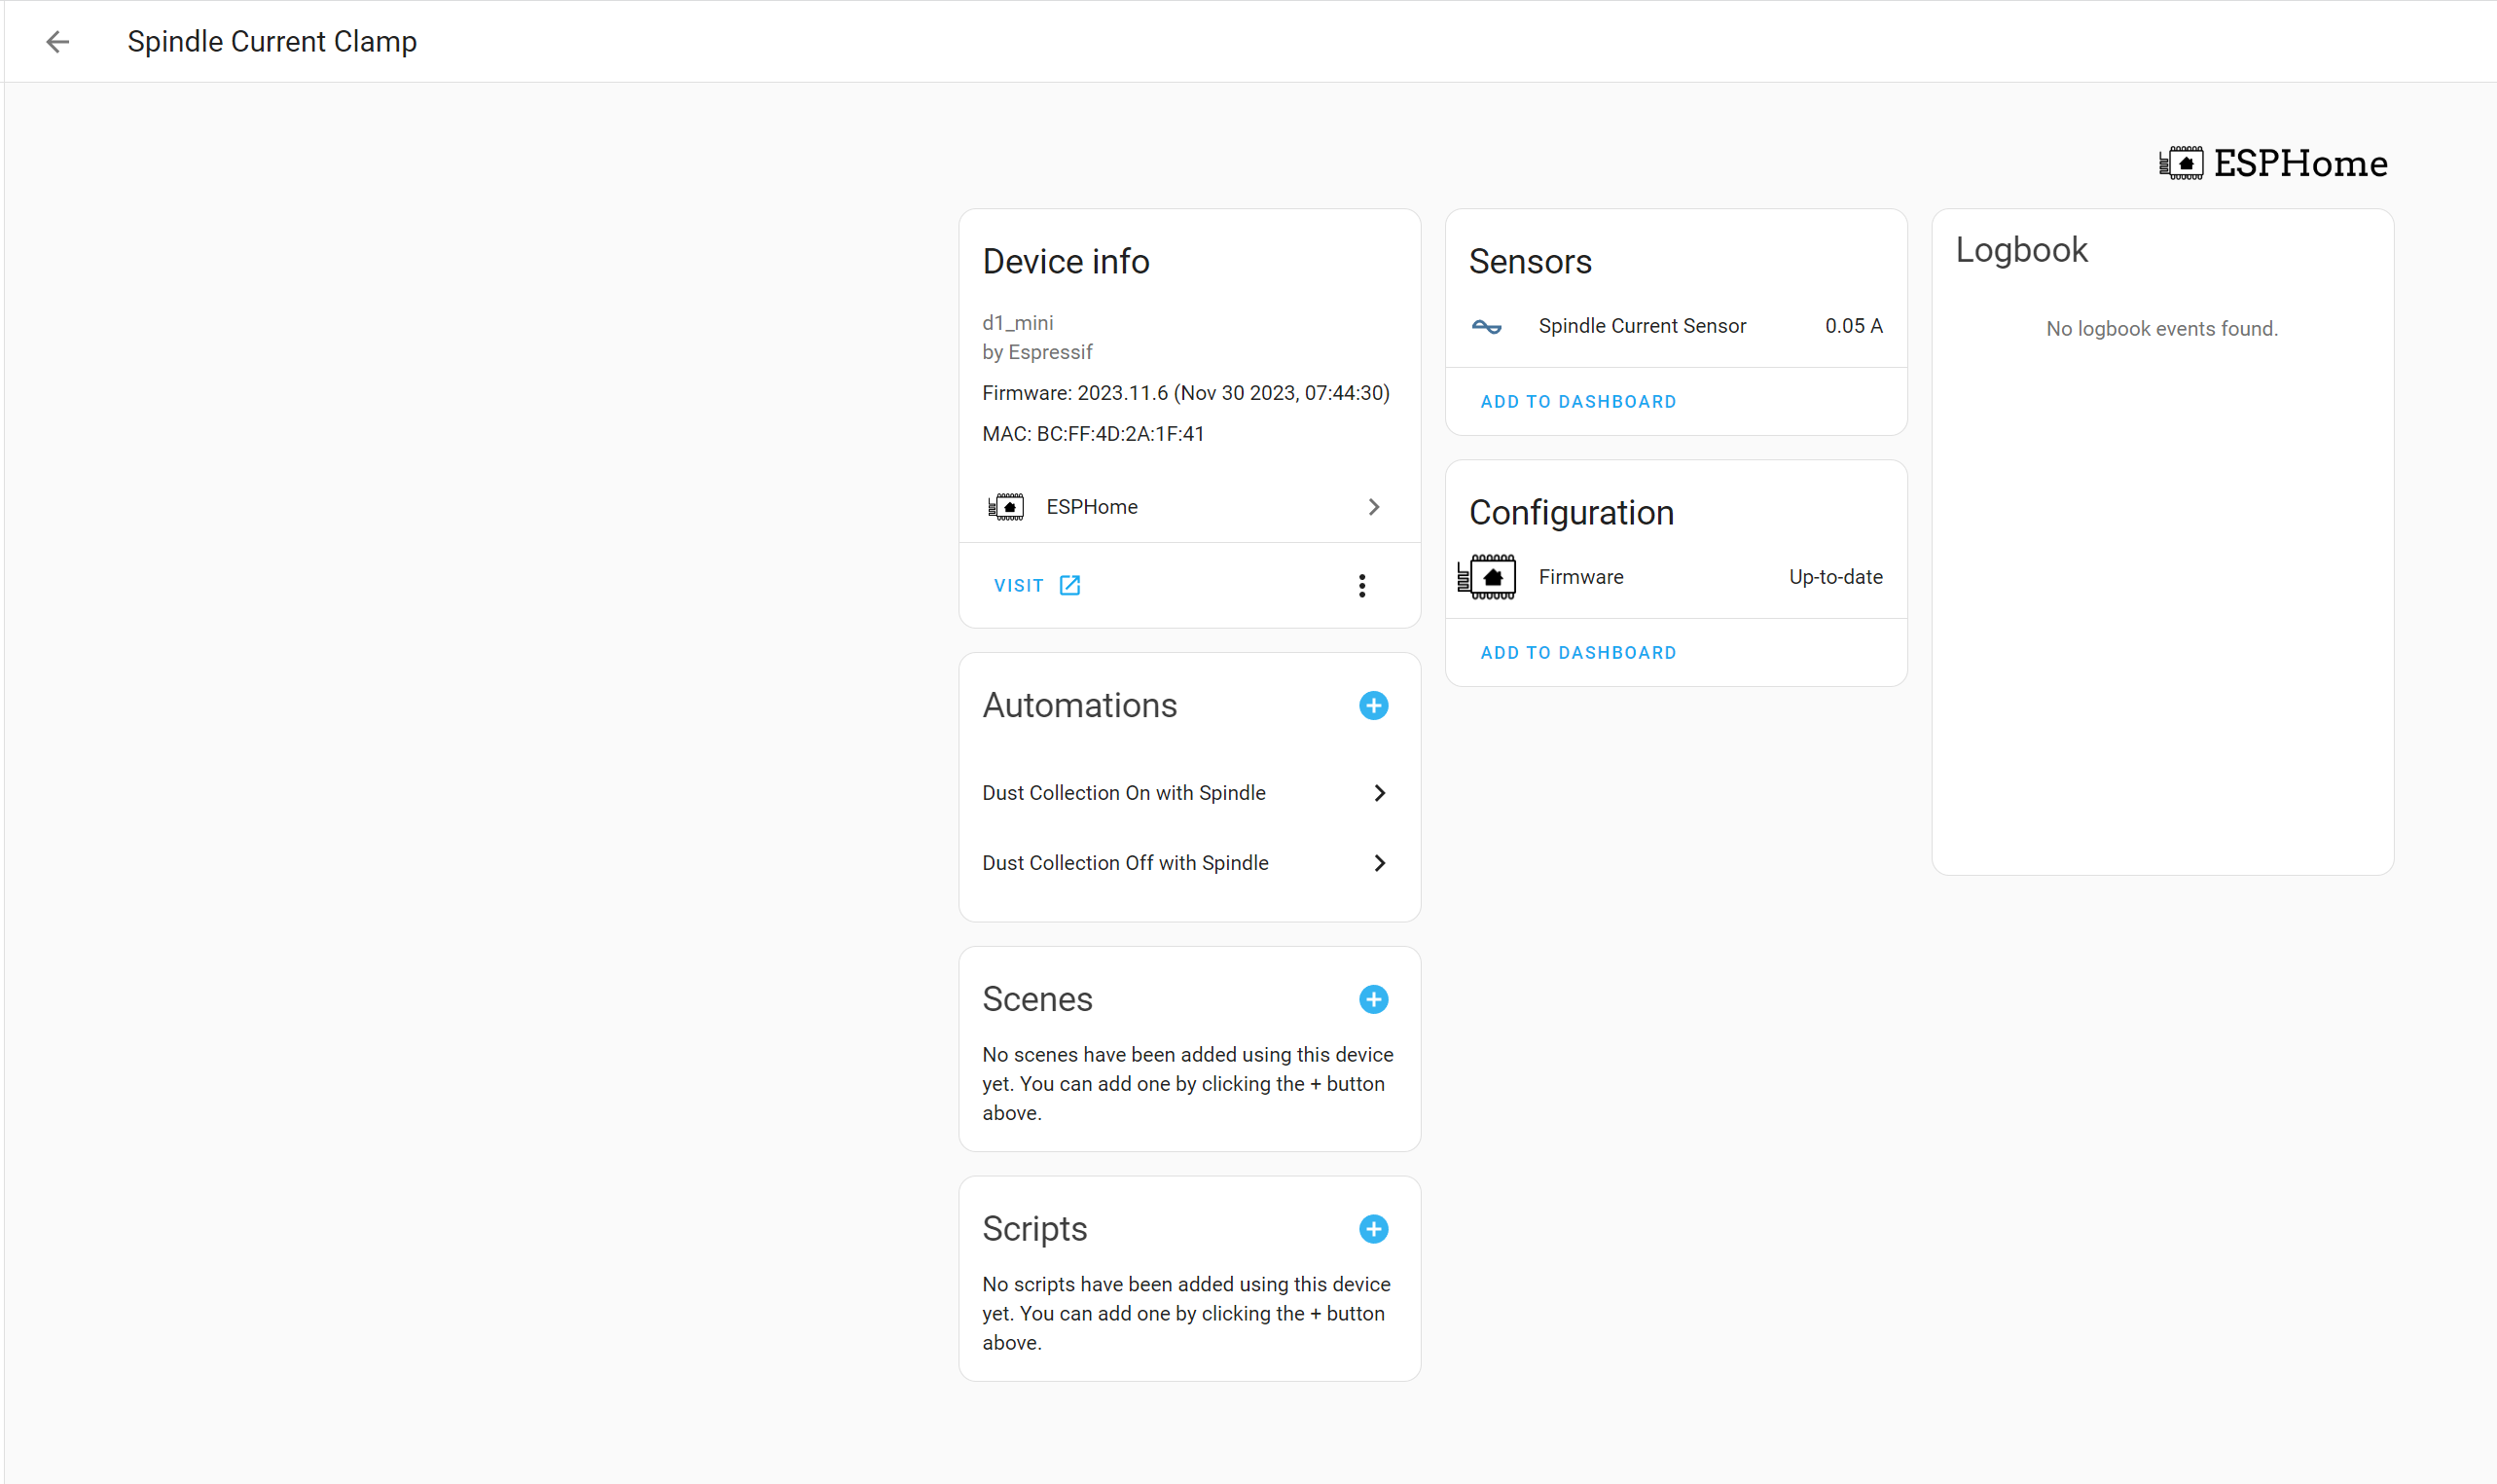
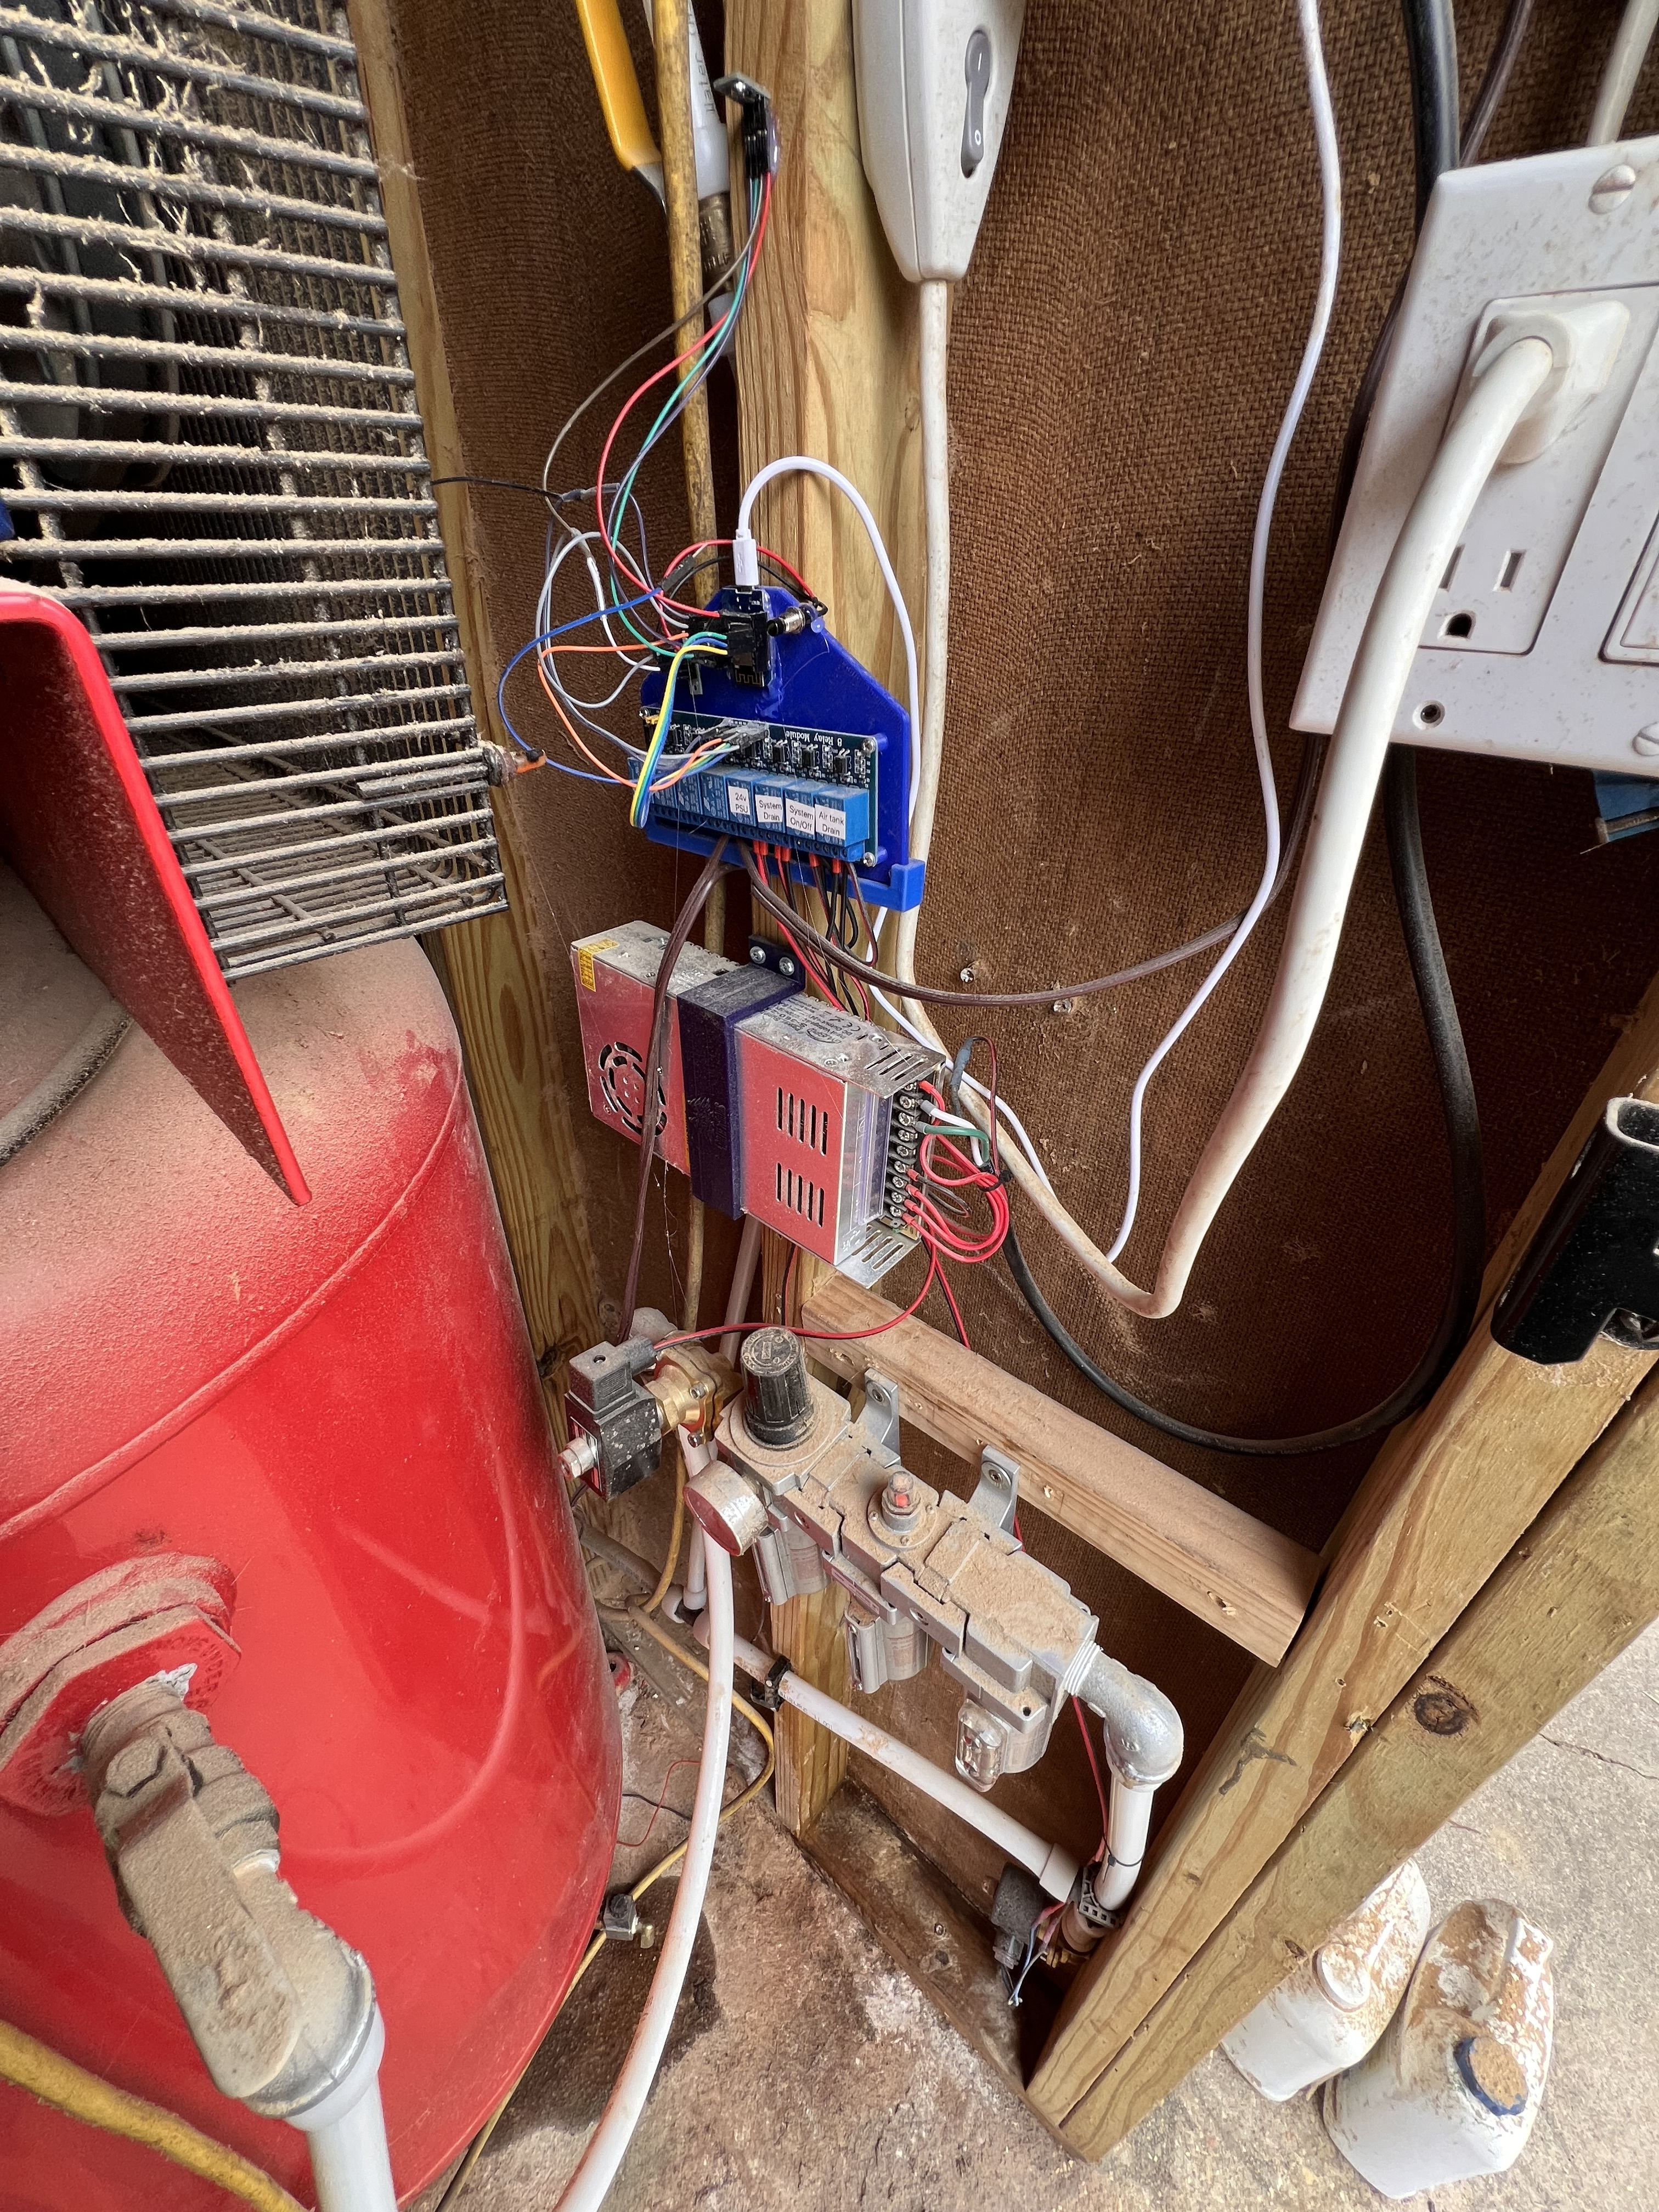
I set up a relay board with a D1 Mini in the small lean too off of my garage that houses my Air Compressor and HF 2.5hp Dust Collection. One of the relays I set up turns the dust collection on and off. I was worried that it would pull more than 10 amps so I set it on a contactor I had that has a 120v coil. The relay triggers the contactor and the contactor turns on the dust collection. Has been working great. Can turn it on/off from my phone or even tell Alexa to do it. But this isn’t truly automated. So i took it a step further and ordered a CT clamp. Set it up on another D1 Mini that reads the current going into my spindle VFD. And with that I was able to make an automation to turn it on and off when the spindle turns on and off. And it actually WORKS!!! I was amazed at how little current the spindle uses (.19A @ 12,000rpm) but I’ve only read it in the air. Curious to see what it actually uses cutting.
So don’t mind me. Just excited to make something I’ve never tried before work. I had to create a circuit and all for the CT clamp lol. I’m used to just hooking sensors up and running with it.
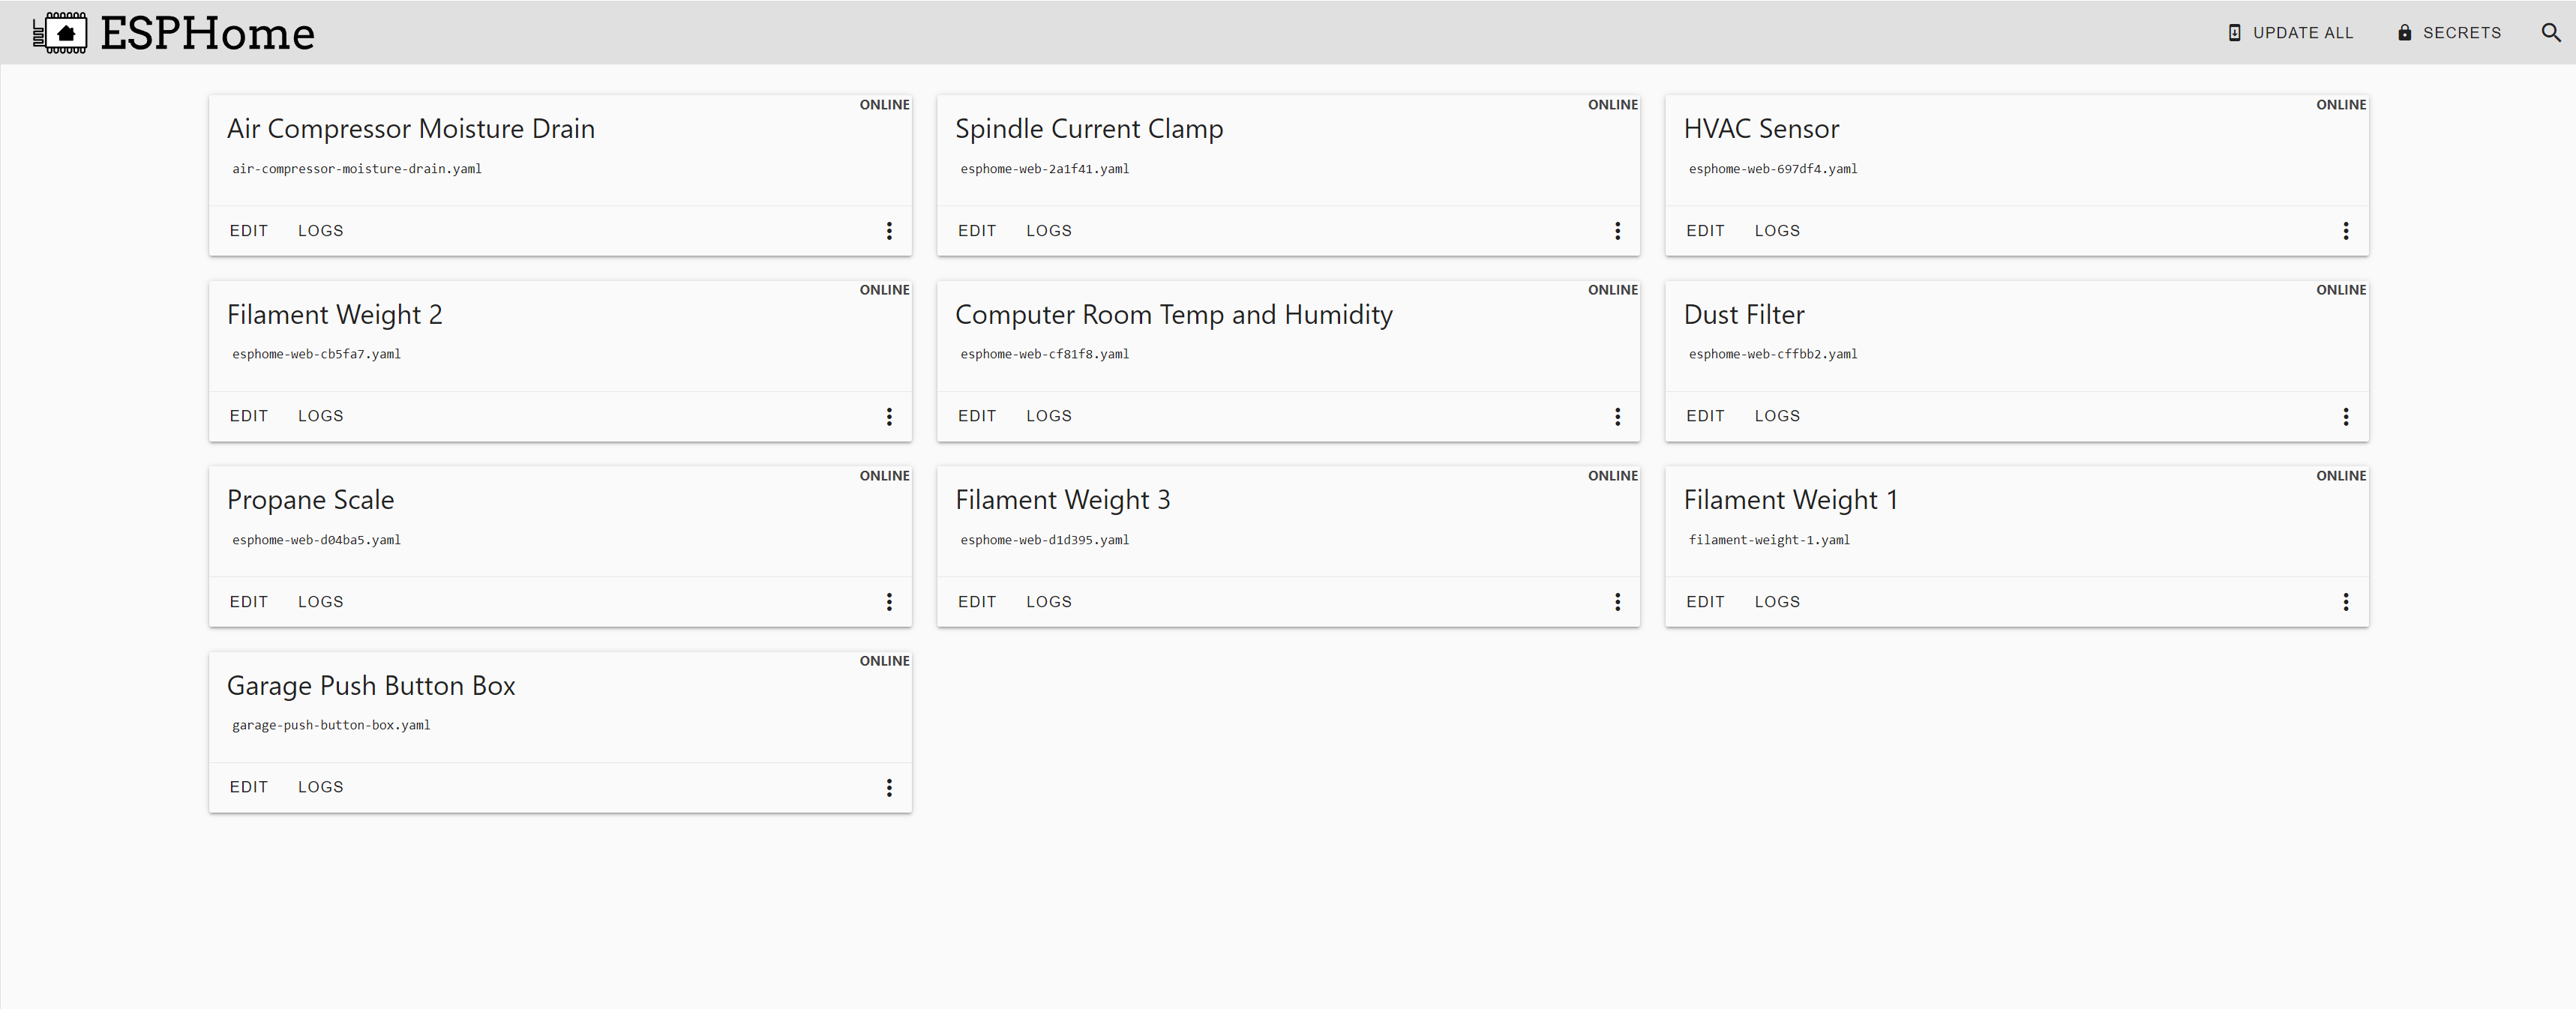
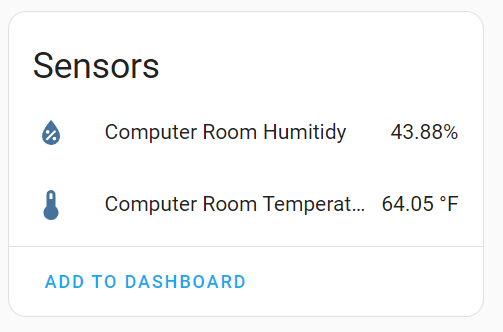
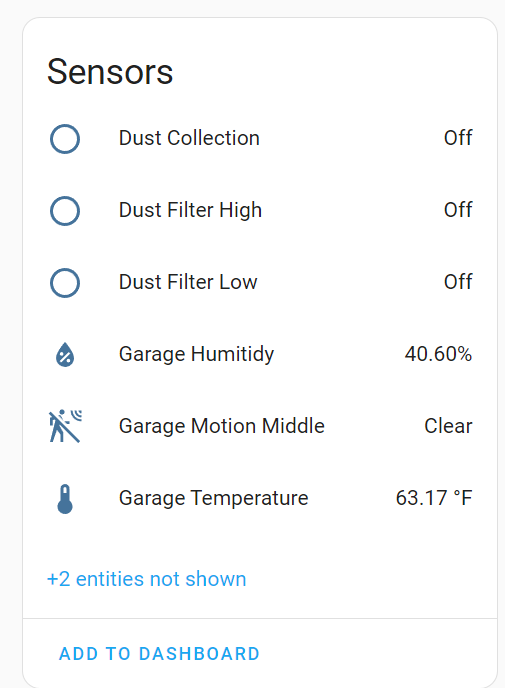
Only one of these was there when I got home. The HVAC Sensor. All the rest have been added in the last 3ish weeks lol. And I just got a practical sensor in that I’m going to try to get mounted in the dust filter so it will automatically turn on and off as it gets “dusty” lol. Most of its just stuff I want to mess with and learn about. And its been frustrating at times but mostly been a lot of fun.
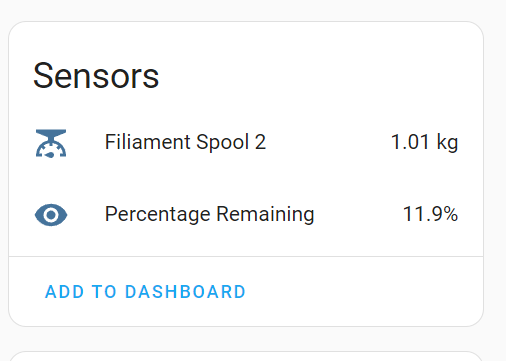
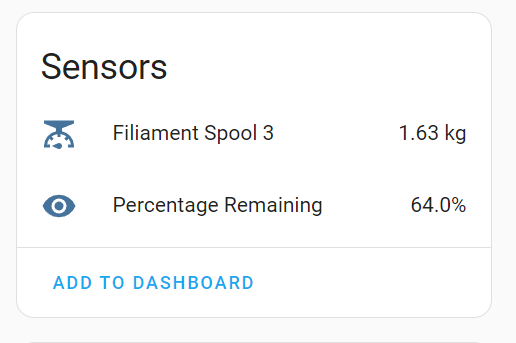
2 of the 3 filament sensors work great… the first one has been a royal pain lol
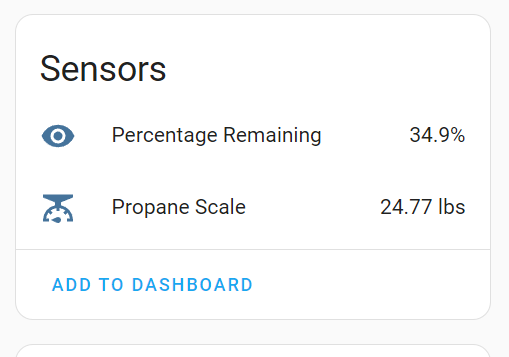
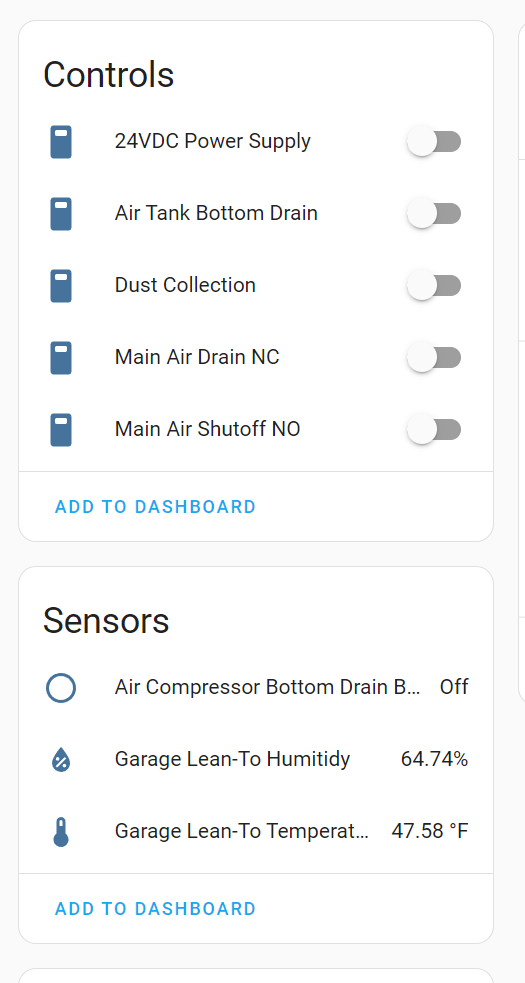
The one that controls the dust collection also has a series of valves on my air compressor supply lines and the bottom tank drain. I have an inline filter/dryer/decatant deal that will auto drain but only when there is no pressure on it. So I put a valve inline before that and then after I tee’d in another valve so I can close off the system and drain it down so the auto drain will work, then turn it right back on. That only has to be done once a week or so, but the bottom drain I do a few times a day if we are running the laser a lot. Got another current sensor on the way that I’m going to put on the air compressor so I can create an automation to auto drain the bottom of the tank every few cycles it runs. Also the valves are all 24vdc but I didn’t want the power supply for them running all the time so I put it on a relay as well. Its one of those 8 relay blocks so still 3 left LOL
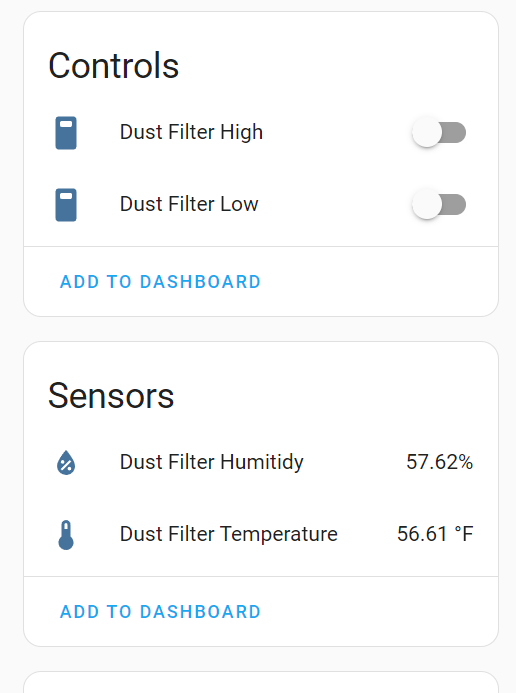
I made a “push button” box in the garage that has buttons for the dust filter and dust collection. Want to add some LEDs to show red when they are off and green when they are on. It also has a AHT20 in it and a RCWL-0516 for motion.
So yes once you start its hard to stop. And all the D1 minis and sensors are so cheap you just want to put them everywhere lol. Most of this stuff I have had around for a while and just never got around to it. Glad I did this time home. Its been a lot of fun and has me wanting to do more LOL
Esphome can really do a lot of the heavy lifting for you. It makes wifi and setup and updating really easy.
One thing I try to do when I have that closed feedback loop is to do the main logic in the esp. If your sensor and relay can both be controlled on the ESPHome, you can set the core logic up in a function (esphome calls them lambdas) and the idea that the DC turns on whenever the current is sensed, and it stays on for 10s after the current is sensed can all live in the esp. That way, you don’t need a healthy home assistant or wifi to use the CNC. It is a bit more advanced, but well worth it.
I looked at this when I was going to set it up but came up to a few hickups that were beyond my current grasp. The current sensor and relays are on 2 different D1 minis. One in the garage and one out in the lean to outside of the garage. Had they been on the same D1 then I could have set it up there no problem. My understanding is that it is still possible to setup the automation in esphome alone and not have to have it in HA, which I have setup on my air compressor valves/power supply and on the dust filter for high needing both low and high on at the same time. As I learn more and figure out how to automate from one ESP to another in ESPHOME I will be moving that automation there and take it off of actual HA
This is the code from all of the relays in the lean to with the automations in it…
@jeffeb3 if you see anything in here that would be better a different way I’m all ears. Trying to learn as much as I can. ESPHome has good documentation but its not always easy for my brain to follow and figure out lol. It gives you some of what you need but for me not always all of it where I get a full understanding. And if you have any tips for getting one D1 to talk to another in ESPHome I’m all ears on that as well
oh god… I was afraid someone would ask this LOL. My stuff needs a LOT of tidying up but its all functional and works. And what sucks is the best one is hanging from the celling and I don’t think I took any pics of it LOL
That’s been my blocker…my wife wouldn’t let it stay unless I had it nicely enclosed, so I need to design a case to hold the electronics and power it properly, find places near outlets to mount things, etc.
It would be a short number of days of wires hanging everywhere before either I started hearing complaints, or someone would break something
Like I just did LOL. Was tidying up around the Air Compresor one and bumpped something. Now that D1 is unresponsive. Oh well I didnt like how I had wired it anyways so now I can fix it right.
This is the hard part for me because my “design” skills are very lacking. But I’m using it as an excuse to make it better lol
I’ll show this one because I’m Aggravated with it and want to change it to clean it up. I was able to revive the D1 so that’s good! Seems I was using a not good to use pin for the dust collection so back to the drawing board on that one lol. Always learning I guess
I really need to get better at modeling in F360 lol. I would like to have a case around that with holes for the wires to come in the bottom and for the USB to enter wherever, oh and the AHT20 mounted as well.
I rather have low voltage DC wires run from the outlet to the enclosure rather than 120V on the wire that might get kicked/pulled/etc.
So I am always thinking that for every location I need a power brick(5-12VDC), a wire with barrel plug or USB etc, and a printed case with the connector right there as a starting point. Maybe a buck converter if I have the need in there also.
In the end it all depends on what you are trying to accomplish. For my dust filter there is a D1 mini, 2 relays and an AHT20 (because I could) all inside the enclosure with the fan. I used a wall wart wired to the Mains wire coming in to power the D1/relays. If I had one of these things @niget2002 posted that would have been a much better installation in my opinion. What I did wont have any issues but its also in the “janky” category. In fact I will probably order one of these and change it out next time I’m home lol
Oh, definitely there’s a use case for them, I just meant for these in-house things like adding temperature sensors around my house, etc.
Like if I wanted to add one in my Living Room where there’s lots of foot traffic, I would want it to be like I described above, so that it didn’t look bad and I didn’t have to worry about anybody getting hurt.
In my shop, there’s things strewn about all over. I’m much less picky about how things are wired/displayed in there. Still safe, but I don’t care that much about how it looks in there
I get that completely. I wonder if there is a “wall wart” that you could easily disassemble and design a new 3d printed case for that enclosed the sensor and all in one plug in part. I’m sure someone has done it before.
Then I wouldn’t put the automation in ESPHome. The only benefit is that the esp can do its function without networking. If you have to use networking, then it is easier and more flexible to do it in HA.
My thermostat, for example gets a temperature offset from HA that accounts for the difference between the thermostat temperature and the average of the house. But the core question, “should I run the heater?” Is decided on the microcontroller. If the wifi fries at 3am, the thermostat will still work, it just may not be getting the house to the right average temperature.
Your scripts look really good. My background is in C++ for desktop software. So I am dangerous in embedded C++. ESPHome makes a lot of my simple mistakes go away. But I always translate things to something in C++. If I want something ESPHome doesn’t offer, I can usually drop into writing a small C++ function. I get that isn’t for everyone.